control ‘dumb’ devices in HomeKit – part 1
Important Note: For reasons unknown at this time, the LifeSmart app (client version 1.1.8p3) for iPhone no longer has the HomeKit code generating feature, so you will be unable to add the Smart Station or Smart Alarm to HomeKit. However, the current iPad version, which has the same client version, still has the ability to generate HomeKit codes.
The following instructions aren’t that complicated, but there are a fair few steps to go through to get to the functionality described in the header, and as I’m going into a bit of detail with images I thought it best to break the tutorial into 3 parts; Part 1 is setting up the LifeSmart Smart Station and the Spot to work with Homekit, Part 2 – programming the Spot to control other devices, and finally Part 3, getting those devices into the Home app.
Many of us have electronic gear in our house that comes with a remote control, be it a Blu Ray player, a Smart TV or a Set Top box, or even less common things like Air Conditioning units or LED Ceiling lights (like I have). Wouldn’t it be great if there was a HomeKit compatible device that could send an IR signal to these devices, and then have those devices in our home app?
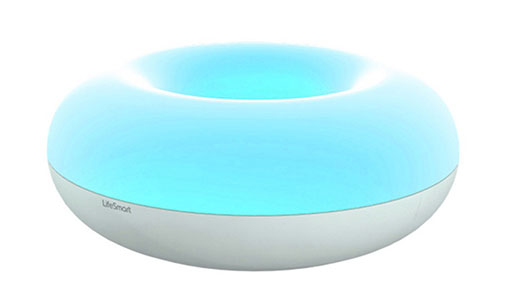
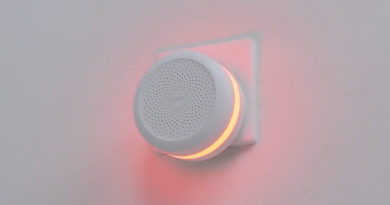
Well, you’re in luck! LifeSmart, based in China, are a company that makes such a product. It’s called The Spot, and it’s basically a sort of night light, jewellery holder and universal IR Blaster all in one!
There is a slight catch or two regarding HomeKit compatibility though; one is that you’ll need one of their own hubs for HomeKit support, and secondly, the HomeKit compatibility isn’t certified as such. If you’re one of those people that also uses HomeBridge, then you will have encountered the same (non) issue. If you’re ok with that, then you’re good to go.
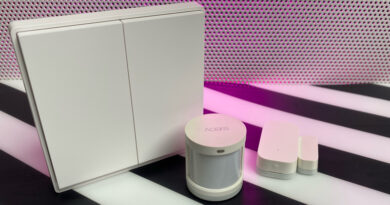
First things first, you’ll need your LifeSmart Spot, their bridge – the LifeSmart Smart Station (my recommendation) or the LifeSmart Smart Alarm, which is also a cheaper bridge, but a cut down version with a built in alarm, and the LifeSmart app.
Part A – Adding the LifeSmart Smart Station to HomeKit
Your first steps are to simply setting up the bridge in their app, by setting up a LifeSmart account.
- After that you simply click on the ‘+’ symbol in the top left hand corner of the screen to add the bridge.
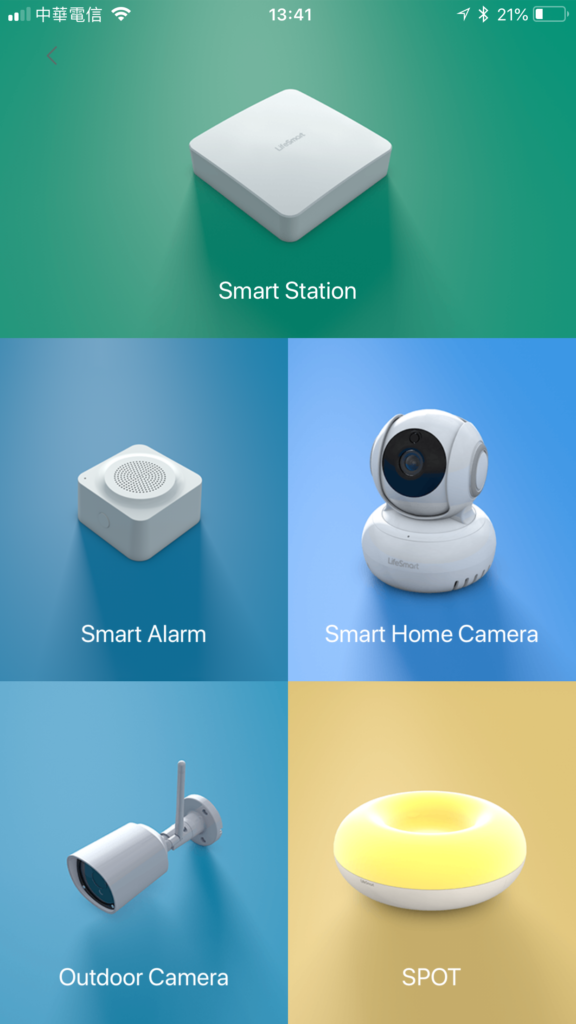
- Select ‘Add Device’ first. You’ll then be presented with a screen with all of their products so you can choose which product needs adding. Conveniently enough, the Smart Station is the first option, and the Smart Alarm a close second, being that these are the hubs need for all their devices.
- Follow the simple instructions for setting up the device, and it should all be running in a few minutes.
- After that, click on the Large LifeSmart logo at the top of the screen and a menu will appear.
- Select ‘Common’ at the bottom of the page.
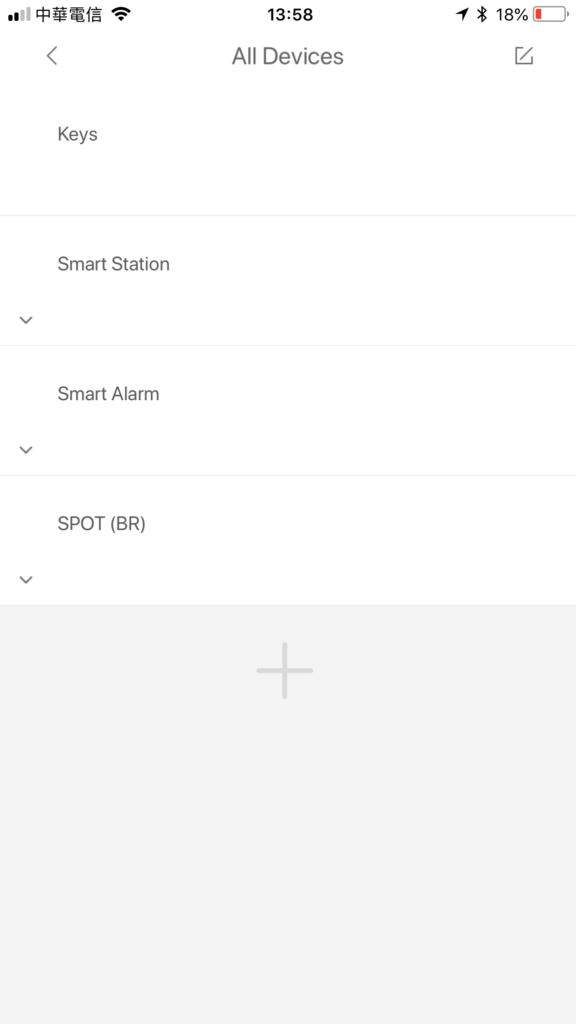
- then select ‘All Devices’. Here you will see any devices already set up in the app, so in this case you click on ‘Smart Station’ (or whichever hub you have).
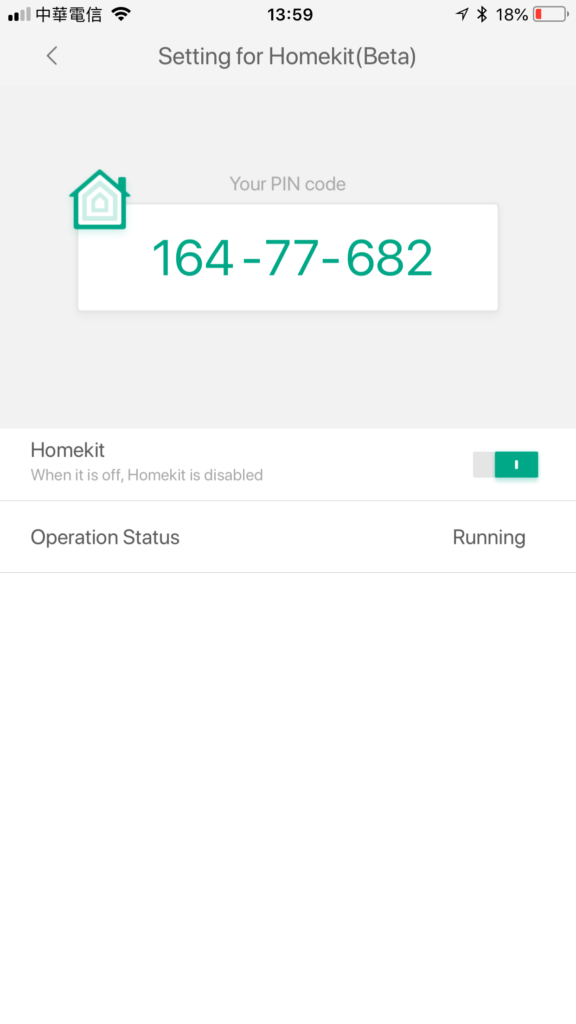
- There are a few more clickable headers, but you just want the one that says ‘Settings for Homekit (Beta)’.
- This will take you to a screen where you will get your randomly generated HomeKit Code, but to get it you have to toggle the HomeKit switch to on.
- You’ll then be asked for your password, which is the same one you entered when you created your LifeSmart account.
- Once you have this HomeKit code, you simply enter this into the Home app, like you would any new HomeKit device. you’ll be warned that the device you’re adding isn’t HomeKit certified, but you’ll be allowed to add it anyway. Once this is added, the Smart Station will appear as a hub/bridge, much like the Hue bridge for example.
So, that’s the bridge added!
Part B – Adding the LifeSmart Spot to HomeKit
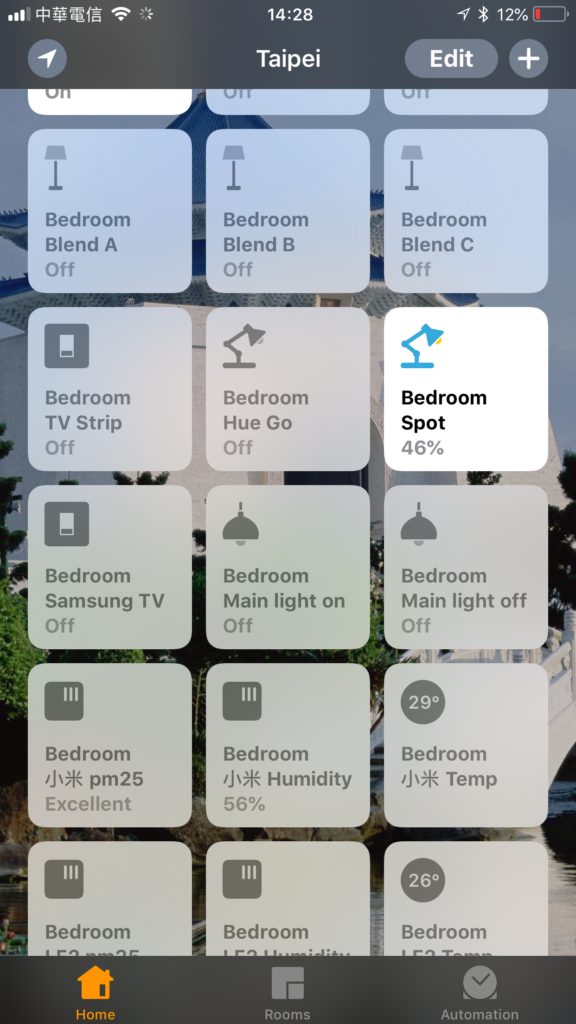
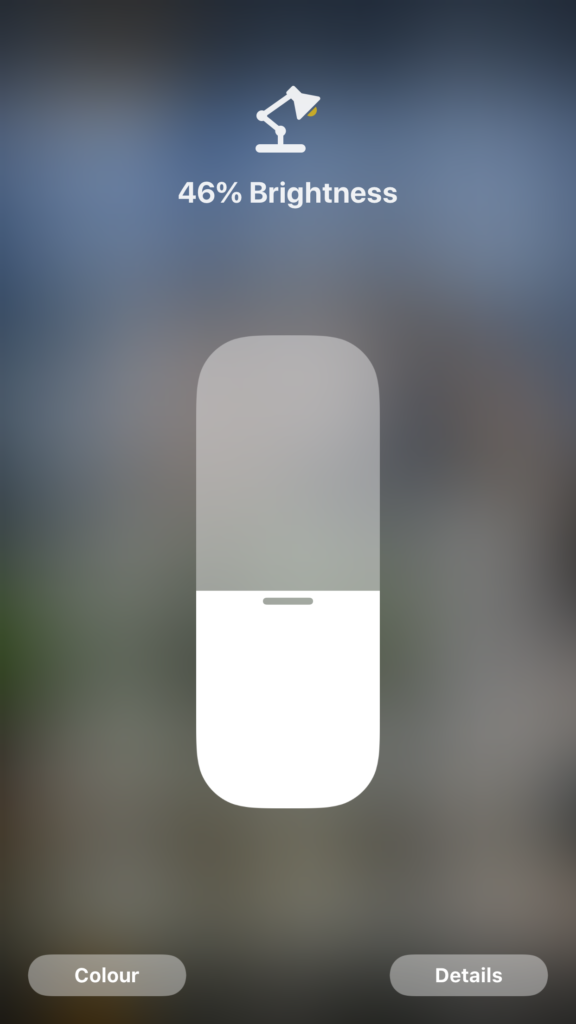
What about the LifeSmart Spot? Well, you would simply then follow the same instructions for adding the Spot to your LifeSmart account outlined in points 2,3 & 4. When the Spot is added, it will automatically appear as a device in the Home app, in much the same way that once you add a Hue Bridge, all the non-Homekit Hue devices will then appear. You’ll then have control over the basic functions of the light, like on and off, colour & brightness.


