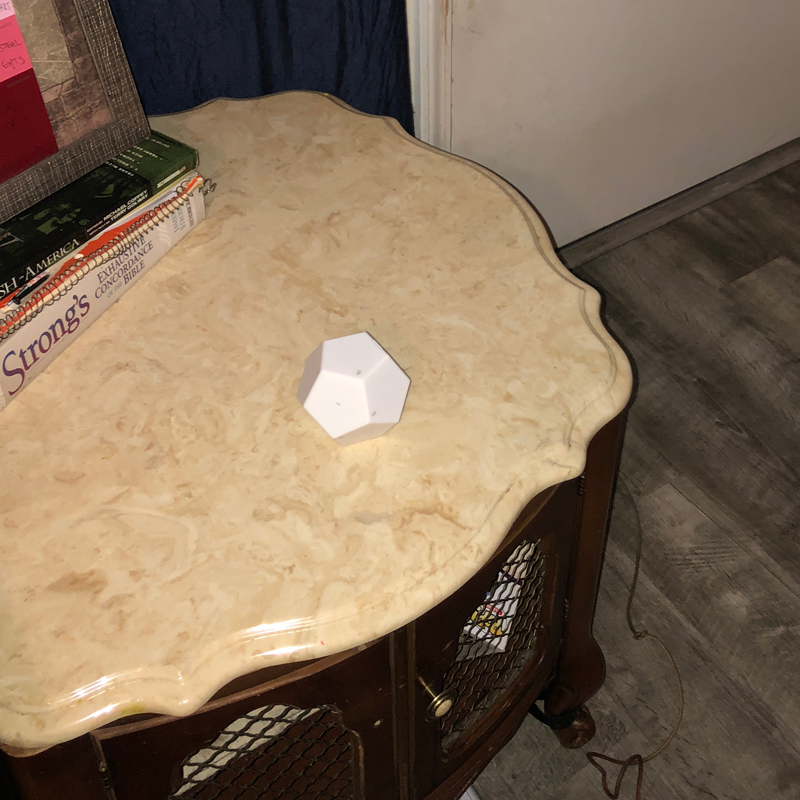
Nanoleaf Remote (review)
First off, why did I buy this? I bought this because as fun as it is being Merlin sometimes (via my Home app), the other people in the house want to be able to touch stuff and have stuff happen too. I originally order Fibaro’s The Button that looked like something a Bond villain would have hidden under his desk to trigger a trap door, but I never received it and was refunded. That device was able to do three actions on a basic level, (not including conditionals, like in this video) for about the same money as the Nanoleaf Remote.
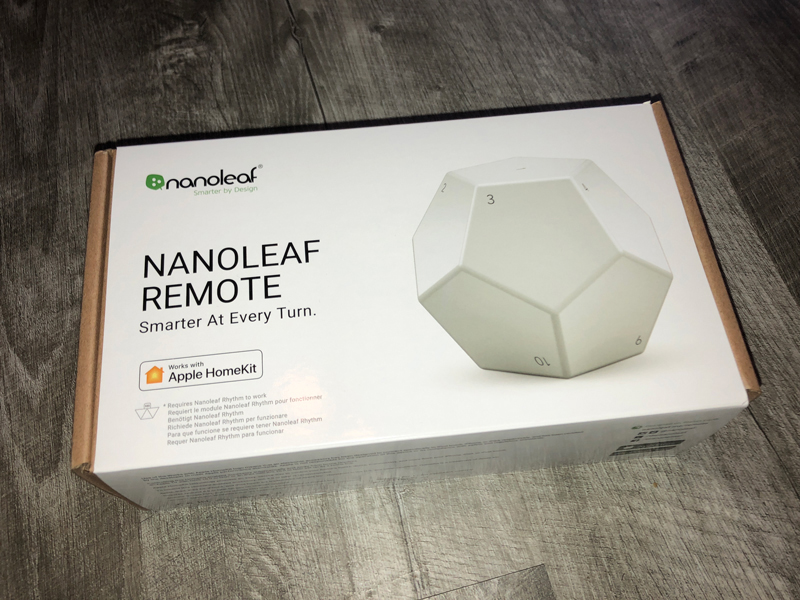
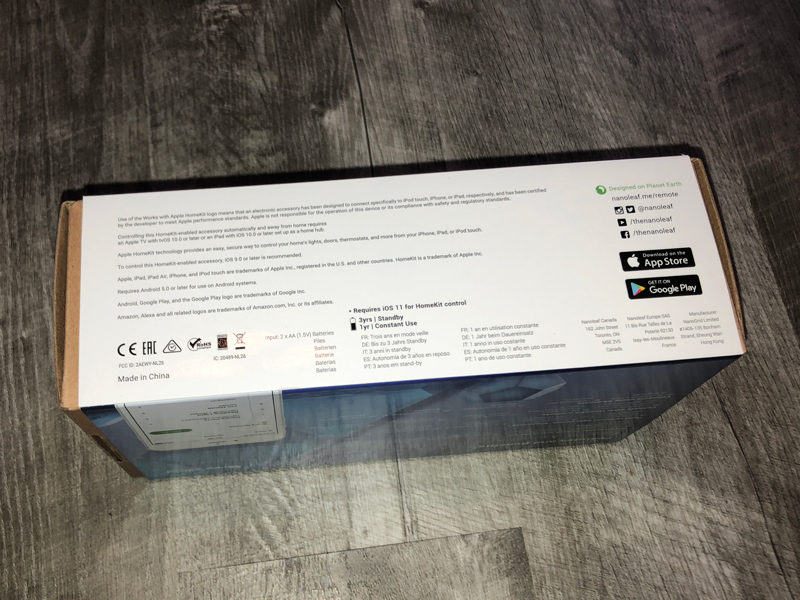
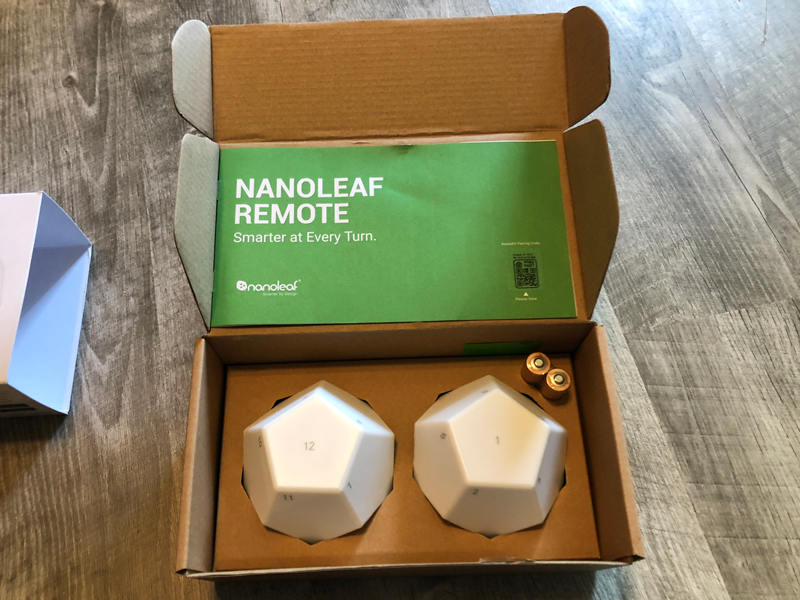
So, my first impression of the packaging was “wow this box is sturdy”. The packaging was what you would expect from any ‘visually aware’ company that makes amazing light panels I can’t afford, but desperately desire.
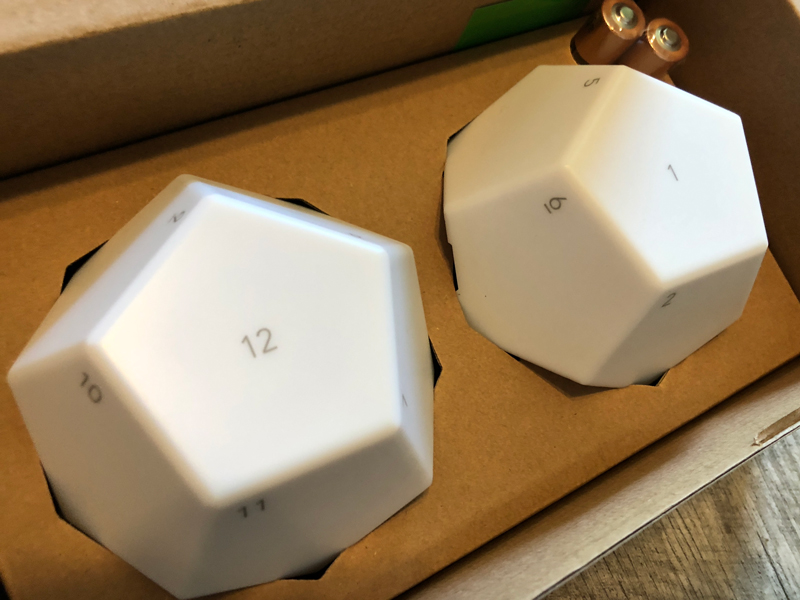
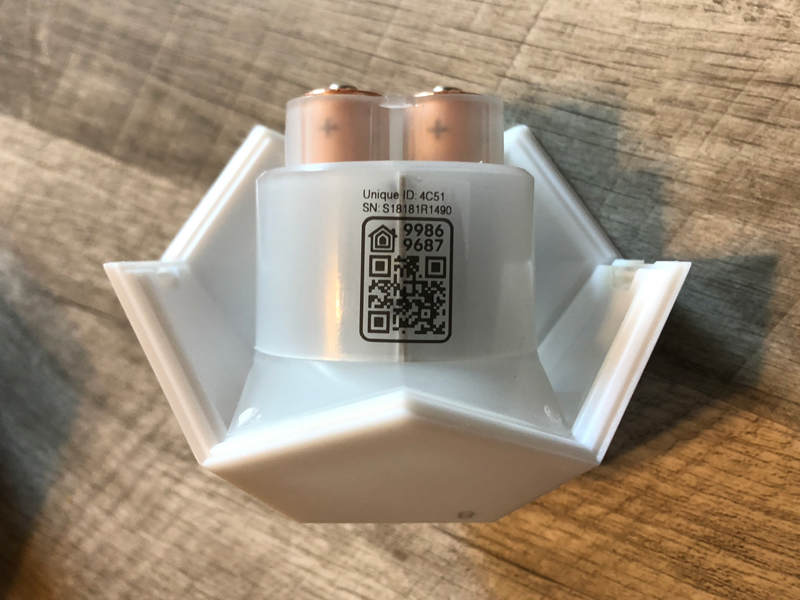
This brings me to my next point. I bought this not to use as an Aurora remote, but solely for it’s button capabilities. Once you take the remote out of the packaging, set up is pretty easy. Two rivets on the inside show how the “12 sided die” is connected; there isn’t any real way to get it wrong. two Duracell batteries are also included in the box, and when you have them in the correct way the remote lights up green for a second, then white for about 3 more seconds.
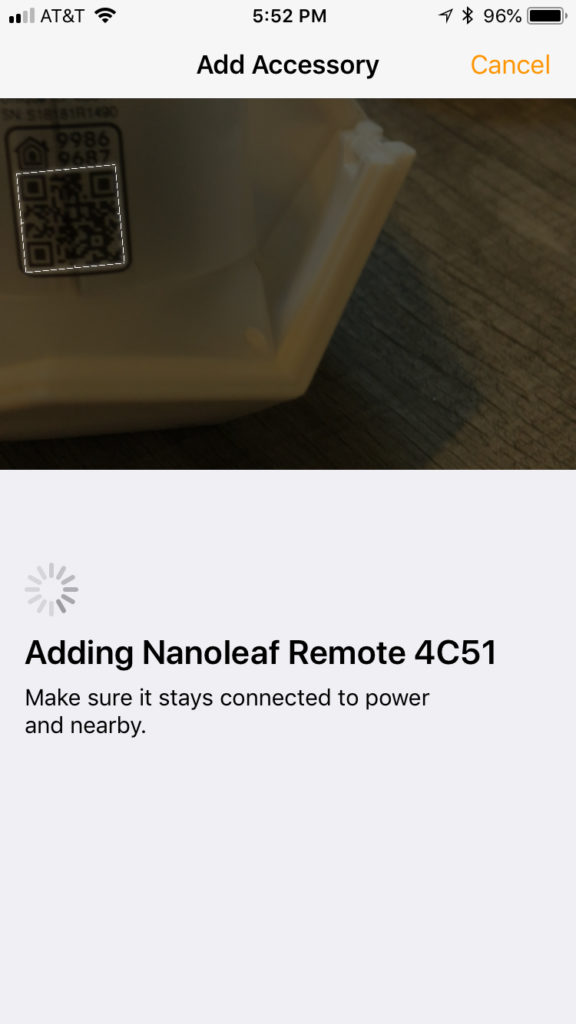
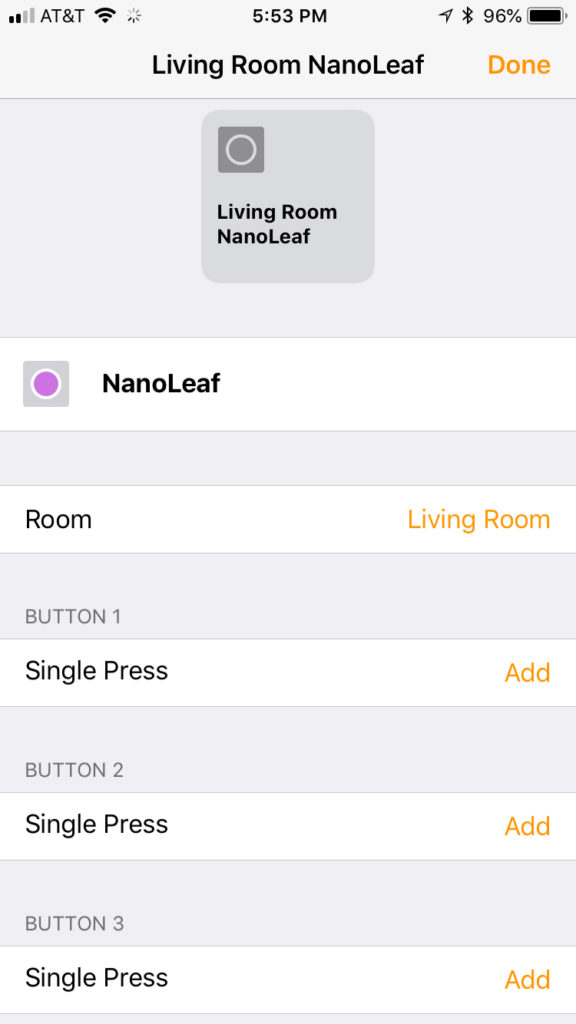
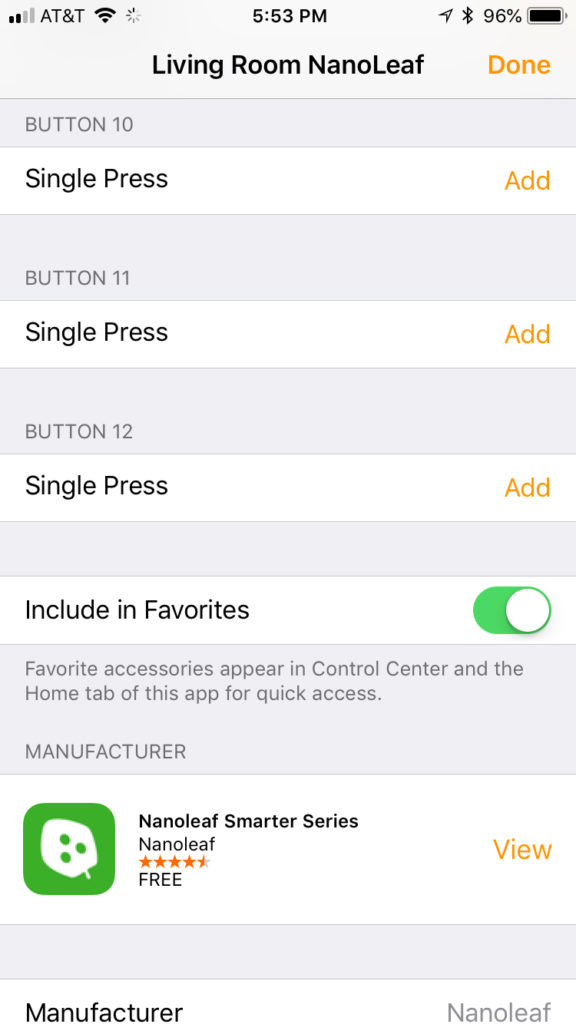
Once you are done with the initial physical set up, you simply add it to HomeKit by scanning in the usual manner. It adds quickly and everything appears as you would come to expect.
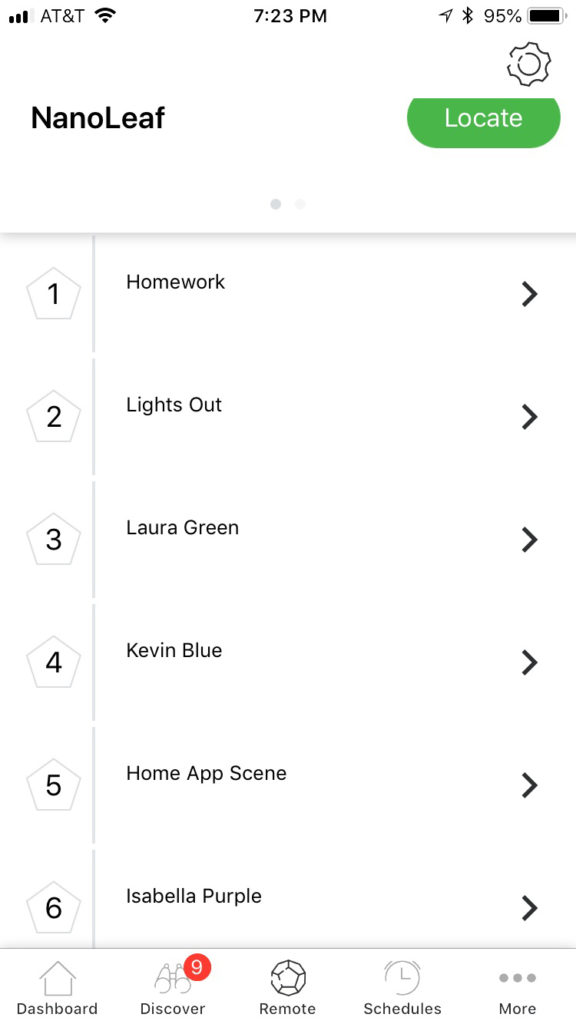
I went ahead and downloaded the official Nanoleaf app, which shares data back and forth, as standard, for scene names/hardware etc that are added. You can manually add any compatible switches you want, making things interesting, as it kind of becomes it’s own automation platform within HomeKit. For example, a switch that turns bathroom light on and, a scene having nothing to do with that can be added to any of the twelve faces of the remote.
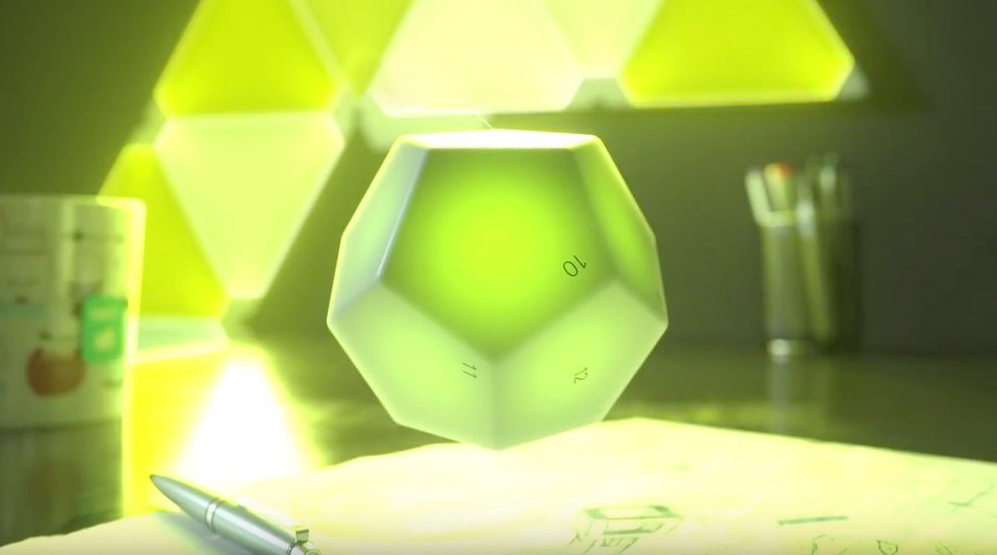
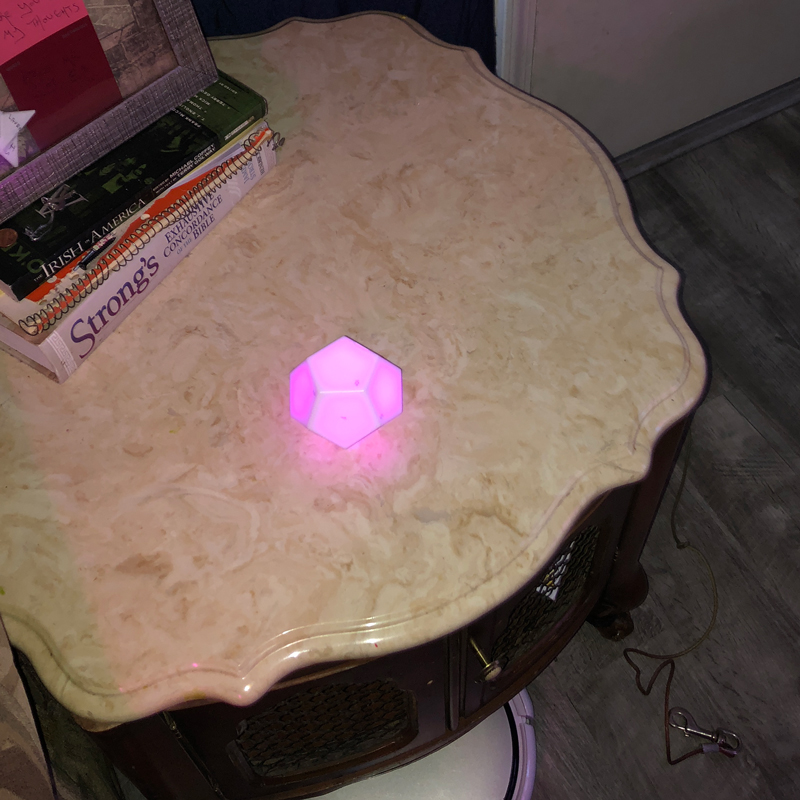
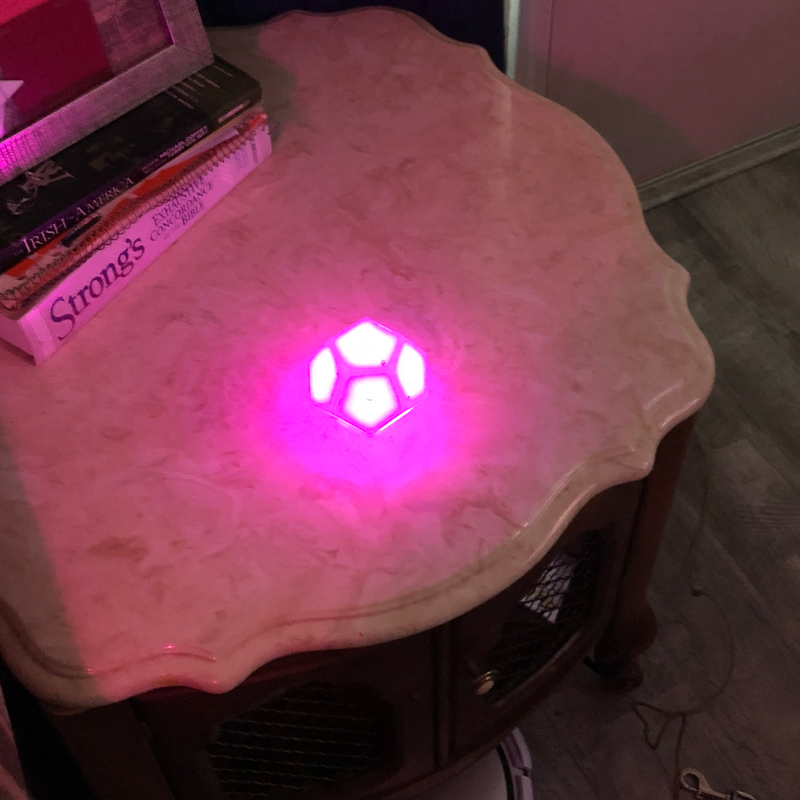
Onto the device itself. The way the Nanoleaf remote works is two-fold; It works first and foremost by being an accelerometer. You have two choices: Physically turn it on a surface (a table for example) to activate it, or shake it in your hand to kind of wake it up, then turn it to the relevant face (facing upwards), and press. The remote gives haptic feedback when shook and it lights up when you touch it regardless of whether you pick it up or not. It has to be noted that triggering different scenes in rapid succession doesn’t work and sometimes if you turn it too slow on a table it won’t activate the scene/automation. Furthermore, while the device lights up from inside, it doesn’t appear as a ‘light’ in the Home app. when a side is activated they are set to preset colors determined by Nanoleaf, which means you can’t assign your preferred colors to the scenes you create. However, since we often assign our scenes to colours, I have listed the colors so you can attach your scenes on the first go.
for example, my daughter’s scene for the living room involves pink so we attached it to #6. Here are the twelve preset colors:
Final Thoughts: Ultimately this is one of the more fun, more reasonably priced and functional HomeKit devices I’ve bought. 12/10 for creativity and very well implemented. I would have loved personal control of each color of the panels by scene too, but you can’t have everything I guess!

