
Netatmo Presence Camera (review)
Netatmo Presence:
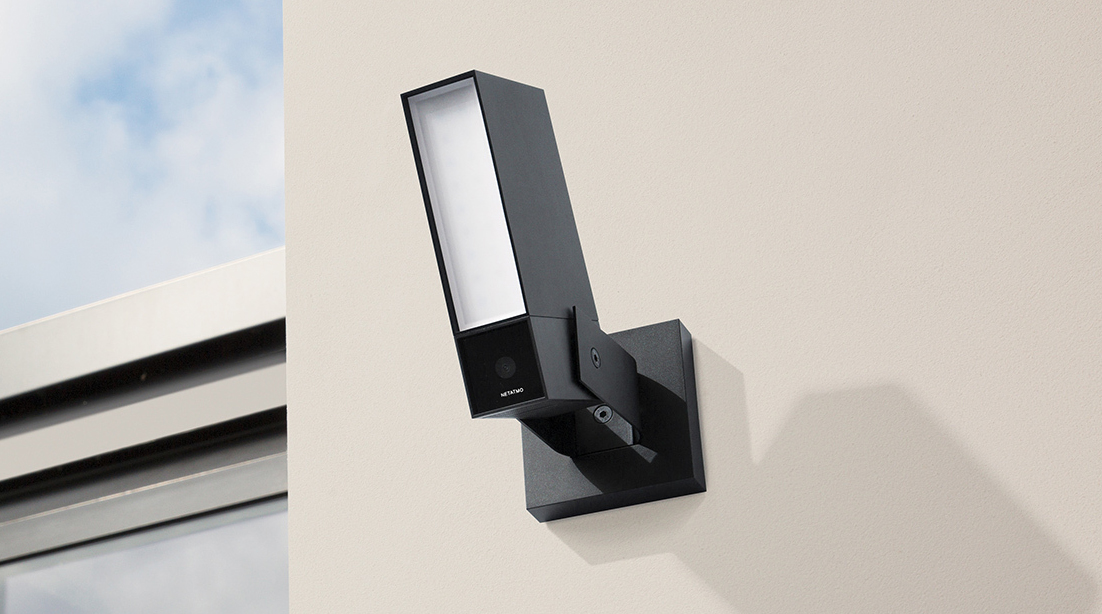
To begin, I bought the ‘Presence’ because, for one, it was a very good excuse to buy some more HomeKit gear (we all know that feeling, right?), and since my outside light had been ‘dead’ for two years, a replacement was well overdue. I’d read plenty of great comments regarding this product online, and I thought I’d go for it. This decision was made all the more easy due to the fact I’d purchased this at a greatly discounted price.
Packaging / Presentation.
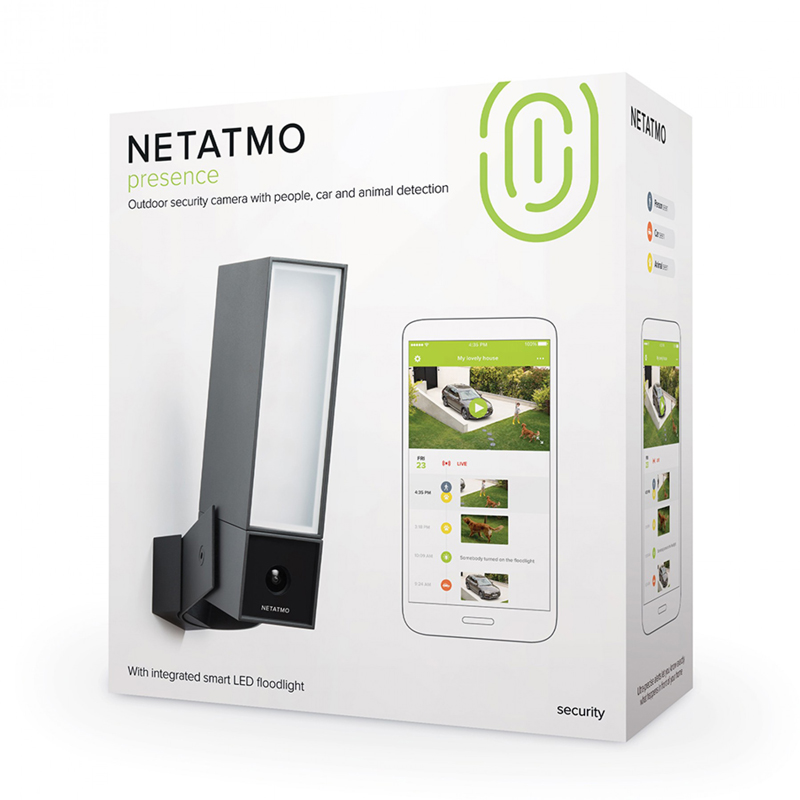
The product comes in what one would say is very Apple-inspired packaging, with relatively little detailing, and relatively minimalistic branding and text, but sturdily packed all the same. First impressions are usually important, and given that the first thing you tend to physically see is the box (assuming it arrives in the post for example) this lends the product an air of quality.
Initial Setup
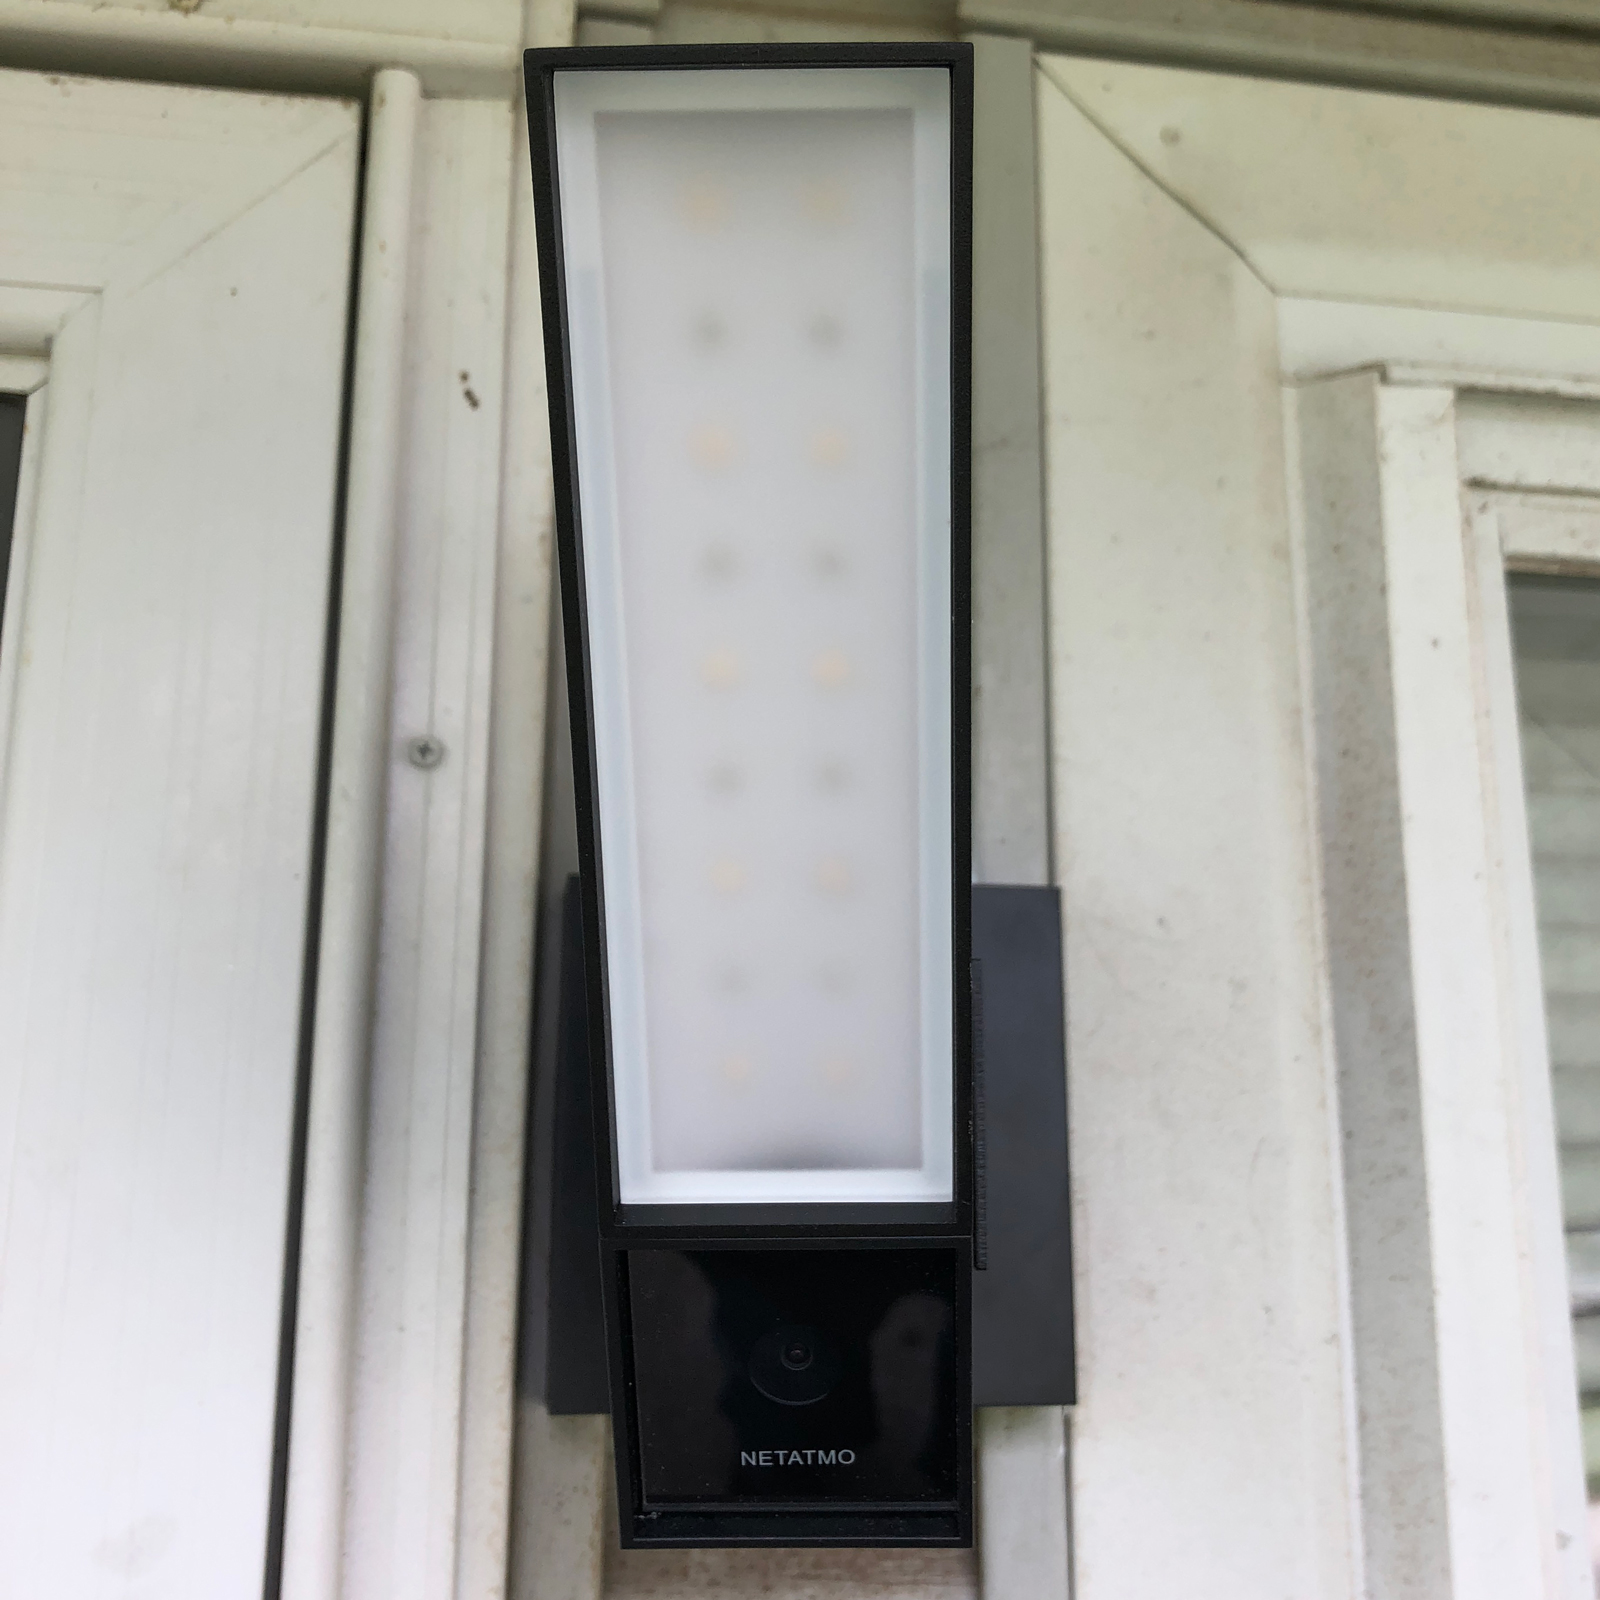
As with any product that requires it to be wired up to mains electricity, you’re going to at least a basic understanding of wiring, and this product is no different in that regard. once removed from the box, we realised that the connection to connect it to the electricity was something we’d not encountered before, but this is mainly due to our house having older wiring. All that was required in this instance was to get the relevant adaptor from the local hardware store to make it all work as intended. once we’d safely turned off the power, mounted the Presence and powered everything back up, we swiftly moved onto the software side of the installation, by downloading the Netatmo app. Once in the app, we were required to set up an account. Once that was sorted out we got notified of a firmware update, which is always a good sign. The update is done automatically, so you don’t have to do anything else. After the firmware update it will recognize that you’re on an iOS device and request permission to access your photo library, after which the app will generate a HomeKit code and place that in your Photo library. Be aware that it will only do this once per installation, so do not delete the code image. Once that’s all taken care of, you simply add it to HomeKit in the same manner you would any other HomeKit product. As is normal, the Presence.
App Setup
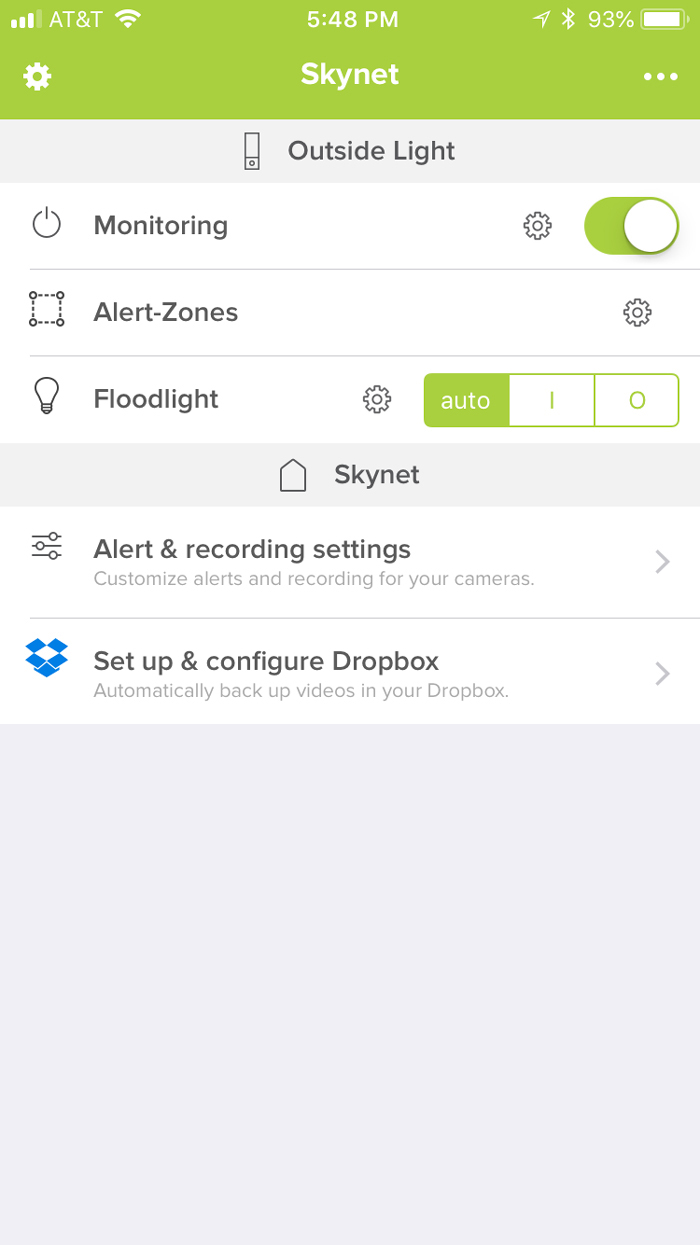
Because this is a camera, a motion sensor, and a light, I wanted to go a little more into the details of the setup. In the Netatmo app you have several options on how you want to control these different parts to the device. The control section in the app is located by touching the three dots on the upper right hand corner of the app. This takes you to a screen where you can choose the lights settings and behavior, configure Dropbox as a back up data storage facility, configure how and when it should notify you with notifications etc. What’s great is that they’ve really thought these controls out and made them very intuitive.

Storage
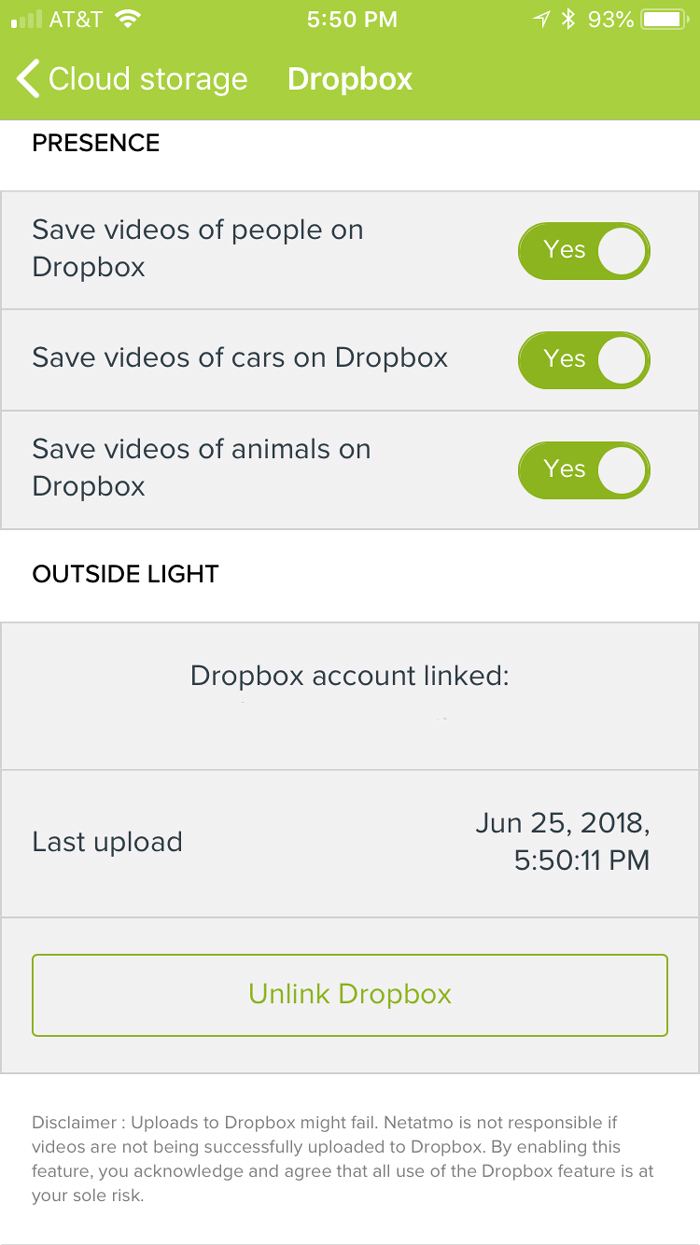
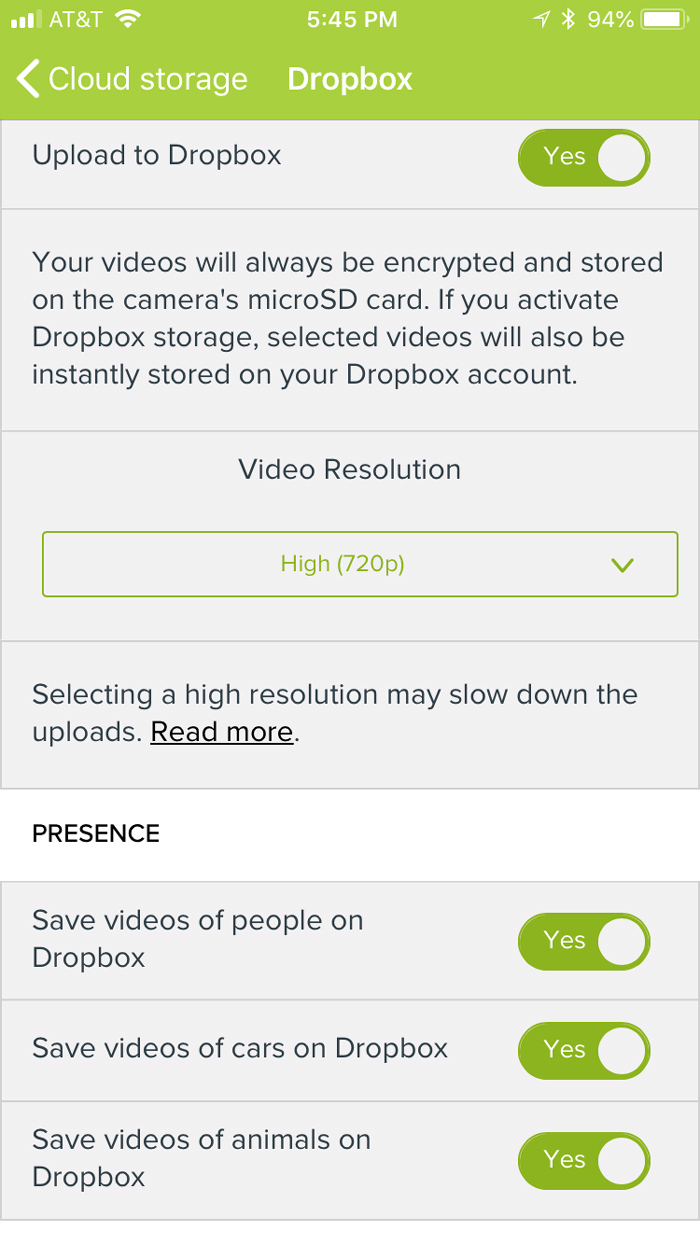
One of the initial things that turned onto this product is that it has local storage. What I didn’t realize was that the company doesn’t have a hand in monitor your feed at all, so there’s no cloud storage option to ponder. The local storage comes in the shape of a pre-installed Micro SD card. It was unclear as to how large the storage of the SD card was but it can be swapped out with any other standard Micro SD card with unto 32GB of storage. It’s important to point out that as the camera is meant for outdoor usage, if you wish to replace the pre-installed SD card, you’ll need a lubricant called Dialectic Grease when installing, as this designed to protect the SD card from the effects of outdoor moisture and damp. When it records anything that is triggered by motion, it calls on a certain amount of artificial intelligence, which basically enables the camera to differentiate between different types of objects, be they a pet, a person or a car for example. These ‘instances’ are stored on the SD card and the oldest recordings will simply be overwritten as the card becomes full. As previously mentioned, there’s also an option to connect to Dropbox or an FTP server if you wish to store recordings online as opposed to on-device. I use Dropbox and so went with that option. Connecting to Dropbox was very simple; just put in the password and account info via the app and everything is set automatically by creating a specific folder for recordings, once you give it permission. Once connected you have several options regarding the image quality and what you want to save.

Day to Day Usage
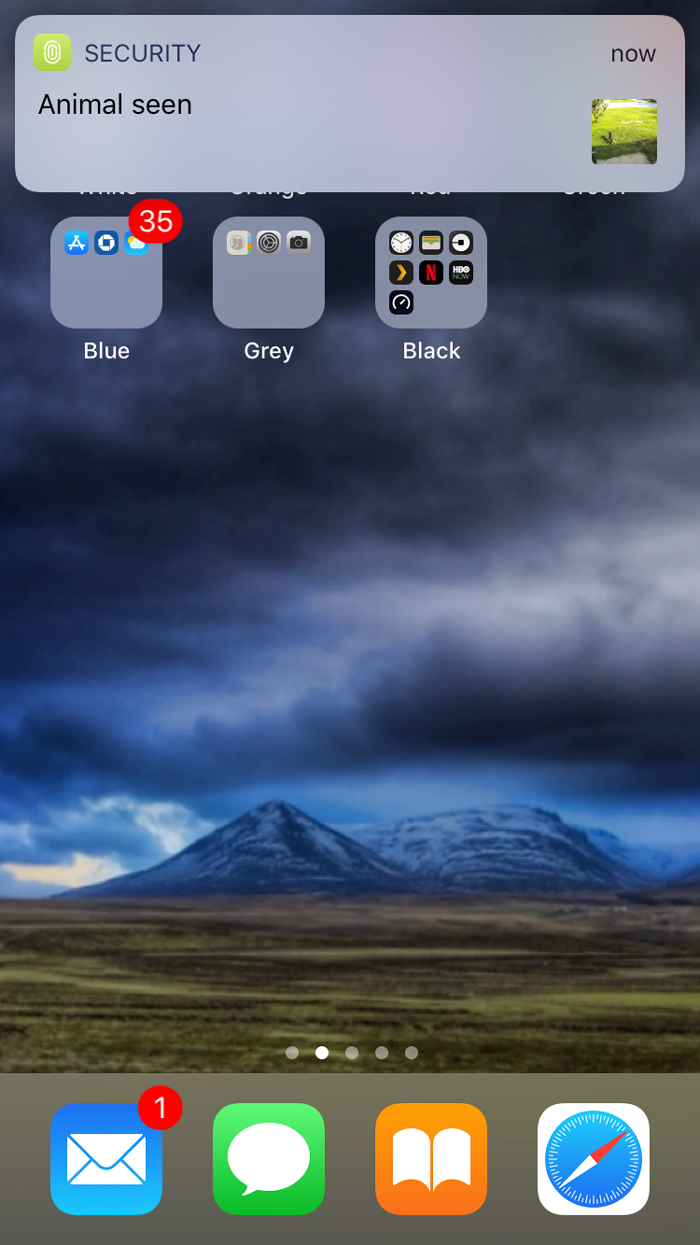
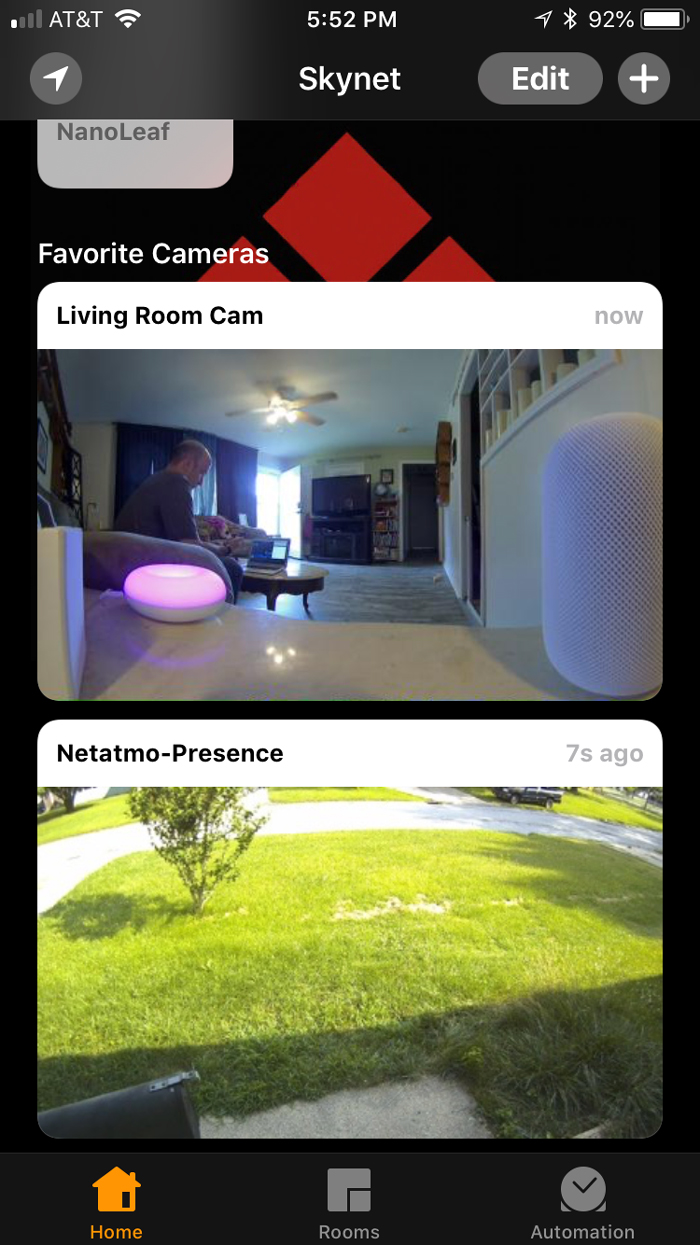
As I said before the AI in the camera is great at defining the type of instances you see or what is recorded, so a lot of unwanted footage can be avoided with judicial use of this functionality. One possible glitch that was discovered is that if you have the motion sensor active in both the Home and Presence apps, you tend to get the same notifications twice. Below I have some screenshots of the ‘timeline’ it uses in its app, how it codes that, and its notifications style. One other neat function within the Netatmo app is that when you can click the little timer circle in the upper left had corner, you get to see a sped up 1 minute time-lapse of the last 24 hours of video.


HomeKit
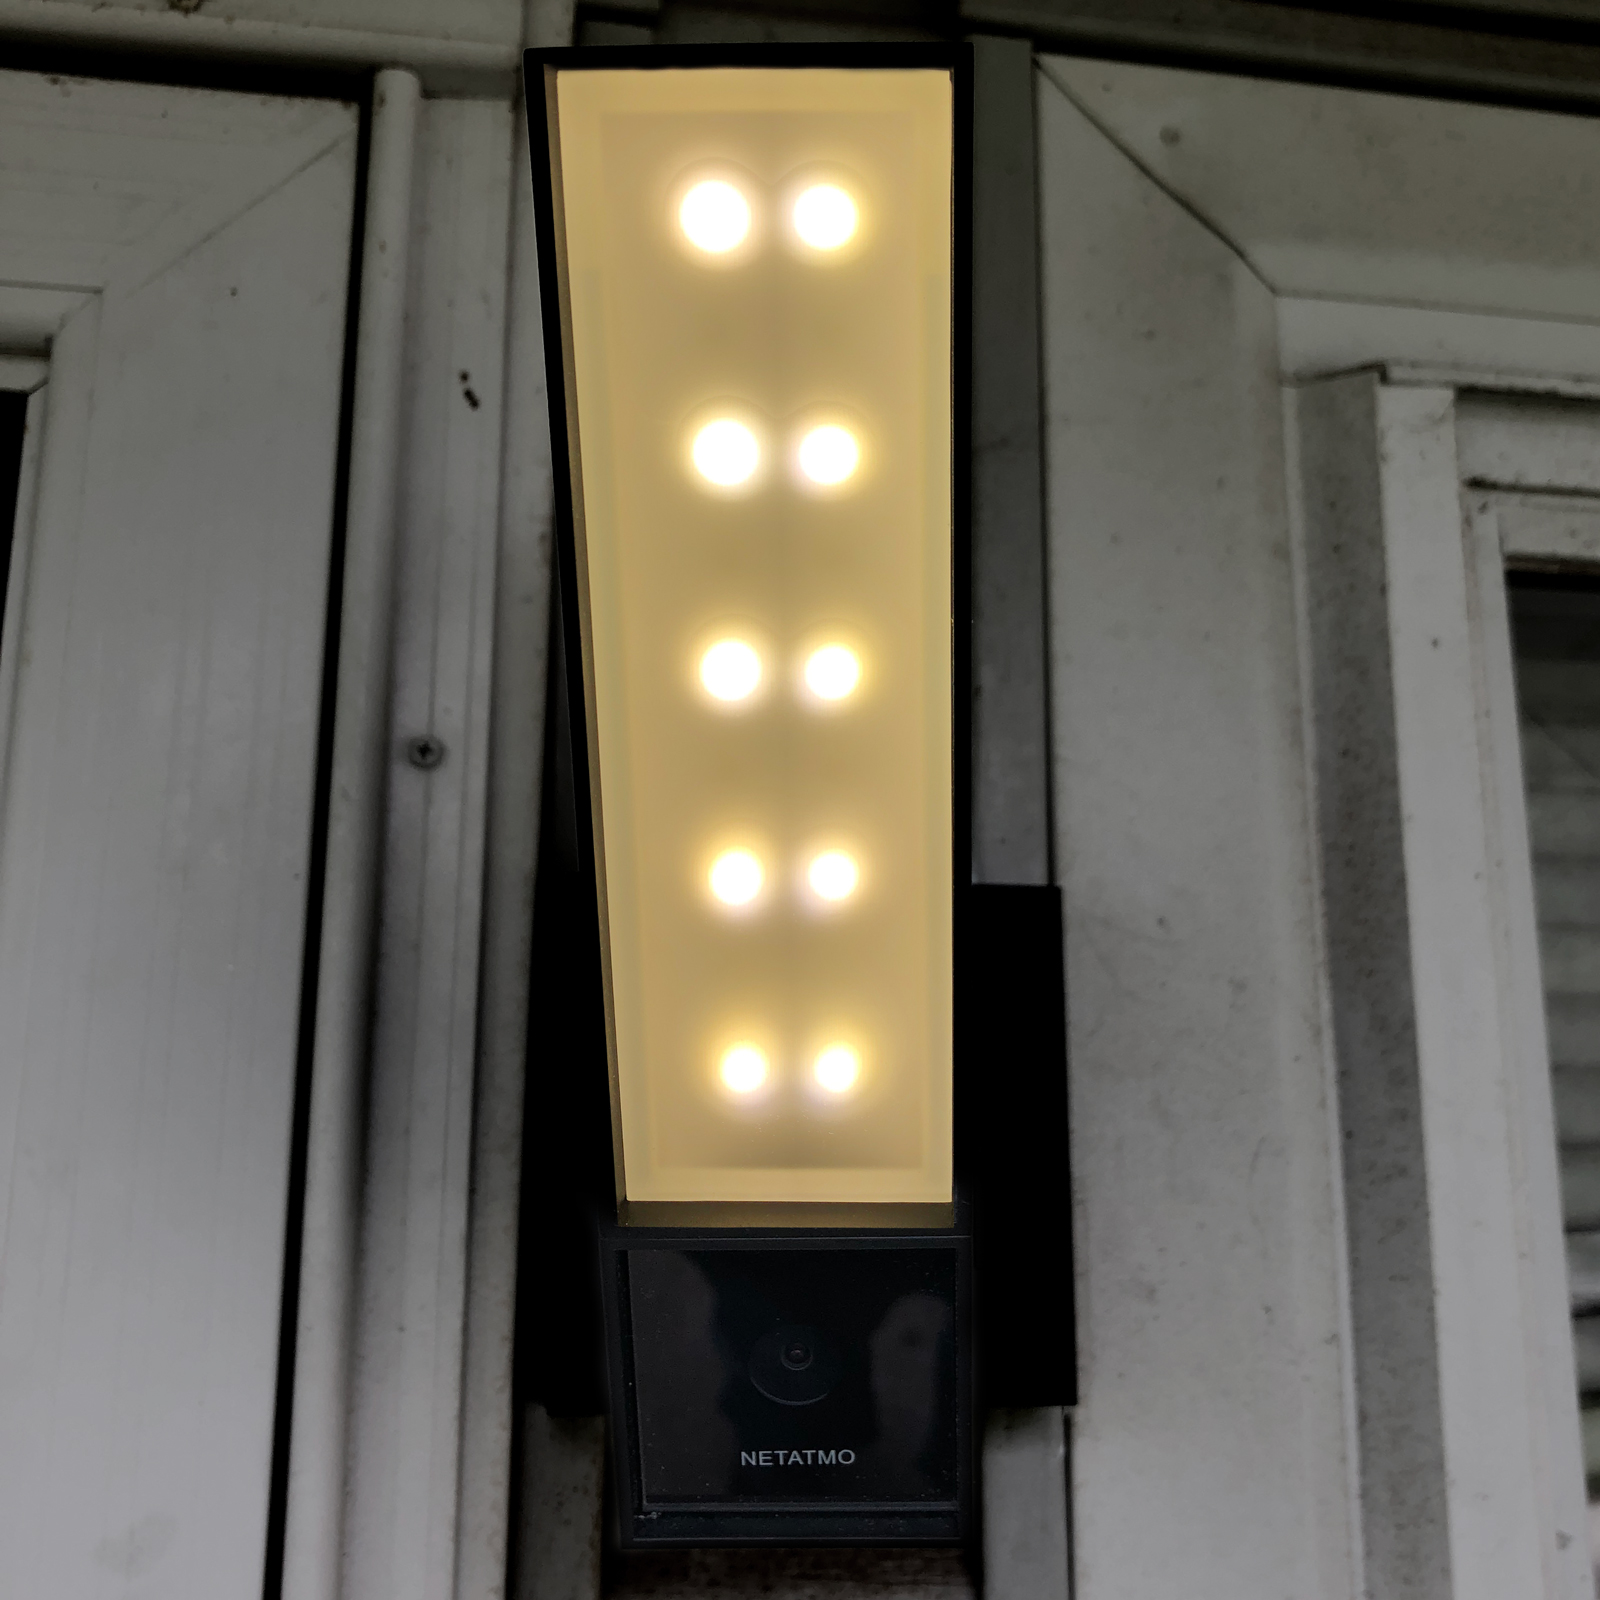
As previously alluded to, The Netatmo shows up in the Home app as 2 devices plus the camera – the two devices being the motion sensor and the light, which is also dimmable in the same way that any other dimmable light is controlled. The outside light is easily controlled via Siri or an automation. One thing to note is that whilst the light is controllable via any of the other HomeKit compatible apps, the motion sensor doesn’t show in Elgato’s Eve app.

Overall thoughts
Sometimes when you get excited about a product, you want it to be awesome but it just doesn’t live up to your expectations. This is not one of those cases. To me, the Netatmo is one of the nicest pieces of tech I’ve owned in a long time. I, for one, love it!

Hi,
nice review of the camera. I own two of them and came across an issue that makes this camera difficult to recommend for security usage. The API Netatmo provides does not allow for disabling the alerting. That only works in the app. I have installed one of the cameras in my backyard. I always have to disable the camera when we want to use the backyard on sunny days otherwise it will send alerts every time someone moves out there. That soon gets annoying. There is unfortunately no other way to switch off alerting than manually through the app…
Thanks for the heads up on the issue Sven. I didn’t personally review this item, but I’ve already passed your comments onto the reviewer. If he has anything to add, I’ll post it here.
That is kind of annoying. If you are concerned about turning the alert back on manually I would just extremely tighten the zone size, and try and remember to change that back asap. That is make the zone very close to the house. Still annoying to an extent, but it still keeps you “safe” from someone trying to break in. Thanks for commenting.
Love my Presence, best homekit purchased I’ve made in 2018!
Just wondering a couple of things:
1 is it possible to set up notifications from the motion sensor, only when Away?
2 is it possible to disable the flood light turning on in the Netatmo app, and set up an Automation in HomeKit only: to turn on the floodlight only when motion is detected when nobody is home?
1. Not with this single sensor in this product in the way you are speaking.
2. Yes of course you can do this. You can also make it unlock the door between times if that suits you.
I found this on the Netatmo website which seems like it would help with what the original post was experiencing.
https://www.netatmo.com/en-us/helpcenter/security/2/can-i-program-presence-to-only-notify-me-during-certain-hours/255
Thanks for the Tip Dan.