Philips Hue Dimmer Switch (review)
With me already owning 5 of these, it’s fair to say I like these devices. However, unlike some people, I haven’t really gone ‘all in’ with Hue products, currently just owning a Hue Bridge (2nd gen) a Hue Go, the aforementioned Dimmer Switches and eight basic ‘Warm White’ Hue bulbs. These bulbs are in an area frequently used by mother-in-law, and as such I need her to be able to control the lights without using the original switches – which as you may know – disconnects the smart bulbs from Hue & HomeKit. Not much point in smart bulbs if they’re disconnected right?
So this is where these dimmer switches come in handy. They’re stylish enough to blend in to most places, and they’ve got just enough buttons to both please the techies, but also not too many for those that don’t really care. These switches hit that middle area perfectly for her, and now that the old light switches are disconnected, she knows to use these new ones, and she loves them (if it’s possible for an octogenarian to love something like this…).
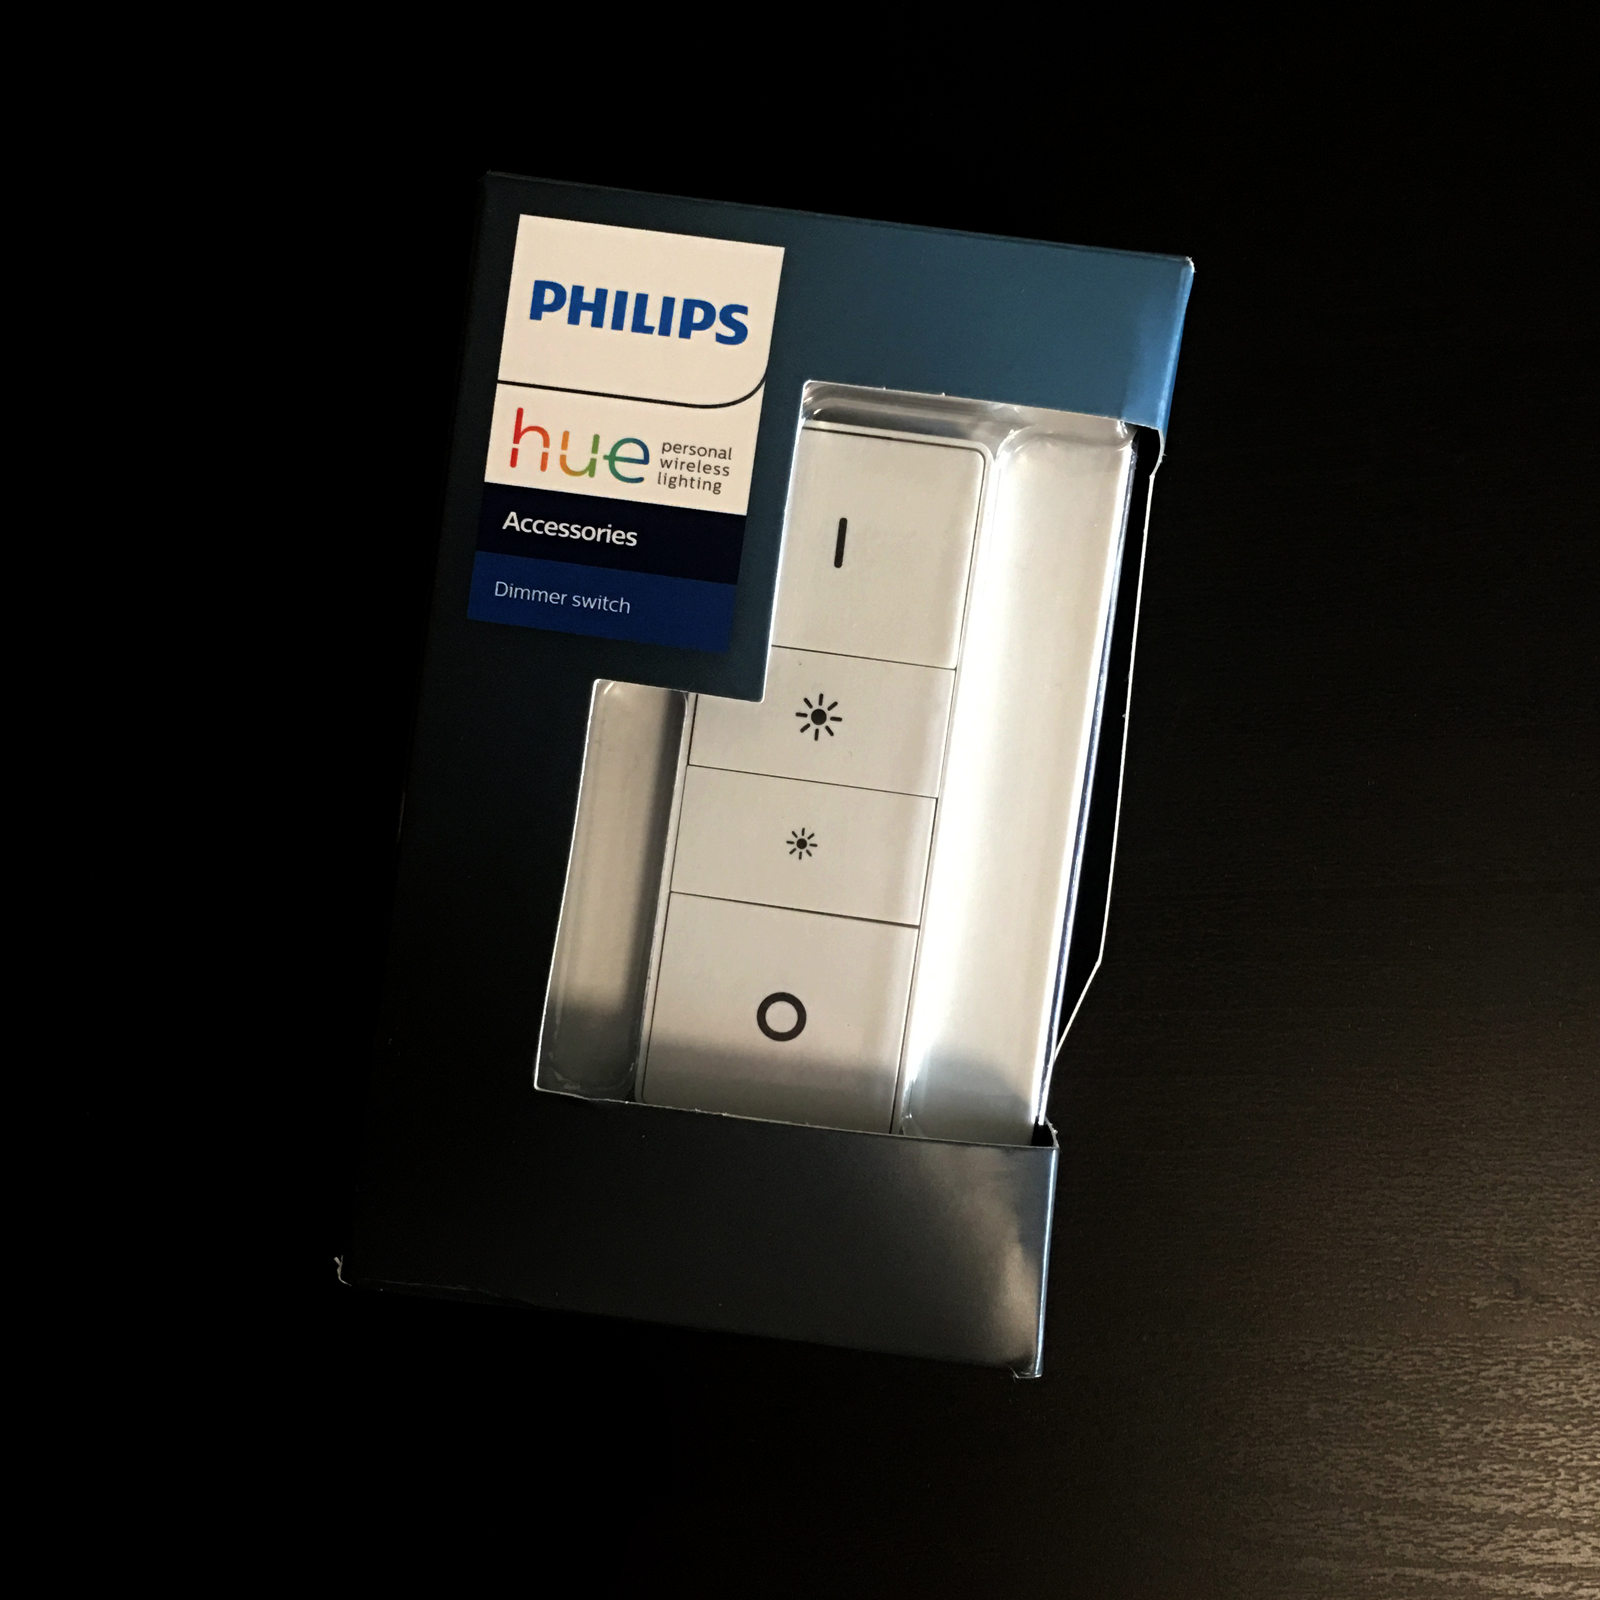
The packaging is pretty straightforward for Hue products, being a fairly thin cardboard outer with an inner plastic frame, encasing the device itself. Whilst the carton does come across as a bit on the flimsy side, the fact that the plastic suspends the device far enough from the outer packaging, all but guarantees that the device won’t come close to suffering any impact damage.

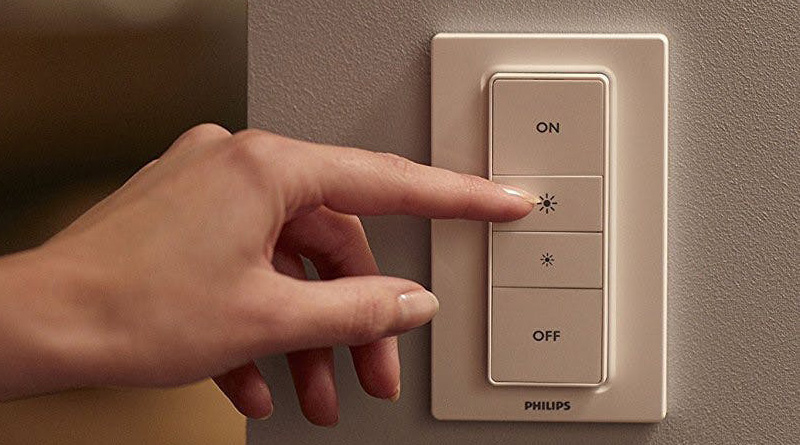
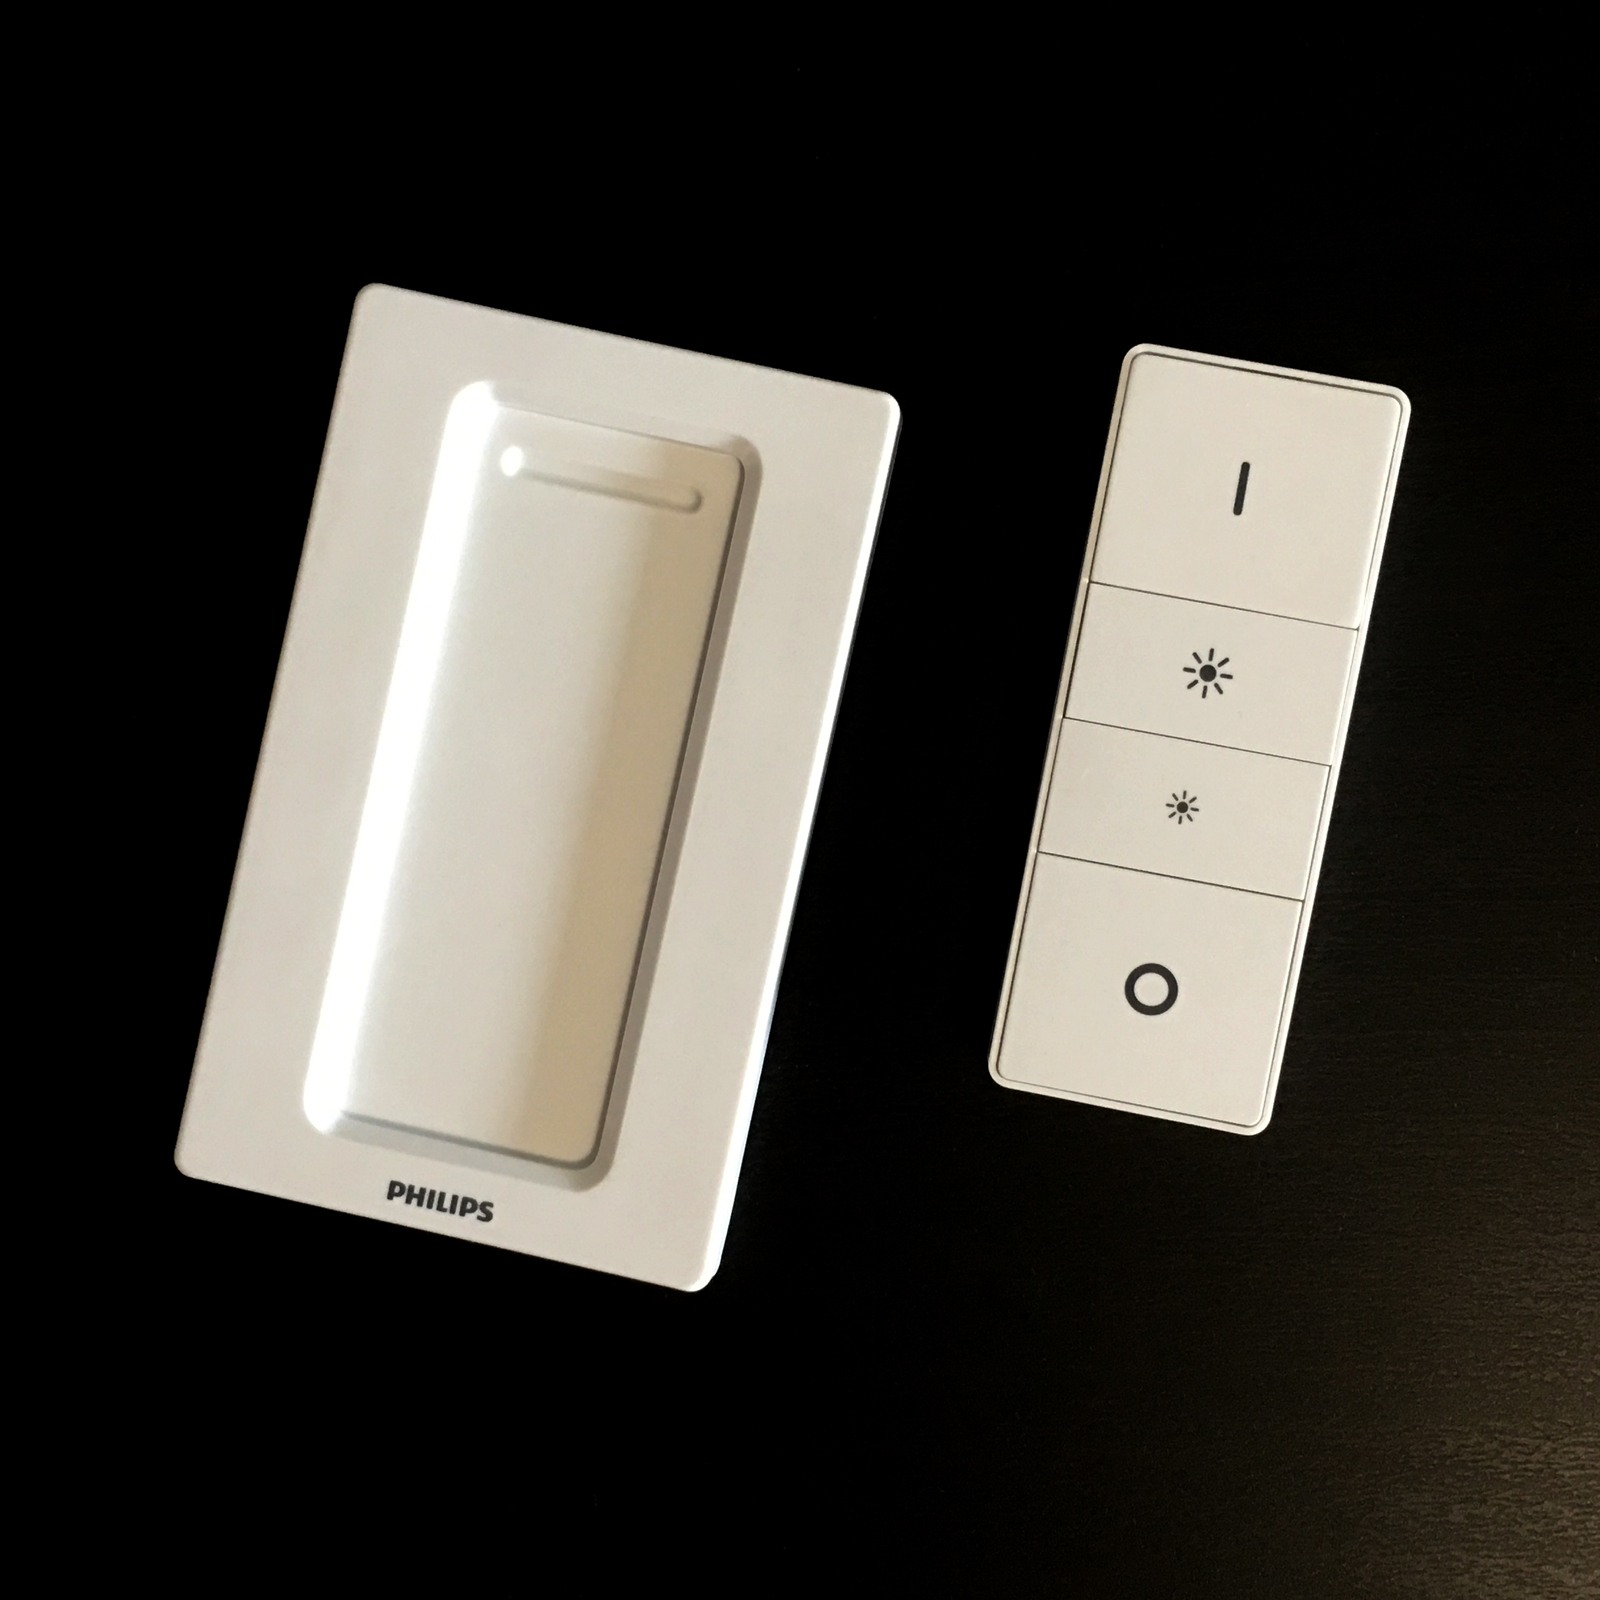
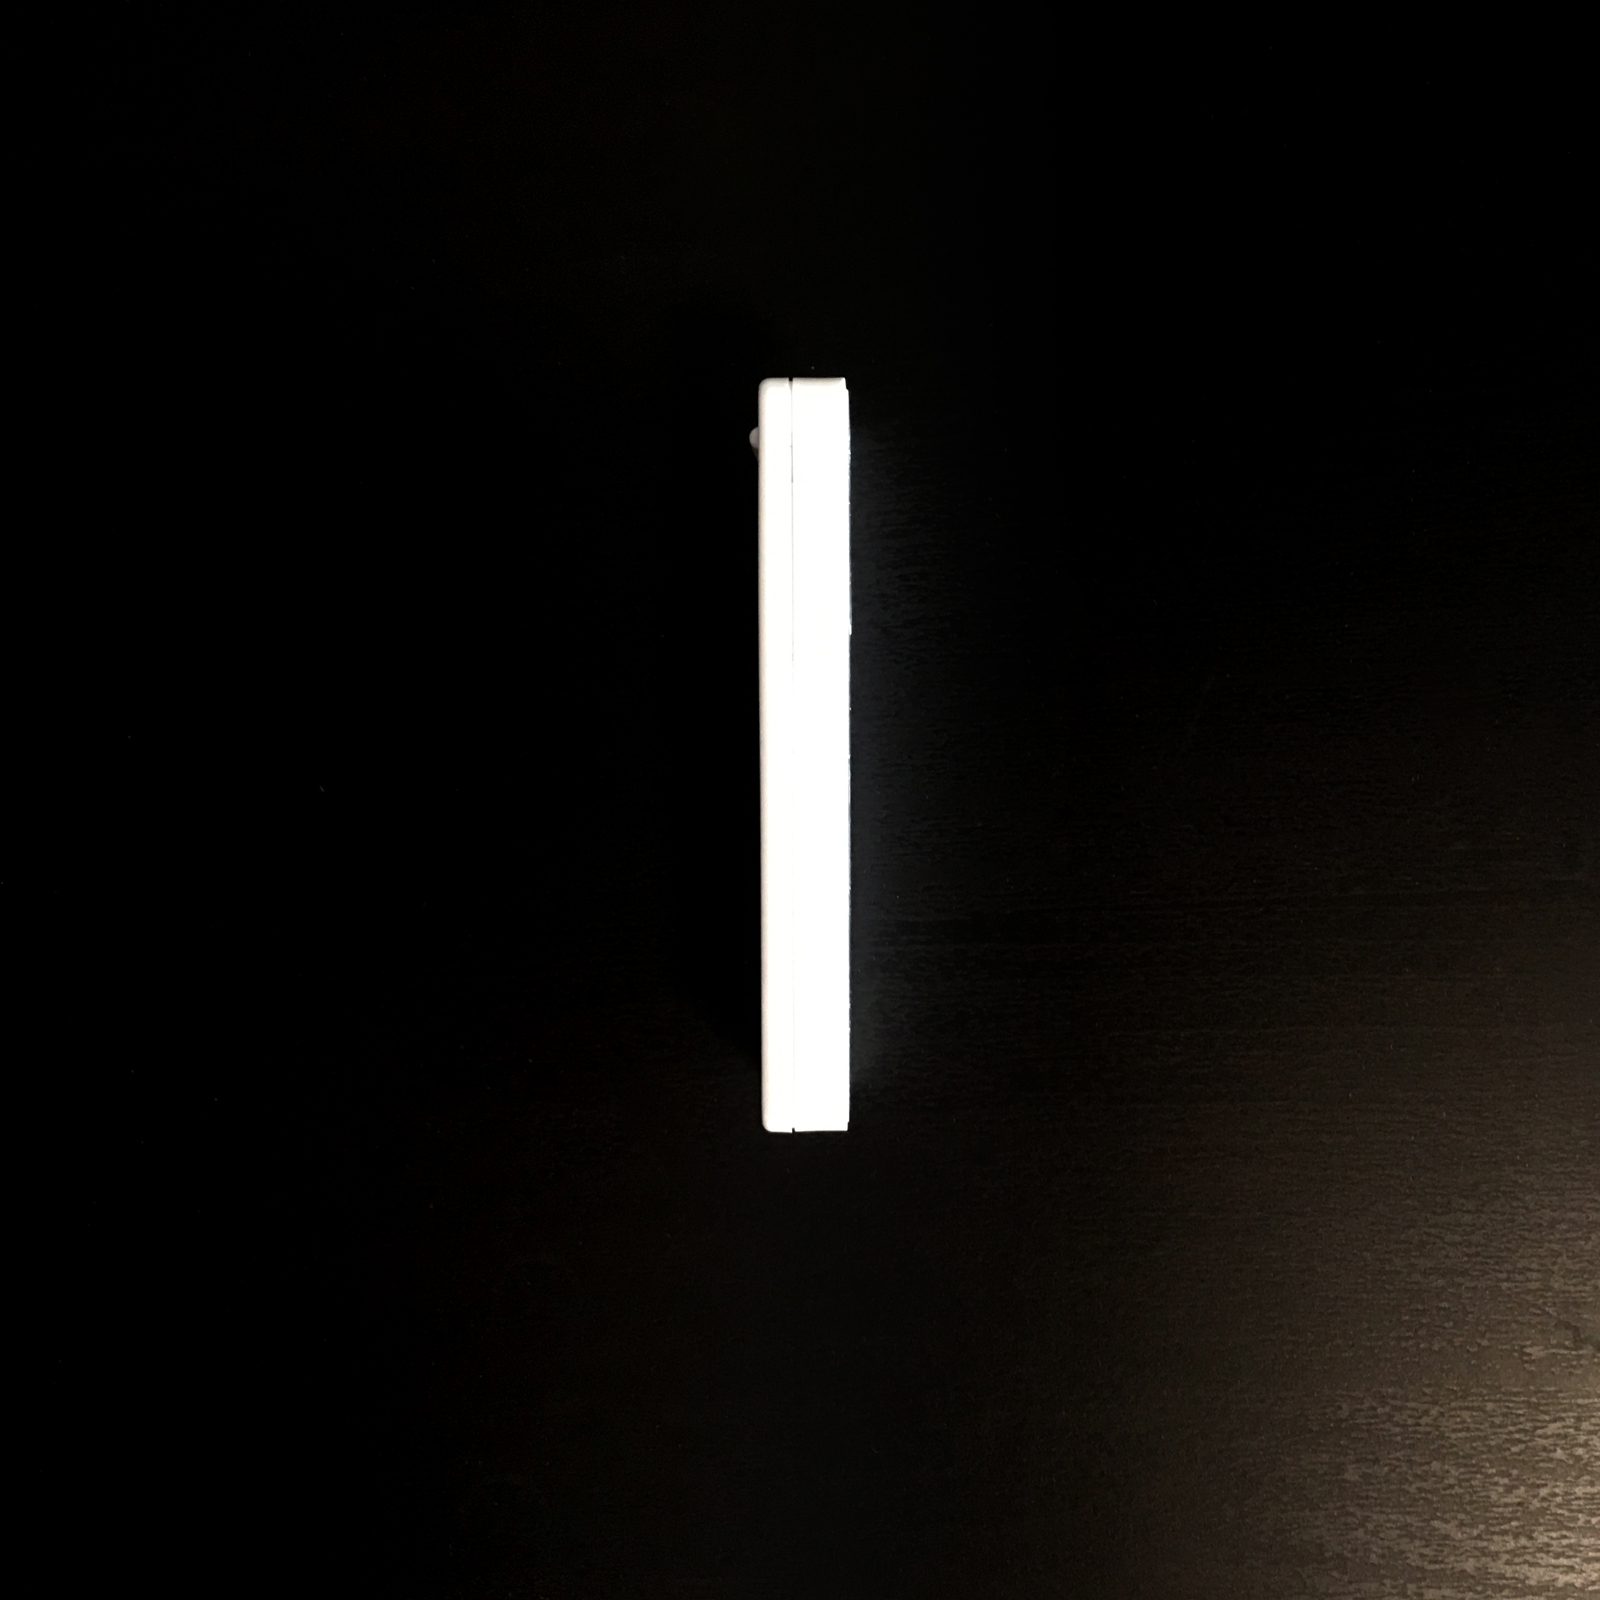
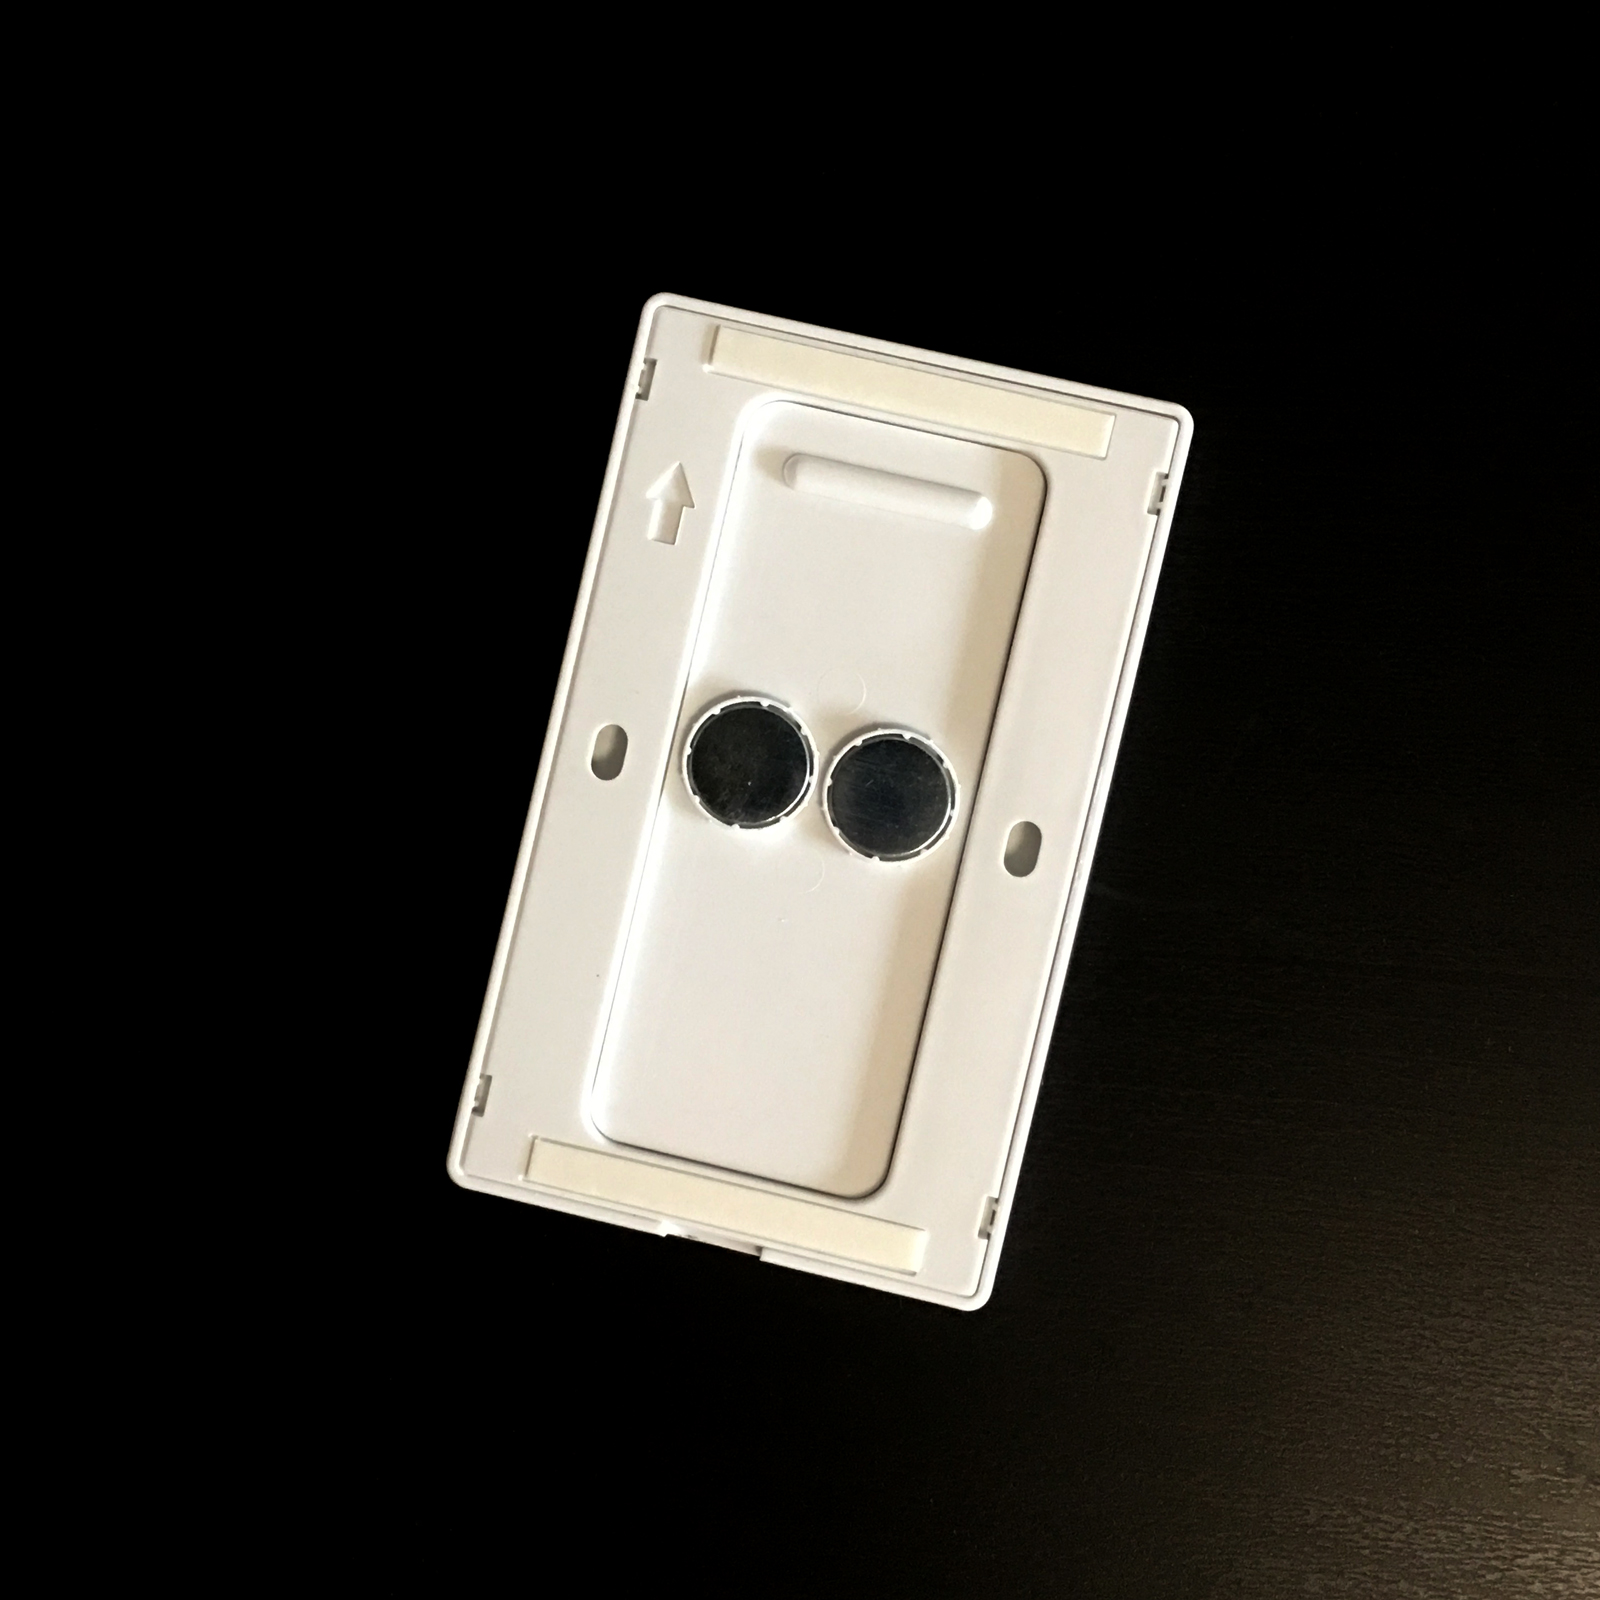
The Dimmer itself comes in two parts, with a base plate that attaches to the wall, along with the switch itself, which almost comes across as a remote control (which it sort of is, essentially). The Dimmer sits inside the recess of the base plate and is held in place via magnets situated at the rear of the base plate. These magnets, in addition to holding the switch in place, can also be used to magnetically attach the base plate to anything else that is metal. I currently have one on the side of our refrigerator, which faces you, as you walk into the kitchen, which really holds very well, taking some effort to remove it from the side of the fridge, so there’s little chance of it ever falling off. However, if you’re not lucky enough to have a magnetic surface to attach it to, there are other options; The base plate also comes with a pair of 3M adhesive strips, so if you’re going to places these somewhere permanently, then this is just as secure, if not more so. The third option for attaching the base plate is via two holes inside the base plate itself, which can come apart. You would basically drill two screws into the wall, through these holes, in order to secure the plate. So, there are many options, and there’s really no reason why you need to attach it to a wall if you don’t want, as the button part is, as I’ve already stated, a remote control of sorts.
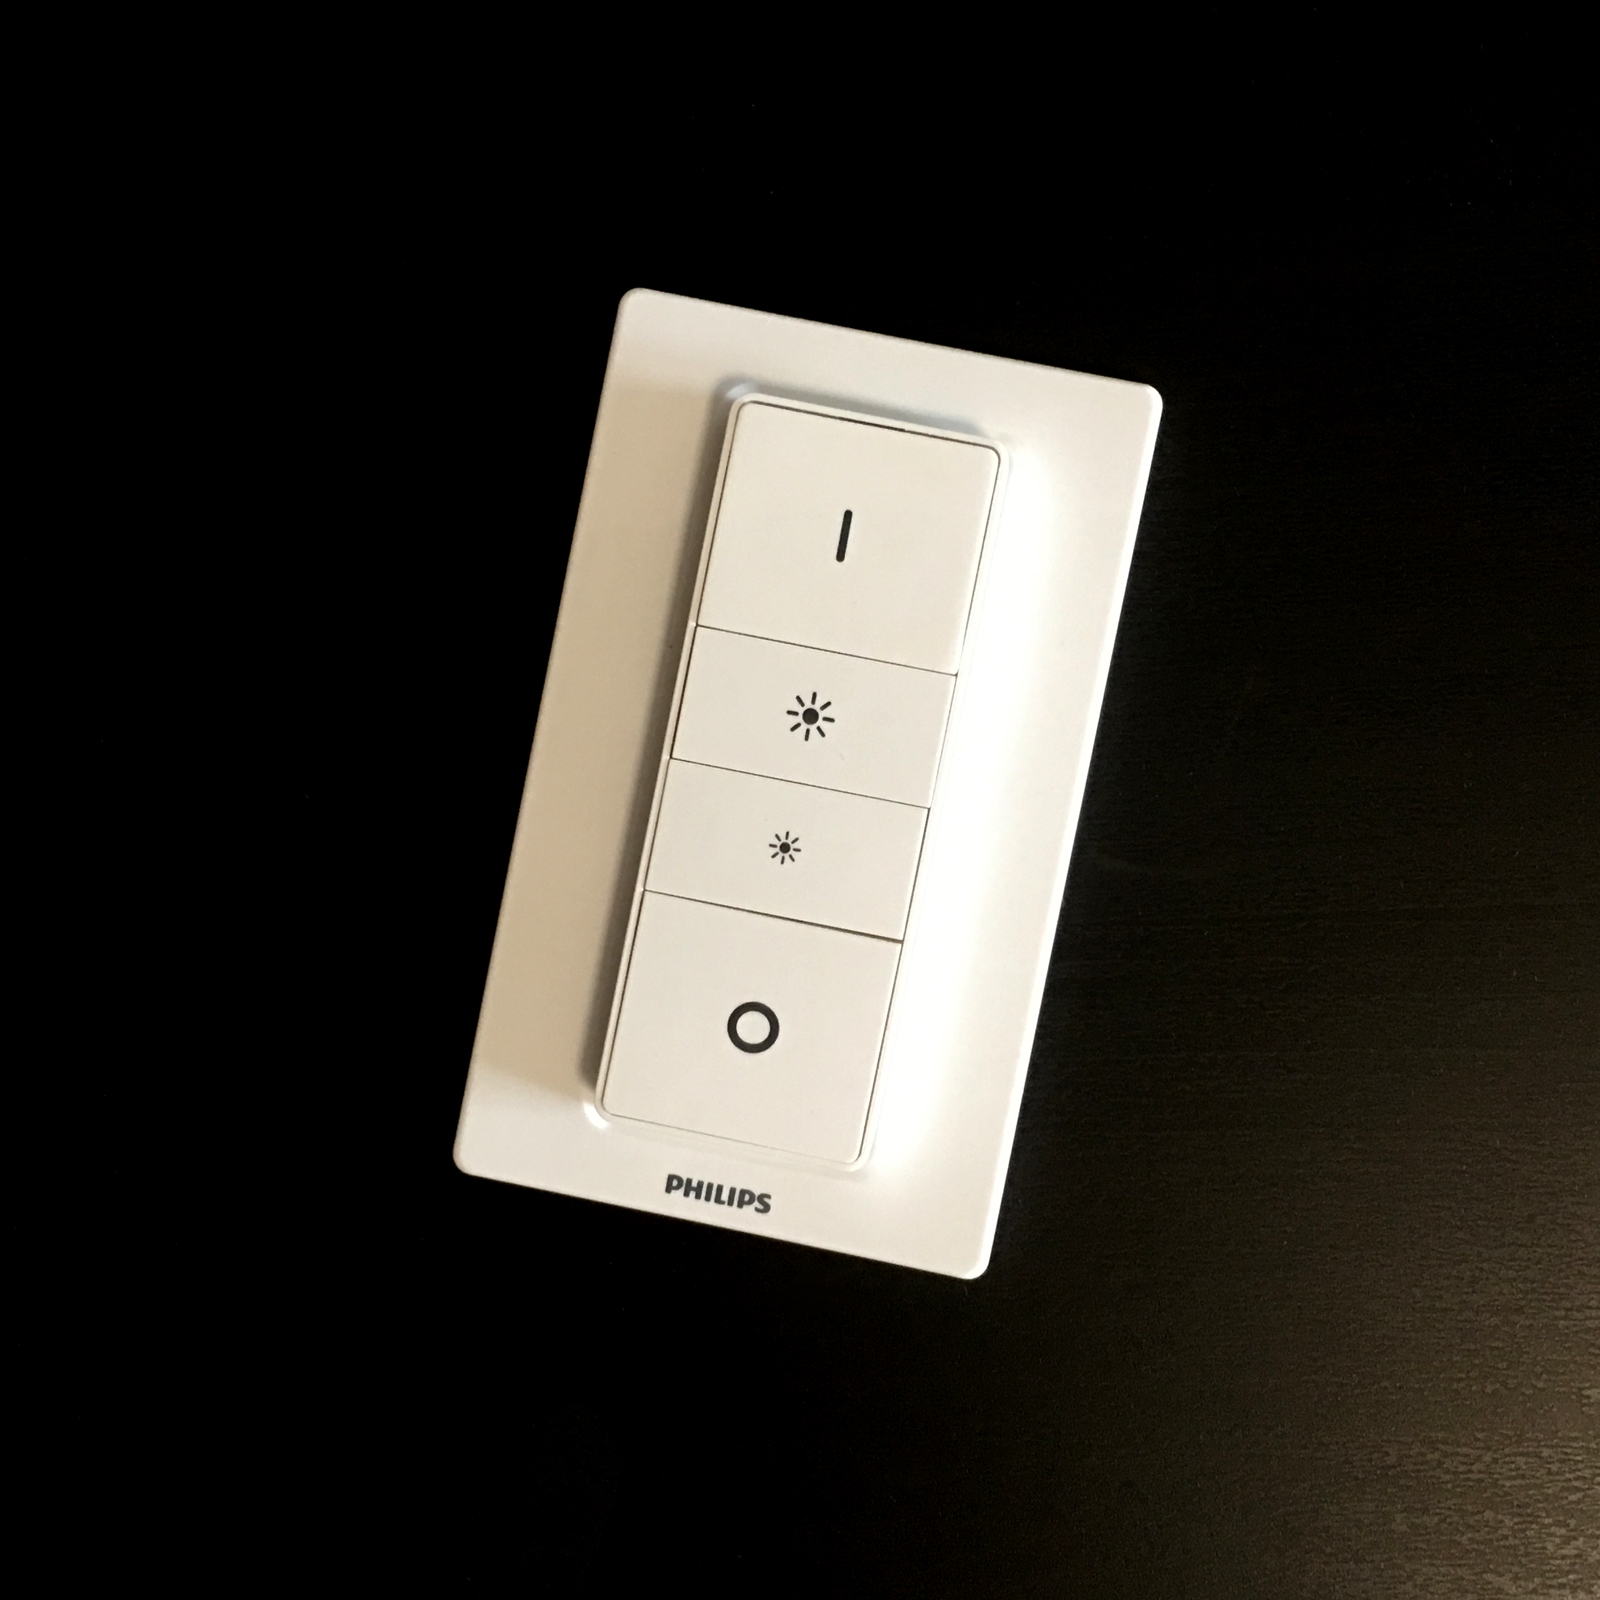
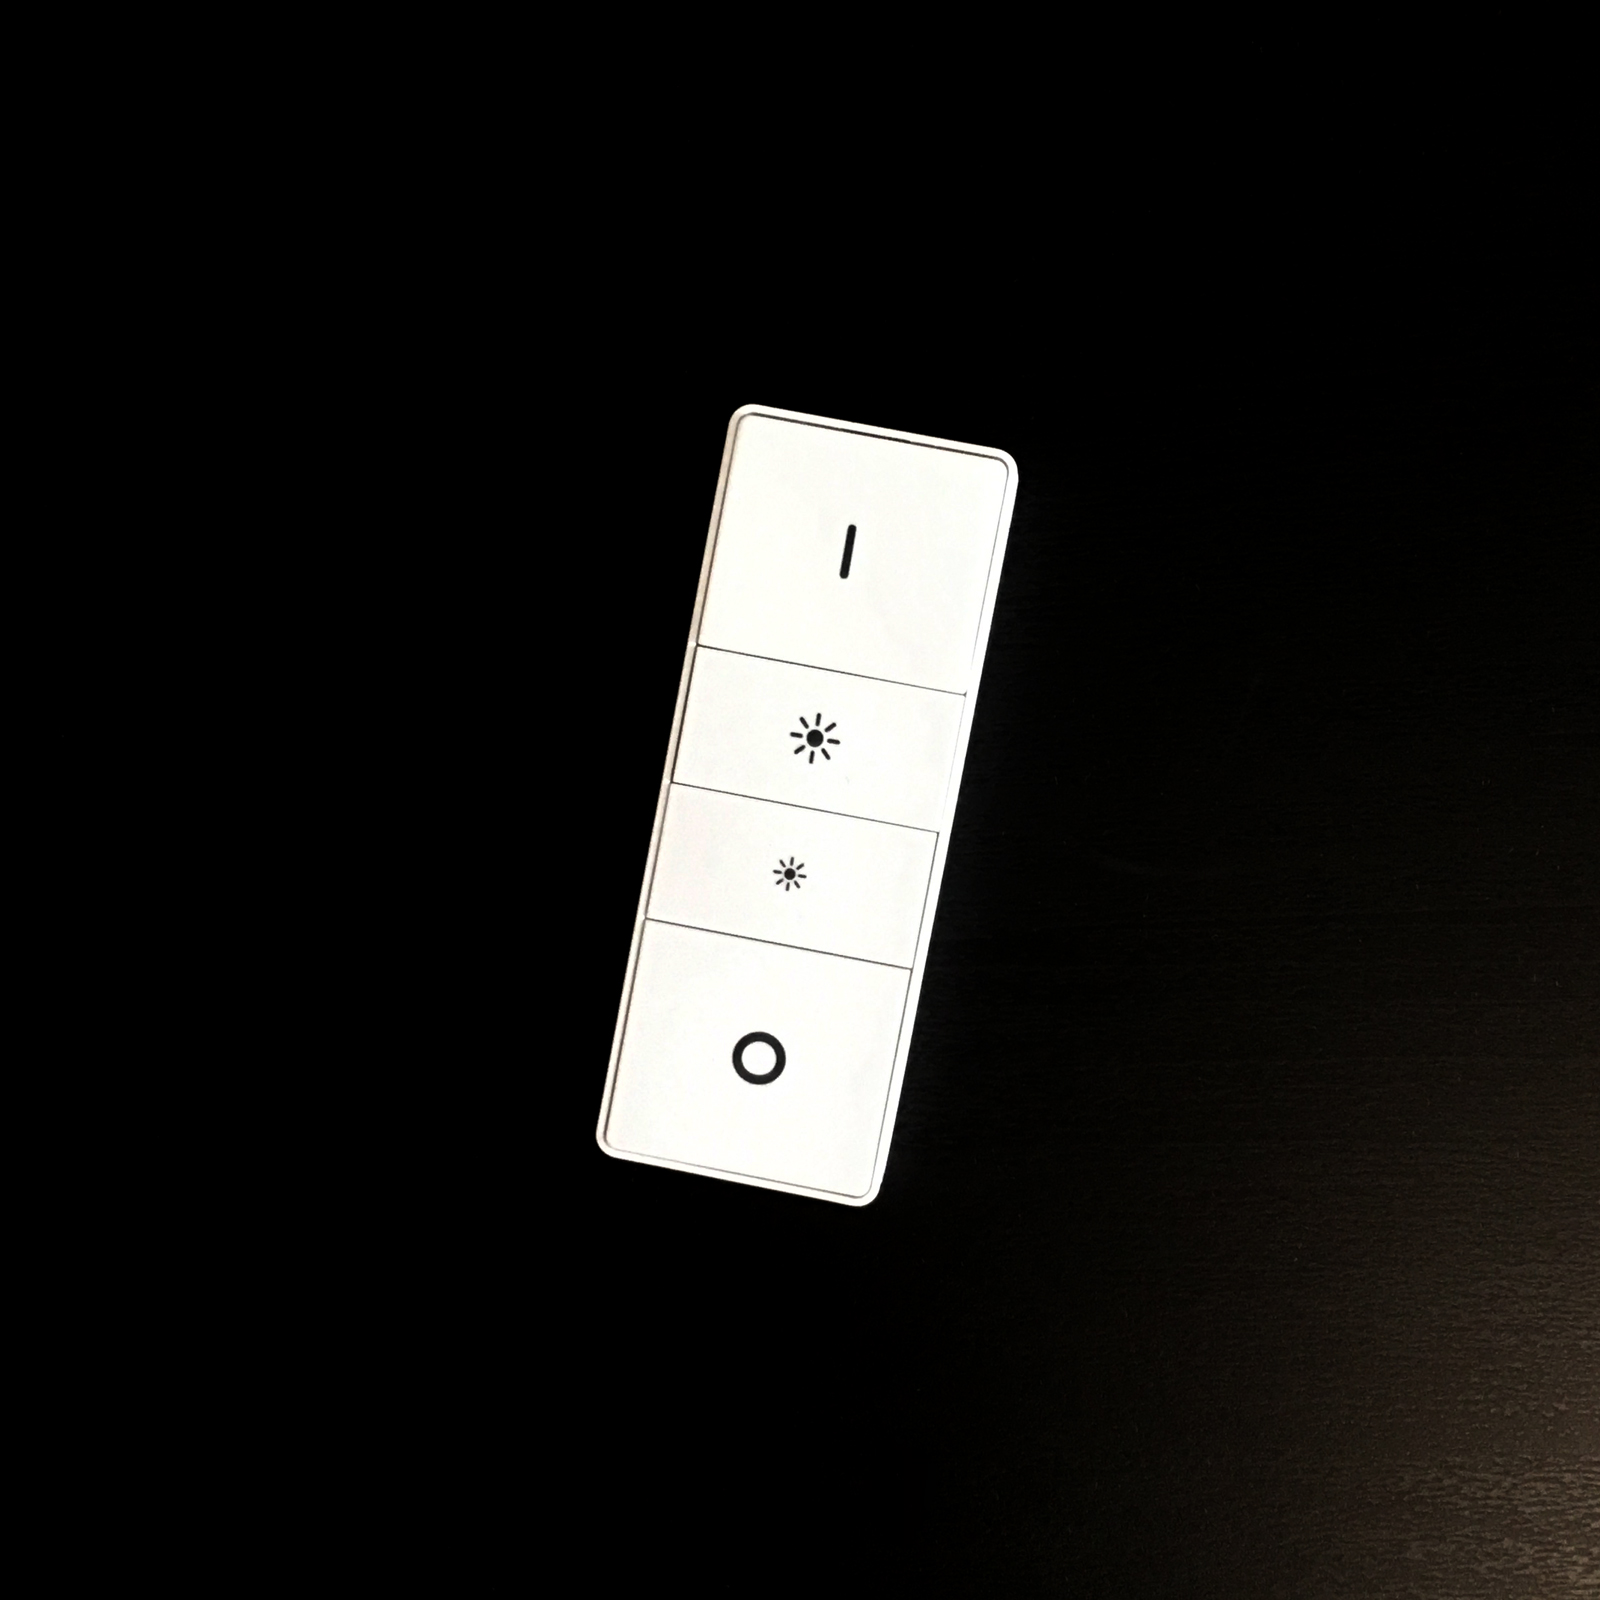

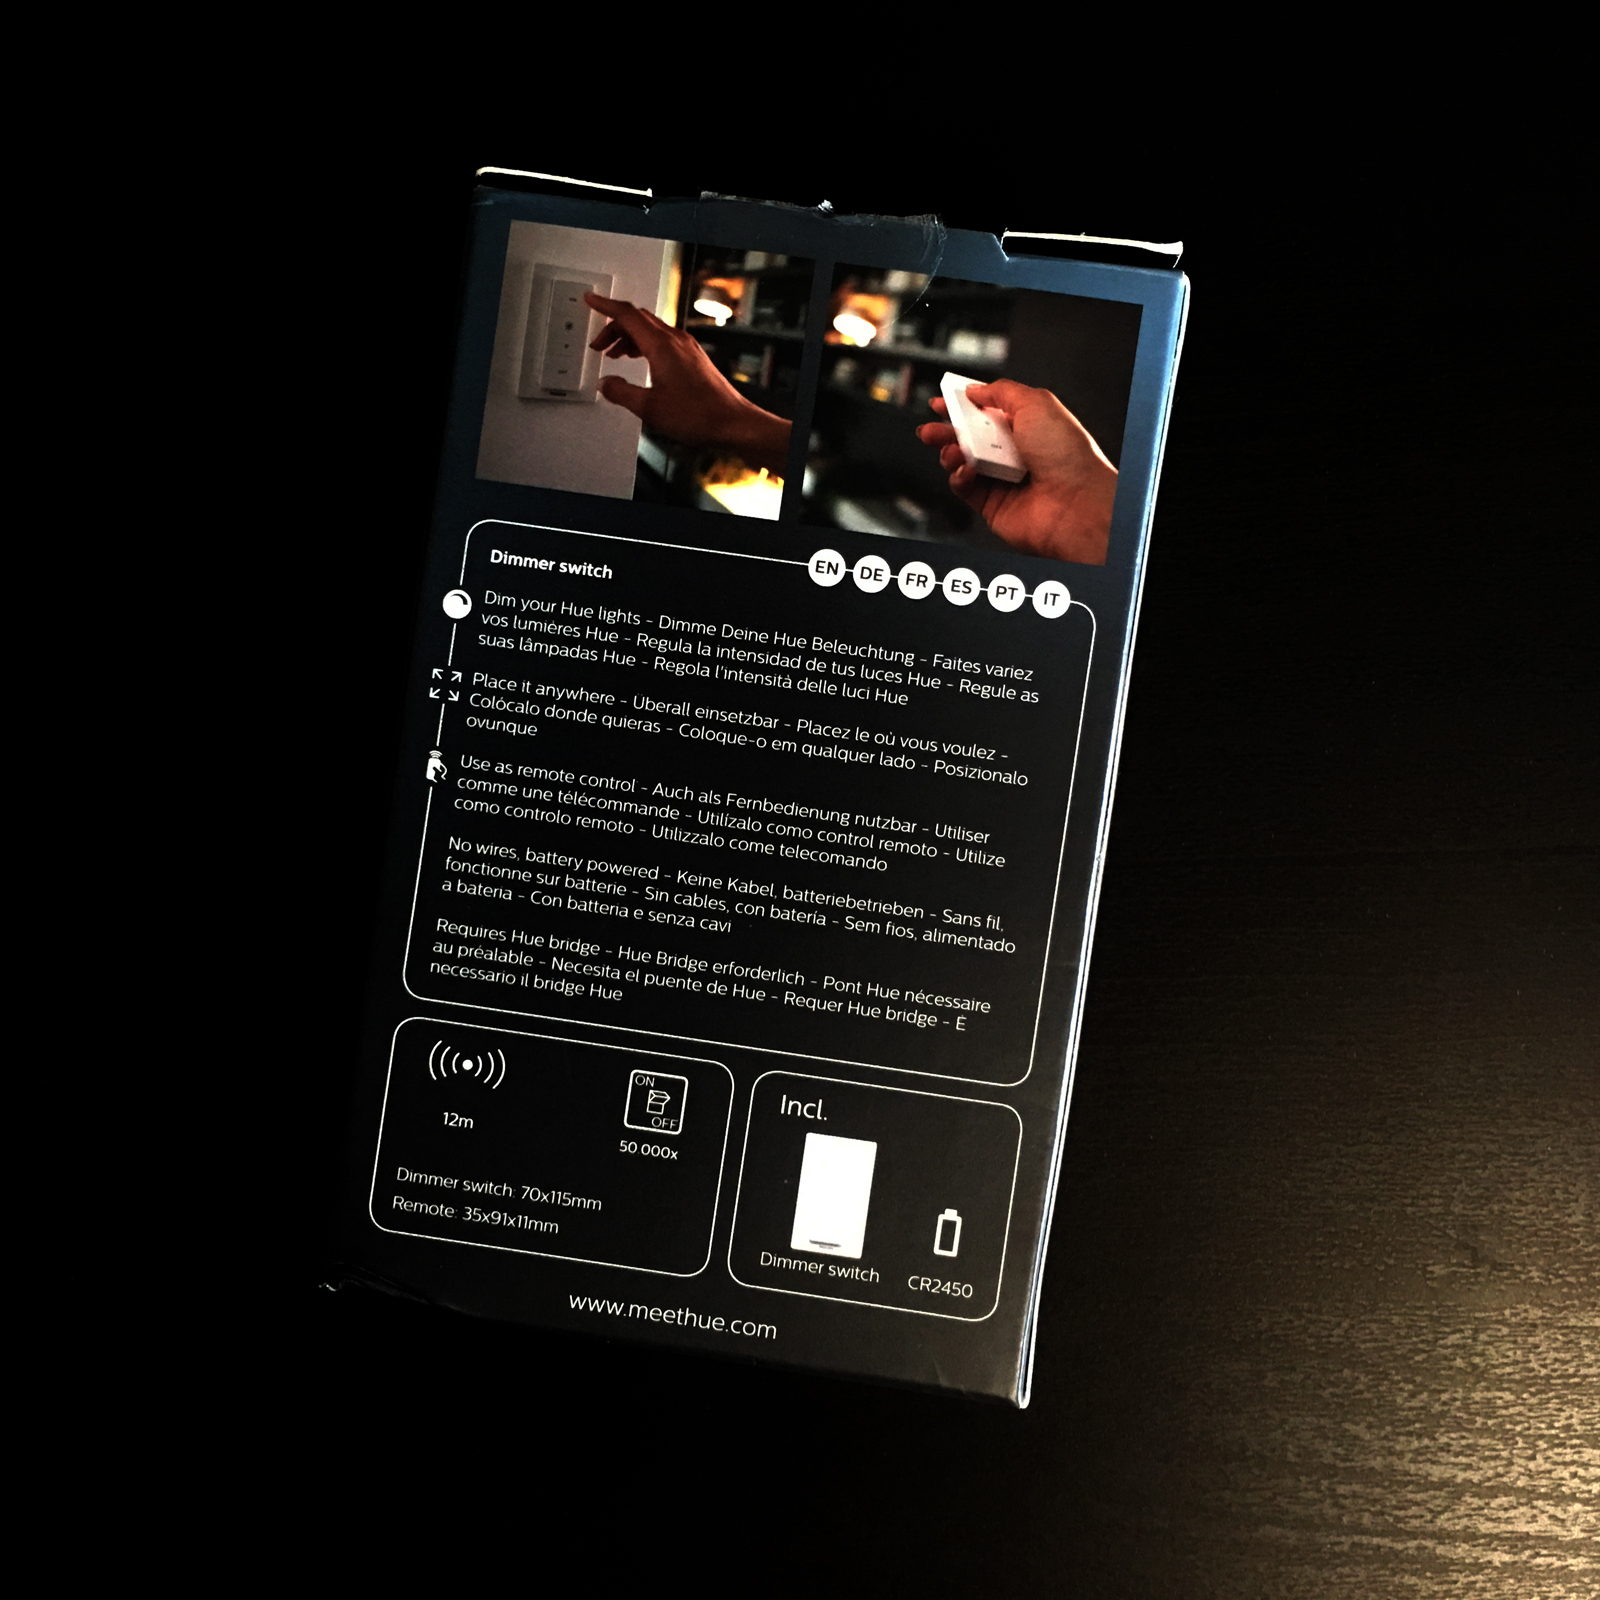
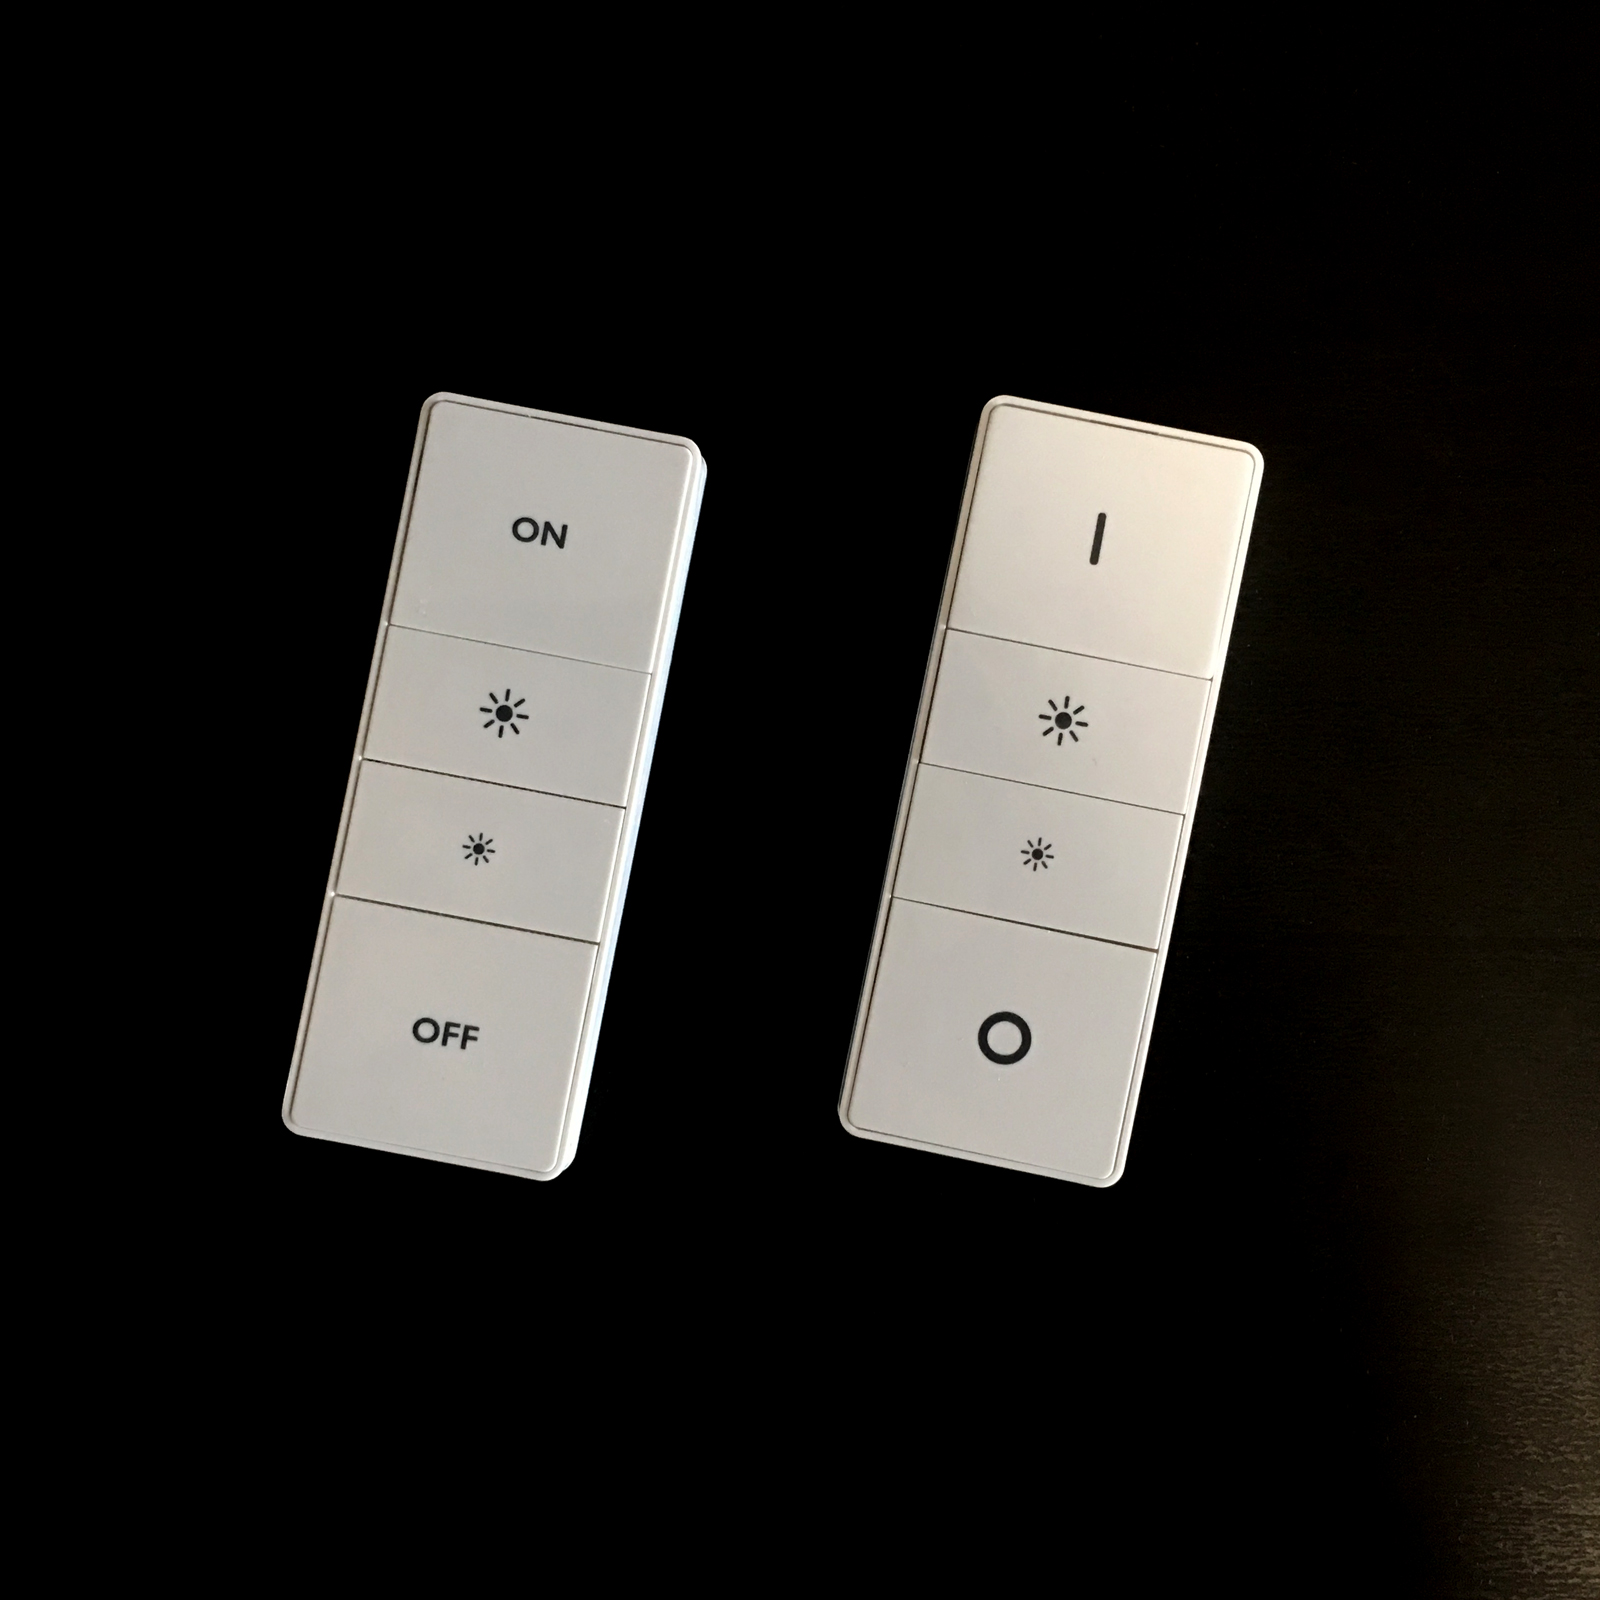
The switch and base plate are rather unassuming, and perfectly ‘nice’ in terms of design, providing you with just enough style without sticking out too much. The dimmer part is powered by an included CR2450 coin battery that should last at least 12 months, and as long as 24 months, if used sparingly. Besides the battery life, the Dimmer does have a distinct lifespan, which is determined by how many times it is pressed. They estimate 50,000 presses before it starts to fail on you. Based on an average of the dimmer being pressed 10 times a day, that works out at 5,000 days or almost 14 years! I would say that should cover most people’s expectations. One thing to note is that there are different versions of the packaging around, whilst the product is essentially the same. This also happens to be the case with the switch itself, which comes in at least two varieties; There’s one version of the switch which has ‘ON’ and ‘OFF’ printed on the respective buttons, and another ‘international’ version which simply has a vertical line replacing ‘ON’ and a circle, replacing ‘OFF’. Aside from this, the switches act exactly the same.
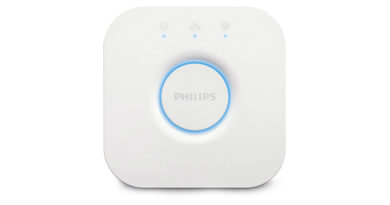
In terms of setting up the device, it must be made clear that while this will work with HomeKit, it can only do so via the 2nd Gen Philips Hue Bridge, which can be purchased separately. If you’re new to the Hue ecosystem, regardless of whether you’re going to integrate it into HomeKit, Philips offer a dizzying variety of starter packs, including a Bridge and bulbs, Bridge, bulbs and Dimmer, Dimmer and Bulb, and all manner of options in between, so there are plenty of options to get you started. Going back to setting the Dimmer up, you will initially have to activate it via the Hue app, which I won’t go into, as it’s really very easy, but it is worth mentioning that when you are setting it up in the Hue app, you’ll eventually be given the option to program the switch via the Home app, which I’d recommend if you’re planning on using it with anything other than Hue lights.
This brings us to possibly the greatest thing about these (and other) switches; Not only can they be programmed to turn Hue lights on or off, and dim or brighten them, they can also be used to control just about anything, from the aforementioned Hue lights, but also other HomeKit enabled lighting (LiFX, Koogeek etc.). They can also control literally almost anything within the HomeKit world, so if you want to program it to turn on a Smart plug that turns on a fan, then it’s there for the taking. If you want to activate a specific scene, involving a series of actions, then that’s also possible. Not only that, but as there are four buttons, you have a multitude of choices. It can be taken even further however, with the use of conditionals. Conditionals aren’t available in the official Home app as of typing, but they are available in most 3rd party HomeKit apps. What conditionals allow you to do is essentially get a button press to activate an action or scene, based on another parameter, like the time of day, so you can have the ‘on’ button turn on your fan between the hours of 9am and 5pm, but control something totally different from 5pm – 11pm for example. I won’t go too deeply into this aspect, as there are a few articles on this in the ‘How To’ section of the site. It’s also a good idea to point out that whilst these options can give you a wild amount of choice, if you are going to use them strictly with Hue lighting, then there are other options available with these switches that are exclusive to what you can do with Hue lights, like multiple presses or long presses activating various parameters, for example.
The overall verdict from myself, is that these really are my ‘go to’ switches when it comes to Hue or HomeKit (or both), and whilst these don’t replace in-wall switches as such, being battery operated, as opposed to being hardwired, they do offer a lot of flexibility, not only in terms of being portable, and programmable, but also in how and where you can place them.