iDevices Switch Smart Outlet (review)
iDevices are one of the better HomeKit manufacturers, and have steadily brought out a great range of smart products that work seamlessly with other HomeKit products, as well as providing compatibility with Google Assistant and Amazon Alexa. I have two of these particular devices, and along with the fact they work really well with HomeKit, are solidly built, and stay connected to the network like glue (some devices disconnect occasionally), they also look great.
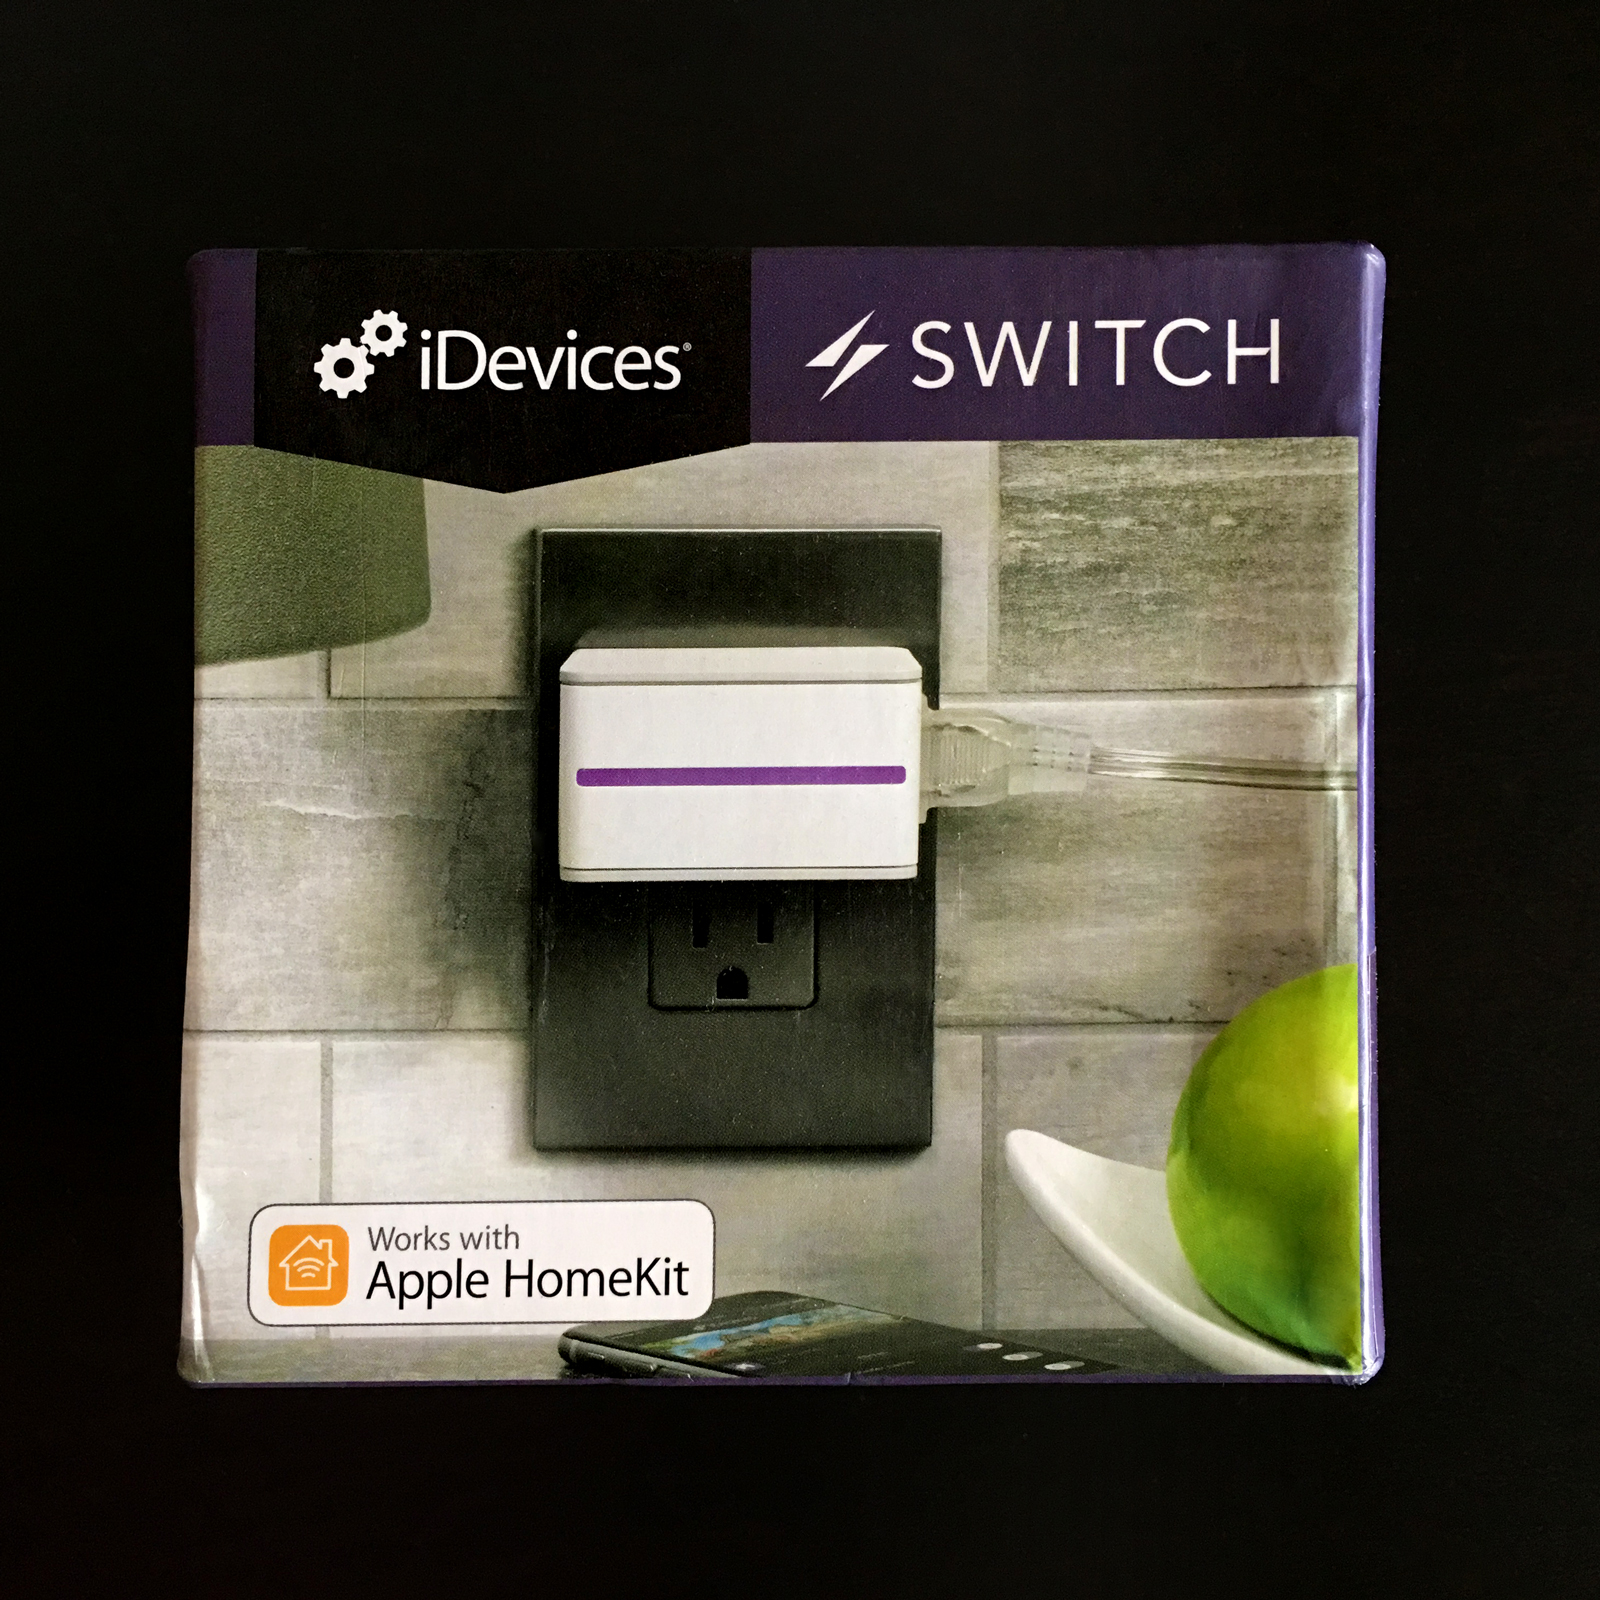
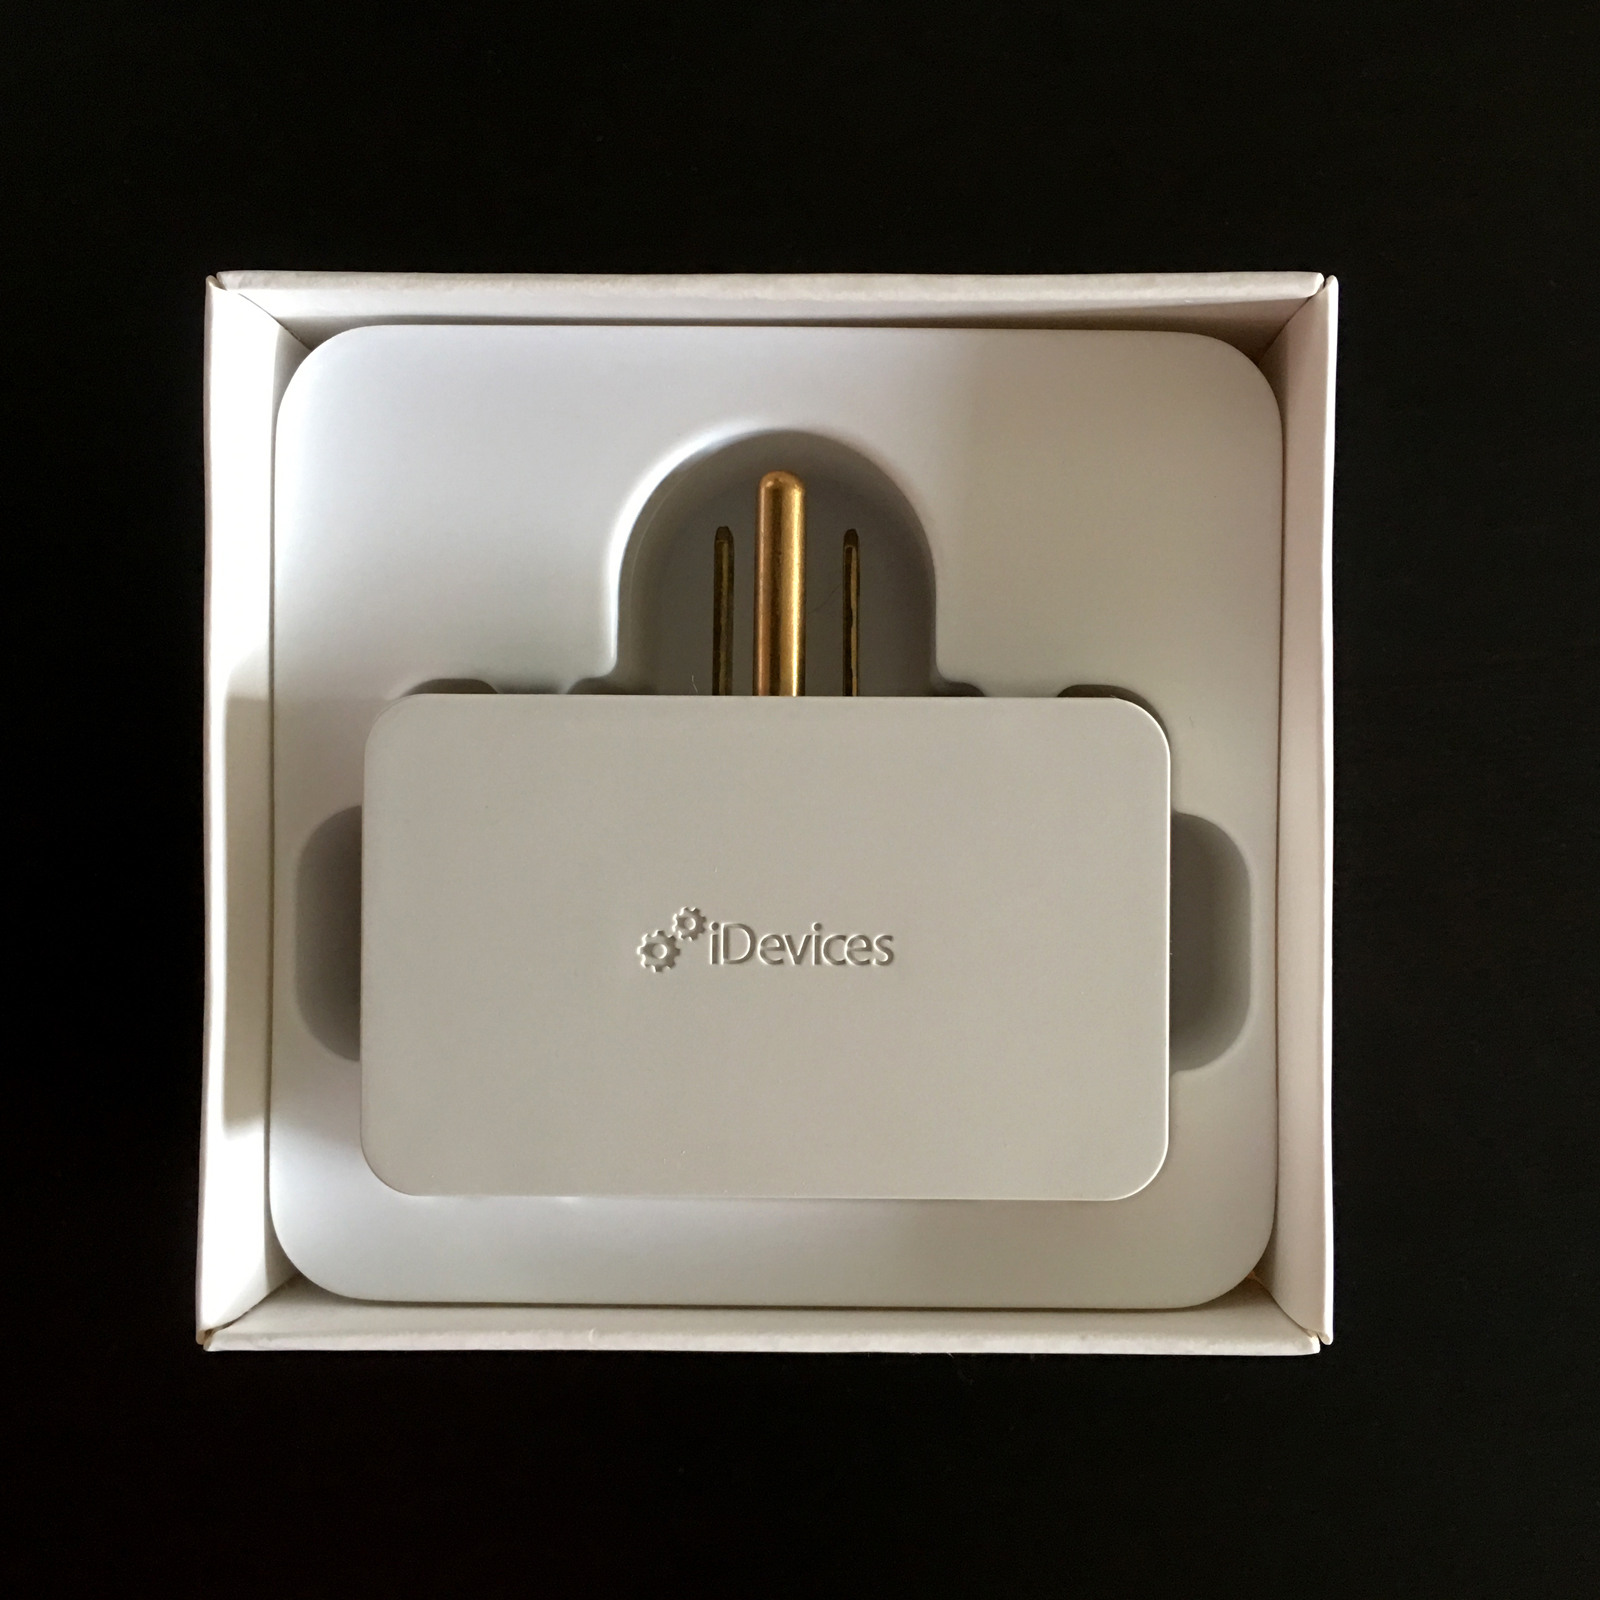
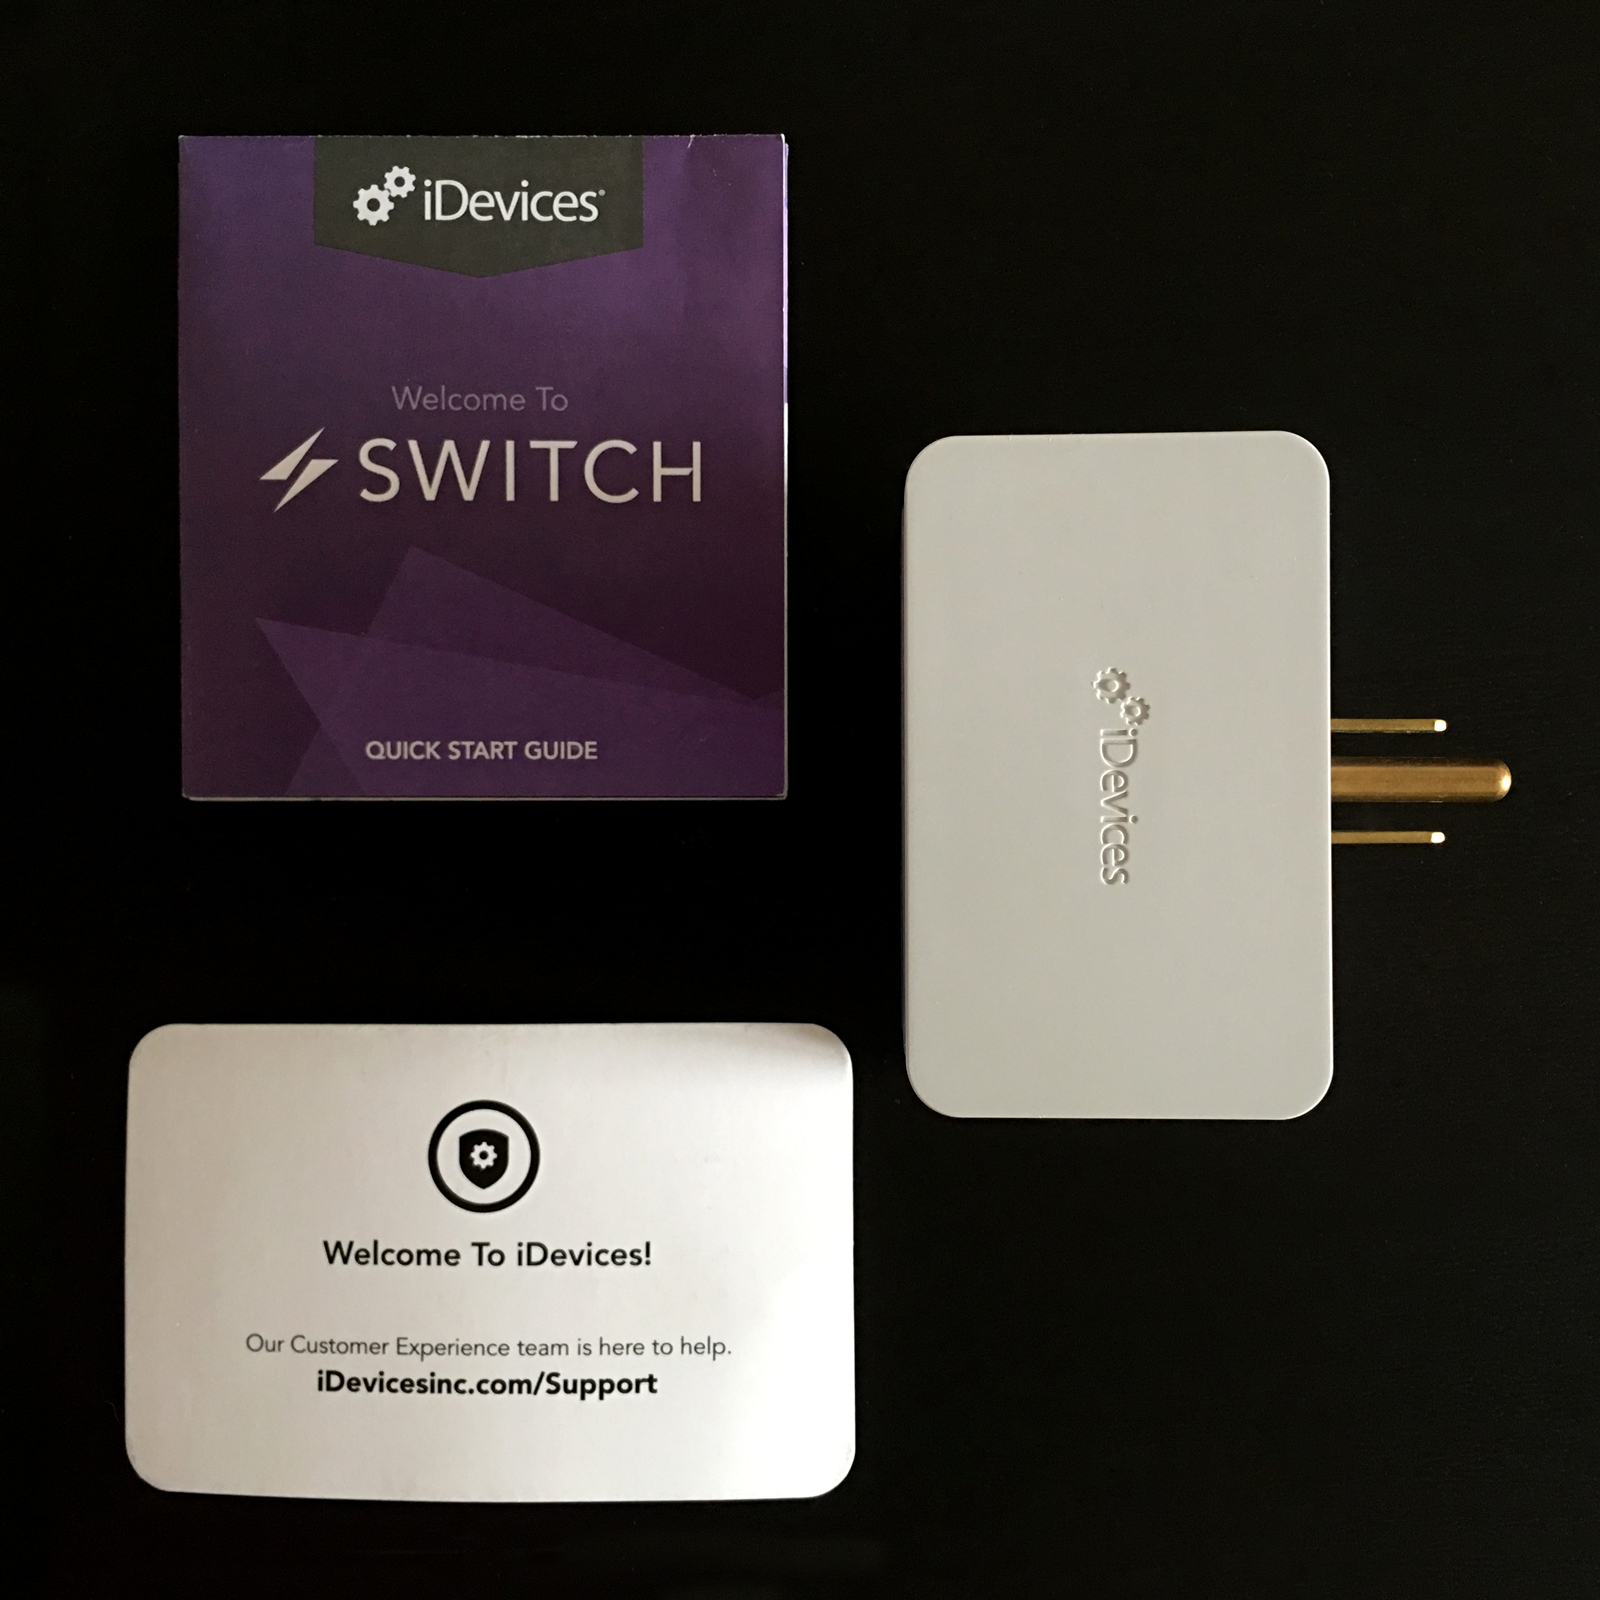
Like many other brand-savvy manufacturers, iDevices have a consistent theme with their packaging, deploying purple across the top, as their colour of choice. The box itself it’s nice enough although maybe not quite as sturdy on the top as some others I’ve come across. However, the device itself is held in place quite tightly, so there should be no instances of the smart outlet coming free and subsequently bouncing around. Indeed, the plug itself feels very solid, so I don’t imagine the carton being squashed from the top would make any difference to the plug. Inside the box, you simply get a concise setup manual, ‘support’ card, which contains specific information for contacting the company for help or enquiries, and the device itself. There’s also an included booklet for Android users (not pictured).
Setting up the device is very straightforward, with options for either installing via iDevices’ own HomeKit-compatible app, or simply via the Home app, by way of the standard ‘add accessory, scan code’ method, which I won’t go through here. The required HomeKit code is on the device itself, but there’s also a copy of the code included in the manual. As with almost all HomeKit devices, this will only work on a 2.4gHz wireless network, which whilst slower than the newer 5.0gHz system, does offer greater signal reach. You can have a router that has both, but you will have to ensure that when you’re setting it up, it is able to pick up the 2.4gHz signal. If you’re having to reset this device as opposed to it being a brand new install, there is a little more to getting this back into HomeKit, which I’ll explain* at the end of this article.
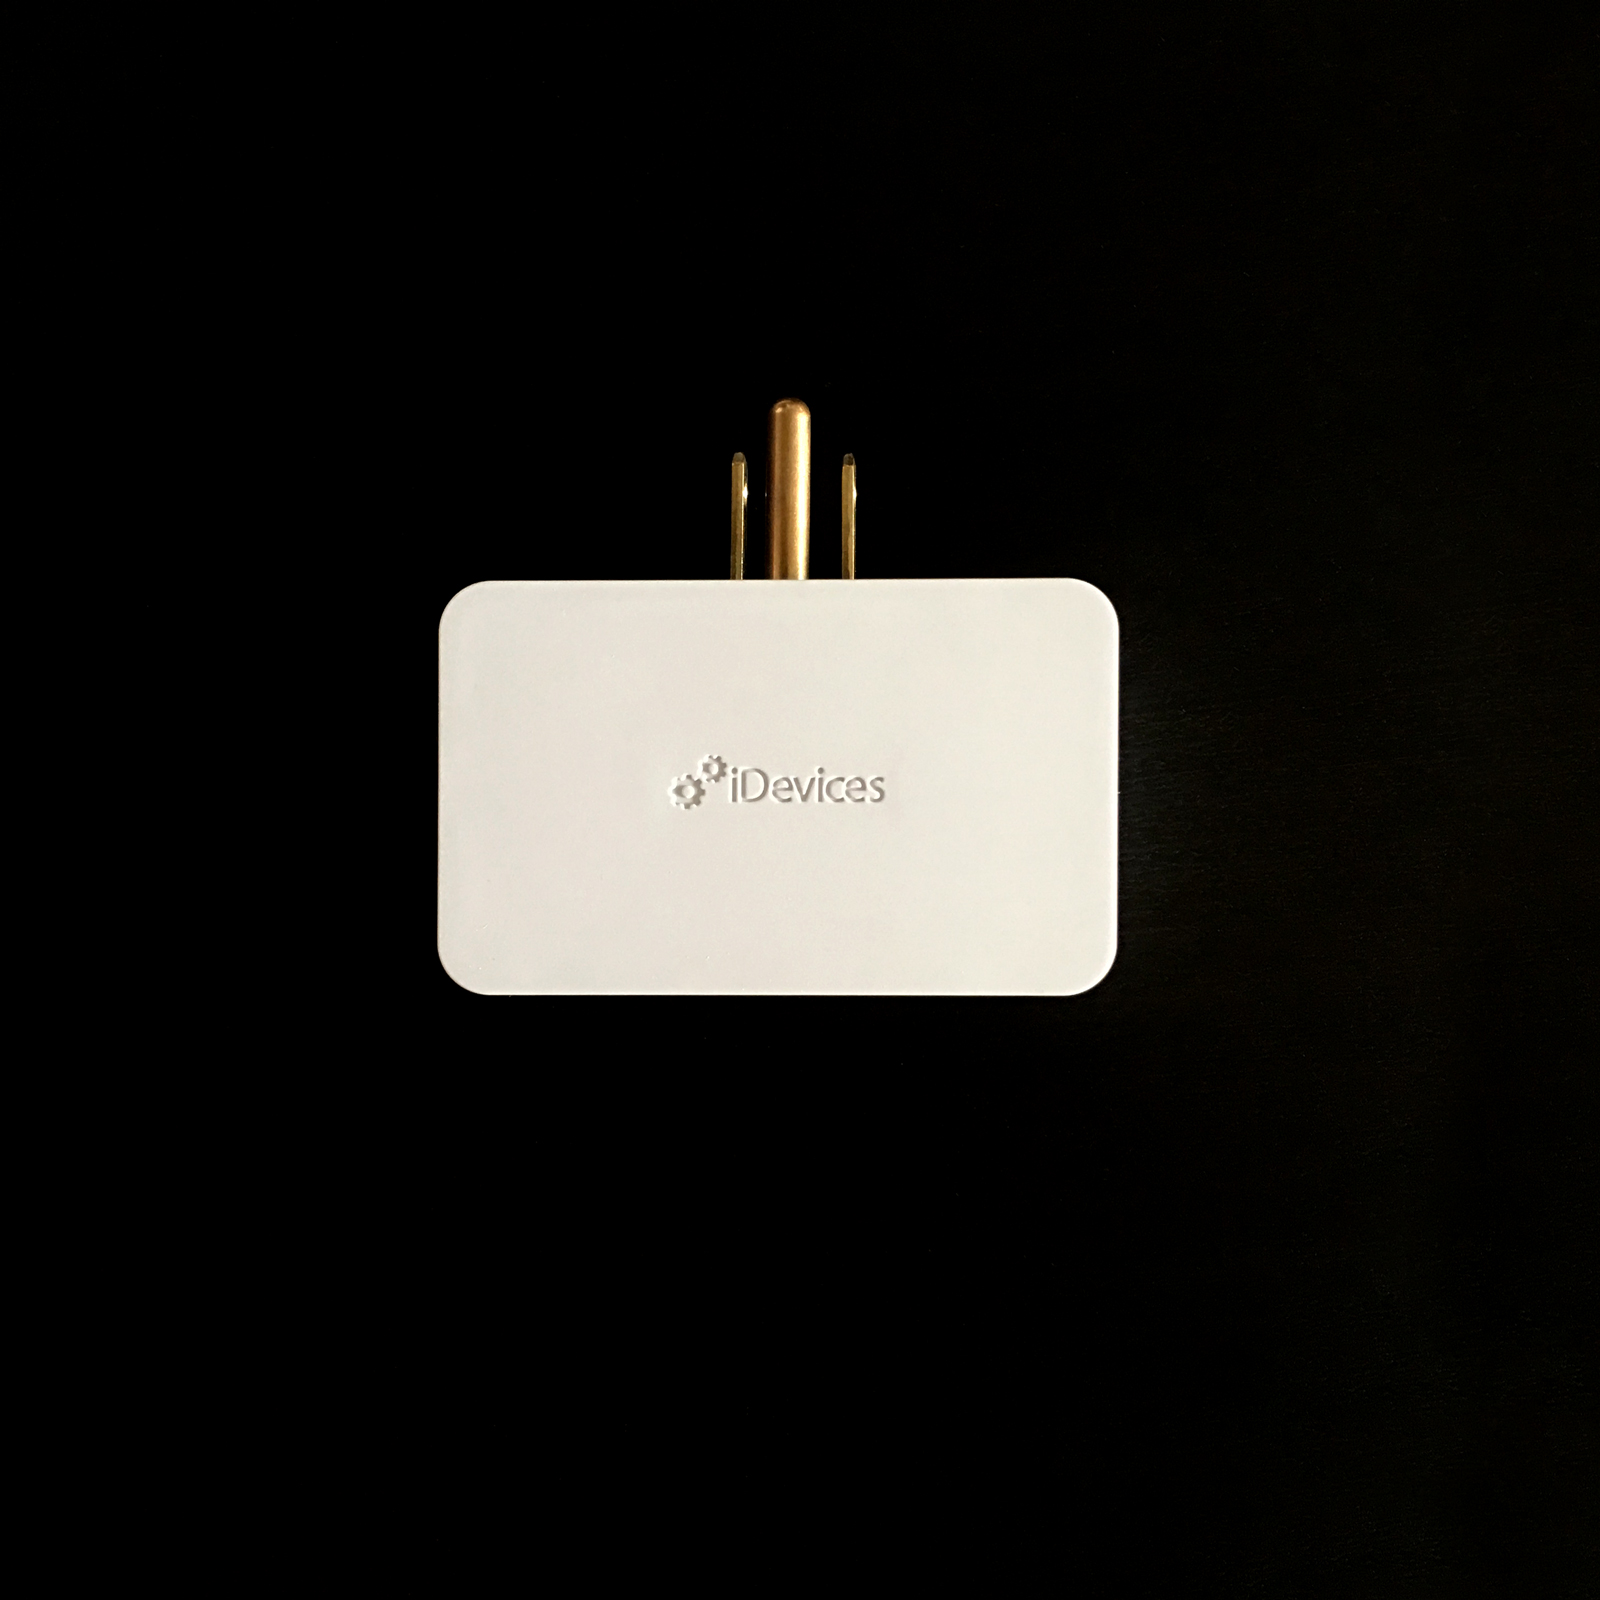
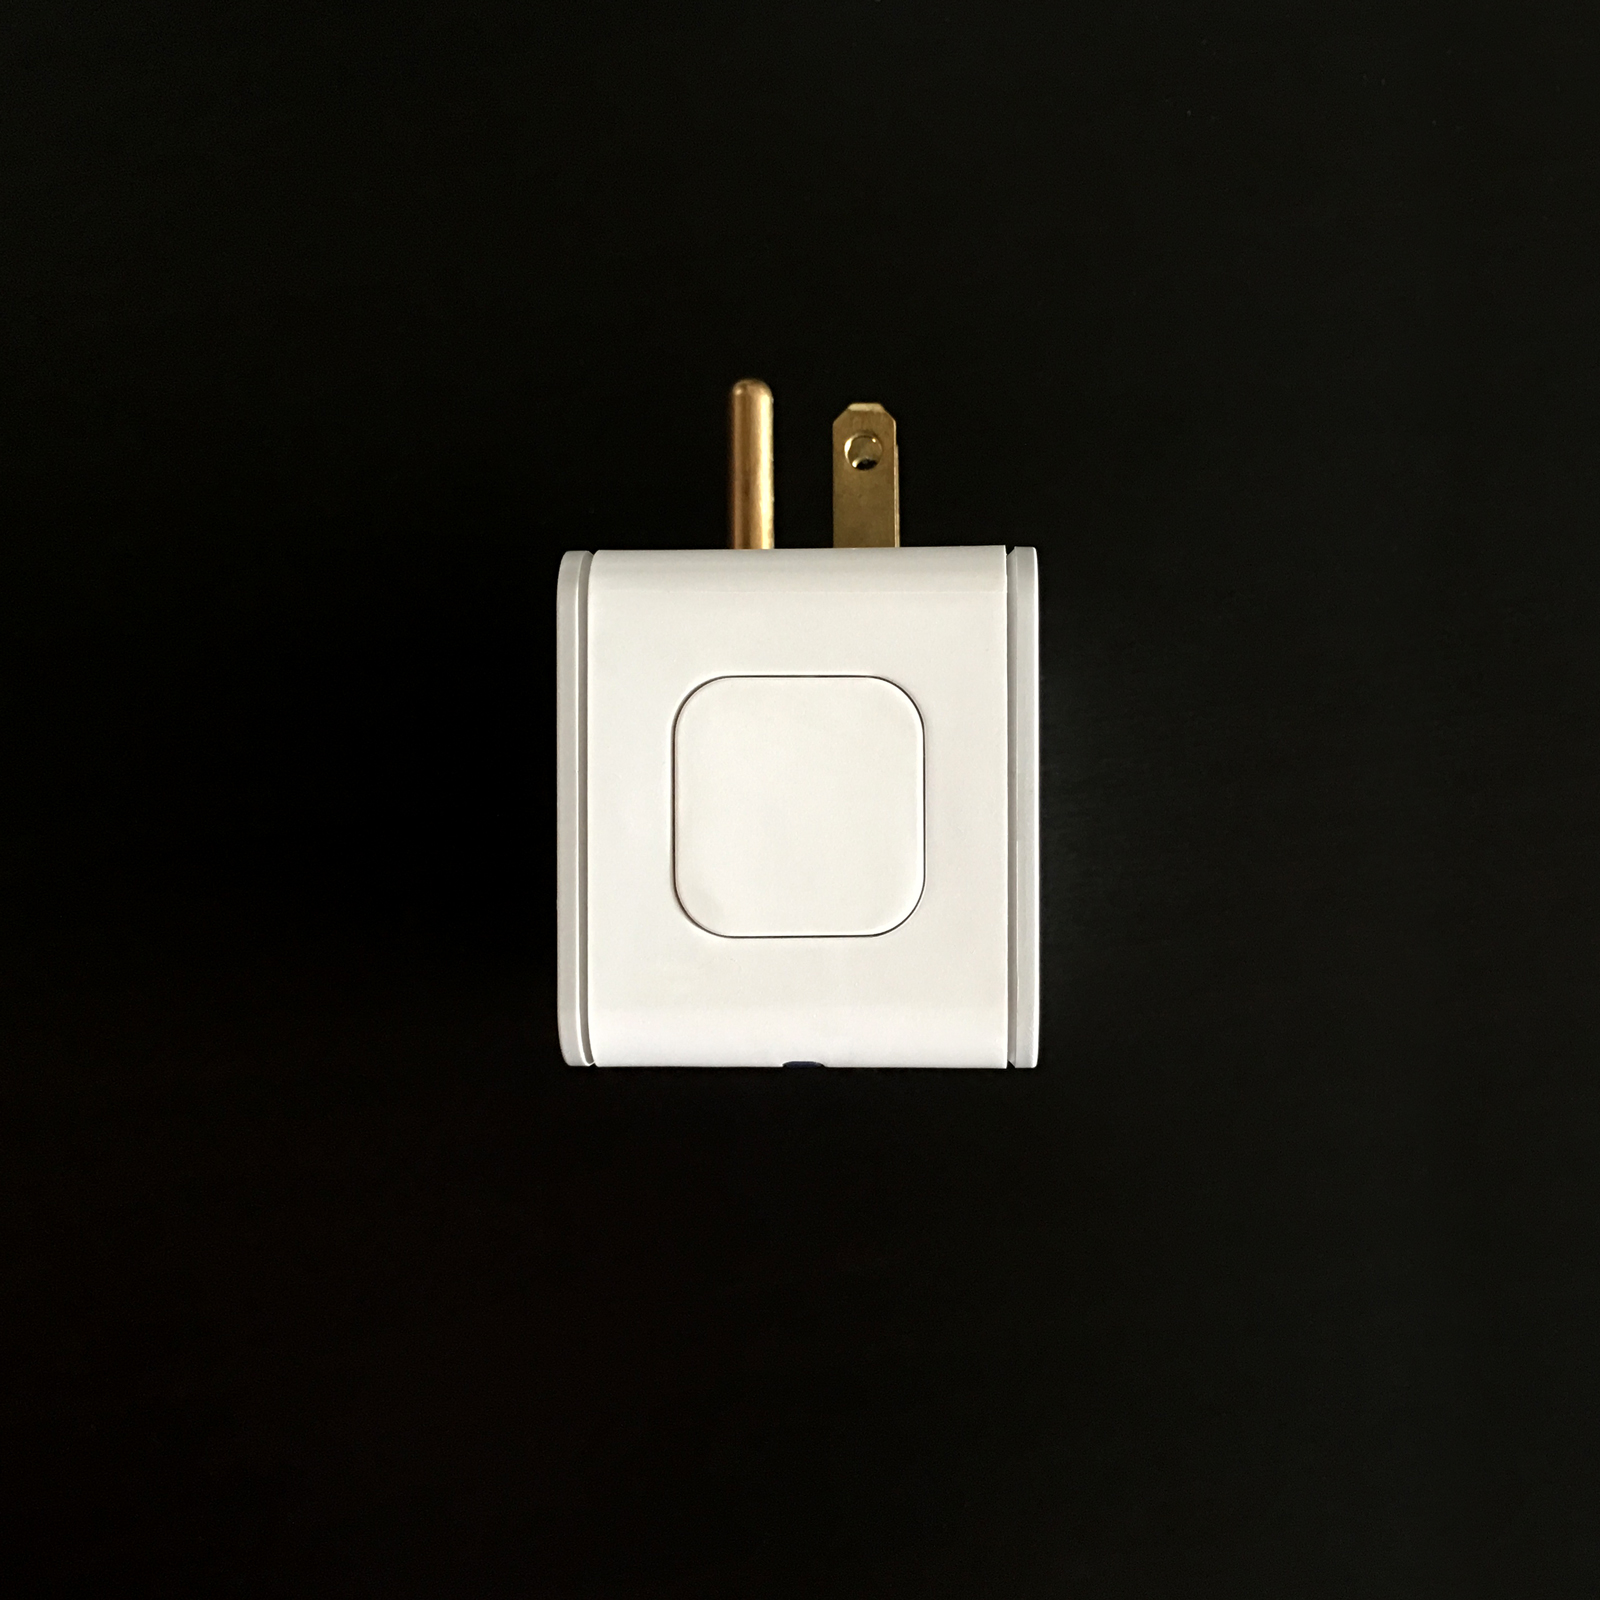
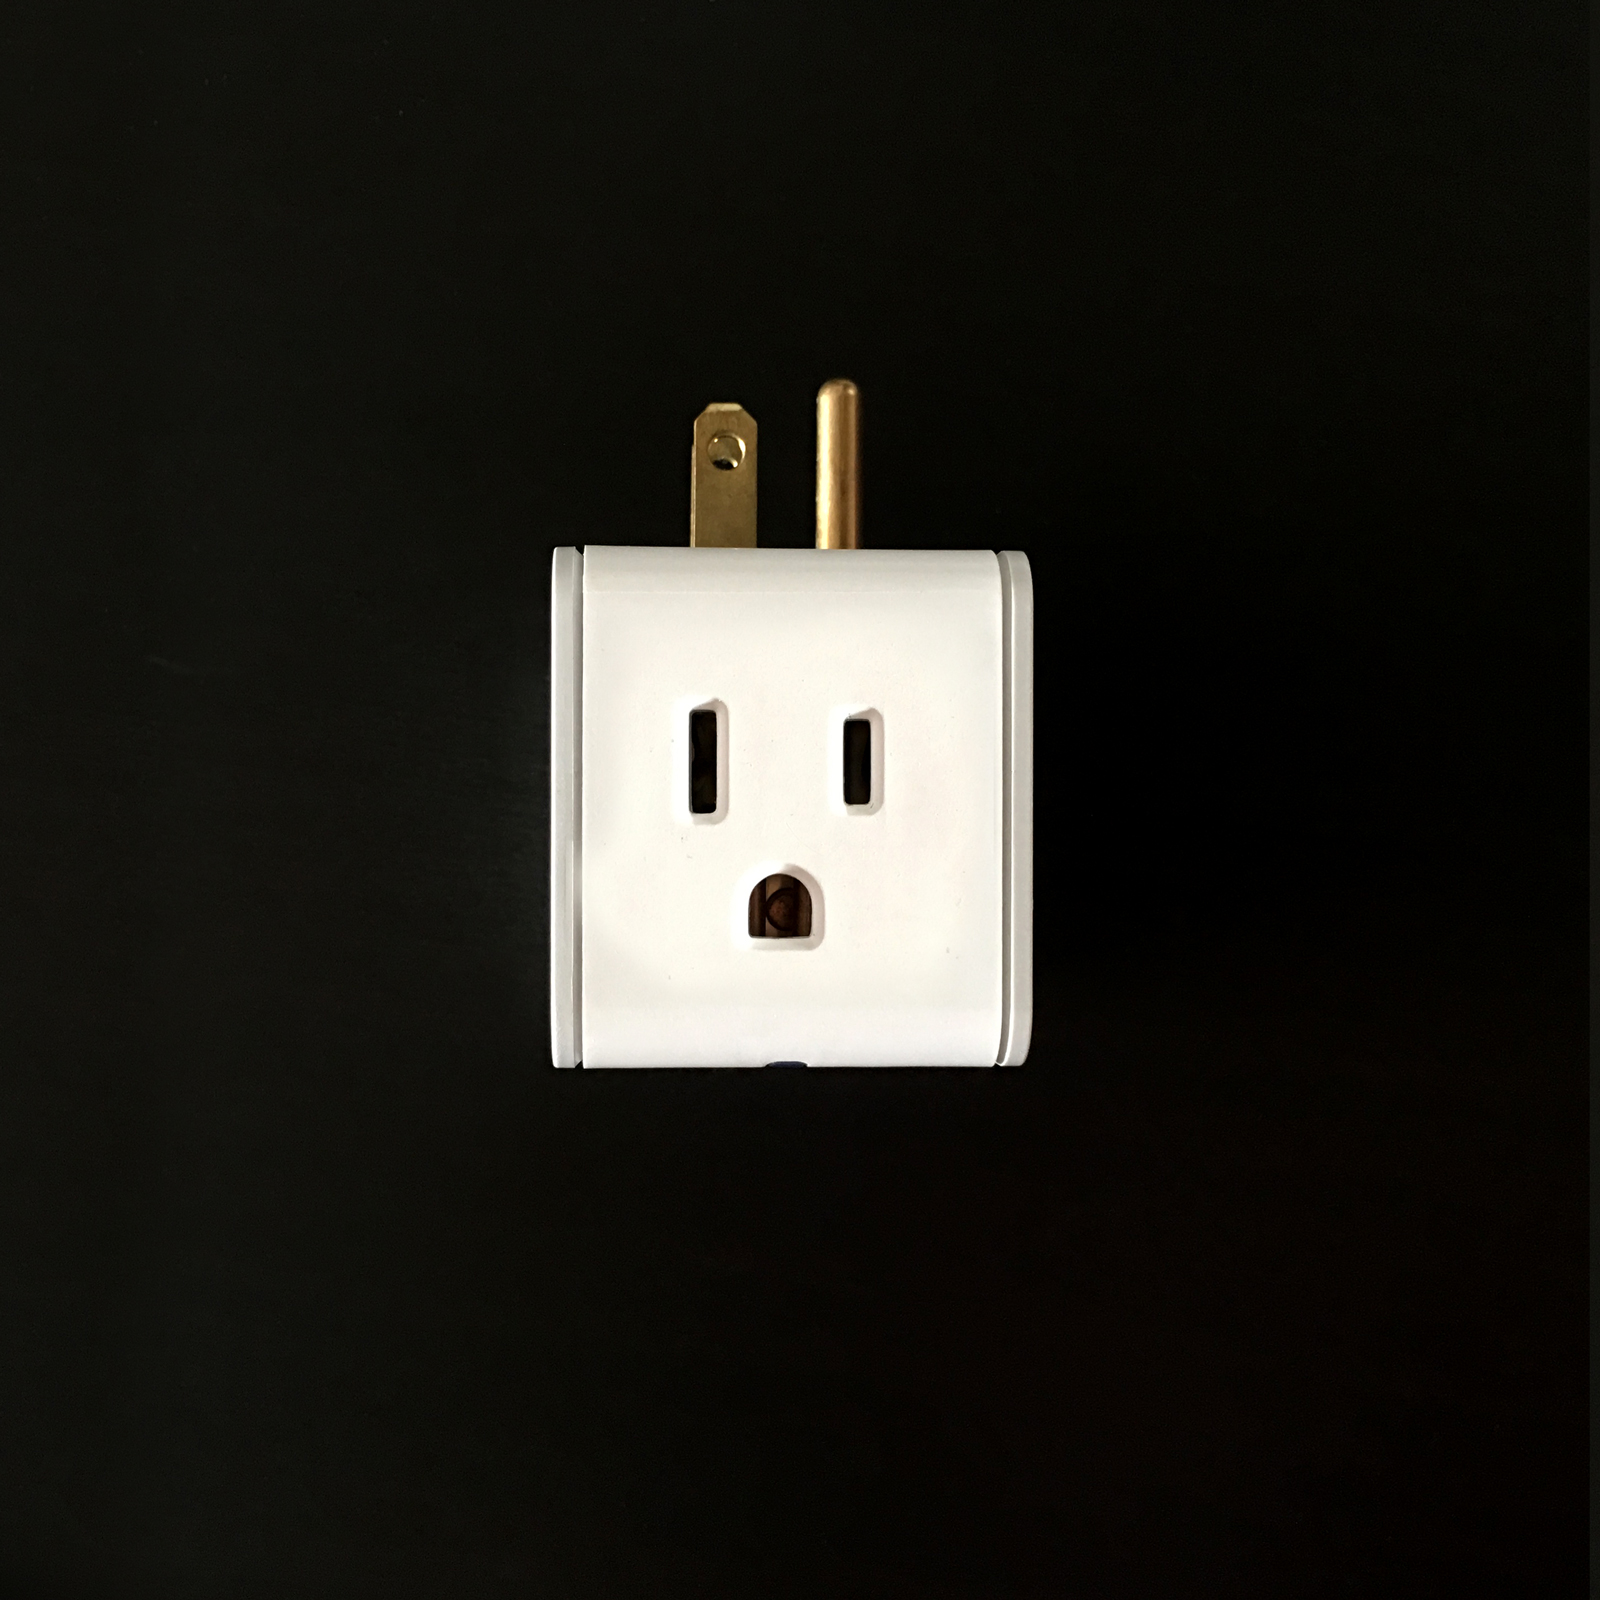
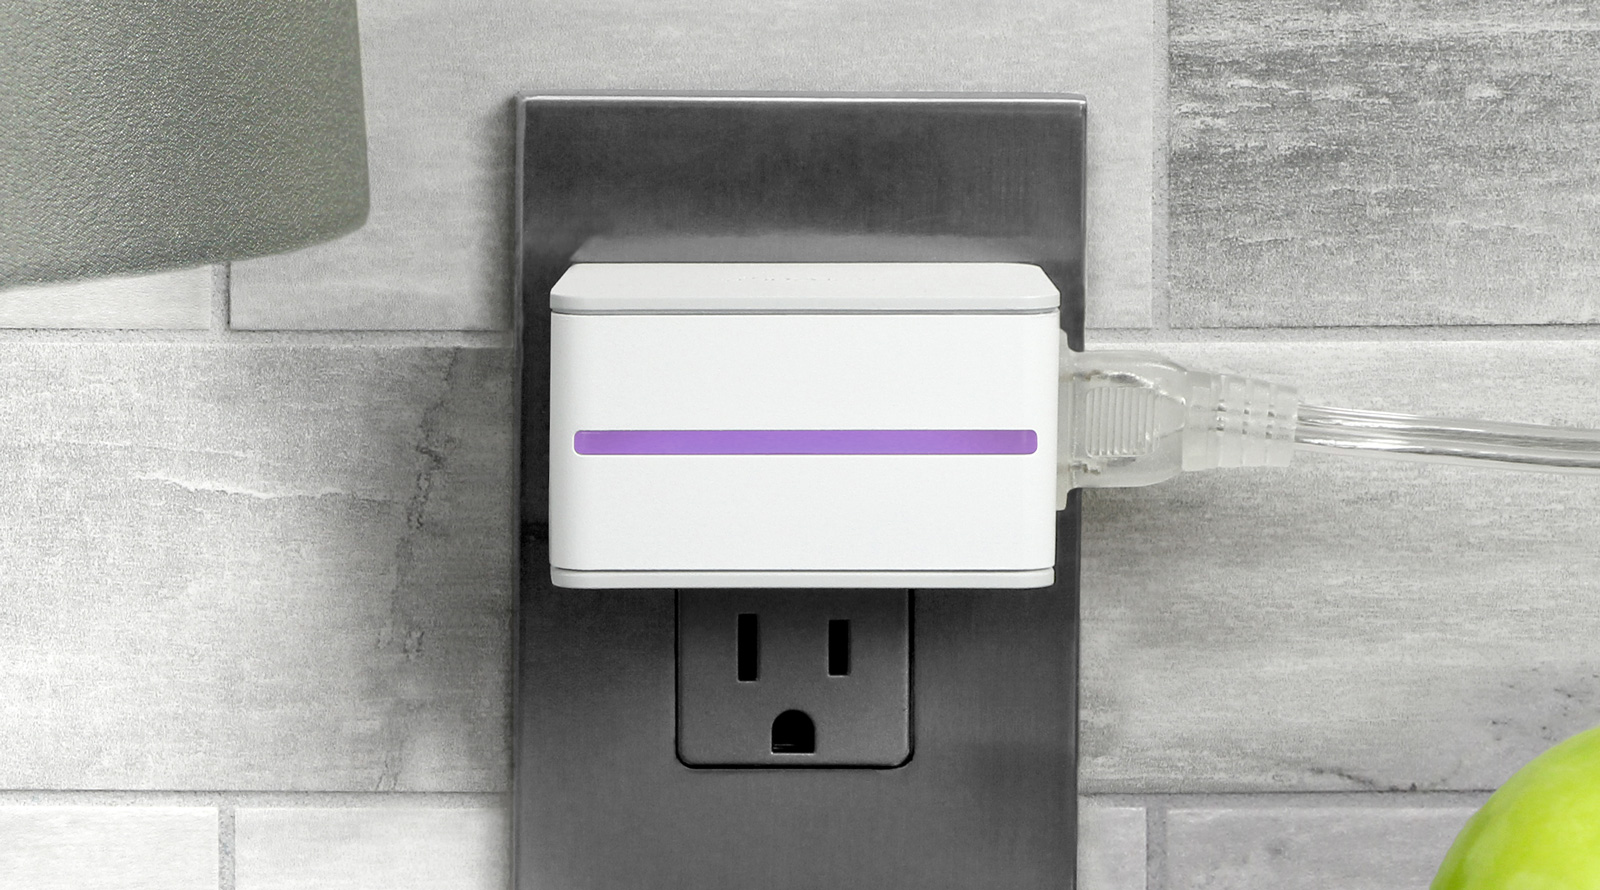
Looking at the ‘Switch’ itself, as mentioned before, it’s feels really solidly built, as though you could easily stand on it without it falling apart (please don’t try this at home folks…). The main housing is a sort of slightly off-white matte plastic on the top and bottom, with slightly glossier plastic for the rest of the body, which is quite understated, with the iDevices logo indented across the top. On the side of the device is the socket itself, and on the opposite side there’s a large physical One/Off button. As with other smart plugs, this outlet doesn’t really do a lot other than allow you to control ‘dumb’ devices like lamps, coffee makers etc, but it does have within the iDevices app, the ability to monitor energy consumption, which is good news for anyone conscious of their electricity bills.
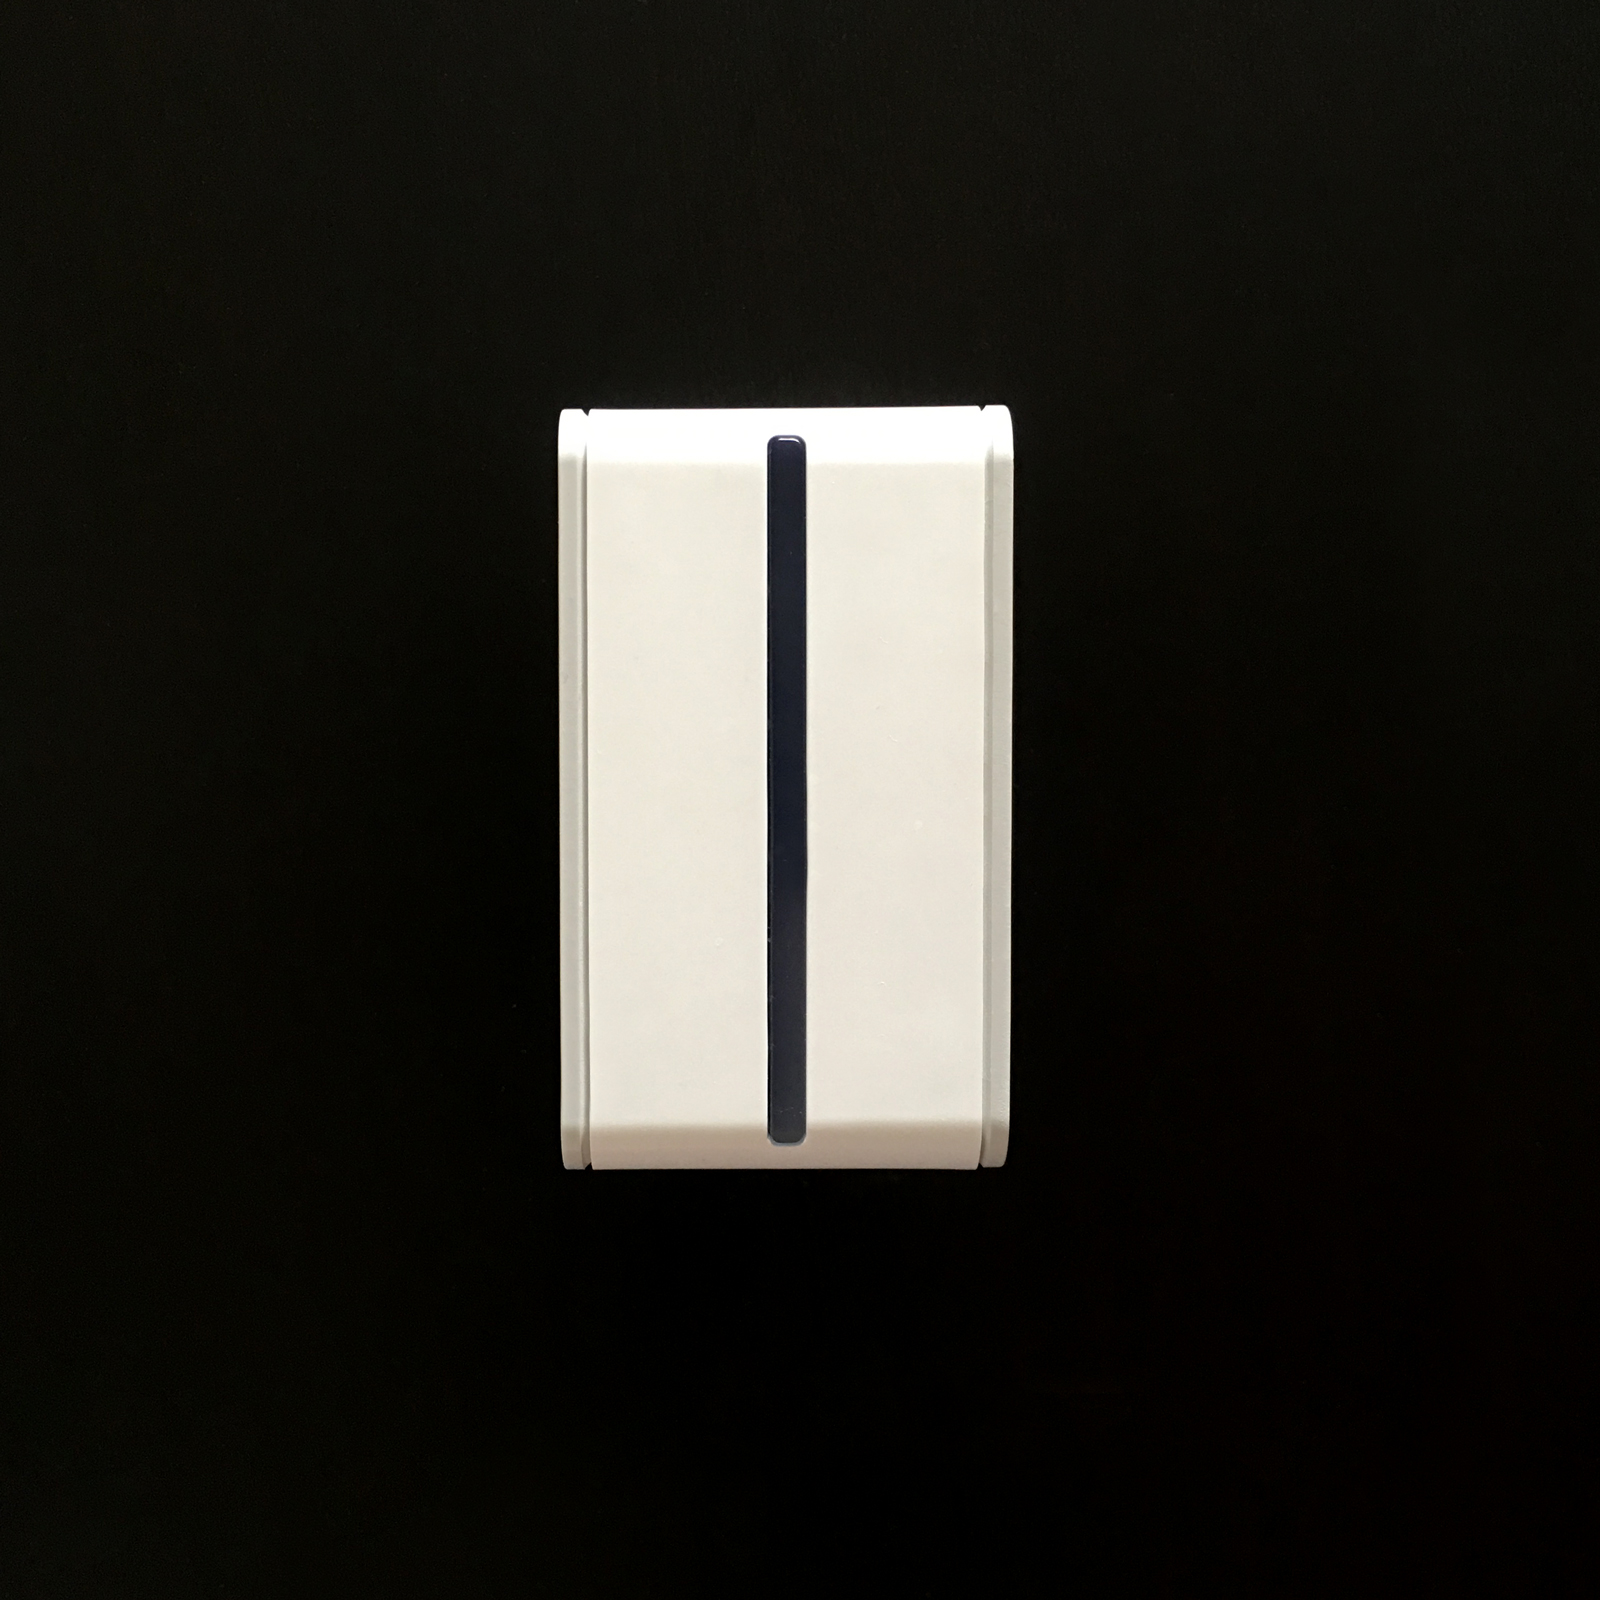
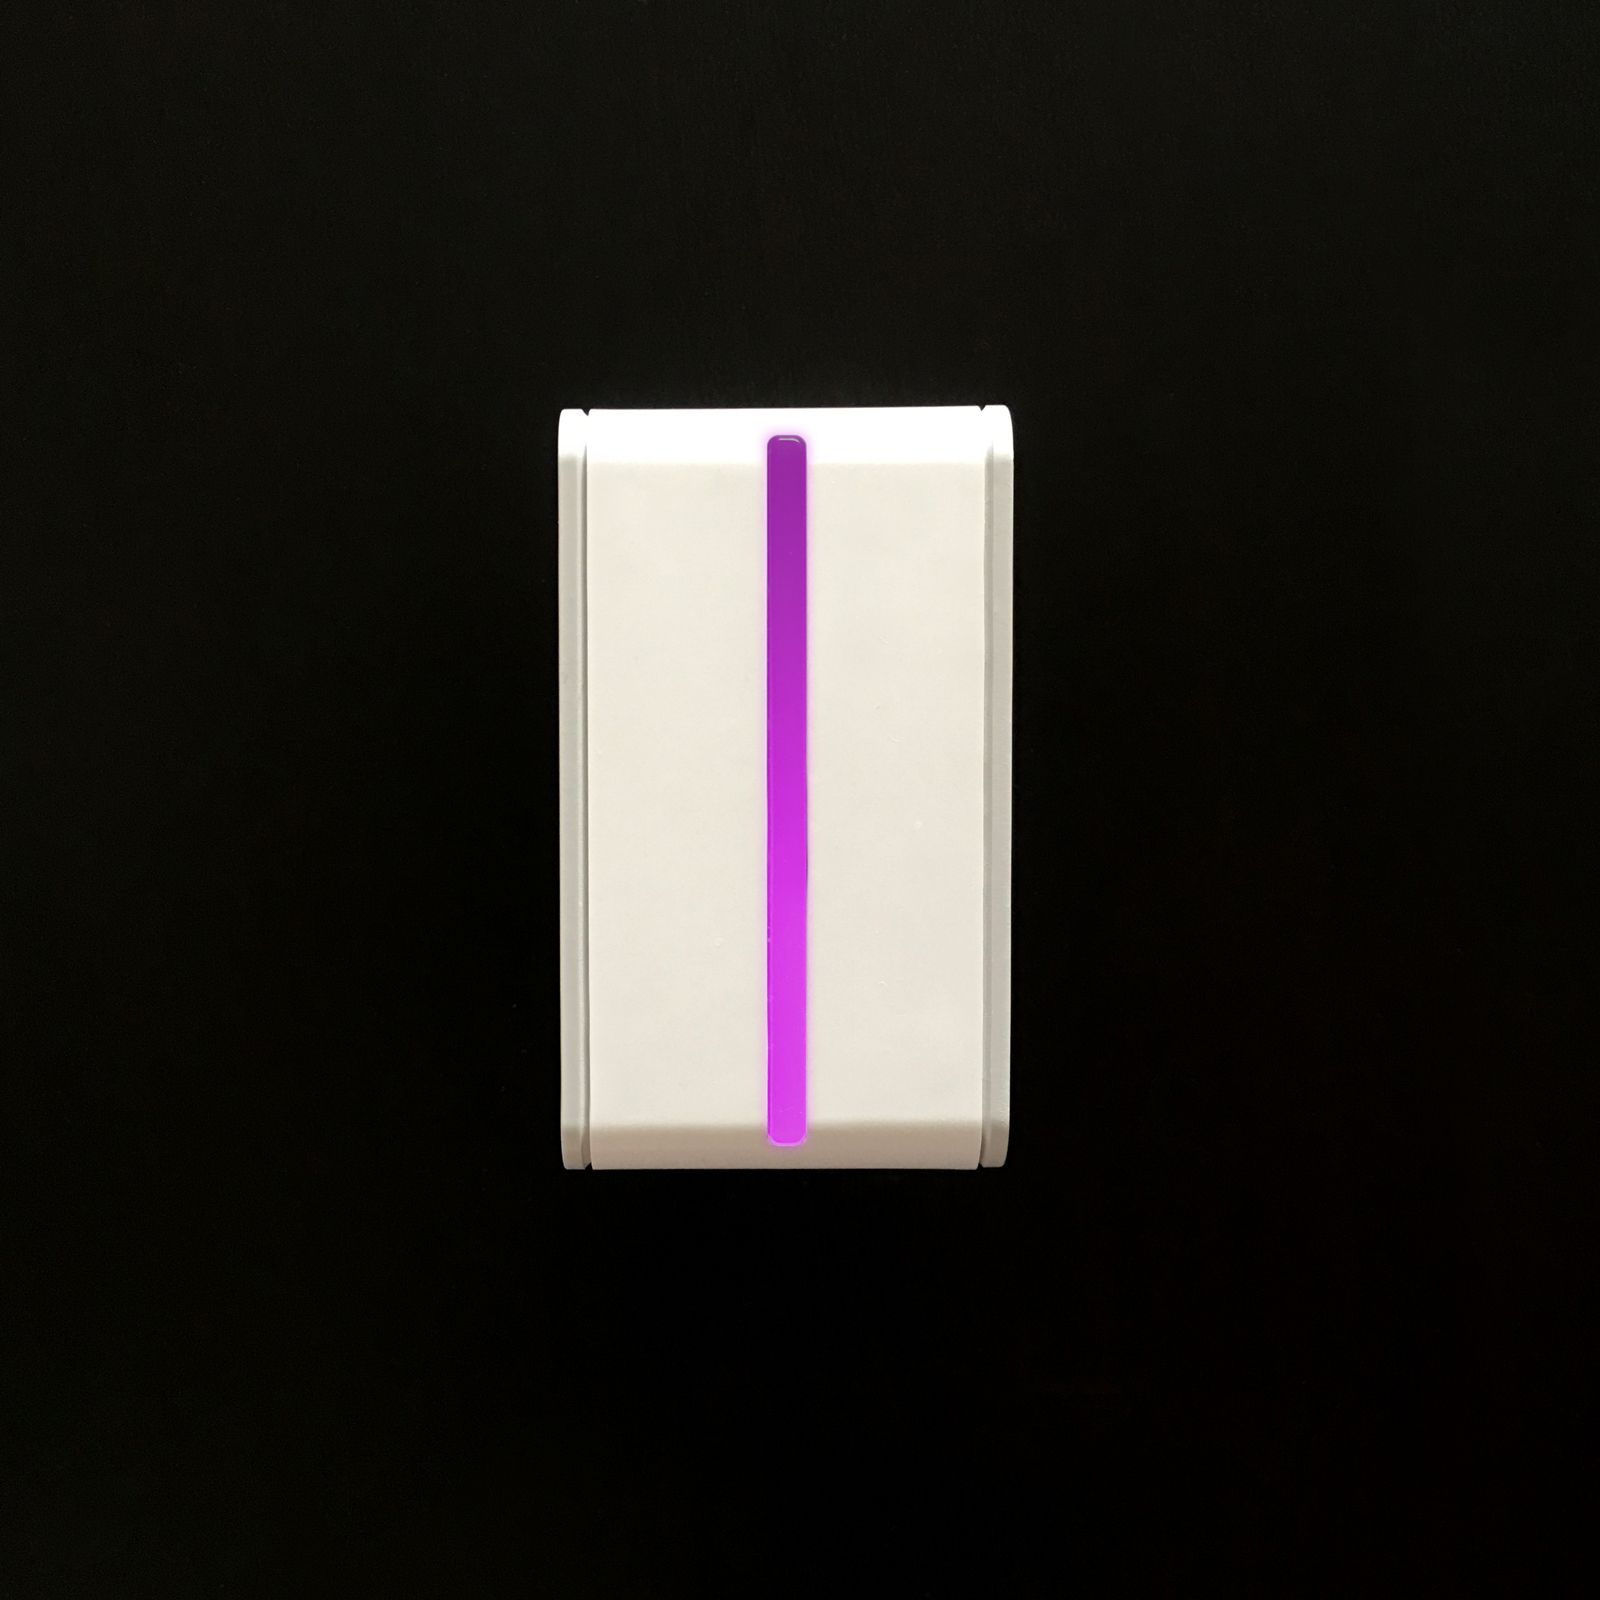
Once you have the Switch set up in the Home app, you will notice that there are not one, but two tiles; one to represent the switch itself and therefore whatever is plugged into it, and the other tile to represent the night-light strip that runs the length of the switch. Depending on the colour you choose, the strip can be a great night-light if it’s placed in the right location. The hue and brightness of the night-light strip can be adjusted, and of course you can just choose to not use it at all – all totally separate from the main outlet.
To me, the LED strip is a real gem, as it not only gives you a free night-light, as I’ve mentioned, but utilised cleverly, it can even be used to give you information on other smart devices. For example, you could have this device in your home office, which might be on the other side of the house, and with that you may not hear someone come home as they open the door. But, if you have any kind of HomeKit enabled door sensor, you could get the LED strip on the plug to light up red when the door opens, and maybe green when the door closes. I already employ this method, as I spend a lot of time in a room where I don’t often hear the door open, and this is a great way of knowing when someone has come home.
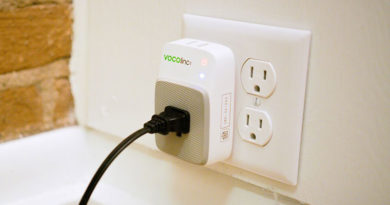
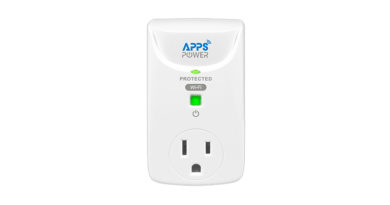
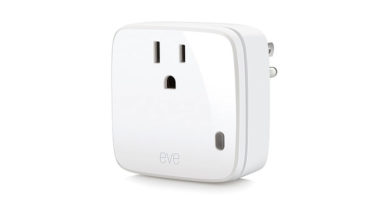
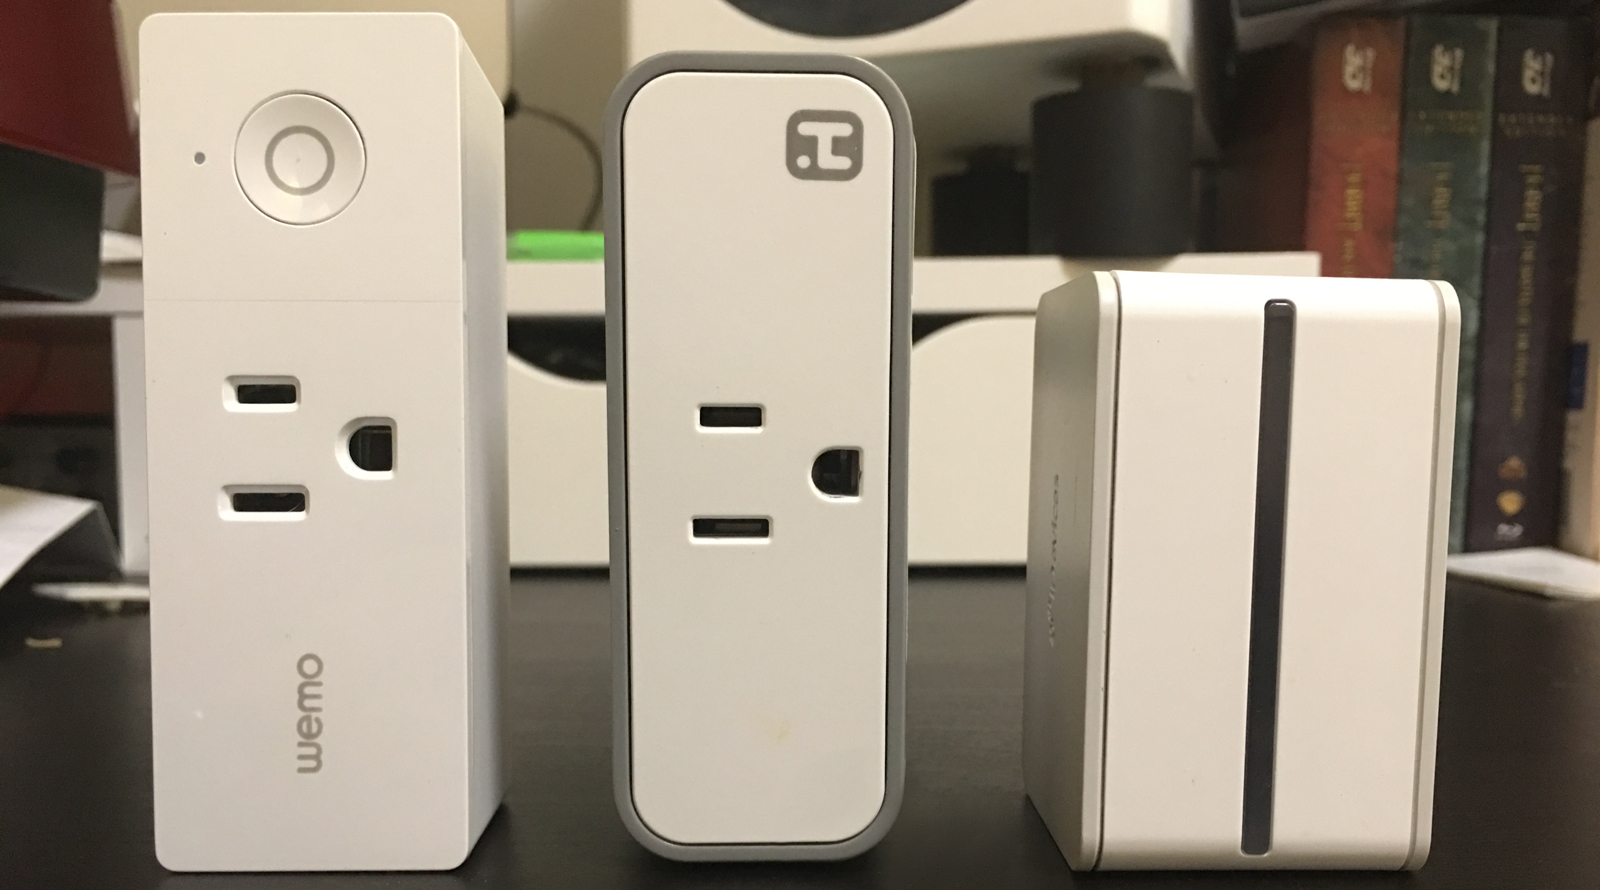
The size of the device is almost perfect, as you can have two of these sitting in adjacent sockets quite snuggly. Currently there are three devices that I have that could be classified as ‘slim’; these are the WeMo Mini Smart plug, the iHome iSPX6 and this one. Whilst the iDevice switch isn’t quite as slim as the other two, it is the shortest, and having the socket on the side does present some advantages over the other two (imagine sockets behind cupboards or sofas for example). Add to this, the night light, which can be used for many automations by itself.
As this is a HomeKit compatible device, there is little reason to go into iDevices’ own app, although it is necessary to have it on your iPhone or iPad for software or firmware updates. Besides this, the energy monitoring functionality is only available in the company’s app.
I’m guessing that most people who are reading this review will generally be in the HomeKit ‘camp’, but if you’re also one of those that has a Google Smart Speaker, an Alexa device, or you simply have someone in the home that uses an Android phone instead of an iPhone (like most sensible people…), then it’s good to know that this smart outlet will work with those platforms as well, and in tandem, so you’re not stuck with an ‘either or’ situation. My iDevices switches work with both my HomeKit setup and my Google Home Mini, and there have not been any issues to date.
Wrapping up, this is in many ways the perfect smart outlet for me, as it’s small enough to not cover two outlets with the one plug. It has the separate night light capable of the standard 16 million shade of colours as well as adjustable brightness. The position of the socket does really help when you have to place this in areas where depth is an issue.
* Going back to the setup procedure I touched on earlier, I should point out that whilst the steps for setting up a brand new device is very rudimentary, if you’re reinstalling after previously removing this device from your ‘HomeKit setup, or for some reason you have to reset the device, then there is a routine you will have to go through before you can re-add it. This involves plugging in the device, making sure there is power going to the outlet, then holding down the physical button on the side until the LED strip flashes red rapidly. You then continue to hold the button down for a further 5 seconds, then let go of the button. The LED strip should then flash blue continuously, which indicates the switch is ready for pairing. From there, the installation procedure is as before.
- Requirements:
Home Wi-Fi® (802.11 B/G/N)
WPA or WPA2 Network Security
Free iDevices® Connected App
HomeKit requires an iPhone, iPad or iPod touch with iOS 8.1 or later.
- Size & Weight:
Depth: 1.65″ (42mm)
Width: 2.71″ (69mm)
Height: 1.57″ (40mm)
Weight: 3.3 oz
- Power:
Power Input: 120 VAC, 60Hz
Number of Power Outlets: 1
Resistive: 1800W
Tungsten: 600W
Motor: 1/2 HP - More info:
https://store.idevicesinc.com/idevices-switch/