
Netatmo Smoke Alarm (review)
I wanna tell you about the time I smuggled a smoke detector. No, Really. I feel almost like I have to start this review this way.
I’m gonna do the long version of the story. Unfortunately, the hottest of the hot smoke detectors by both Eve and Netatmo were not available in the USA, so I had to think outside the box if I wanted to get one in my hands. I started with trying to order the Eve ‘Smoke’ from companies in countries that sell it. These companies refused to ship to me. Then in October, Netatmo announced that it would be shipping its product, in the US soon.
Now, I’m a huge fan of Netatmo because of their outside cameras working so well with HomeKit, so I couldn’t wait to try out the detector. When it didn’t arrive in October to US markets, I tried to get one shipped from Denmark. Once again, no company would ship to me. As it happens though, a school teacher living in Denmark was willing to help get one for me. He even sent some goodies. So here we are.

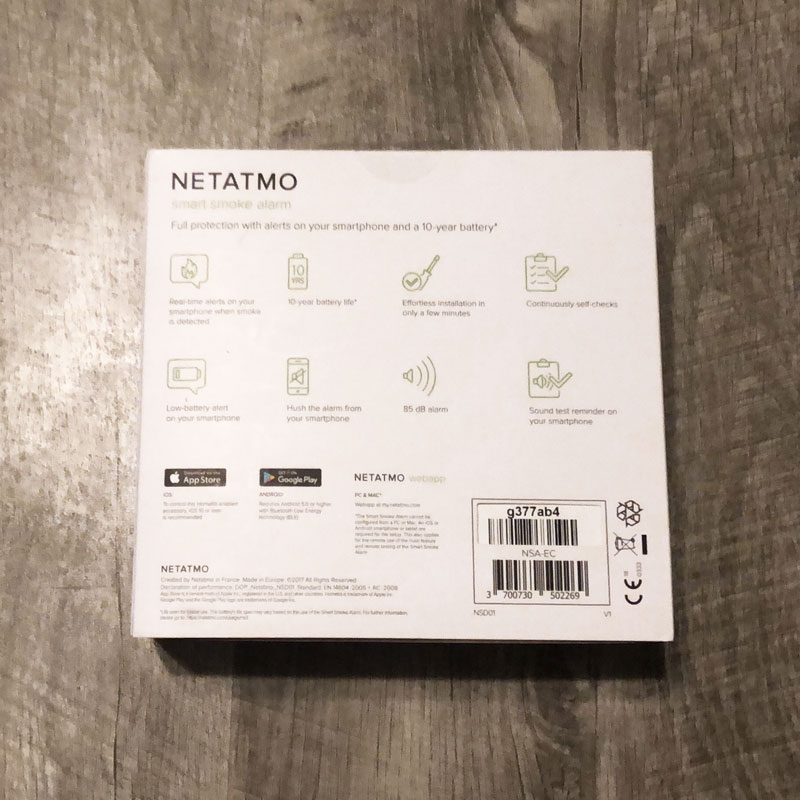
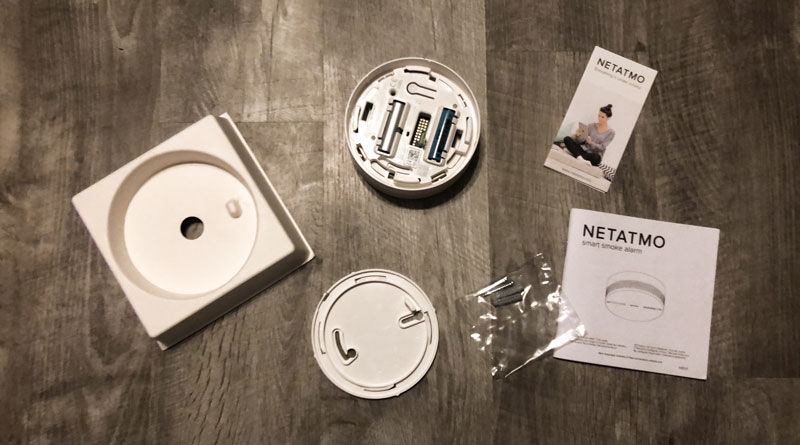
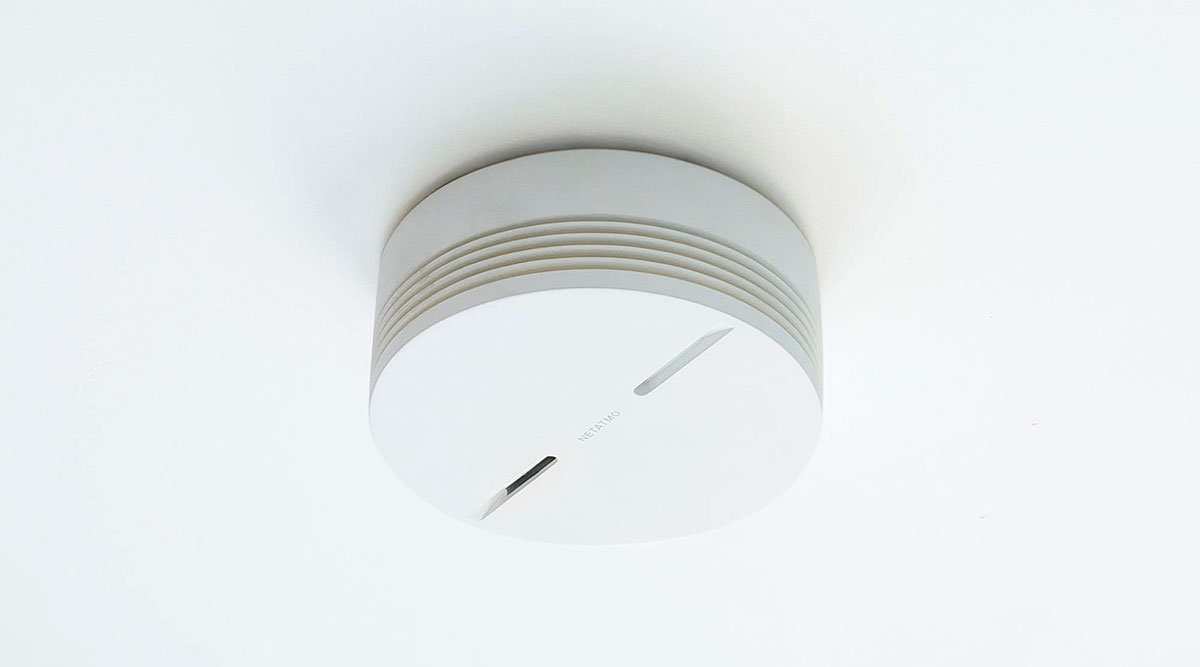
“NETATMO!” Sorry for yelling, but they have great packaging. Nice, slick Chanel style (I’m more of a Dolce & Gabana guy) packaging. As for initial installation, the set up was easier than I anticipated. The smoke alarm itself comes as two pieces: a holding panel that fits to the ceiling, and of course the main body, or brains of smoke alarm itself, with the batteries. I want to note, that any idiot can do this installation, but I had three things planned, so my buddy just dry wall screwed it in for me. The usual install process is take the plate, scribble out the holes in the ceiling plate up against the ceiling and then pre-drill, then install the dry wall mounts and fit the screws in to those. You then twist the plate to fit onto the ceiling screws, drill them down tight and attach the smoke detector to the plate. A monkey using drugs could do it.
The instructions are very well laid out, and the HomeKit code is both on the inside of the smoke detector and the last page of the instructions. In terms of the batteries they are pre-installed. Netatmo claim a 10 year battery life, which is effectively the lifespan of the device itself, and as such is not replaceable. This may seem odd, but it is recommended that smoke alarms of any type should be replaced after 10 years anyway.
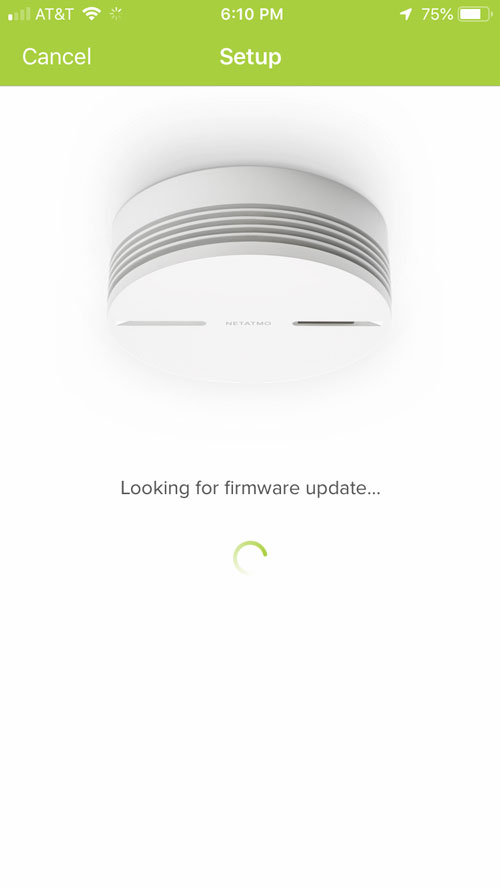
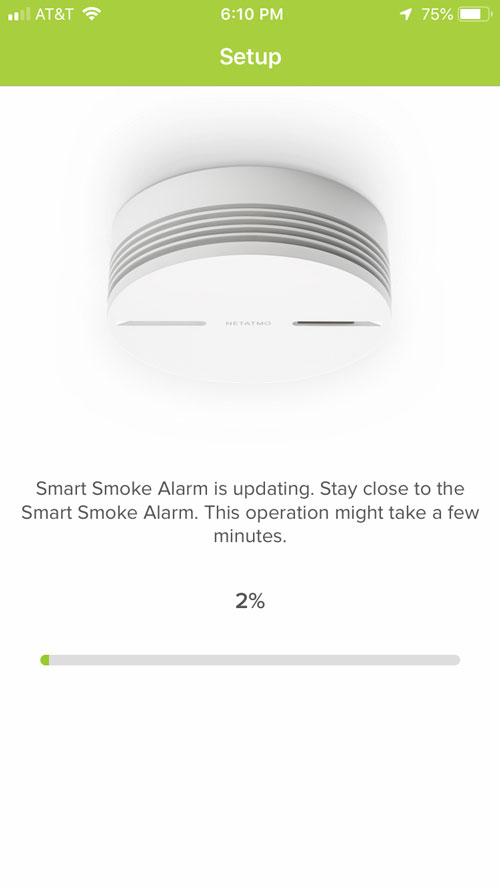
I do need to warn you that when you connect it to the Netatmo security app, which is standard to their platform, you will need to wait a minute for the firmware update. When I say a minute or so. Once your firmware is up-to-date, the software walks you through learning to use the device in a way anyone could understand. You add it under settings > add product and then smoke detector (in the iOS app). I don’t have an android device, but I’m told the security app works almost exactly the same on that platform too.
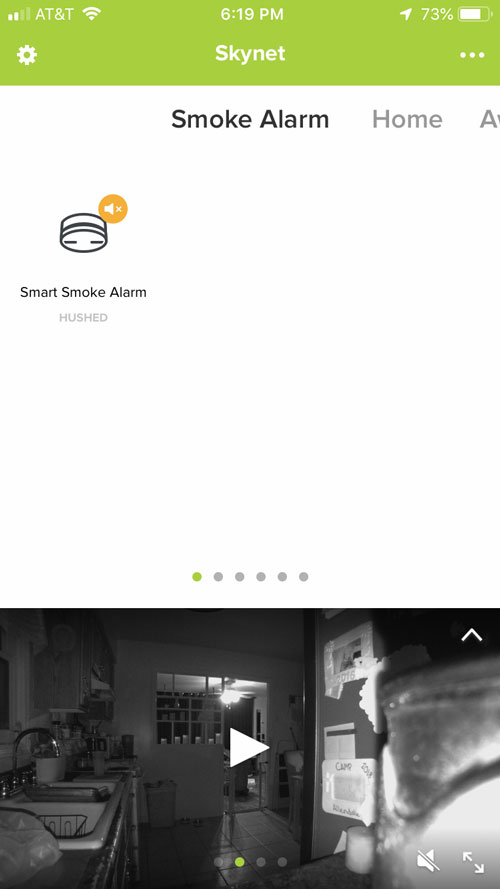
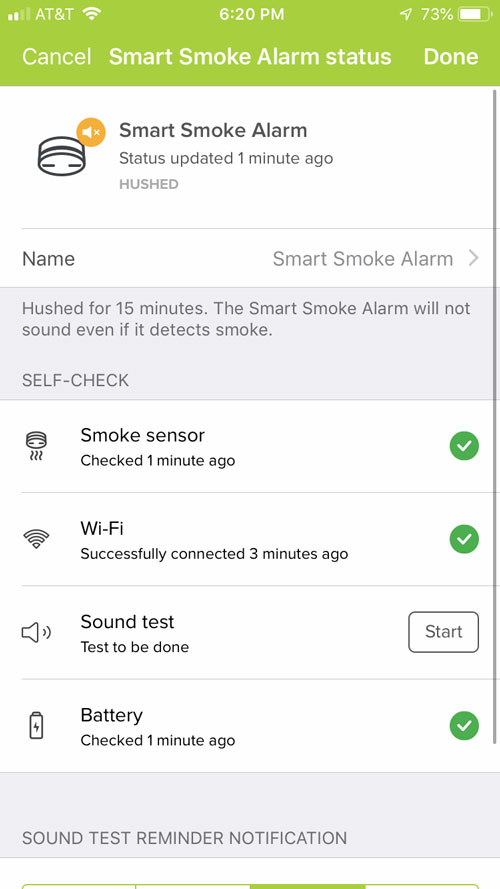
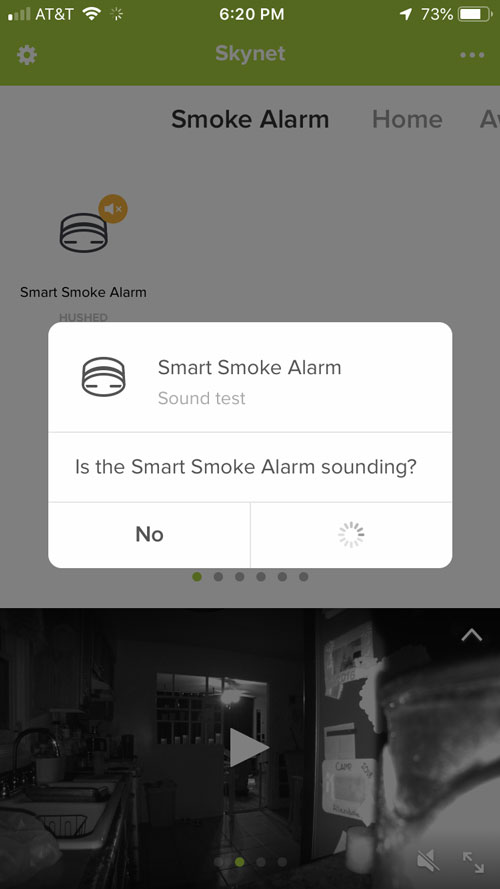
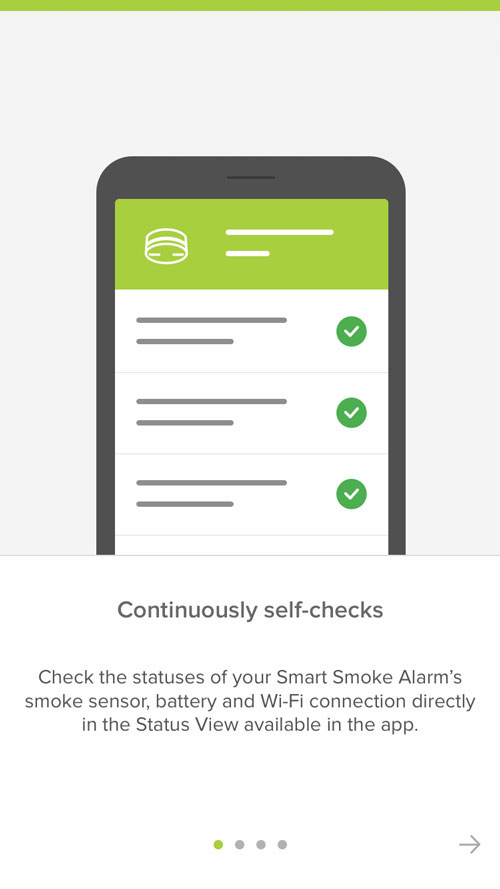
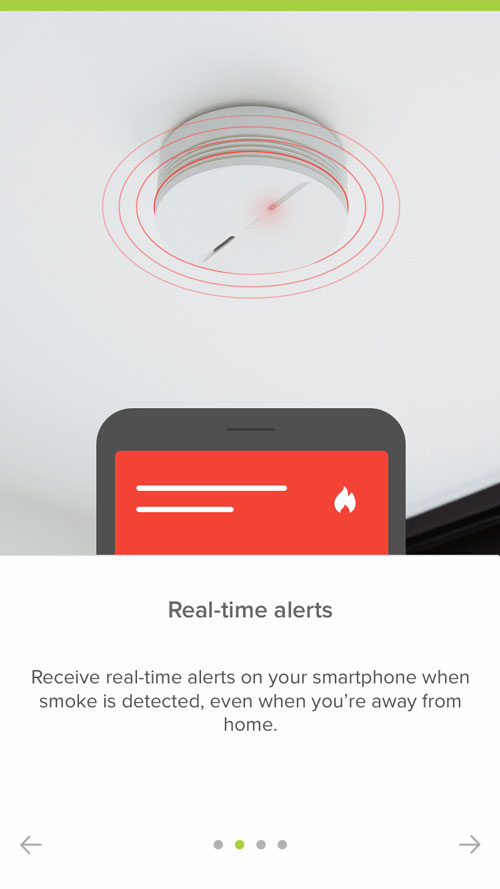
Once you have it added to the Netatmo app, and the firmware is updated, you can add it quickly to HomeKit in the usual manner with the provided HomeKit code. This device uses wi-fi as its main method of communication, which also allows for remote access when you’re not at home, but it also has built-in Bluetooth capabilities, which allows for remote control of the hush feature, should you not be able to reach the physical button on the device, or if your wi-fi network happens to go down at the same time that the alarm sounds. The smoke detector constantly does a self check, monitoring its battery, the smoke sensor and the wi-fi connection, and will report back if any of these three become an issue. As for the smoke alarm itself, you can actually set monthly checks to make sure the alarm itself works – after all, there’s no point in sensing smoke if it can’t let you know – the alarm is very capable, producing an 85db alarm sound.
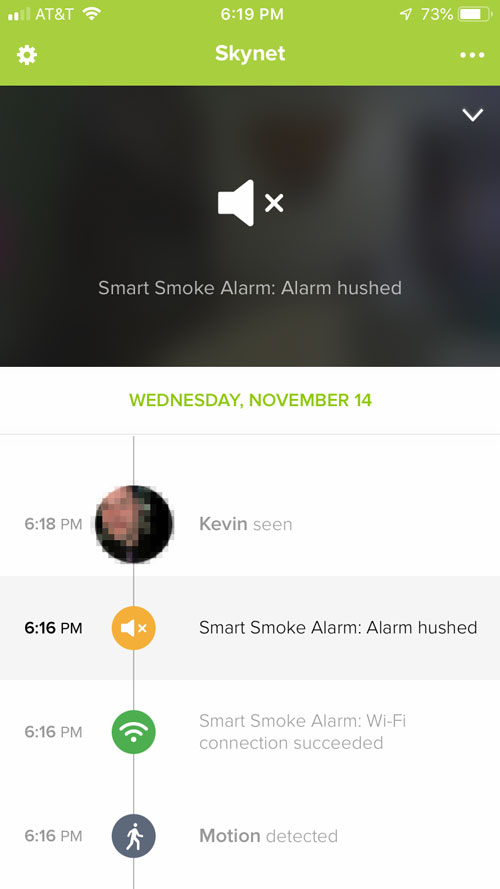

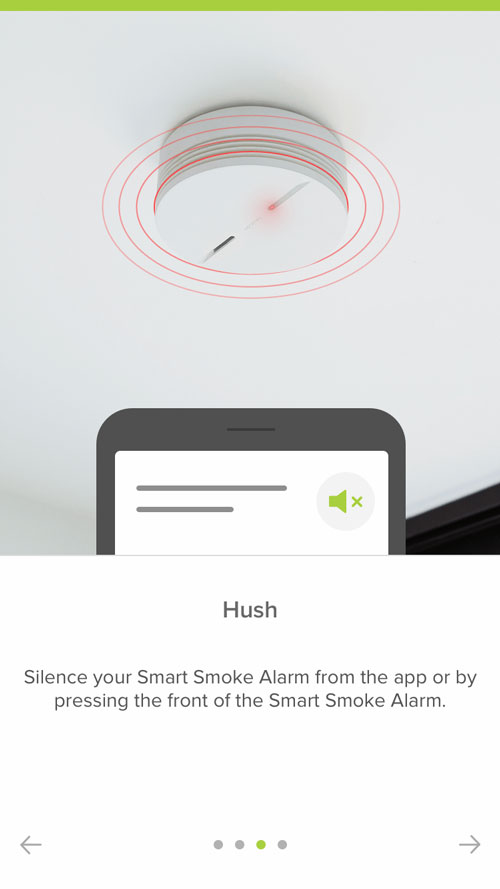
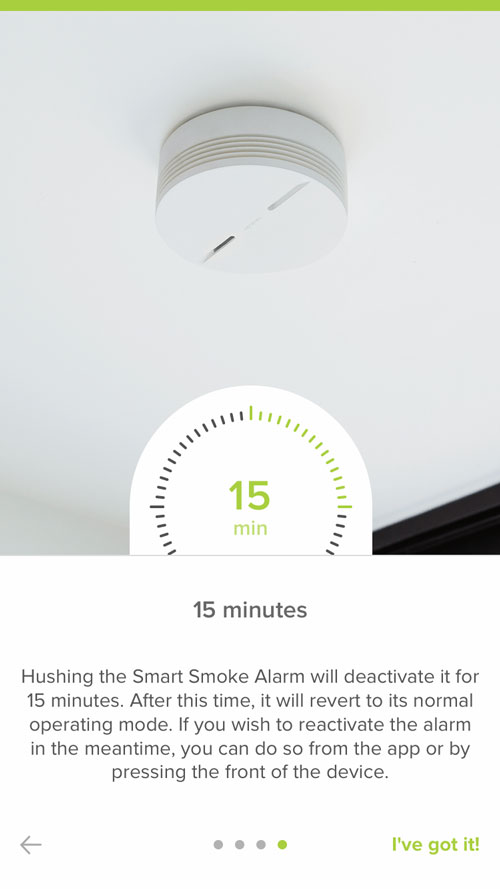
On a day-to-day level there isn’t much to think about, since we don’t set off fires often enough to notice that sort of thing. However, I did try some simple automations. For example, I’ve created ab automation so that when smoke is detected, HomeKit turns the lights on and unlocks the doors. As mentioned before, as the alarm is capable of 85db of sound, when the detector goes off it is extremely loud and pretty high-pitched. Once you press the button on the detector, it “hushes it” for 15 minutes which shows up on the Netatmo security timeline. It can be turned back on via the app or pushing the same button if you are certain you are done burning the lasagna.
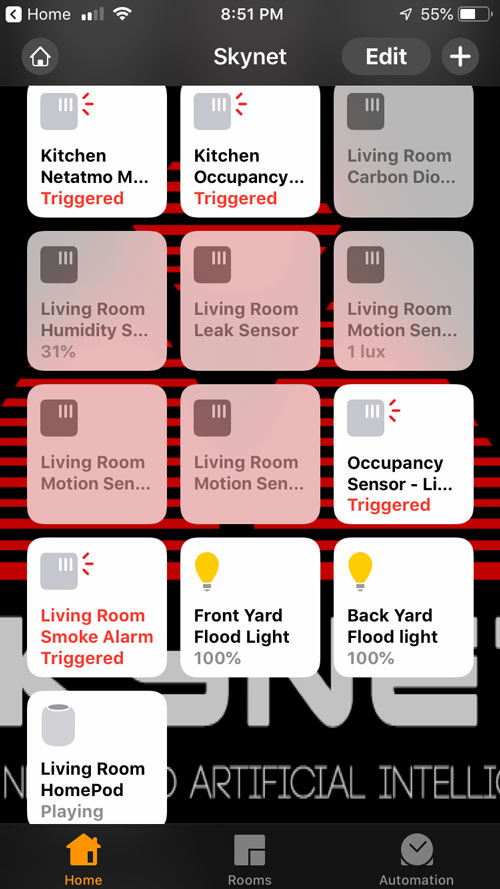
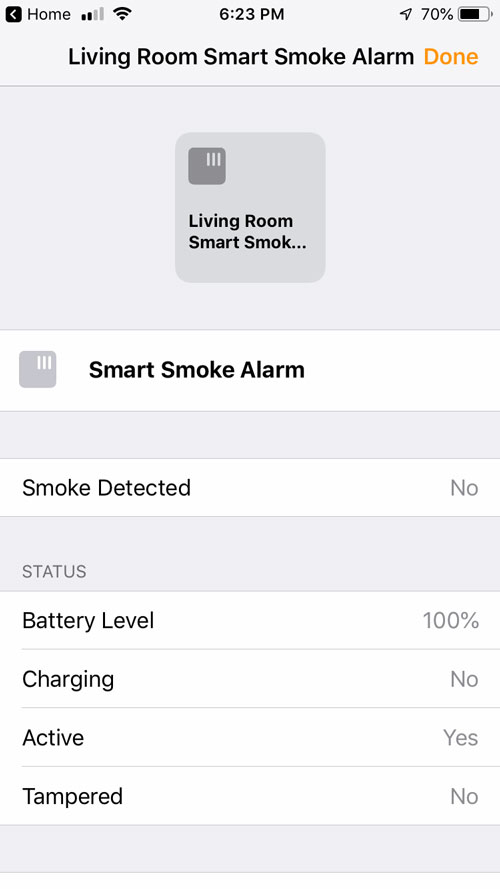
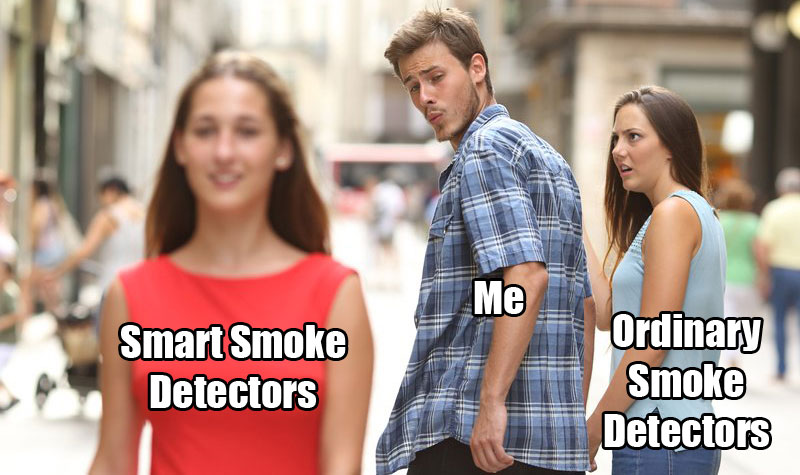
In HomeKit, which is how we automate the devices in these parts, it shows up as a single smoke sensor, so automating it couldn’t be easier. As always you can’t automate “secure” automations outside of Apple’s main home app, however all other automations seem to play nice with the device. I honestly wish I had another smoke alarm that was HomeKit compliant that I could sort of ‘pit’ this one against, but that isn’t the case. Having said that, It has been a fun device and it is a way better looking and efficient device than any of the other smoke alarms I cheated on…

Hi, are you satisfied with this smoke detector? Any reason why we can’t purchase these in USA? I would love to purchase one, but doesn’t seem like you can.