Mi Desk Lamp Pro (review)
While we’ve already had one review of this product, it’s always good to have more than one opinion, and whilst I am as enthusiastic about this product as Eric was in his review, I feel it only helps to make people aware of just how good this lamp is. You can also check out our brief overview video below.
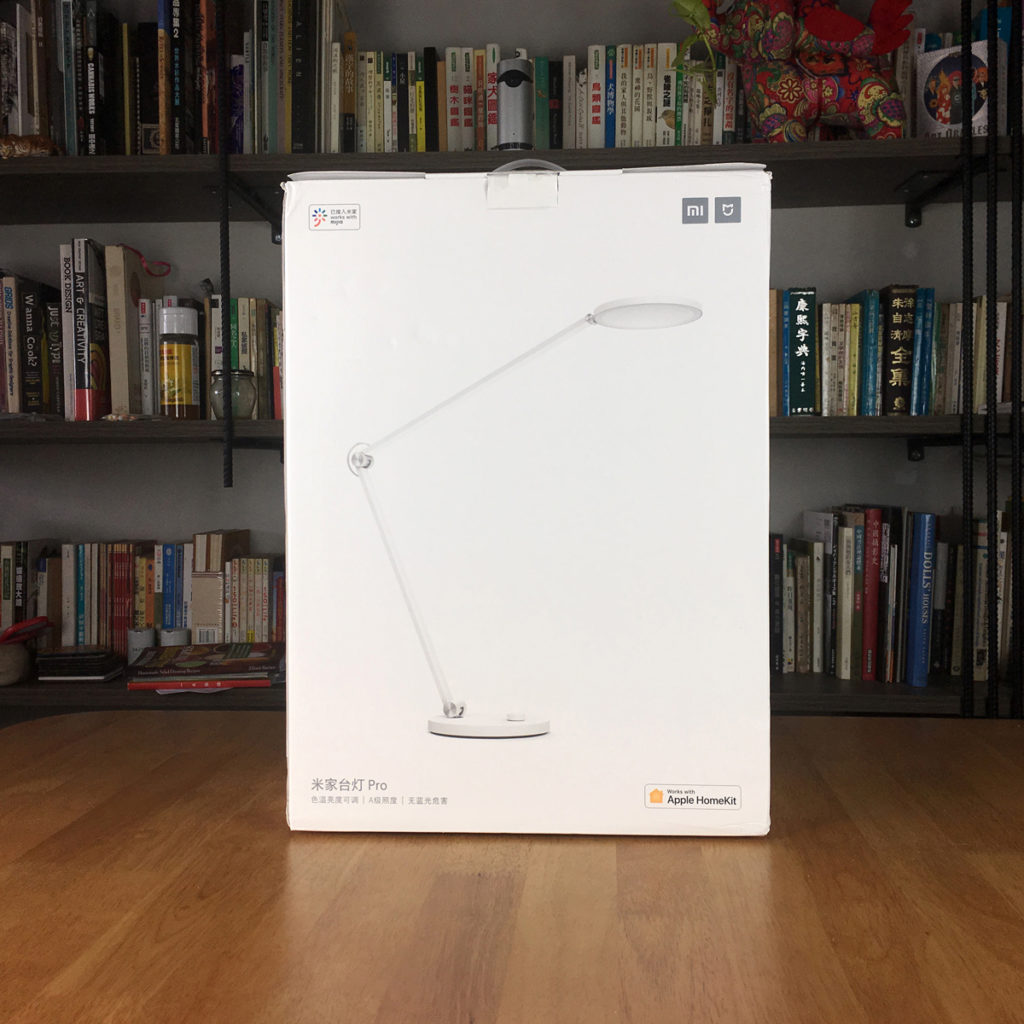
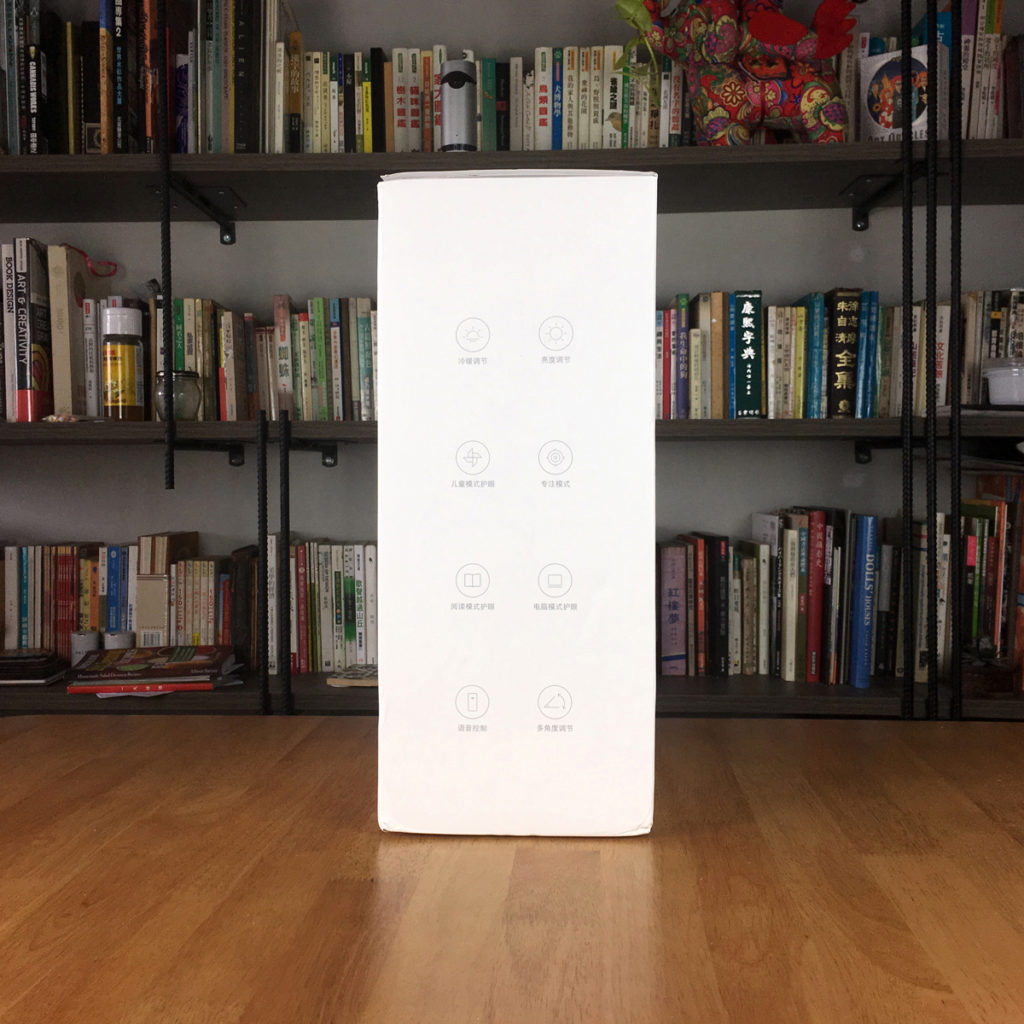
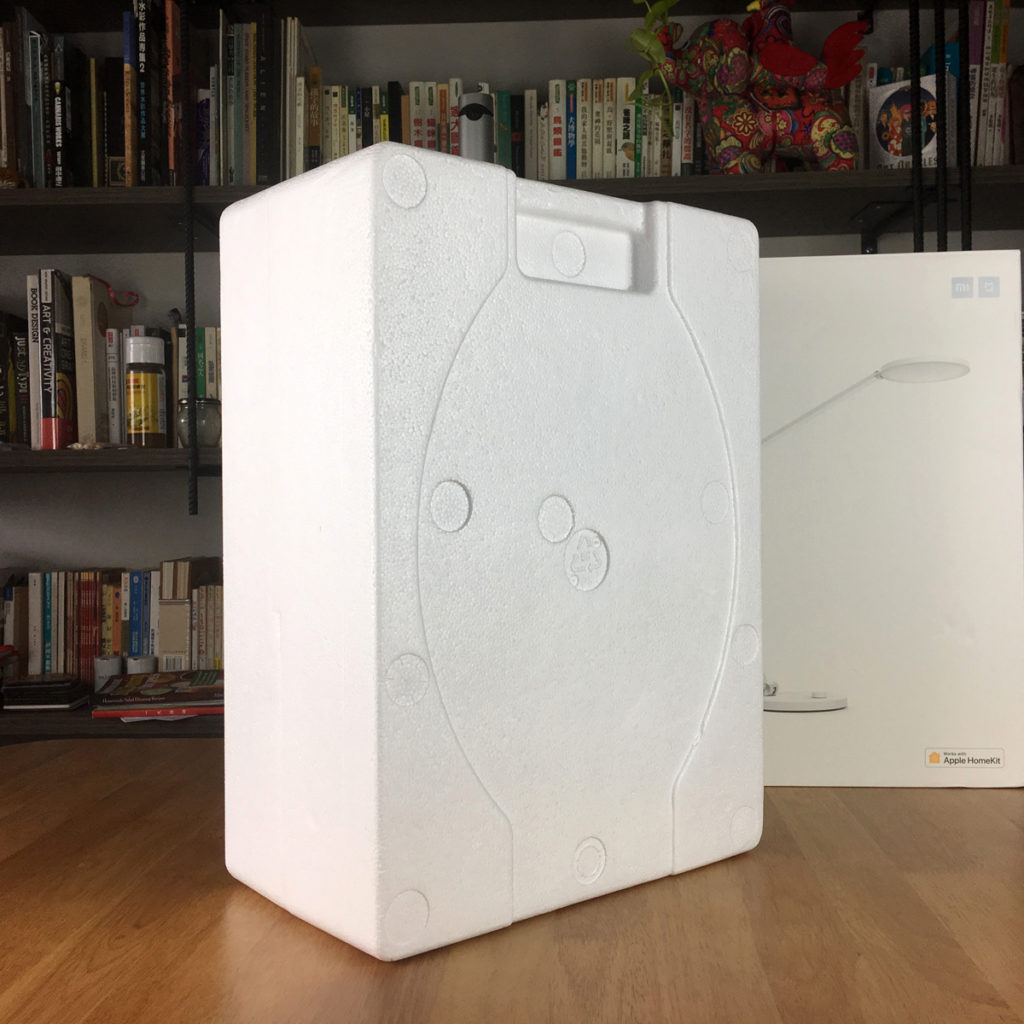
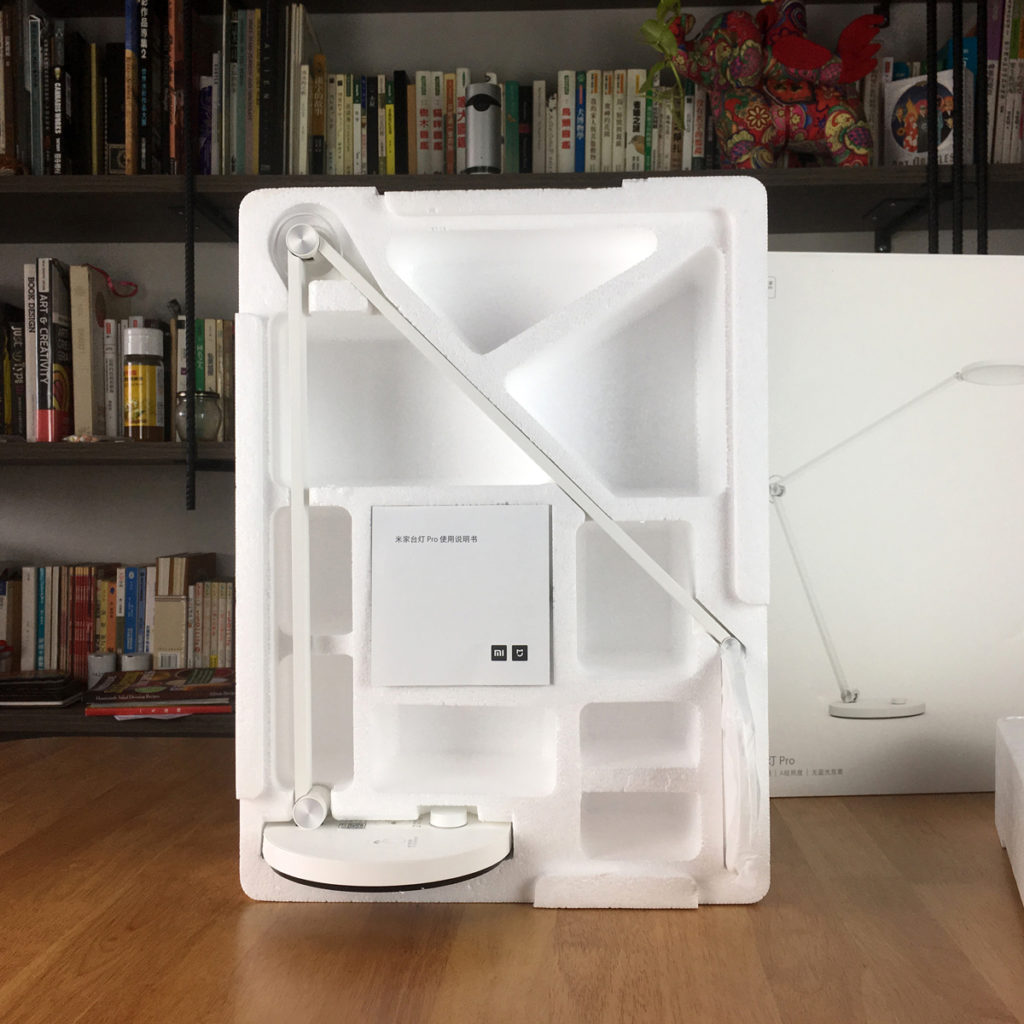
I’m probably a bit obsessed with decent packaging, but for good reason – why spend good money only for something to needlessly get bashed due to inadequate protection? With this product, which is arguably one of the more expensive Mi devices, you get ample protection, and while this has winged its way to me from China (still a fair distance) it survived the small dents without any issue, largely due to the strong polystyrene encasing the lamp. The front simply features the product itself, in the now ubiquitous ‘Apple style’, with one side featuring icons for eight aspects or special functions of the lamp itself.
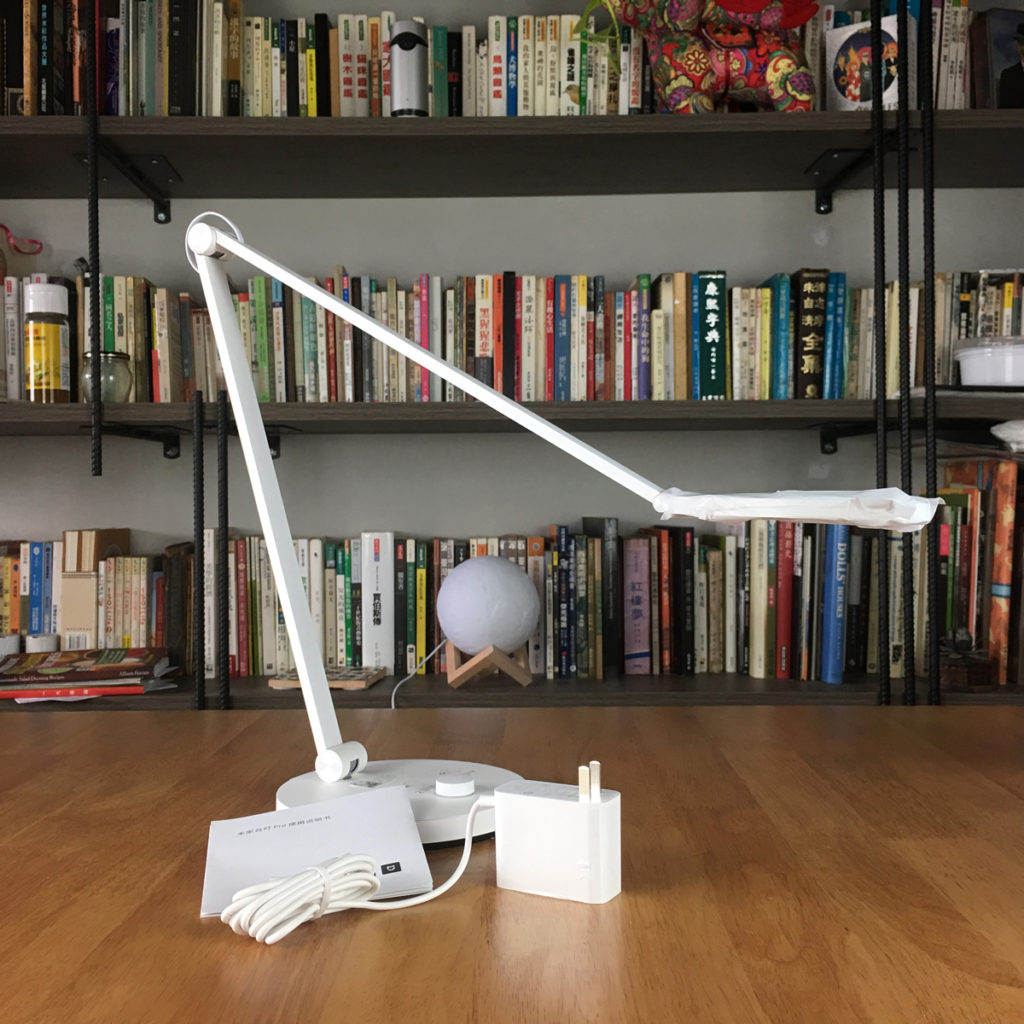
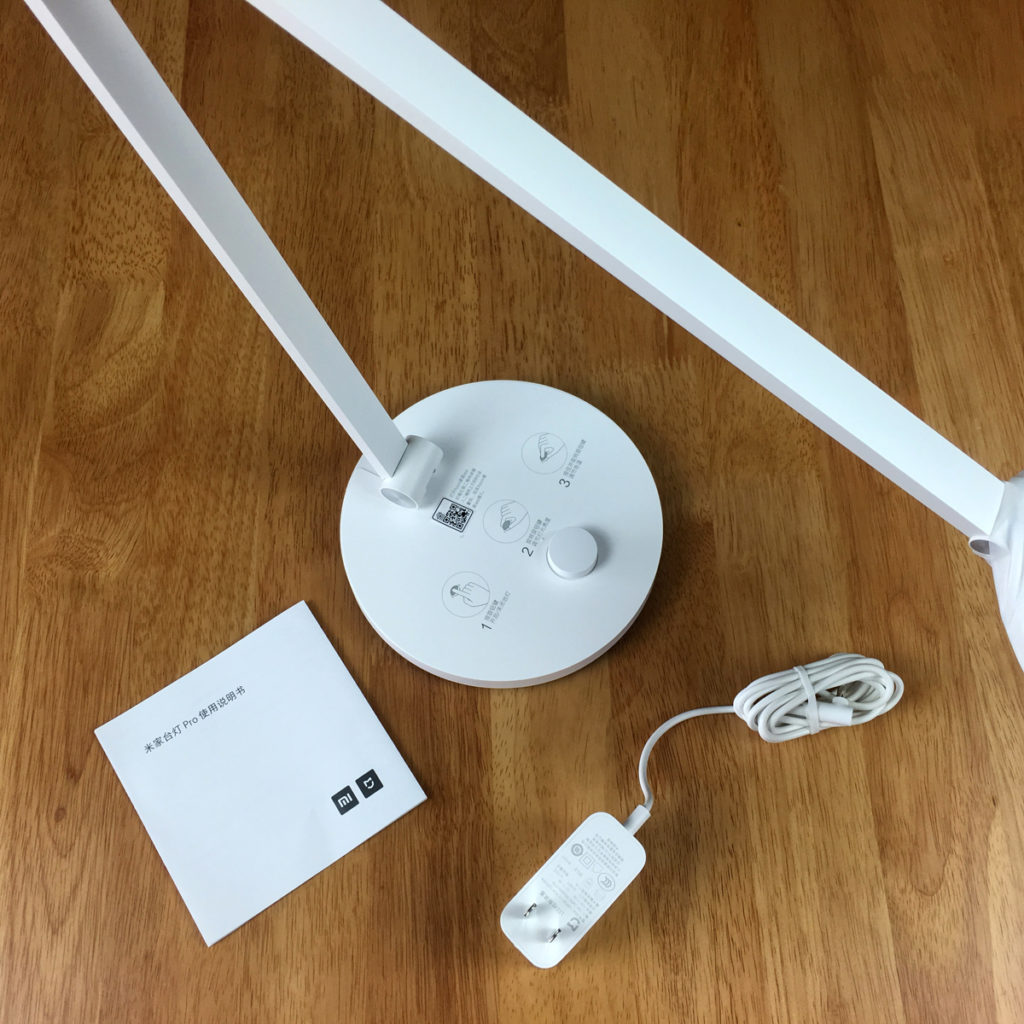
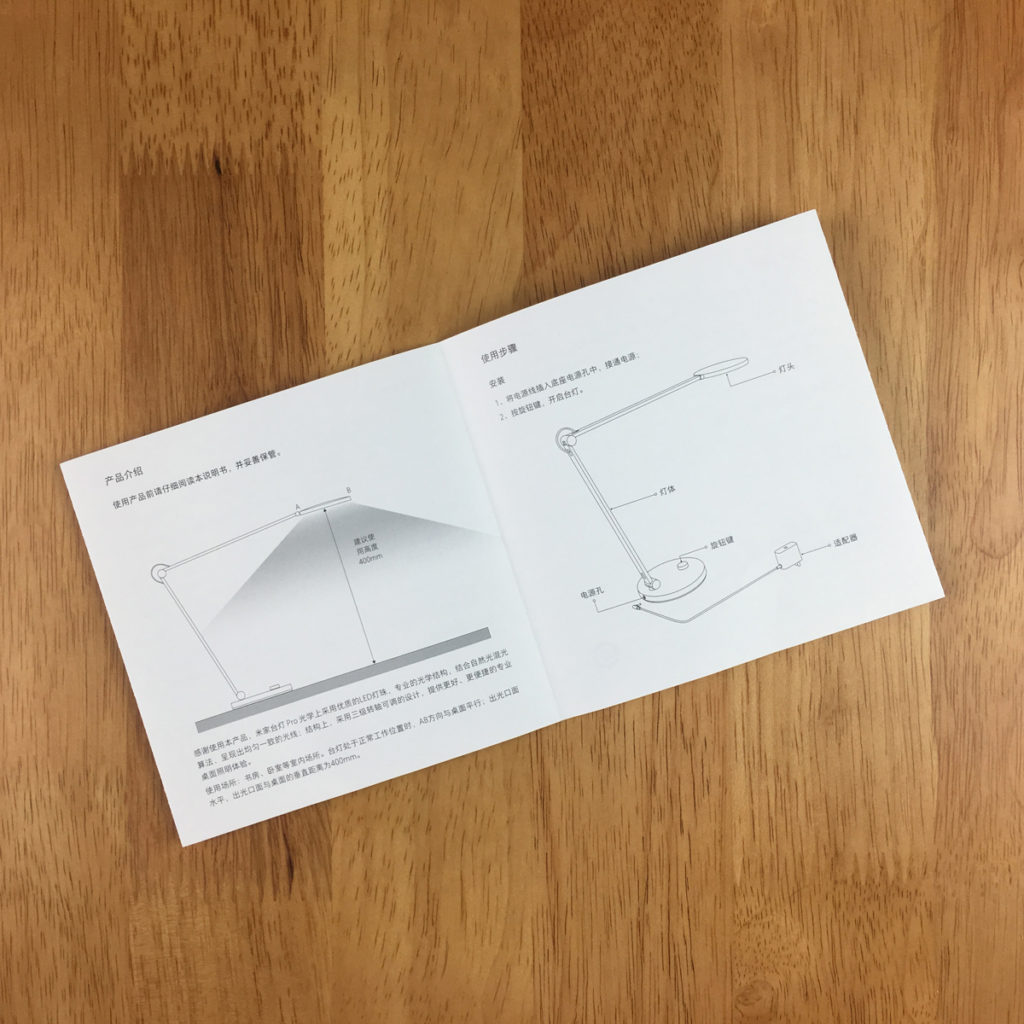
Once out of the box, there’s not a lot – the lamp itself, the power supply and the booklet, which is in Chinese. The base of the desk lamp has a card place on top that has some brief info on how to control the lamp’s basic aspects, along with one of two instances of the HomeKit code. Yes, this is one of the first few devices to come with native HomeKit support (why else would I be reviewing, right?). The other two HomeKit enabled devices are the Aqara Hub, which came out last August, and the Mi Bedside Lamp 2, in December of 2018.
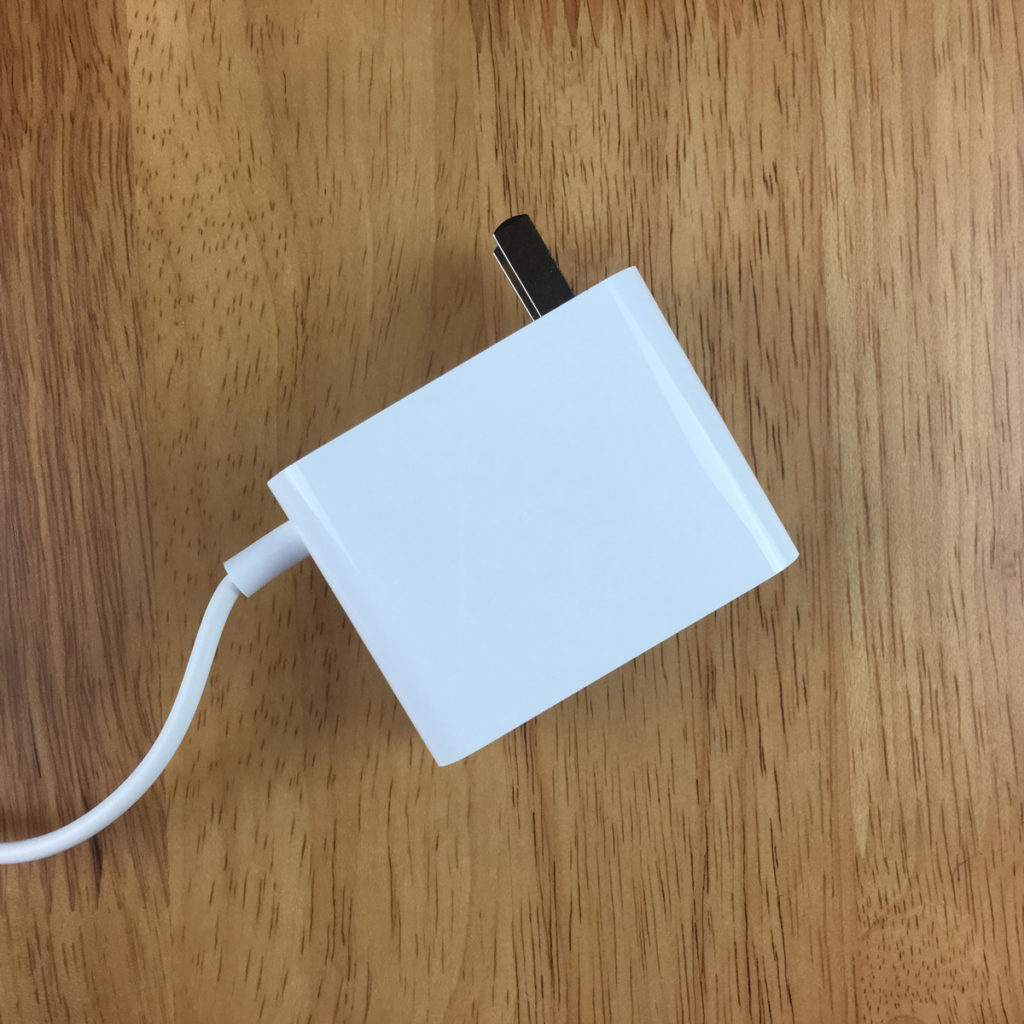
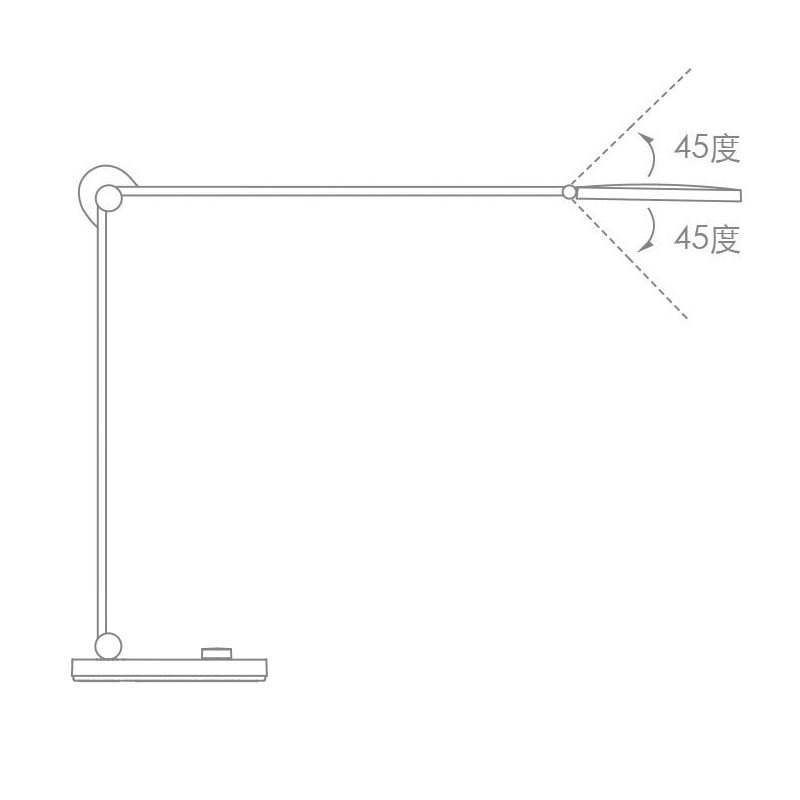
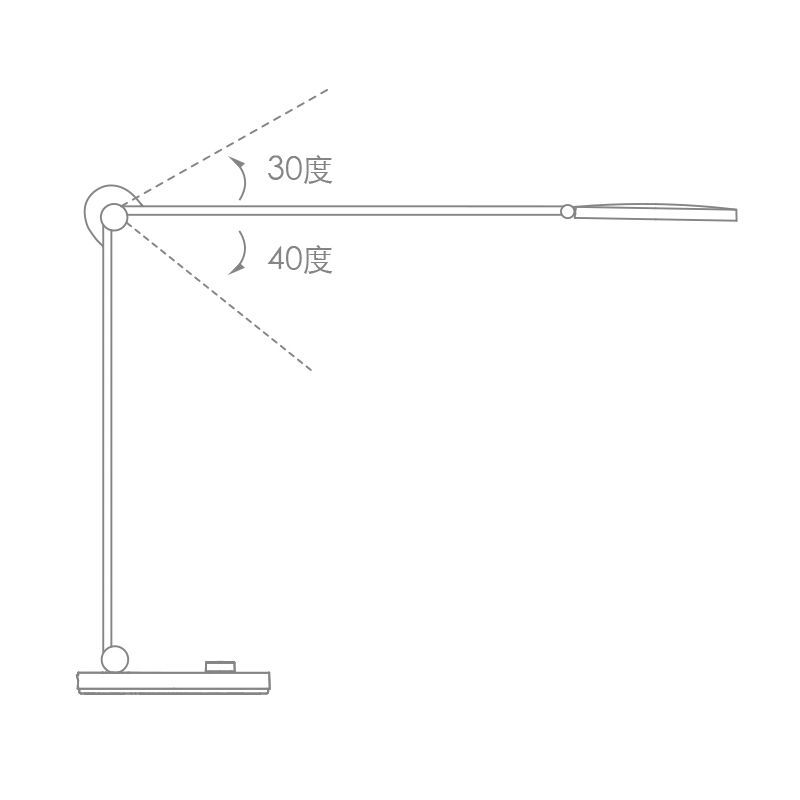
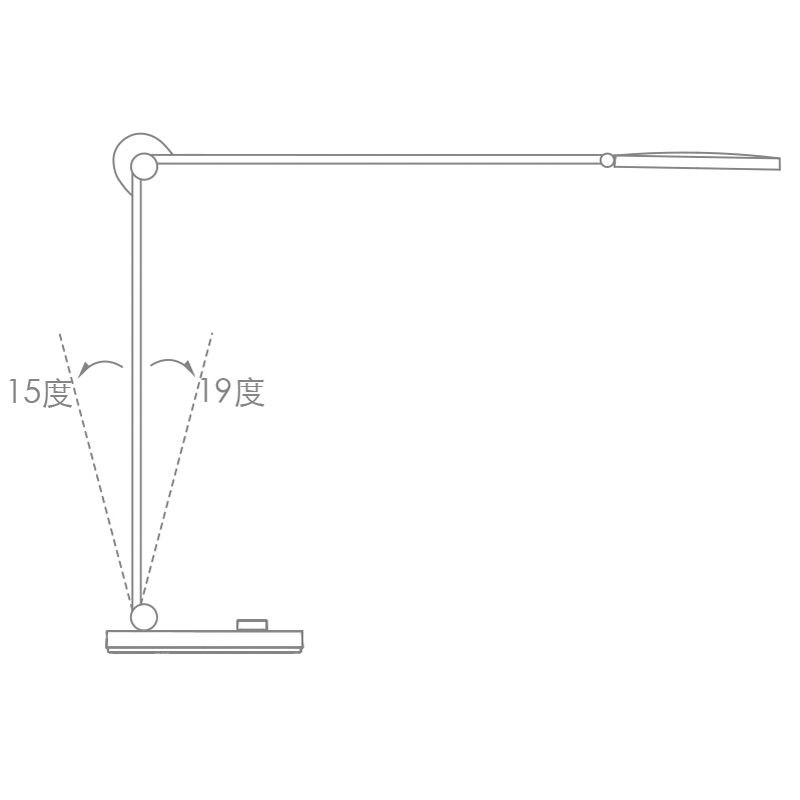
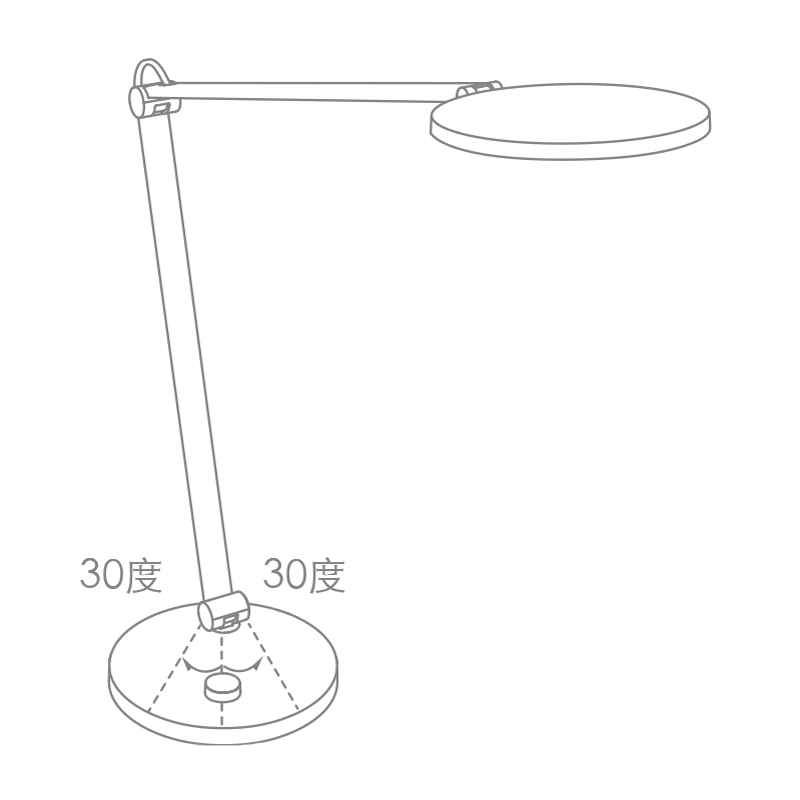
The other instance of the HomeKit code is placed on the underside of the lamp’s base. The power supply comes with the type A 2-pin style plug (non-polarised), so if you live in any of the places that support this type of plug (China, USA, Canada, Mexico, Taiwan, Japan and the Philippines), then you’re good to go. The manual itself, while in Chinese, does go into a lot of detail about the light itself, along with measurements and the angles the light is capable of being adjusted to etc.
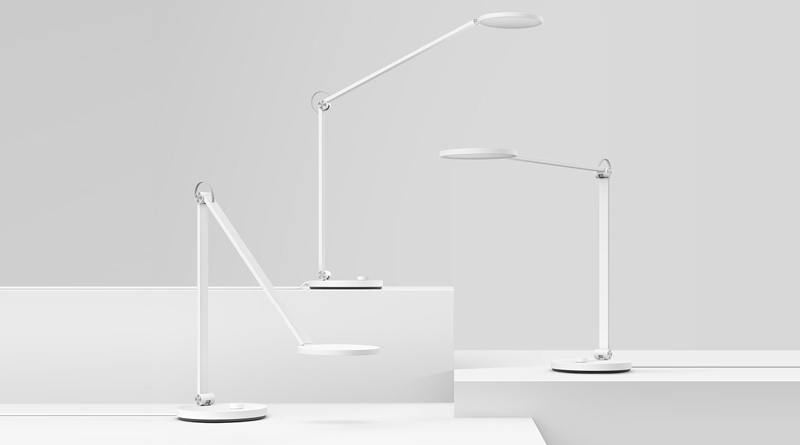
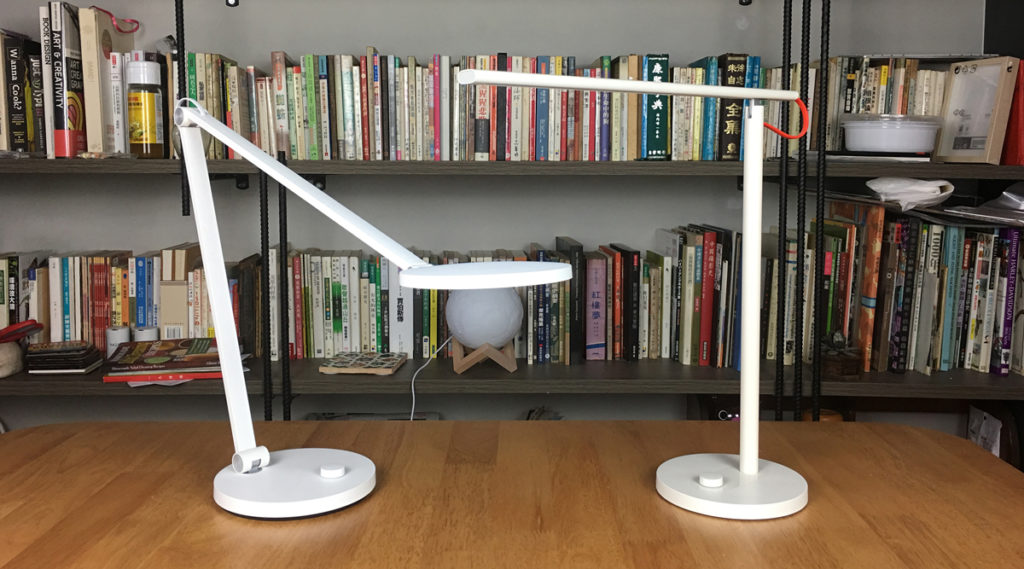
Speaking of angles, this is designed as the successor to the award-winning 1st gen model, the Mi Desk Lamp, pictured above. While this is a great lamp, the Pro model really does take it to the next level, with HomeKit support (the 1st gen can still be controlled via Siri Shortcuts) and the articulated joints at the base, the ‘elbow’ or mid-way point, and the joint immediately next to the light itself. The original model only has the one joint, so it can only be angled at any position within a 90° field from horizontal to vertical.
The main difference, in terms of the light between the two models, is that the 1st gen has a colour temperature range of 2500-6500k, whilst the Pro model only goes up to 4800k, which means the pro version doesn’t generate stronger cool white light than the older model, peaking out at more of a soft daylight white light. In practice, the differences are negligible though (at least for me), so for the sake of all the extra functionality, I can live with a slightly less cool white. The Pro is brighter though, delivering 700lm, compared to 300lm on the 1st gen, which is reflected in the amount of power that is drawn – 6w for the 1st gen, compared to 12.5w for the Pro.
Onto the installation, which, if you’ve already read our review of the Mi Bedside Lamp 2, follows basically the same procedure. Now, if you’re only interested in having this run with HomeKit via the Home app and don’t want to bother with the Mi Home or Yeelight apps, then you can install this just like any other HomeKit device, by scanning the code. But also just like any other HomeKit device from a company that provides their own app, it makes sense to have the Mi Home app for firmware updates, if nothing else. On the assumption that you would be using both apps and ecosystems, then for full cross-functionality, you do need to install it via the Mi Home app initially.
- open the Mi Home app and click on the ‘+’ symbol to add your lamp
- Select the lamp in the ‘Lighting’ section
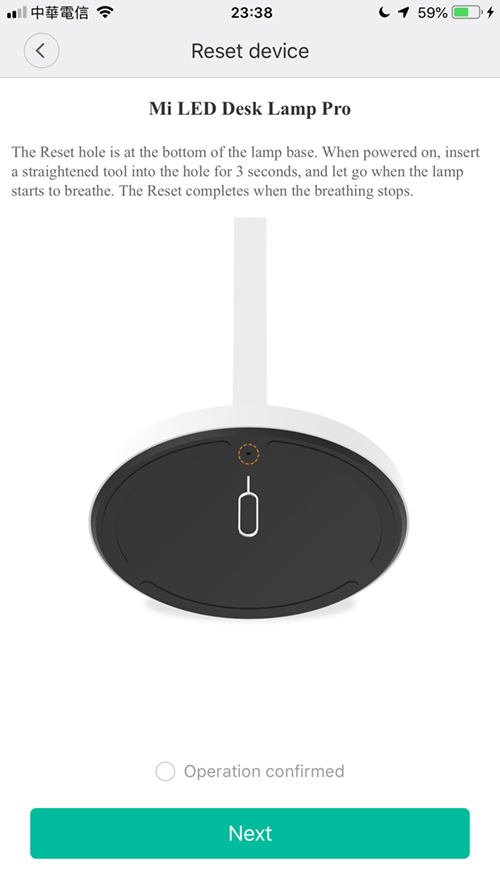
- Reset the lamp before installing by inserting a paper clip into the hole situated at the underside of the base of the lamp
- Enter your wifi network details
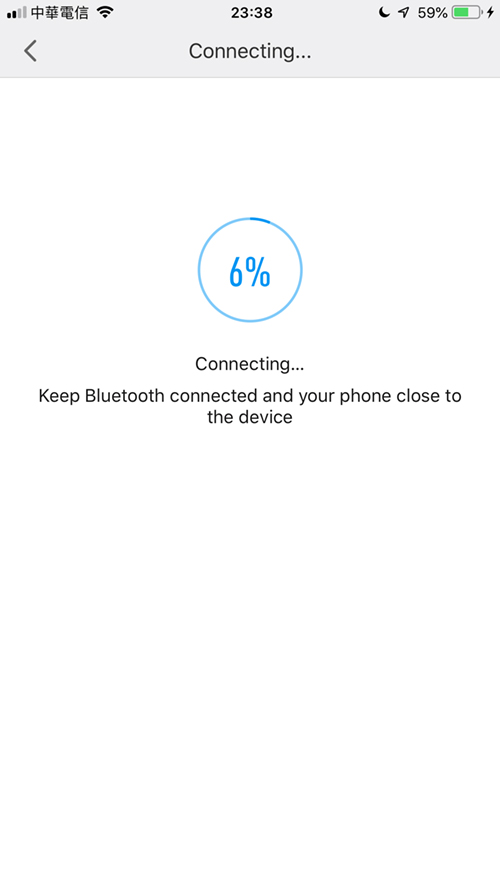
- The internal Bluetooth chip will connect to your phone to get the wifi details
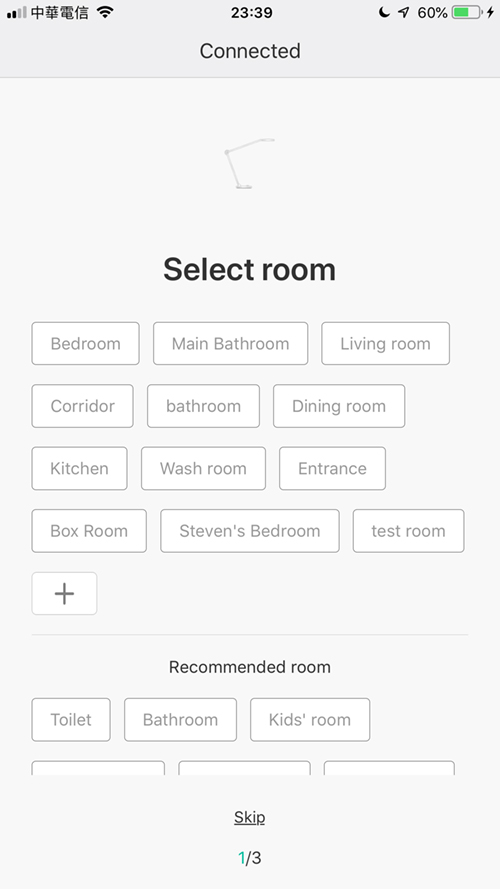
- Once installed, you will choose a room for the lamp to be located in
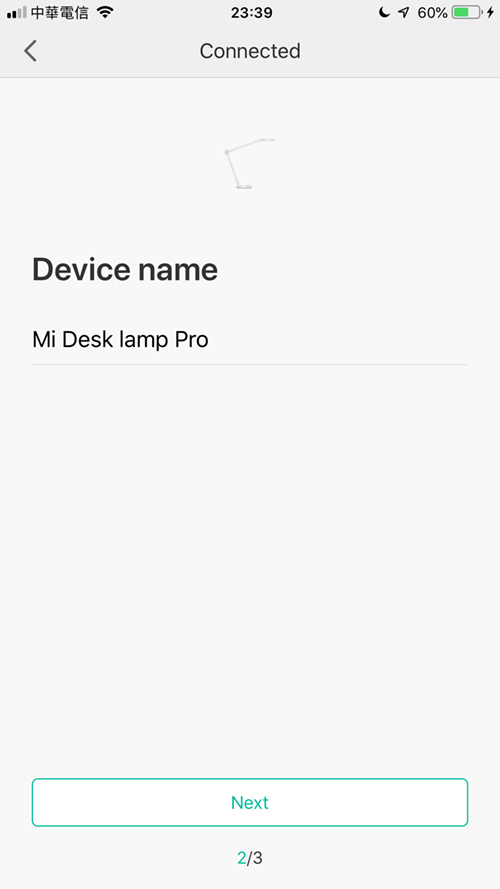
- Name the lamp to something you prefer
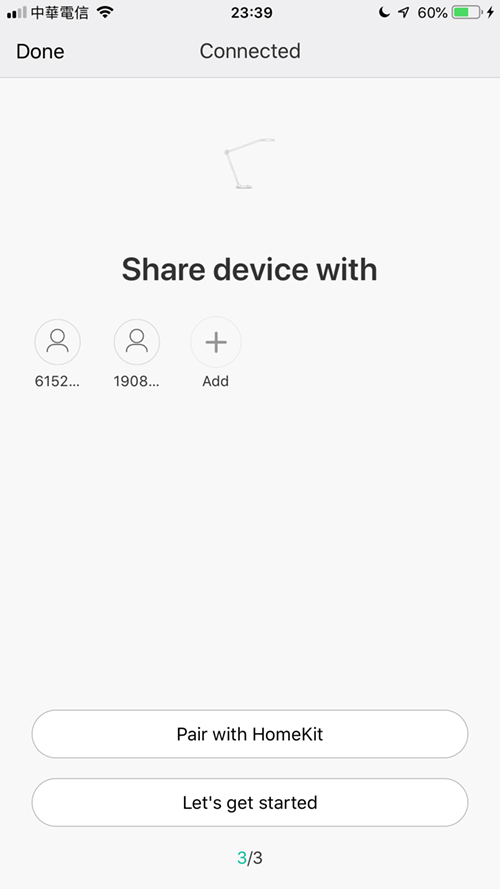
- Share the device with other Mi Home account holders (they have to be connected to the same Server country)
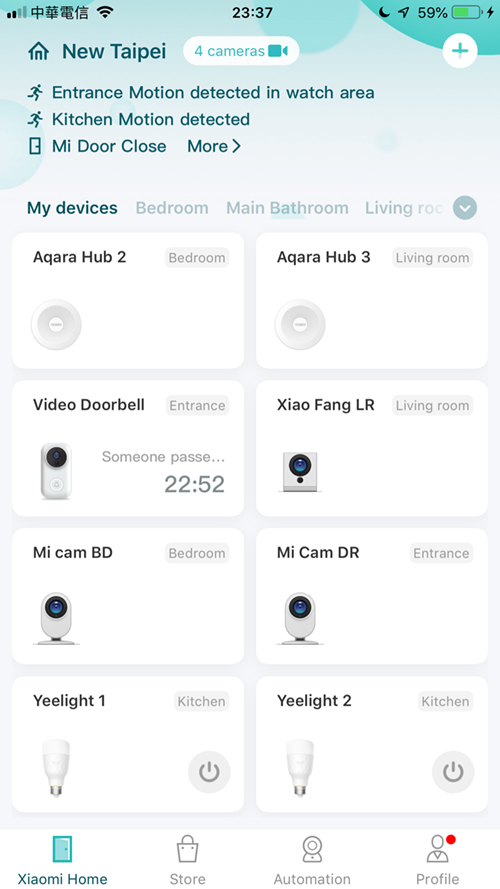
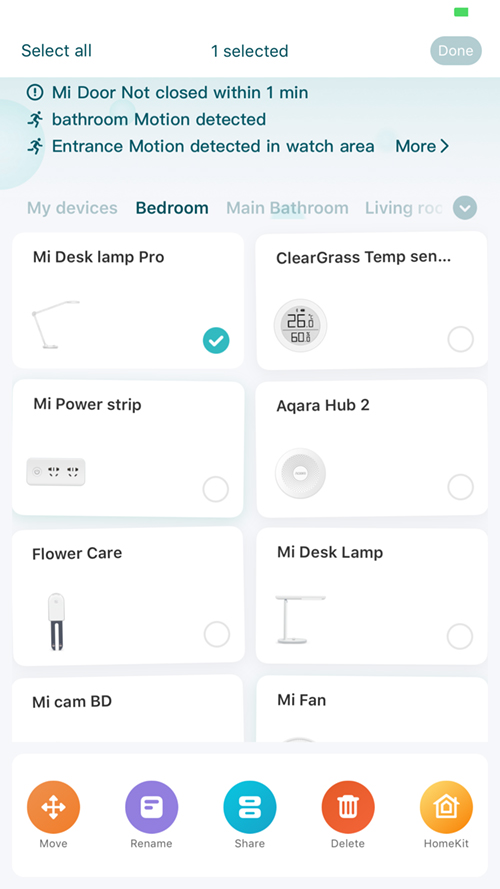
- You’ll then return to the home screen. long press on the Lamp tile, and then a HomeKit icon will appear at the bottom, which you need to press to begin the HomeKit side of the installation.
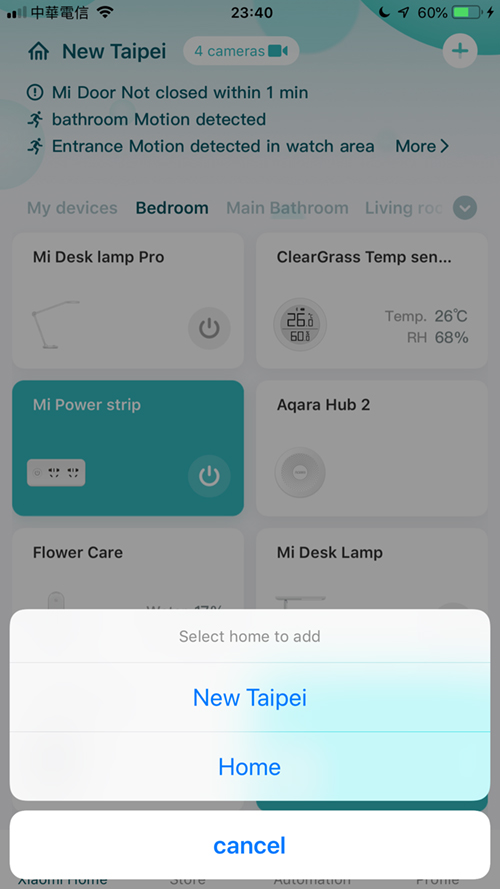
- Choose your HomeKit home when prompted and then scan your HomeKit code (not pictured)
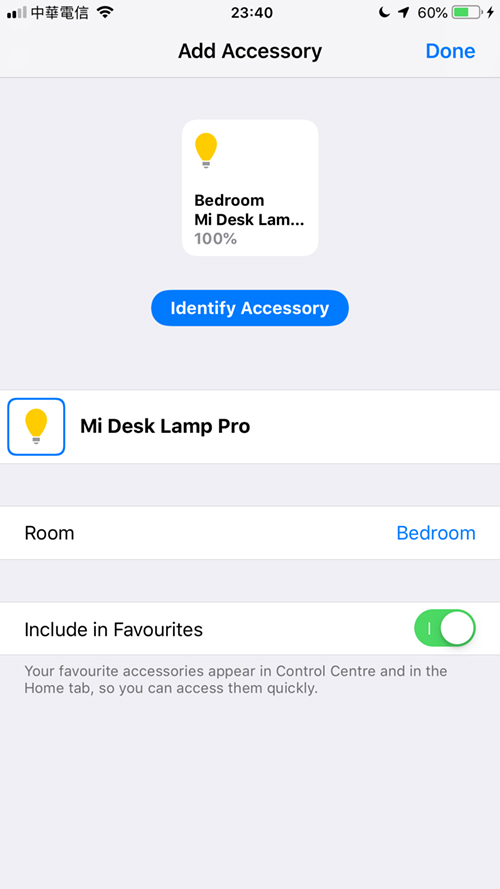
- Once added, choose the room, name and whether the lamp will appear on the Favourites screen
- Your lamp will then be added to HomeKit
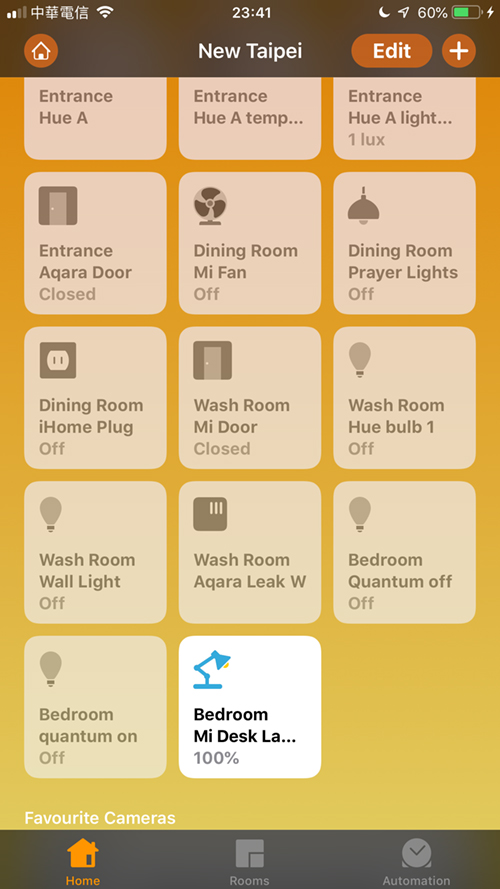
- As with all HomeKit lighting devices, you can adjust the brightness (assuming it’s dimmable)
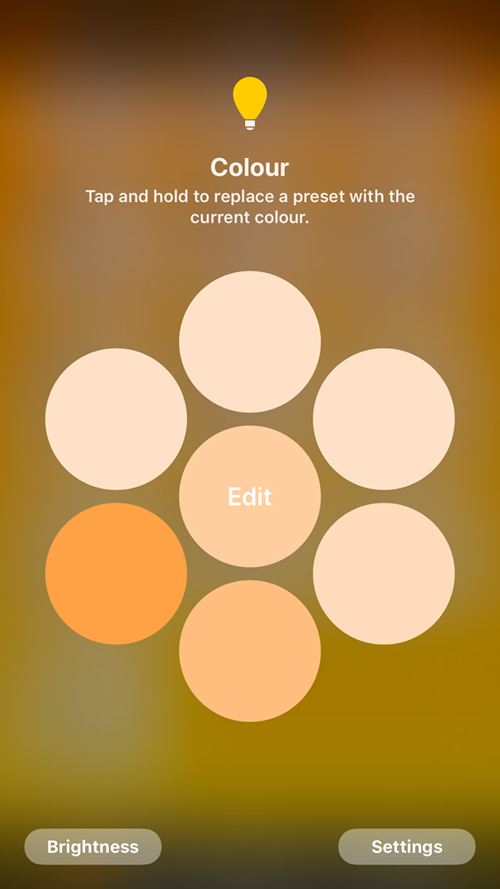
- You can also choose the colour temperature of the lamp
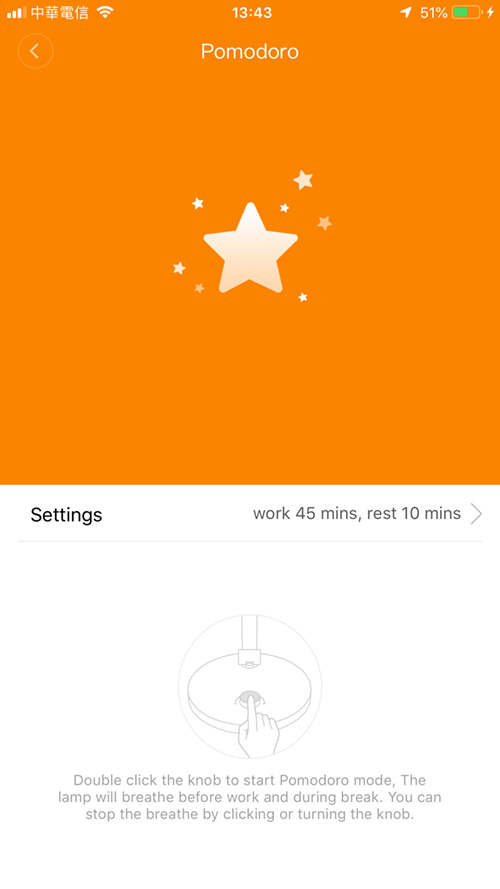
So, with the lamp installed and running in both apps, if you still prefer to just run things via HomeKit, then it’s not an issue. You do get extra functionality within the Mi Home app, so alongside the usual controls, which for brightness and colour temperature are all in one display. You also get a few presets, like Night Reading, Concentration and Blue Light Blocking, that adjust the lights quickly without a fuss. You also have an option called ‘Pomodoro’ (Italian for ‘tomato’). This option allows you to set a timer for the lamp, that, after a set amount of time, will slowly flash to tell you to take a break. Super handy considering I have this at my work desk, where I can tend to sit for longer than is healthy. The other thing that can make this lamp useful being in the Mi Home app is with automations tied to Xiaomi devices that aren’t HomeKit compatible, so, you might have a Mijia air quality sensor; You could set the lamp to flash if the AQI (Air Quality Index) levels from this sensor get too high for example, thus prompting you to take action.
Having had this lamp for a couple of weeks now, (and the accompanying Mi Bedside Lamp 2 for a while), both have been amazingly reliable, and the build quality, especially with the Desk Lamp, is really of the standard you’d expect of Apple products, so this is a lovely piece of lighting. It almost reminds me of the expensive, exclusive, seemingly ‘one-of-a-kind’ lamps you might have found in a high-end store like Habitat at its height of popularity, so I have to say that Mijia (or Yeelight, who I believe manufacture it) have done an amazing job.
Full disclosure: GearBest provided HomeKit News with the Mi Desk Lamp Pro for the purpose of this review. No other compensation was made or requested.






Good review! The original MiJia Desk Lamp (non Pro) I believe is not natively compatible with HomeKit; but did you try and succeed to get it recognized as a HK accessory when coupled with an Aqara hub? If so, how does it compare to the new Pro version?
Hi, the older model can’t connect to the Aqara Hub as it doesn’t use Zigbee, just WiFi, so there’s no HomeKit compatibility as such. I can control it via Siri Shortcuts though.