
Mi Door and Window Sensor (review)
Anyone who follows our site regularly will know that since the release of the HomeKit-enabled Aqara gateway last August, we’ve steadily featured both Aqara and Mijia products as soon as they became compatible. This however also led to some confusion over which products were Aqara and which were Mijia, in addition to the blurred lines as to where the name ‘Xiaomi’ all fitted into the scheme of things. It’s understandable, given that there’s never been a full explanation on the distinction between these brand names, and, to make matters worse, stores like AliExpress regularly list products with all three names, in a sort of ‘catch-all’ attempt to get as many relevant hits as possible.
Well although I’m not going to go into the details of the aforementioned confusion, I can tell you that this product we’re looking at today, does work with HomeKit (via the Aqara hub), and while it’s not Aqara, it is essentially the same product, fulfilling the same functions, but all in a different casing, so you can be rest assured, if you buy this and add it to your Aqara gateway, you’re going to get a rather cheap and very efficient door/window sensor.


UNBOXING
Whilst Aqara has stepped up the quality of its product line, with better-designed cartons, and more protection, Mijia has regularly maintained a minimum presentation standard in this regard, at least in Taiwan, where I purchased this. So, you get an image of the device printed on the front, with some basics on the rear of the box. no fuss, but still nicely presented.


The internal part of the box is solid due to having a strong boundary around the edge to keep things from being crushed, and cutouts to hold the sensor and magnet in place. This is only a door sensor, so there’s not a lot in terms of content, so along with the two parts of the contact sensor, you get the manual in Traditional Chinese, and spare double sided stickers for both the parts of the contact sensor.
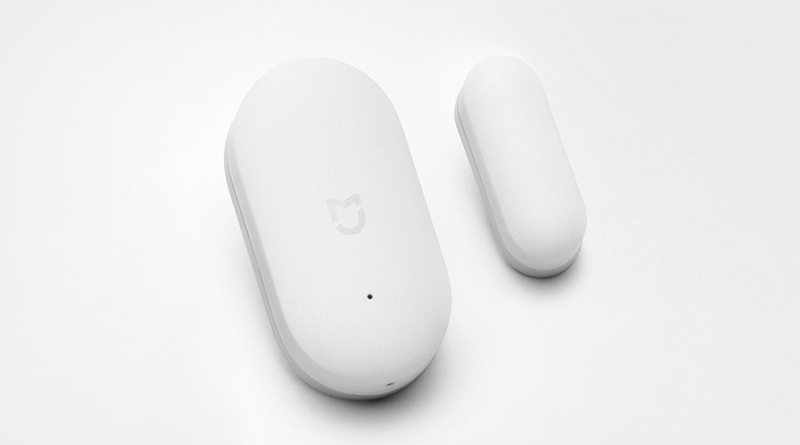
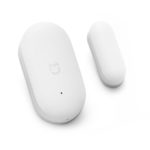
THE DEVICE
The casings for the sensor and magnet both use a form of matt plastic that I’m told is flame retardant to a degree. The matt finish is quite nice, especially if you’re sick of seeing shiny white plastic everywhere you turn in your smart home. It’s a minor detail, but it’s all about the small details for me. Both parts of the sensor already come with double-sided adhesive stickers already attached, so if you screw up the initial placement, or simply want to relocate the sensor at a later date, then do keep these spares in a handy place, as they’re cut to just the right size and shape. You can use standard 3M-style double-sided stickers of course, but they usually tend to be thicker, so they would make these sensors appear slightly raised if you don’t use the original stickers, which are quite thin. The front of the sensor has the Mijia logo, that appears on many of their other devices, along with a small hole through which a small blue LED lights up when the status of the device changes, or flashes during initial setup. The sides of each part have a small horizontal line that you’re advised to make sure line up with each other when affixing the two parts to a door or window, to ensure they work at full efficiency. Having said that, I recently installed one of these to a sliding bathroom door, and because the way the door was, it meant having the main sensor upside down to accommodate the lines facing each other. This meant the logo would be upside down – NO! Now I’m a bit obsessive about stuff like that, so I tested to see if the sensor would still work well enough with the lines facing away from each other but with the logo the right way up, and I’m happy to say it still worked absolutely fine.
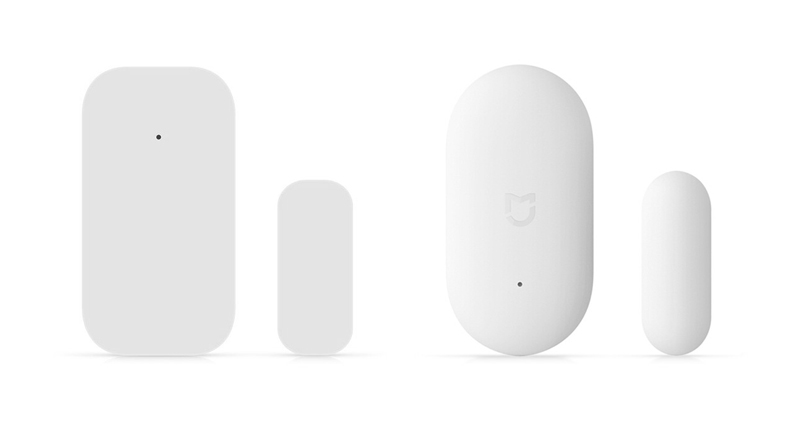
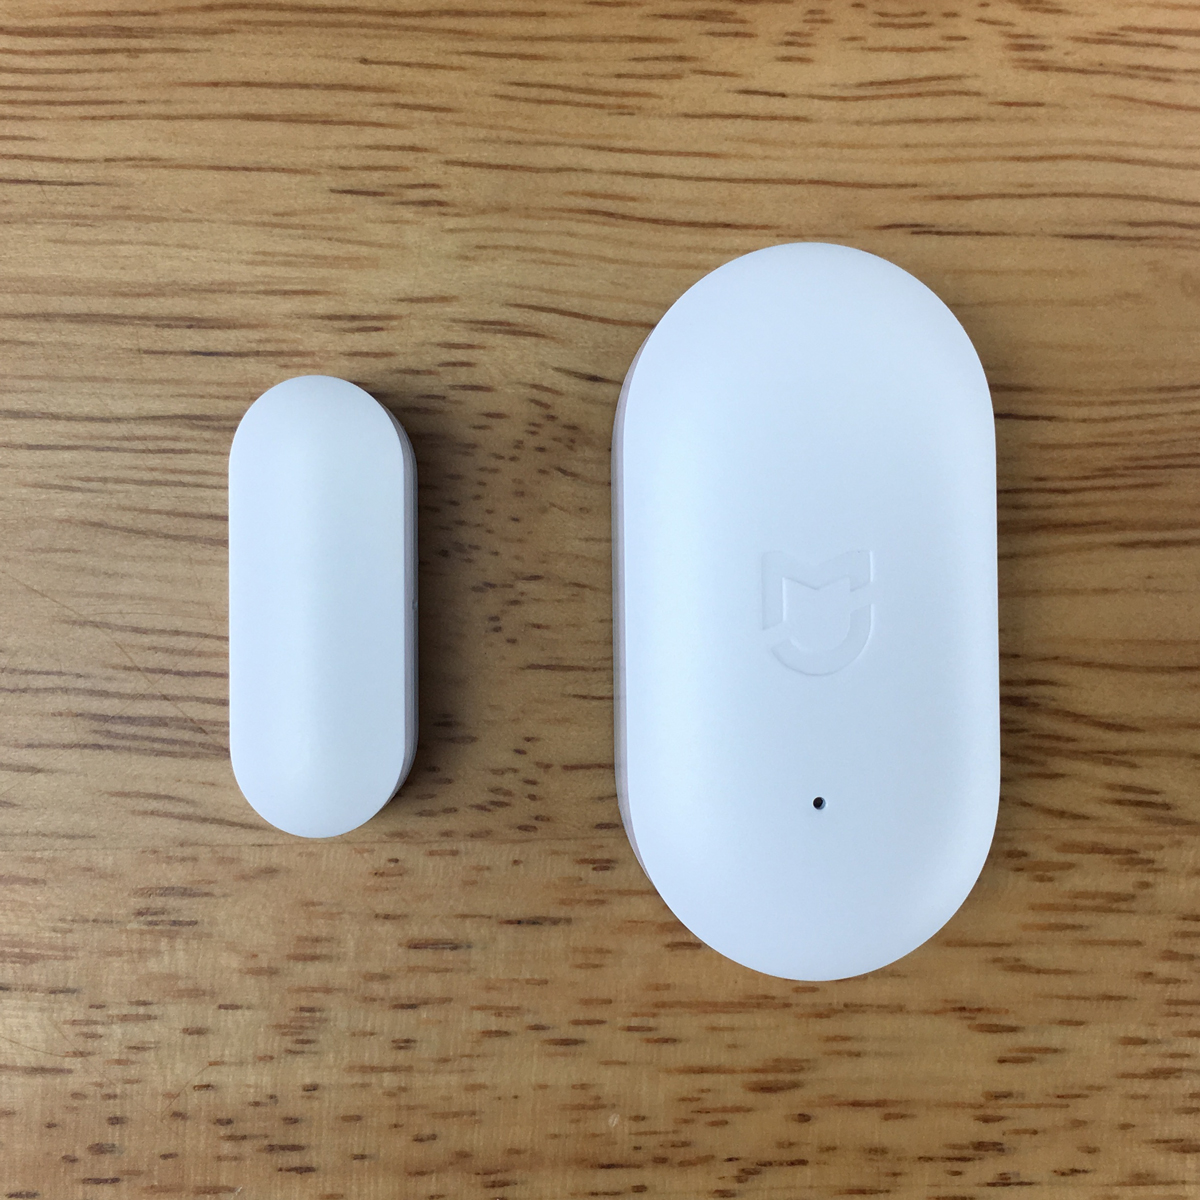
I previously mentioned that the Mi and Aqara door sensors are essentially the same, at least when it comes to functionality, and as you can in the image above, even though the shapes are different, the dimensions are the same:
- Sensor : 40.8 x 20.8 x 11mm / 1.6 x 0.83 x 0.43in
- magnet: 26 x 10 x 9mm / 1.0 x 0.39 x 0.35in

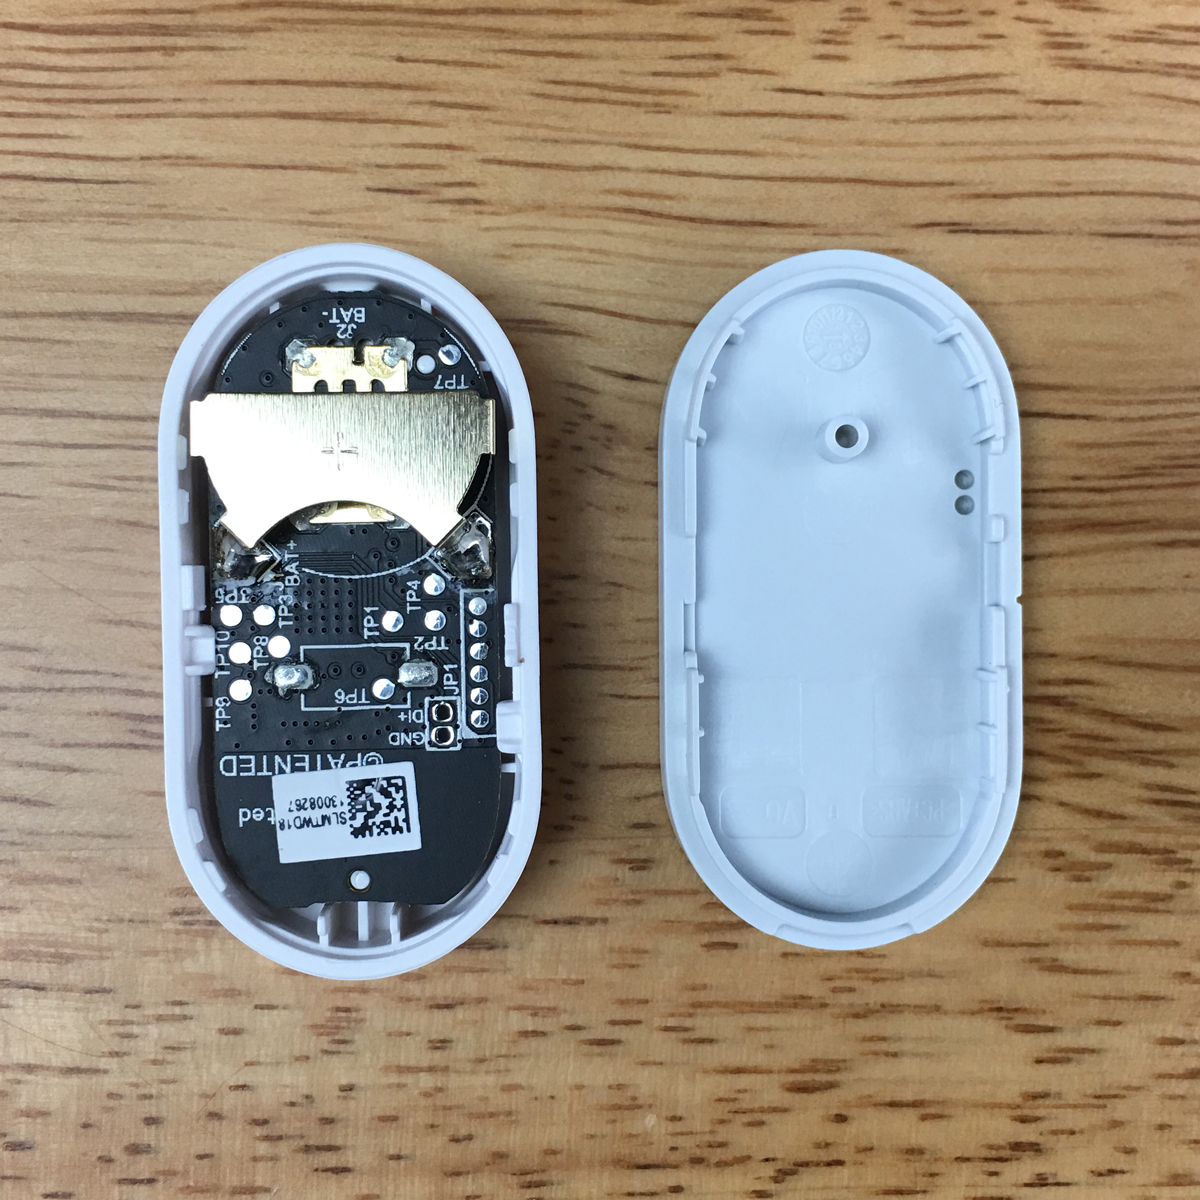
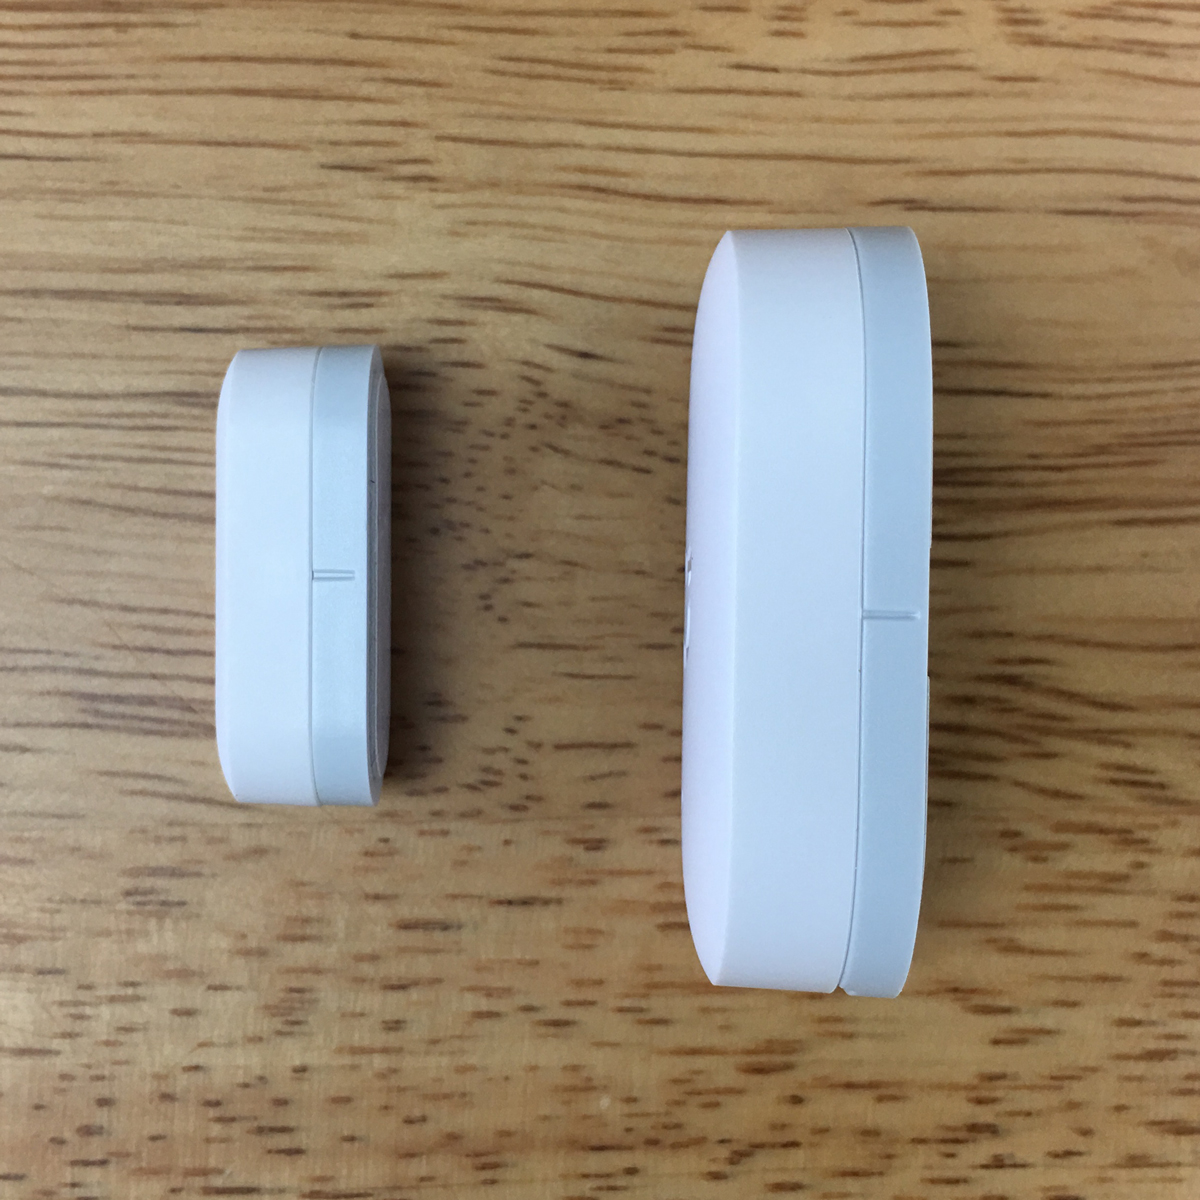
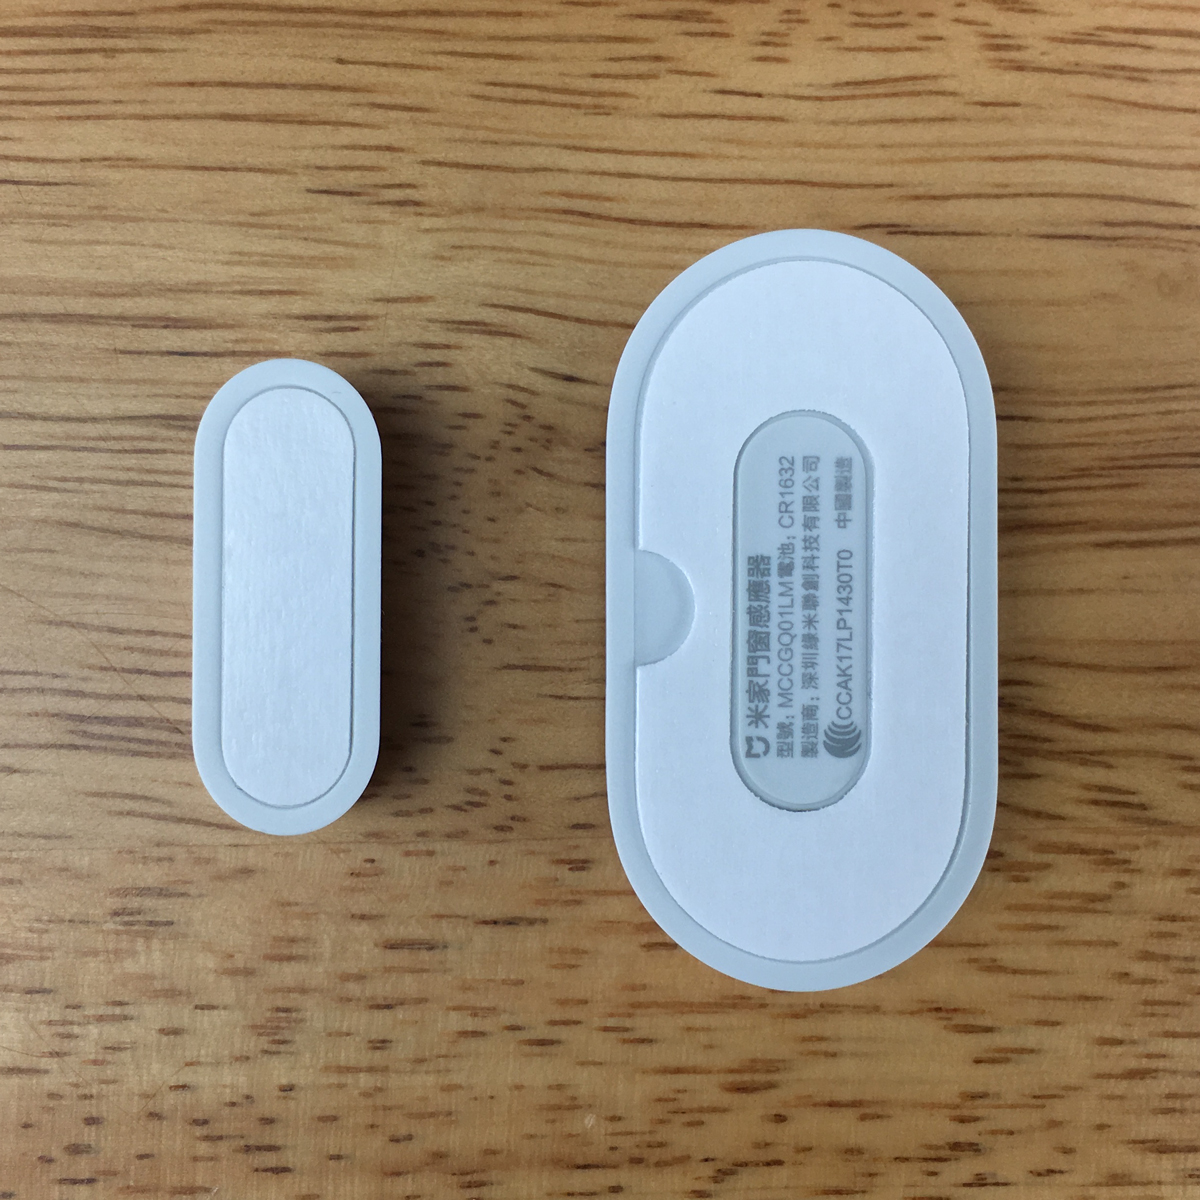
The only other difference between the Aqara and Mi sensors is the way in which you reset them/prepare them for installation; The Aqara sensor, like the Aqara motion sensor, has a small button that you press, whereas, as seen in the image above, the Mi door sensor has a pinhole that you insert a paperclip or ‘sim pin’ into in order to perform a reset. This is also the case with the Mi motion sensor, which we’ll be reviewing in due course.
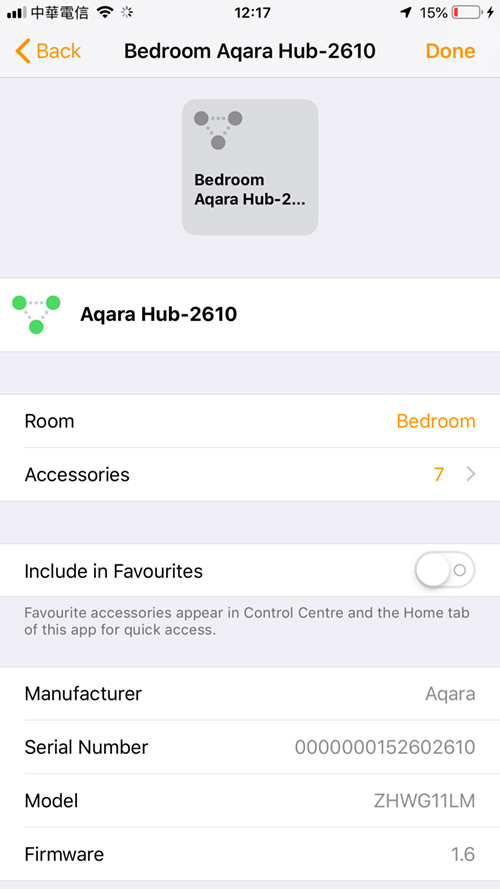
Below the reset pinhole, is a small inset groove to allow for the opening of the sensor, which in turn allows you access to the battery section. The sensor takes a small CR1632 battery, which while quite easy to find, isn’t as ubiquitous as the CR2032. The battery should easily last a year, and so far, the battery on another of these sensors is into its 18th month. This is partly due to the protocol that this sensor uses, which is ZigBee, and also why you will need a hub for this to work. If you aren’t using HomeKit, then the Mi Gateway will work fine, but for HomeKit integration, you’ll need to use the Aqara hub.
INSTALLATION
As this is a Mi Home compatible device, first and foremost, you will need to add it to the Mi Home app initially. There are two ways to do this, and essentially they should both work exactly the same, but I’ve found the standard way, which begins with clicking on the ‘+’ sign in the top left corner of the Mi Home app home screen, doesn’t always result in the sensor then being exposed to HomeKit. the method I tend to use is just as easy and seems to work to get the sensor exposed to HomeKit every time.
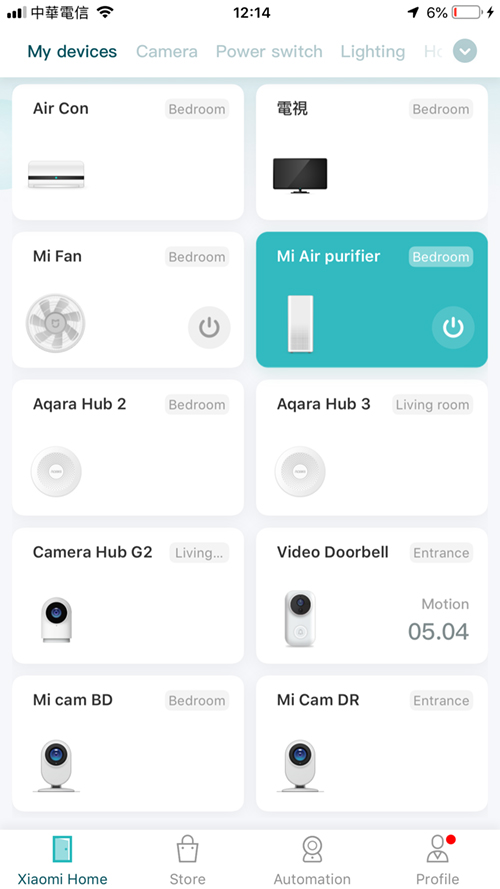


- Open the Mi Home app, and select the hub that you’ll connect the sensor to
- Select the ‘device’ tab, then click on the hub at the top of the list
- Select ‘Add child device’
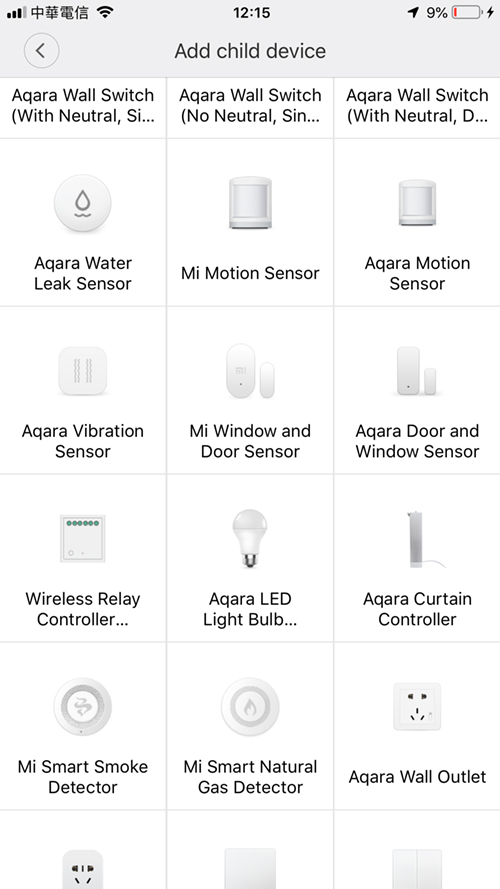
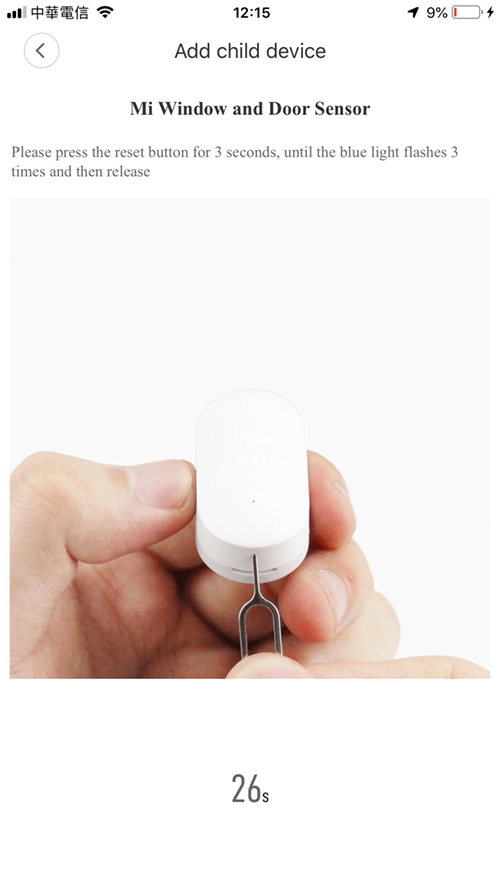
- Select the device you want to add from the grid of devices
- Reset the device by inserting a sim pin/paper clip into the hole at the base of the sensor until the blue light flashes 3 times (usually around 3-5 seconds). You have 30 seconds to complete this section
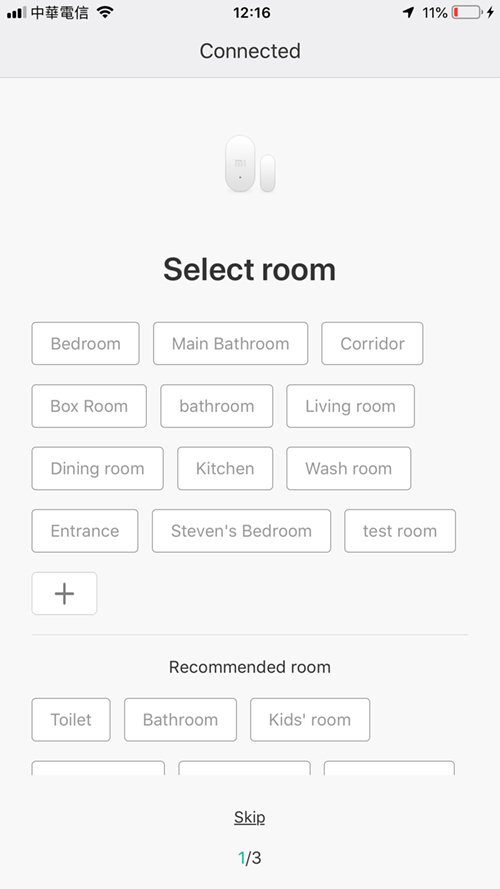


- Once the device has been installed, the Aqara hub will let you know it has been successful, and you can go ahead and add the device to the correct room
- Name the sensor as you see fit
- then click ‘Next’ to complete the procedure
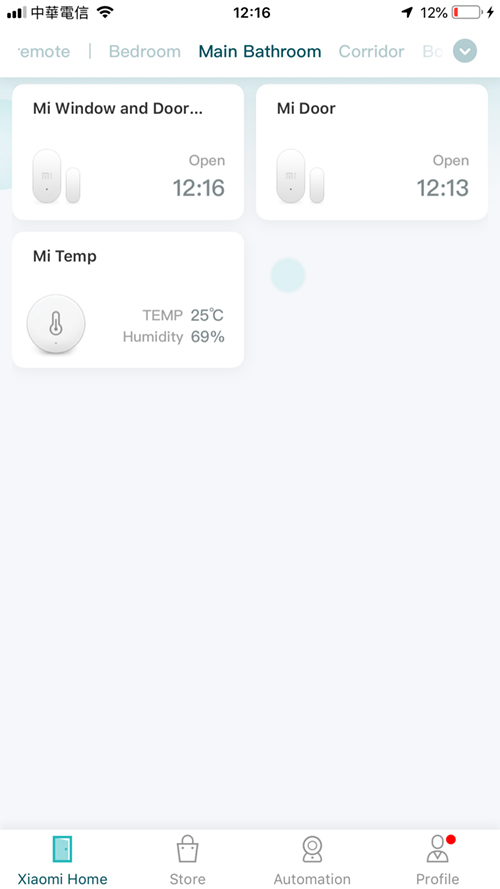

- The sensor will now appear in the Mi Home app
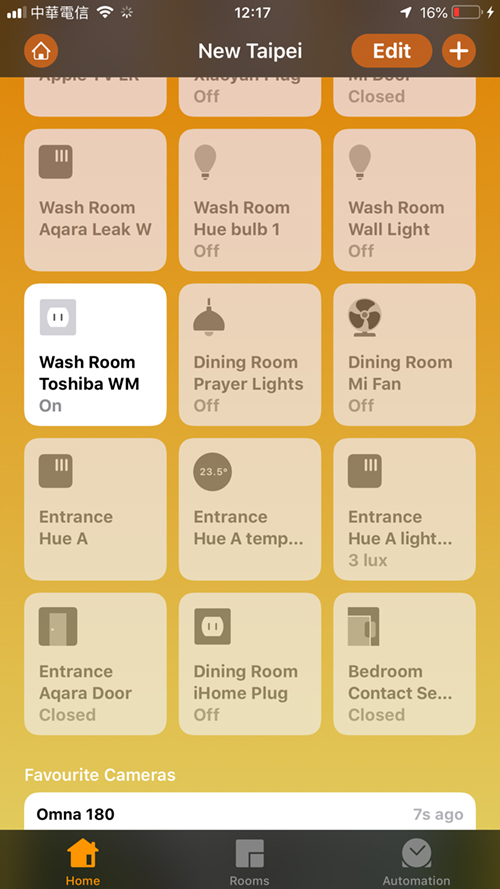
- Switch over to the Apple Home app, and your new sensor will appear at the bottom of the screen
- Note that there is no sync between Mi Home and Home with regards to the name and room location of the device, so you’ll have to do that again for the Home app
So, all in all very straightforward.
DAY-TO-DAY USE
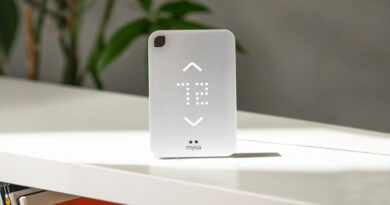
If you’ve already been using any of the Mi or Aqara sensors, you’ll be aware of how reliable they are and how fast they are to respond. With regards to the door sensors, the Aqara and Mi both perform excellently well and are as fast as “s**t off a shovel”, as they say in the UK. As they’re so small, they really are quite unobtrusive, and if you have white doors, then even more so. The battery life on them is great, and usually, you can get these dirt cheap – in Taiwan, I paid NT$245 (New Taiwanese Dollars) for one of these, which is approximately UK£6.00, or under US$8.00. Comparing that to the price I paid for the Eve Door & Window sensor ($40.00) and it becomes clear that these are very good value for money.
CONCLUSION
I really don’t have a bad word to say about these devices, and while, they do need an Aqara hub to get them into HomeKit, that soon pays for itself if you require a few of these. As an example, You can pick up a Chinese Aqara hub for around US$30 these days from AliExpress, so add this to say, three door sensors, that totals around US$54.00, and for that, you also get an alarm and night light built into the hub. That’s only US$15.00 than for just one Eve door sensor! Bear in mind that these are the prices I’m able to get, living in Taiwan, so pricing for these products will vary depending on a variety of factors.
If you’ve already invested in an Aqara hub anyway, then it’s no contest – just buy one!
Mi Door and Window Sensor
Pros
- Very cheap compared to many other sensors
- Zigbee device means fast speeds
- small and discreet
- long battery life
- Can work with HomeKit and Xiaomi systems
Cons
- Requires Aqara hub for HomeKit support

Bonjour,
Suite à la lecture de cette news, j’ai pu voir sur la page d’accueil de HomeKit un ventilateur (Dining Room Mi Fan). Je voulais savoir si c’était un ventilateur Mi ou juste une prise pilotée?
Cordialement.
Hello,
After reading this news, I saw on the HomeKit home page a fan (Dining Room Mi Fan). I wanted to know if it was a Mi fan or just a piloted plug?
Cordially.
Hi, that is just a regular fan plugged into a Mi Smart plug that works with HomeKit. I also have a Mi Fan that works great with Siri Shortcuts though.
Merci pour la précision, car je recherche un ventilateur sur pied compatible HomeKit.
Thank you for the precision, because I’m looking for a stand-up compatible HomeKit fan.
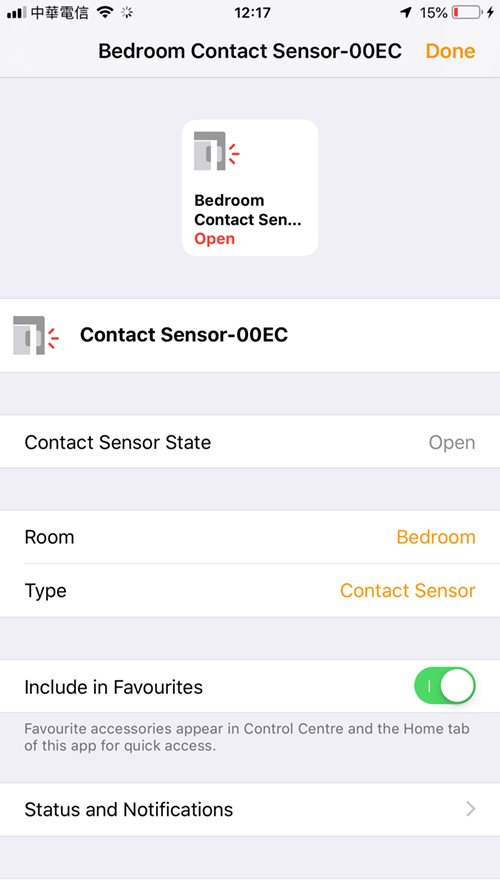
One tip for those using the Xiaomi/Aqara door sensors – You can change the sensor ‘Type’ in the Home settings to set it as a ‘Door’ or ‘Window’ rather than the default ‘Contact Sensor’ (see pics above).
It’ll give you a much nicer icon and makes the labeling/notifications more meaningful, e.g. Front Door Open.
Yes, thanks I was aware of this feature. It’s the same for the lights too – four different icons.
recently my other half of the sensor (small one) was missing. right now i want to find subtitute for it without buying for new one. do you think it work if i just put a small magnet beside the main (bigger one) sensor?
I believe a simple magnet should work fine.
Hi Simon,
Just for beginners, what is the minimum I need to have this door and window sensor working:
– Acara hub
– Aqara home app
Can you please confirm it or elaborate?
Will it work in Europe if I buy all of them on Ali Express for example?
Thank you in advance for your feedback.
Juan
If you don’t want HomeKit functionality, then you only need either an Aqara or Mi hub, and the sensor along with either the Mi Home app or the Aqara Home app. If you want HomeKit functionality, you would need the Aqara hub. But in order to create triggers and automations etc, you would also need a home hub of some sort, like an Apple TV (4th gen or above), Apple HomePod, or iPad able to run at least iOS 11. You can use some stuff without a Home Hub, but without it, you can’t create automations or even get remote access to your devices, when you’re out of the house. If you buy the hub from AliExpress, then you can sort of use the EU servers, but it’s not fully functional. You’re better off either sticking with the China server and use Chinese products, which gives you full functionality, or wait until the EU hub comes out, and buy EU sensors, although the Chinese sensors should work with any server.