
Koogeek FL1 Fingerprint Lock (review)
A couple of years back, Koogeek was the new kid on the block in the HomeKit world and brought out some relatively cheap – if standard – products, like their smart plugs and power strips, their bulbs and light strips and so on, but last year the company went relatively quiet, even appearing to partially abandon HomeKit with the release of a couple of smart plugs that only supported Google Assistant and Amazon Alexa. This was all in spite of a brace of HomeKit products that were either leaked or spotted hidden within the Koogeek website – L1 Smart Door Lock and the KC01 Smart Camera to name but two. These were joined by other devices that seemed to languish within the aforementioned hidden section of Koogeek’s website, namely the A1 Environment Monitor and the FL1 Smart Fingerprint Lock, that have even been listed on our site since last August. Luckily, Koogeek seems to be awakening from its slumber with the latter two devices now being widely available, albeit with little to no fanfare. Today we’re looking at the Koogeek FL1 and from there figure out what we can actually use it for…

UNBOXING
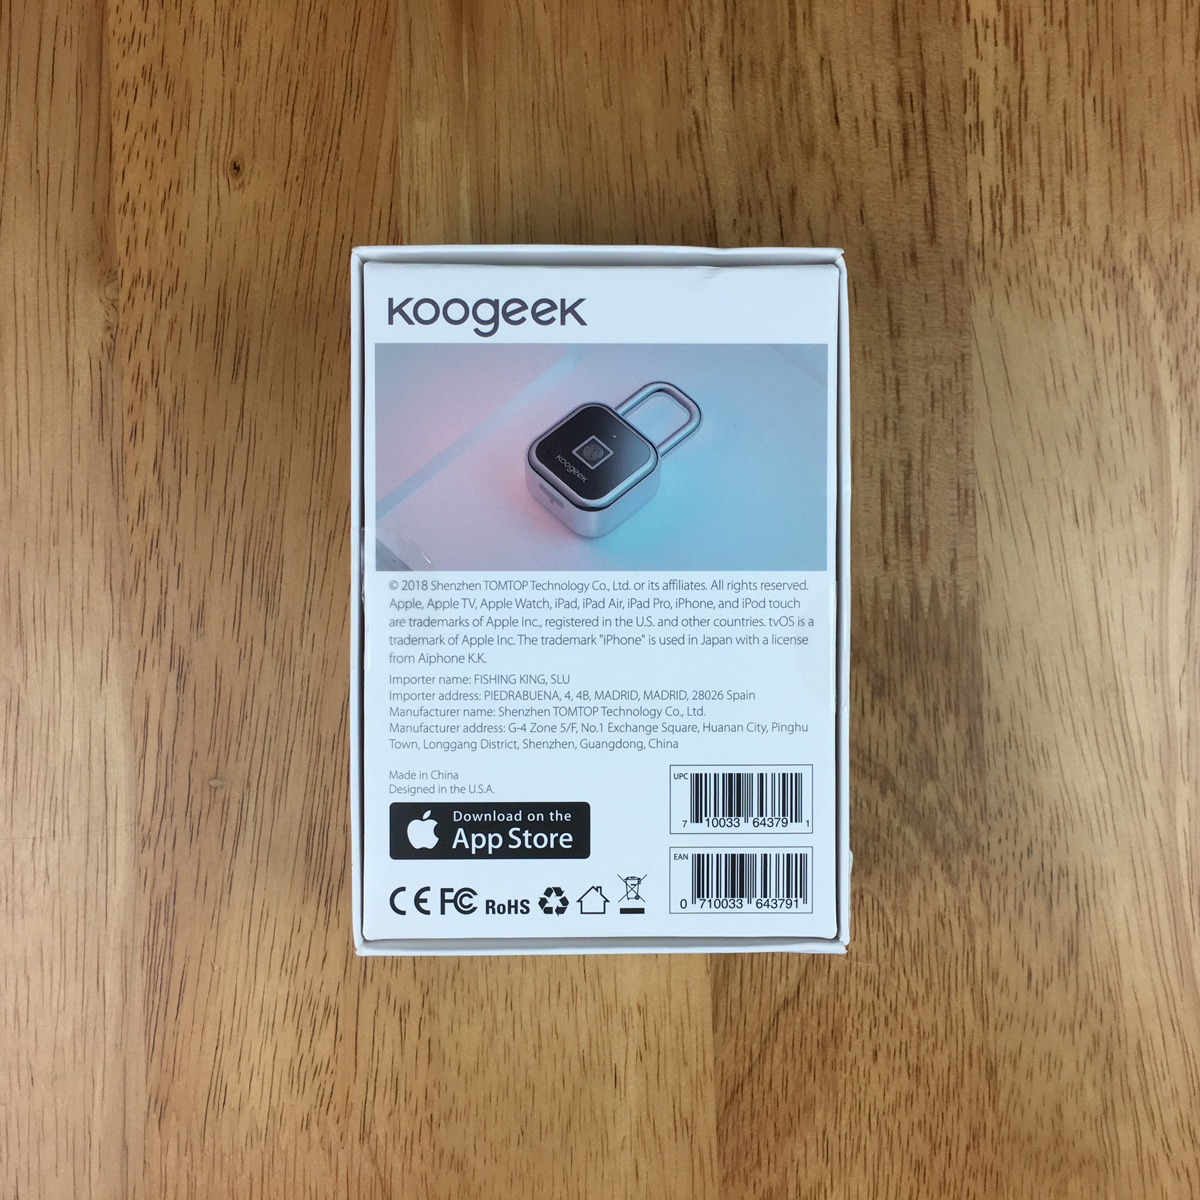
Like a lot of companies of late, Koogeek doesn’t skimp on their packaging, and have clearly taken the Apple aesthetic to heart, with a simple understated design for the front; the name of the product, the product image, and the ever important ‘Works with HomeKit’ badge. The odd thing you may or may not notice is that the box shows the product code to be L3, where online – including their own website – it’s listed as the FL1. The abandoned Koogeek Door Lock was given the L1 product code, so maybe there was another lock type product that didn’t see the light of day (L2), with this possibly coming last, hence the L3 designation. Who knows (or cares), but this is now known as the L1 and that’s the end of it! The rear of the packaging has a lifestyle image and a bit of legal text about the company and the importers, so nothing to see there. The one side of the box that wasn’t obscured (in this instance) by a large white sticker, simply lists the features of this device, namely;
- You can unlock the device with your fingerprint
- Up to 50 fingerprints can be stored (that excludes Candido then I guess…musicians’ joke*)
- Can be controlled via Siri
- 1 Year limited warranty
So as you can see, whilst it sounds great, there’s not a lot to this device. Still, almost in a class of its own.
* if you get the joke, let us know…
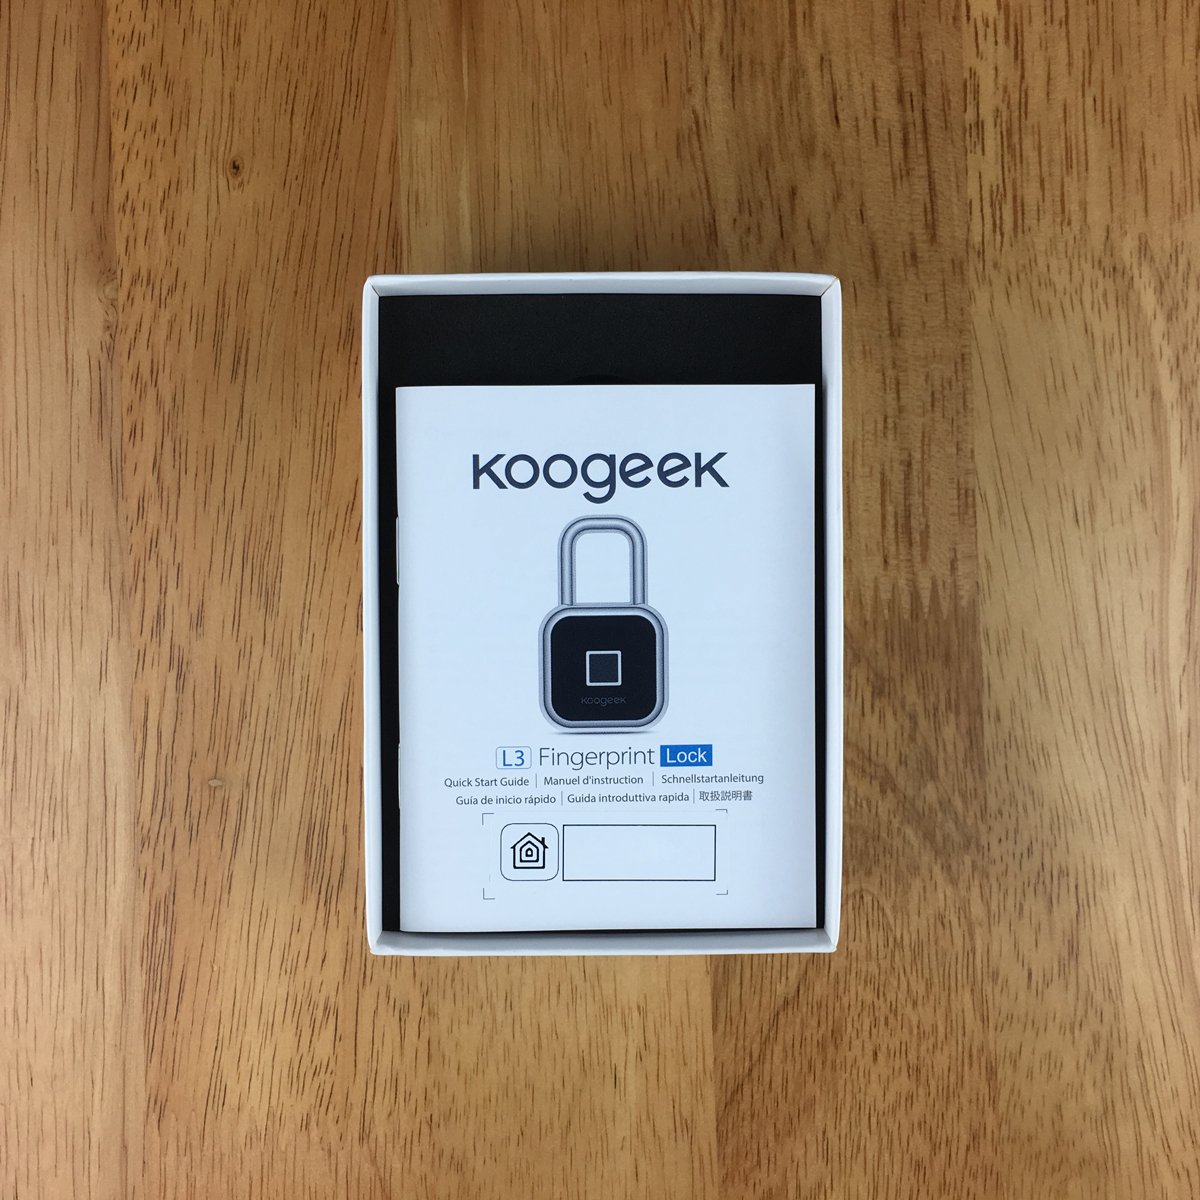
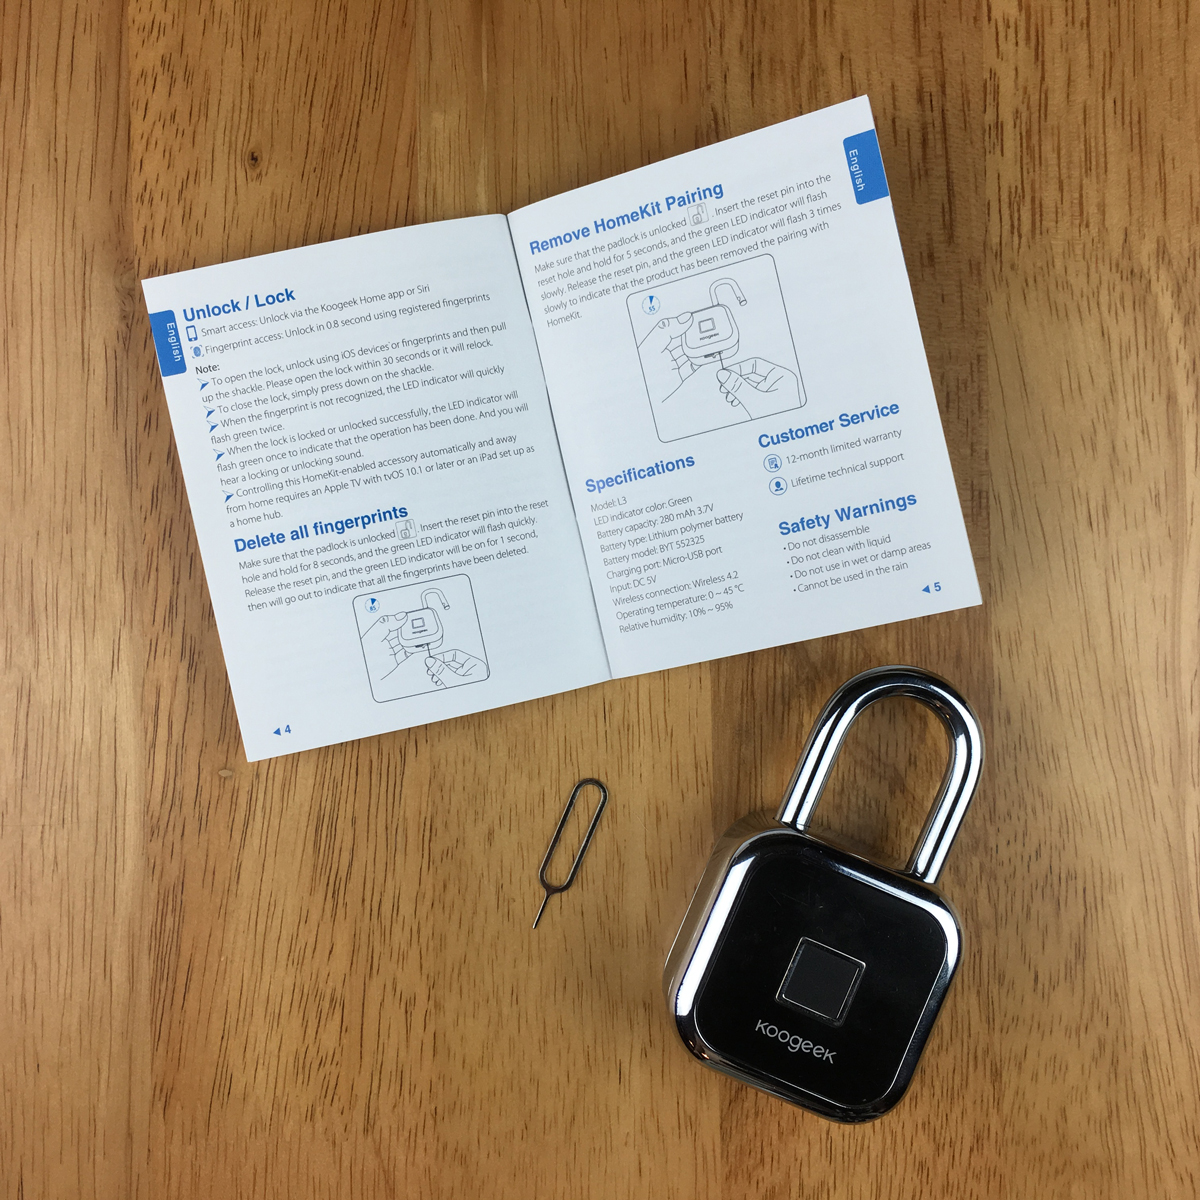
With the box opened, you first get to see the instruction manual, that also contains the HomeKit code on the front. Bizarrely enough, an instance of the same code was stuck to the outside of the box, which is a bit disconcerting and not the norm! either way, aside from the code on the front of the booklet, there is no other instance of it, so do make a note, or better still, get yourself a copy of Aaron Pearce’s essential HomePass app to quickly scan and store all of your codes (seriously, just get it).
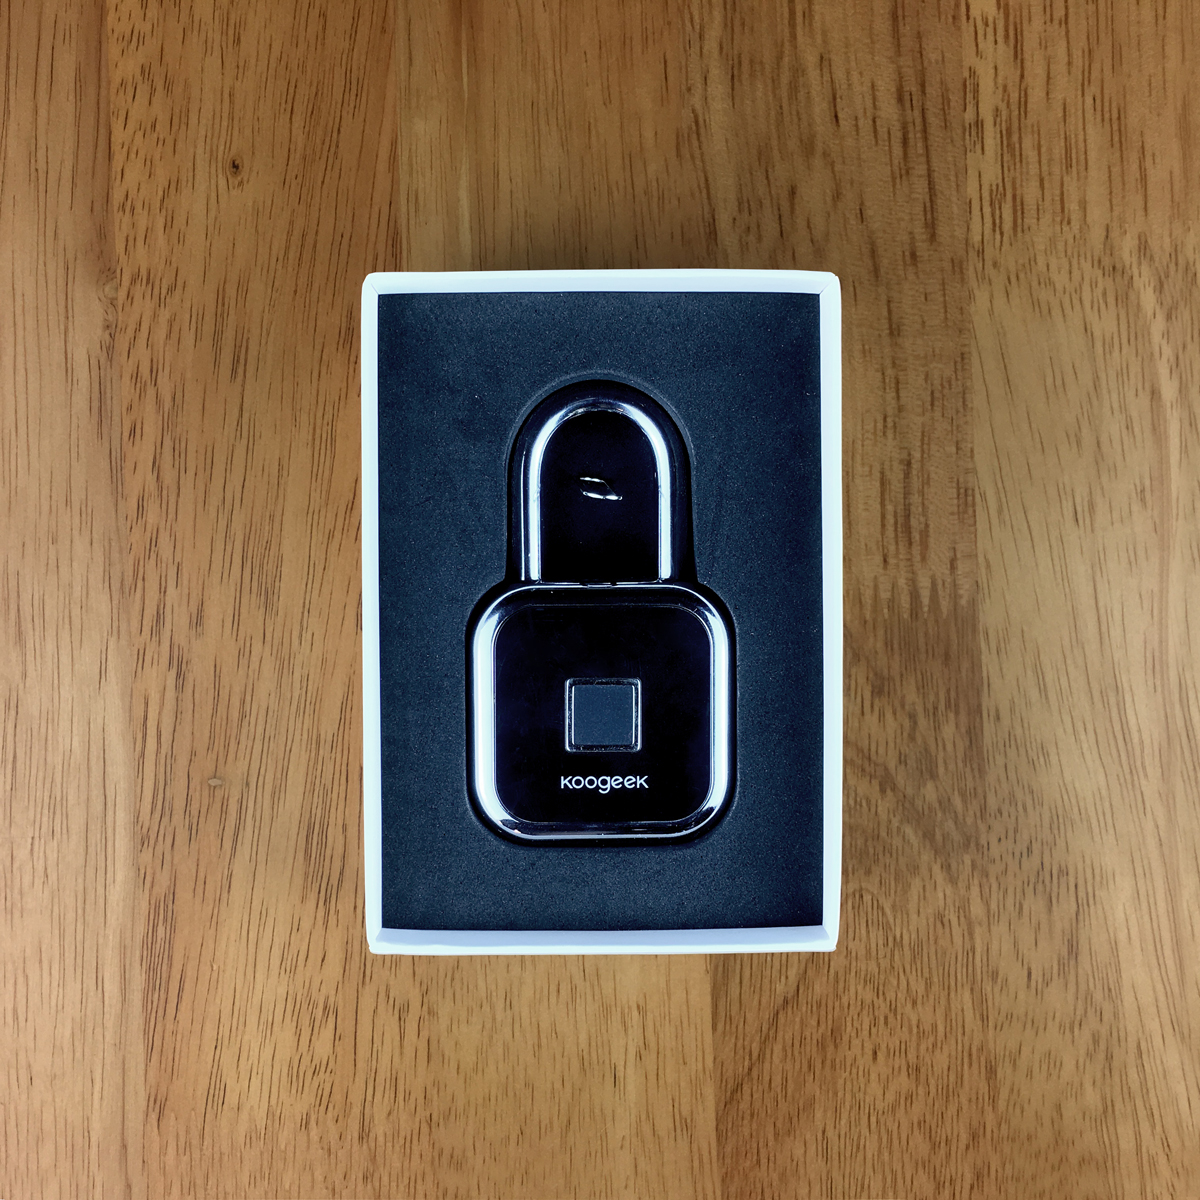
The manual has multiple languages (English, French, German, Spanish, Italian and Japanese), and while this is a simple product to use, it’s wise to keep this in case of resetting or simply setting things up, as it’s not as obvious as it might seem. Beneath the manual is the lock itself, surrounded by super dense foam as though it was some kind of very expensive guitar. It nice to see this level of protection, even with a device that’s meant to be strong. Along with this, you get a sim pin, which you’ll need for initial setup or resetting of the device.

THE LOCK
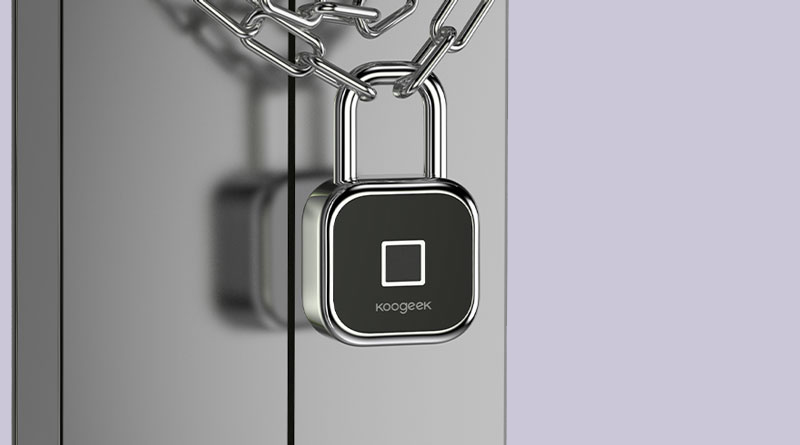
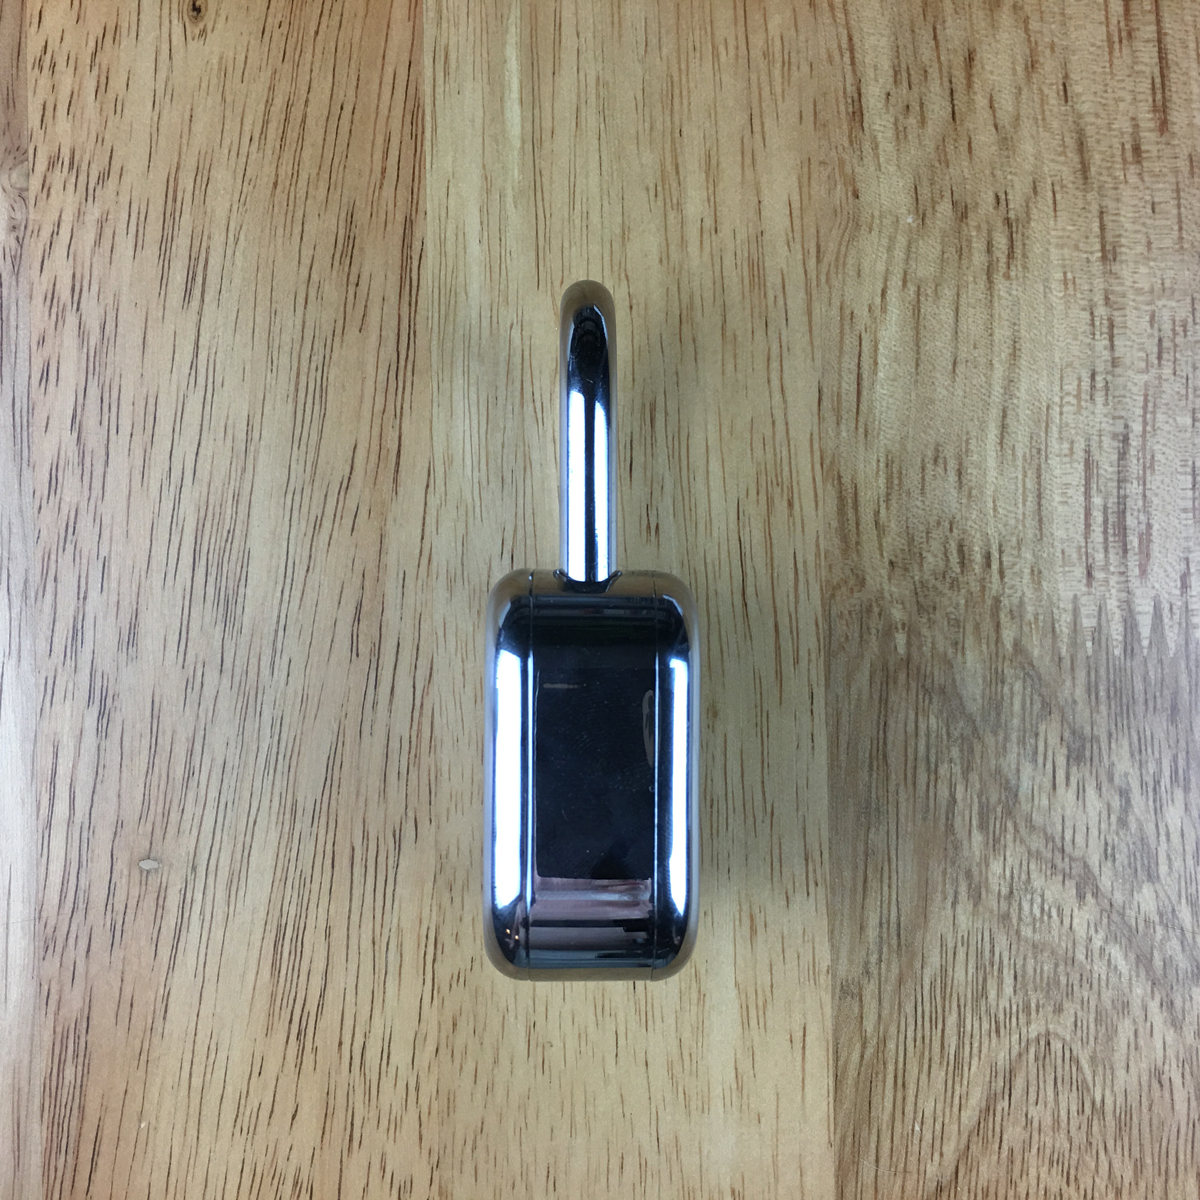
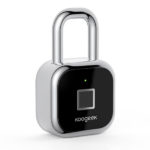
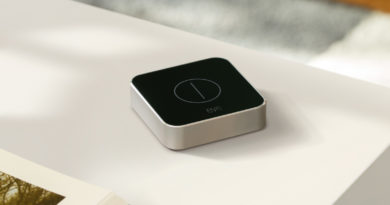
Onto the lock, and the first impression you get is that, yes, this feels like the kind of solid padlock you would expect of its dumb equivalents, with a fair amount of weight to it (coming in at just under 200g/7oz), and nice, shiny zinc alloy and stainless steel. The height/width of the body of the lock comes in at 50mm/2in, with a total height when the lock is closed, of 85mm/3.3in, and 105mm/4.1in when fully opened. the depth of the lock is 25mm/1in. The front of the lock has an inset plastic front surrounding the square-shaped fingerprint sensor, which is itself surrounded by a slightly raised chrome border.
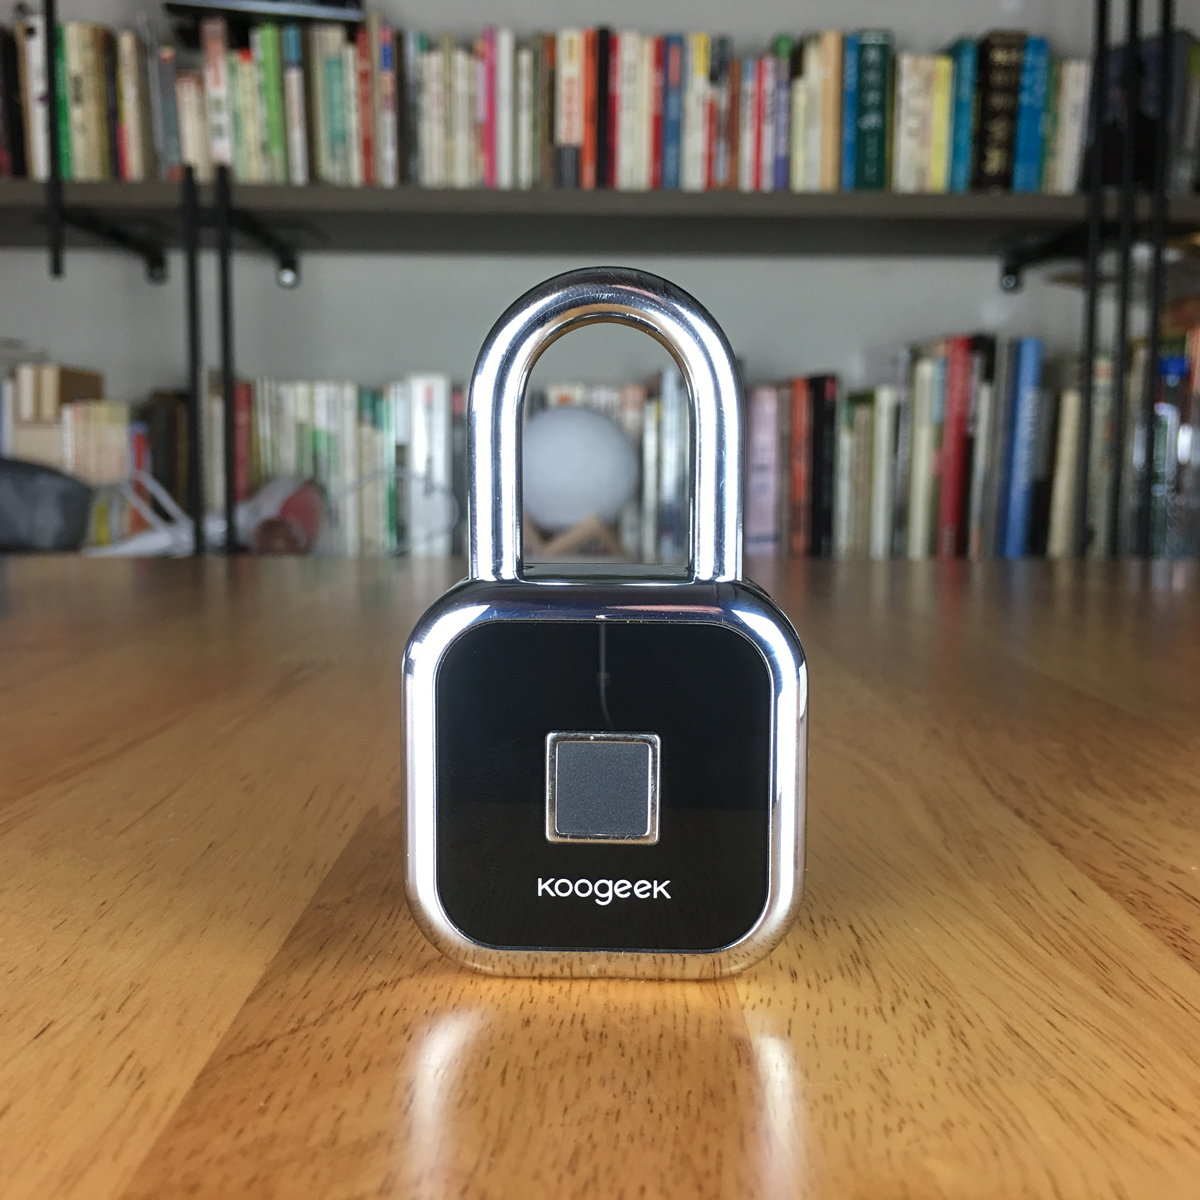
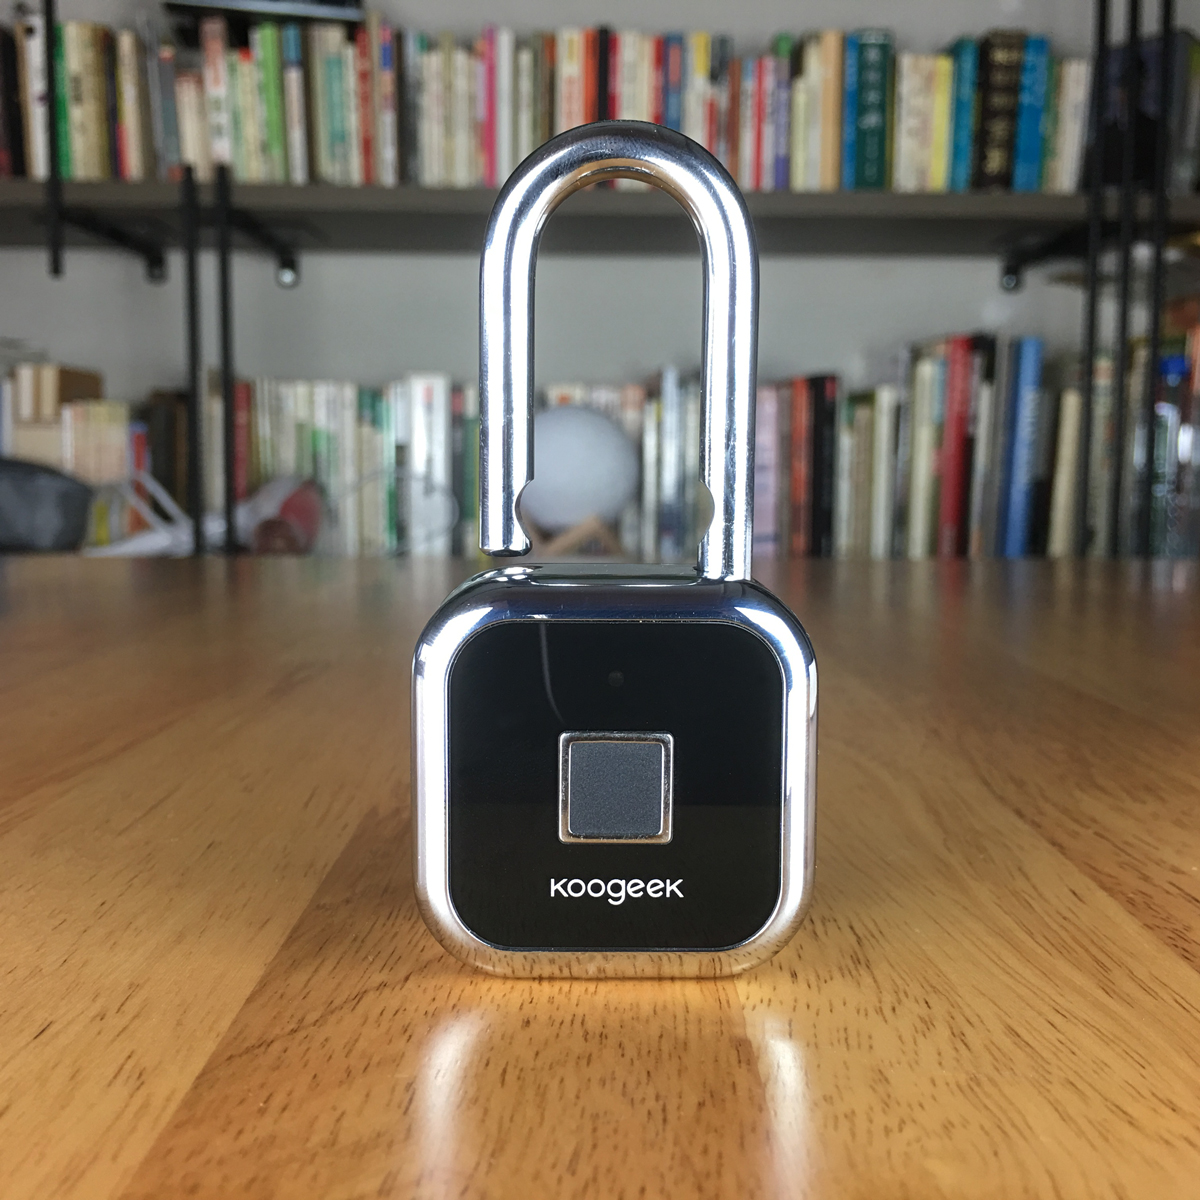
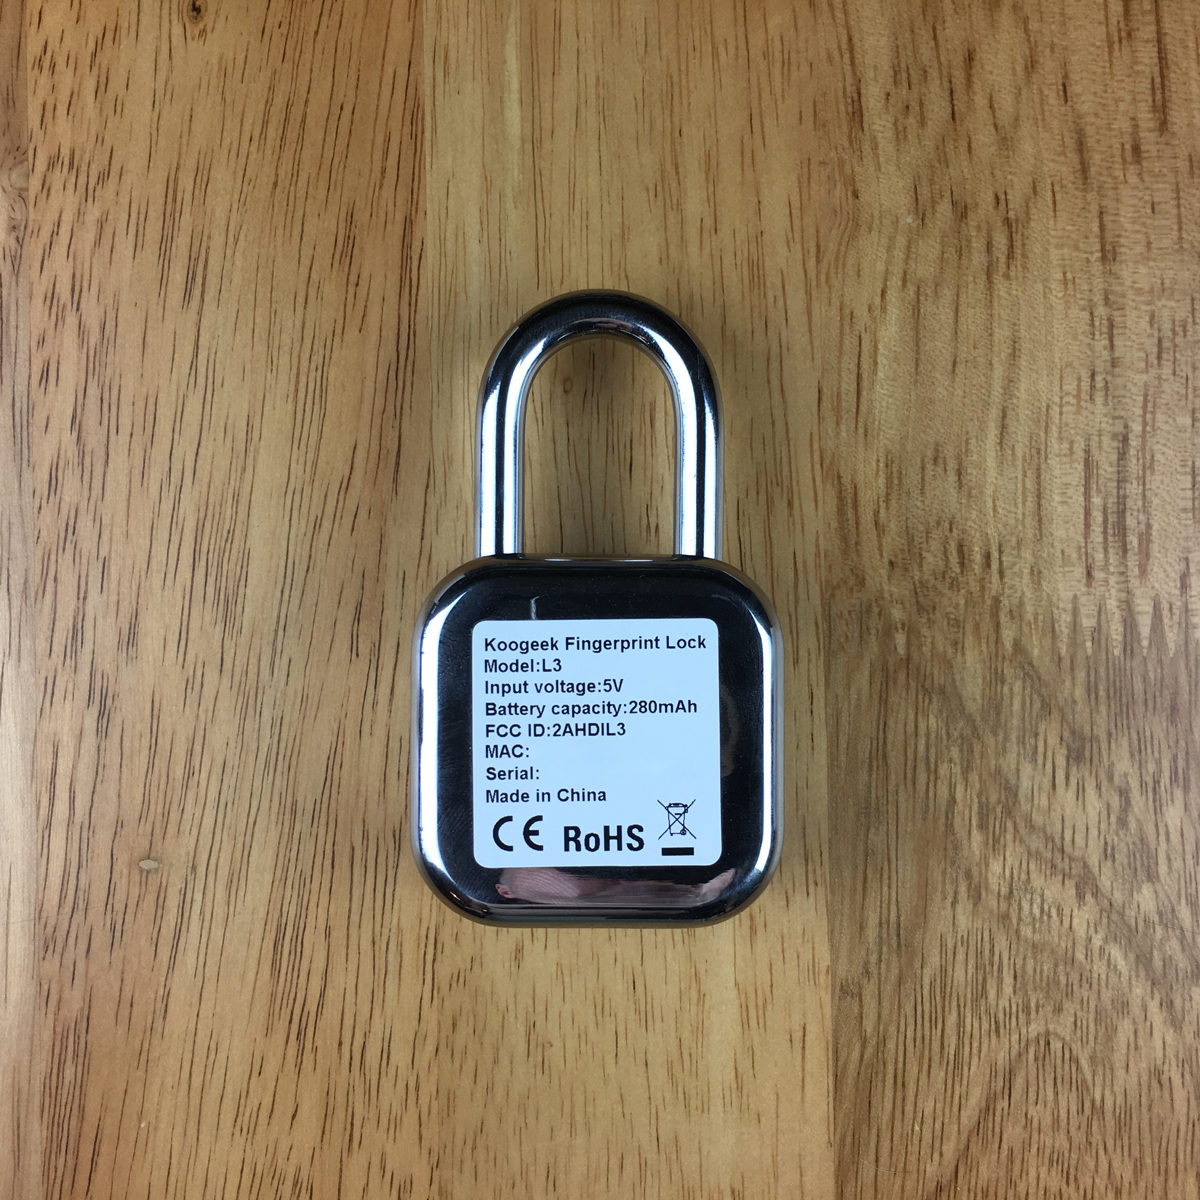
When I first got my hands on the lock, as I’d bought it from AliExpress, I suspected I’d been sent a used one, as the black front section looked marked and a bit dirty, however, it turned out to simply be a thin protective plastic coating that I was able to peel off (phew). Of course, the first thing I did, was to test it with a press of one of my fingerprints, and it opened immediately – odd, I hadn’t even set up a fingerprint! It turns out that this is the default state until you register your own fingerprint(s), after all, how can you set it up if you can’t open it, to begin with, right? Other than the front, with the sensor, which is more matt in appearance than the surrounding black plastic, there is a small LED light above the fingerprint sensor, that’s off, for the most part. Aside from that, there’s not a lot to see. The rear of the device is all chrome, save for the ugly sticker stuck to it.


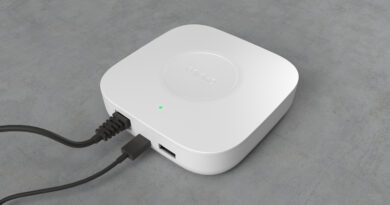
The base of the device is where you’ll find a rubber cover that protects the micro USB port, which you’ll need for charging the built-in lithium battery, along with a small pinhole for resetting the device. This rubber door, whilst not tightly fitting, isn’t that easy to get open so you’re going to need to prod it with the sim pin or similar to get it to pop out. It’s important to note that the lock is not supplied with a micro-USB cable, so you will need to buy one if you haven’t got one lying around already.
SETUP
To set up the device, you should initially use the Koogeek Home app, although you probably can just first add it to the Apple home app, and continue with setting it up in the Koogeek app after. After adding the device to the Koogeek app, you will then need to start registering at least one fingerprint;
- Make sure the lock is in the unlocked state, with the lock fully opened.
- Inset the sim pin into the reset hole at the bottom of the lock and hold for 2 seconds
- The LED on the front of the lock should turn green and stay on
- You then have to register a fingerprint – press the same finger five times
- each of the five times you register the fingerprint, the LED will flash once
- The LED will flash twice to let you know you’ve successfully registered a fingerprint
- From there you simply need to repeat these steps to register subsequent prints
INITIAL USE
Once I’d registered a fingerprint, I tried it out and it worked fine. It has to be said, the tech used for the sensor is not going to be of the quality you’d find in an iPhone that uses Touch ID, but it works fast enough. It’s also not as accurate as Touch ID, so I’ve found you need to place your finger squarely on the device to get it to work the first time. If it doesn’t recognise your fingerprint initially, the LED will flash twice. If it fails to recognise your fingerprint six times in a row, then there’s a timeout period of 60 seconds, before you can attempt to open it again. Once it does recognise your print, you’ll hear the lock mechanism unlock inside, although the shackle won’t physically pop open, so it will still appear locked. You then have approximately 30 seconds to pull the lock open yourself before the L1 locks itself for security purposes. This is the default length of time before it locks, but you can adjust this between 1 to 100 seconds in the Koogeek Home app.
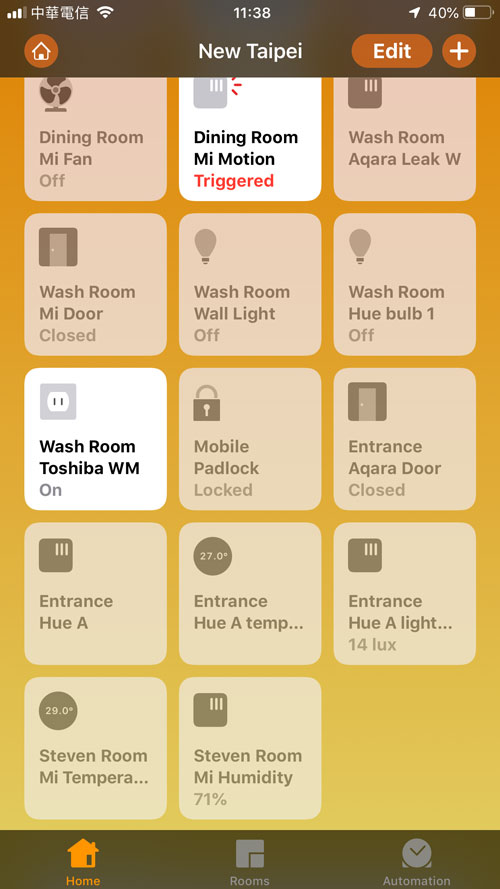
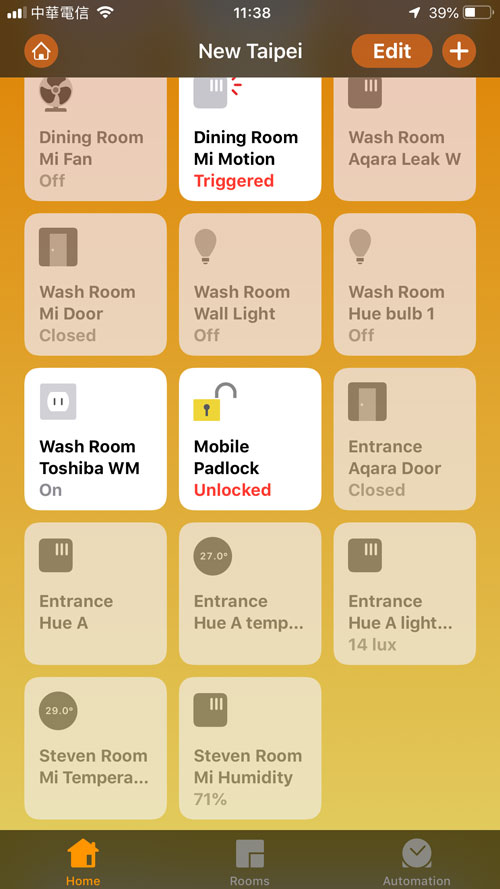
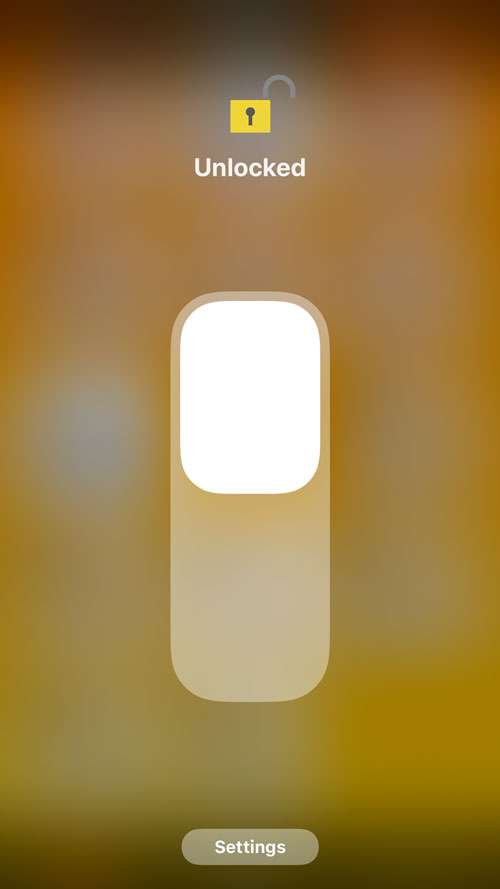
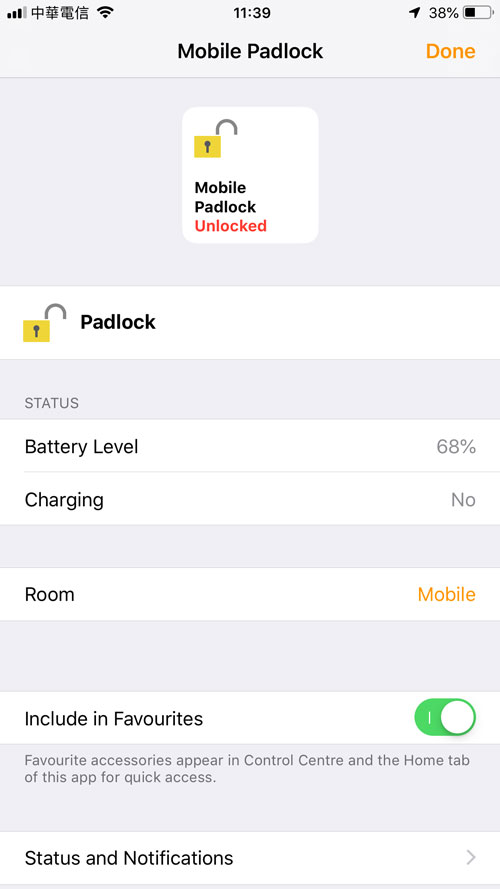
IN THE HOME APP
After the Koogeek app setup procedure, I hopped over to the Home app and as I’d already added it to the Koogeek app using the HomeKit code, it was already present. This device works via Bluetooth (4.2), so it doesn’t require a wifi network to work, although if you’re using this at home, you’ll need a Home Hub (Apple TV4+, HomePod, iPad) for remote access. If you’re using this away from your HomeKit home, then the only way you can open the lock is either via your fingerprint, via Siri, or via the Home app (or any third party HomeKit app). All of these options require you to be within range of the Bluetooth signal. All of these options require you to be with the lock, essentially. When it comes to using this anywhere other than your home, it’s important to note that there’s no mention of this device being waterproof, so it may not be suited for locking a bike outside or use with the door of a garden shed, for example. It can probably be used if it’s under cover, but Koogeek doesn’t specifically mention anything like this on their website*. In the Home app, you get to see the FL1 as a padlock icon, just as you would any HomeKit door lock, with the tile and icon ‘greyed out’ when locked, and in colour when open. You also get access to the slide control when you long press on the icon. In the settings page, there’s not a lot to see, but luckily it does show the battery percentage, as well as whether it’s charging or not. As for the battery, it seems to do a good job of keeping its charge for a while. I probably open and close it about 3 times a day and in the month I’ve had it, the battery level has maybe dropped by about 30%, so I’m looking at over 3 months before the battery needs to be recharged. Not bad. Recharging takes 3.5 hours. Koogeek claims you can up to 30,000 lock/unlock events before needing to recharge.
* UPDATE: Since this review was posted, I reached out to Koogeek to find out if the FL1 was waterproof to any degree, and I have had a reply from Koogeek simply stating that it is waterproof. However, they did not mention what kind of IP rating the lock had, if any.
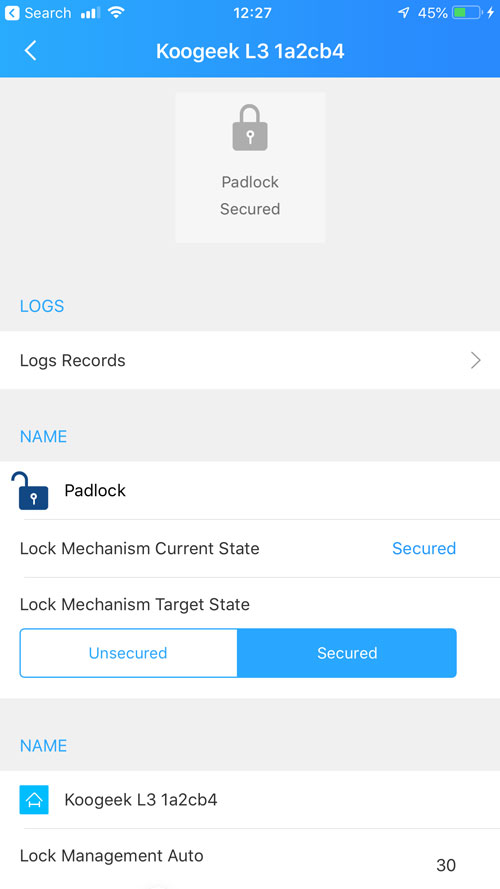

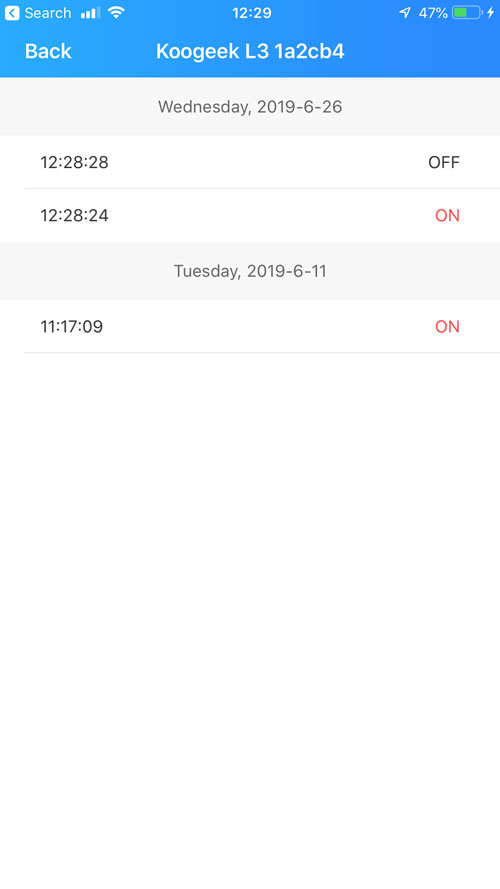
IN THE KOOGEEK HOME APP
I rarely use the Koogeek app, despite owning a few of their products, but it may prove beneficial in this case, as you can not only access the battery and charging status of the padlock but check the logs for when the lock was opened and closed. Other than that, I can’t see me using the Koogeek app, as the Home app has everything else, to be honest, but it’s there should you want that record.
DAY-TO-DAY USE
I did actually buy this just for the purposes of this review and didn’t really have a use for this lock, although I do anticipate using this if I go on holiday at some point, and want to secure something that’s left in a hotel room for example. There are some other use cases that would suit other people of course, and as long as these are for indoor or covered use, I can see this product being rather handy. In the time I’ve had it, there have been no real issues and while occasionally the lock will take a little longer to open if it has been sat dormant for a while, like many Bluetooth-based devices, it generally opens fast, and the notifications from the Home app are fast to pop up. The only problem I have encountered so far was from a recent firmware update. After installing this update, all my fingerprints were wiped and the lock became open to any finger presses. I’m not sure if this is by design, but I did have to re-register my fingerprints, which whilst a tad annoying, didn’t really take long to do except for having to open the Koogeek app (ugh!).
Koogeek FL1 Fingerprint Lock
Pros
- Compact, solid build quality
- responds fast considering it's Bluetooth
- self-lock feature good for security
Cons
- Not waterproof
Love your unboxing! I got one too a few weeks ago and, except for not been able to use it outside, i kind of like the geek side of this lock! But I ran into a little annoying issue: every time i lock/unlock the FL1, i get a notification in ALL my devices (notifications are off in Home app settings and Koogeek app). Do you have the same issue?
Hi Nicola, thanks. Glad you like the review. Yes, I’ve noticed the same issue with notifications. My wife gets notifications on her phone even though they are disabled on hers. Very strange.
Well, happy to hear i’m not the only one with this issue 😉