Yeelight Star/Staria Table Lamp Pro (review)
Yeelight are currently one of only two companies within the Xiaomi smart Home ecosystem that also provide HomeKit compatible devices, with the other being Aqara. Whilst Aqara generally focus on switches and sensors that use Zigbee, Yeelight are more concentrated on lighting (hence the name), utilising either wifi or Bluetooth connectivity. The parent companies to both of these entities* also make HomeKit compatible products for Xiaomi under the Mi or Mijia brand (yes, complicated).
*Qingdao Yeelink Information Technology Company Ltd. and Lumi United Technology Company Ltd
Whist Yeelight very generously updated the firmware for four legacy products last year (three branded Yeelight and one branded Mi), it seems, for the most part, they are now making sure that many of their ensuing lighting products come with HomeKit compatibility out of the box. One of the more recent products to fit these criteria is the Yeelight Staria (also referred to as ‘Star’) Desk Lamp, which comes in standard and ‘Pro’ versions. Today, we’re looking at the Pro version.
PACKAGING | UNBOXING
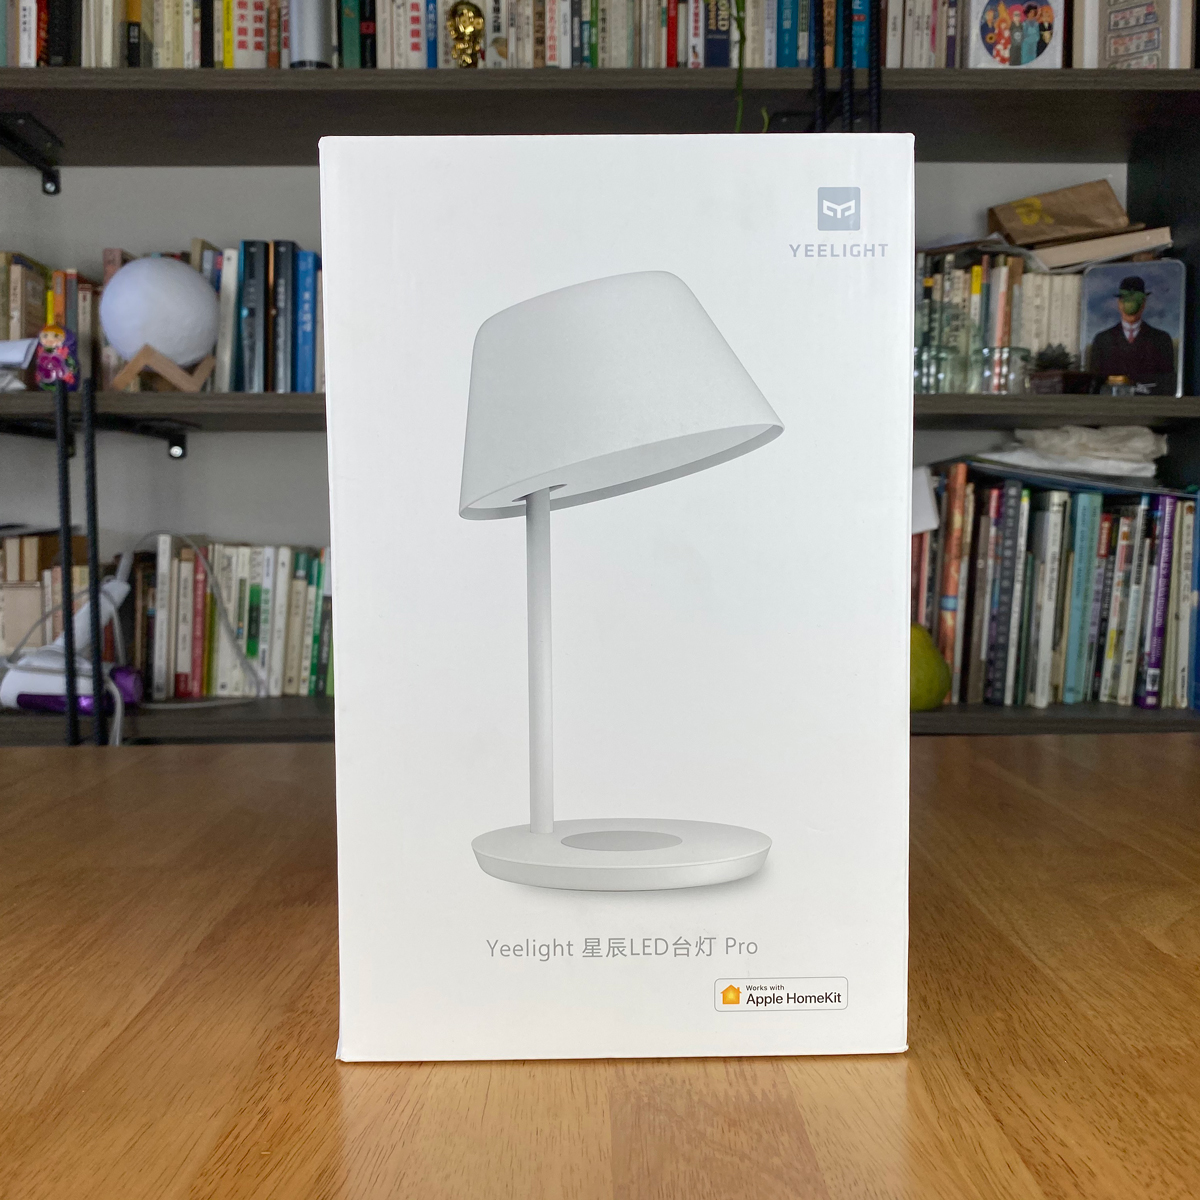
I’ve mentioned this a lot, but many of these companies have really embraced the Apple design aesthetic in a big way, which is no bad thing, and in this case, this wouldn’t look out of place on the shelf of any Apple store at all. The whole box is white, with the lamp on the front, accompanied by the ‘Works with Apple HomeKit’ badge and the name of the product in a mix of Chinese and English. When this product first came out in China around four months ago, it was labelled the Star Desk Lamp or Star Desk Lamp Pro depending on which model you bought. However, now that it seems on the verge of being made available to western consumers locally, the name has changed to the Staria Desk Lamp / Staria Desk Lamp Pro.
Just to get the difference between the standard and pro models out of the way, it’s all just down to the wireless charging pad, with the Pro version including the charging pad, while the standard version excludes this.
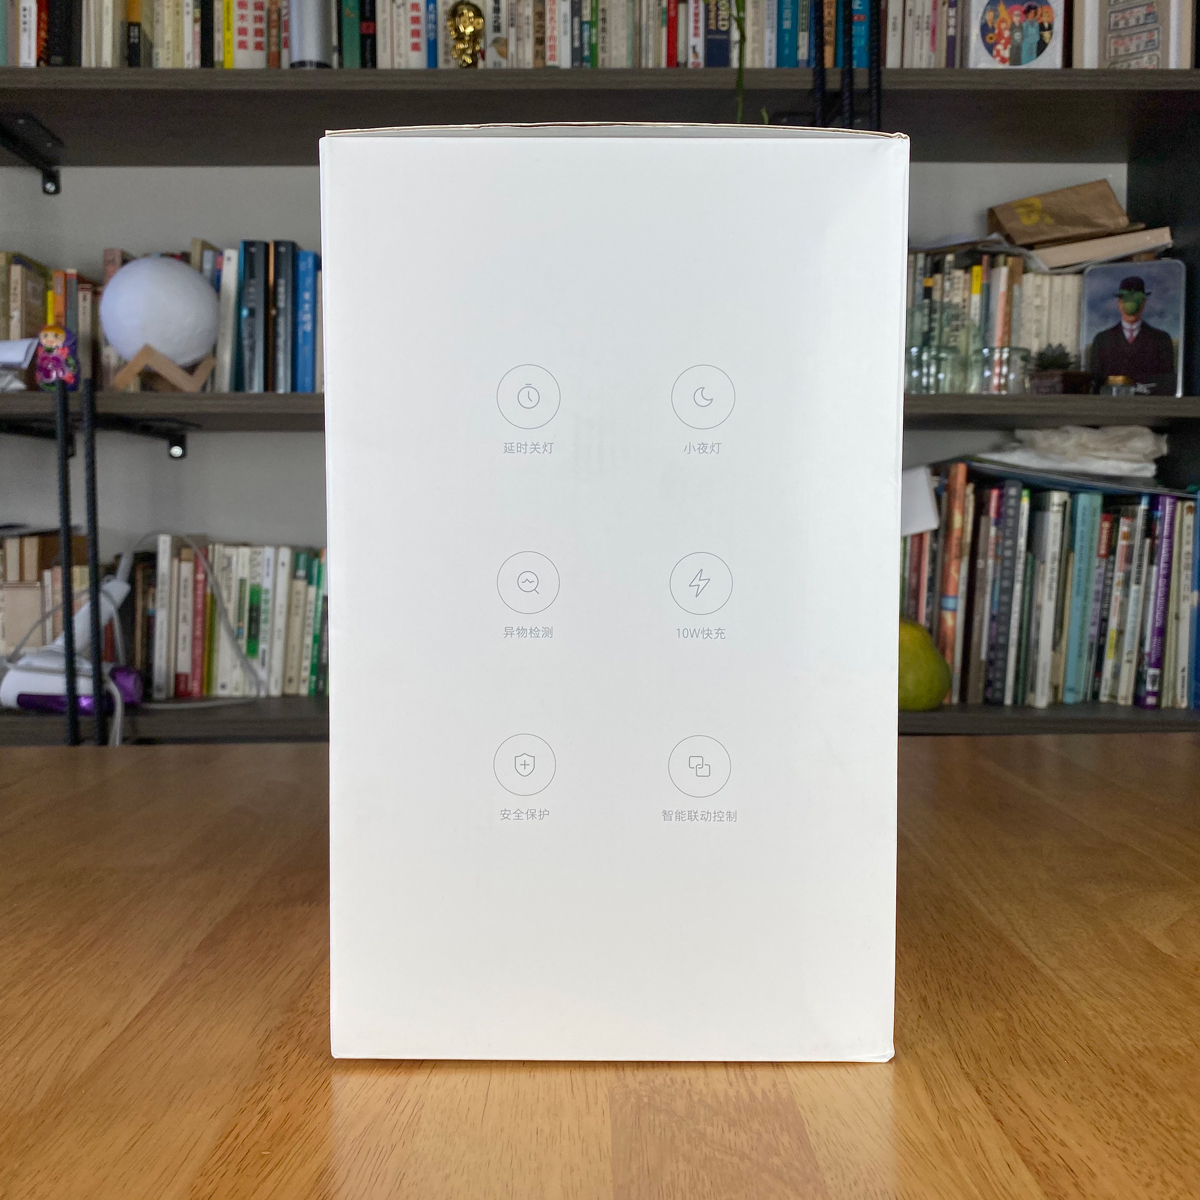
Back to the packaging, and aside from the specs on the back, the side of the box has icons to show of some of the features of the product itself, albeit in Chinese;
- Delay Light Off
- Night Light
- Foreign Object Detection
- 10W Fast Charge *
- Safety Protection
- Intelligent Linkage Control
We’ll look at some of these features in a bit, but first here are some basic specifications, as per the box’s information;
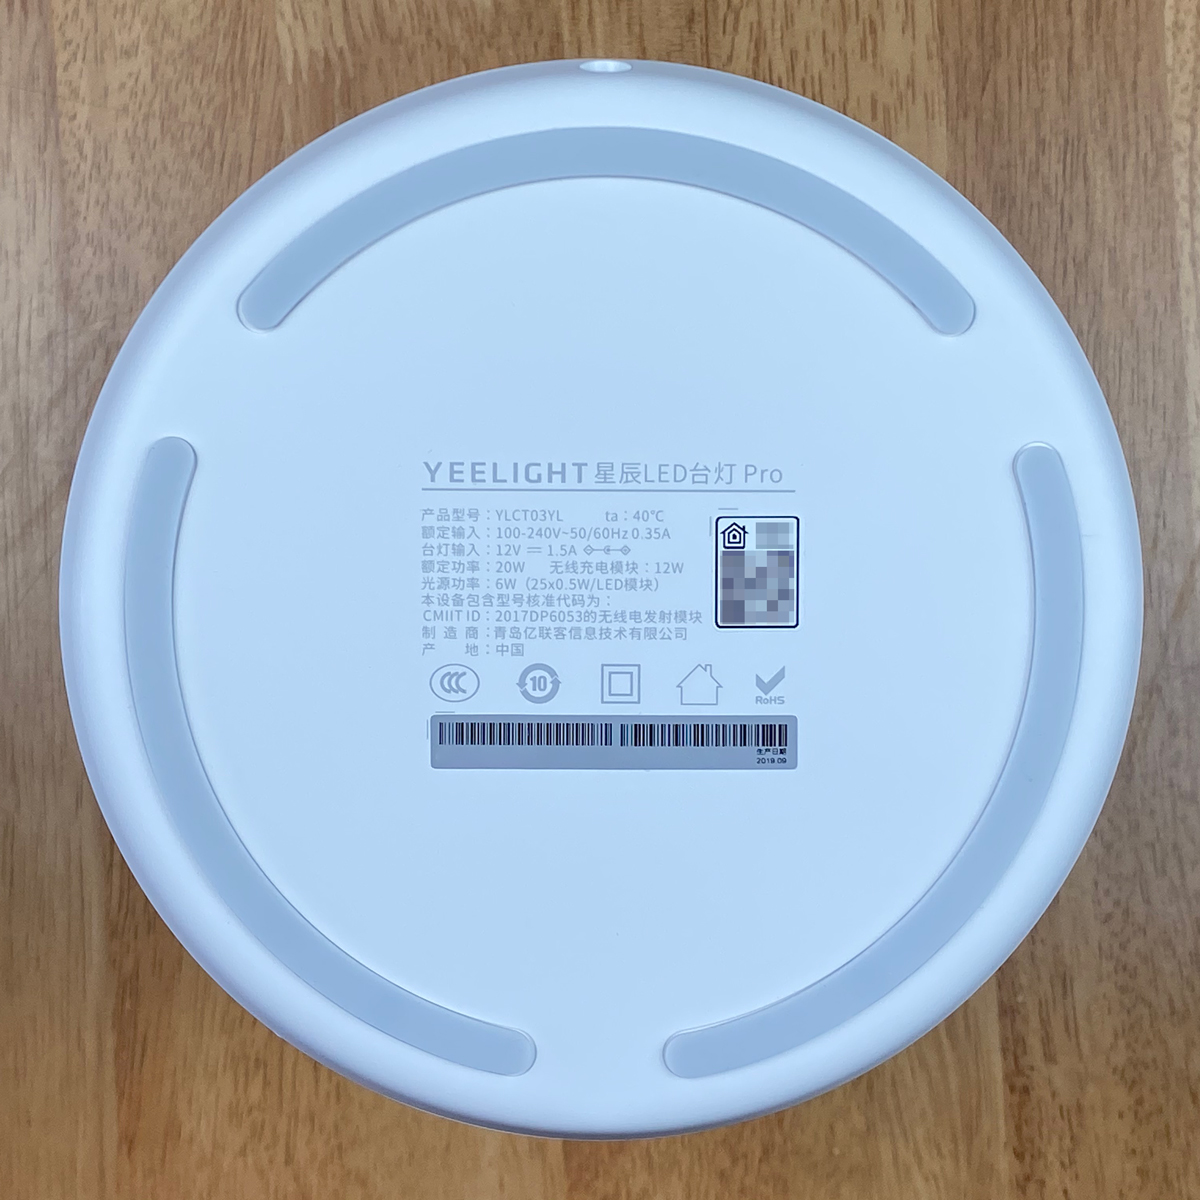
- Model Nº: YLCT03YL
- Rated input: 20W (website states 22W)
- 350lm
- Operating temperature: -10ºC ~ 40ºC / 14ºF ~ 104ºF (website states -10ºC ~ 35ºC / 14ºF ~ 95ºF)
- Colour temperature: 2700 ~ 6500K
- Max. wireless charging output: 10W
- Wireless connectivity: Wi-Fi IEEE 802.11b/g/n 2.4GHz
- Wireless charging transmission distance < 3.5mm
* Fast charge only applies to certain phones, but not currently the iPhone
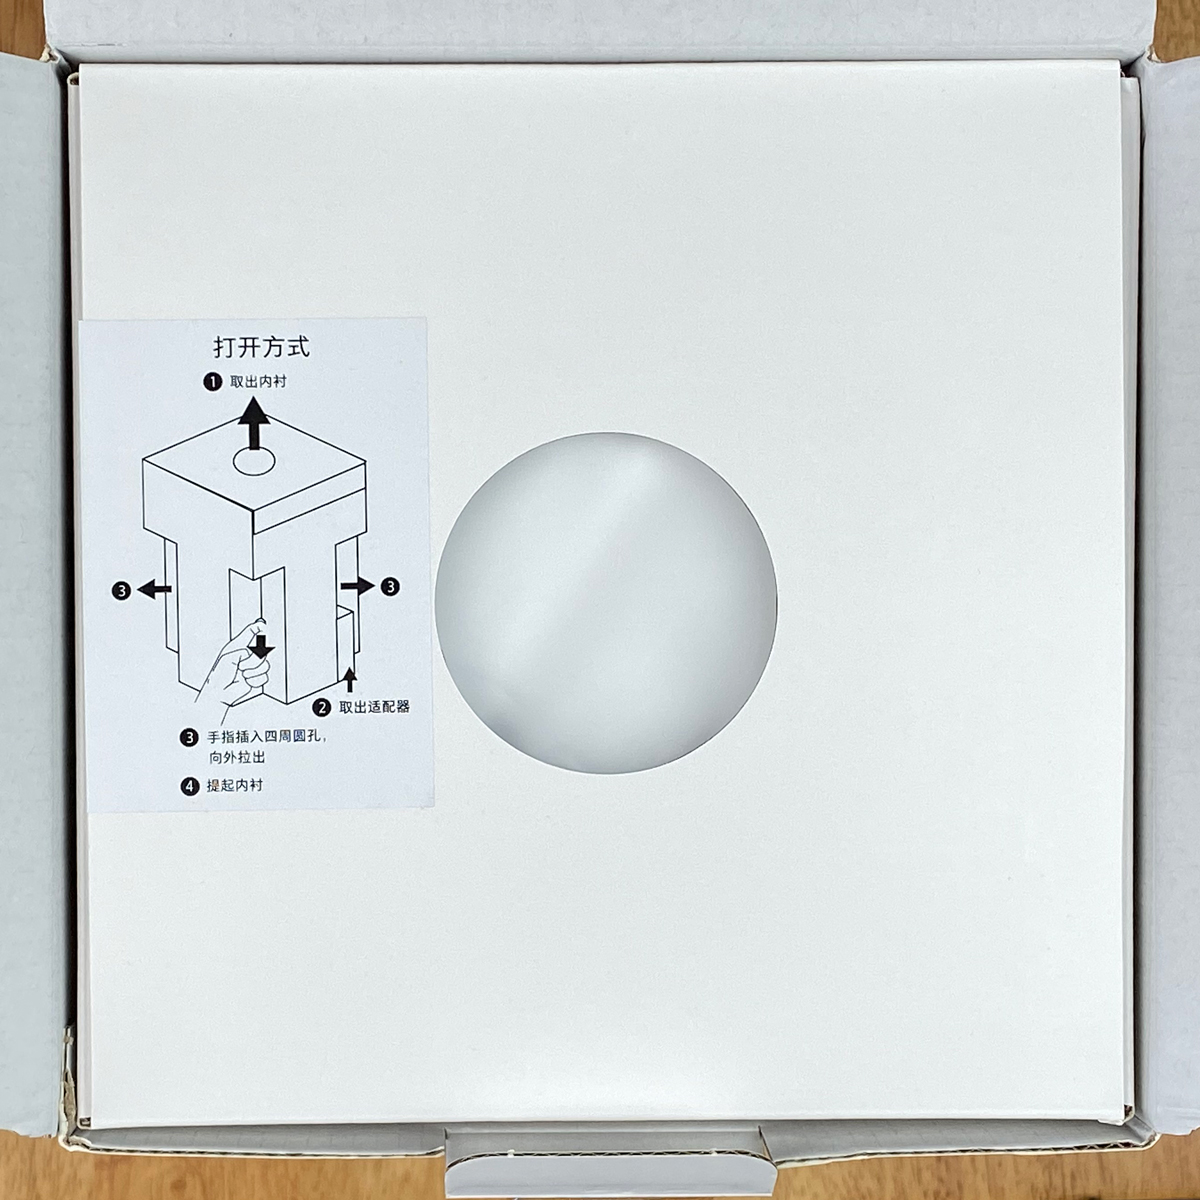
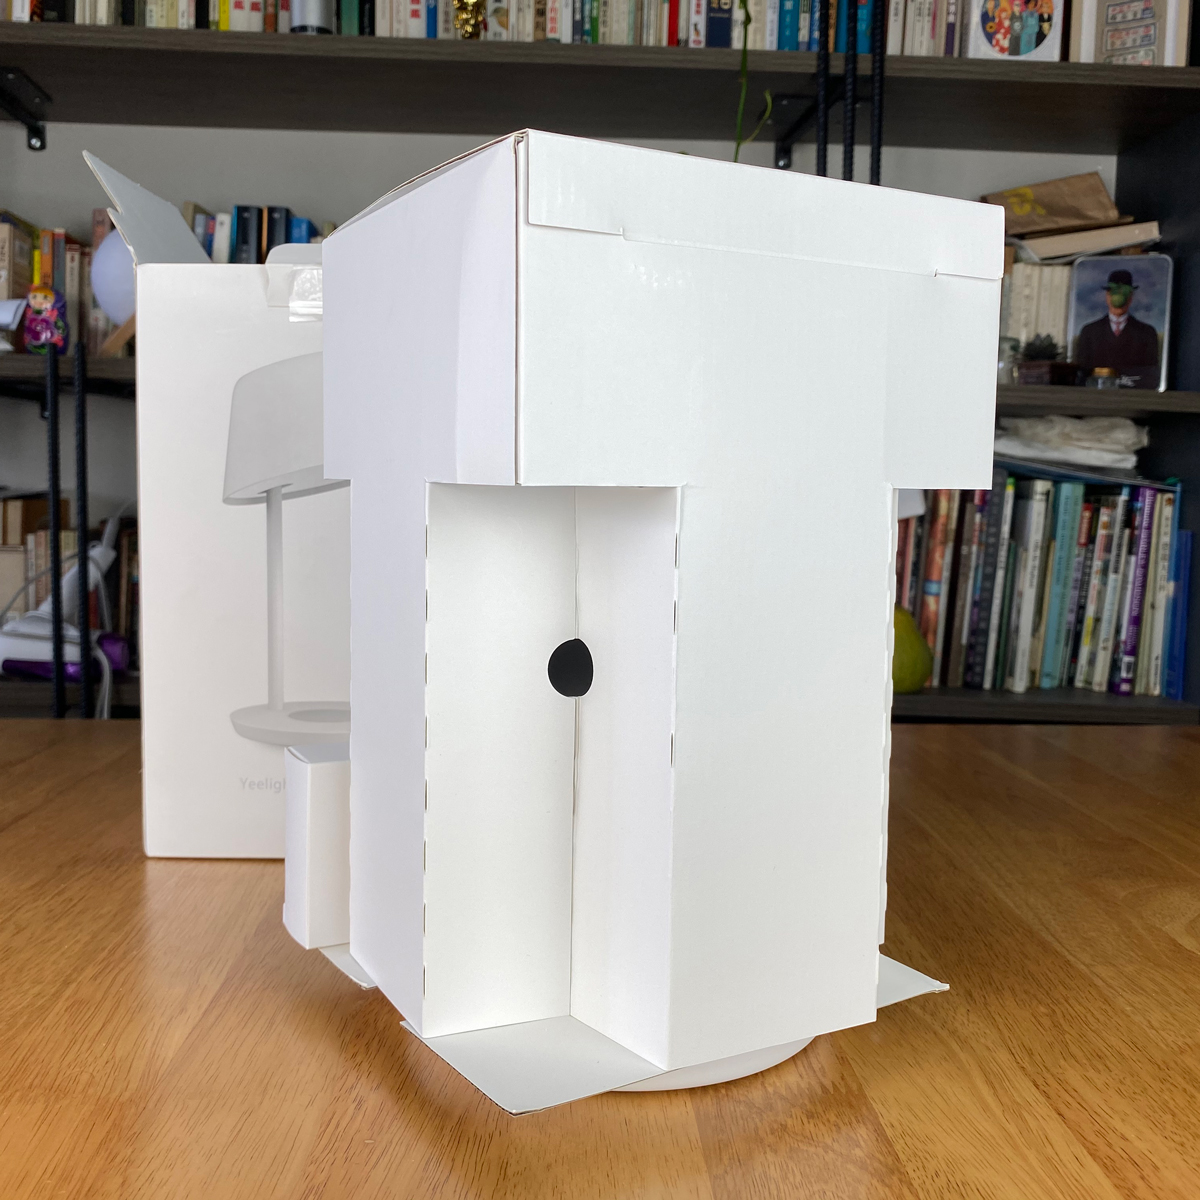
The lamp comes with some rather clever internal packaging, that even comes with instructions on how to unpack it properly (I kid you not). This internal protection does a great job of keeping the lamp and power supply all in place, so there’s no chance of this lamp being bounced around inside the box.
THE LAMP
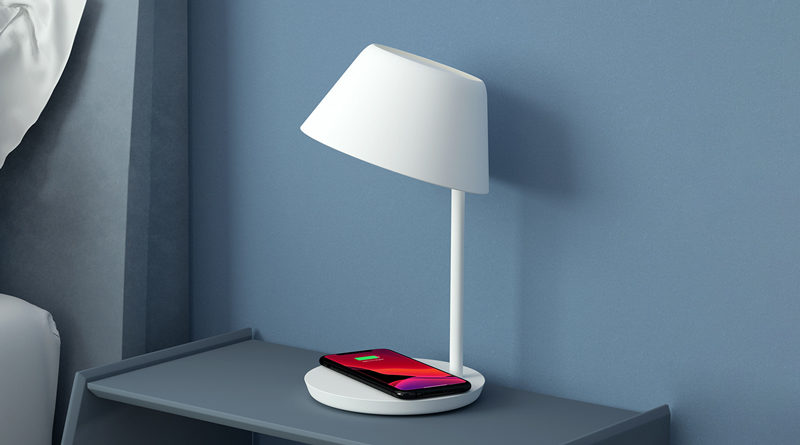
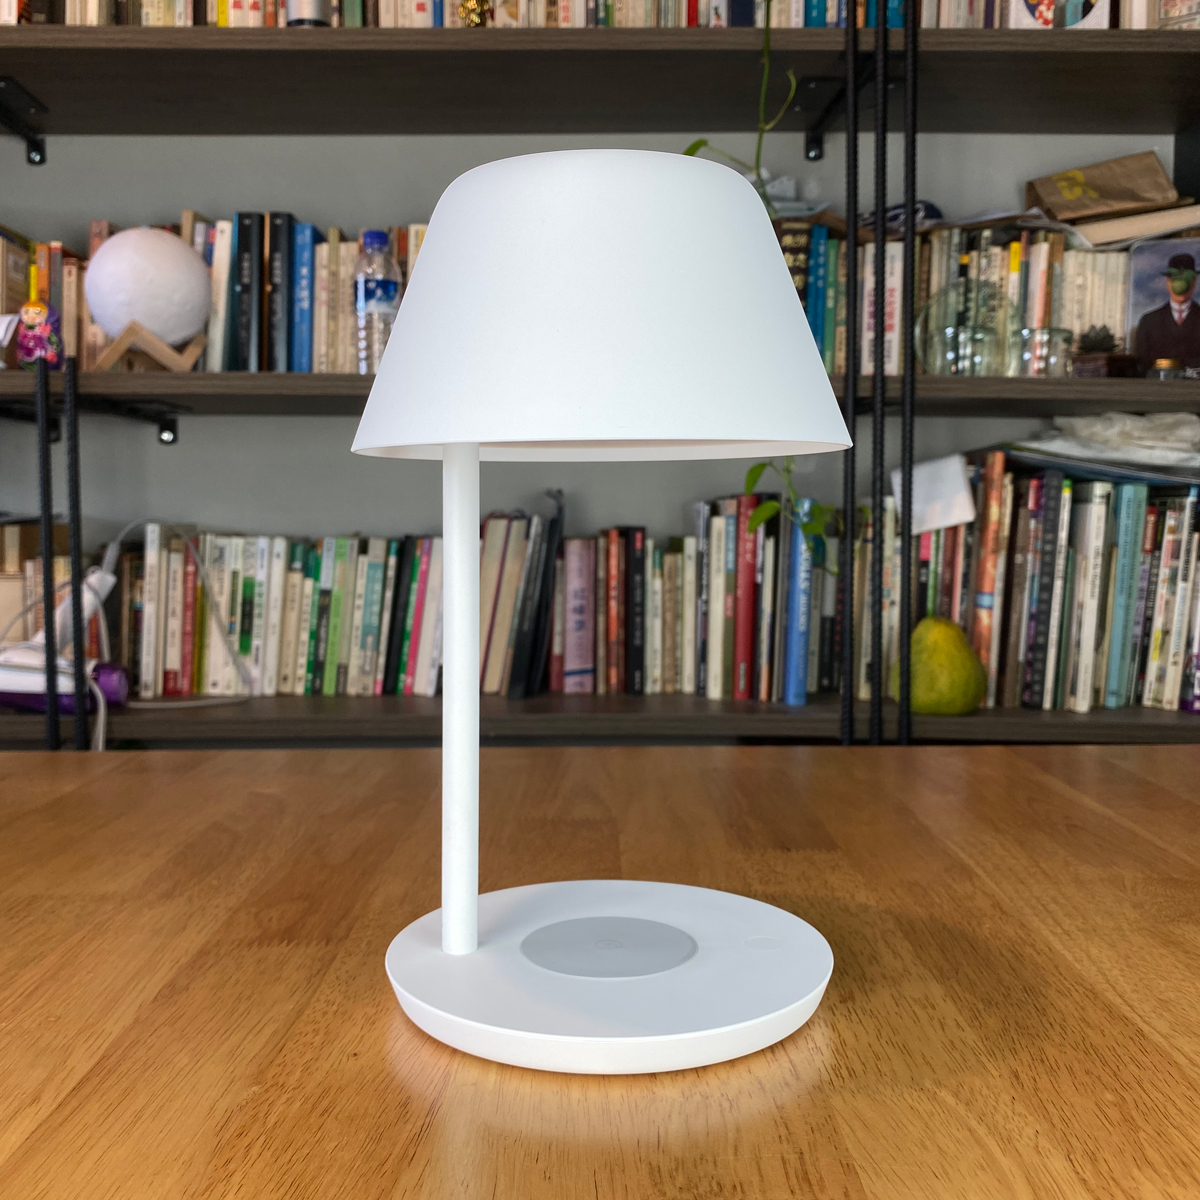
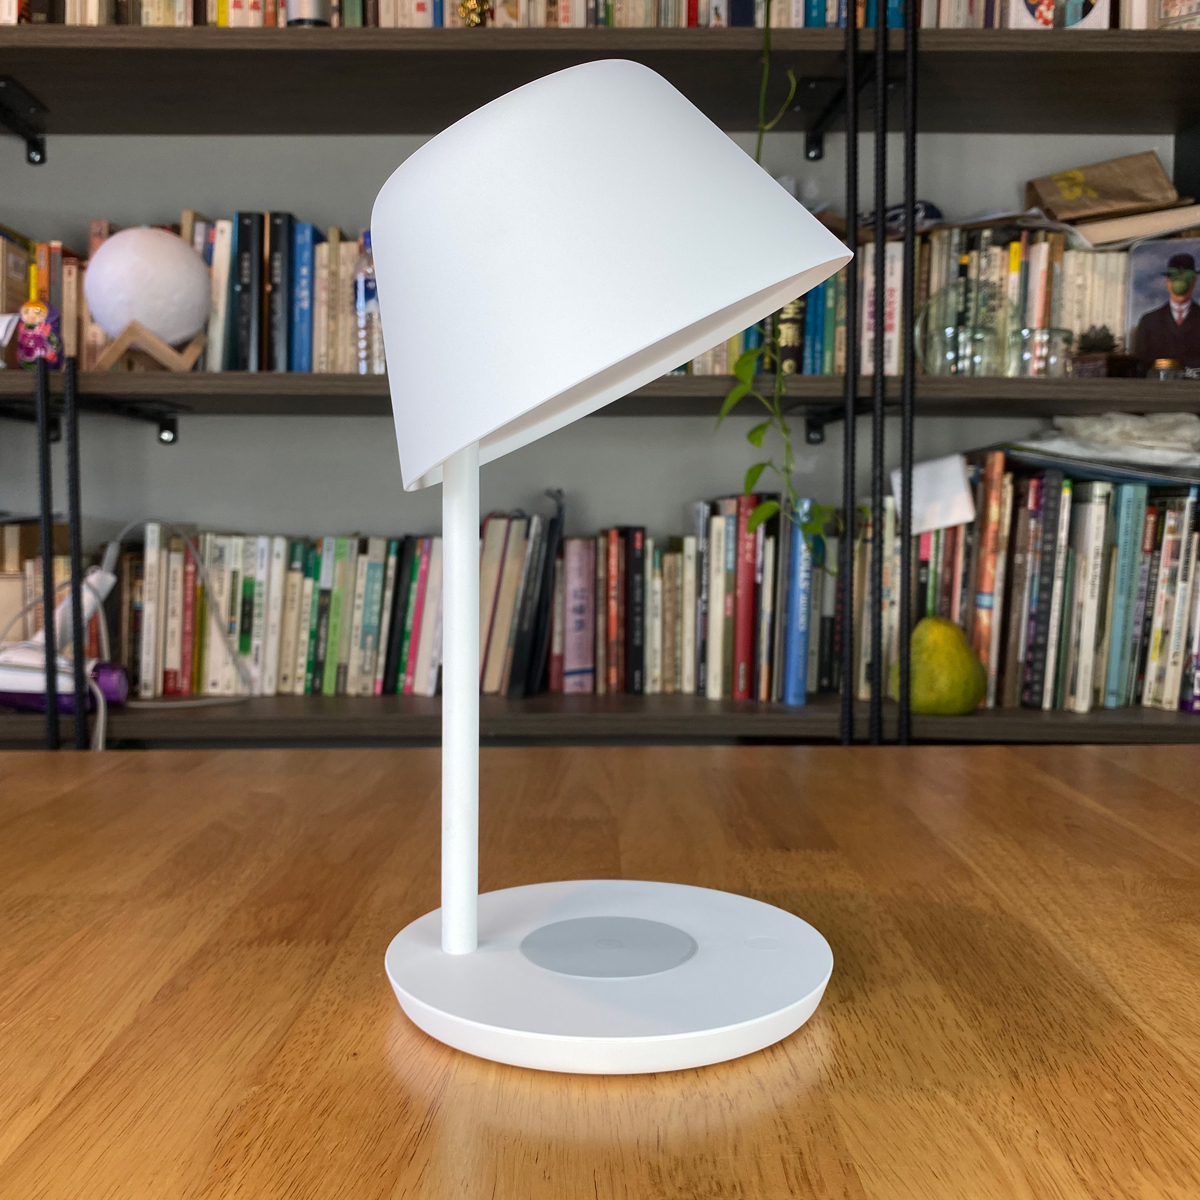
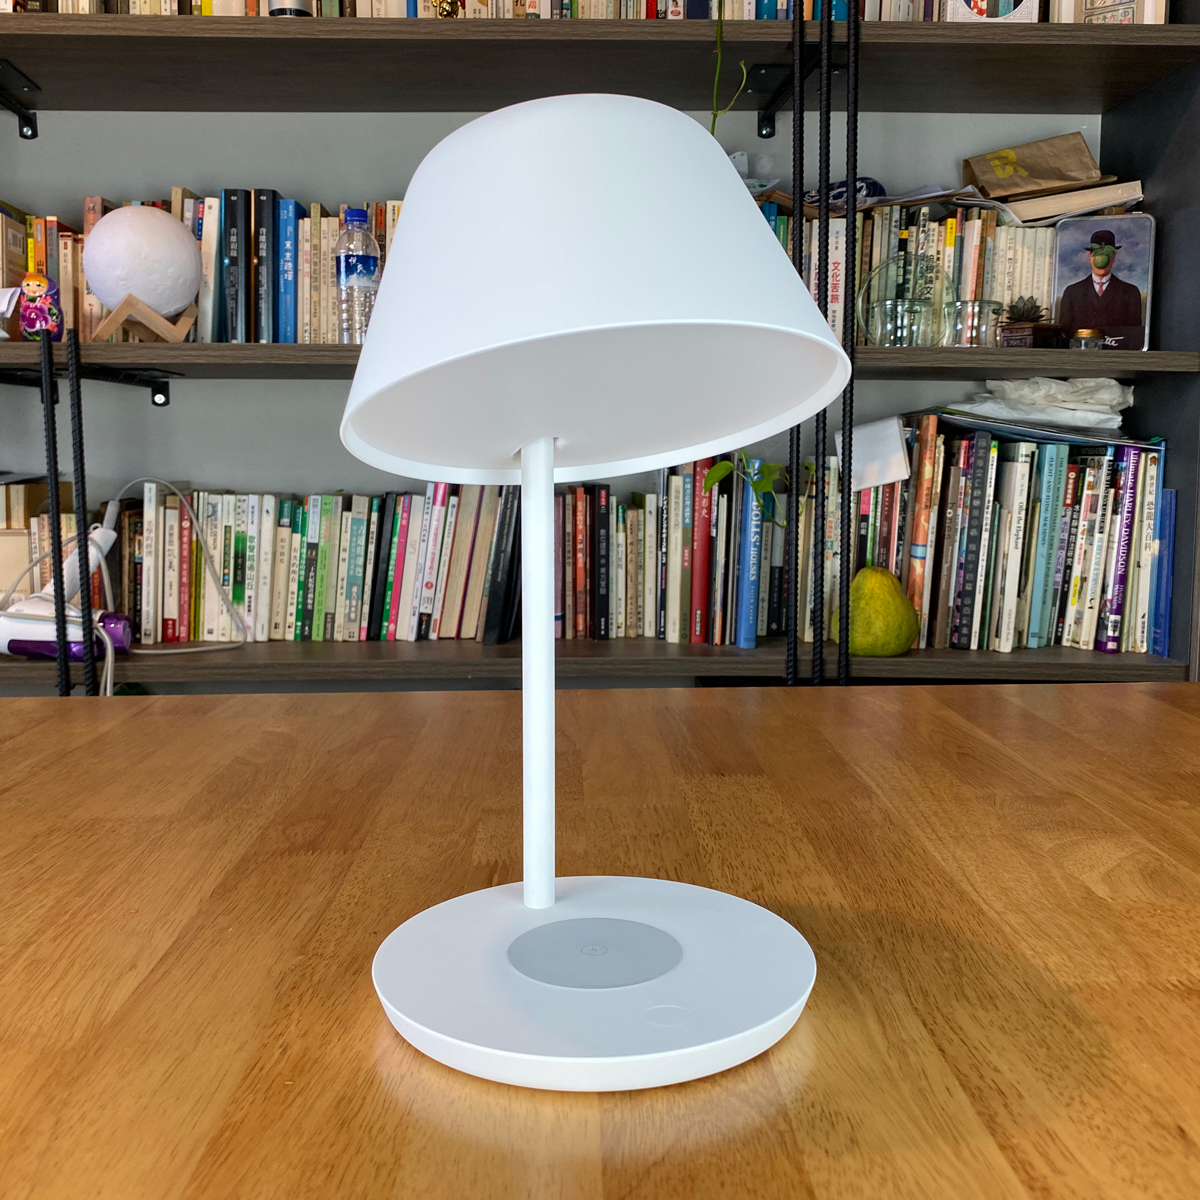
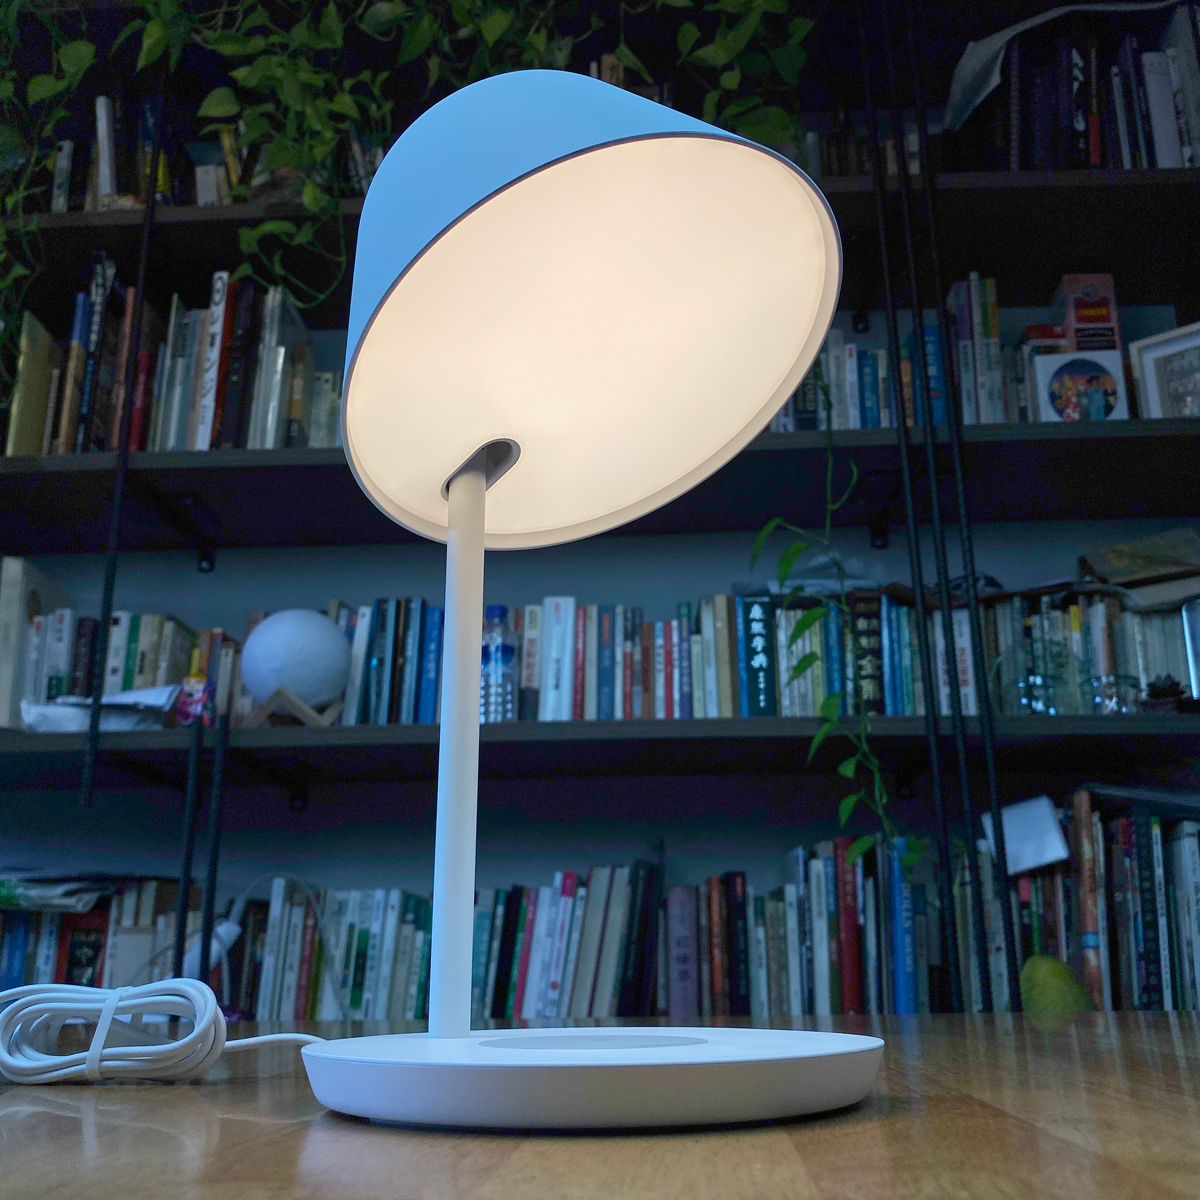
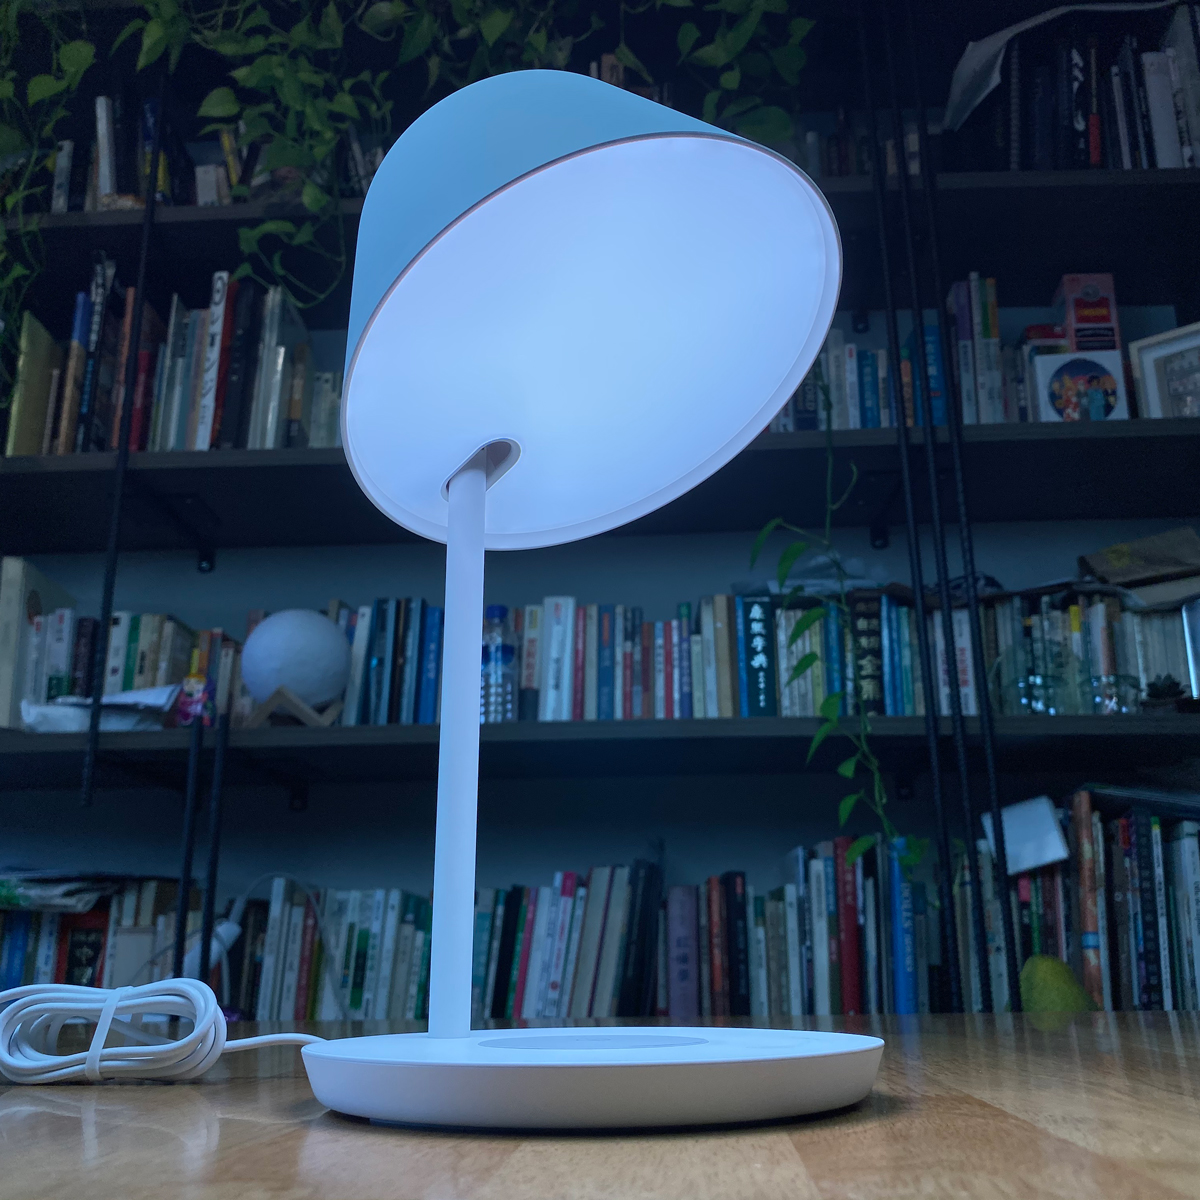
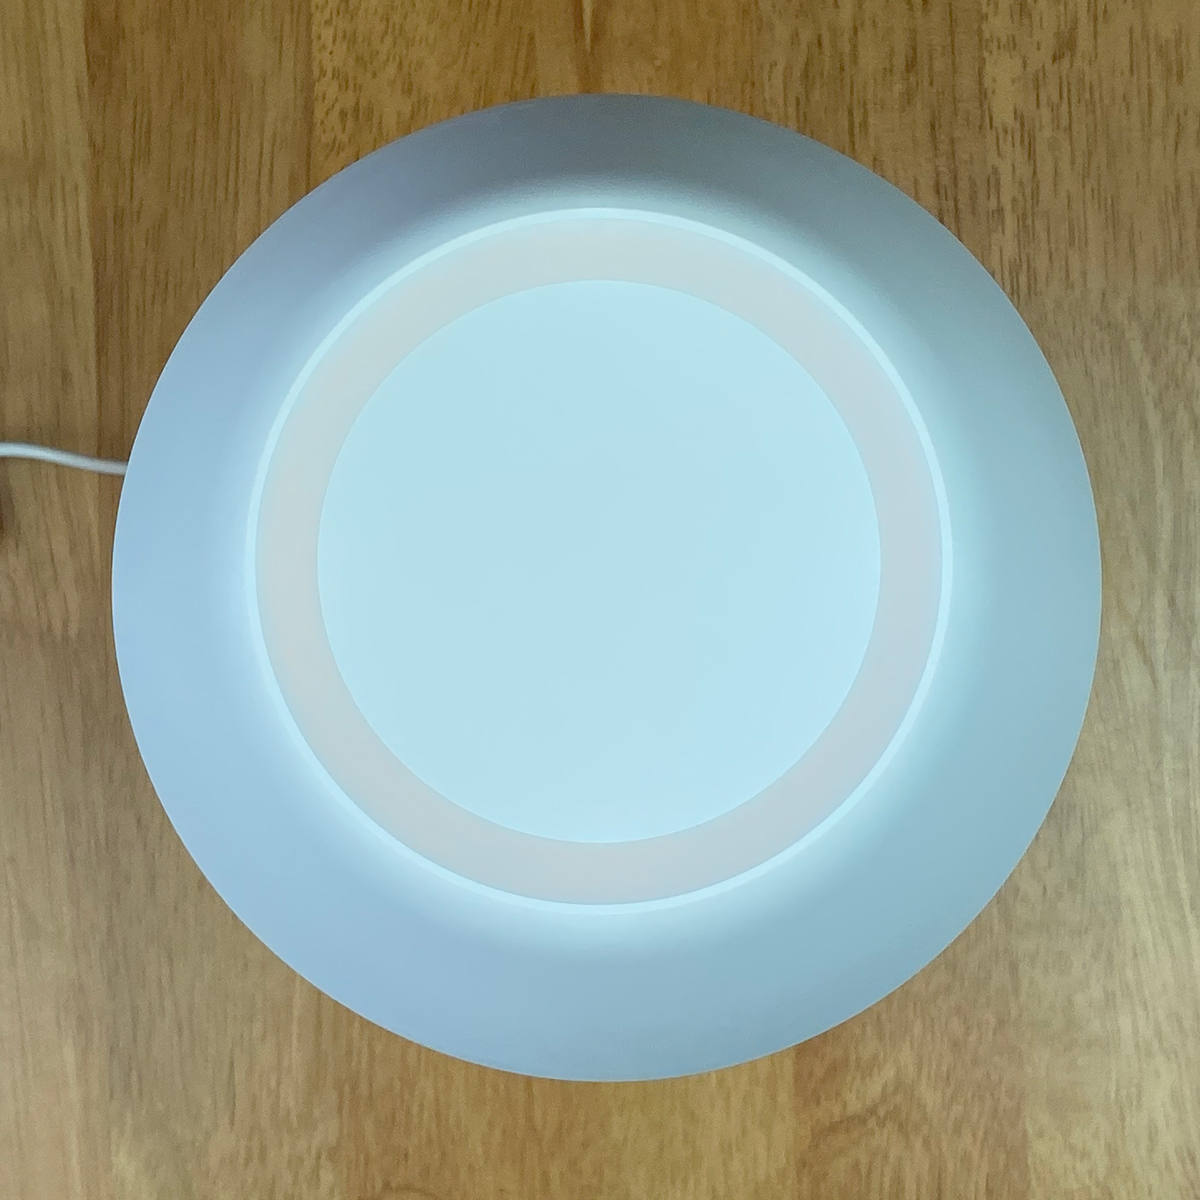
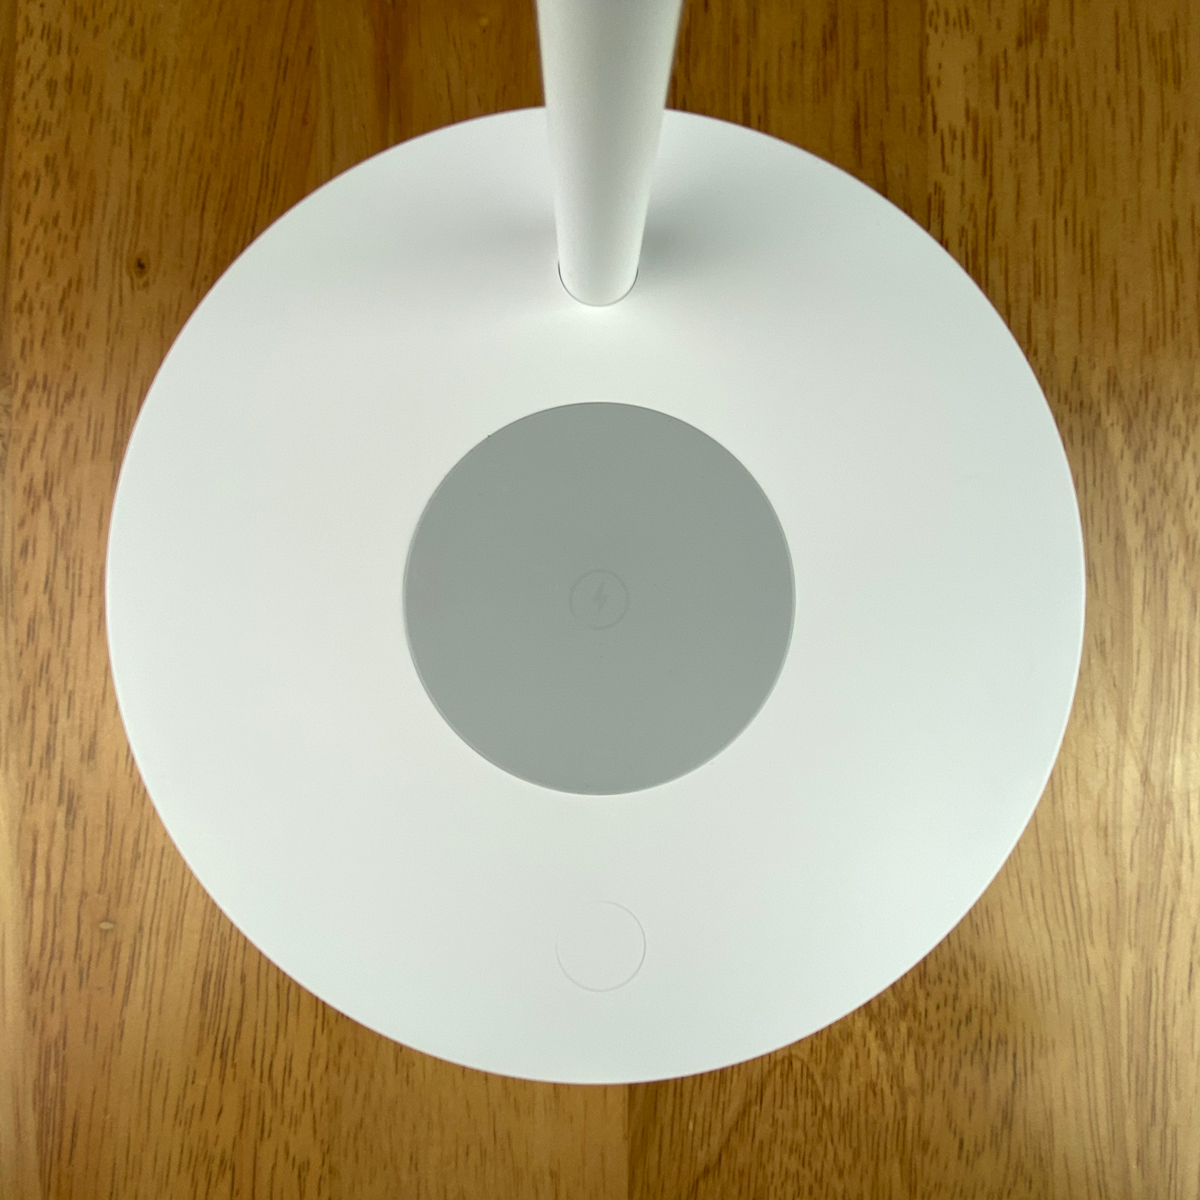
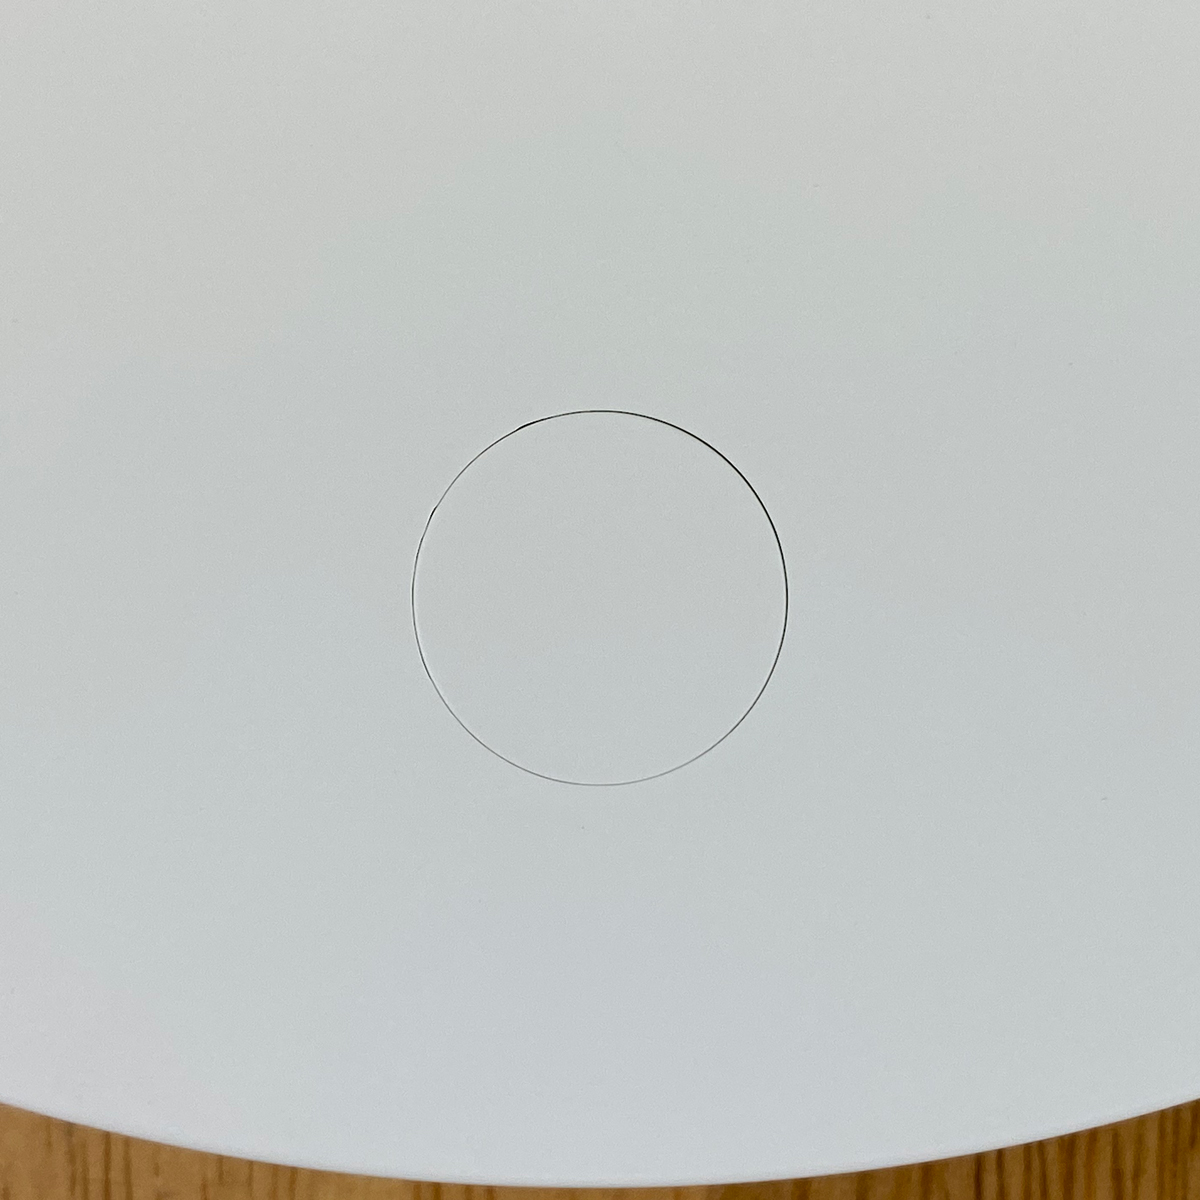
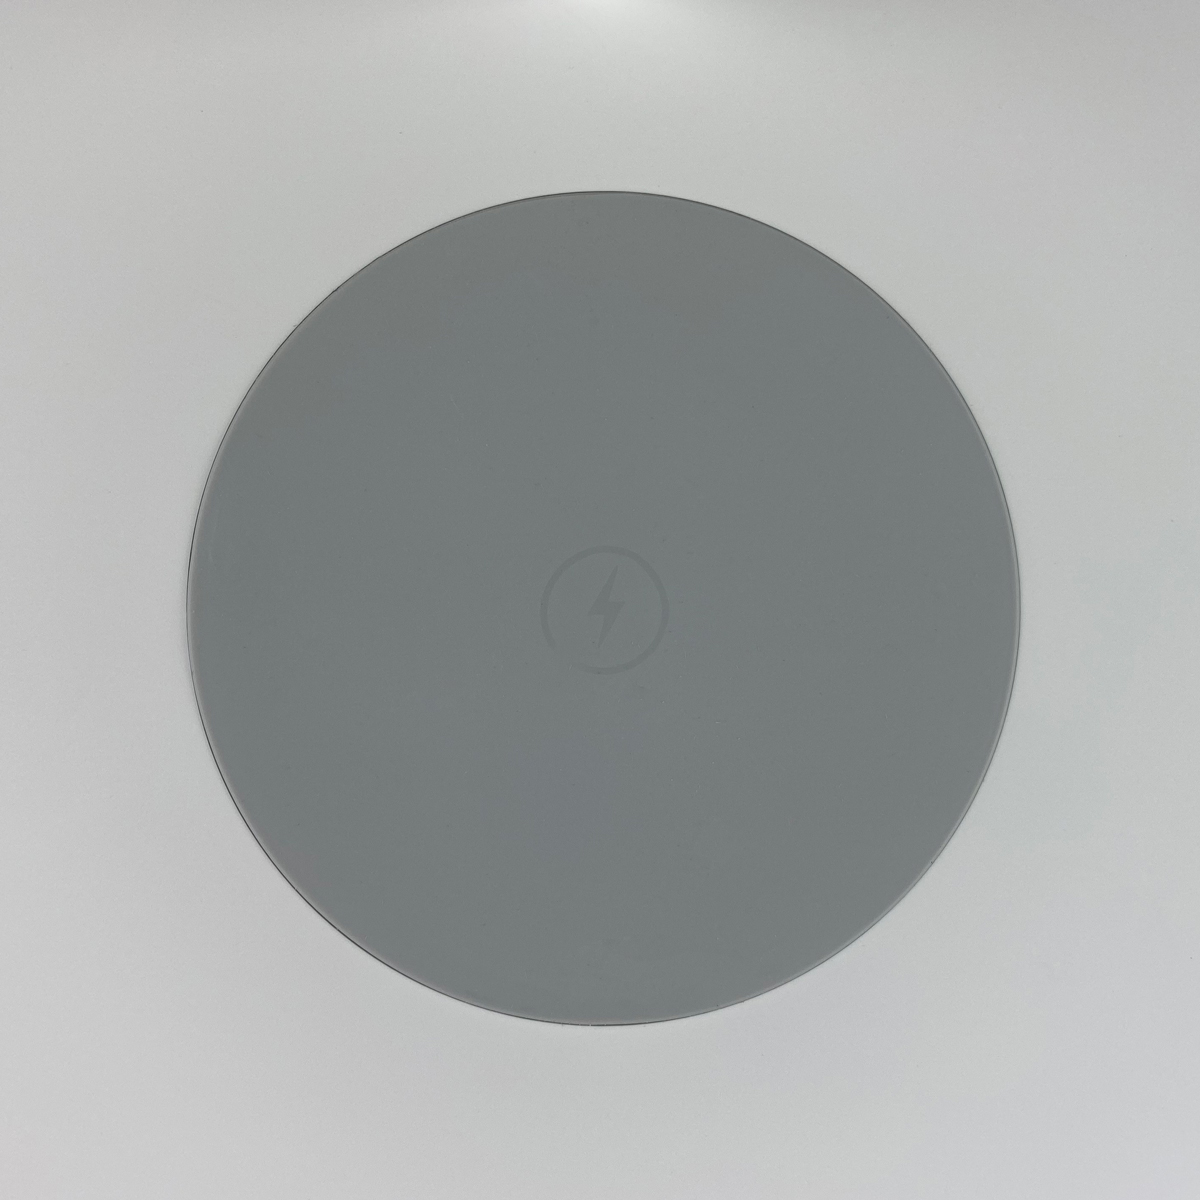
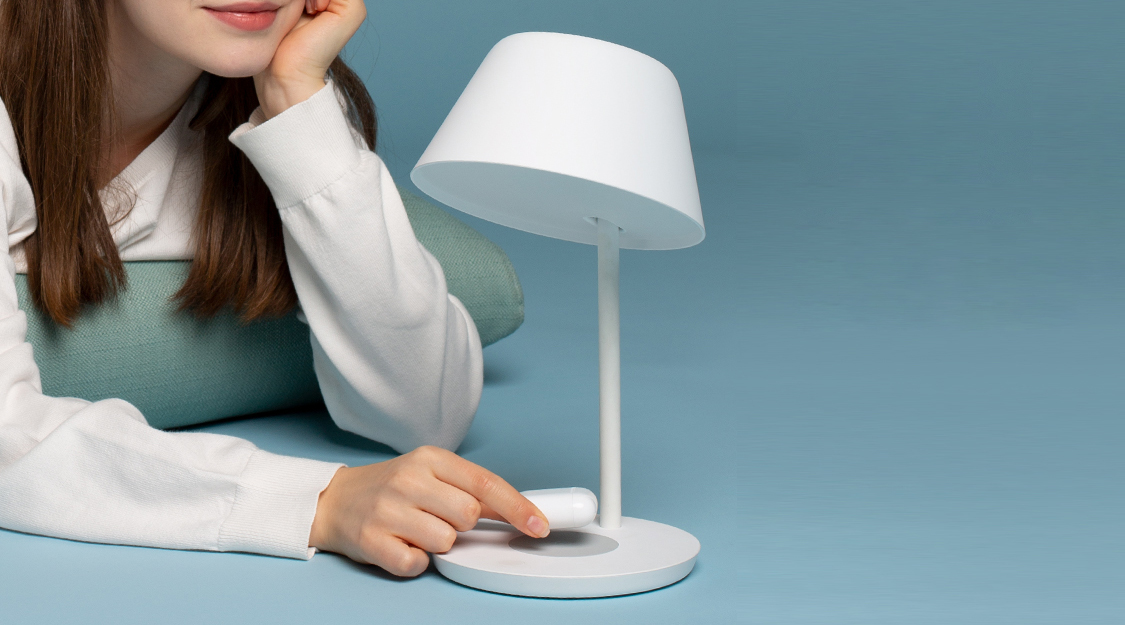
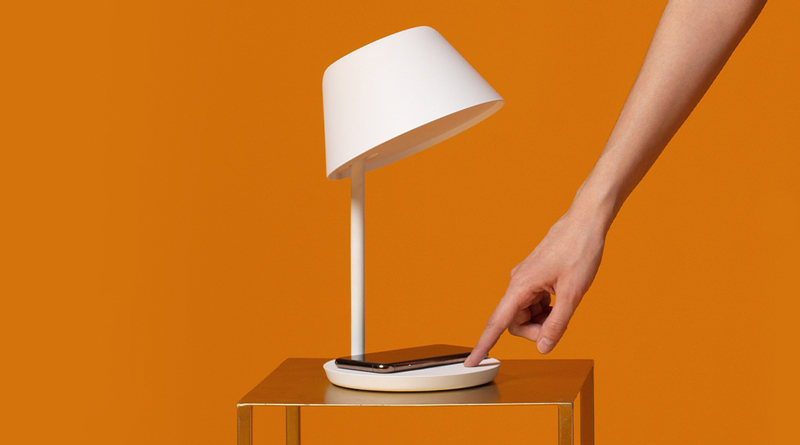
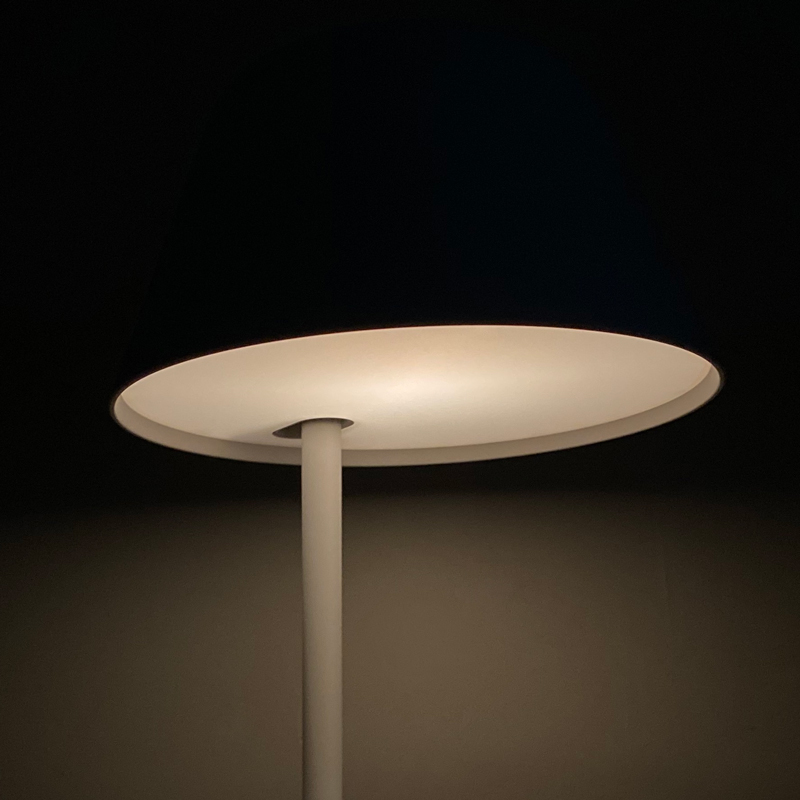
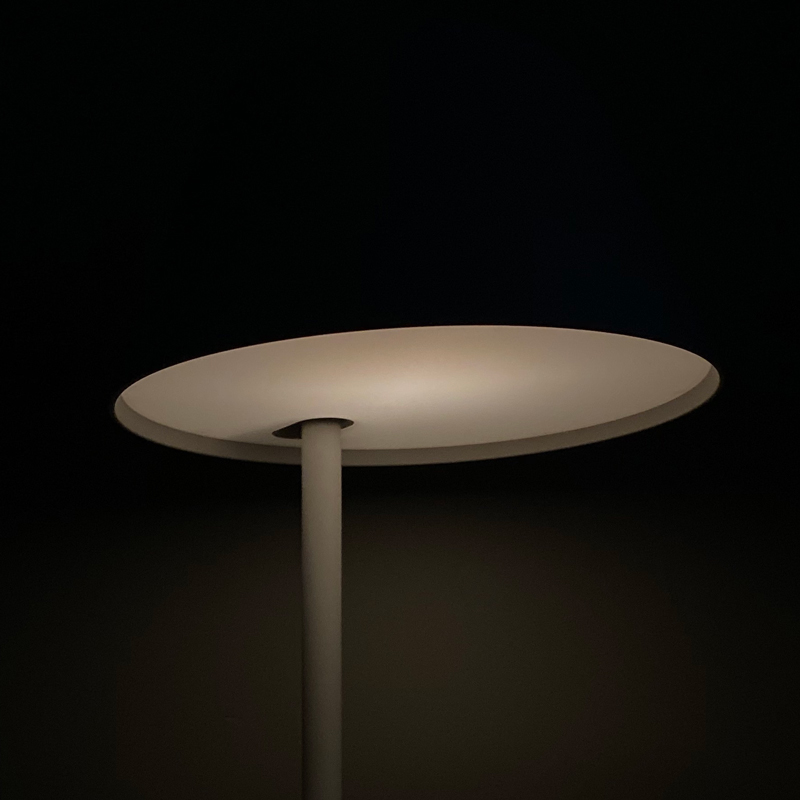
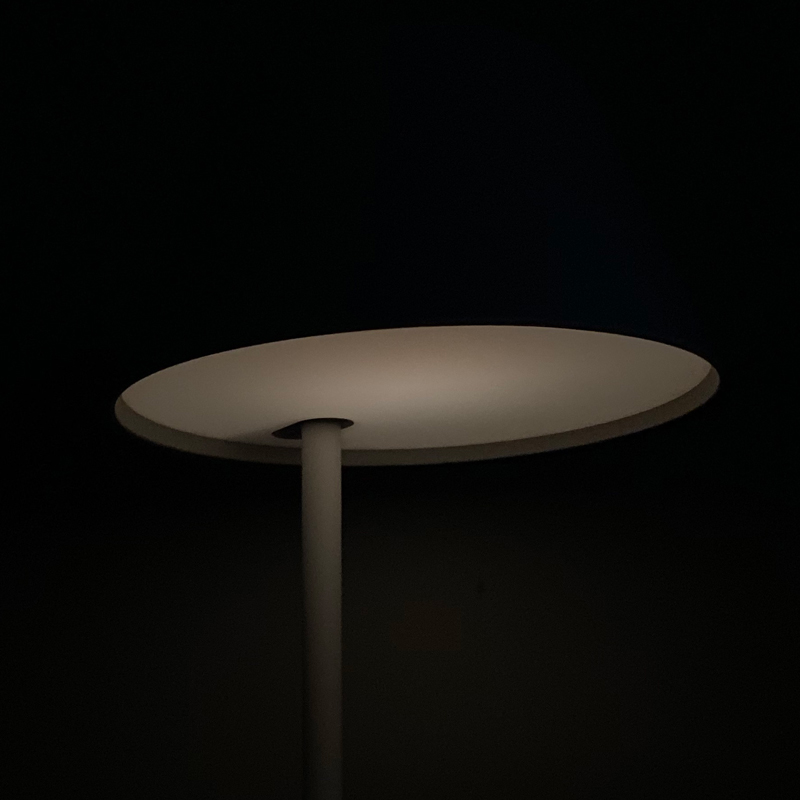
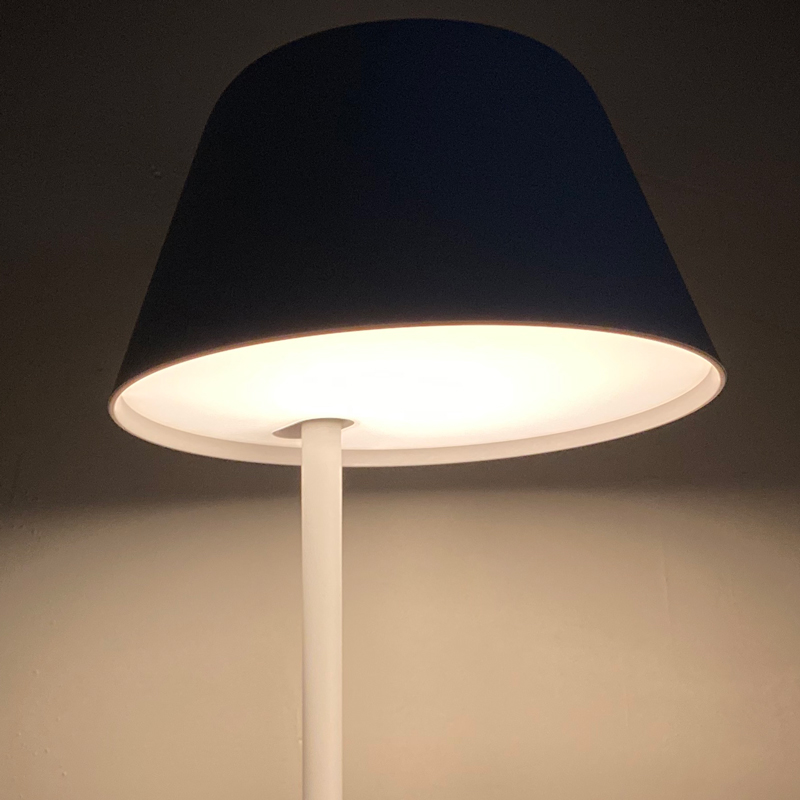
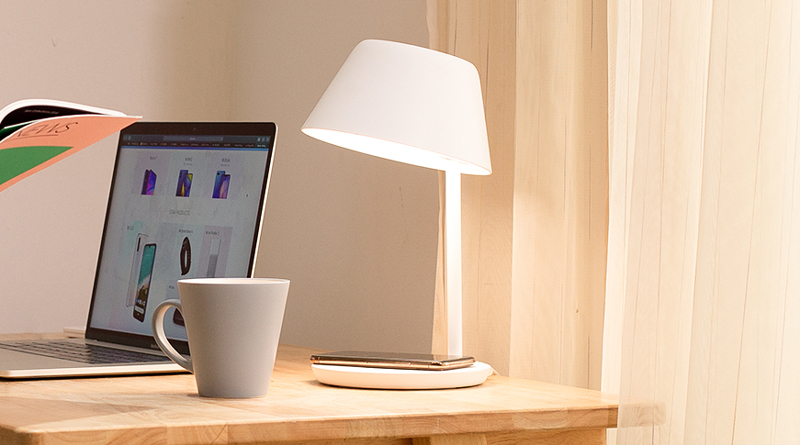
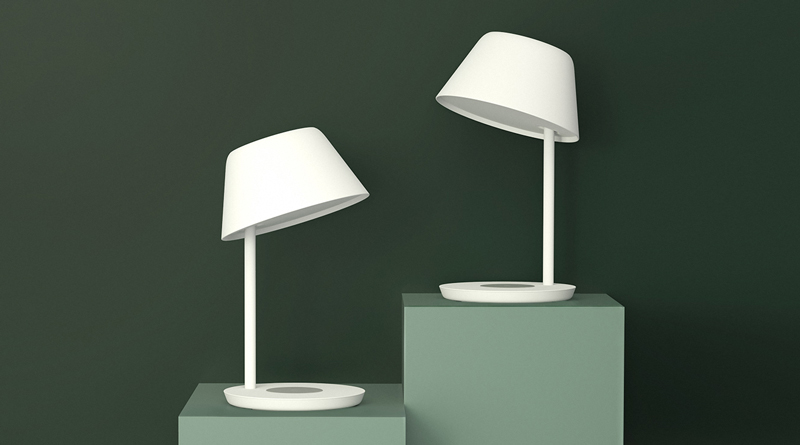
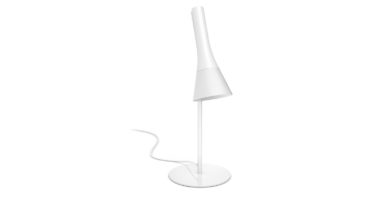
The lamp itself is visually quite utilitarian, being mostly white, with the exception of the charging pad, which is grey. The only moving parts for the lamp are the multifunction power button, which isn’t very easy to spot due to it being flush with the base, and the lampshade itself. The shade can be set to the horizontal position you see in the first image above or any angle fro 0º – 30º, as seen in the second image.
Most parts of the lamp have the now quite familiar matt plastic finish that’s slightly velvety to the touch. The main lamp stem is metal in a matt white painted finish.
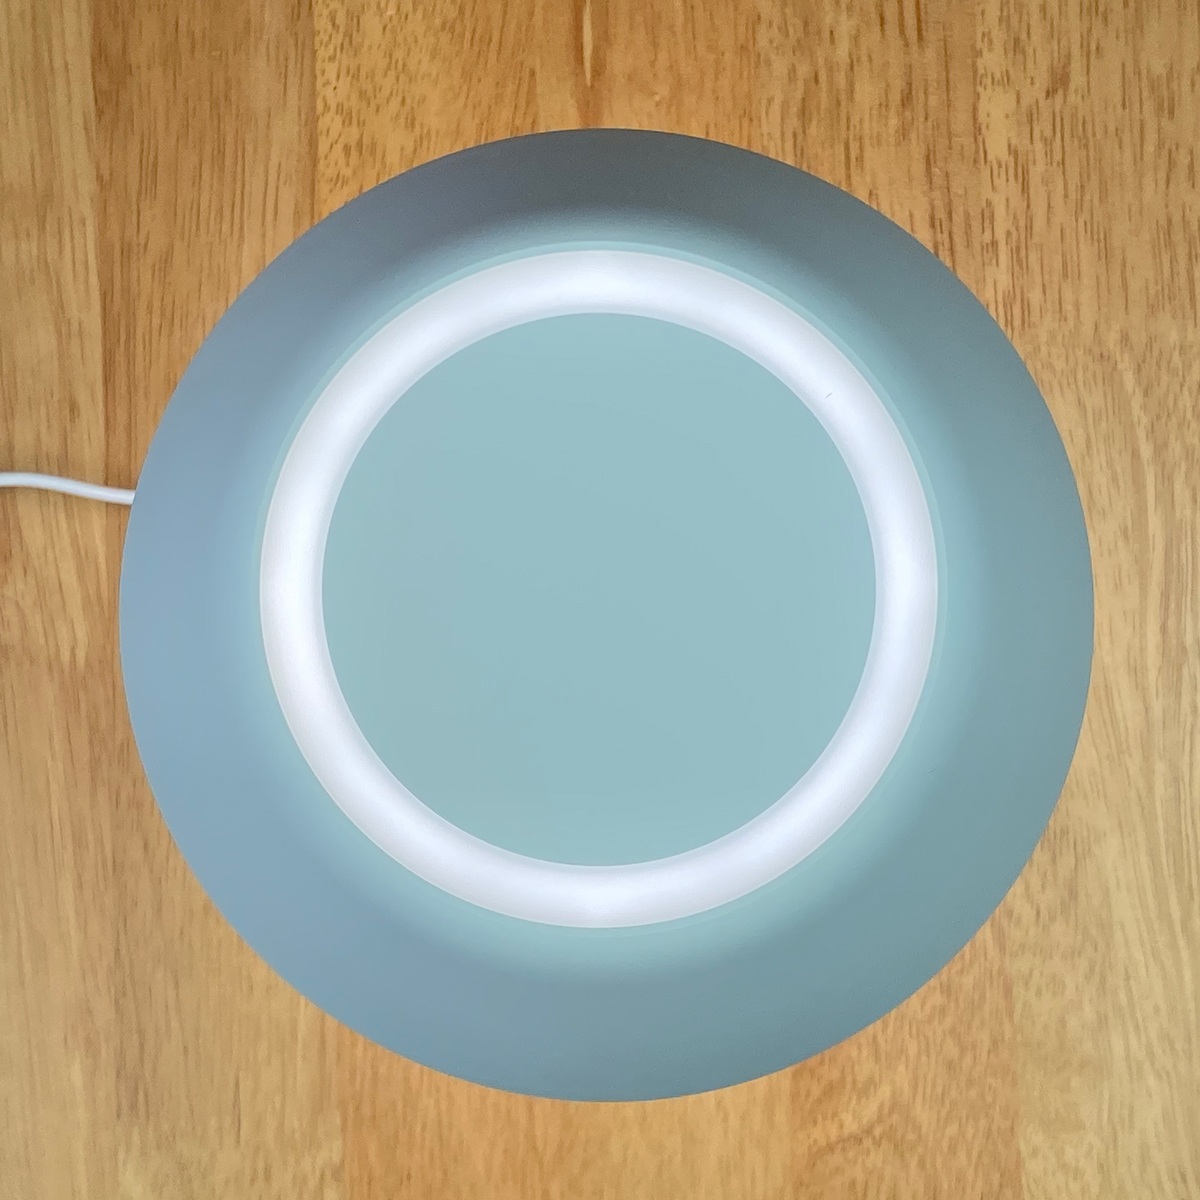
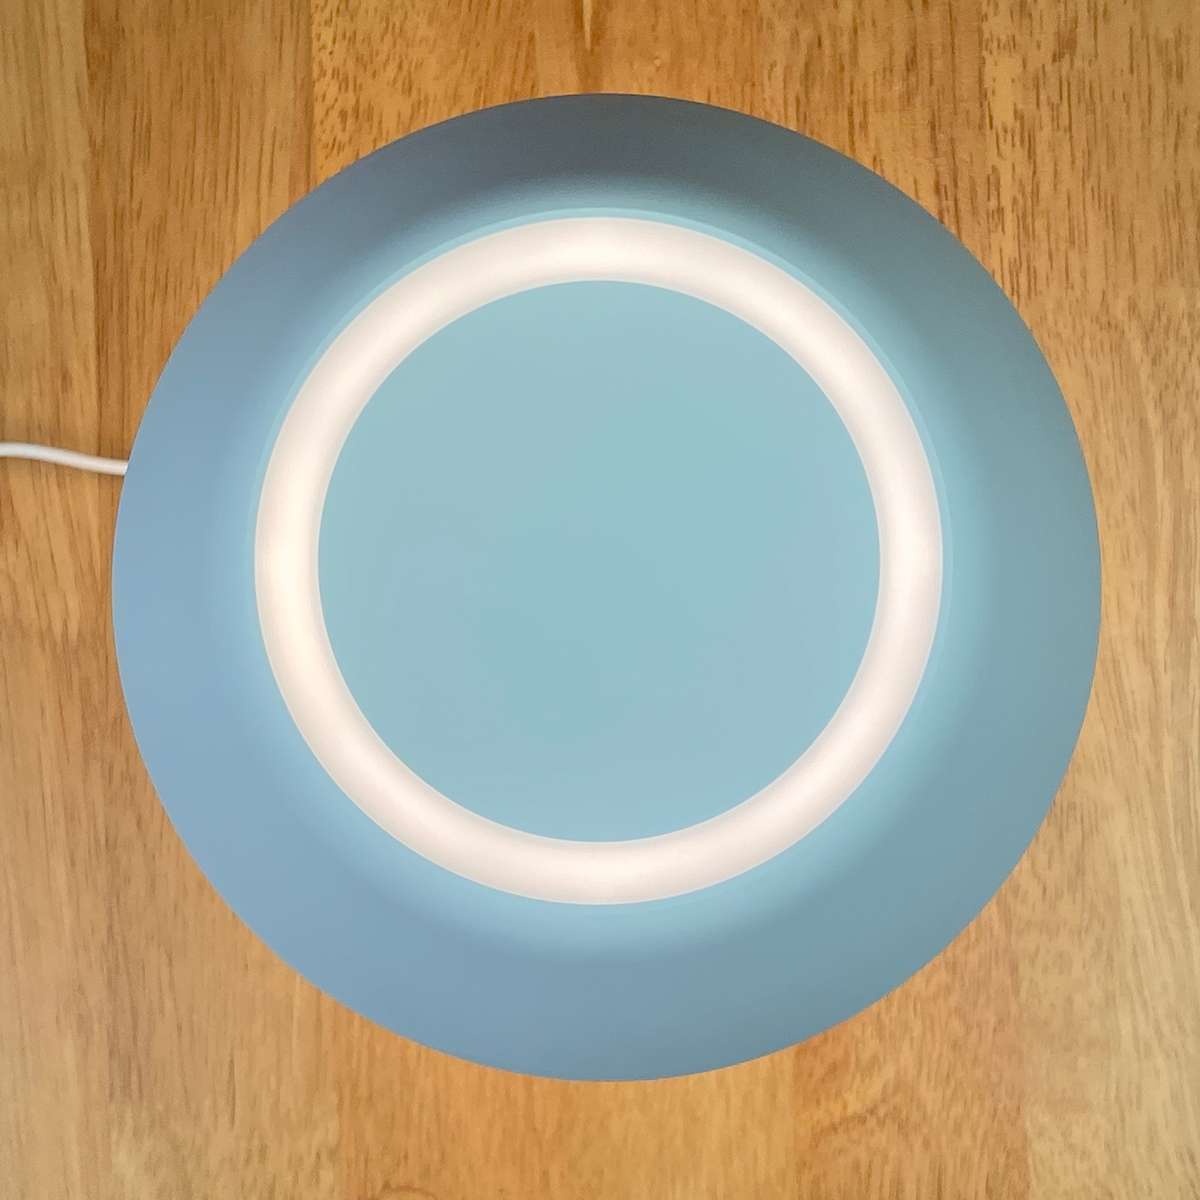
The lamp itself has two distinct lighting section, with the main light source being the downlight. The second light source is the top part of the lamp, which has a ring of light. It would appear these two separate sections are in fact sharing the same source, which, according to the packaging specs, is a series of 25 individual 0.5W LEDs.
The lamp is capable of warm to cool whites, and as both sections seem to share the same LEDs, whether you have the lamp set to warm, cool, or any colour temperature in between the two, the top and bottom light sections will be the same. Of course, this also applies to whether the light is turned on or off, as well as the brightness levels, although as the top of the lampshade has a more limited area for the light to be emitted, it will appear lower in brightness. One thing to note is that whilst this does resemble a lampshade, unlike the real thing, the light is unable to be seen through the ‘shade’ itself, so the light only emits from the bottom and top of this shade. Nonetheless, as a bedside lamp (which is what I use mine for), or a lamp for a small desk, this has ample brightness for those two scenarios, which can be also be manually adjusted due to the lampshade being able to be angled. The entire height of the lamp from the top of the shade to the bottom of the base (when the shade is set to an angle of 0º) is 292.5mm / 11.52in, with the wider (bottom) part of the shade section having a diameter of 179.5mm / 7.07in. The lampshade is 93mm / 3.66in in height and the top part of the shade is 104mm / 4.09in in diameter.
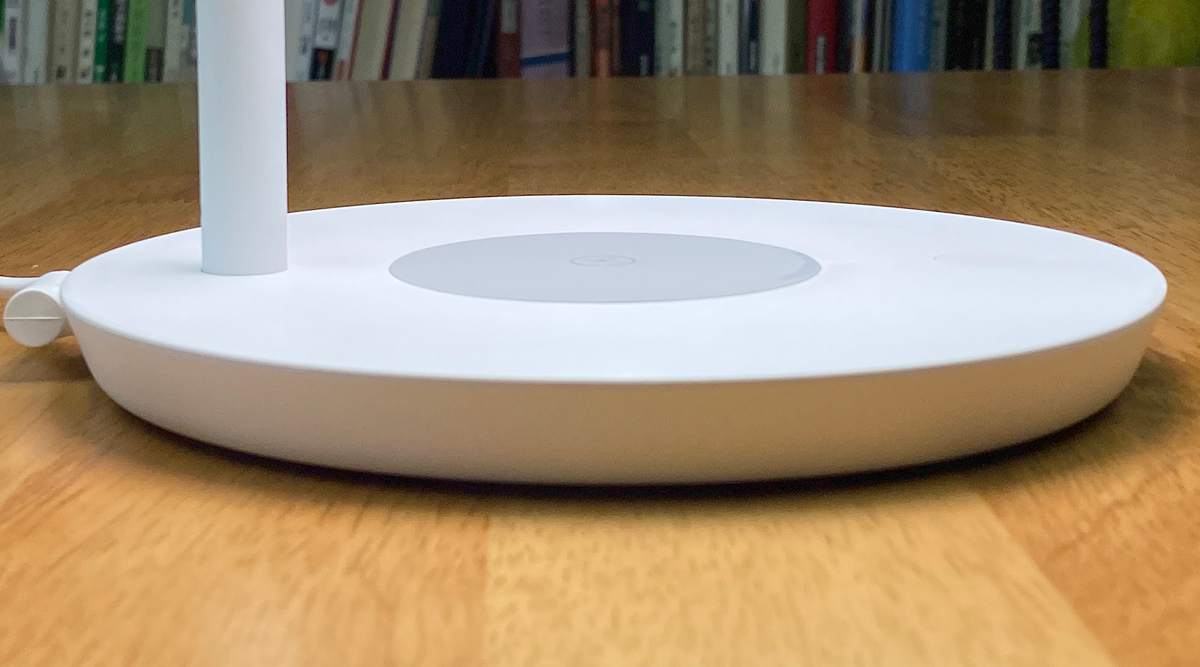
This is a lamp first and foremost of course, but with the addition of a Qi charging pad, it does take on extra usefulness. We’ll come to that in a bit, but for the base of the lamp itself, the measurements come in at 164.3mm / 6.46in in diameter, with the depth of the base being 16.4mm / 0.65in.
The multifunction button (which I’ll also explain in a bit) matches the colour of the lamp and is also flush with the lamp base, but while it does look aesthetically pleasing, in practice it does make it hard to find the button, especially in low light situations. On more than a few occasions, I’ve found myself moving my finger over the surface of the lamp base to find the button, and due to it being flush with the base, it’s not easy to even feel it, let alone see it. I can see why either a raised or indented button might not be the best approach, so possibly a slightly larger button would have been the answer, or better still, a tiny LED inside the button itself. The base of the lamp has one of two HomeKit codes, with the other being inside the manual.
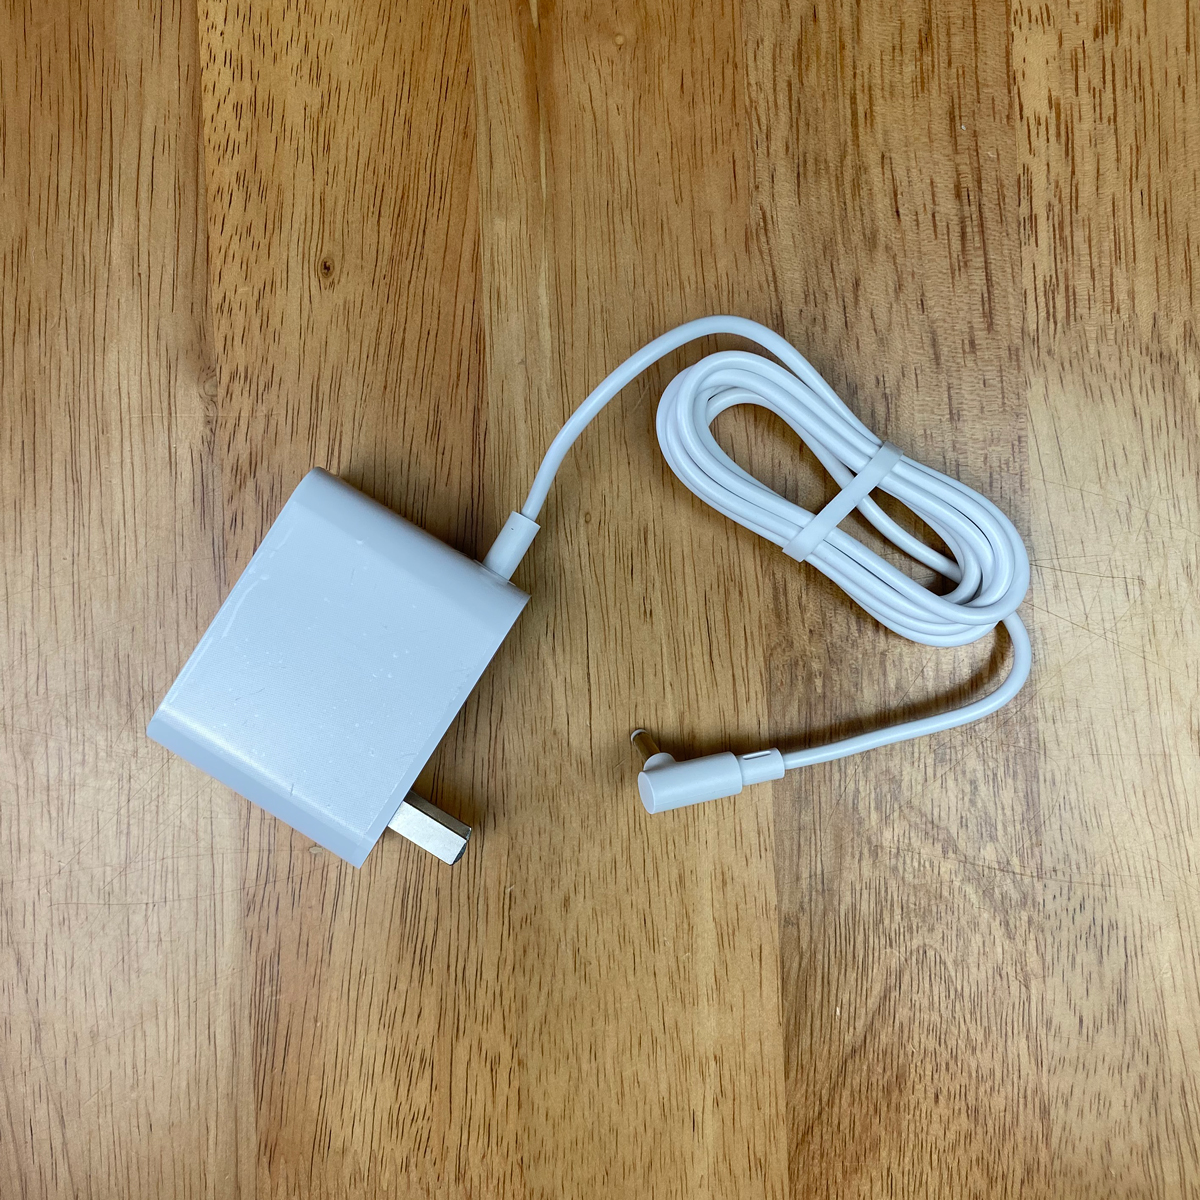
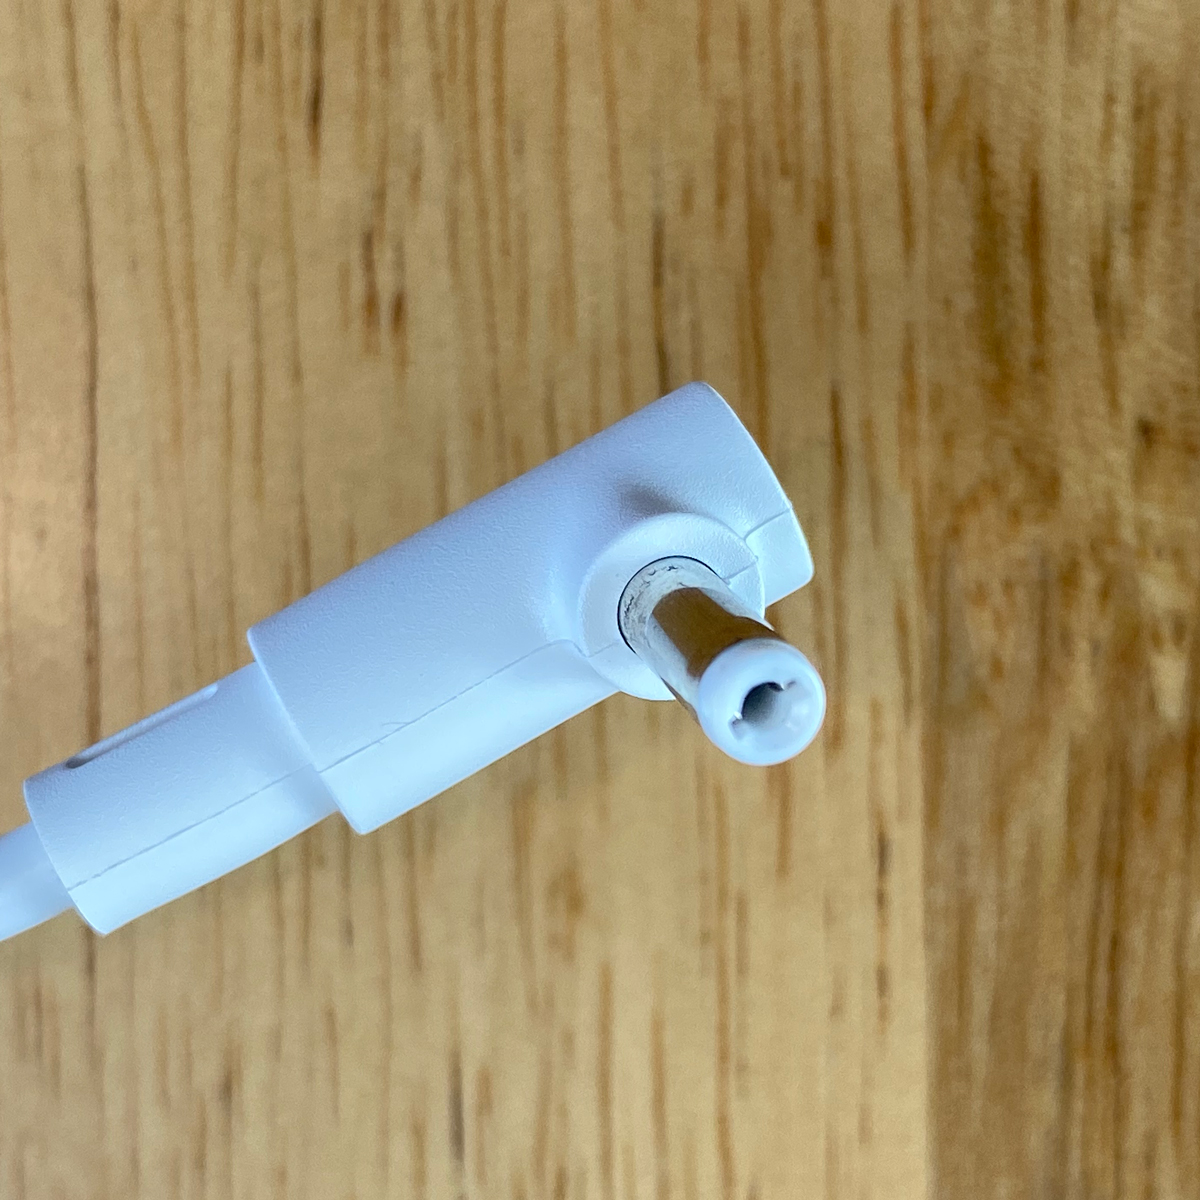
For power, the lamp uses a 12V/1.5A supply with a type A, non-polarized plug, and a barrel connection on the end of the power cable. Although it doesn’t specify either on the packaging or on the company’s website, the lamp works in Mainland China, where they use 220-240V and it works here in Taiwan, where we use 110-120V, which is, of course, the same for places like the US, Mexico and Japan, that can also accommodate this type of plug.
The built-in Qi charging pad is quite a handy feature, especially assuming you have this on a work desk or bedside table, where you’ll more likely have your phone with you, and either want it to be charged up whilst working or asleep. The pad itself is rubber and slightly tactile so that your phone doesn’t slip around unnecessarily. The charging pad works with all iPhones that are capable of wireless charging, so that includes; iPhone 8/8 Plus, iPhone X/XR/XS/XS Max, and iPhone 11/11 Pro/11 Pro Max. When you place a suitable Qi-compatible phone on the pad, a small LED within the lamp’s base will light up to indicate charging is taking place. The pad also has a feature that when you place a device that isn’t compatible with the wireless charger, the same LED will start to flash rapidly. Once you remove the incompatible device the LED will cease to flash after a few seconds. Whilst I welcome the chance to power up my phone wirelessly, in my brief tests*, the actual amount of power my iPhone was drawing was lower than I’d expected, coming out at around 4.5 – 5.0W. This is with the lamp turned off. If the lamp is on at full brightness (blue colour temperature) whilst charging, then the readings indicated 10w of power being drawn. For the record, the iPhone used was an iPhone 11 Pro Max, and the battery was at 66%. That doesn’t sound very powerful, given that you can get Qi chargers that can go to 7.5w, but then some of these ‘name brand’ chargers are generally as expensive as the lamp itself, so it’s difficult to complain when you get a lamp and ‘standard’ charger all rolled into one package, for the same price as a standalone charger. It has also been reported that for iOS13.1, Apple capped the speed for wireless charging of their phones to 5w with 3rd party chargers, unless they are fully compliant, so this may explain the relatively low output. Indeed, there’s nothing from stopping you from buying a separate charger, if you want that extra juice, and just stick with the standard version of the Star Desk Lamp. So far, the charger has worked out fine for me, as I tend to place my iPhone on it when I’m ready to go to sleep, and when I wake 7-8 hours later, the phone is always fully charged, even when the iPhone starts out at under 10%.
I haven’t got either the AirPods, or Airpods Pro, but Eric, one of our contributors, attempted to charge his AirPods case with this charger but was unsuccessful. I’m not sure why this is, although the image above taken from Yeelight’s own website indicates it is possible if the case is in fact for either AirPods or AirPods Pro.
* Tested using both an Aqara Smart plug and Vocolinc PM2 power strip,
using the energy monitoring features in their respective apps.
INITIAL SETUP
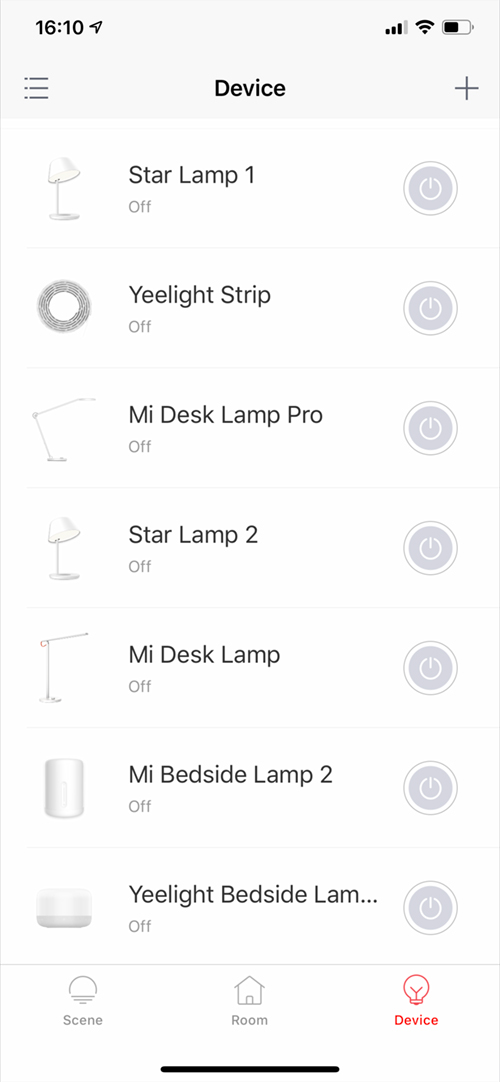
With Xiaomi smart home ecosystem products, there are a few different ways in which their devices can be added, which sometimes depends on the manufacturer, but if the product comes with a HomeKit code as this product does, then you can generally just add it to the Home app and go from there. It is advisable to get the relevant app for firmware updates or extra functionality though, and as I’m firmly ensconced in the Mi Home app, which will work with Yeelight products, I proceeded to add it to Mi Home first, and from there attempted to add it to HomeKit from within Mi Home. Strangely enough, it didn’t work out this way, with no option for adding it to HomeKit being offered or visible. This may have since changed, as I’ve had this lamp for four months now, but at that time I simply couldn’t do it, at least via the Mi Home app, which has been the norm. Luckily, any Yeelight light (or indeed Mi lamps made by Yeelight) added to Mi Home, will also appear in the Yeelight app, as long as you use the same sign-in credentials that you use for the Mi Home app. This was the case for me, and I was easily able to add the lamp to HomeKit this way, which is indicated in the overview video. I won’t go deeply into the procedure on this occasion, but essentially it’s like this;
- Open the Yeelight app and sign in if you’re signed out
- Select the Star Desk Lamp Pro from the list of devices under the ‘Devices’ tab
- Select the ‘settings’ icon in the top left-hand corner
- Select ‘Add to Home’
You then simply follow the on-screen prompts, which involves all the same steps you would see when adding a HomeKit device directly in the Home app.
IN YEELIGHT | MI HOME | APPLE HOME
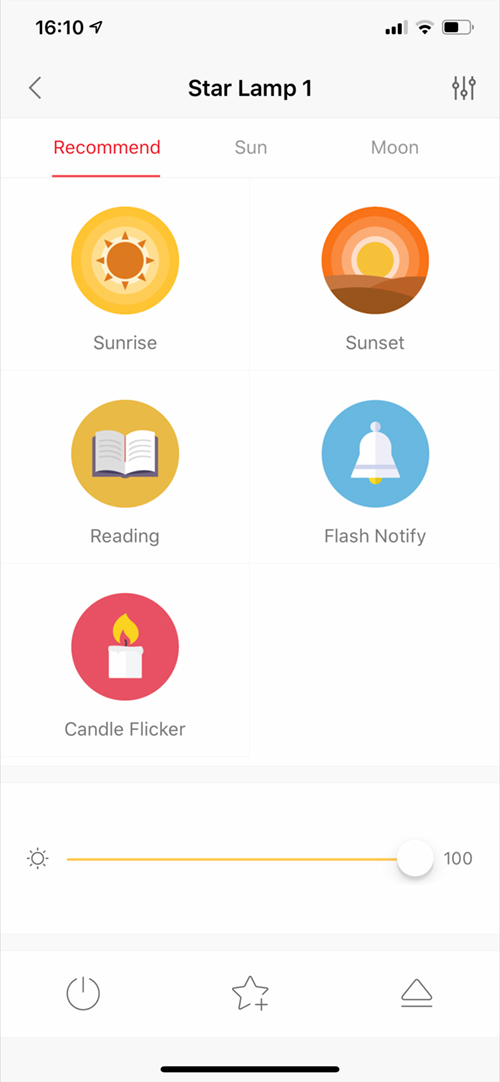
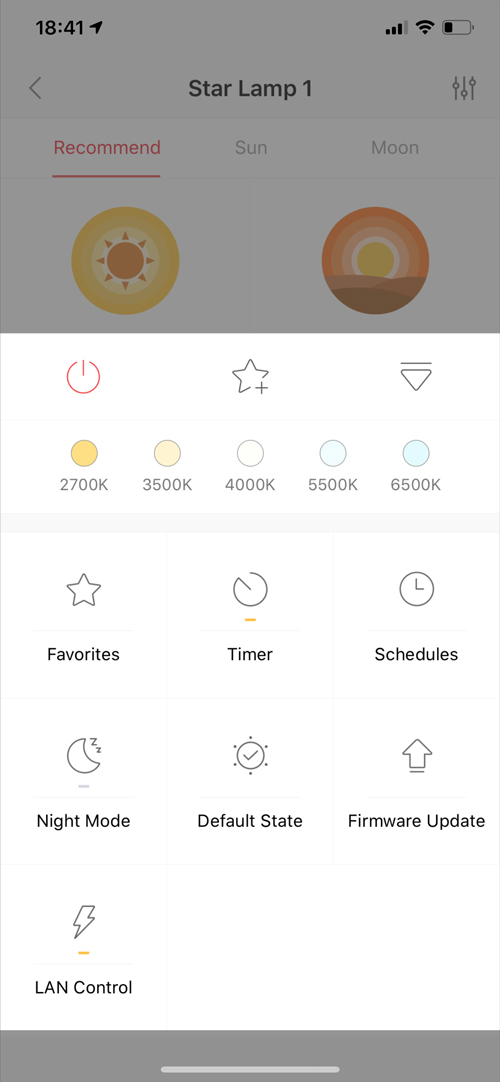
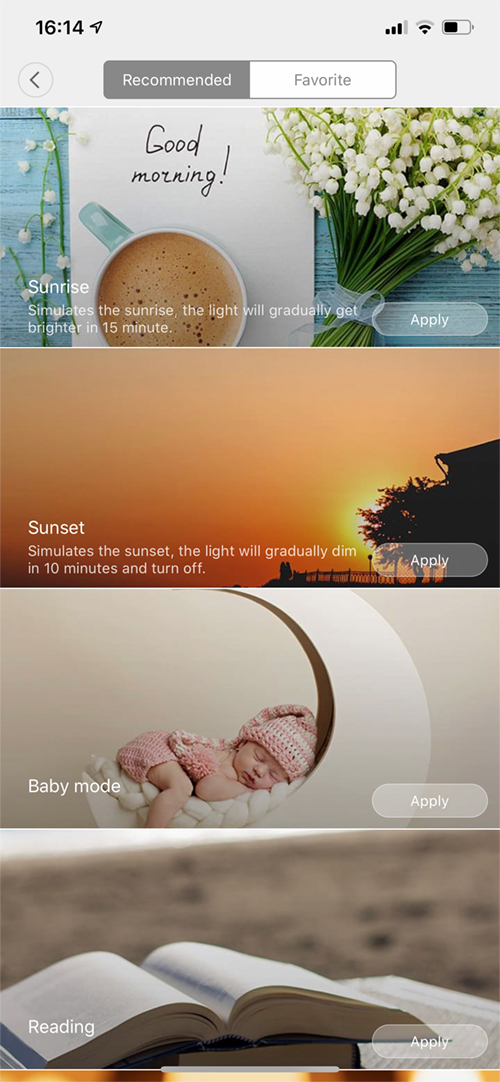
The Yeelight is fairly simplistic, but still has many options you might want to access, along with some options you won’t find in the Apple Home app, including animated lighting effecting like Candle Flicker, Sunrise, and Flash Notify. There’s another setting in the Yeelight app that you’ll also find in the Mi Home app, called ‘Moon’ which I’ll get to in a bit. Other options available within the Yeelight app include timers, schedules, default state, and Lan control. All in all, the Yeelight app is actually quite easy to use.
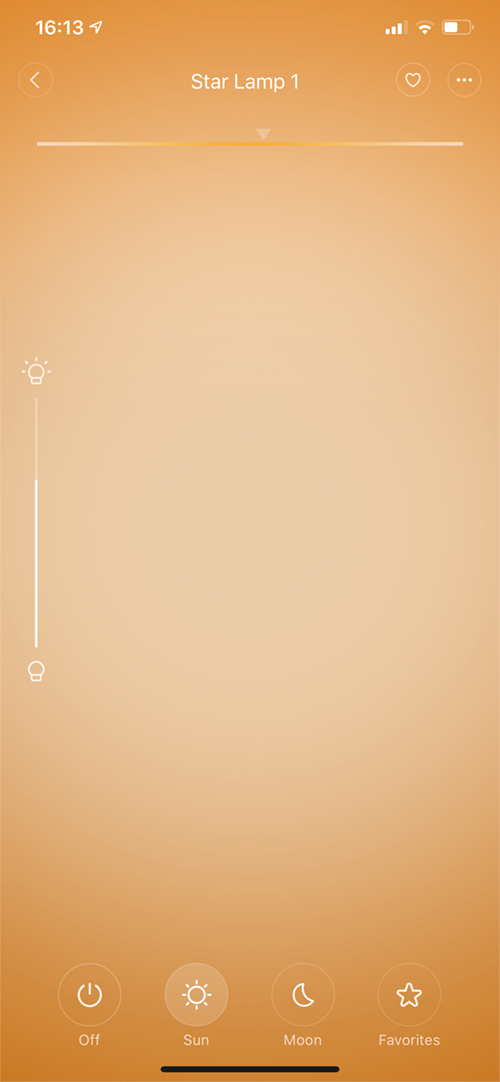
the Mi Home app has pretty much the same kinds of options, just presented in a different way. What the Mi Home app does give you is the ability to control this HomeKit compatible lamp with non-HomeKit devices like the Aqara Cube etc.
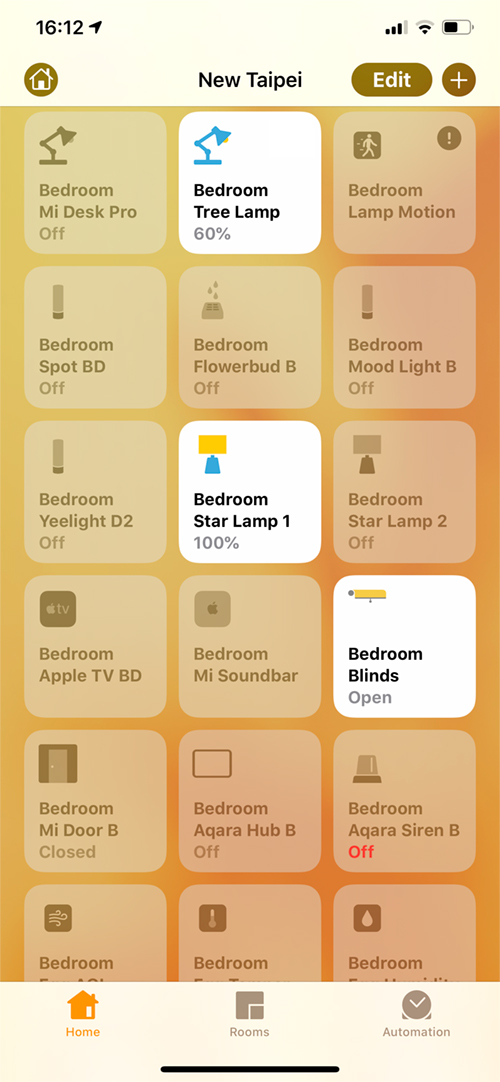
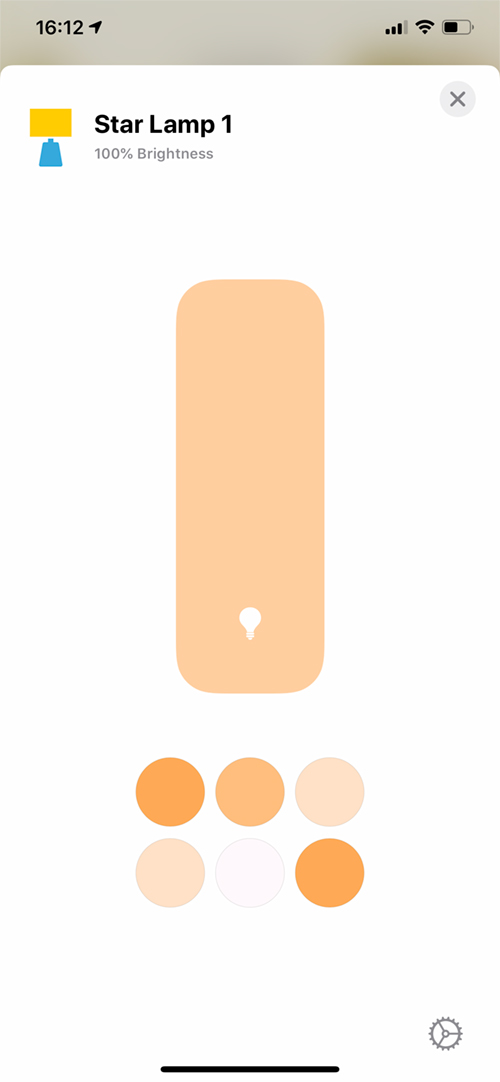
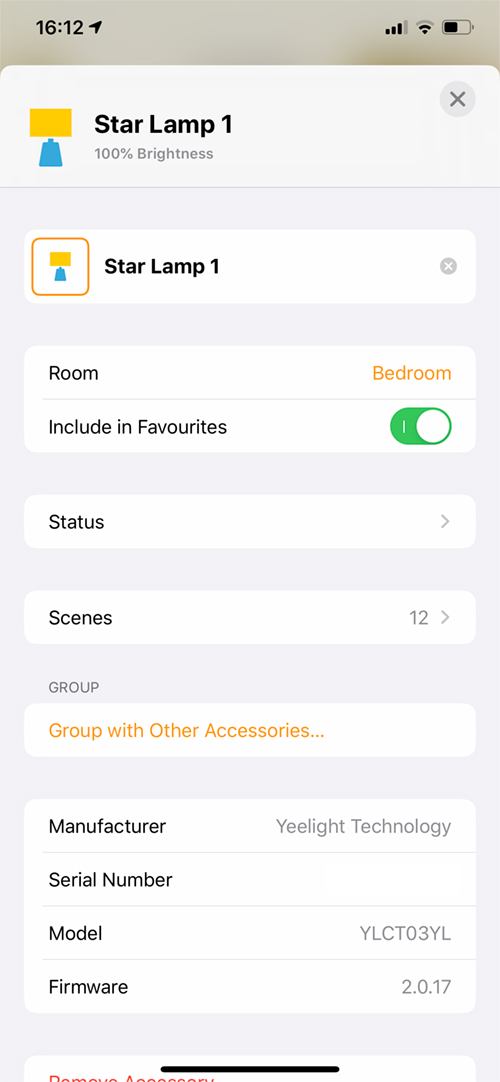
The Home app has all the basics that the other two apps have, minus the lighting effects or the ‘Moon’ option. It does have the ability to include your Star Lamp in scenes and automations involving other HomeKit devices, so in that respect, from a HomeKit point of view, it’s probably the most important one.
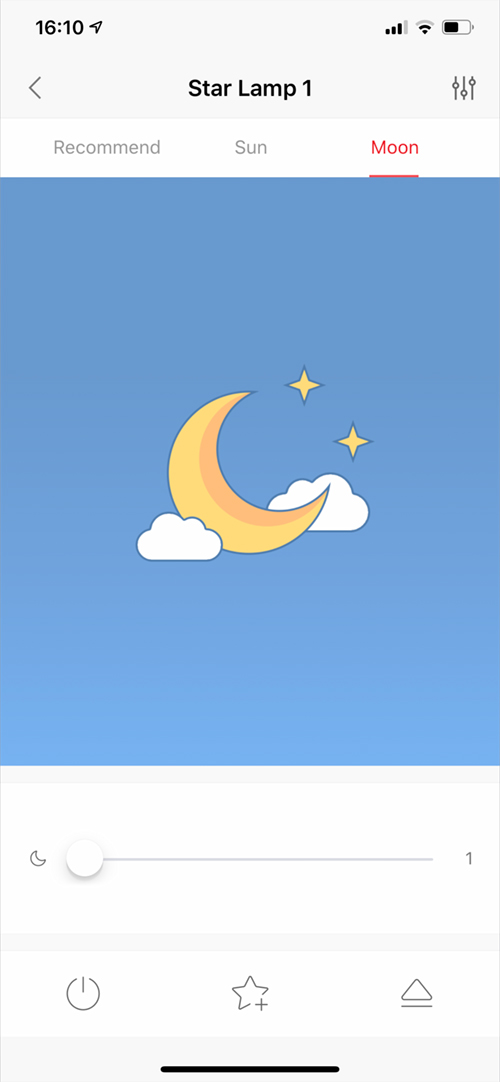
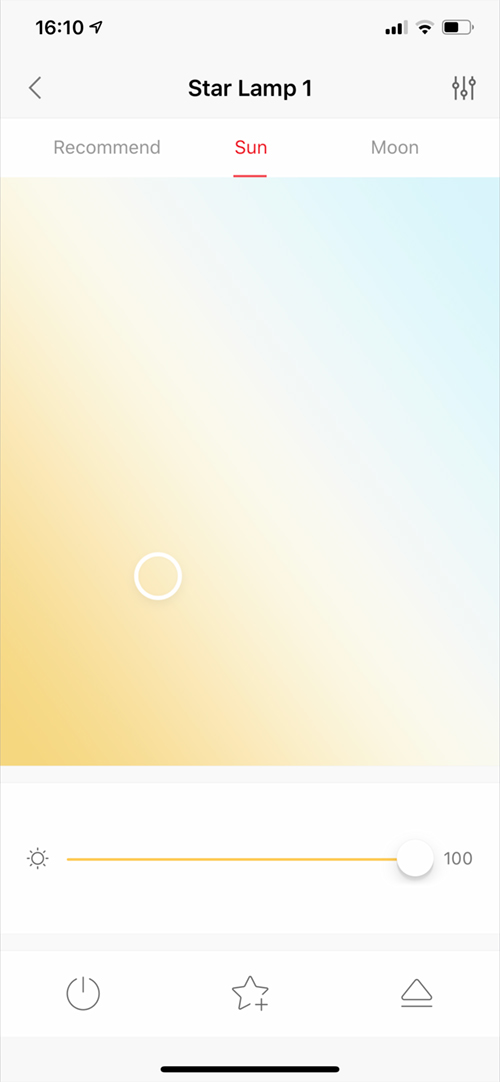
Going back to the ‘Moon mode’ that you can access it both the Yeelight and Mi Home apps, this acts a very low level night light, so whereas in the normal mode (referred to as Sun mode in both of these apps) you can get down to 1%, brightness, whilst it’s reasonably low in terms of brightness, it’s still not low enough to be called a night light. This is where the Moon mode comes in handy. I’m not sure how it works, but it probably just accesses a small selection of the LEDs to create an even lower level of brightness.
So, you can see from the above images, that the brightness levels can go considerably lower, than what can be achieved with the normal ‘Sun’ mode.
The stark contrast can be seen here when you put the Sun and Moon modes side by side, set to 1%. It’s also good to point out that in the Moon mode, there are still perceivable differences in each brightness level between 10-1%. It’s unfortunate that you can’t access this mode from within the Home app or seemingly other third-party HomeKit apps. The only alternative is to create a shortcut to trigger this mode, which can be done in either app, as both works with Siri Shortcuts.
DAY-TO-DAY USE
Generally speaking, the lamp does a great job, and I’ve found having a lamp that can be adjusted in many ways, quite useful. As I only tend to use it in the evening, the cool lighting doesn’t get much of a look in really, but that’s ok. The charging side of it, whilst not massively powerful, it’s ok for my needs right now, so I have no complaints about that either. The only downside, and it not a dealbreaker, is the button that controls it. Yes, I can control it via an automation, or a trigger of some sort, but when it comes to controlling it manually unless you want to just turn it on or off, it requires a bit of getting used to.
To turn the lamp on or off, you simply press the button, as expected. whenever you turn it on, it will be set to the last brightness and colour temperature it was at when it was last turned off. So far so good. If you want to adjust the colour temperature, then you have to long-press the button. Depending on the state it is in before you perform this action, it will do one of three things;
- If the lamp is at it’s lowest setting (in Sun mode), long-pressing will gradually increase the brightness of the lamp, before switching to cool white, ultimately settle on 100% brightness.
- If the lamp is at it’s highest setting (in Sun mode), long-pressing will first switch over to warm white at 100% brightness, then gradually reduce in brightness to it’s lowest level, set at warm white.
- If the lamp is set to Moon mode, whatever the brightness level, long-pressing on the button will automatically switch to Sun mode, then proceed to brighten up as per the first bullet point here.
This is where button control has its first failure, in that you can only have the lamp reduce in brightness set to warm white, not cool white. You can go into any of the apps and set the lamp to cool white and 50% for example, but with the button, you can only start dimming the light once it has set itself to warm white.
- Double pressing the button will allow the lamp to go into a delayed off state. The light will then turn off after a fixed amount of time, which is 10 minutes. There is a separate timer in the Yeelight app, but then you would most likely set something up in the Home app for a function like this.
For me, turning the light on or off is as much as I need, as the rest of these kinds of functions tend to be automated to some extent, so it’s fine. Ultimately, there’s only so much you can do with one button before things start to get too complicated, so I imagine they’re struck a fair balance for the switch. It would be good if you could program the double press function so that it could be designed to do a custom scene perhaps.
SUMMING UP
The bottom line is that I’m a fan of some of Yeelight’s products, and this is no different. Their industrial designers do seem, to a large extent, know what works and how to make things look modern and conservative at the same time. This, I think does the same. It looks like a traditional lamp, and to a large extent does the same job, but with a bit of understated flair. The fact that the Pro version has the bonus of a wireless charger built-in, also leans the lamp more towards great functionality, if that’s something you’re in need of. In terms of reliability, it has been fine, which hasn’t been easy to monitor due to the last few iterations of the Home app being rather unstable (I’m on 13.3.1 now, and all is well…), so I can’t fault Yeelight for that, but it hasn’t failed so far. There have been reports of problems with one or two of their products, most notably the Yeelight Light Strip Plus (read our review HERE), which seemed to have developed problems after gaining HomeKit support, although for me personally, I’ve not seen such issues on a regular basis, and even then I suspect previous iterations of iOS13 to be largely the culprit here.







I wanted to like this lamp but the price-wise is not worth it considering how limited it performs.
Do you know of any similar desk lamps that at least has one USB port on it? I’m aware of similar IKEA desk lamps but its even pricier than Staria in my country.
Hi, the Santala lamp is a bit cheaper at $42.99. This has a charging pad, as well as a USB port for charging phones. The only limitation with it is that it has four set colour temperature levels, so you can’t adjust it yourself.
https://homekitnews.com/2019/10/30/santala-smart-desk-lamp/
Unfortunately I can’t find the Santala lamp anywhere online, at least those that ships to my country. Sigh 🙁
Btw, does the wireless charger on the Staria lamp tend to overheat the phone when charging overnight? I bought a Baseus Lett Desklamp (not sure if you heard that brand before) and I end up returning it as my iPhone stops charging at 80% due to excessive heat it produced while charging.
I only charge my phone (11 pro max) overnight and it never feels hot when I wake up in the morning, and is always charged to 100% when I wake.
Pingback: Yeelight Staria Lamp and More Now Available on Amazon - Chalaad