How to Add Video Camera Notifications to Your Apple TV
With the latest update from Apple to iOS15 or your iPhone, it’s easy to forget the improvements brought to other devices in the Apple ecosystem, like tvOS for example, especially in relation to HomeKit. One addition brought to Apple TV is the ability to not only get a picture in picture notification from your HomeKit compatible video doorbell but now also your HomeKit cameras too! This is especially useful for outdoor cameras, where you may be watching TV and not have your iPhone at hand, but would still like to get notified if there’s someone lurking in your garden, for example. In my case, it’s handy for keeping an eye on our 1-year-old dog, Bubble…
It’s easy enough to set up if you follow these steps, although if like me you have a lot of cameras, you may want to think about which cameras you want to get notifications on, in order to avoid a deluge of notifications when you’re trying to watch your favourite show or movie.
The following instructions are based on the assumption that you have an Apple TV HD or 4K capable of running tvOS15 and you’ve updated to the latest firmware.
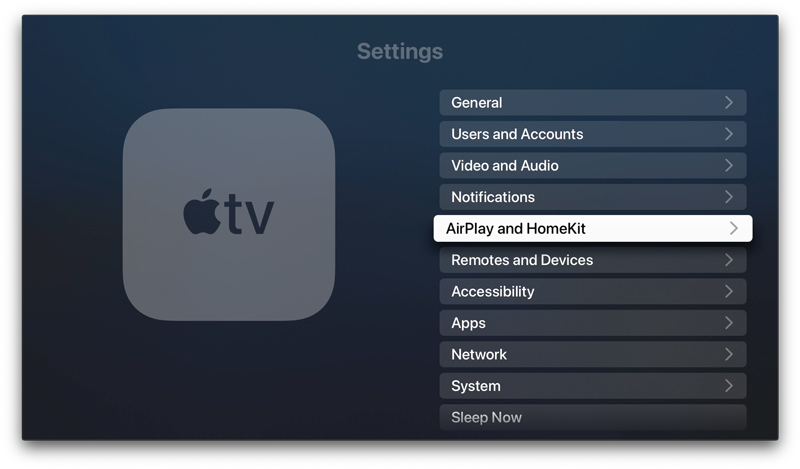
- Go into the settings section of your Apple TV, and select AirPlay and HomeKit
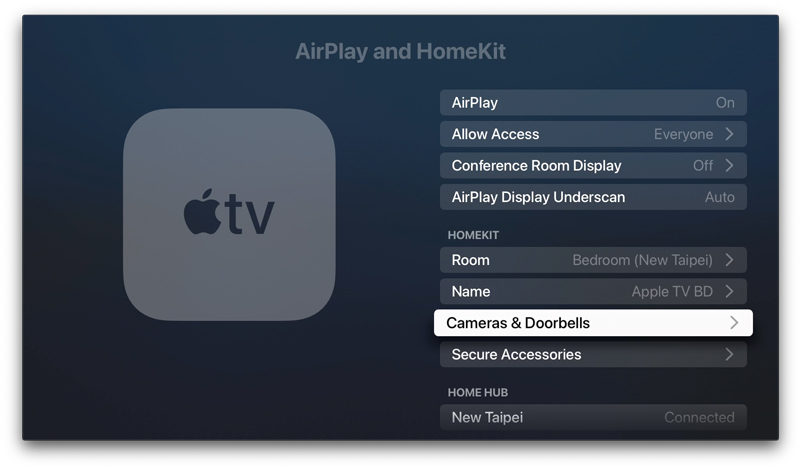
- From there, scroll down to the HomeKit subsection and select Cameras & Doorbells
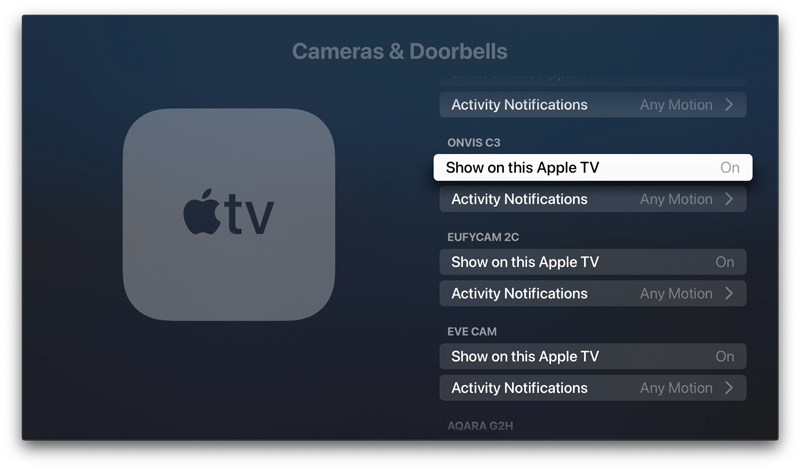
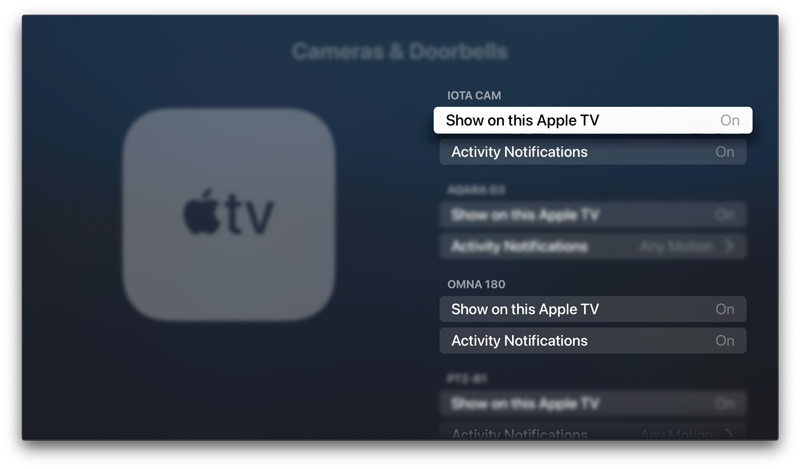
- Choose the camera(s) you want to appear on Apple TV for both viewing and for motion notifications
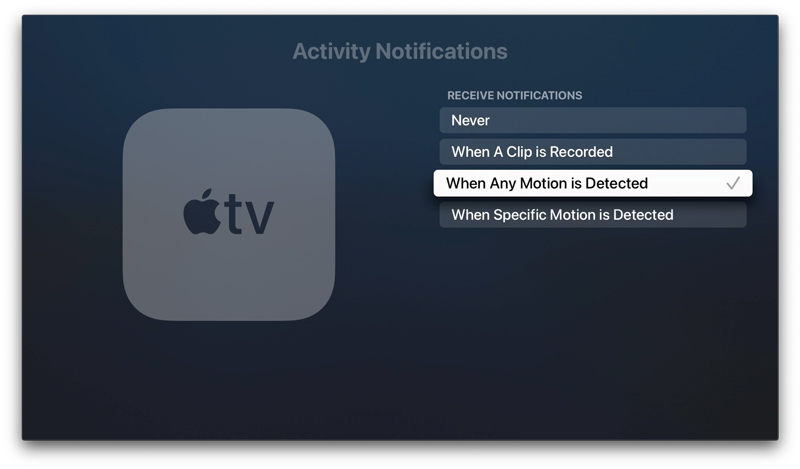
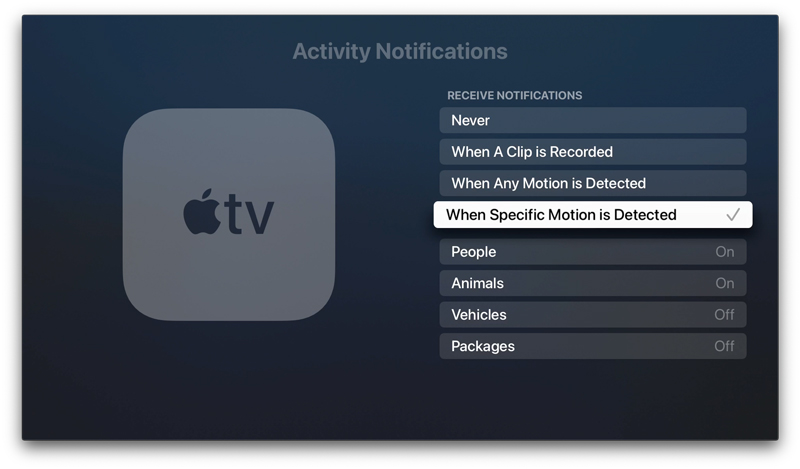
- For each camera, select whether you’d like to receive notifications, and what kind of detection is reported
- If you select When Specific Motion is Detected, you have a choice to activate up to four different options – People, Animals, Vehicles, or Packages (NEW)
- Once you’re all set up, you will start to receive notifications on your Apple TV via a Picture in Picture (PiP) pop-up screen
- If by chance you have HomeKit compatible cameras that don’t have the capacity for HomeKit Secure Video (HSV) functionality, then you will most likely only be able to set Activity Notifications on or off. You can see this in the Abode Iota cam and the D-Link Omna 180 cam in the screenshot above.
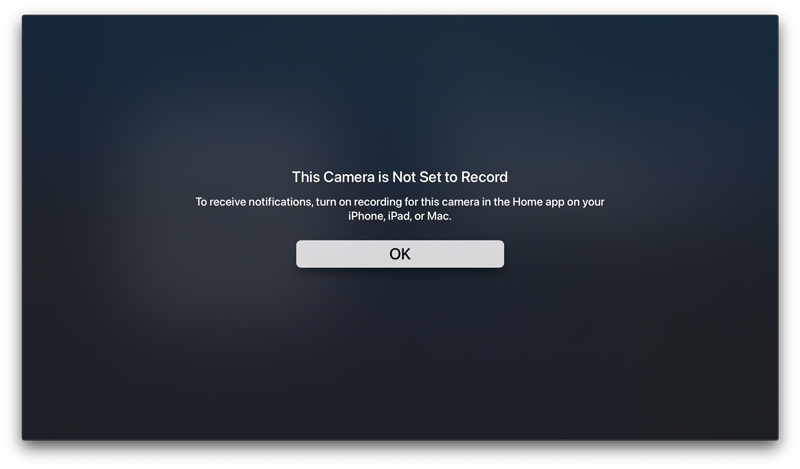
- If you have a HSV capable camera, but it isn’t set to the Stream and Allow Recording option in HomeKit, you’ll see this warning. You can still see the live stream, but you won’t get notifications.
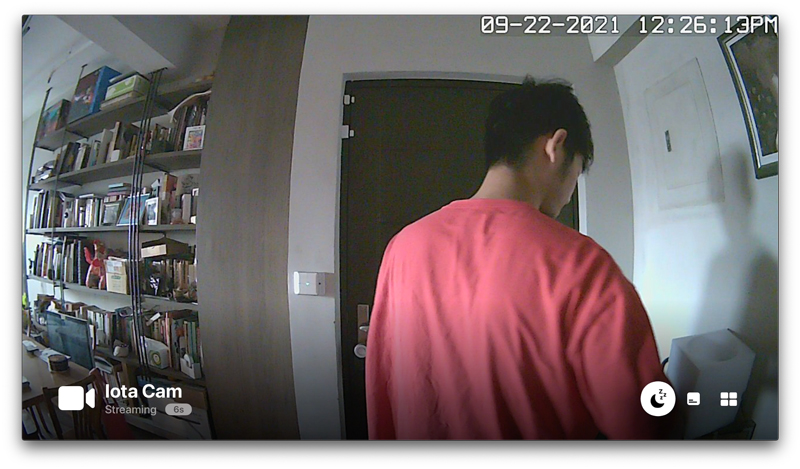
- If you’re getting a lot of notifications at a particular time when you don’t need them, then from the fullscreen view of the particular camera, you can select the Snooze Activity icon
- A screen will pop up, offering three Snooze options – snooze for 15 minutes, snooze for an hour, snooze until tomorrow.
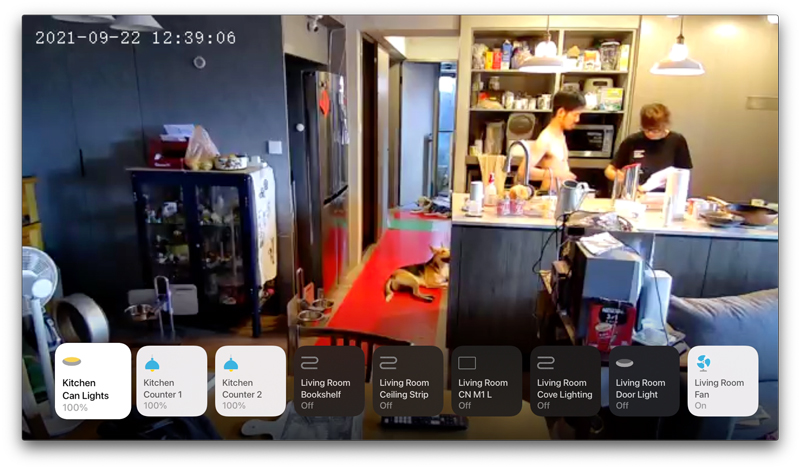
- When viewing a live stream of one of your cameras, regardless of whether it’s recording or not you will see two separate icons, one for devices related (but not restricted to) the room the camera is in, and another to view all of your cameras in a grid format.
- The devices icon, once pressed, shows the devices relevant to the room the camera is in, as well as devices you’ve deemed relevant via the Home app.
- From here, you have basic control – on/off for the most part, so you don’t get control of lights that have dimming and colour capabilities, other than on or off.
- Besides cameras and doorbells, certain devices can also report back on their status, like door locks. You can see in the corner of the screen, my Nuki Lock 2 has been unlocked.
There is probably a bit more to discover with tvOS15, but this is one addition that has been highly welcome – even if it’s just to keep an eye on a naughty dog…







Pingback: How to Add Video Camera Notifications to Your Apple TV - Homekit News and Reviews - Apple News