Thorbolt X1 Smart Deadbolt Lock with Thread (review)
As Matter continues to gain ground in the smart home space, the number of devices that support only Apple Home is rapidly dwindling. This is especially evident with Thread-based products, where HomeKit over Thread is starting to feel increasingly out of step with the broader industry trend.
Nonetheless, a handful of companies remain committed to this exclusive approach. Among them are Onvis – who have also released Matter over Thread devices – and Sleekpoint, the umbrella group behind Airversa, Holomarq, and Thorbolt.
We’ve already reviewed the MK1, Thorbolt’s first HomeKit over Thread smart lock (video HERE, review HERE), designed for latch or doorknob-style installations. Now, with the release of the company’s first full deadbolt lock, it’s time to revisit a rare breed: a Thread-enabled device made exclusively for Apple Home.
You can watch the video for the X1 below too;
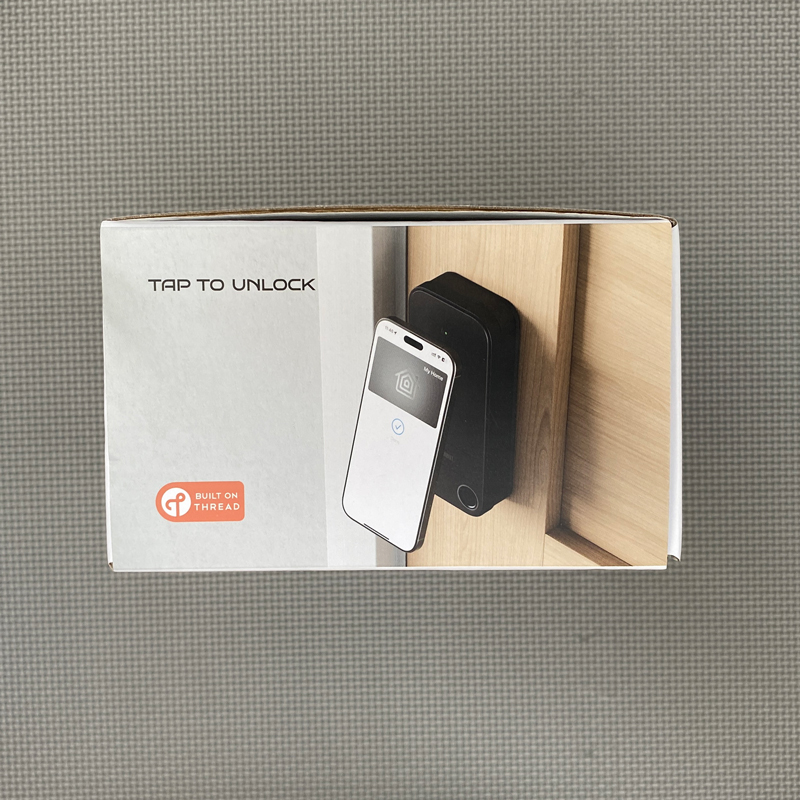
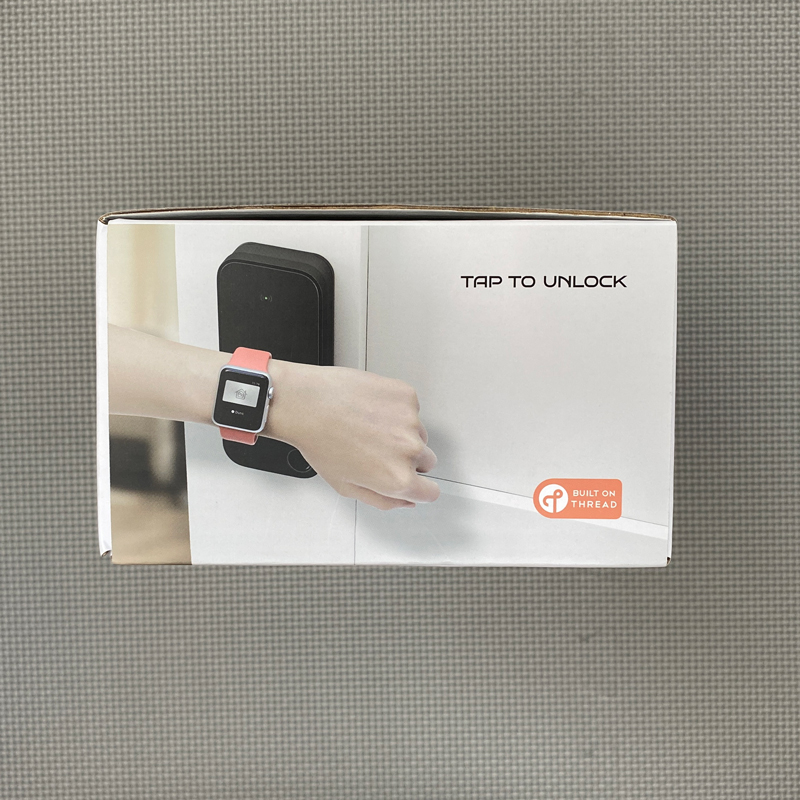
PACKAGING | CONTENTS
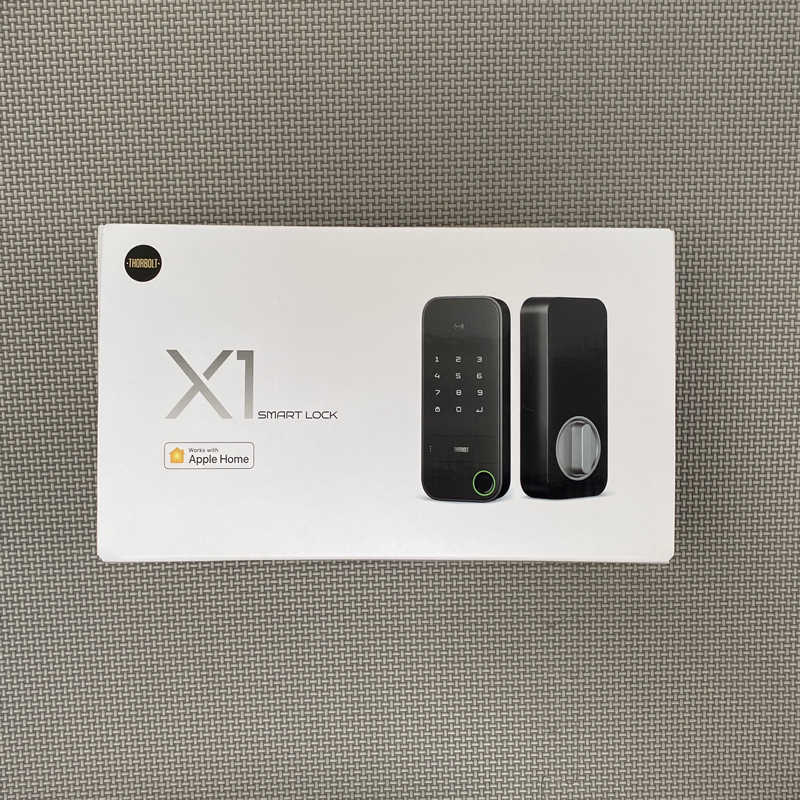


The packaging is reasonably minimal, with both sides of the lock displayed on the front. One edge displays the unlock methods, which are;
- Apple HomeKey
- Siri
- App (Apple Home or Sleekpoint)
- Fingerprint
- Keypad (passcode)
- Physical keys
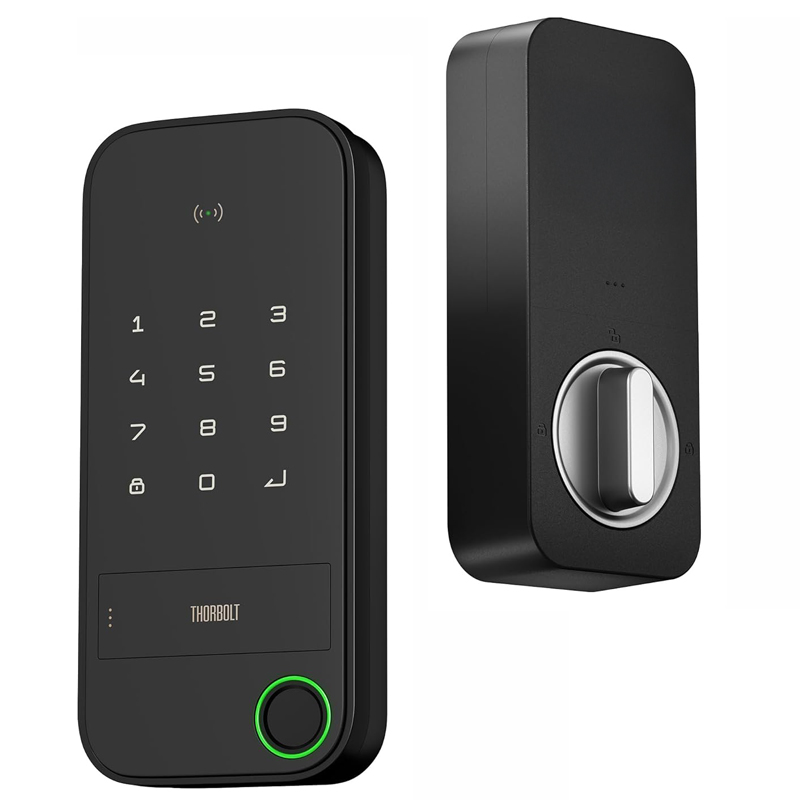
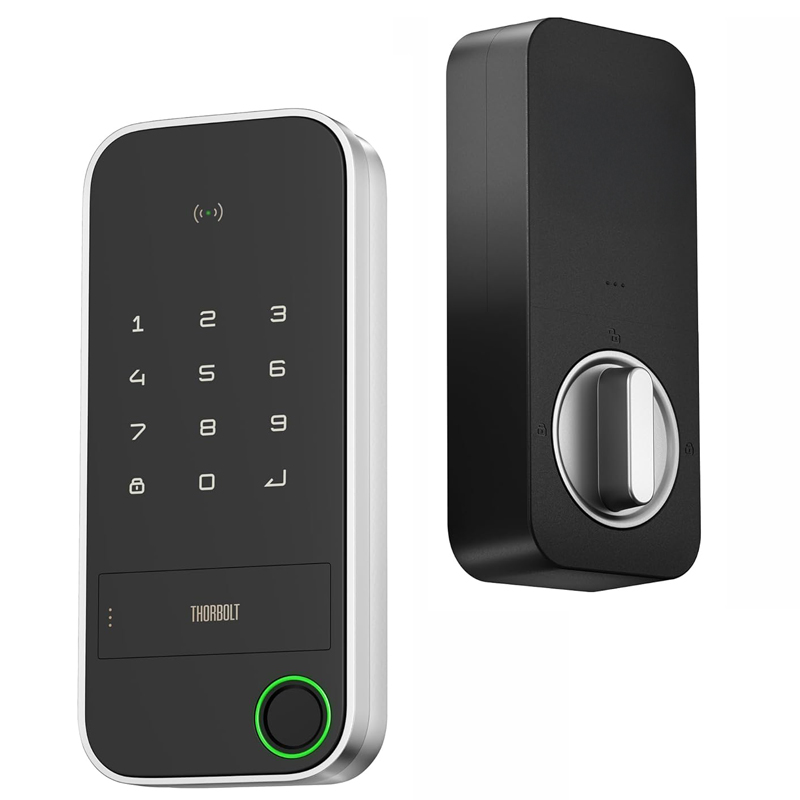

The X1 is available in three finishes – Black, Silver, and Grey – all of which can be found on Amazon at the time of writing. While each version features different edging on the outer assembly to match the selected finish, the front panel remains the same across all models, as does the inner assembly. The lock also boasts an IP65 outdoor rating, so you can be secure in the knowledge this will work outside without any issues.
One of the key selling points of this lock is its support for Apple HomeKey. When HomeKey first arrived, it was seen as a major draw – something that could sell a product on its own. However, many users have since concluded – as I noted in my review of the Aqara A100 Zigbee – that in practice, a fingerprint sensor is often far more convenient. With the X1 including this very feature, you may find that, despite having HomeKey, it doesn’t get used as much as you initially expected.
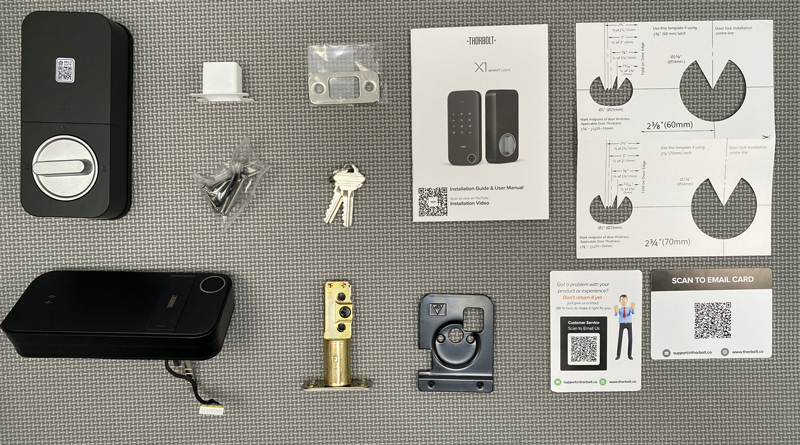
The package comes with almost everything you’ll need bar some basic tools, like a screwdriver for example. If you’re fitting this lock for the first time on a door without a lock, then the included hole cutting template is going to be essential. If you’re simply replacing an existing deadbolt lock, then it really is a very easy 5~10 minute job.
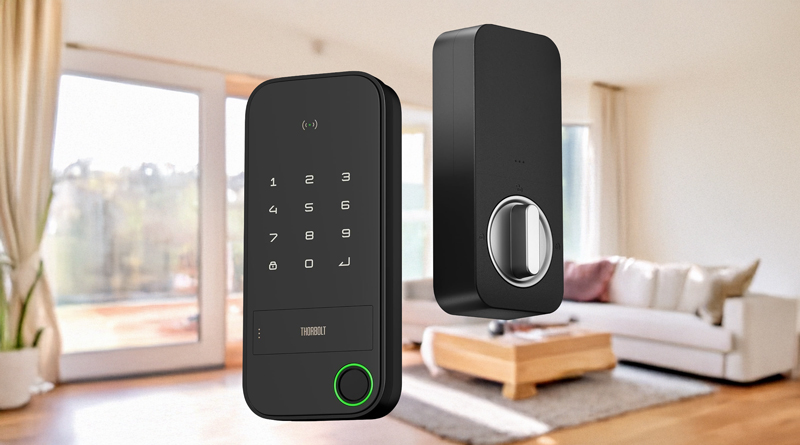
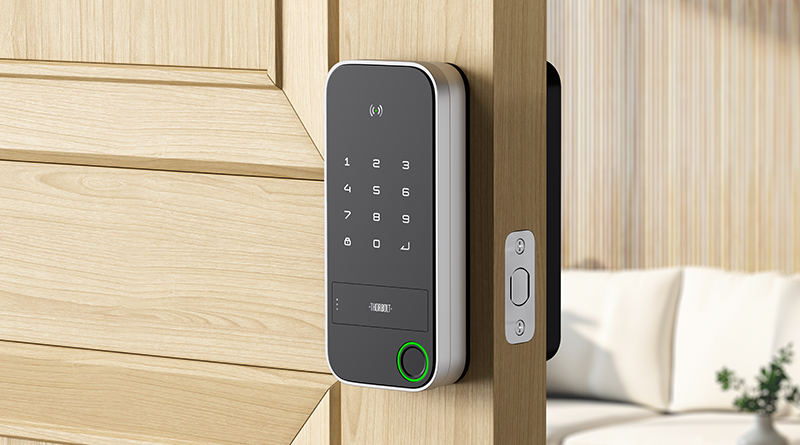
THE X1
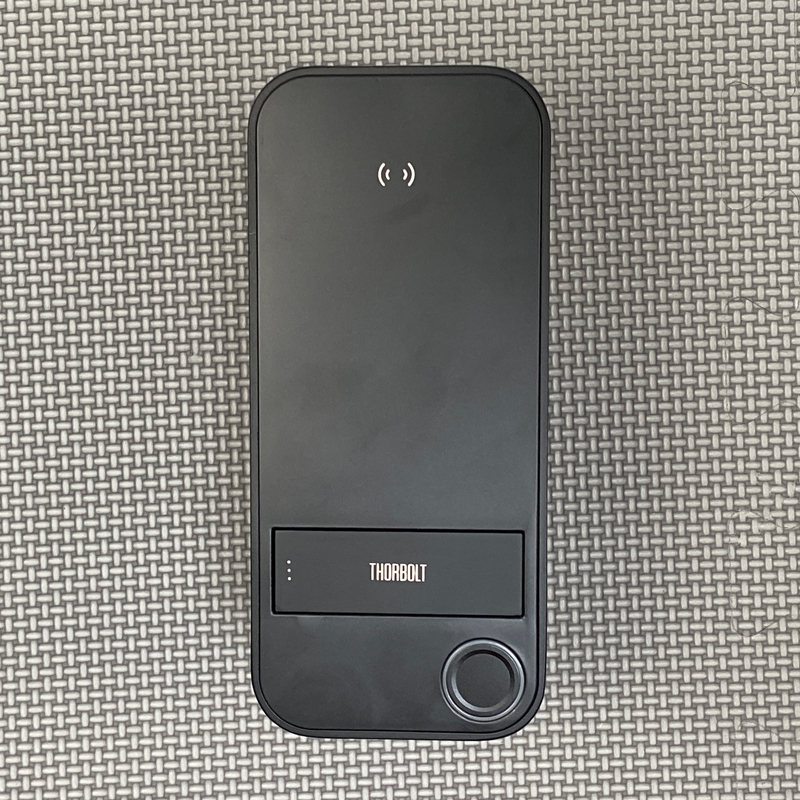
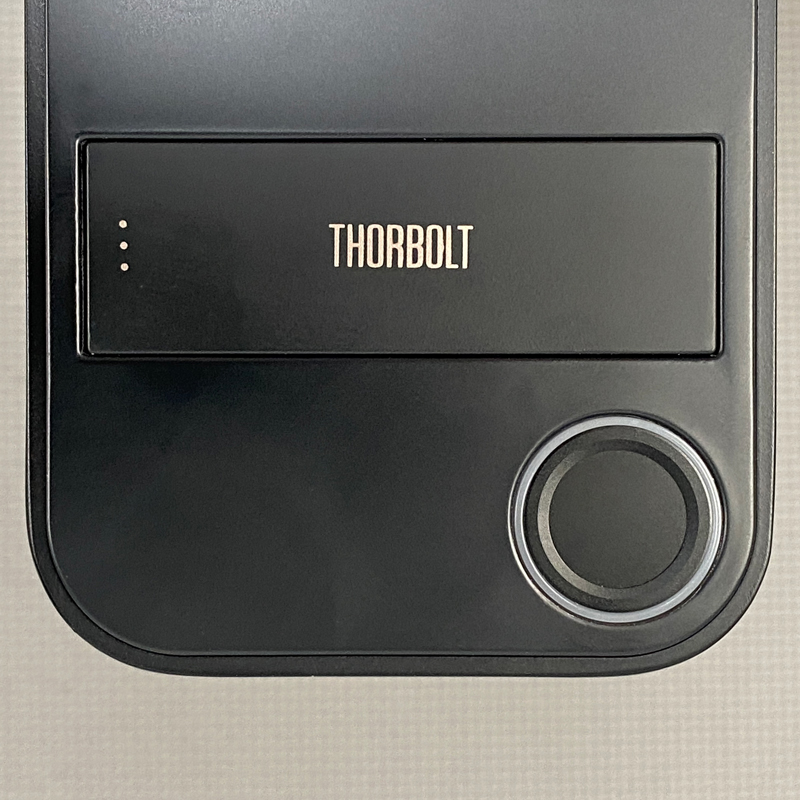
When I first saw the X1, I was immediately sold on its design. Visually, it’s a strikingly minimalist black slab – when the keypad isn’t active, at least – with just an NFC-style icon at the top, a small hinged panel near the bottom, and the fingerprint sensor tucked into one corner. The placement of that sensor really stood out to me. It would’ve been easy – and perhaps expected – to centre it for a more symmetrical look, but to my eye, the off-centre placement works much better.
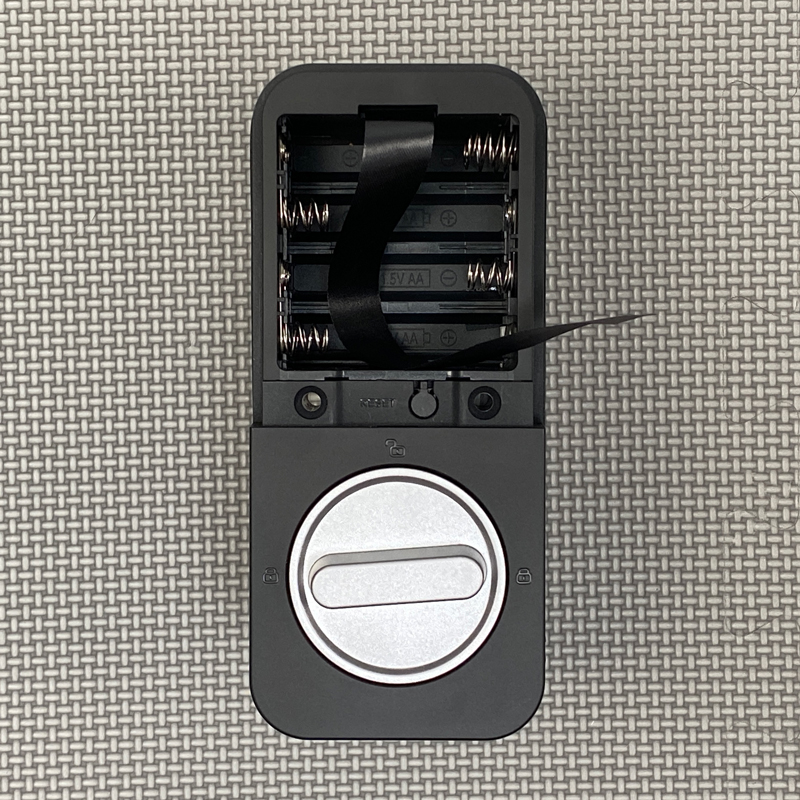
The inner assembly is fairly standard, to be honest, but the ease with which you can remove the battery cover – especially compared to something like the Aqara U100 or U50 – definitely doesn’t go unnoticed.
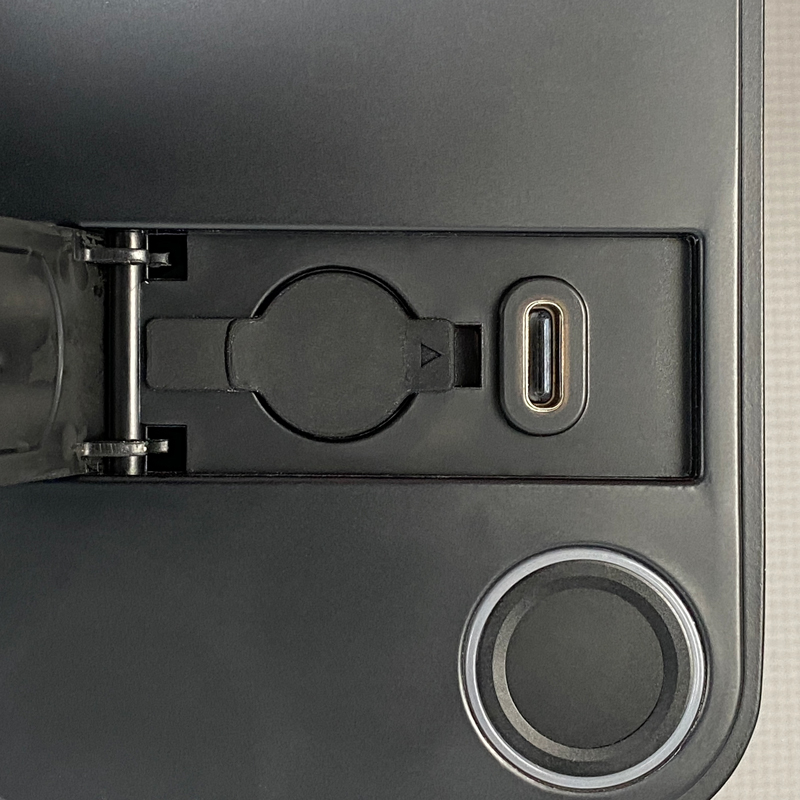
The previously mentioned hinged panel serves two purposes. First, it conceals a USB-C port designed to provide emergency power if the batteries unexpectedly die – which is unlikely, as you’ll receive plenty of warnings from both the Sleekpoint and Apple Home apps. You can supply power using a power bank, or even your phone if it supports what’s sometimes referred to as ‘reverse charging’.
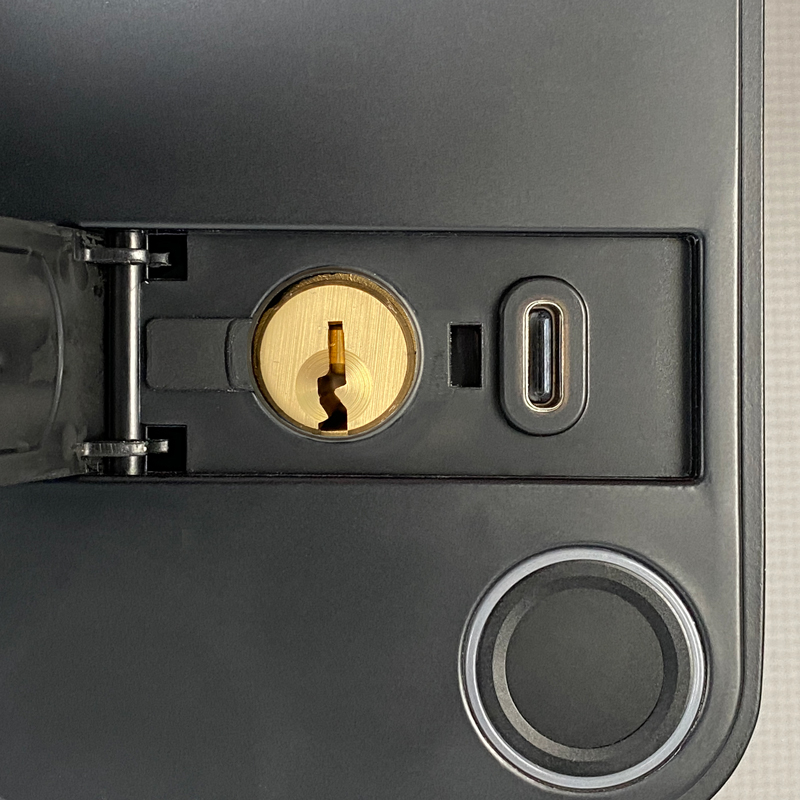
The second purpose is to cover the keyhole, which also features a rubber grommet to help protect against any ingress that might get past the outer hinged panel.
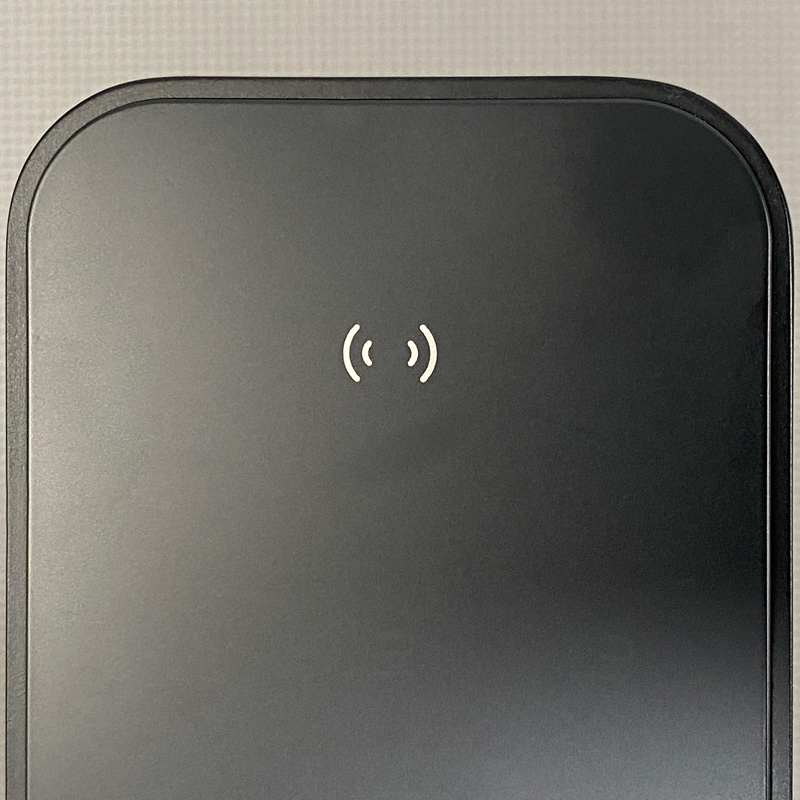
One potentially unique feature of the X1 is the dedicated Apple HomeKey area located at the top of the outer assembly. Most locks that support HomeKey place the receiver in the same region as the keypad, which can sometimes lead to unintentionally triggering the keypad when scanning. Not so with the X1 – its HomeKey sensor is completely separate from the keypad, avoiding any such overlap.
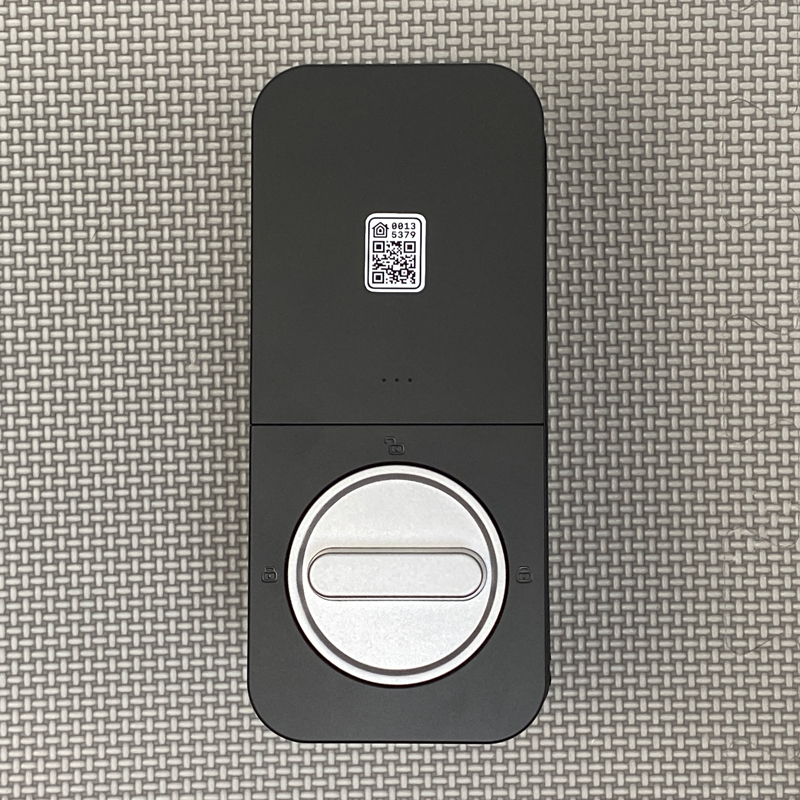
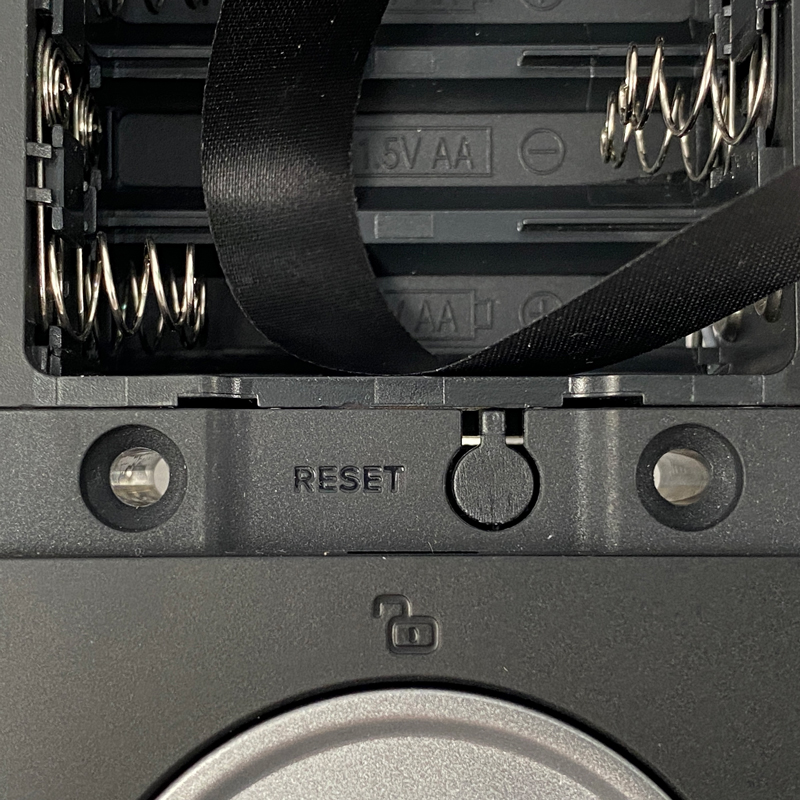
The inner assembly houses the thumb turn and the battery compartment. Removing the battery cover also reveals a small reset button, should you ever need it. Other than that, there’s not much else going on with this part of the lock.
It’s also worth noting that, unlike some deadbolt locks, both halves of the X1 are aligned in terms of position – whereas it’s common to see the inner assembly mounted slightly higher or lower than the outer half. It doesn’t make much difference in practice, but it’s a nice touch all the same.
The X1 is designed to hold eight AA batteries, providing a nominal twelve months of average use – although it can still operate with just four if necessary.
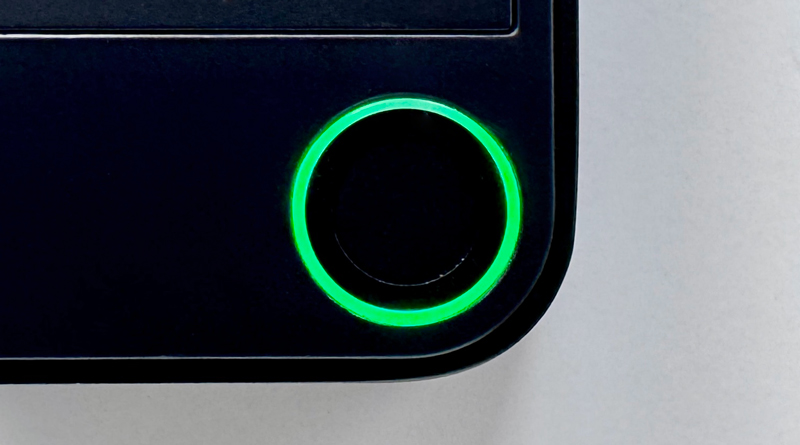
Just like the MK1 doorknob lock, the X1’s fingerprint sensor features an LED ring that briefly lights up green when a fingerprint is successfully recognised. If the fingerprint is placed incorrectly – or if an unregistered fingerprint is used – the ring will flash red twice to indicate a failed attempt. The LED can also light up for other reasons, such as when the battery is running low.
IN APPLE HOME

The X1 can be added directly to the Apple Home app without needing the Sleekpoint app at all. However, if you skip the Sleekpoint app, you’ll miss out on firmware updates, fingerprint scanner setup, and more advanced keypad user options – which are noticeably better than what Apple Home provides.
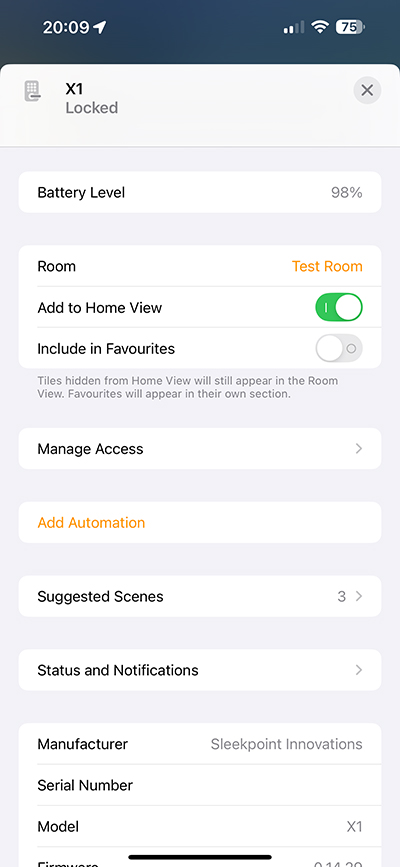
Still, if you only plan to use Apple Home, you absolutely can. In this case, you’ll get access to Apple HomeKey – provided your iPhone supports it – and you can lock or unlock the X1 directly from the Home app, as well as view battery levels. Apple Home also includes the ‘Manage Access’ feature, which lets you generate passcodes for use with the X1. However, you won’t be able to set start and end dates, specific days or times, or create one-time codes – all of which are handled through the Sleekpoint app only.
THE SLEEKPOINT APP

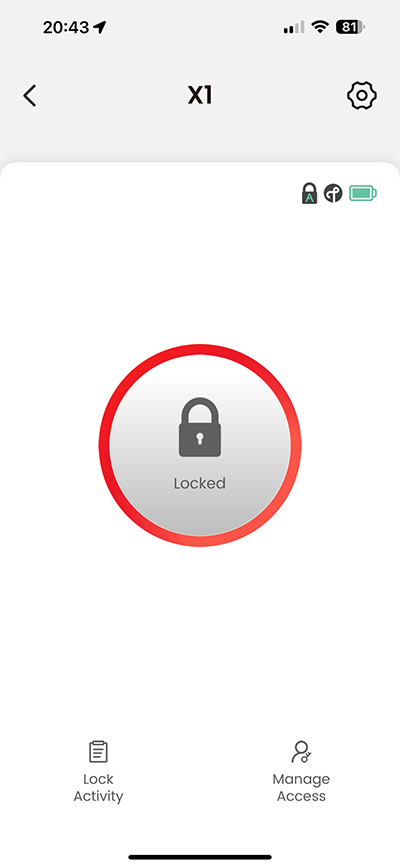
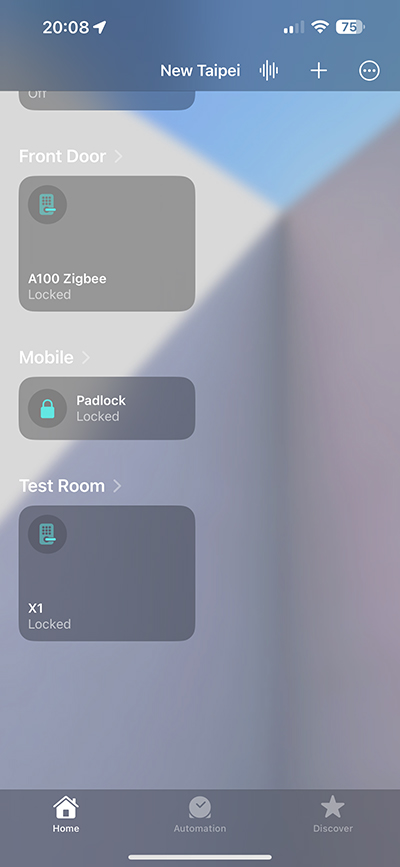
While you can create an account in the Sleekpoint app, it’s not mandatory – which is a welcome touch. In the first screenshot, you can see I have the X1 listed alongside an Airversa air purifier. Tapping the X1 tile brings up the user interface, which is basically the same as what you’ll find with the MK1.
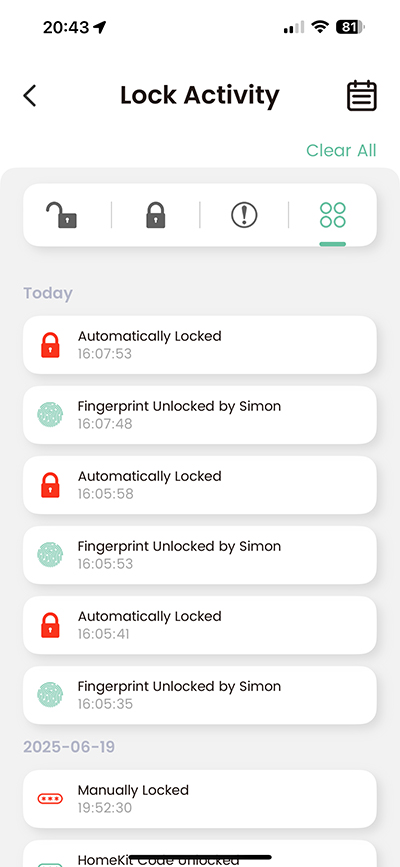
The interface features a central button for locking and unlocking, along with smaller icons for viewing lock activity and managing users. The activity log shows who locked or unlocked the X1, complete with timestamps and the method used – whether by fingerprint, code, or app. If auto-lock is enabled (which it is by default), those entries won’t show a user, since the lock engages automatically. The log also records manual interactions – for instance, if someone turns the lock – whether or not it was locked or unlocked. This can be especially useful if you’re concerned that someone may have attempted to tamper with the lock, even if their identity isn’t recorded.
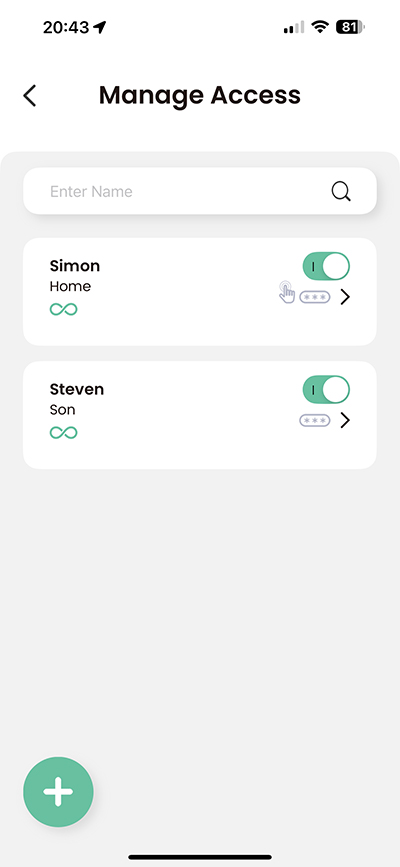
Since this lock is currently being tested in isolation rather than installed on a door, there aren’t any active users in day-to-day use. However, for testing purposes, I’ve added myself and my stepson. As mentioned earlier, the Sleekpoint app offers a few user access options – unrestricted, restricted, and one-time use. The restricted option is particularly flexible, allowing you to define access based on specific times of day, selected days of the week, and even set start and end dates if needed.
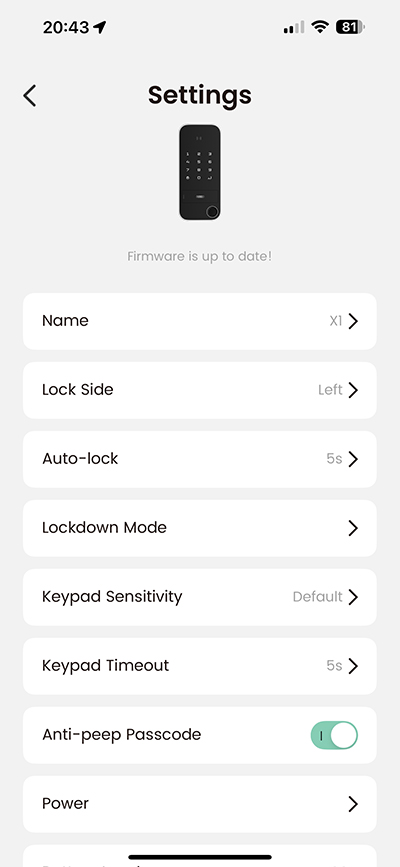
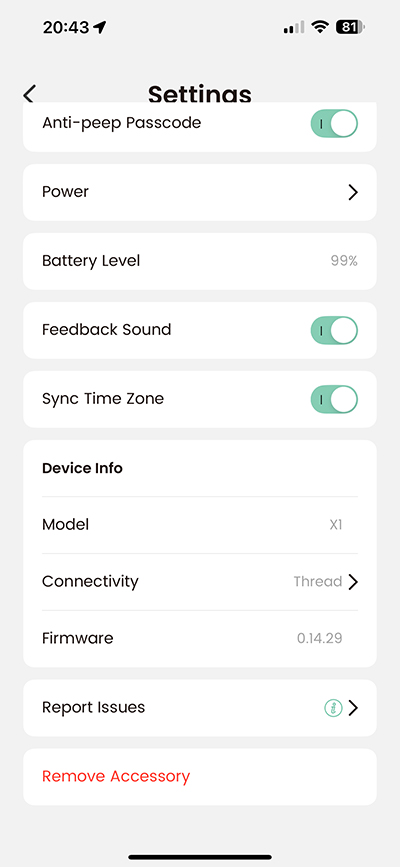
The settings panel includes a number of customisable options, such as the ability to disable the beeping sounds that occur during use. You can also view battery levels and check whether the device is connected via Thread. One notable feature is the ‘auto-lock’ setting, which can be turned off to enable what might be considered a ‘passage’ mode – allowing the lock to remain unlocked. This can be particularly useful during gatherings, such as parties, where people may be coming and going frequently.
Another useful option is ‘lockdown mode’, which monitors the number of failed keypad attempts over two timeframes – ten minutes and one hour. If a set number of failed attempts is reached, the keypad will temporarily lock. You can adjust the threshold for both timeframes independently, giving you more control over how the system handles potential tampering or repeated incorrect entries.
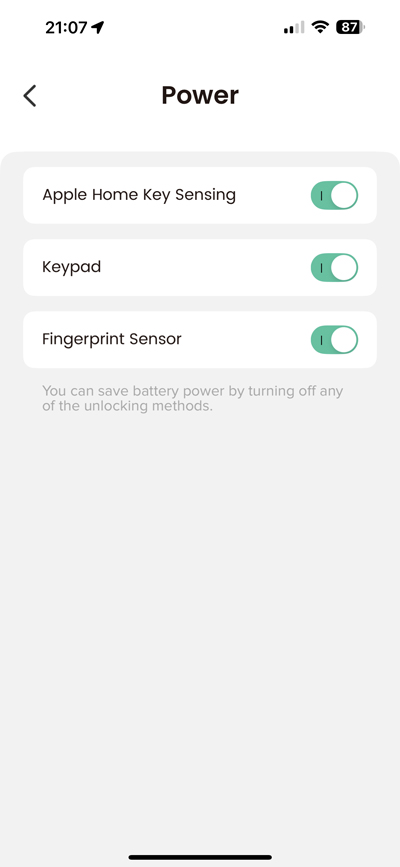
One feature the X1 offers that isn’t available on the MK1 is a small set of power-saving options. For example, if you typically use only the fingerprint sensor or Apple HomeKey, you can disable the keypad entirely to conserve battery life. This not only extends usage time but also removes any temptation for someone to try random passcodes, as the keypad won’t respond at all when disabled.
REKEYING THE X1
Whether a lock can be Rekeyed is a question that comes up with nearly every new smart lock. While I haven’t tested it myself, both the company and one of my viewers (from the X1 video) have confirmed that replacing the lock barrel is actually quite straightforward. This is largely thanks to how easily the barrel can be accessed and removed.
The only minor caveat – and it really is minor – is that your replacement key may need a slight adjustment at the point where the key blade ends and the thumb grip begins. However, this is something any competent locksmith should be able to handle without issue.
IN USE/TESTING

As I don’t have this set up on a door, real world experience is going to be limited, but in cases like these, where a lock is set up for test purposes only, I tend to put it through basic usage at least twice a day, every day. I also monitor it for any offline activity, and whenever I approach the lock (it’s set up in my small studio space) I’ll always test out HomeKey and the fingerprint sensor, although not so much with the keypad.
Over the course of about six weeks of testing, the X1 has shown a ‘no response’ status just twice – and only for a few seconds each time before recovering. I suspect this had more to do with my own setup than the lock itself, as the issue coincided with similar behaviour from a couple of other Thread devices. It seems too specific to be a coincidence.
Performance-wise, the fingerprint sensor is lightning fast – just like with the MK1 – with Apple HomeKey coming in a close second. Naturally, the keypad is the slowest of the three input methods, but it’s still quicker and more responsive than many others I’ve tested. The material used for the keypad also feels good to the touch, adding to the overall user experience.
At just under US$130, it’s hard to find much to complain about, especially given the range of features on offer and the reliability I’ve experienced – echoed by others who’ve tried it too. If it also supported Matter over Thread, that would be the icing on the cake – but realistically, it wouldn’t be selling at this price point if it did.
Looking ahead, many are wondering whether the next big feature in smart locks will be support for the Aliro standard, which uses UWB (Ultra Wide Band) to detect your proximity and enable auto-unlock functionality. While it doesn’t seem too far off, there are currently no locks supporting Aliro that also work with Apple Home. So for now, the fingerprint sensor and Apple HomeKey remain two of the best and most reliable access options – and I suspect they’ll continue to be relevant even after Aliro-compatible locks start appearing.
This is definitely a lock that successfully punches above its weight against a sea of locks from many more high profile manufacturers, but at a bargain price.
Thorbolt X21
Pros
- Uses Thread
- Stylish design
- USB-C emergency power
- Dedicated HomeKey section
- Fast fingerprint sensor
Cons
- No Matter over Thread