control ‘dumb’ devices in HomeKit – part 3
Important Note: For reasons unknown at this time, the LifeSmart app (client version 1.1.8p3) for iPhone no longer has the HomeKit code generating feature, so you will be unable to add the Smart Station or Smart Alarm to HomeKit. However, the current iPad version, which has the same client version, still has the ability to generate HomeKit codes.
Ok, if you’ve read parts 1 & 2, then we’re on the home straight now. We just need to get these devices that can be controlled in the LifeSmart app into Apple’s Home app and HomeKit.
First I must state that while you can control the AC and all aspects of it within the LifeSmart, it’s not quite the same in HomeKit. “What does that mean?” you ask. Well, just like in the Home app, in the LifeSmart app, you can create ‘Scenes’. These scenes can capture one of the remote controlled devices in a certain state; The AC I showed you how to set up for example:
You would set the AC to ‘Cool’ mode, and set the temperature to 19C, and maybe have the fan speed set to medium. You would then set a ‘Scene’ from that state, and that Scene would then appear as a ‘device’ in the Home App. That button could be labelled ‘AC Cool’, so if the room were getting a bit hot, you would simply click the device/button and the presets for the AC would kick in. In effect, what you could say is that even though the LifeSmart ‘scene’ appears as a button in the Home app, in actual fact it should really be better off appearing as a ‘scene’ button in Home. It is what it is, so make the best of it.

So, let’s show you how.
- From the LifeSmart home screen, click on the ‘Smart’ icon at the bottom of the screen
- then click on the ‘+’ symbol in the top right corner and select ‘Create AI’
- From there, select ‘Add new Scene’ then select the first option, called ‘Scene’
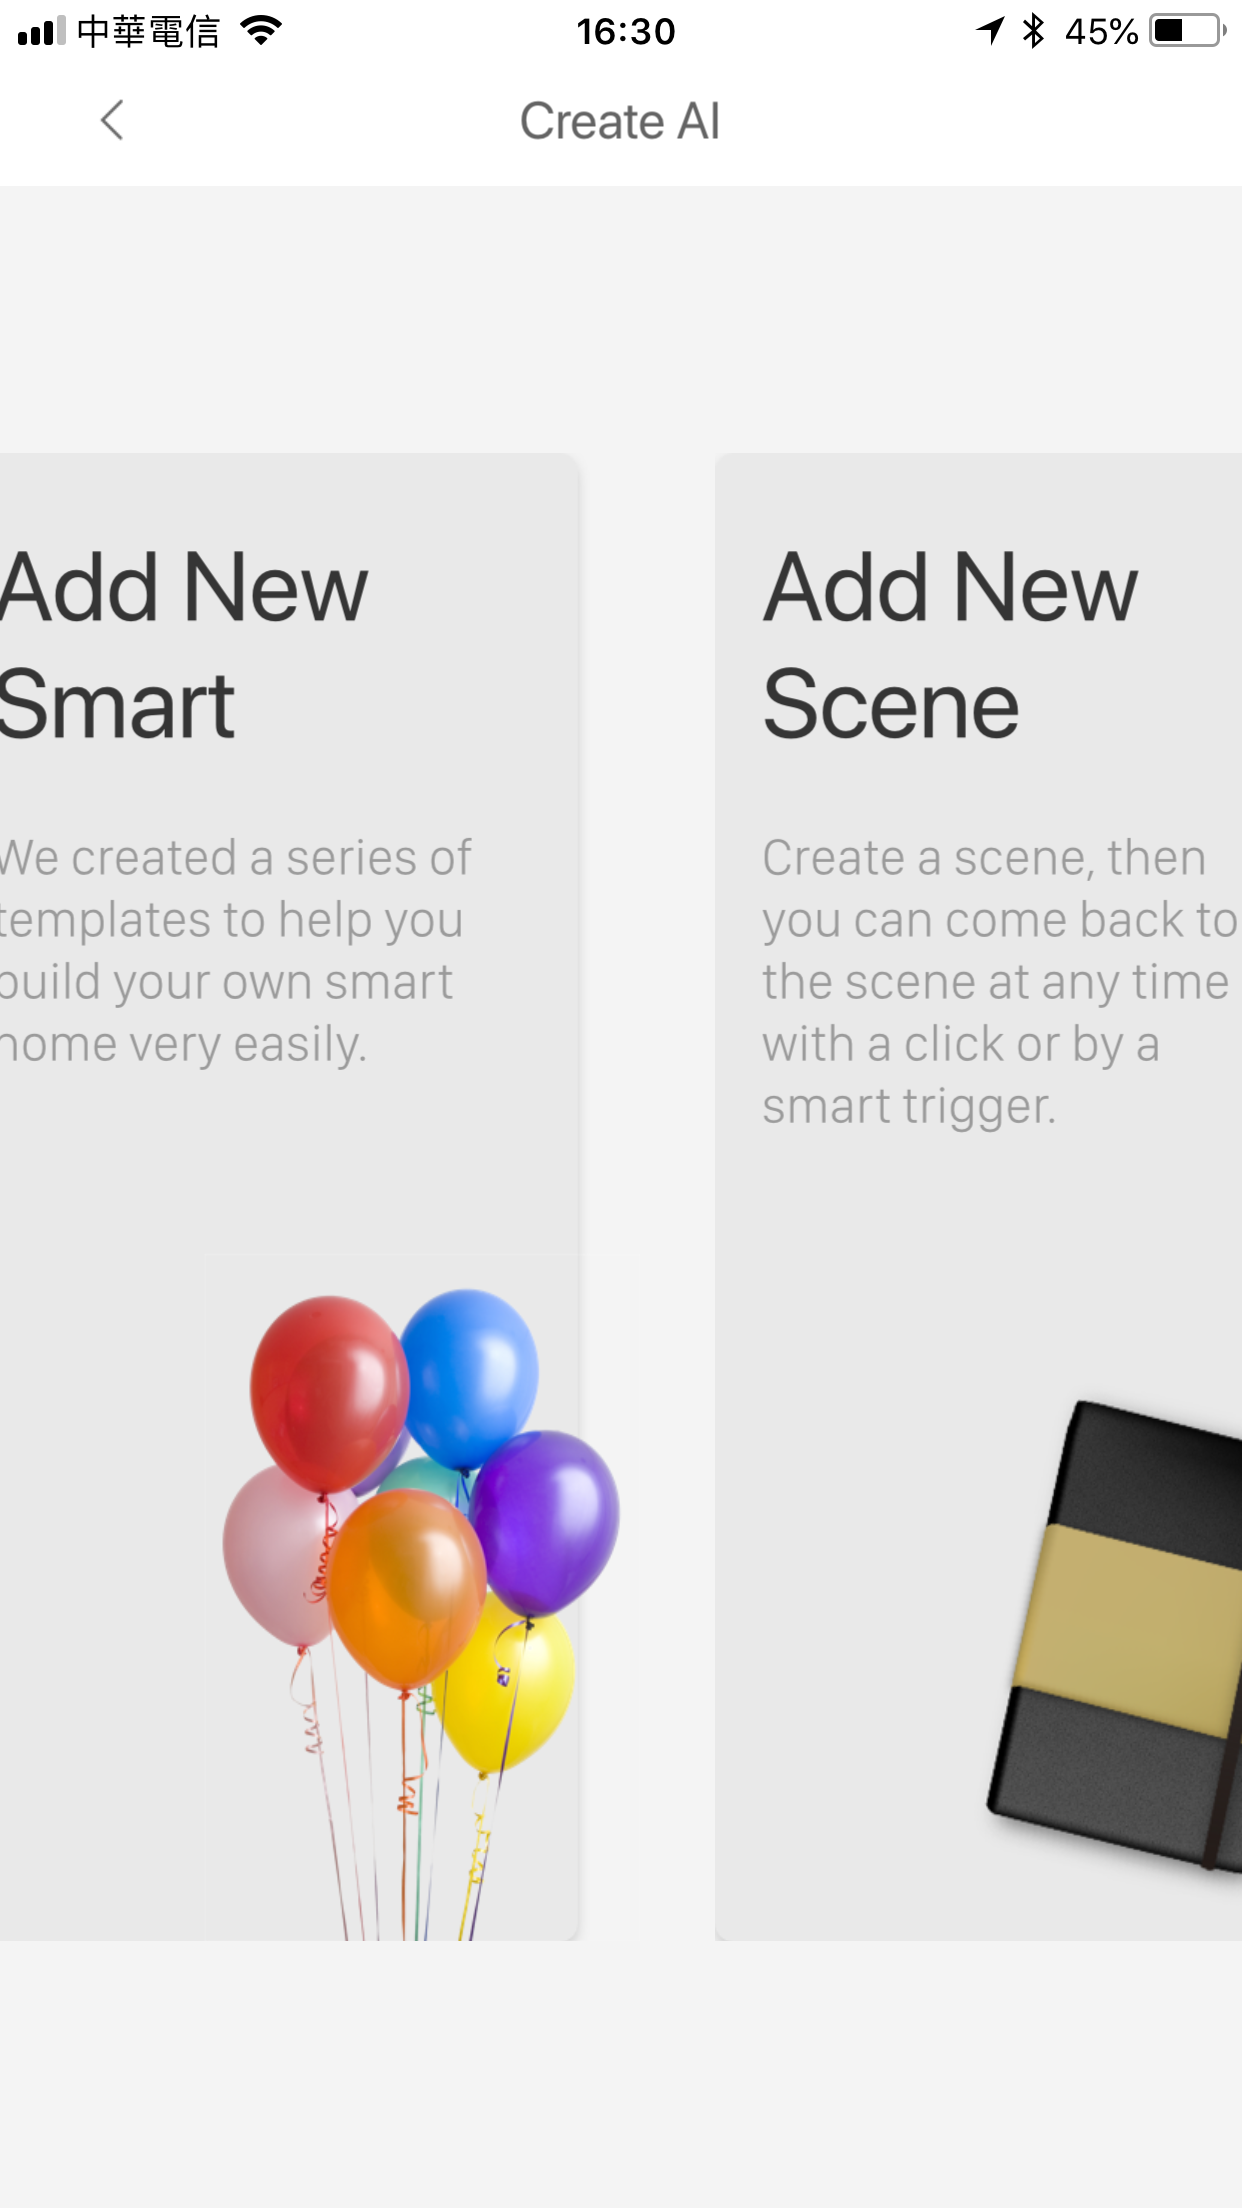
- On the next screen, select ‘Spot’ (I have it labelled Spot IR in this example)
- On the next screen, click on the large ‘+’ symbol labelled ‘Add IR Action’
- You will then be presented with all the IR devices you’ve added, in the case of this example, it will be the Air Conditioning Unit. Click on this device
- Set the AC to your preferred settings – warm, cool, low fan speed etc., then click on the ‘tick’ symbol in the top right corner.
- Ignore the next screen for now and just click on the same tick symbol once more
- You will the be presented with a preset that you have just created, stating the settings.
- Click on the tick symbol a third time, and you be returned to a previous screen, so just click on the ‘>’ symbol in the top right corner.
- click on the ‘Name’ to rename this preset scene and then press the ‘tick’ symbol.
- You’ll be returned to the previous ‘name’ screen, so just click on the tick symbol one more time.
- Your preset scene has now been created.
- If you now open the Home app, you will see a new ‘Device’ has been added to your Home screen in the Home app with the same ‘scene’ name you gave it in the LifeSmart app.
Clicking on this button/device will simply enact the preset scene you created. It will not, however, turn the scene off if you click it again. This is the downside to the way LifeSmart works, but You can create a series of scenes, put then in a virtual room in the home app, turn off the ‘Favourite’ status of these devices and then just use Siri on your iPhone to enact these scenes, for example “Hey Siri, AC Cool”, or “Hey Siri AC off” etc.