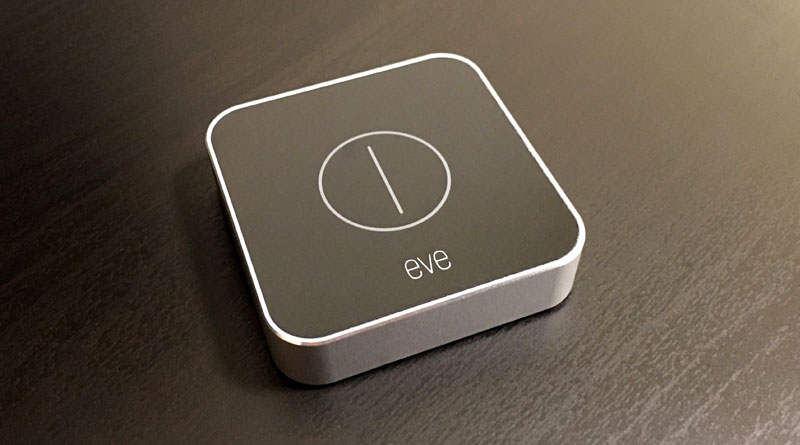
Get More Out Of Your Elgato Eve Button – Part 2
NB: This tutorial has been updated to reflect the new release of the Elgato Eve app, so the images and instructions may be different from what you see in your version of the Eve app. If you haven’t updated the Eve app, please do so in order to follow this tutorial more easily and accurately.
If you’ve read part 1 of this tutorial on how to multiply the amount of functions you can assign to your Elgato Eve Button beyond the basic three Scenes or actions, you’ll know that while it’s great to have the freedom to have lots of control over different parts of the day, some would say it’s hard to remember what all the presses do at different times of the day. Well there is another way of adding extra functionality to you button, but still keep to three basic scenes if you want that simplicity.
What I’ll demonstrate here is going to be a little more limited, basically normally only working with devices that function in an ‘on’ or ‘off’ state, like lights or smart sockets. So in this example, whereas a typical way you might tend to program a light to turn on and off would be a separate press for each action (basically using 2 out of the 3 functions just to operate a light), I’ll show you how to be able to do the same thing with just one of the three available ‘presses’ available with the Eve Button.
As before I’ll assume you will already know how to create a scene, as you will need these scenes when programming the Eve Button in the Eve app. In my case I’ve created two simple scenes – one called ‘Hue Go ON’ and one called ‘Hue Go OFF’ – One to turn my Hue Go lamp on, and one to turn it off, obviously…
Go into the Eve app, and click on ‘Scenes’.
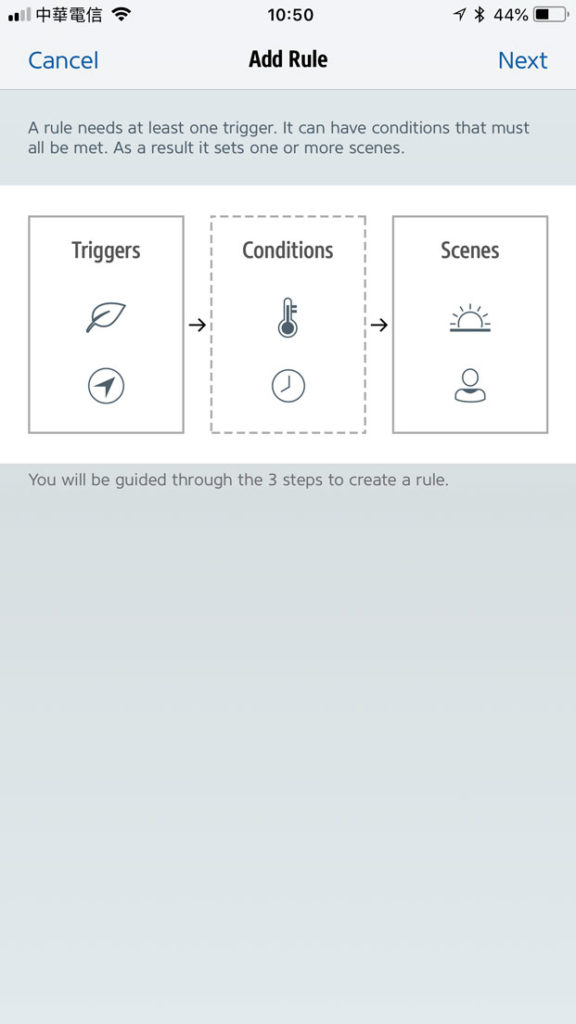
- At the top, select ‘Rules’ and then scroll to the bottom of this screen until you see the ‘add rule’ button. Click that and you will be presented with a screen showing three icons indicating the three stages an automation goes through (Triggers > Conditions > Scenes). Click ‘Next’ in the top left corner…
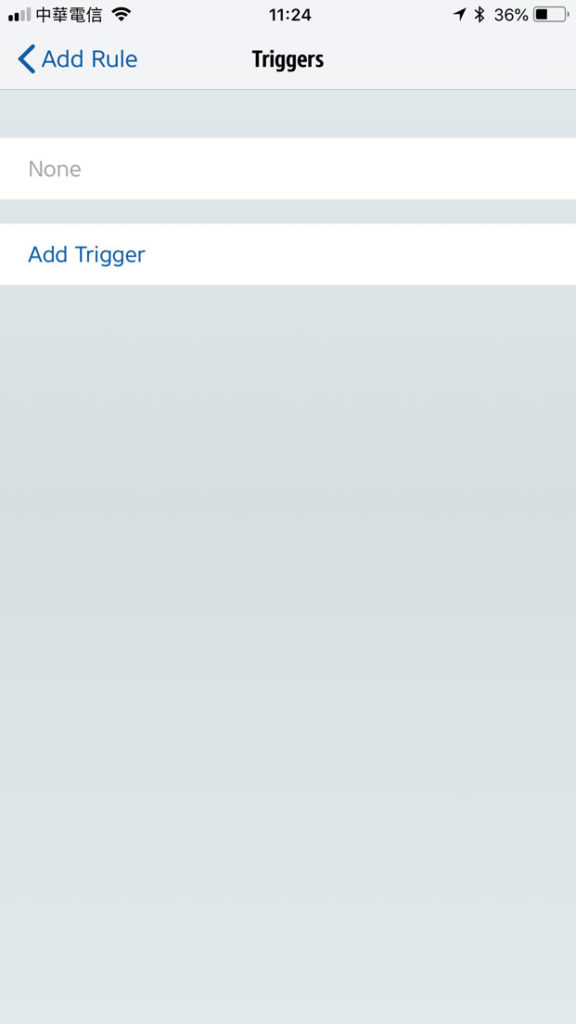
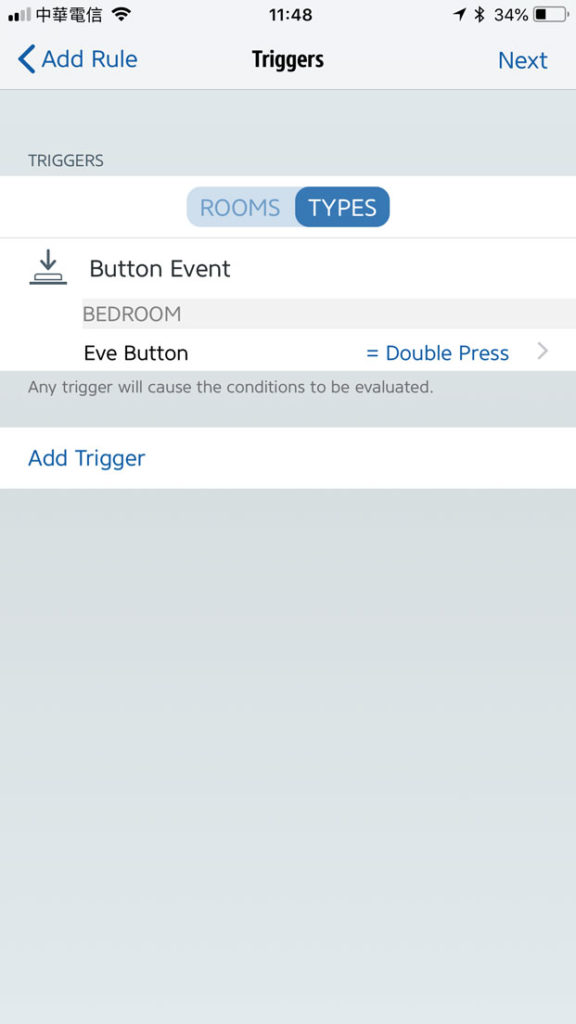
- Select ‘Add Trigger’ and from there in the ‘Accessory’ section, select ‘Other Value’. This will then lead to various options depending on what Homekit devices you have installed in your home, but you’re essentially looking for ‘Button Event’. Click on this and select ‘Eve Button’
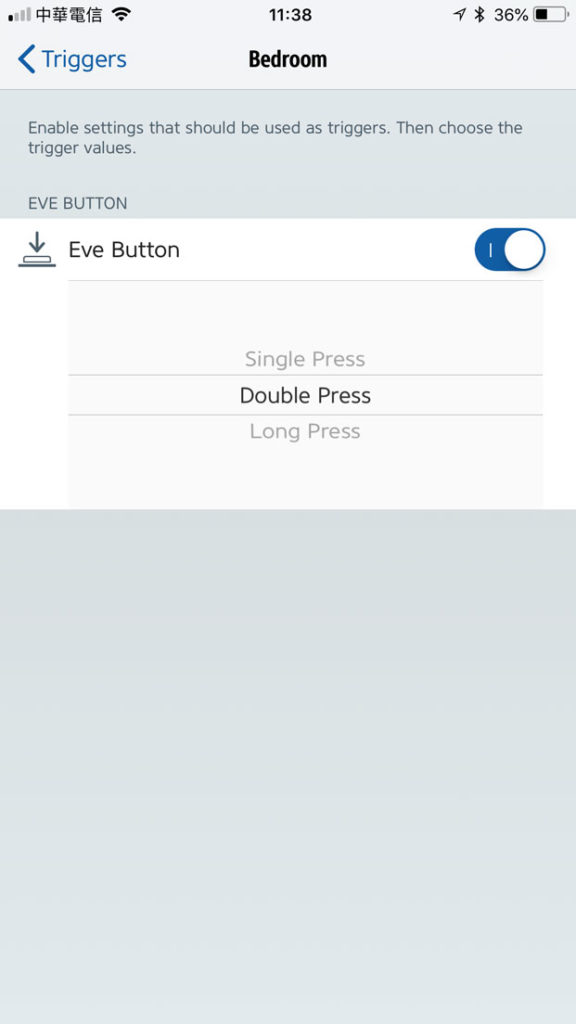
- Once you’ve found the Eve Button, turn the toggle switch next to the name to ‘on’ and select which of the three button actions you want to program. In this example I’ve chosen ‘Double Press’, then click ‘Add’.
4. Button Selected 5. Hue Go Power = OFF 6. Select Scene - You’ll be presented with a screen showing that you’ve added the ‘Button’ and that you’ve chosen an ‘action’ (double press). Click ‘Next’…
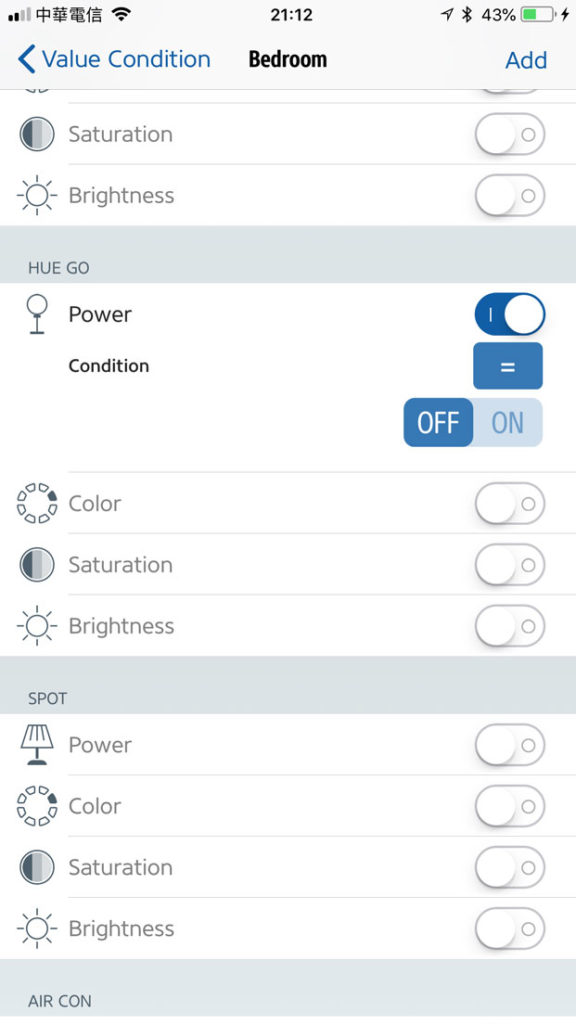
- Now we get to ‘Add a Value Condition’. For this condition we want it to be ‘Hue Go power = OFF’. This lamp is located in my Bedroom, so I click on this room, find the Hue Go, toggle the power to ‘ON’, and select the Condition to ‘OFF’. Click Add, and you’ll return to the previous screen that will now show that the Condition is set for the Hue Go to be OFF. Click Next.
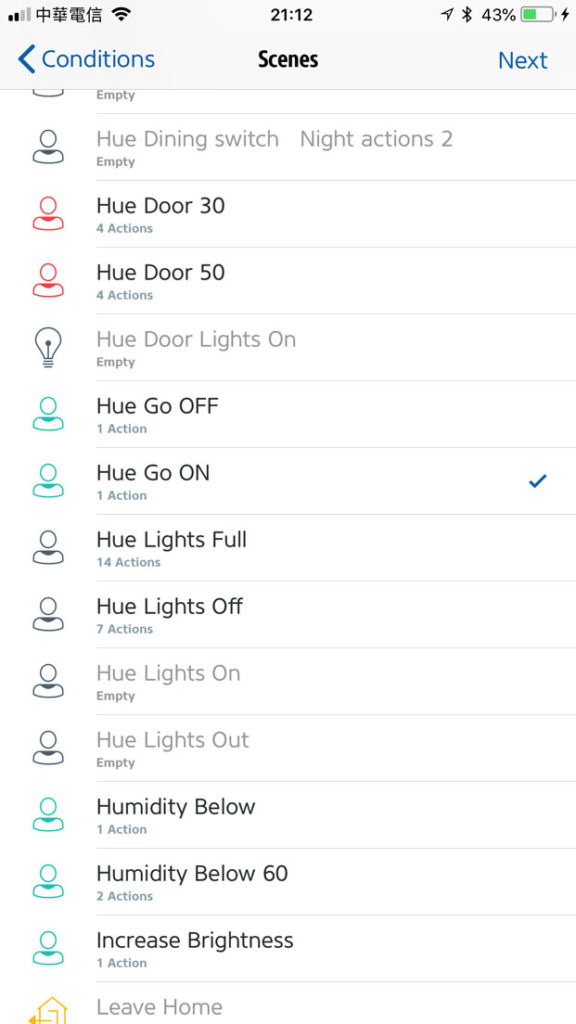
- You’ll then need to select the appropriate scene you would have created. Remember I created two basic scenes, ‘Hue Go ON’ & ‘Hue Go OFF’, so in this case I’m selecting the Hue Go On scene to be activated. Click ‘Next’ and you’ll simply have to name this Rule you have created. Do that, and click Done.
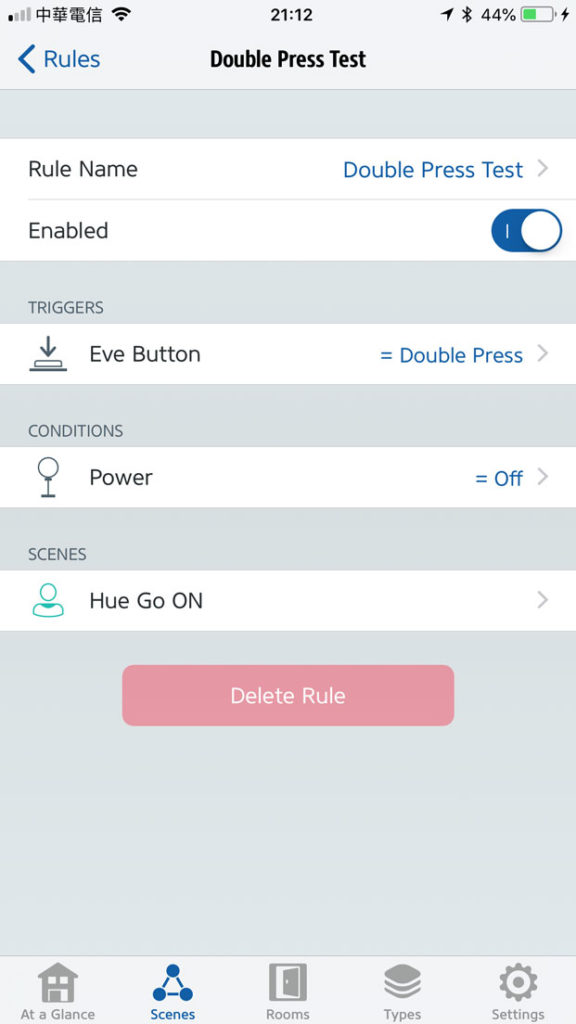
7. Rule Summary - The final screen will show a summary of the Rule you’ve created, which in this case is basically;
If the Eve Button Double Press is activated, AND the power to the Hue Go is OFF, THEN active the ‘Hue Go ON’ scene, which will turn the Lamp on.
Now if you create another Rule, using the same double press, but with the basic opposites for the Condition – ‘Hue Go power = ON’ and then make sure that the scene that is activated is ‘Hue Go OFF’ then you will have created two rules for the one button, like so;
Eve Button > Double Press > Hue Go power OFF? > Activate Hue Go ON scene. Hue Go turns on.
Eve Button > Double Press > Hue Go power ON? > Activate Hue Go OFF scene. Hue Go turns off.
You’ve simply created an on/off button from one press instead of two.

