Basic Automation for the Hue Sensor
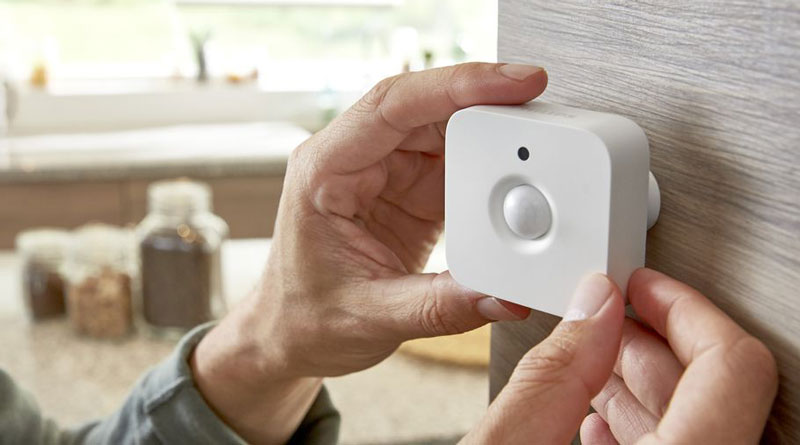
In this tutorial I’m using the Hue Motion Sensor, which I find to be very reliable and has a fast response time.
So, let me show you a very simple way to get the motion sensor to work according to a schedule.
so, this way is all based on setting a timer in the basic Home app;
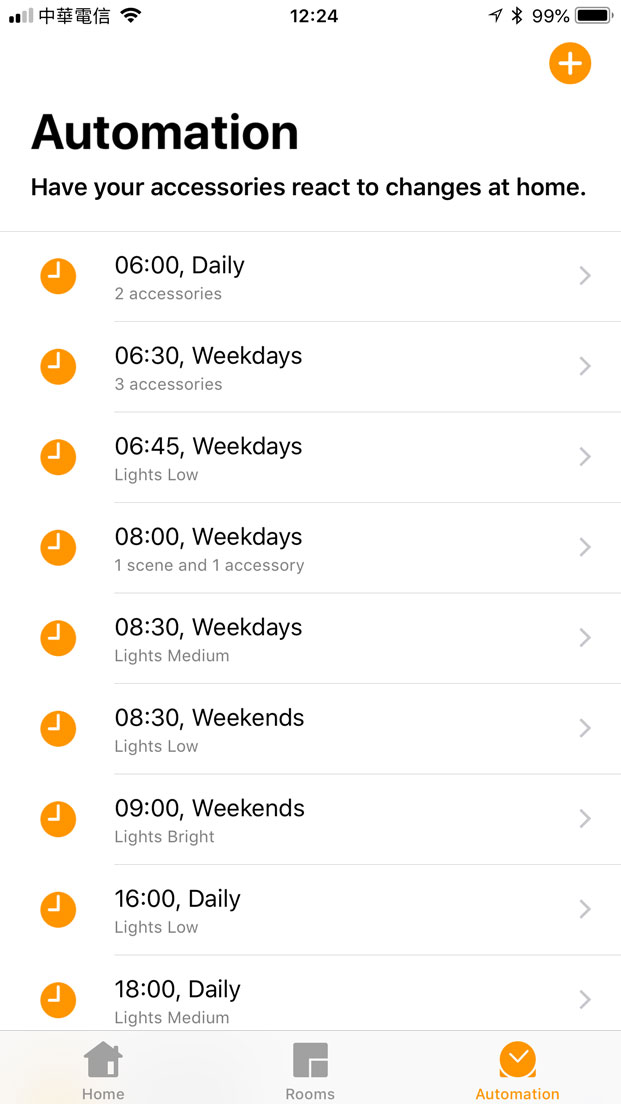
- Select the Automation tab in Home and click on the + icon in the top left.
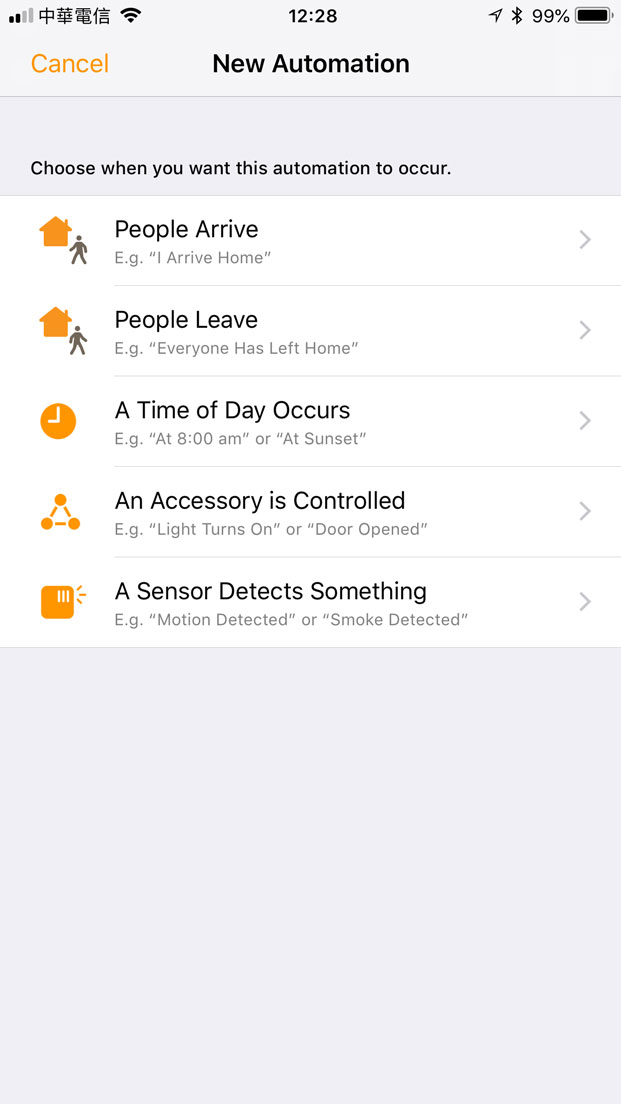
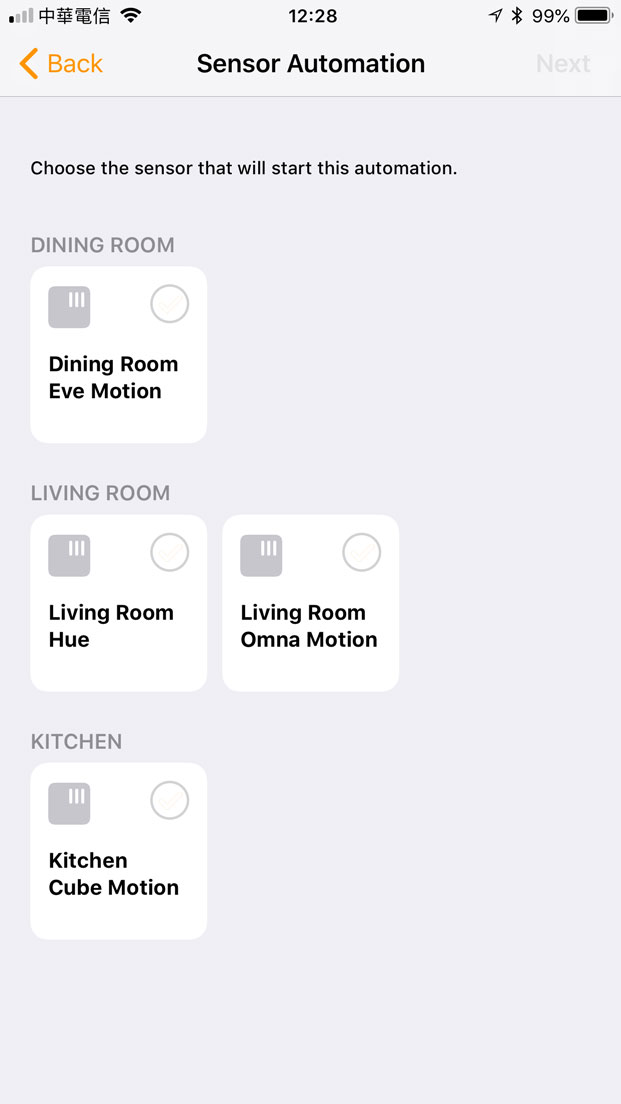
- Then from the 5 choices, select the last one ‘A sensor detects something’.
- Select the Hue Motion sensor and click Next.
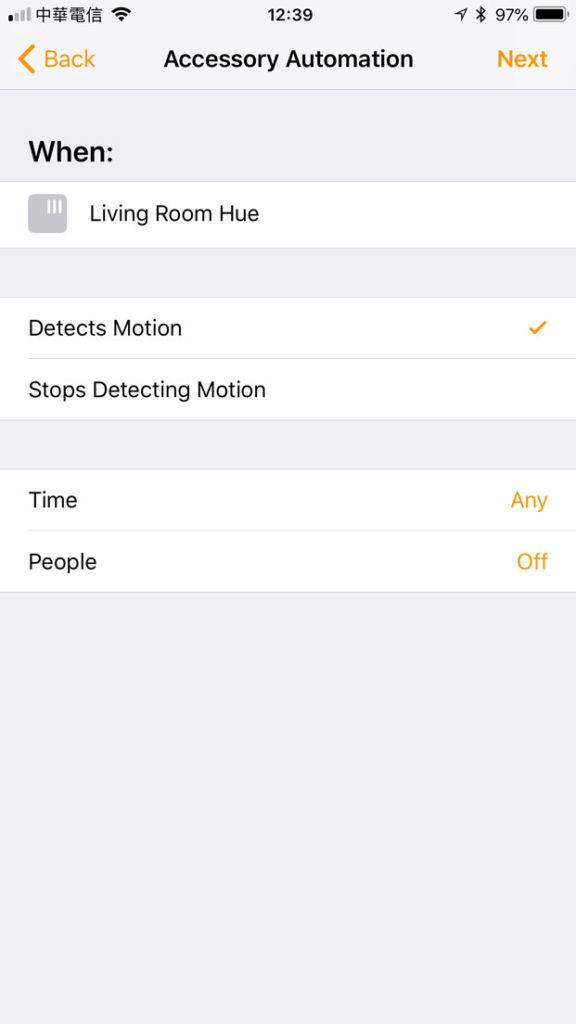
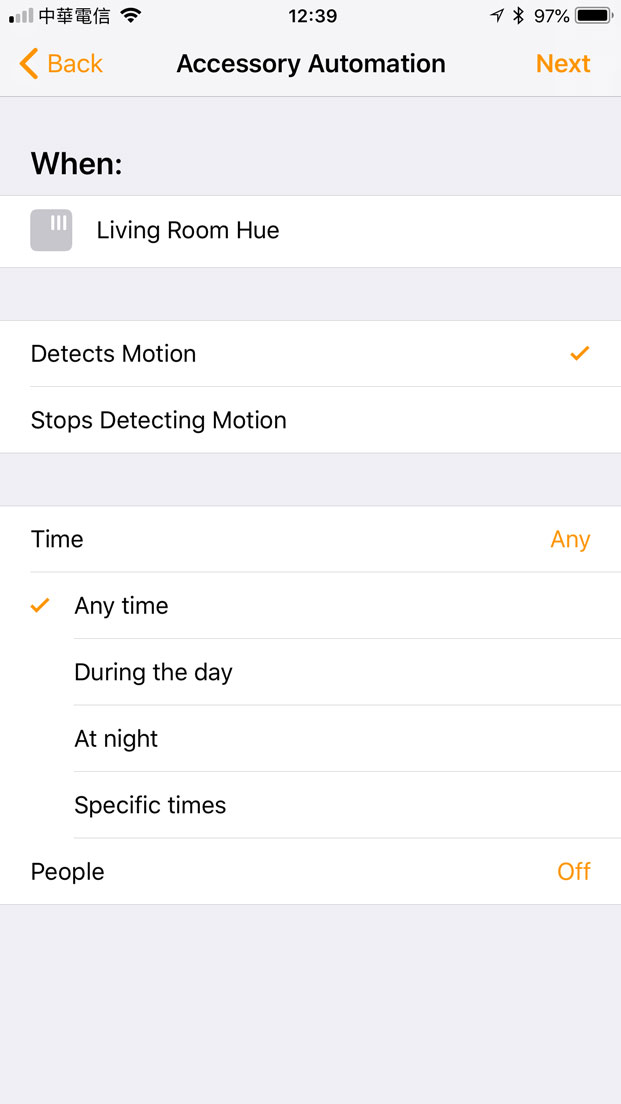
4. Detects Motion 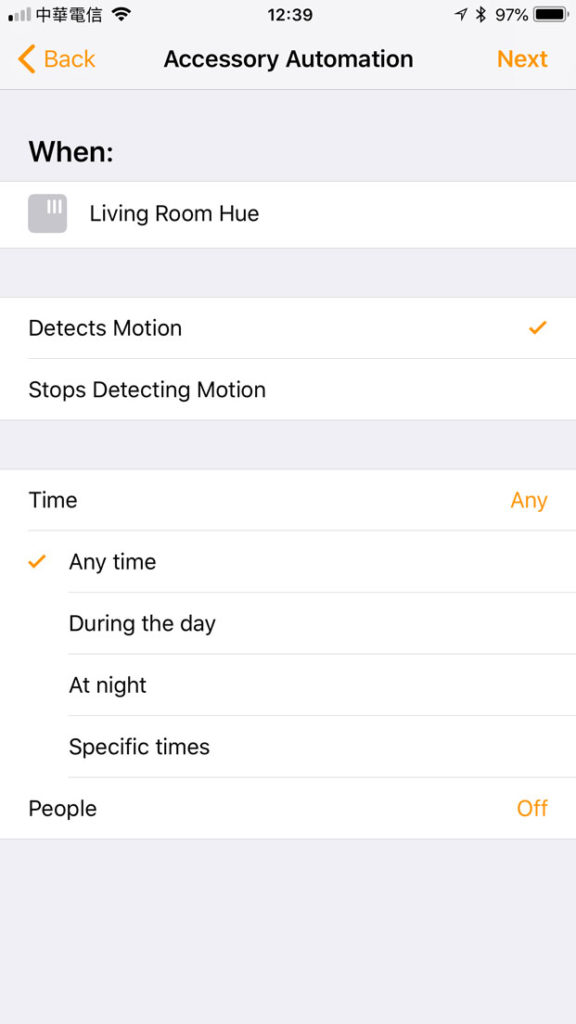
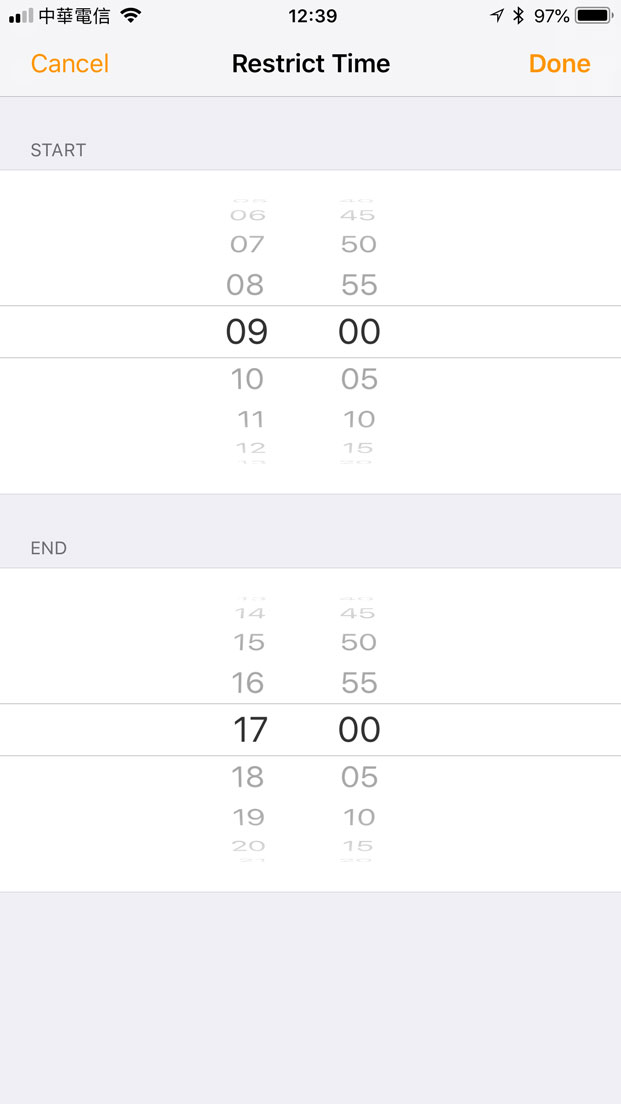
5. Choose Specific Times 
6. Choose start & end - On the next screen, select the ‘Detects Motion’ option and click on the ‘time’ option.
- From here you can choose to have the motion sensor react in different time-based ways – Any time, During the day, At night, or Specific times. We’re going to choose specific times.
- Here you can choose your start and end times which represent the window in which the motion sensor triggers the automation we’re creating. I’m choosing 0900 – 1700 as the start and end times. Click Done.
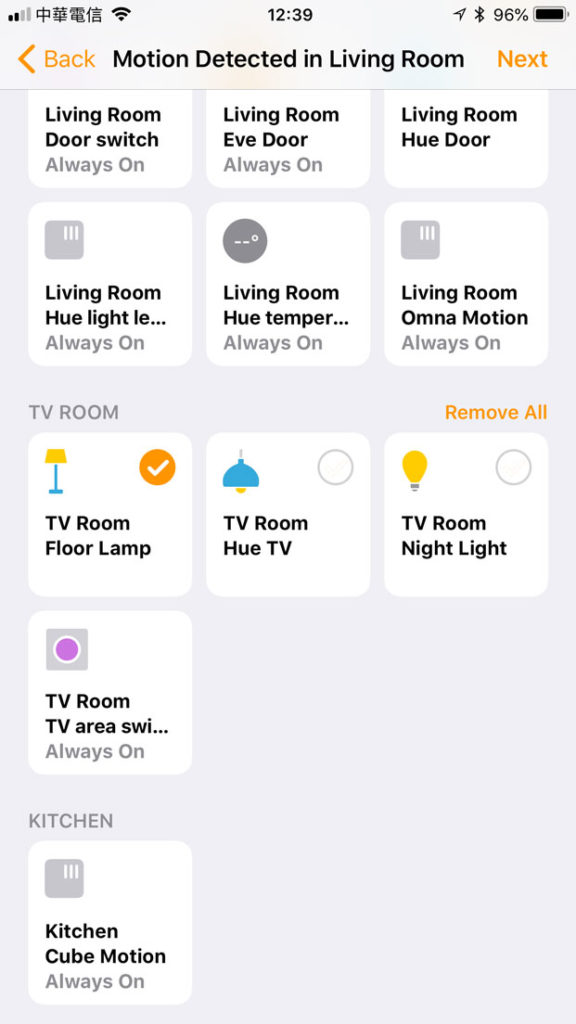
7. Select Lamp 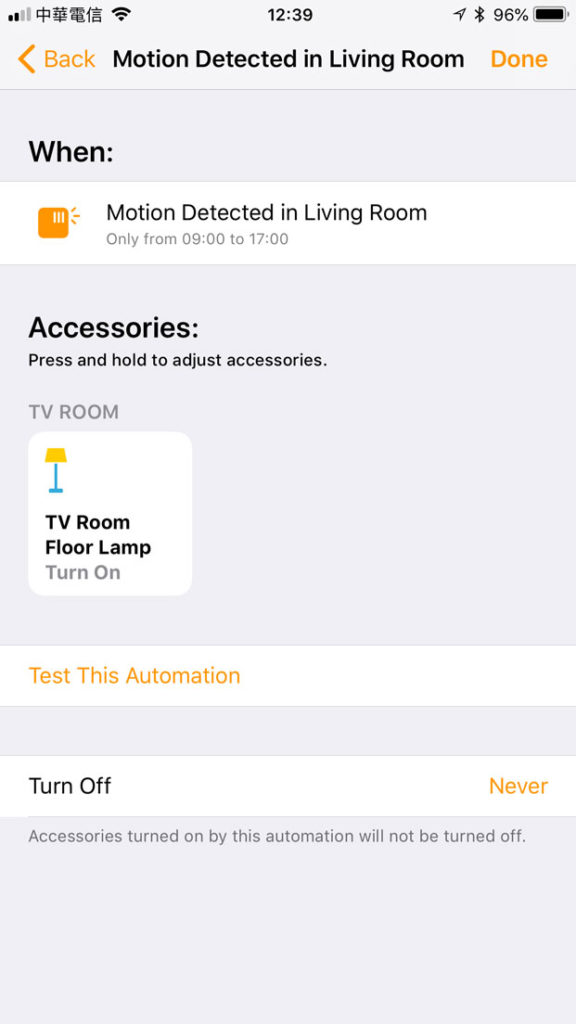
8. Choose On or Off 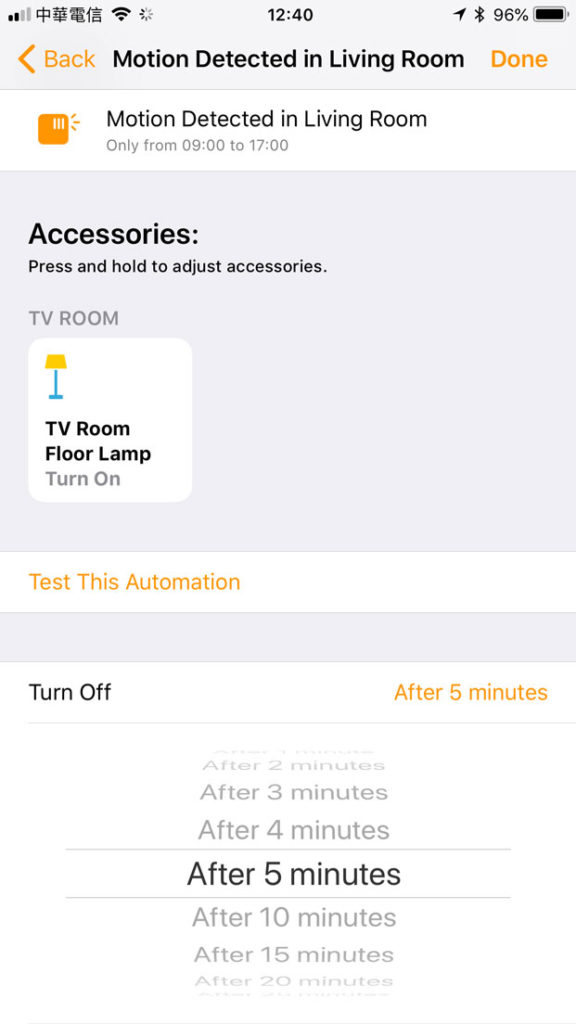
9. Specify time to turn off - After that, you then choose what light will come on when motion is detected. I have chosen the Floor Lamp in the TV Room.
- Click Next and you get to the last screen that allows you to determine the state the light should be in when motion is detected – ON or OFF, and I’ve chosen to turn the Floor Lamp ON in this example.
- You can then decide if the lamp turns off after a certain length of time (unto 60 minutes). In this example i’ve set it to turn off after 5 minutes, but only if it doesn’t detect any motion within those 5 minutes. Finally, click ‘Done’.


You’ve now created your first automation – turn on a lamp, if motion is detected between the hours of 9am and 5pm. Then turn off the lamp after 5 minutes if no motion is detected within this time.