Make Your Hue Motion Sensor Smarter
Many of us in the world of ‘Smart Home Automation’ probably own a sensor or two, and the most obvious and ubiquitous of these would be a motion sensor. They’re great for a variety of reasons – turning on lights or other devices, and notifying you of motion are the most obvious ones. However, there are still a lot of people out there that have this simple tool but don’t really use it to its full potential. A motion sensor turning on lights, especially in the dark, is a great thing, but turning them on when they’re not needed is something else. It’s quite easy to set timers, but even then there are times when it’s still not light enough in the daytime and you do want those lights to come on.
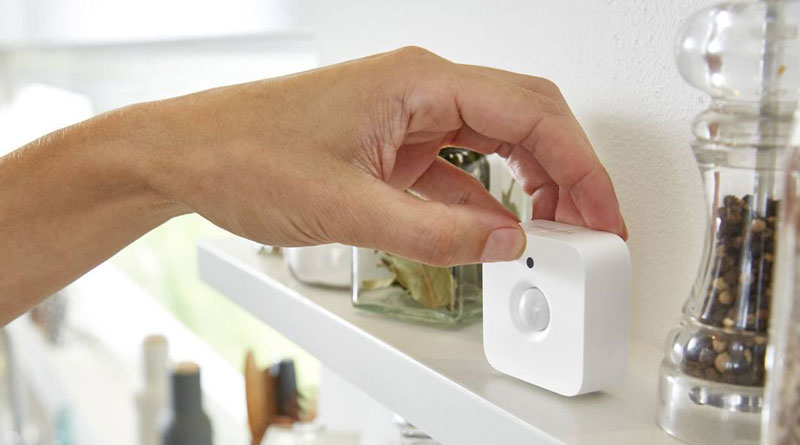
In this tutorial I’m using the Hue Motion Sensor, which I find to be very reliable, with a fast response time. Additionally, it has an ambient light sensor which is central to this tutorial.
So, let me show you a very simple way to get the motion sensor to work harder for you. If you’re new to automation, you can always check out the tutorial on basic time-based automations for your motion sensor here.
For this tutorial I’ll be using the Brutella/Home app by Matthias Hochgatterer, but you can do this in some other apps, although it’s not as easy for one reason I’ll touch upon at the end.
So the automation I want to create allows me to have a main light come on, if motion is detected between certain hours, but only if there’s not enough light in the room.
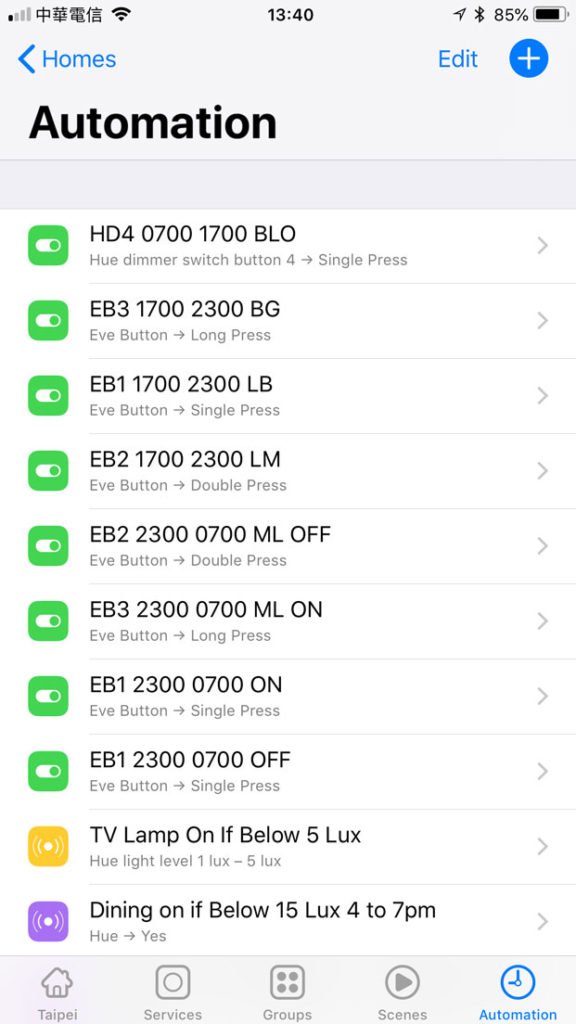
- Open the Brutella Home app, and select the ‘Automation’ tab at the bottom of the screen. Then click on the ‘+’ sign in the top left corner.
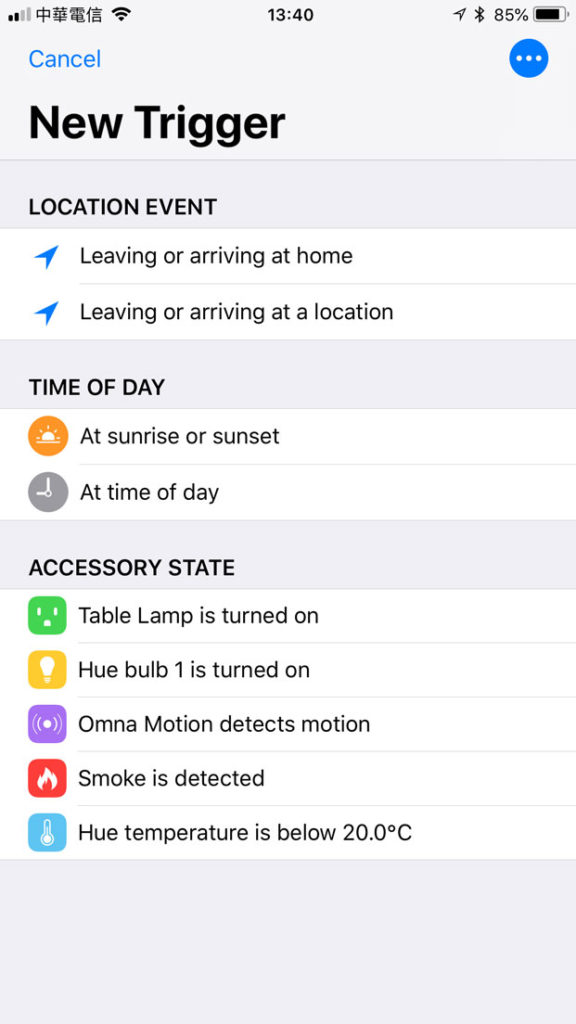
- From here press the icon in the top left corner with three dots in a circle and choose ‘Event’
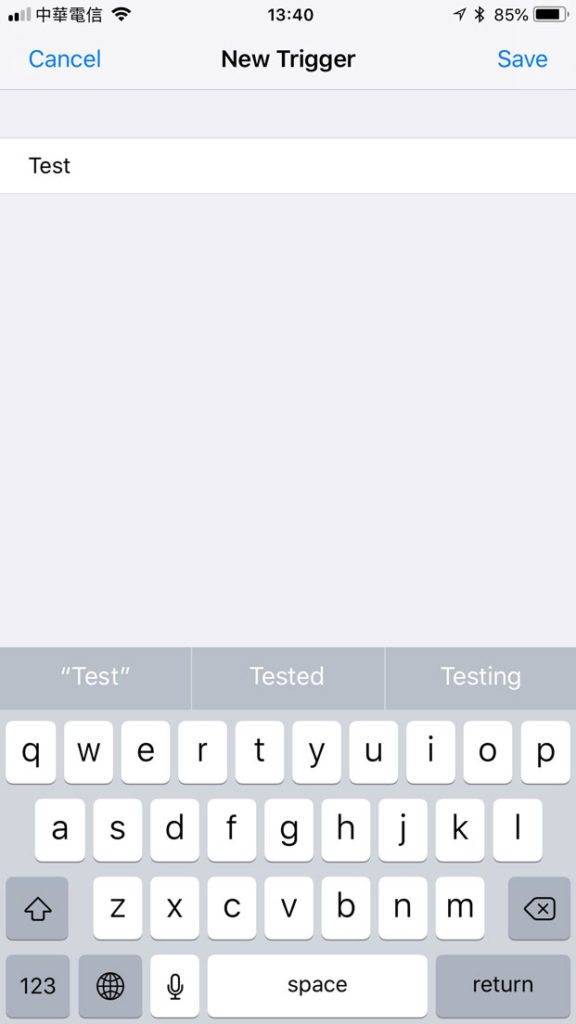
- Create a name for your Trigger event and click ‘Save’
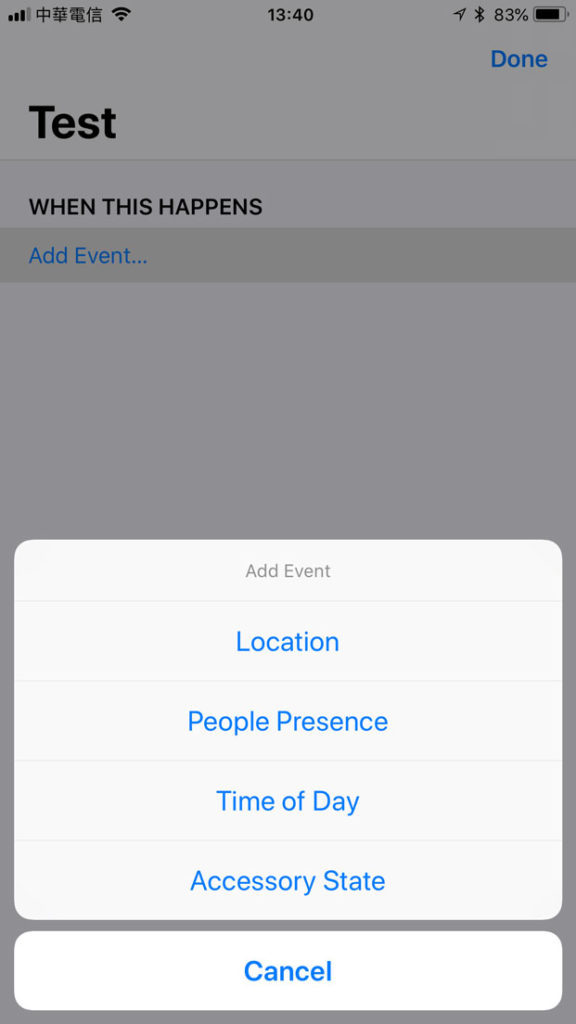
4. Accessory State 5. Hue Motion Sensor 6. Motion Detected - Now click on ‘Add Event…’ and select ‘Accessory state’
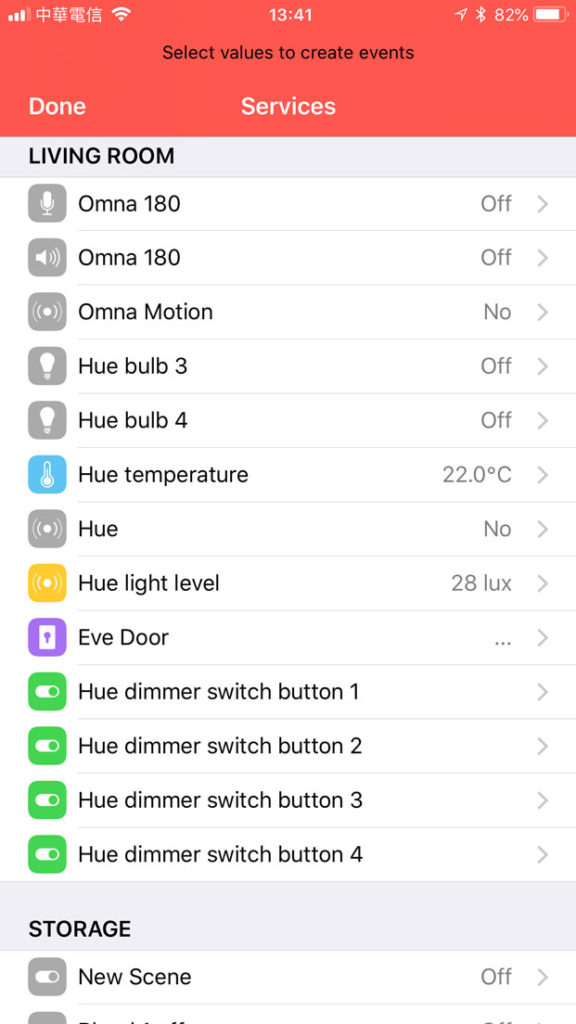
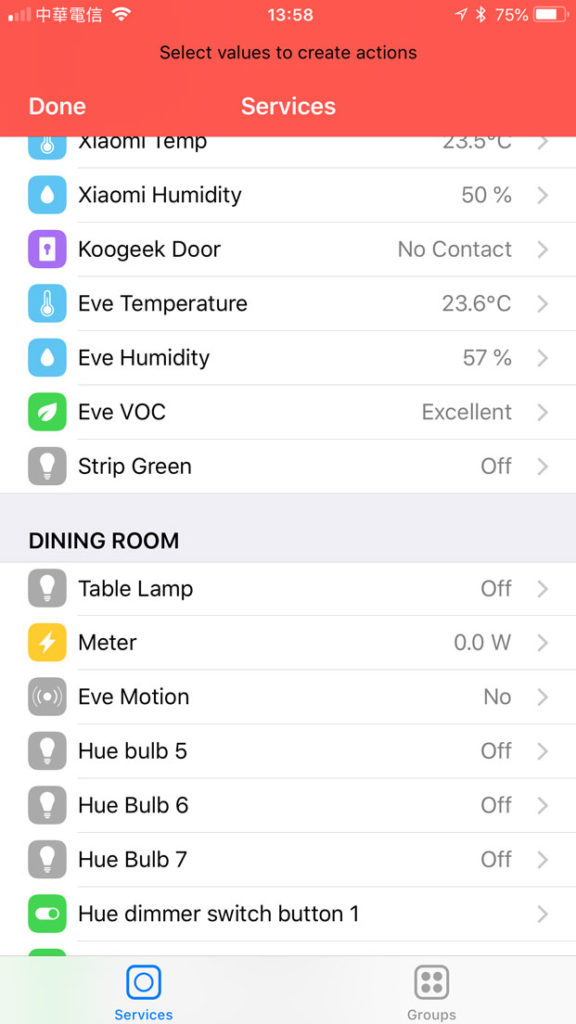
- scroll down until you find your Hue Motion Sensor.
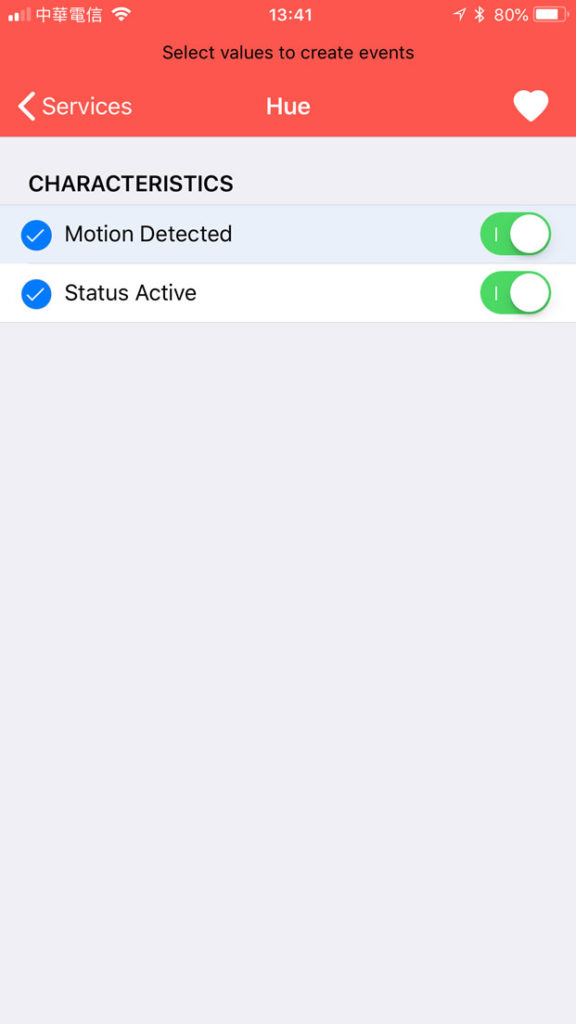
- Click on it and and make sure you have the ‘Motion Detected’ set to On, and the blue tick is also on. Click, ‘Services’ to go back, and then click ‘Done’
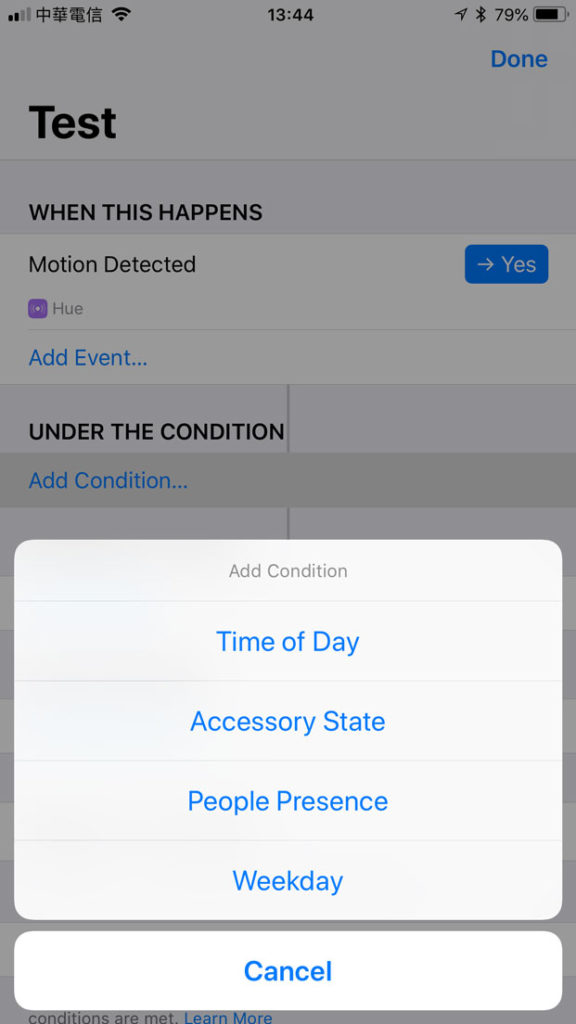
7. Time of Day 8. Active times 9. Choose Hue Light Levels - Now click ‘Add Condition’ and select ‘Time of Day’
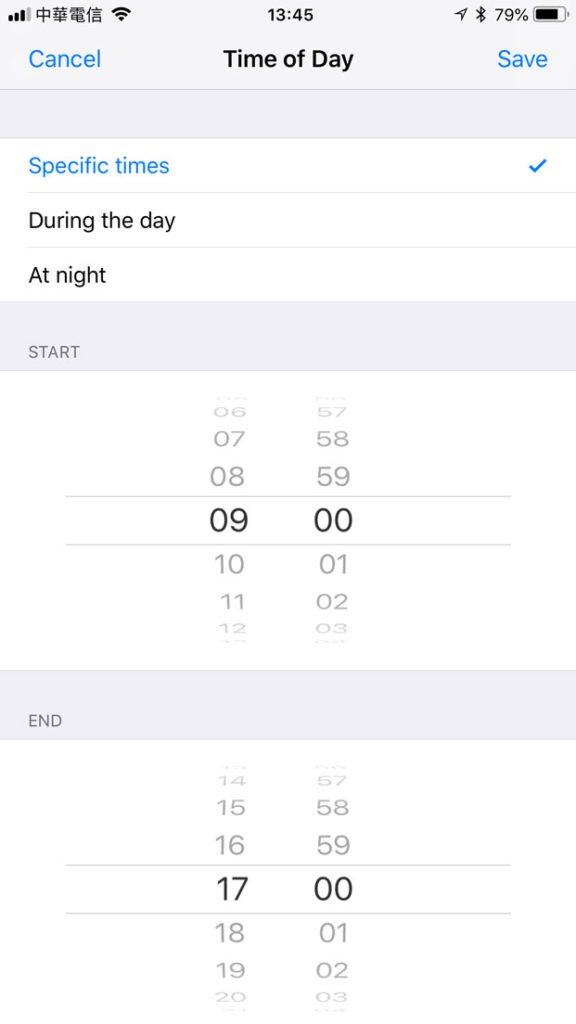
- Specify the times you want the automation to be active – in this case 0900 – 1700. Then click ‘Save’
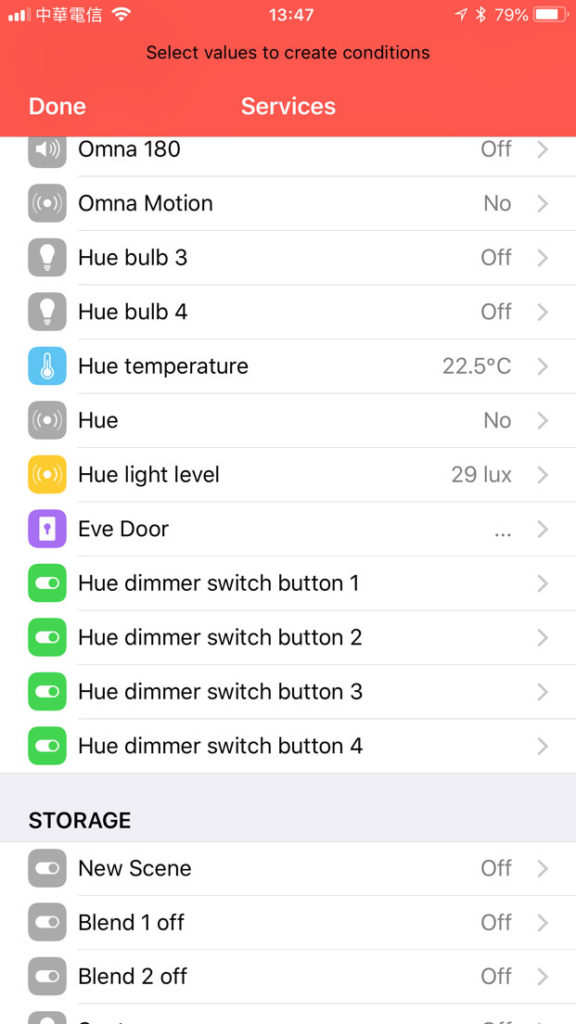
- Now click on ‘Add Condition’ again but this time select ‘Accessory State’. Scroll down until you find your Hue Light Level.
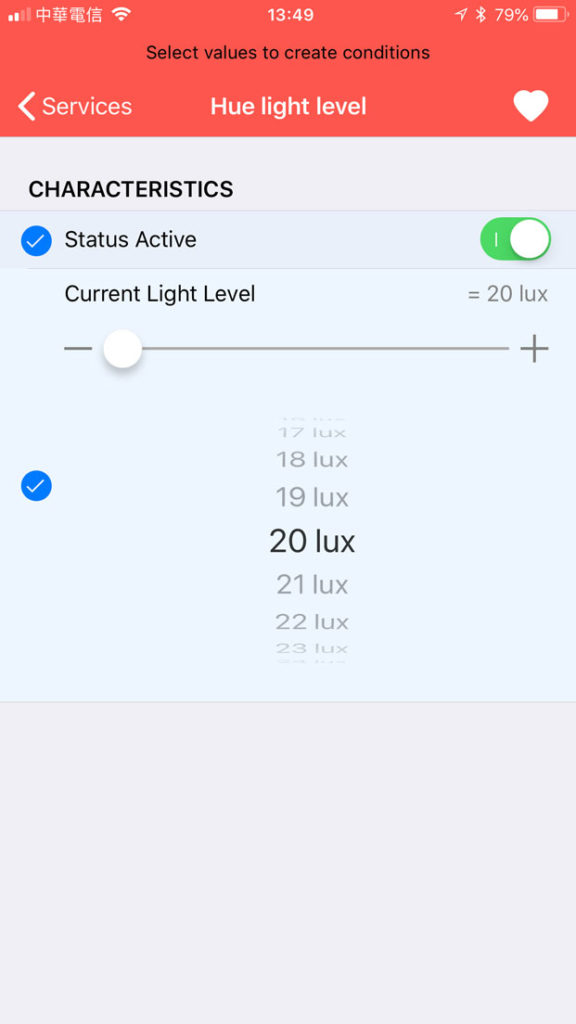
10. Light Level 11. summary/Actions 12. Table Lamp - Click on it and select the blue tick for both options – ‘Status Active’ & ‘Current Light Level’. With the light level, just select the light level (lux) that you think is the lowest it should be before a light should kick in (my suggestion, 20 lux). Then click ‘Services’, then ‘Done’
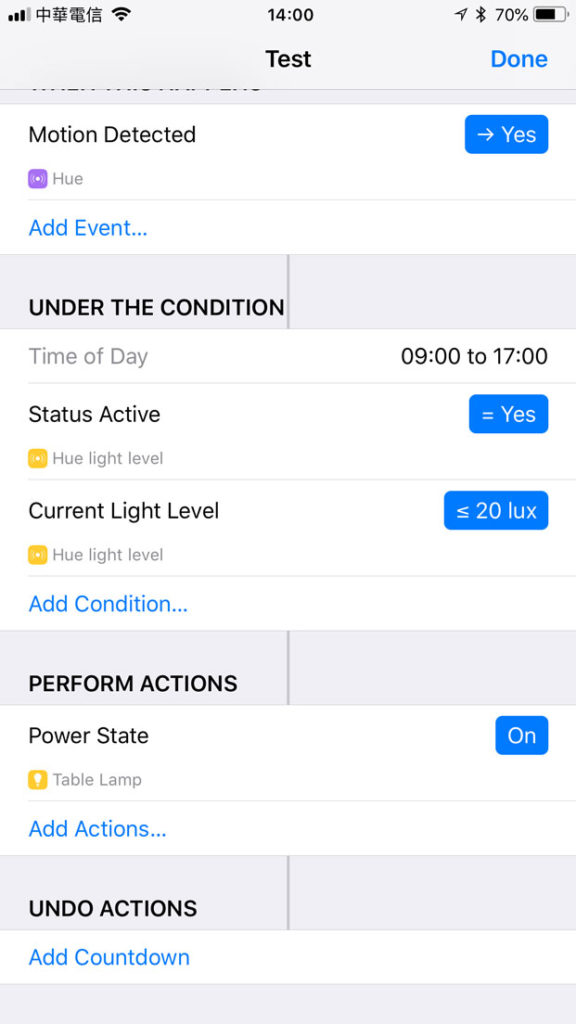
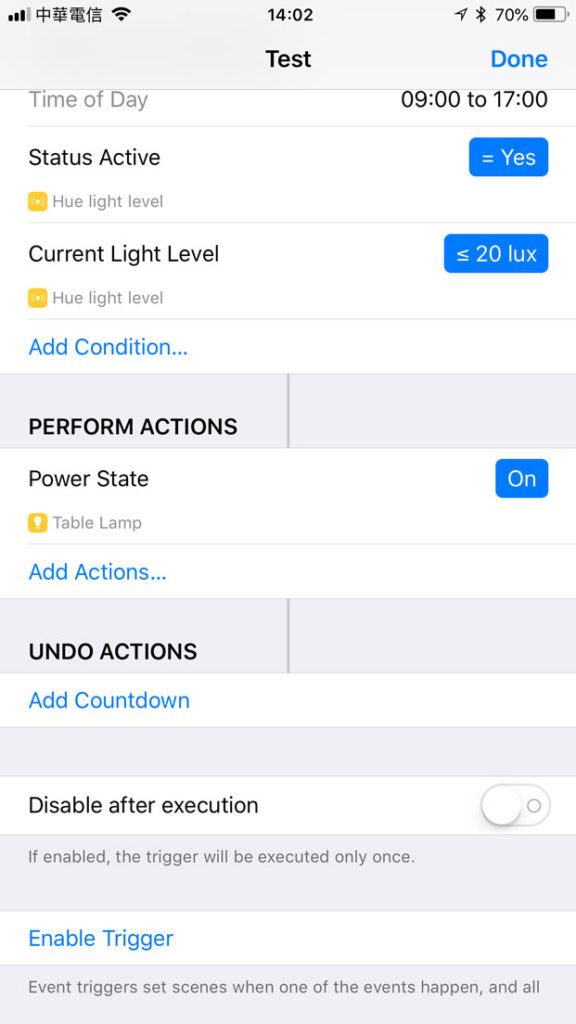
- you should now have a page that shows that if motion is detected under the conditions of 0900 – 1700 and a light level = 20. Before going any further, its good to point out that although we’ve got ‘= 20 lux’ as a condition, clicking on this will give you a further options besides ‘Equals’, so you can have Greater or Equal, Greater, Equal, Not Equal, Less and Less or Equal. I’ll choose Less or Equal in this case. Now it’s time for what will happen if these conditions and triggers are all met, so click on ‘Add Actions…’ under the ‘PERFORM ACTIONS’ header. Select either ‘Add Scene’ or ‘Add Action’. If you’ve already created a Scene you’d like to choose, then choose ‘Scene’, otherwise choose ‘Action’ for the device you want to control.
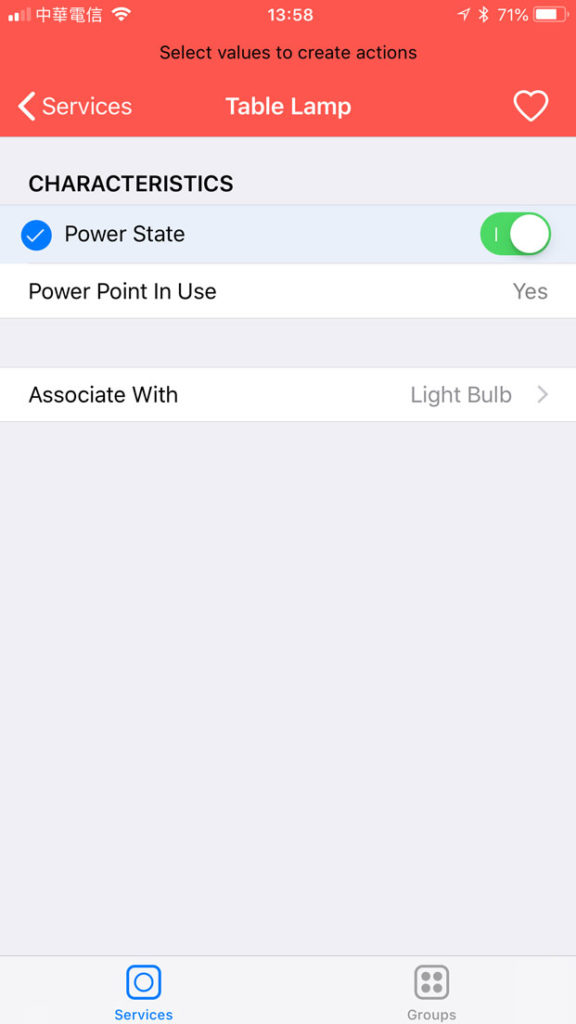
- Here, I’ll choose ‘Table Lamp’…
13. Power state to ON 14. Enable Trigger - …and select the Power state to ‘ON’ (ensure both the green tab and the blue tick are turned on). Click ‘Services’ to go back, then click ‘Done’
- You now pretty much have everything you need to work with this automation, but just make sure you click ‘Enable Trigger’ at the bottom of the screen or it won’t work. You have other options too, like adding a countdown which is just like a timer, so it’ll switch off after a set time, and an option to ‘Disable after execution’ if you need it. Click ‘Done’ to finish.
You now have an automation that is both triggered by motion but also on the condition of whether there’s enough light in the room.



If you have hue lights you can set all that by default in the Hue app itself in two step plus you can have I think two rules for the way when it’s bright and when it’s dimmed (eg before sleep)
You’re correct, and it is quite easy, but you can’t control HomeKit only devices in the Hue app, which was the main point of the article.
I used to use various apps to create automation rules and it quickly became unmanageable. I had no idea which rule was doing what. For instance, some of my Hue lights were randomly turning on in the middle of the night and I had no idea to what was triggering them. So I ended up resetting all the devices and centralized my automation rules to just HomeKit.
Hi Phil, yes I think you’re right. I would prefer to just use the official app for all my automations ultimately. The only problem at the moment is, in the case of this tutorial, is that the Home app doesn’t expose the ambient light sensor for automations at present, so it’s not possible in this instance. I think this will change in iOS 12 though, as it’s obviously possible to access all these sensors, just not yet via the official app.