Fibaro Flood Sensor (review)
I have always believed in the premise that if you invest in something you should look after it. In this particular case, I’m referring to our house in general and our floors in particular. With that in mind, I was able to muster up the cash to do just that recently. I have a condensation pump that should last about 5 years, but I don’t want a nasty surprise, if and when it decides to ‘die’ on us, so I bought this flood sensor to tell me when it does ‘die’ before it ruins our flooring.
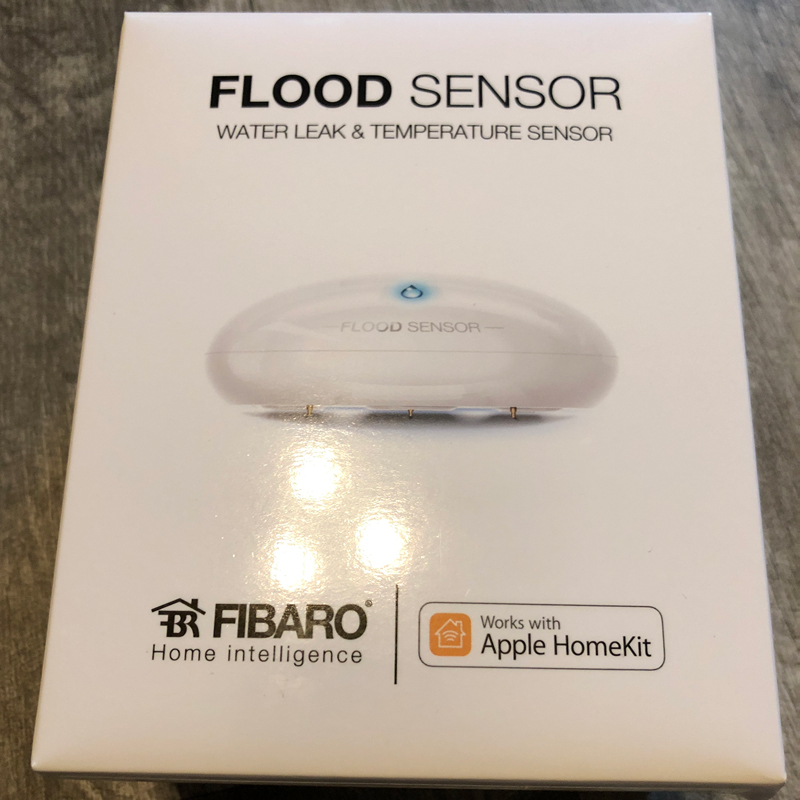
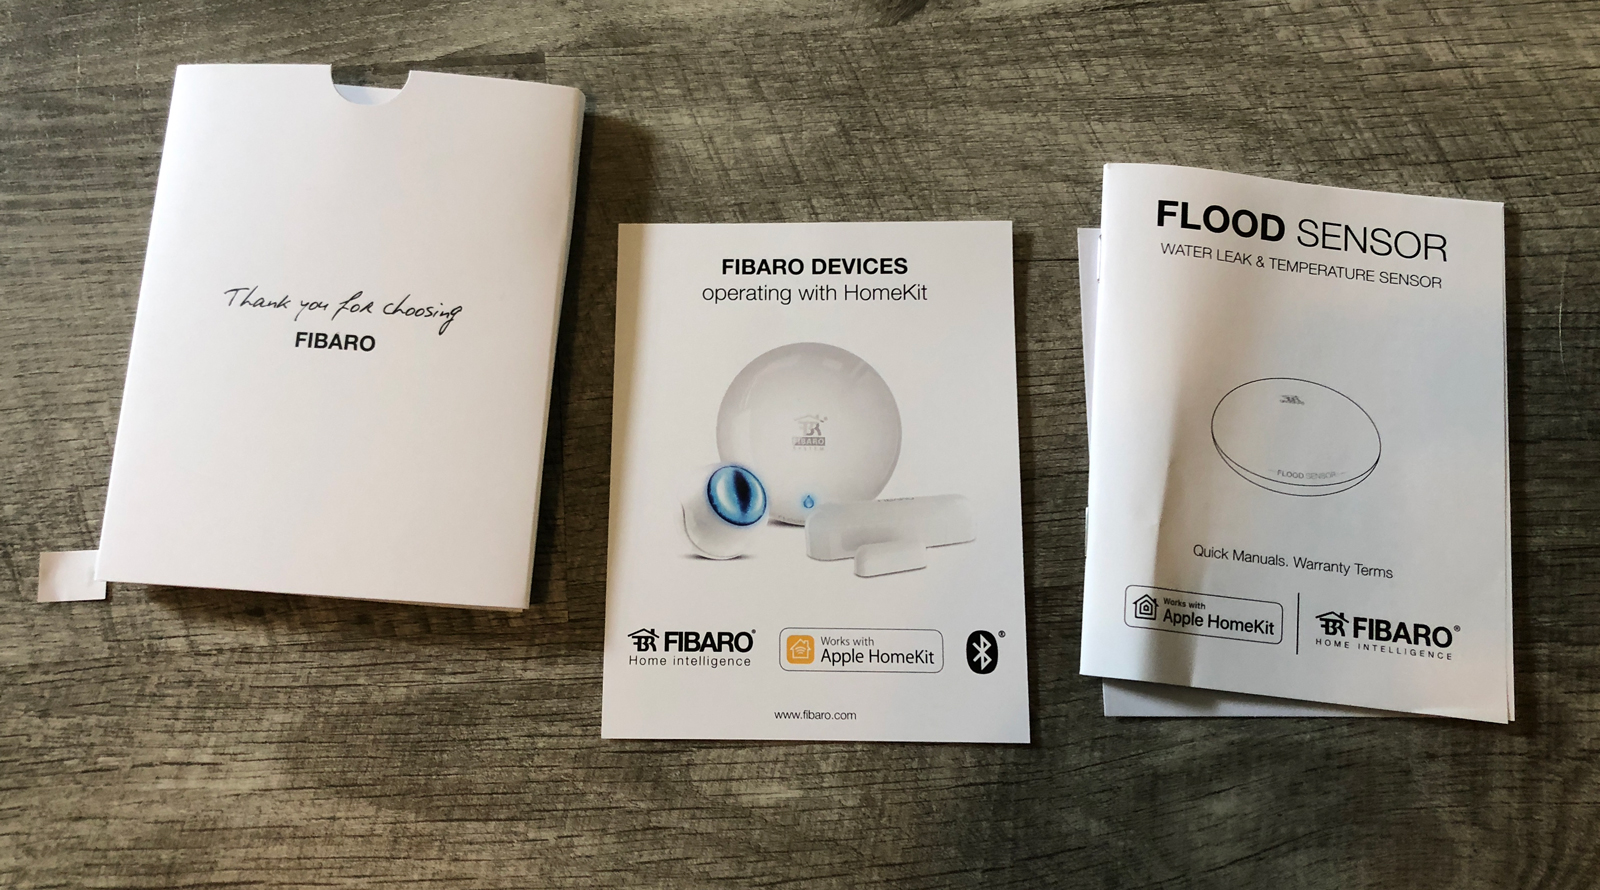
My first impression on getting the package was “this is a little weird”. I’m not talking about the packaging itself, but the size of the sensor inside, which is quite small. The packaging looks professional and sleek, and the instruction manuals were aplenty – Three in total. Coming back to the sensor – it really is small, but I didn’t expect it or need it to be a specific size. I just assumed it would be larger. You usually have a rough impression of how big or small something is, based on what you see online. That all aside, the overall first impression was was a good one.


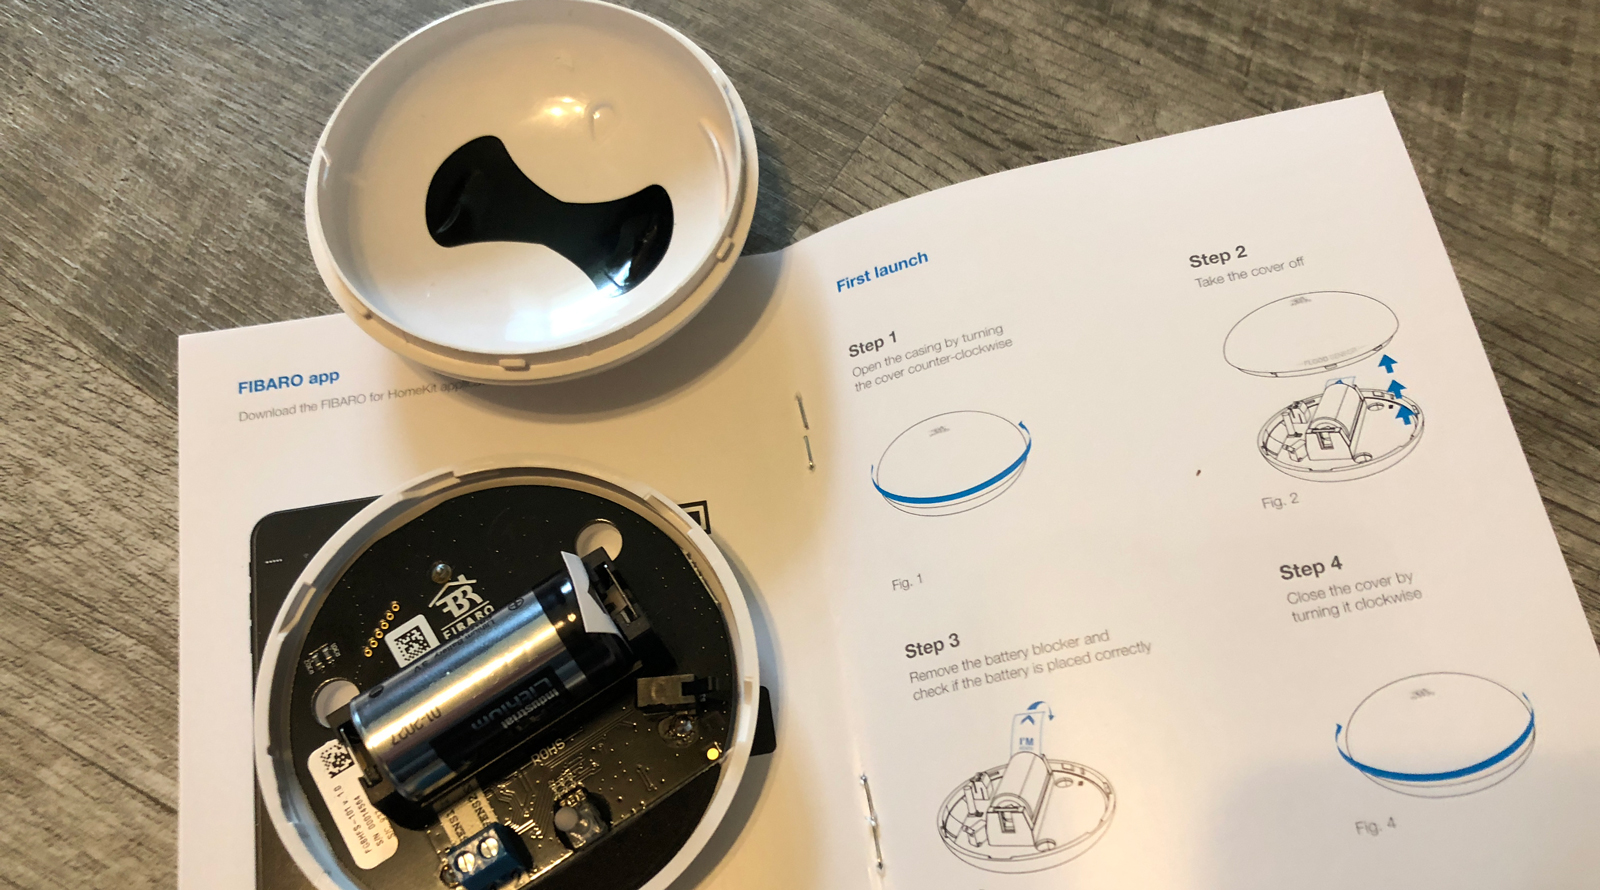
As for the setup, that went pretty smoothly, as I’ve generally come to expect with HomeKit installations. It comes with a custom-sized, ‘half-A4’ battery (CR123A) with a protective piece of paper to make sure the contact doesn’t touch the battery until you’re ready to use the device. Pull that and put the battery back in and you are off and running to the app stage.
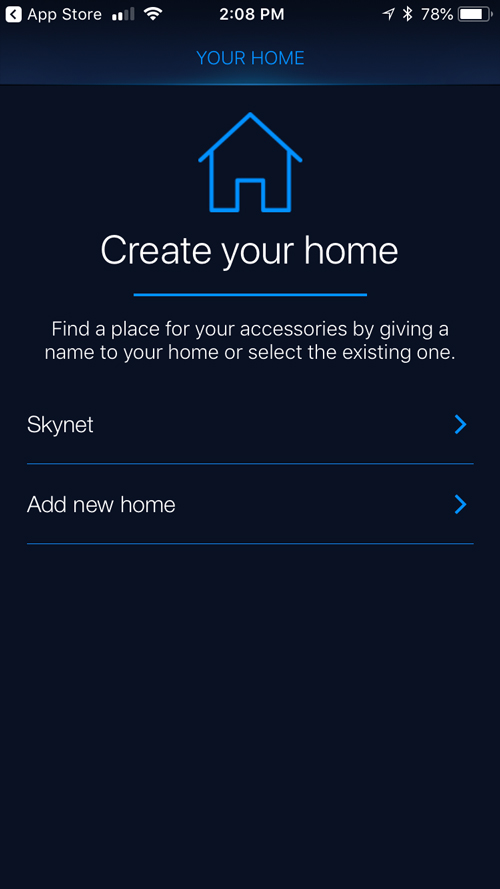
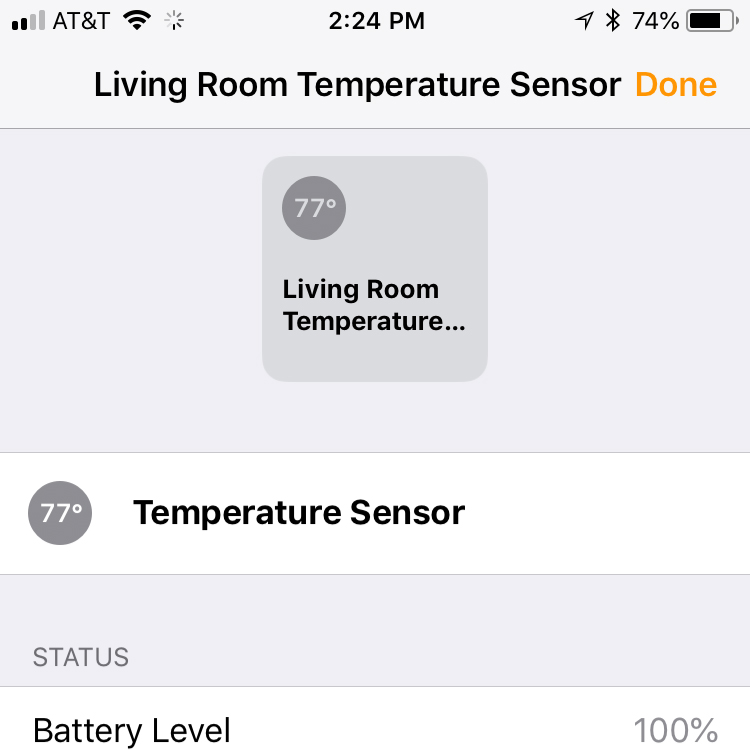
Once the device is powered on, download the Fibaro app from the App Store, as per the included instructions. You will then need to add the device itself, through the app with the provided code on the back of the main instruction manual. The app will show ‘new home (or join one)’, so assuming you’ve already created a ‘home’ in the Home app, you would select that one. It’s important to note at this point, that as this is a Bluetooth device, you will need to keep your phone near to the accessory for the purposes of pairing (and make sure Bluetooth is active on your phone). The app will ask permission to pair up to your home while scanning the code. Once that’s finished, it sees any other installed accessories as standard with any HomeKit type app. Once the Fibaro Flood Sensor has been successfully added, it will also appear in your Home app as two devices or ’tiles’; The flood sensor also contains a temperature sensor.

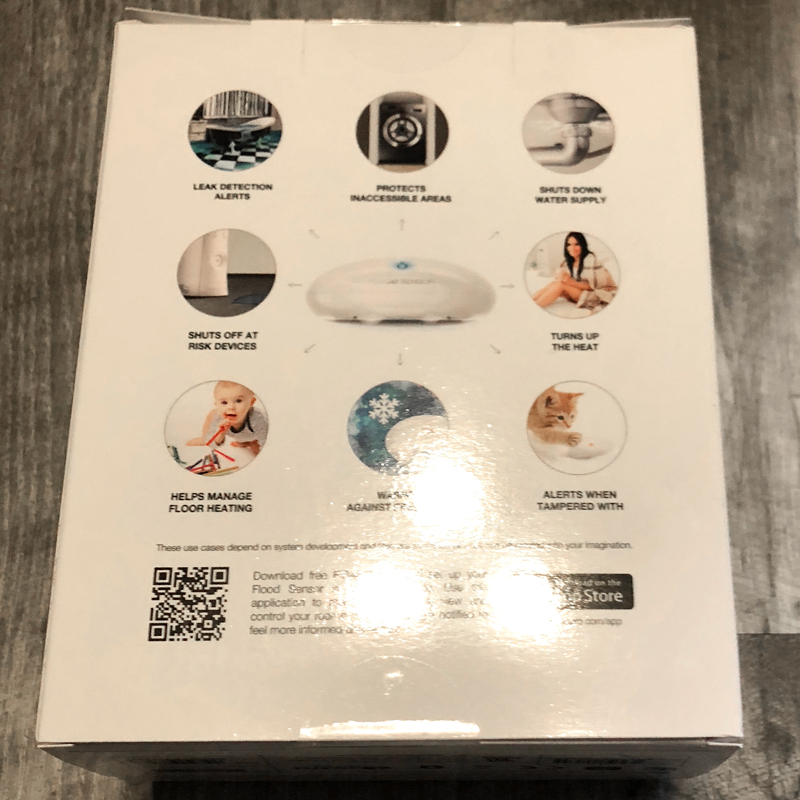
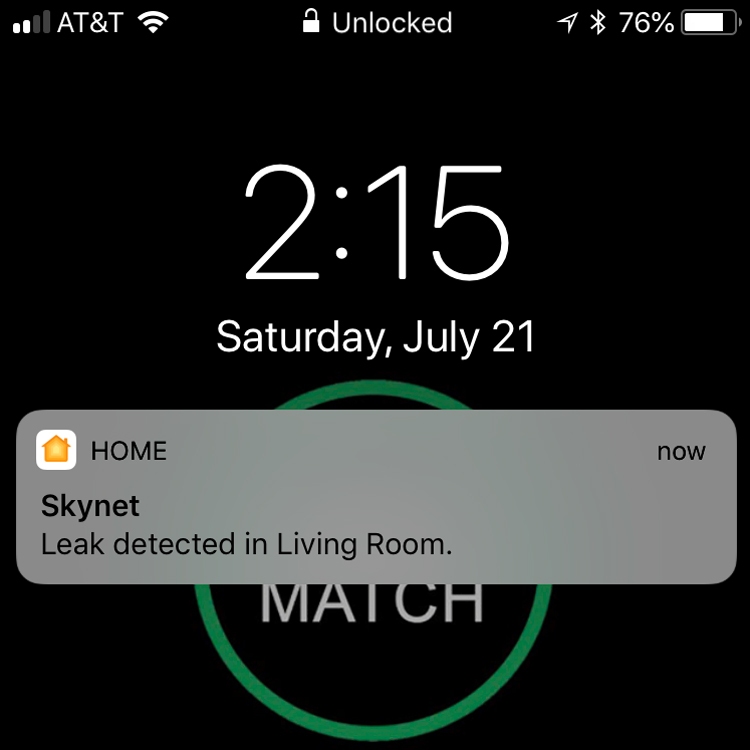
In day-to-day behavior, the sensor works in two ways; it essentially measures temperature and is armed to detect water/moisture. As for the temperature sensor, I can’t speak to the accuracy of it currently, because it’s in a different place to my main thermostat. However, in terms of the water sensor, it works very well and sends the information to your iOS/OSX devices quickly. I wanted to go ahead and test it, as well as give myself an idea of what it looked like in HomeKit. It provides great immediate intel on any water that is sensed (via an iOS notification). There is another, less obvious sensor onboard, which is a ‘tamper’ sensor. This will detect when the device has been moved or ‘tampered with’, and send you a notification. This sensor would seem to be not part of the HomeKit makeup of the device, as it doesn’t appear as a separate tile in the Home app.

In terms of my final thoughts… uh, can I get back to you in 4 years? As there are two versions of this device – one for Zigbee setups, and one for HomeKit, It’s a little expensive – the Zigbee version is a lot cheaper. However, in truth, it’s a small price to pay to protect my floors.