Vocolinc T-Guard Smart Lock (review)
Available from amazon.com for US$169.99
Reviewing products can be a tricky job at times, especially when you’re expected to compare and contrast similar products. This is a fairly easy task if you have a few different devices of the same ‘type’ – like smart outlets, or smart bulbs for example – but when it comes to something like a Smart Lock, unless you have lots of external doors, chances are that you’d probably be looking at a maximum of two doors that would benefit from them, so not many chances for comparisons. In my particular case, and with this particular device, it’s a little more complicated; We live in a rented apartment, so we need permission to fit the lock, and have unfortunately yet to get permission (annoying, much?). however, the team at Vocolinc, who also kindly supplied the lock for this review, also sent us a strange perspex box that essentially represents a section of door that is suitable for this lock, so we’re good to go!
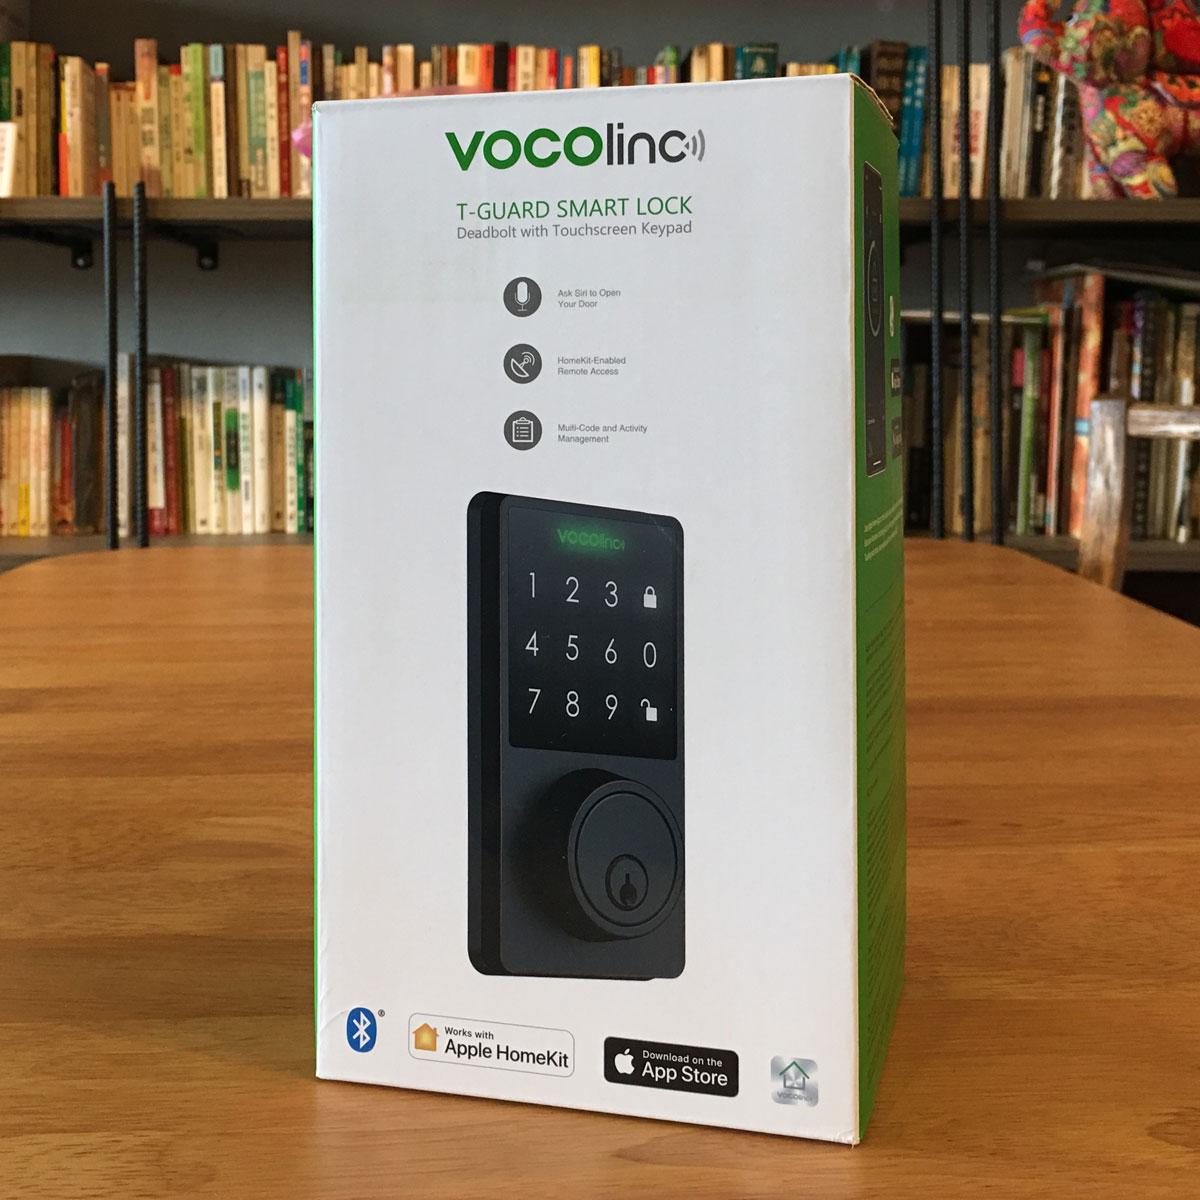
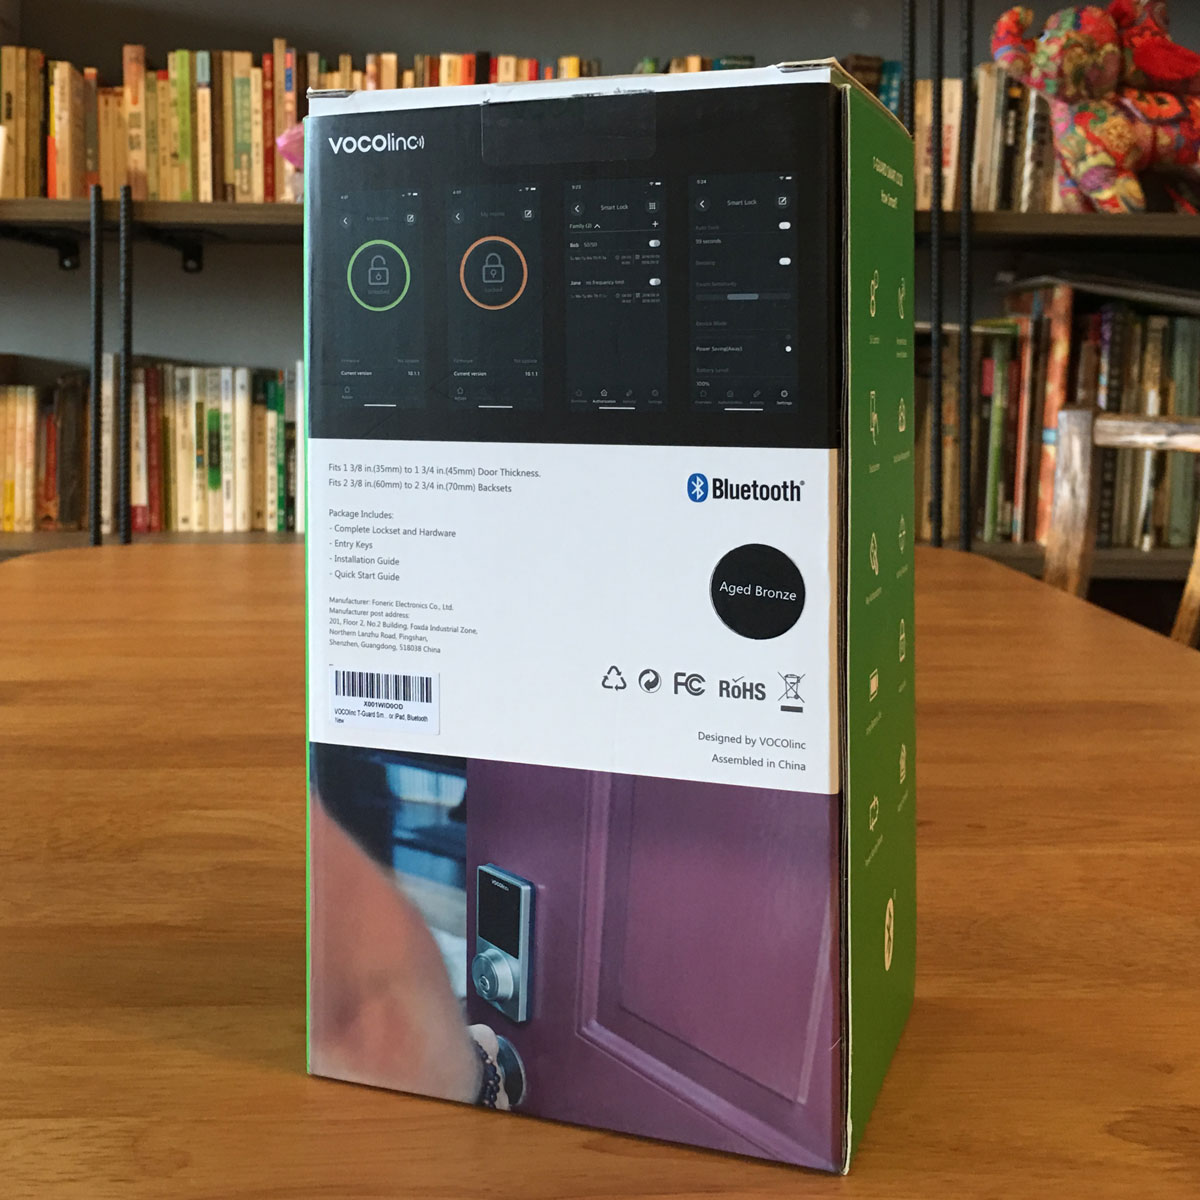
I’m going to be fleeting with the packaging, but as ever with Vocolinc, the box follows their standard ‘green’ theme, with it being very sturdy, protecting the contents rather well. The lock itself is pictured on the front, and in my case we have the ‘aged bronze’ model, which really does look very nice. There’s a ‘steel’ version, but that wasn’t available at the time of writing. Inside the box itself, it’s all about the contents, of which there are a few bits and pieces, all packed in their respective sections, so there’s little chance of anything rolling around in the box. After all, smart locks are on the upper end of smart devices, when it comes to price. Needless to say, everything was present and correct! In the box, you get the two halves of the lock itself, so that’s the lock handle, or interior assembly (what is the correct term, anyone?) that goes on the inside of the property, and the outside part (exterior assembly), which consists of the lock for the keys and keypad for keyless entry. Accompanying the exterior part is a silicone gasket that surrounds the lock against inclement weather. Add to this, the deadbolt latch mechanism itself and an assortment of screws, a mounting plate, a strike plate, and of course a set of two keys. This is a lock, after all.
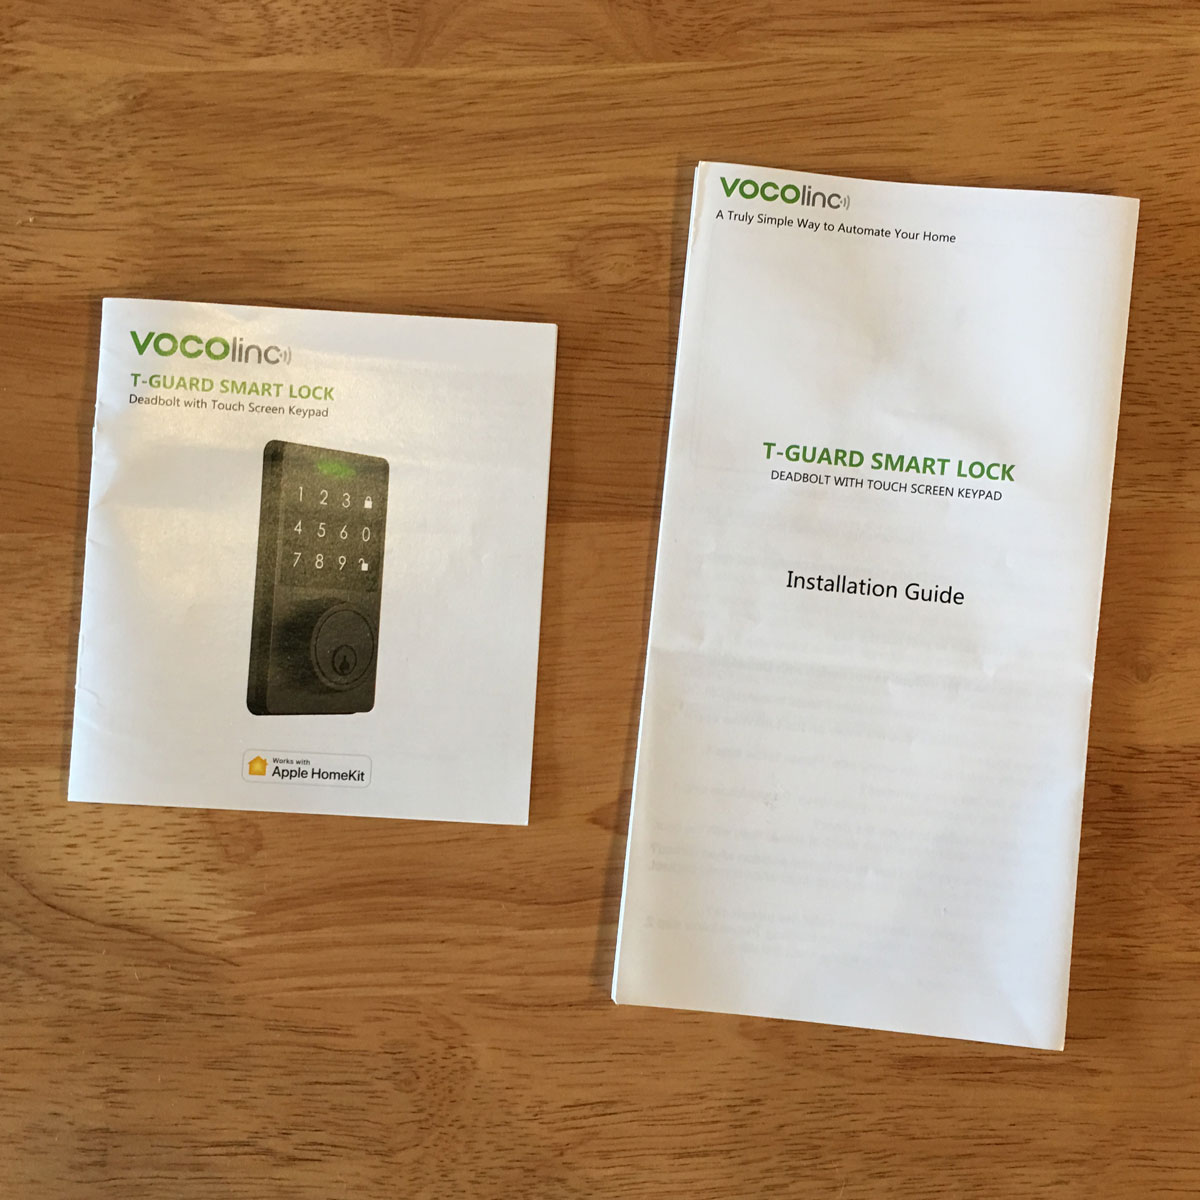
I’ll be honest and say that whilst I can put together most bits and pieces of furniture, some things don’t come too easy for me, especially if I don’t have the right tools, and in the case of the lock, I did find it a bit fiddly to put together initially. In all honesty though, I tend not to look closely at the manuals and while this tends to work out fine with some things, it wasn’t the case here, so my advice; RTFM*. On the subject of instructions, they are quite comprehensive, and you basically get two separate booklets; one for the lock installation part, and another to set it up with HomeKit. It’s all in there, including what doors the lock will and won’t fit. This lock is designed to replace a standard deadbolt fitted door, with a door thickness of between 1 3/8in (35mm) to 1 3/4in (45mm), and 2 3/8in (60mm) to 2 3/5in (70mm) backsets (the ‘Backset’ is the distance between the edge of the door and the centre of the lock). This was all ‘foreign’ to me, having never fitted a lock in my life, let alone a smart lock, so if you’re like me, it’s best to check these measurements, or ask someone who does know, before buying. In terms of the circular hole that is needed for the lock to fit, you’re going to need it to be 2 1/8in minimum.
The deadbolt backset does have the ability to be adjusted, so with just a quick turn it can accommodate both the aforementioned sizes. I don’t know if this is common to all deadbolts, but it’s handy. The manual also comes with a template printed on one page, to help you work out which of the two backset sizes is suitable for your door. Whilst it can be a bit overwhelming to someone who hasn’t fitted a lock, all the info you need is there, and that’s the important point to make.
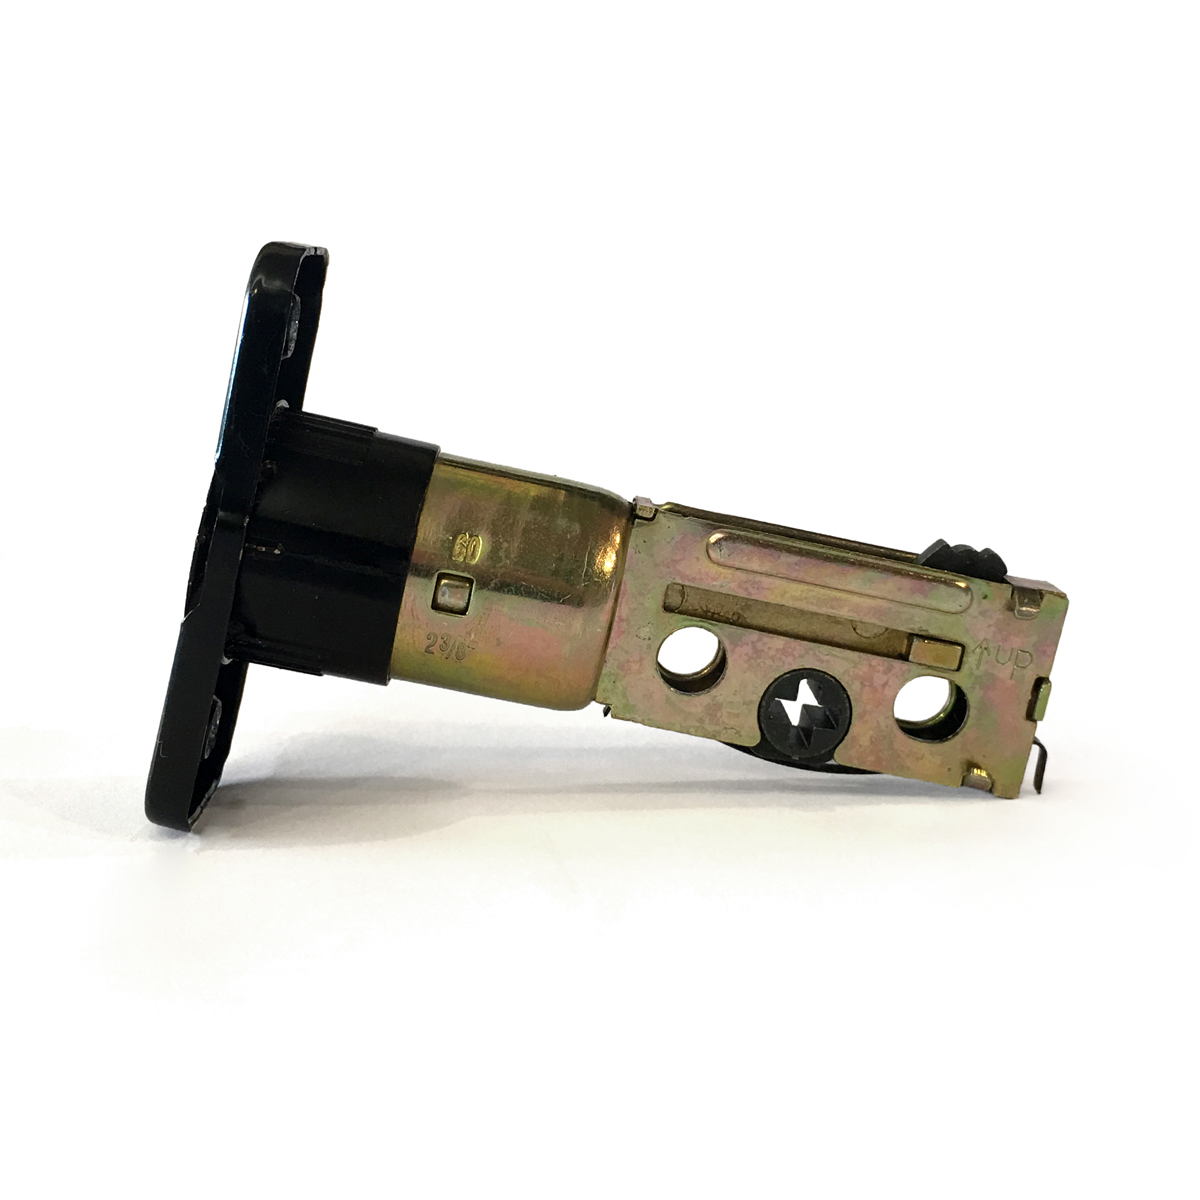
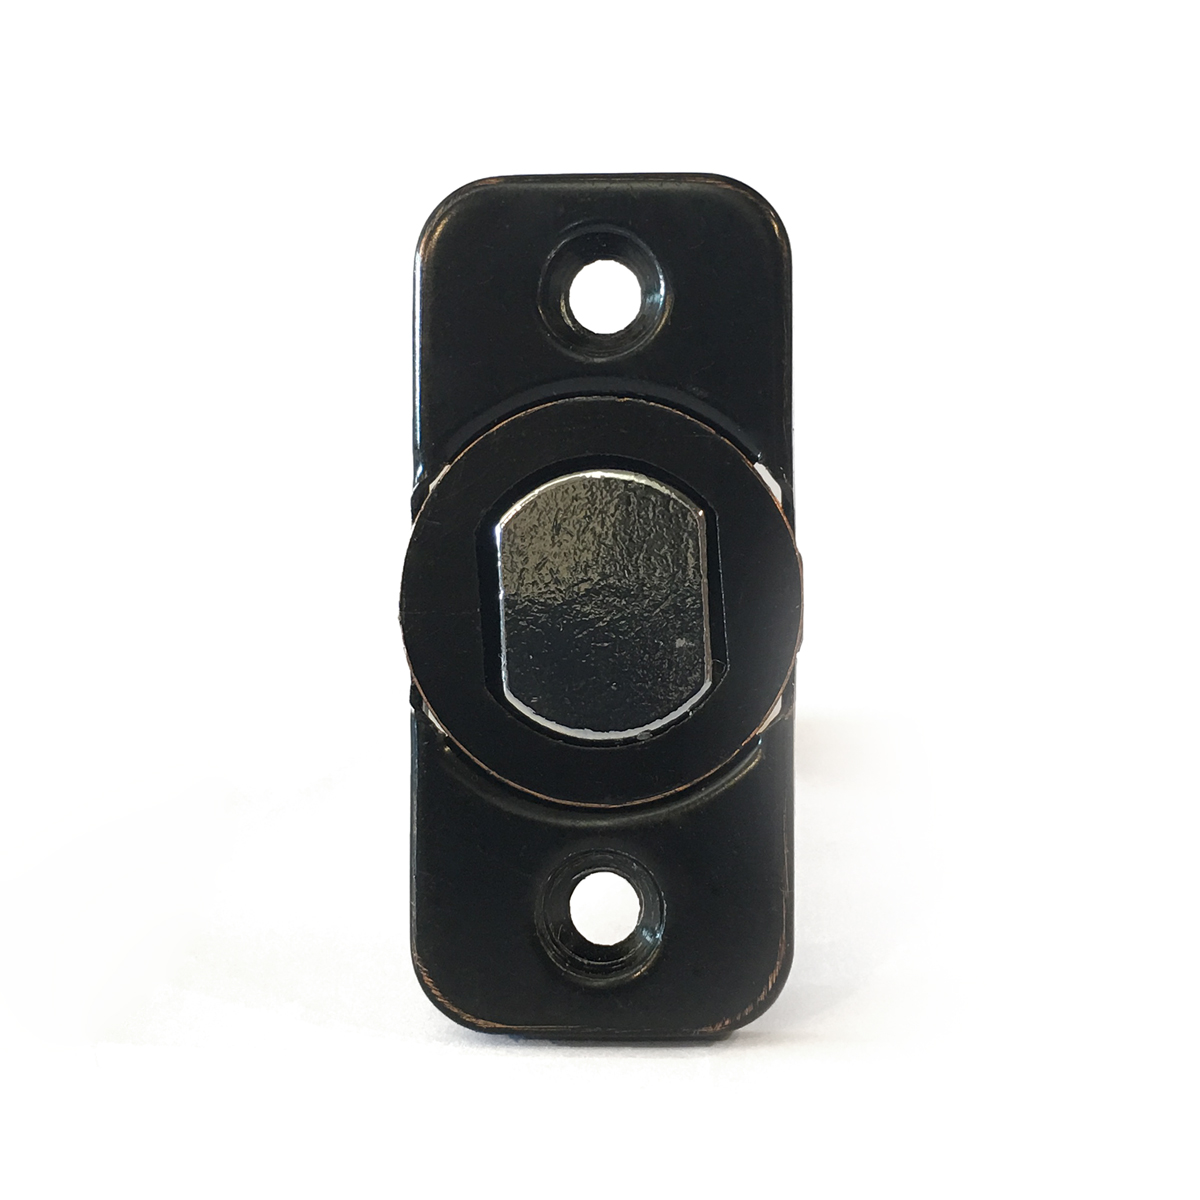
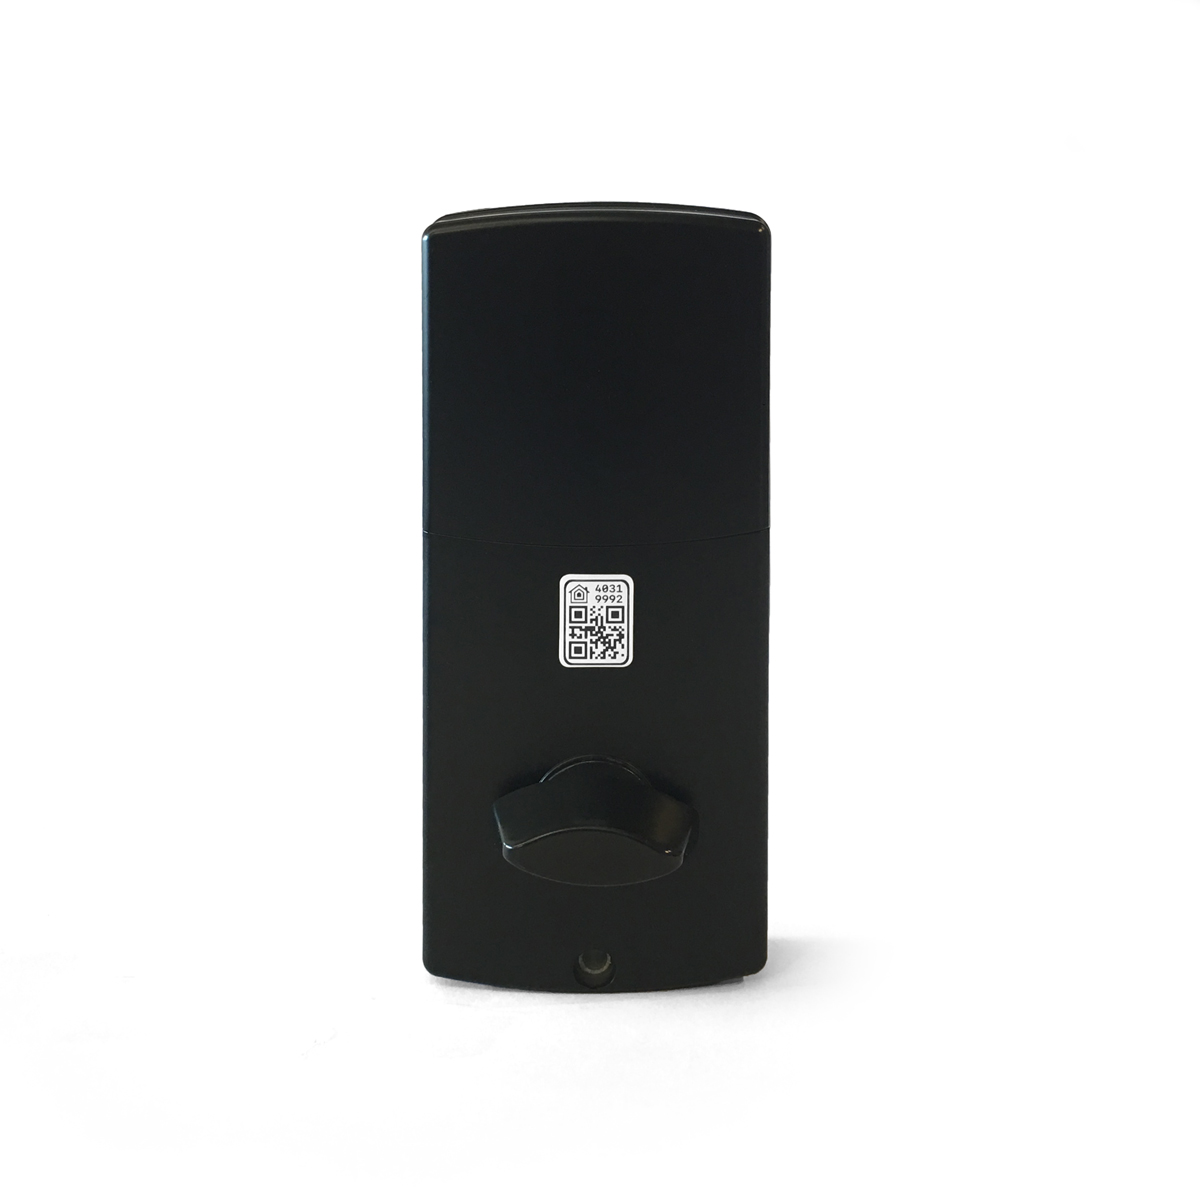
The inner portion of the lock, which also has the ‘brains’ of the smart lock, has the battery compartment, which uses four standard AA batteries. Inside this section, there’s a switch that allows you to choose whether you’re using a left-handed or right-handed door, which is also essential to get correct, as there’s a diagram to help you determine which door type you have. I won’t go into the full setup, as it was a bit of a blur, just making sure everything was done correctly, but in essence, the inner portion has a ‘tail piece’ which in turn goes through the fitted deadbolt, which then connects to the other side of the door lock. In many ways it’s easier than it sounds, trust me! There is also a connector cable that transmits the instructions from the smart lock to the lock itself, so that will also need to be threaded through from one side to the next and connected up, which is very straightforward. As I’ve mentioned before, there are a few provided screws, and they mainly help to connect the interior mechanism to the door frame, so you’re going to need a screwdriver. They don’t recommend using a powered screwdriver in these cases, as they could easily damage or over-tighten the screws themselves.
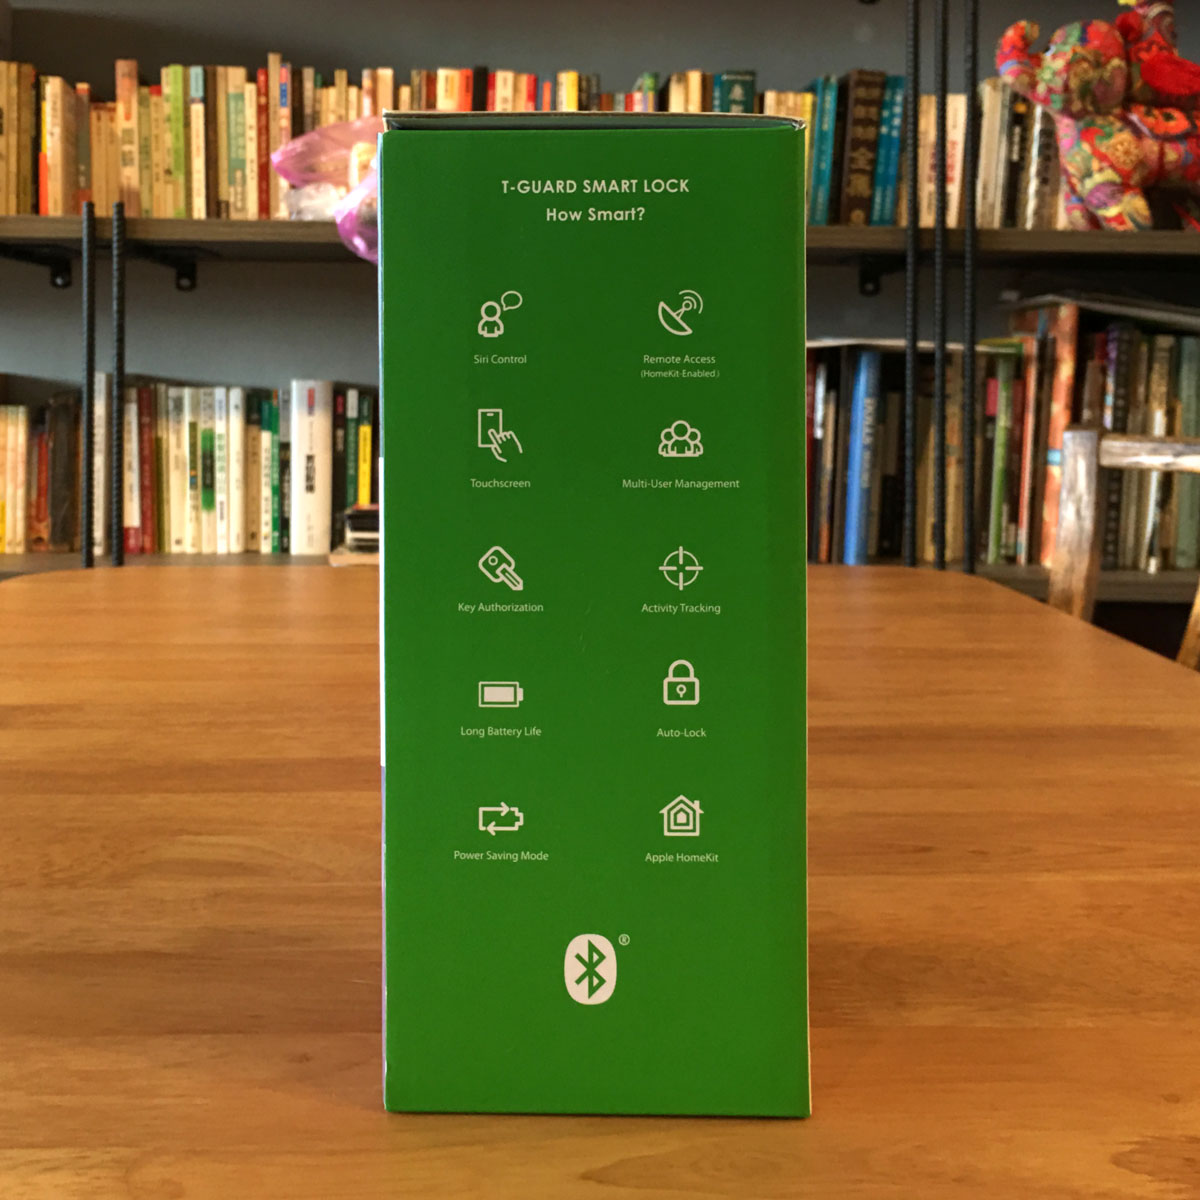
I got it set up in the ‘perspex box’ in a little under 20 minutes, which I thought was pretty good for me. That was the physical side of things taken care of, but now came the time to set it up with my HomeKit system. Before I delve into that though, I should point out some basics; first of all, this is HomeKit only, so no Google Assistant or Amazon Alexa compatibility here. I’m guessing this has to do with the fact this is also a bluetooth device, not wi-fi. So, given that it uses Bluetooth, you’re going to need to make sure your Home hub is within range of whichever door you place it on. Speaking fo your Home hub, be that an Apple TV (4th gen and above), a HomePod, or an iPad, you’re going to also need one for remote access, as is standard for any device you require remote access to.
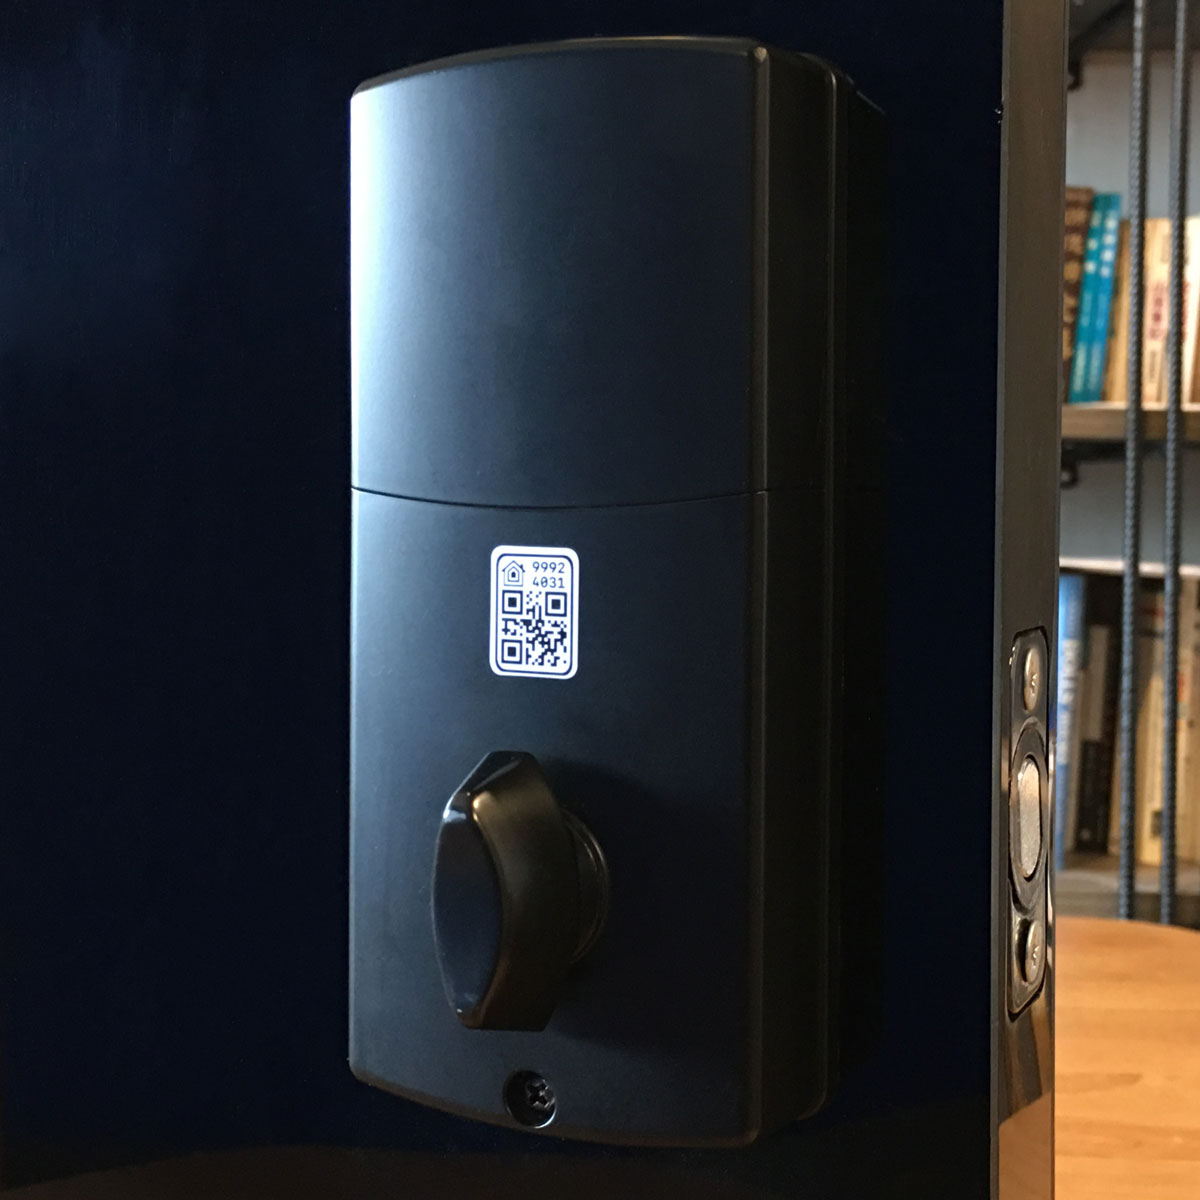
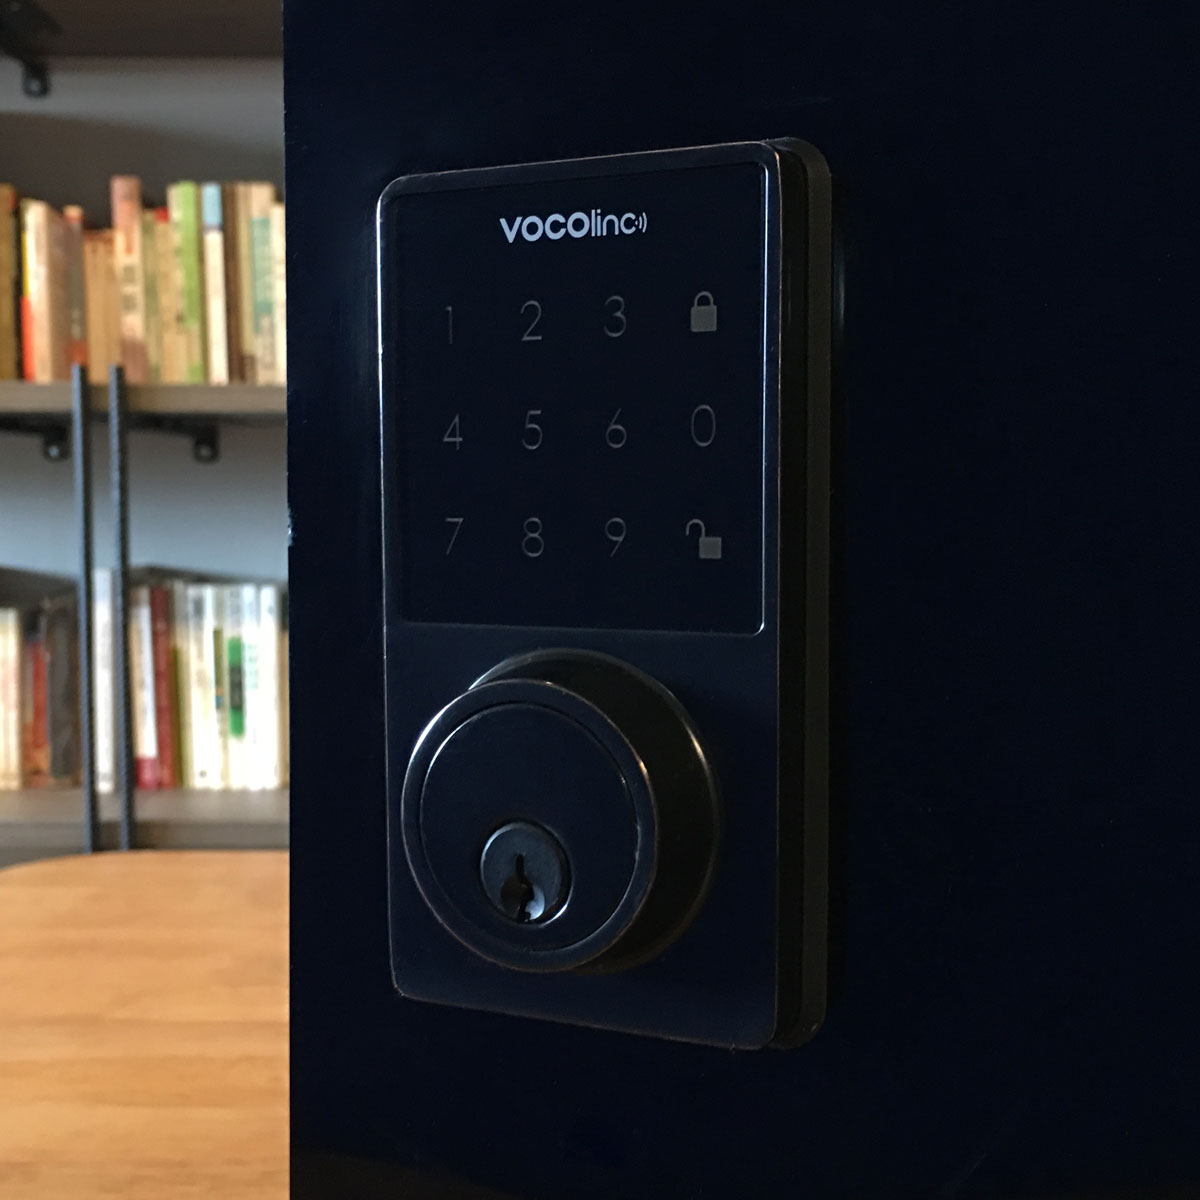
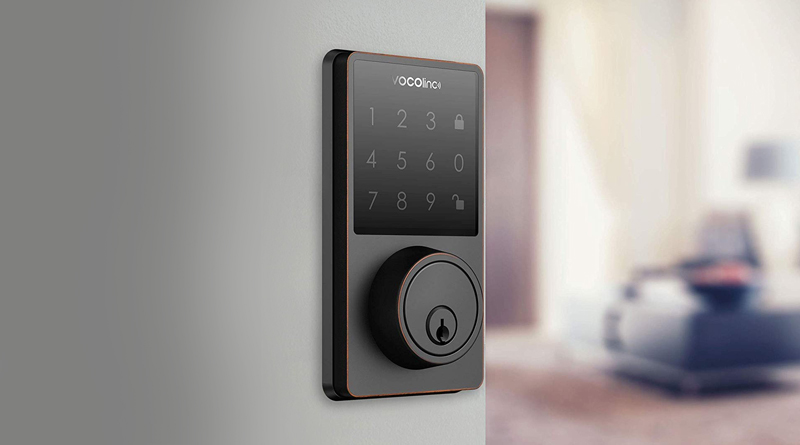
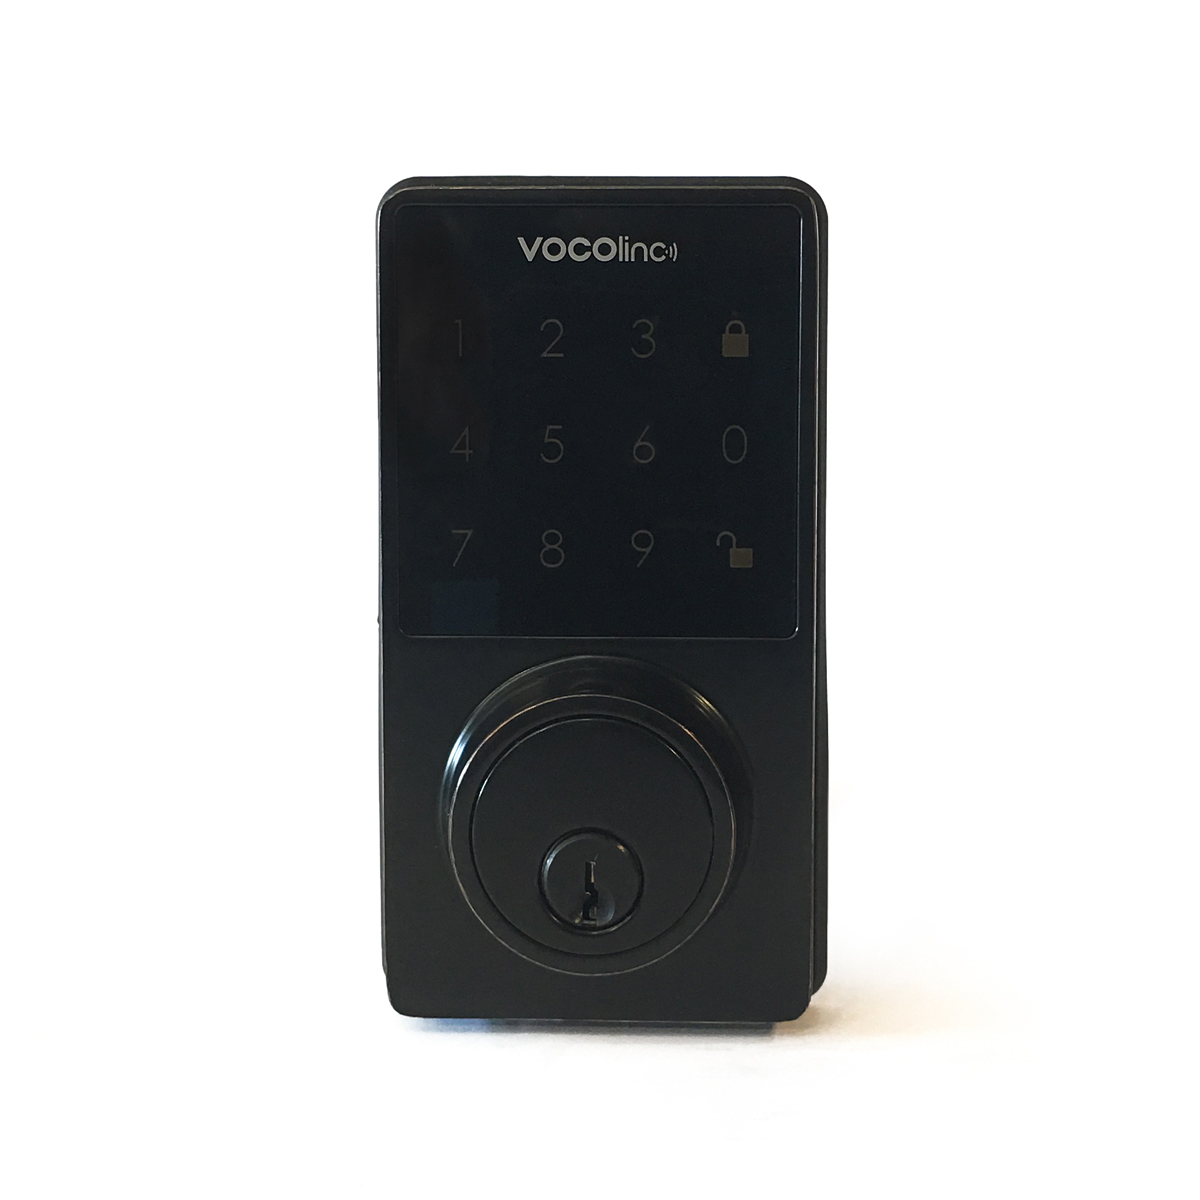
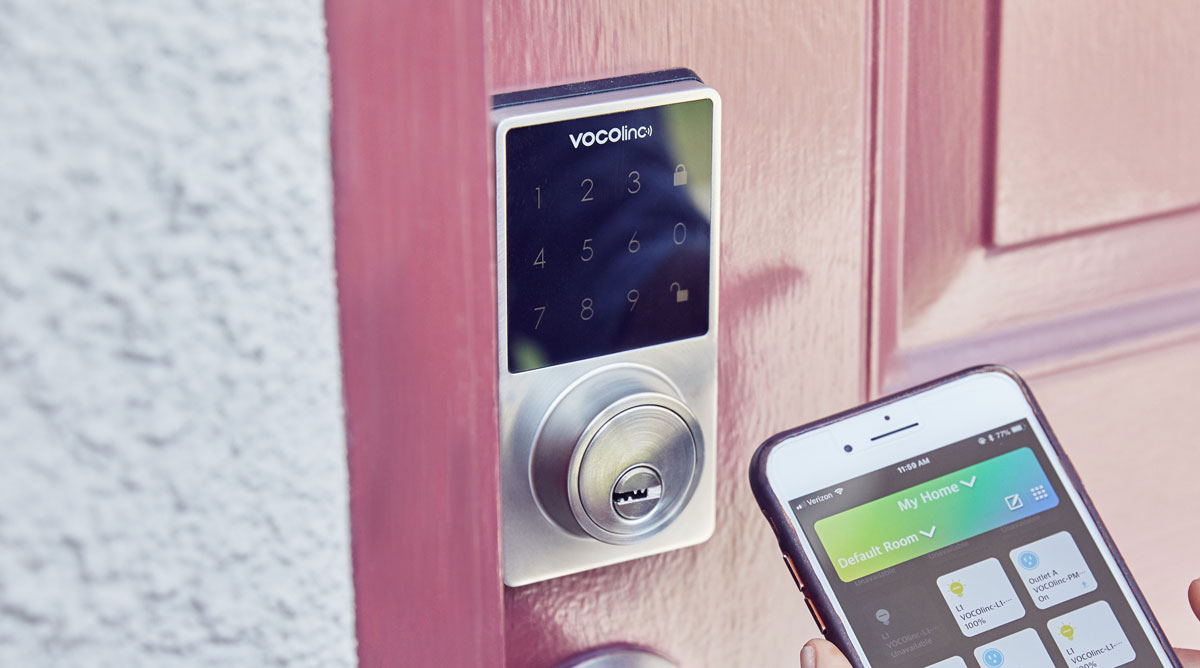
A quick look at the lock itself is in order, so at its basic level, we have the deadbolt mechanism, and we have the interior latch mechanism, which feels satisfyingly smooth when locking or unlocking the door. The outer part of the lock consists of the key lock itself, which is used for anyone who still prefers the tried and trusted method of using a key to open the door. There’s also the front panel above the keyhole, which consists of a touch screen panel. The panel comprises of 10 digits (0-9) along with ‘lock’ and ‘unlock’ icons. At the top is the Vocolinc logo, which, in addition to the numbers and icons, will light up for certain actions. All very straightforward. The Vocolinc logo briefly lights up green when the door is unlocked, and red when it is locked. The numbers and icons will light up as a pale amber colour when you press the unlock icon, while the Vocolinc logo will stay lit in green when you tap on the keypad. When the keypad is idle, you can still see the Vocolinc logo and make out the numbers, although in bright daylight, they might not be as easy to see. We’ll go more into the options for entry, once we’ve had a look at the initial setup.
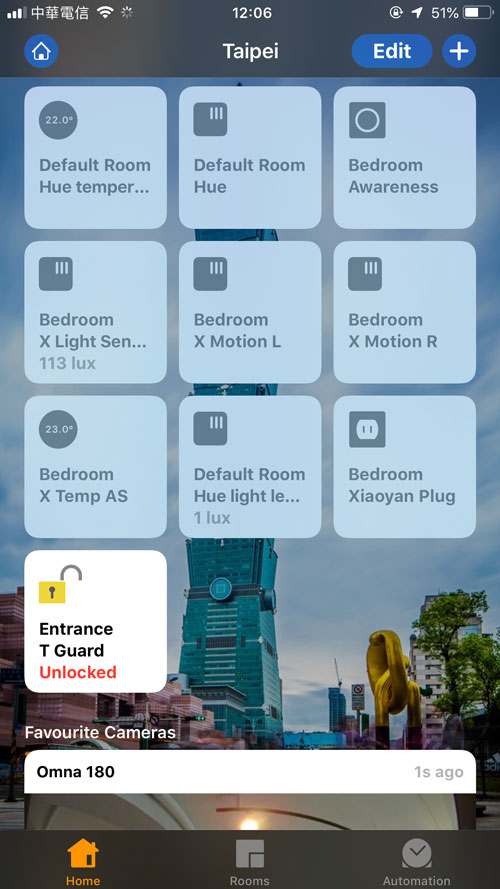
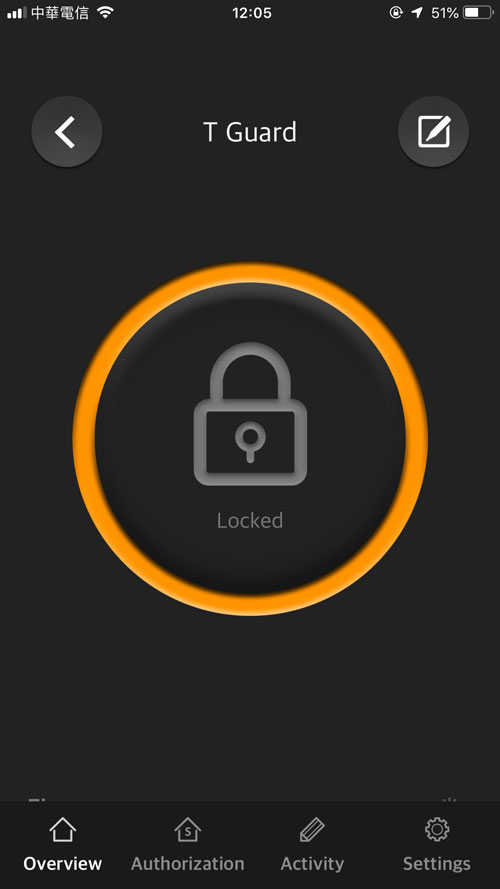

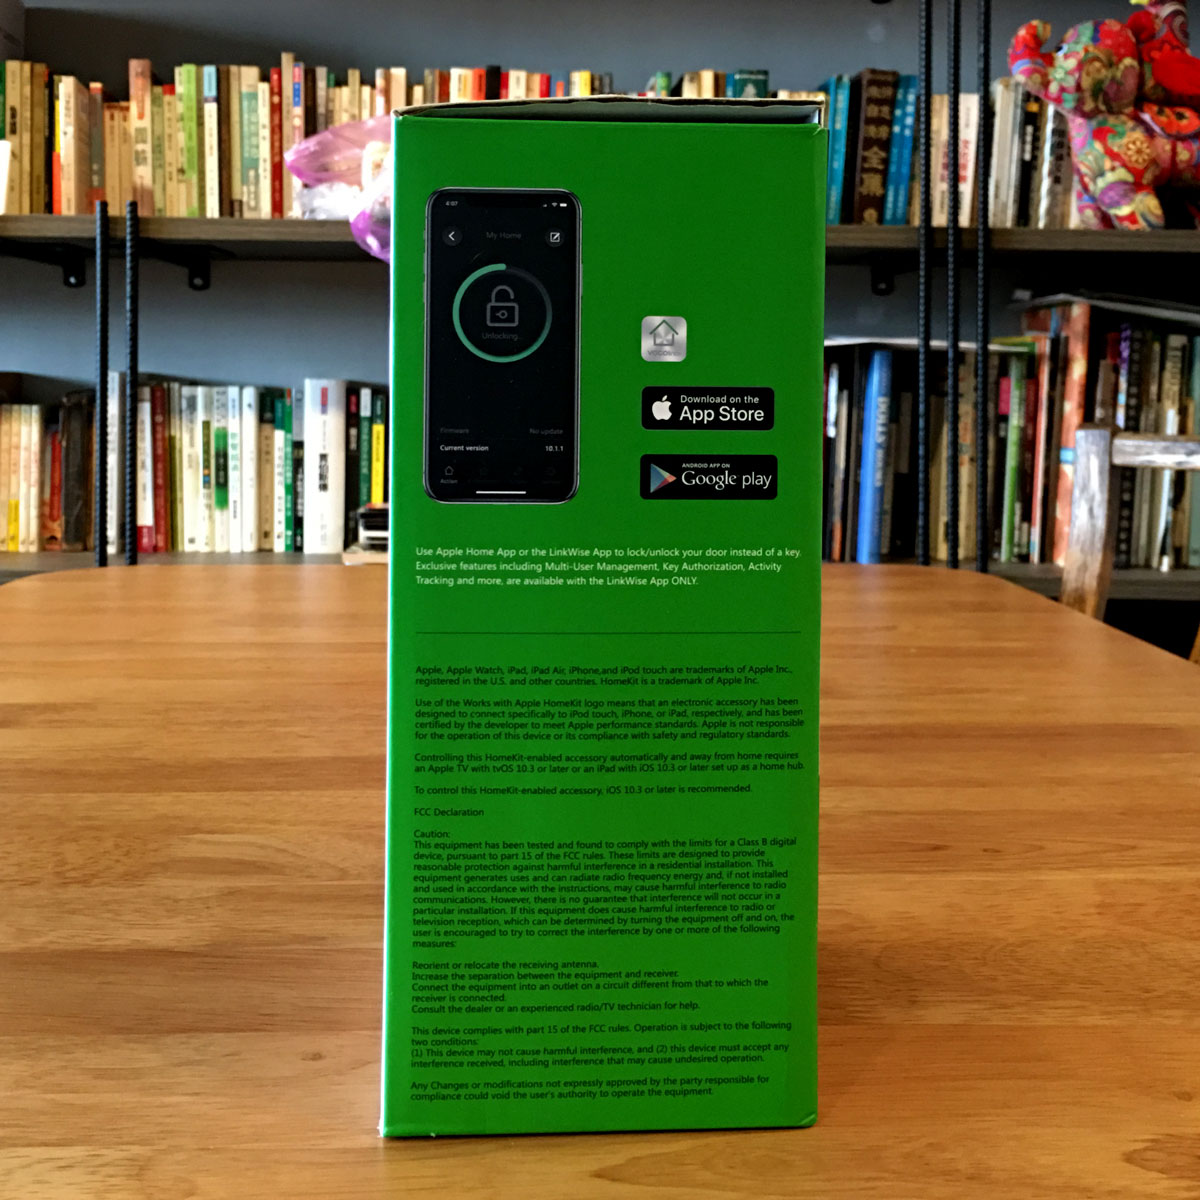
Setting it up with Apple HomeKit wasn’t nearly as difficult, but I decided on this occasion to actually set it up via Vocolinc’s own LinkWise app, seeing that this device has a lot of functions, which I’ll touch on later, and I figured there may well be a firmware update awaiting me as soon as I install it. And guess what? There was. It’s of some comfort to know that even when a device isn’t actually in the stores, the company concerned are still hunting down bugs and issuing fixes for them. Once the lock was set up and the updates were downloaded, I quickly checked to make sure it was available in the Home app, which of course it was.
The Home app doesn’t really offer much other than locking or unlocking the door, which is fine for the most part, as that’s all it needs to do. Notifications on my phone for when the door was locked or unlocked were for generally pretty fast, although occasionally there was a delay in the notifications, even though the action itself was fast. I’ve noticed this with a few HomeKit devices – door sensors in particular – so for me this was nothing out of the ordinary. With the LinkWise app, you get a lot of options regarding unlocking;
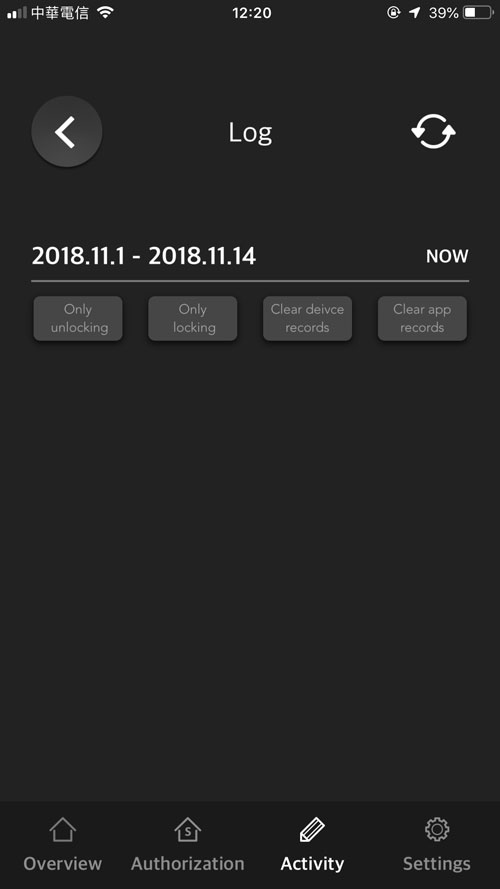
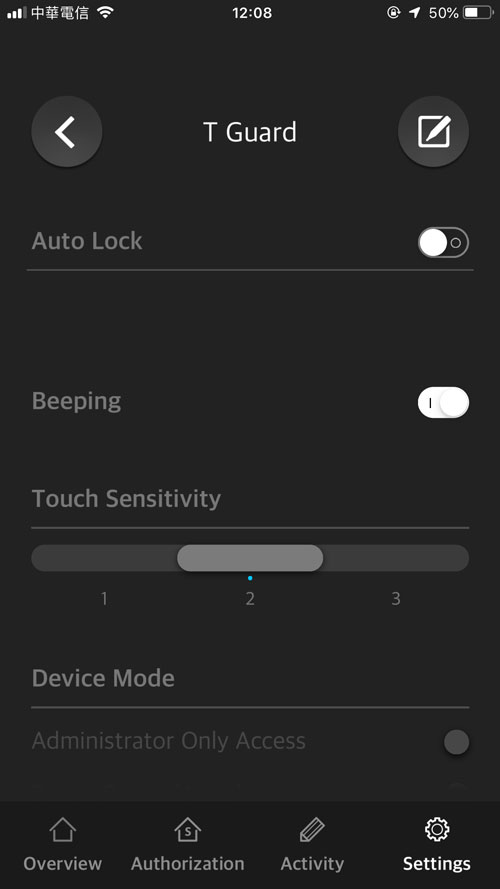
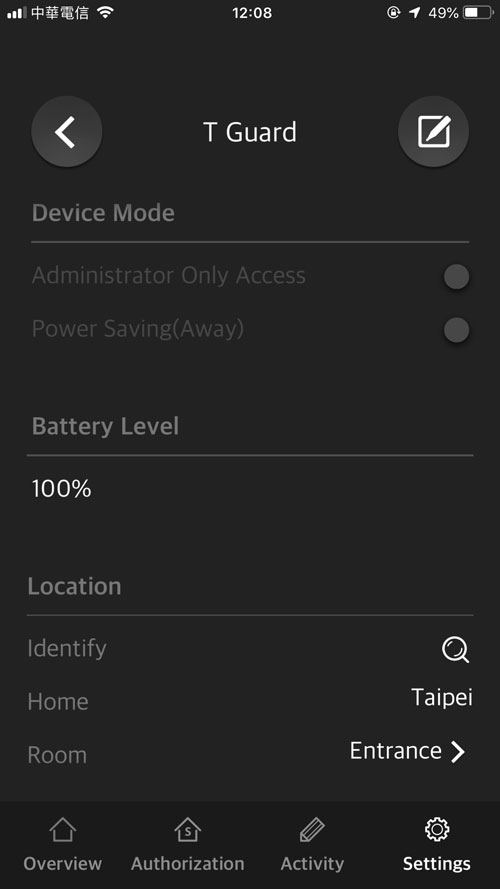
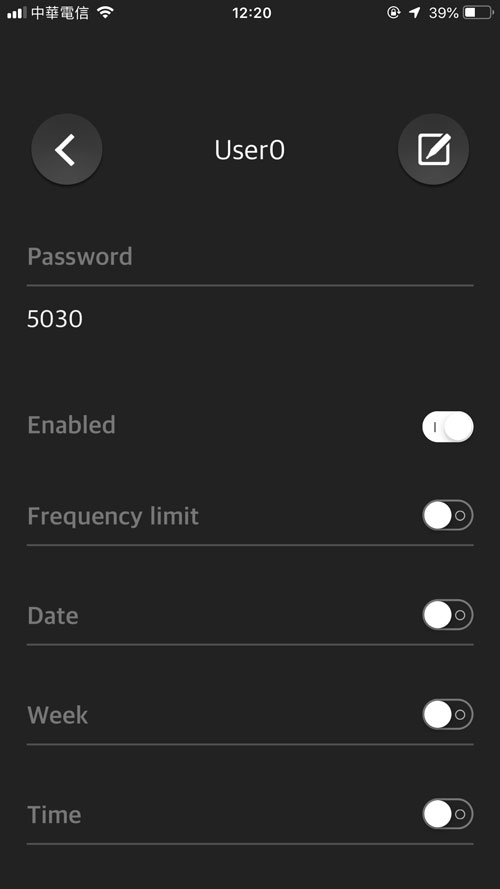
As mentioned before, you can use your key to unlock the door, and you can use Siri or the Home app to unlock it. You can set up an access code for yourself too (30 different codes is the maximum allowed), and for security, if someone enters the wrong code 4 times in a row, the keypad becomes inaccessible for 60 seconds. If you think you’re going to make use of the full 30 different access codes, you can make life a bit easier for yourself by creating groups, and placing different users in these groups, so for example, daytime help: cleaner, gardener etc. or separate groups for family and friends. You can also add restrictions on the use of codes. There’s the ability to set a frequency limit, so a code can only be used 5 times, for example, or you can set a restriction on when the code can be used, which is deployed by the use of a start and end date. You can even go more granular by specifying particular weeks or times. To use the keypad to unlock the door, you simply press the unlock icon, followed by entering your pin, and then finally the unlock icon again. To lock it with the keypad, you simply press the ‘unlock’ icon to wake the screen, followed by pressing the ‘lock’ icon. This is a bit counterintuitive to be honest, and it would make more sense to just press the lock icon in this case, but that’s how it is at present. There are other settings available, like whether you want the lock to give a ‘beep’ sound for confirmation, and adjustments to the sensitivity of the keypad itself. There’s also a log of which codes (and by extension the people who are assigned those codes) have been used to gain entry and when. The lock will tell you if the door is jammed and if the batteries are getting low. On the subject of batteries, Vocolinc claim you will get 6 months out of the four AA batteries. I don’t know if that’s lower than average though. There is a Power-Saving mode that will disable the touchscreen, thereby extending the battery life further, and there’s a setting within the app to make the lock, ‘auto-lock’ after 30 seconds, so that’s an additional bit of security that will be of comfort to many users.
Now all of this sounds great, but as I’ve not really owned a smart lock before, this is all new to me. Many of these options are standard now for locks with keypads, but coming from the standard lock it’s all rather futuristic. The big question still remains – does it work and does it work well?
I do have to point out that when I initially set it up, it worked, but then stuff started to go a bit awry, but only when it came to using the LinkWise app. When I initially tried to set up a code for myself to try out, it worked fine, but then when I went back in and tried to set up date-based restrictions to the access code, the app froze on several occasions. Eventually I decided to try it on the iPad, and there was no problem at all. In fact, once I’d set up the additional restriction for the code in the iPad version of the app, the iPhone version seemed to be ok! I did bring this to Vocolinc’s attention and they are aware that there’s a need for improvements to the app, so despite this issue, I feel they’re taking these points seriously and are working towards a solution to this and other problems.
As for the lock and how responsive it was, as I’ve already said, I’ve not really had any prior experience with smart locks, so I did field some questions for people who own smart locks, and especially ones that work with Bluetooth, so I could get a grip on what to expect. I would say that from my experience, there’s sometimes a delay or lack or reaction with many Bluetooth devices, and although this wasn’t the case very often with the lock, there were only very occasional times when there was a delay. Most of the time the lock reacted by locking or unlocking the door quickly, and taking into account what others had told me of a typical 1-3 (or more) second delay between pressing the icon on the phone and the response, I was surprised that the reaction time, when it was on form, was no more than one second, which for me is more than adequate. Smart locks aren’t the most silent of devices, which is understandable given that they have a motor inside them. This had a whirring sound as you’d expect, but given that at this point it’s set up inside a hollow perspex box, it’s likely that it’s louder than it would normally be if it were placed in the door.
Overall, I think it’s a more than decent contender for a smart lock, and at the price point of US$169.99, it’s very competitive, given that it also has a keypad. The design is on point for my tastes, and the whole device feels quite solidly built. The casing for the inside half of the lock is made of plastic, so it doesn’t feel quite as premium as the lock on the outside, but it doesn’t need to be anywhere near as durable as the outdoor part of the lock. iIf there was a slight negative point, it would be the app, but this shouldn’t reflect on the lock itself, and apps can always be improved on, so it’s not a massive concern to me – or at least it wouldn’t be once I get our landlord’s permission to install it…
Full disclosure: Vocolinc provided HomeKit News with the Vocolinc T-Guard Smart Lock for the purpose of this review. No other compensation was made or requested.
*Read The F**king Manual