Onvis SMS1 Motion Sensor (review)
After January 2019’s CES wrapped up, with a ton of new HomeKit enabled gear (especially the HomeKit enabled TVs), there have been a few new names that have seemingly appeared out of nowhere. One such brand, called Onvis, have actually been around for a while, although they’ve been making smart devices for other companies, not themselves. It would now appear they’ve decided to come out of the shadows and give this whole ‘smart home’ game a go under their own steam and with the first of (hopefully) a few products in development, we’re taking a look at one that quietly came out towards the end of 2018, and by all accounts has impressed many of the people I’ve spoken to, so obviously I had to have a look for myself. I was planning on getting this as soon as it came out, but as it was only available via one seller on Amazon at the time, who also didn’t ship to Taiwan, I was a bit stuck. Thankfully they now ship internationally, so I’m here with this, the Onvis SMS1 Motion Sensor.
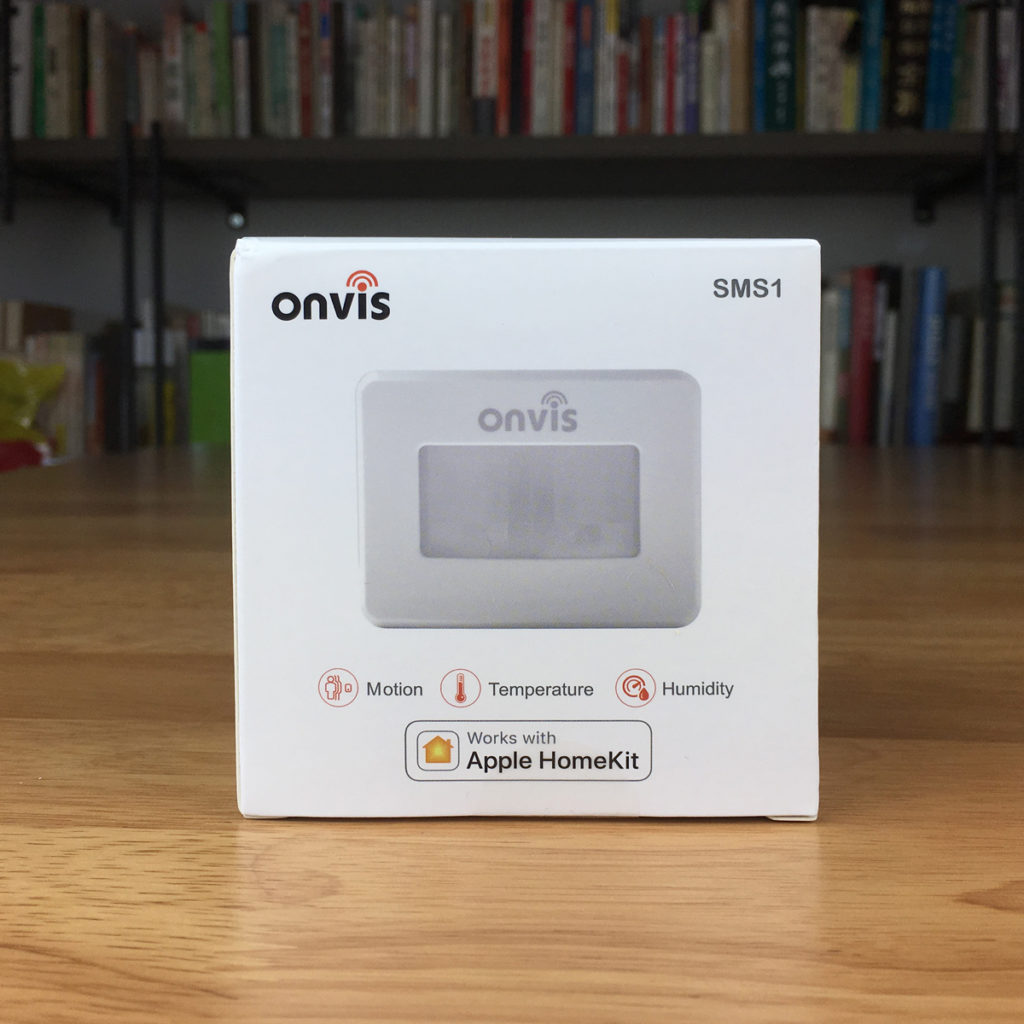
As packaging goes, Onvis have done a fairly decent job, keeping things mostly minimal, with just the device itself on the front, along with the three main functions – or sensors – and the Works With Apple HomeKit badge. The side of the box gives you a bit more info on what it can do, which we’ll get into later, and the rear of the box is simply a colour image, with an iPhone displaying their own ‘Onvis Home’ app. The box itself feels quite sturdy, and given that it’s actually quite a small device anyway, it lends itself not having a lot of ‘give’, so it allows for the whole thing to feel like it can take a few knocks. Full marks for the box in this case.
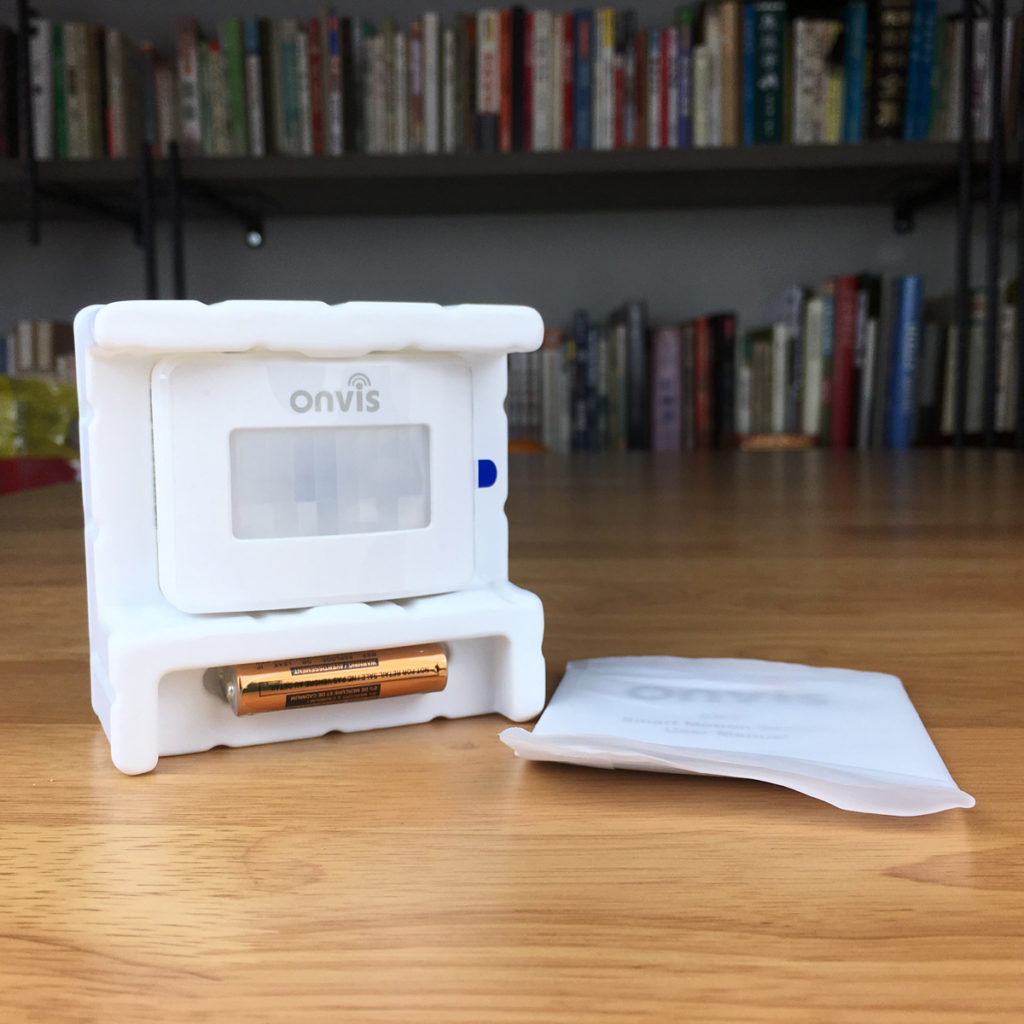
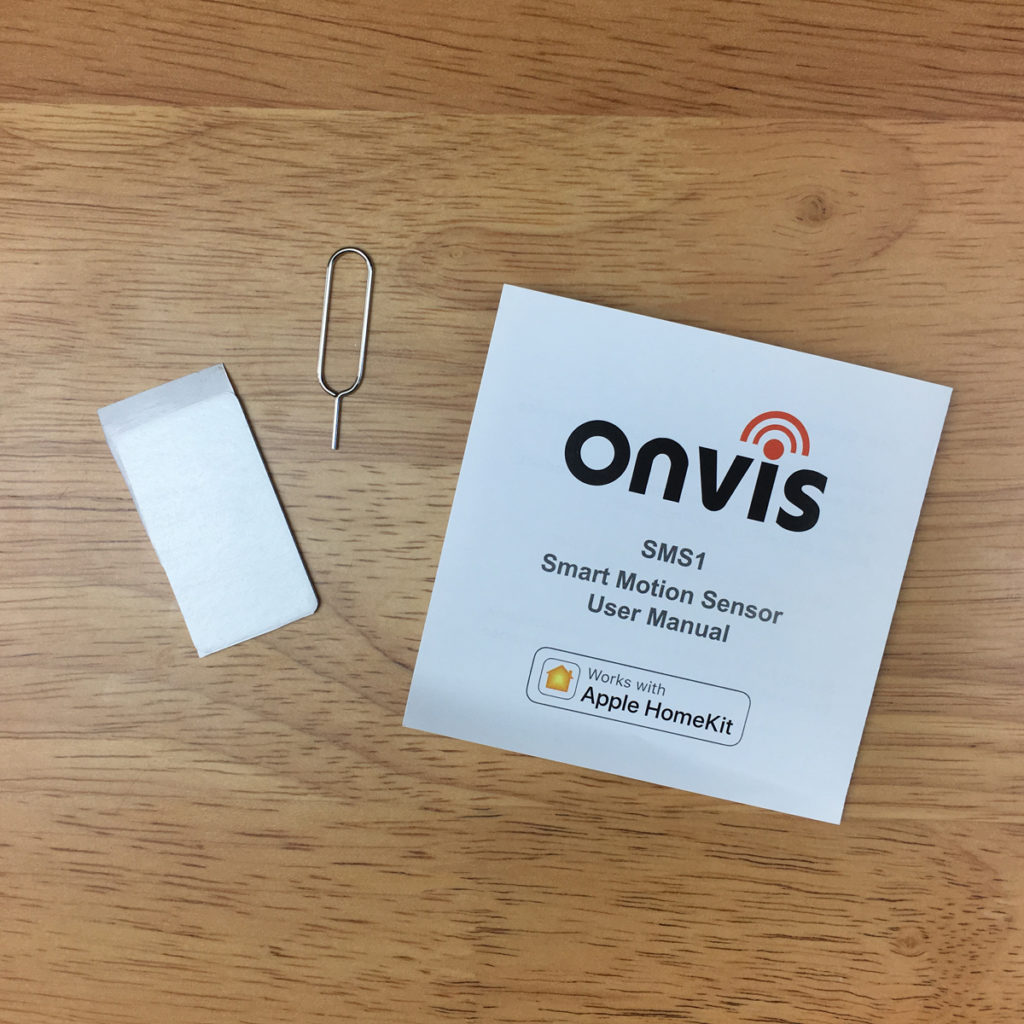
Once the contents are removed from the box, you get the device itself, held firmly in place with a moulded plastic tray and some clear adhesive tape, two included AAA batteries, a manual (that includes a copy of the HomeKit code) in English, a spare double-sided sticker, should you want to mount it to a vertical surface, and a sim pin for resetting the device.
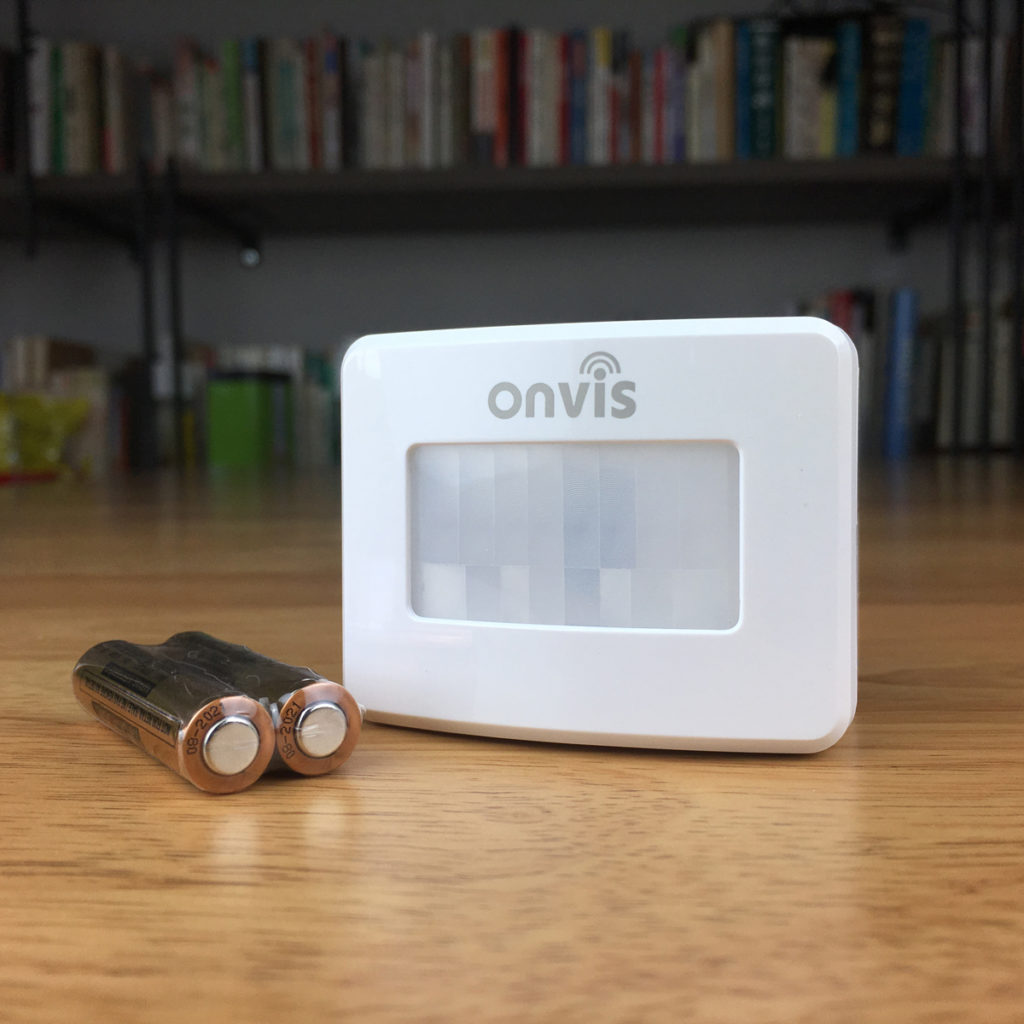
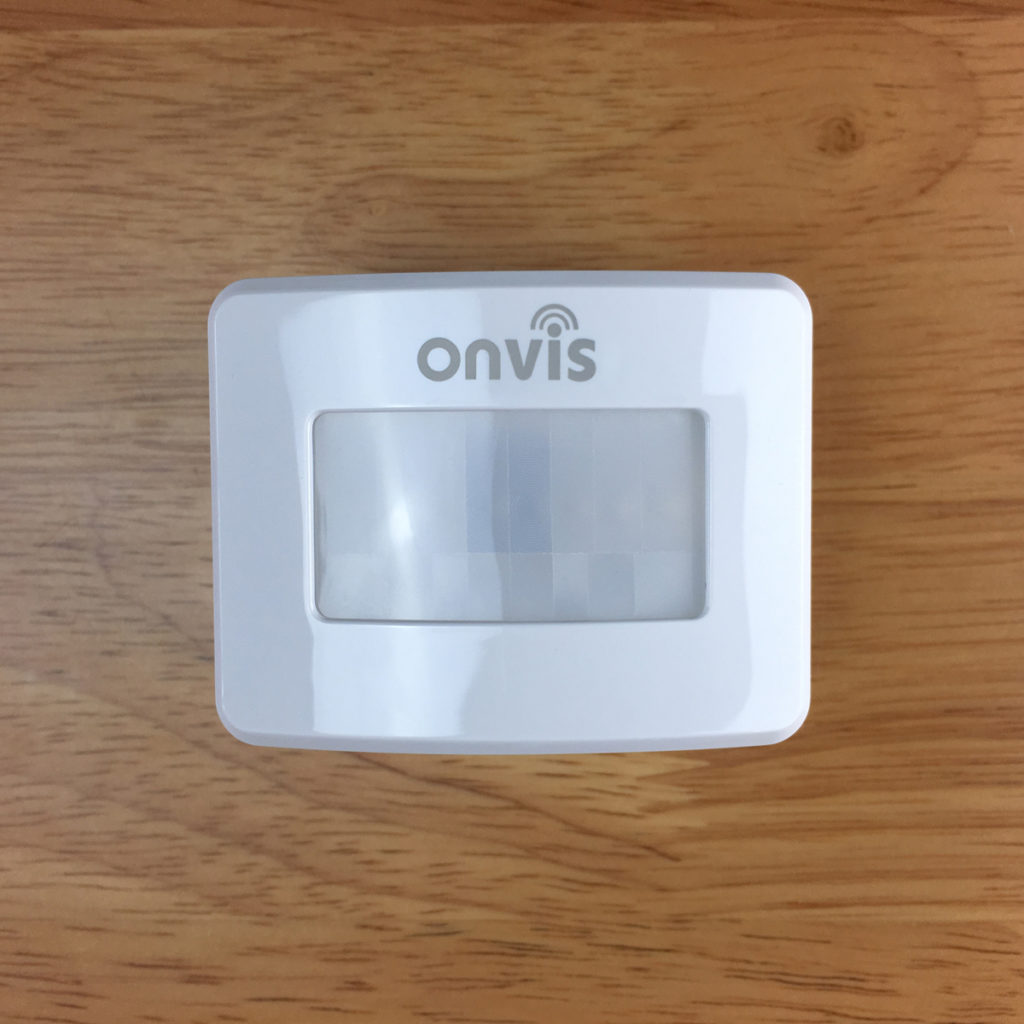
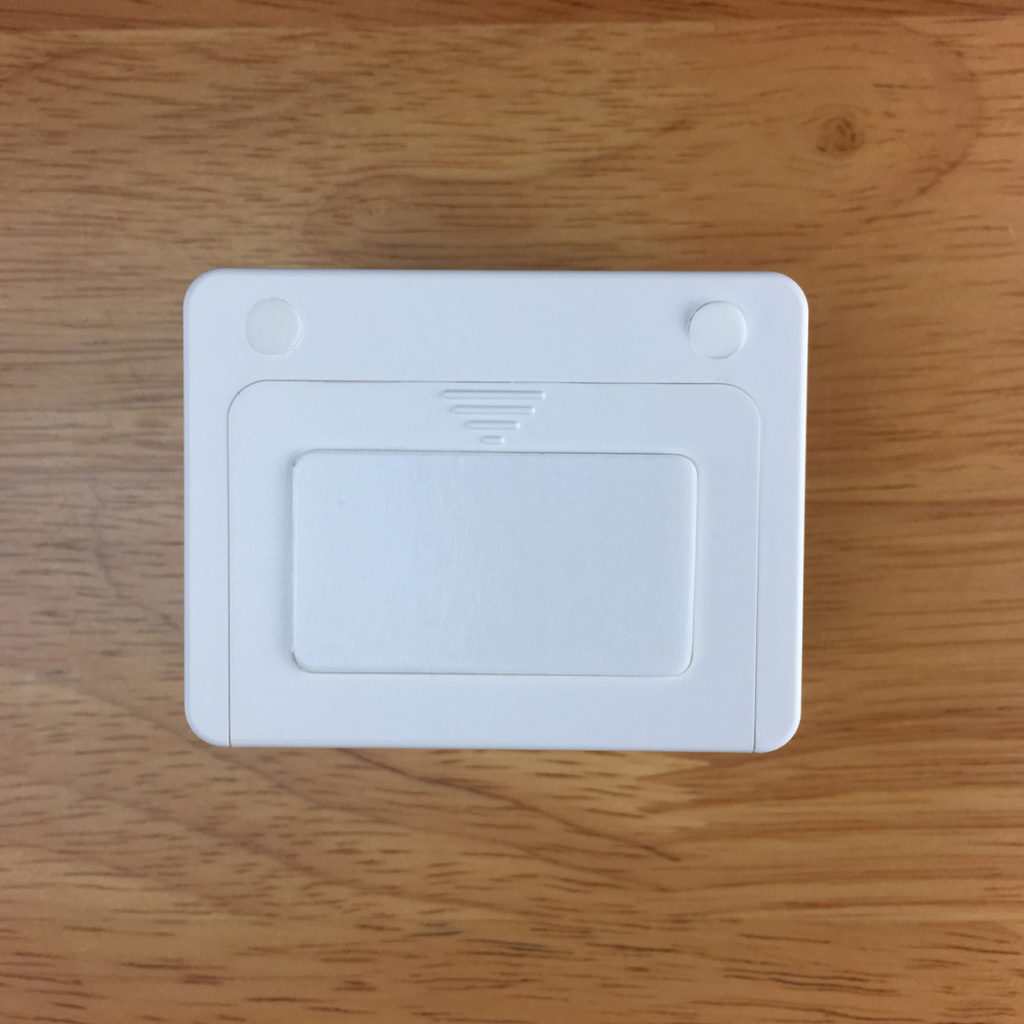
Onto the device itself and my first impressions; It’s actually a lot smaller than I first expected it to be, although without it being put next to other similar products, it’s always a bit difficult to judge. It comes in at 65mm wide, 36mm deep and 50mm high, so a little bit wider than the Philips Hue Motion Sensor, but roughly the same height and depth. The design is quite utilitarian, but then this is the kind of device that doesn’t need to draw attention to itself – in fact, quite the opposite essentially, so that’s no big deal, other than, for my own personal taste, I’d prefer the logo on the front to be a little more discrete. The real ‘fly in the ointment’ with the device is the battery compartment, which is really quite difficult to get into. I had to find a suitably thin bladed kitchen knife, to get between the gap I created by pushing down on the sliding door of the battery compartment. Thankfully changing these batteries is not going to be a regular occurrence, but it’s the one quite annoying thing that should have been picked up during the prototyping phase. I can also confirm that it’s not just myself with this issue, having heard from at least three other people with the same problem. I’m always worried about applying a bit of brute force due to the possibility of sustaining not only damage to the device itself, but to myself too, if I’m put in the position of using a sharp or pointed object.
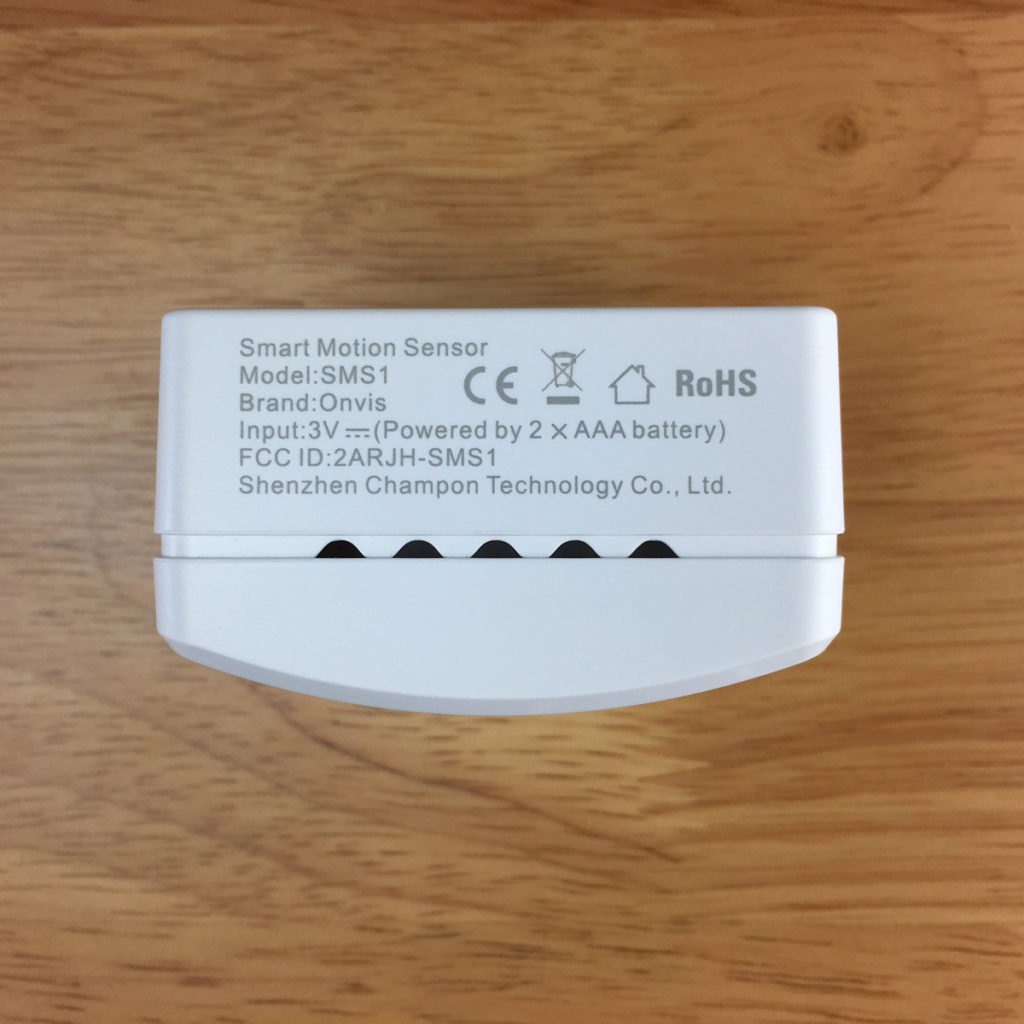
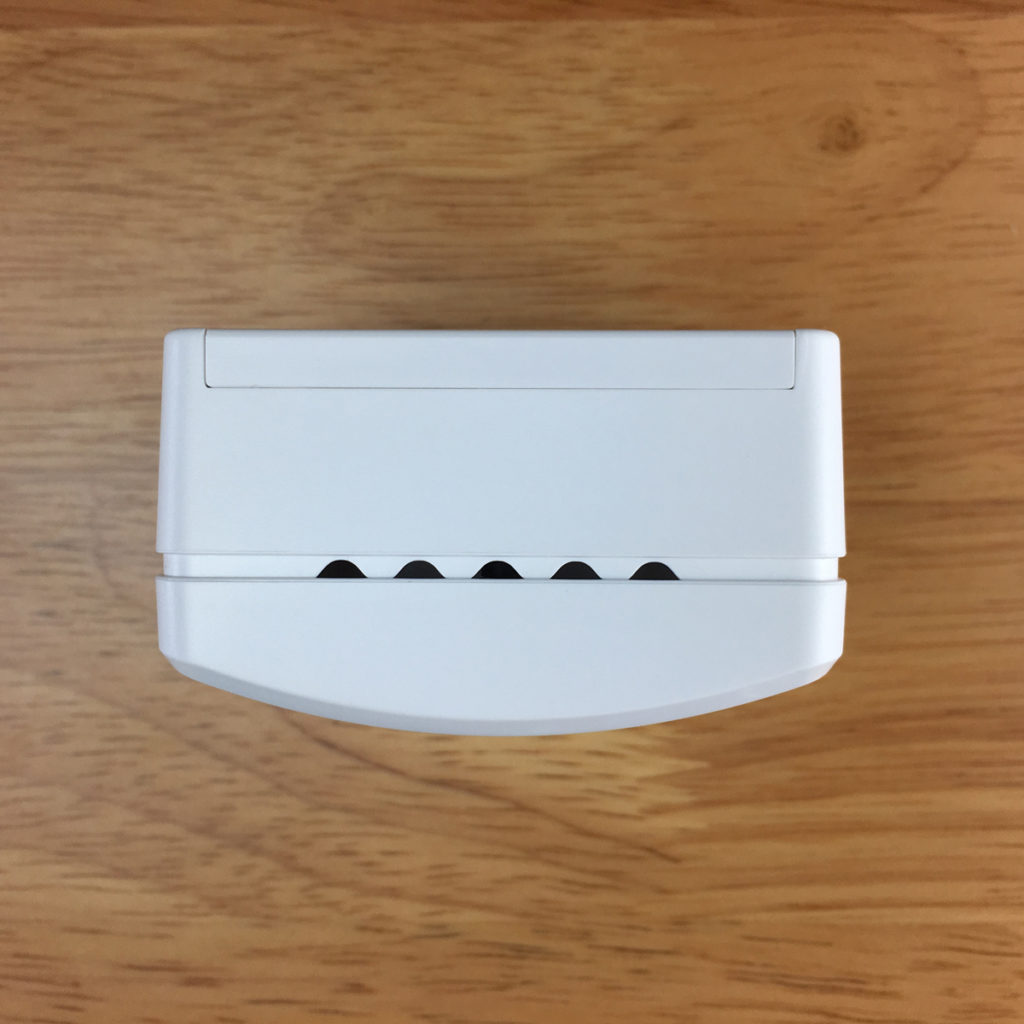
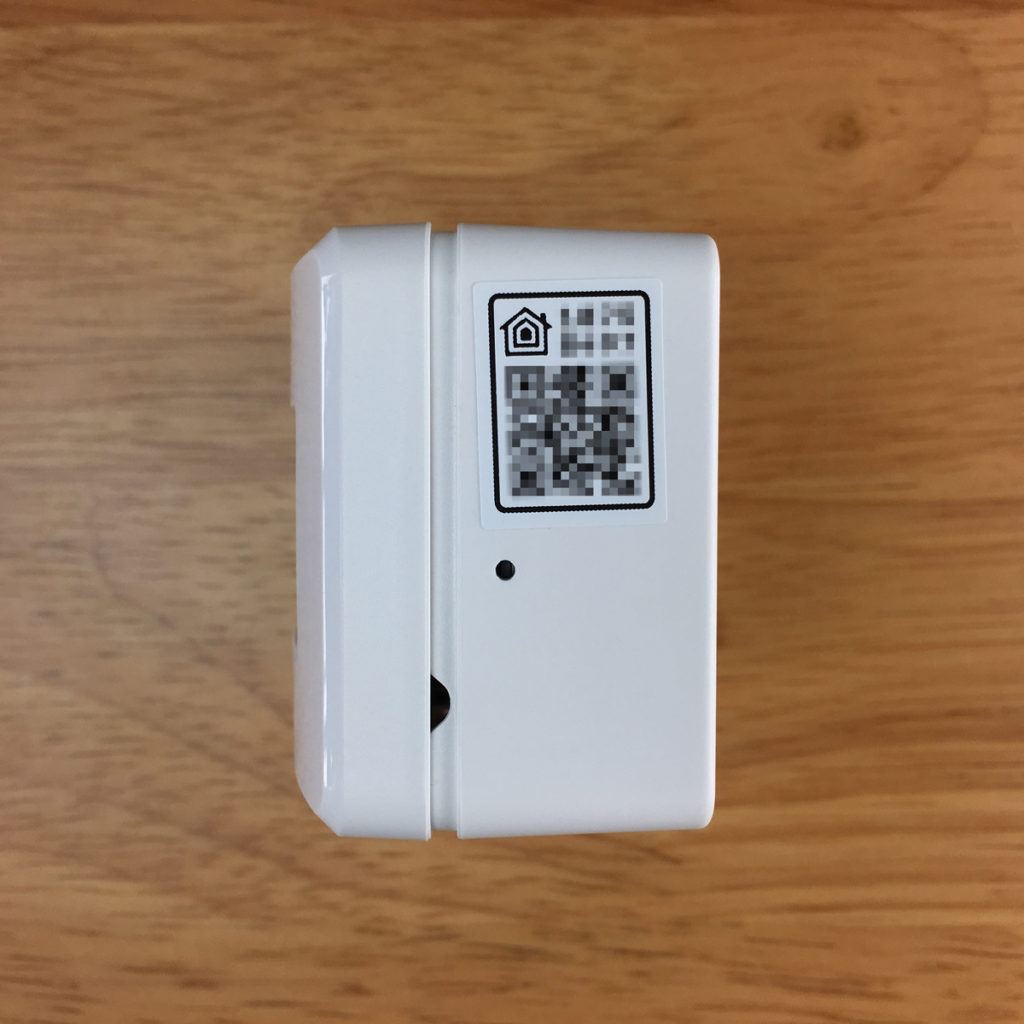
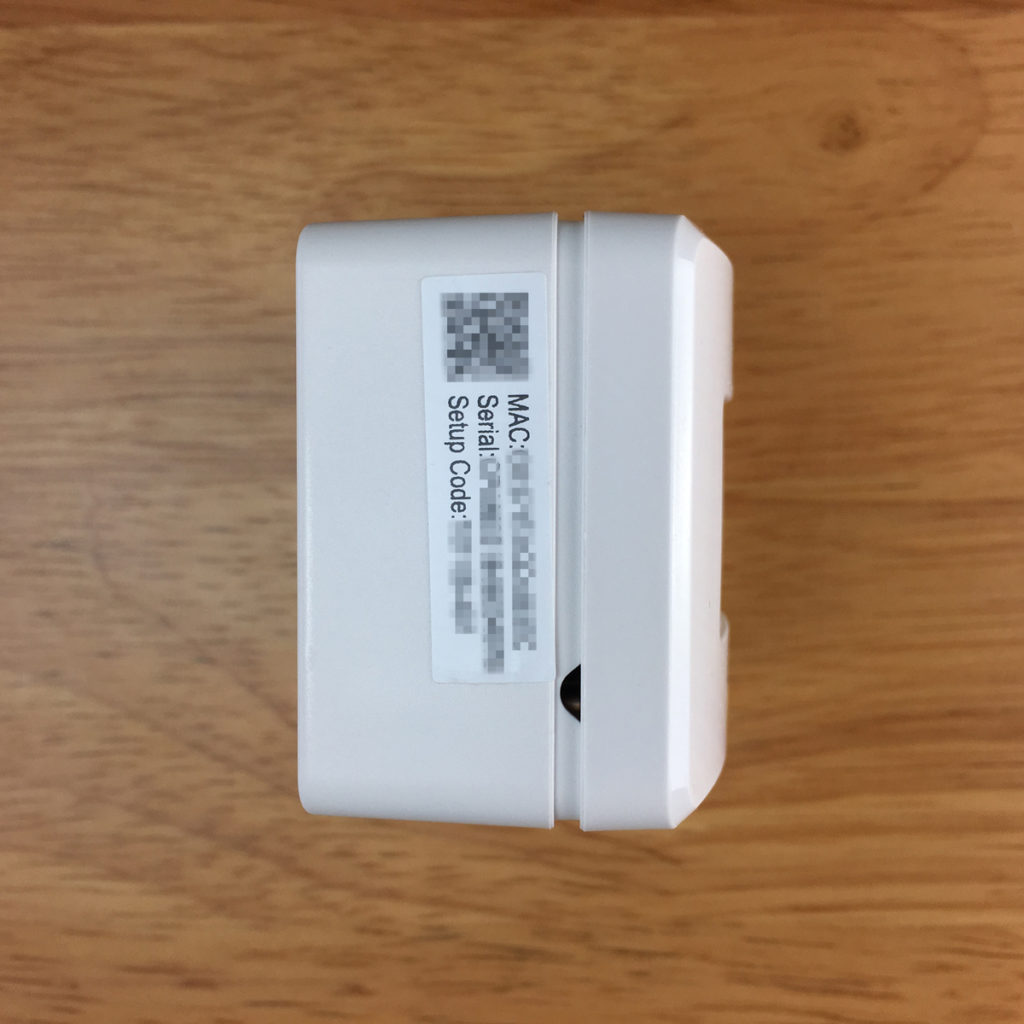
As you can see in the pictures above, the device sports a convex edge at the front, presumably to afford the motion sensor a better field of detection. The four sides of the device also slightly slope inward, although the angle of this ‘slope’ is barely noticeable. Each side has what appears to be intake vents, with one side of the device including a small hole to reset the device to factory settings using the included sim pin. This side also includes another instance of the QR HomeKit code.
Now you’re probably wondering what the vents are for, and this is because I neglected to mention that this device actually includes two other sensors – temperature and humidity. So, I would suggest that the vents are for this purpose first and foremost, although I could be wrong. Given that this is a motion sensor, it probably would have made more sense to include an ambient light sensor, but for US$24 I’m not about to complain if I’m honest.
just like the packaging, it’s a really solid little device, and in terms of build quality, it feels just as good – and better in some cases – than many of the same class of product out there. The translucent sensor ‘eye’ part of the device at the front is a little on the soft side, as it seems it’s essentially just a thin strip of plastic, so there’s a bit of give when you press it. By contrast, the sensor ‘eye’ for the Philips Hue is a ‘ball’, as opposed to a strip, and is quite solid. To be fair, the same part for the Aqara motion sensor, for example, is really very flimsy, so the quality is probably good enough for the price.
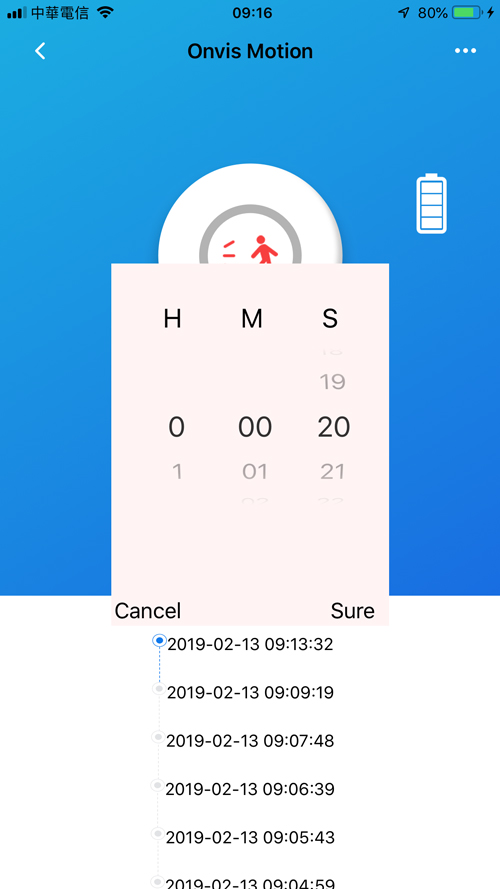
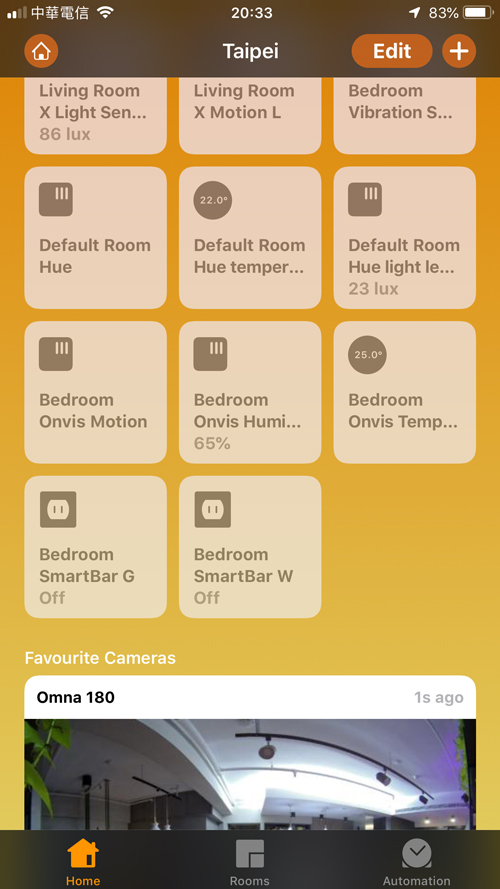
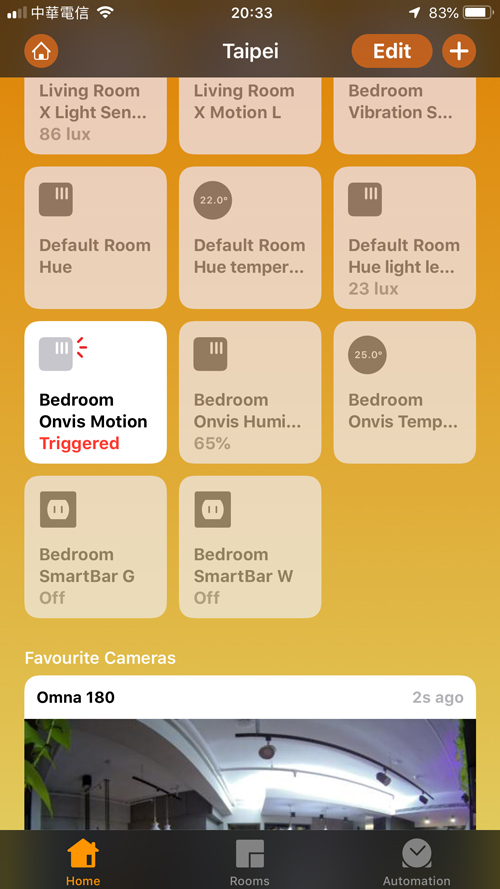
Onto the set up for the device; As it’s HomeKit compatible and it also doesn’t require a hub, you should be able to just add it straight via HomeKit, however, you may want to download the Onvis app too in order to update the firmware, which you almost certainly should. The SMS1 is a Bluetooth device, so while it doesn’t need a wifi connection as such, and no proprietary hub is needed for it to work, it will need a home hub of some sort for remote access or automation, as well as a constant source for Bluetooth. Adding it to HomeKit was fast, and all three tiles, representing motion, temperature and humidity appeared and were reporting back quite quickly. After installing the Onvis Home app, there was a firmware update, that allows the reset/countdown time of the motion sensor to be adjusted. This really is a great addition, and some motion sensors don’t include this, being fixed. In the Onvis Home app, you have an option to set the reset time in hours, minutes and seconds, although the maximum countdown time you can actually programme it to is limited to 1 hour, 59 minutes and 59 secinds, which is going to be more than enough for 99% of use cases I’d imagine.
Now, if I’m honest, I’m not a massive fan of Bluetooth device in general, but this one works like a charm and is ‘up there’ in terms of speed with my other motion sensors, which are either also Bluetooth (Eve Motion) or Zigbee (Hue Motion Sensor or Aqara/Mi Motion sensor). It’s maybe slightly less fast than the Zigbee devices, but we’re getting into fractions of a second in terms of the difference, so to me it’s more than responsive enough. As you would expect, in the Home app, all three of the sensors appear as separate tiles, and just like any of the other devices that do the same job, there’s not a lot to see in the settings page.
As I’m possession of a few different motion sensors, I’ve noticed the small differences they all have in terms of their inherent behaviour, which usually boils down to how they work when it comes to motion subsequent to the initial motion that triggered the device in the first place. So, for example, my Aqara motion sensor, once triggered, will countdown from 60 seconds and will continue to count down and reset to ‘no motion’ regardless of whether there continues to be motion events in front of the sensor during the initial countdown. By contrast, my Mijia motion sensor will countdown from 2 minutes, with the countdown timer resetting the countdown every time motion is detected, thereby extending the countdown. The Onvis falls into this latter category, only resetting from its countdown (set at 20 seconds in my case) once there has been no motion within the space of the countdown. This could be a help or a hindrance depending on what or how you want to use the device, but for me, it’s a bonus. In terms of the other two sensors, I can’t really tell you whether they’re that accurate, but they do seem to match other sensors in the same room within perhaps a half a degree or a couple of percentage points in the case of humidity.
Wrapping up this review, I have to say that given my ‘mistrust’ of Bluetooth generally, the low price point, and this being a product from a China-based company I’ve never heard of, I had my doubts, but if I see the official ‘Works With Apple HomeKit’ badge on the front of the packaging, I’d say I’m 75% of the way to giving a device a chance. Having consulted other people who’ve also had this device for a while coming back with positive opinions, I made my mind up, and I have to say I’m pleasantly surprised with it overall. The battery compartment door is a negative, and it would be good if we had a light sensor instead of a humidity sensor perhaps, but if you’re in need of these three sensors, you can’t really go wrong with the Onvis SMS1. Recommended.








Do the other motion sensors also include additional sensors (humidity, temp) like this Onvis product?
The Philips Hue Motion sensor contains a temperature sensor and an ambient light sensor, both of which are exposed to HomeKit, and the Aqara motion sensor also has an ambient light sensor, although this sensor is not exposed to HomeKit. iHome do a 5-in-1 device that has motion, temperature, humidity, ambient light and a sound sensor. All these sensors are exposed to HomeKit although the sound sensor won’t appear in the Home app. The motion sensor in this device isn’t very fast though.
I can’t get the app to load. Every time I open it the app crashes. I tried reaching out the onvis but the email on their website doesn’t work. Did you experience any issues with the app?
Yes, I did experience this, but I’ve been having issues with my HomeKit system anyway, so I found this was related. What I had to do in the end was sign out of the iCloud account on my iPad, associated with my HomeKit home. Then sign in with a new iCloud account and create a temporary ‘home’ in the Home app. When I did this, the onvis app worked fine and I was able to update the firmware on the Onvis. I then signed back out of iCloud (once again on my iPad) and signed back in with my old iCloud account and then the onvis app worked. It may work just with you signing out and back in on your iCloud account, although it’s better (in my opinion) to keep your iPhone signed in, if you have another iPad or iPhone to do what I did.
Incidentally, if you look at the email on their site, they’ve actually spelt it wrong – they had ‘ovnis’ when it should be ‘onvis’, as part of the email address.
Where can we buy this?
Here’s a link to the product on amazon – https://amzn.to/2TR2nWB
Pingback: Onvis SMS1 Motion Sensor (review) - Simon T Bramley - Smart Home Informer
I bought one on Amazon and have had it 1 week. Their software is a bit odd but works. The device has accurate temperature readings. Motion works fine but I haven’t tried it in any automation yet. No issues so far.
Yes, I agree the app isn’t the greatest, but the device has been great so far. Thanks for the feedback.
This device is great & the price is a joke. I paid 14 usd on e-bay with free delivery. Temp, humidity and motion, all can be triggered on homekit. Zero issues with homekit integration and the response for motion is great too