Mi Wireless Switch (review)
It can’t have escaped the attention of many of you by now, that there’s a LOT of smart stuff coming out of China at the moment. Indeed, it would seem a day doesn’t go by without you see a new product being launched or crowdfunded, or a leaked product image being discovered, all of which have the unmistakable Xiaomi touch, one way or another. It truly does seem that 2019 is the year that Chinese companies are making their presence felt in the smart home arena, and then some.
Putting that all to one side, there have been quite a few accessories sitting in plain view for a while, that since late last year have been HomeKit compatible, albeit via the Aqara hub. In fact, even though Aqara has been the most notable presence, many of the equivalent products with the Mi/Mijia branding were already working with the Aqara hub from the beginning, with it being made official a little while later through updates to the Aqara hub. One such device is the Mi Wireless Switch. A fairly simple and unassuming button, but one that you may still find interesting.
PACKAGING
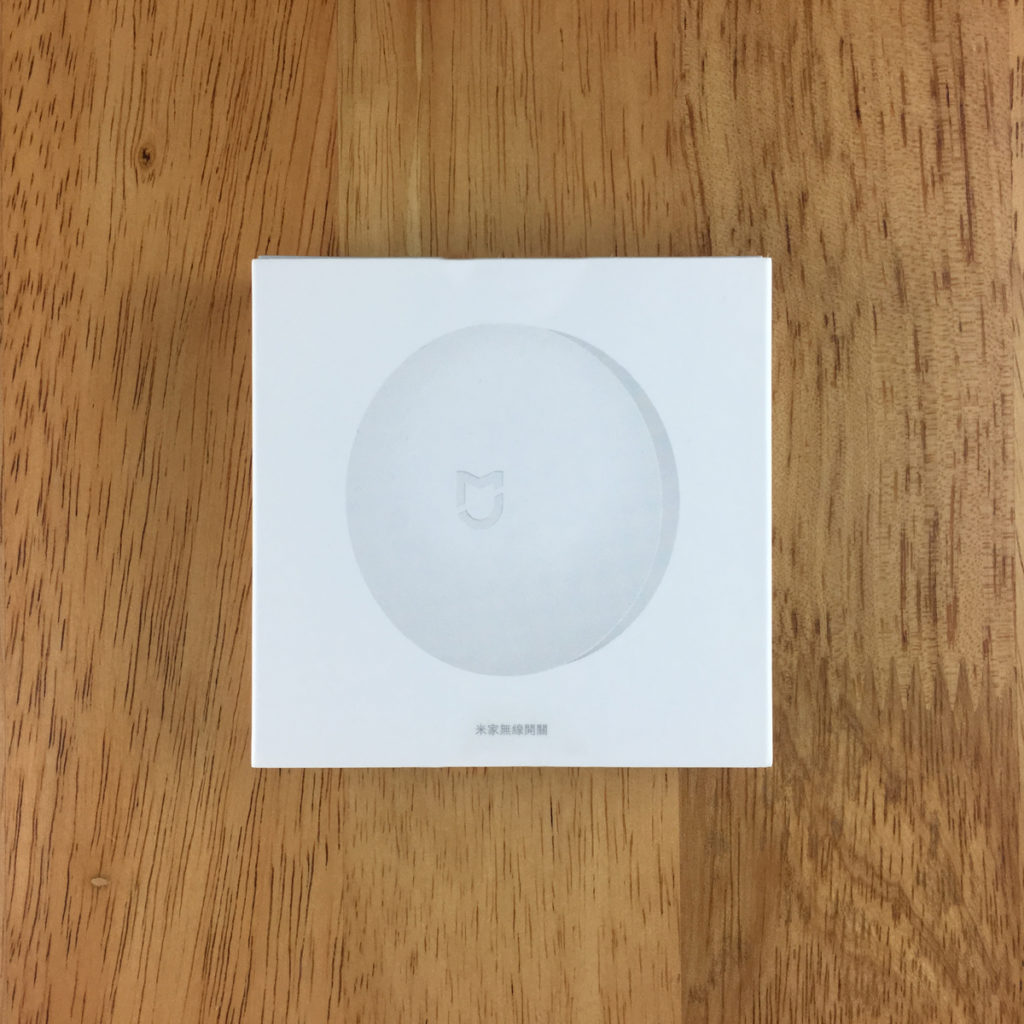
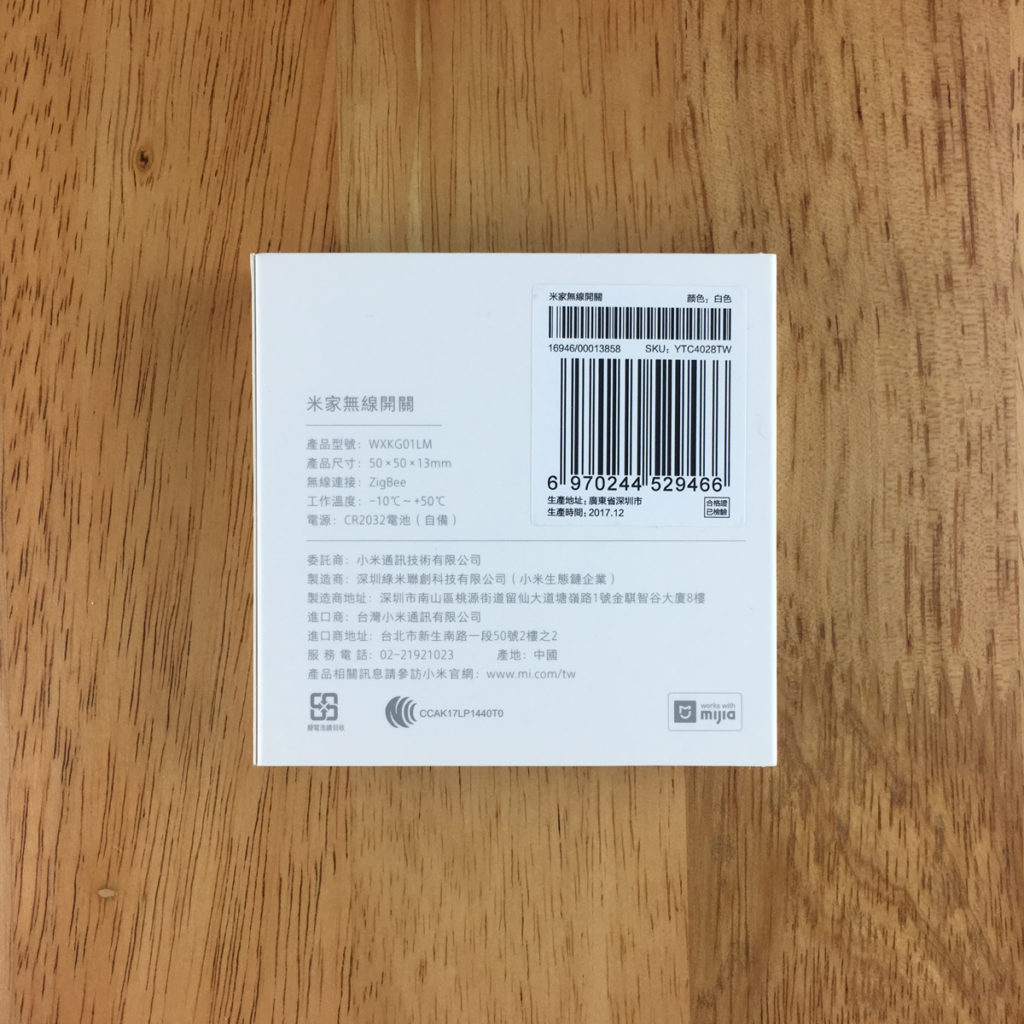
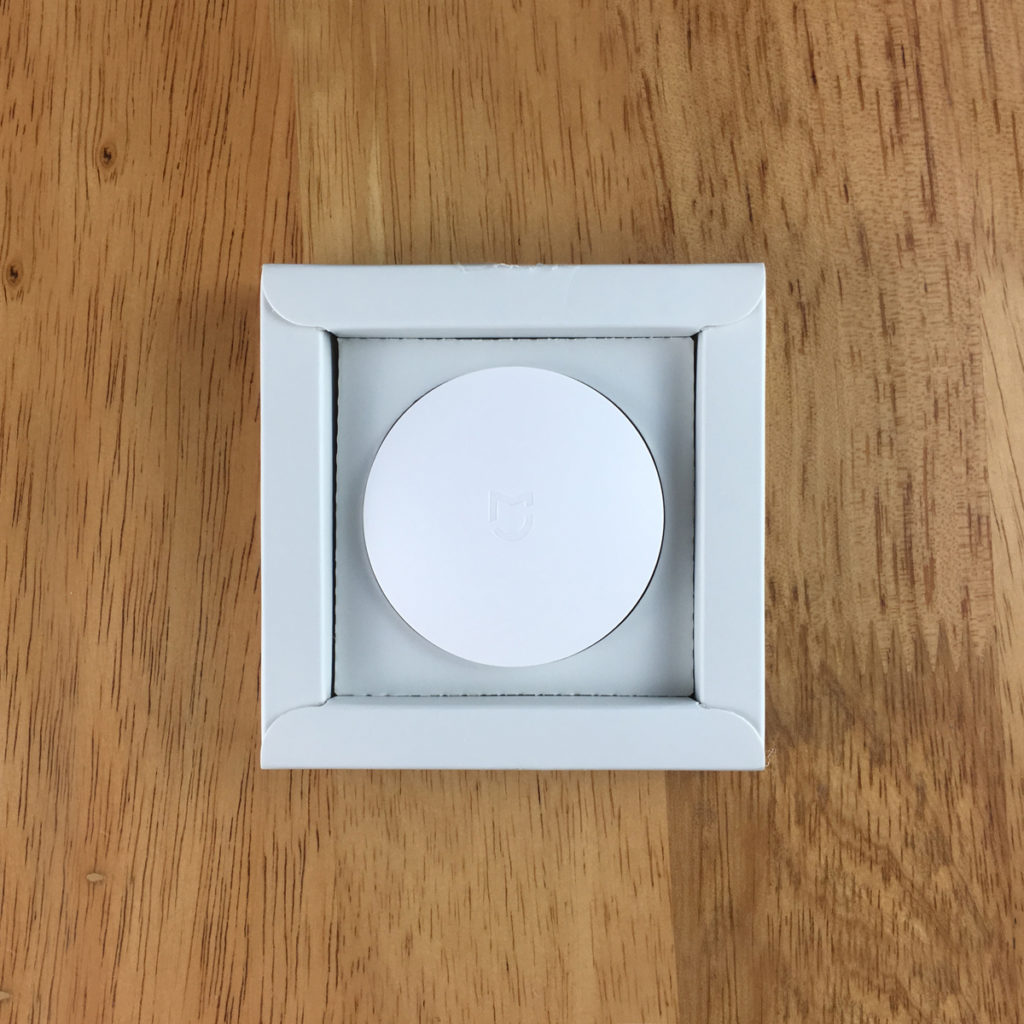
As with other Mi/Mijia products I own or have reviewed, the packaging is simple and understated, with the product on the front, with no other adornments at all. The rear of the box has the basic details listed, in Chinese, although these can easily be understood. The box itself is actually just a sleeve that slides over the top of the inner holder, itself keeping the switch in place. Here are the basic specs for the Mi Wireless Switch;
- Connection: Zigbee
- Battery: CR2032
- Operating temperature: -10ºC to +50ºC / 14ºF to +122ºF
- Dimensions: 50 x 50 x 13mm / 2 x 2 x 0.51″
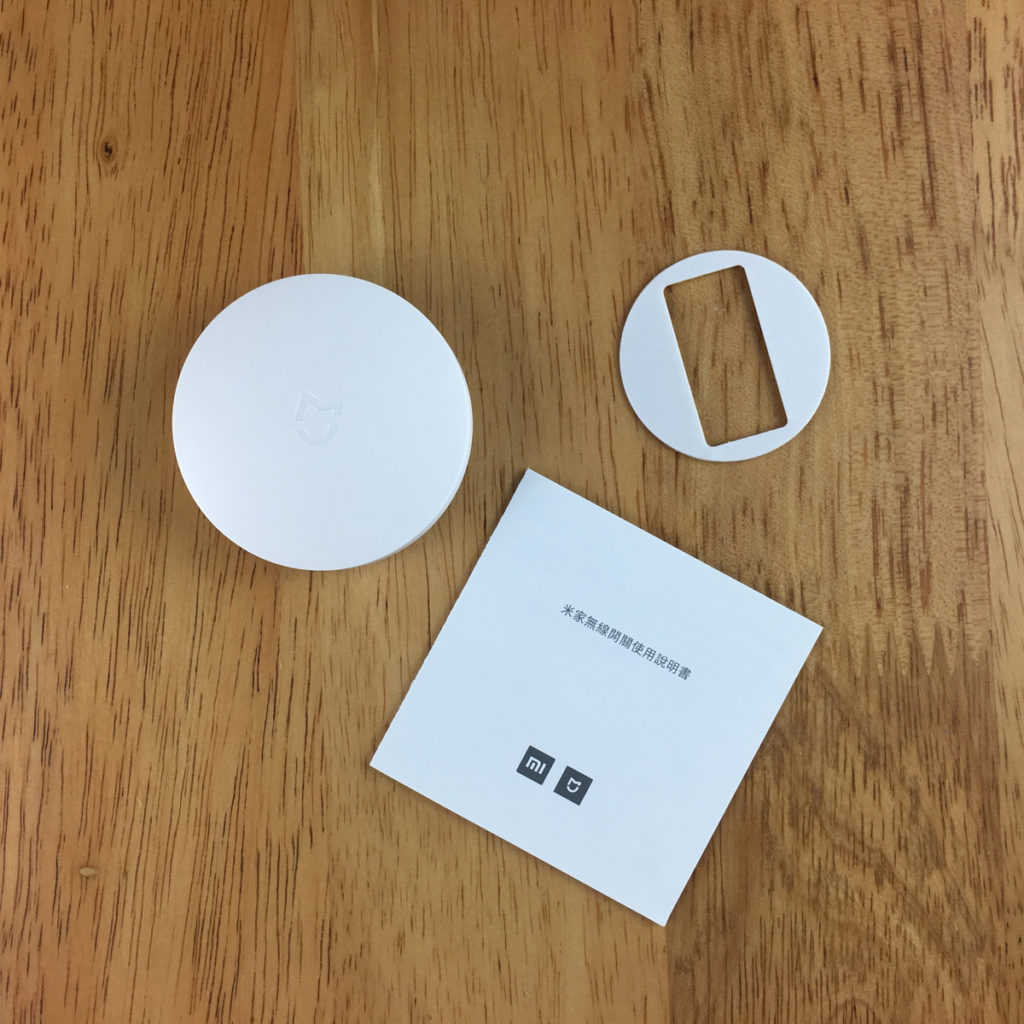
Inside the box, you get the switch itself, along with a manual in Chinese (or other languages, depending on where you buy it), and a spare double-sided sticker. The switch comes with an adhesive patch already in place on the back, so should you need to relocate the switch after you’d already placed it somewhere, you can use the spare. I bought this from a physical store in Taipei, Taiwan, and so everything is in Traditional Chinese, as you would expect, although you really shouldn’t need to read the manual for the most part.
THE SWITCH
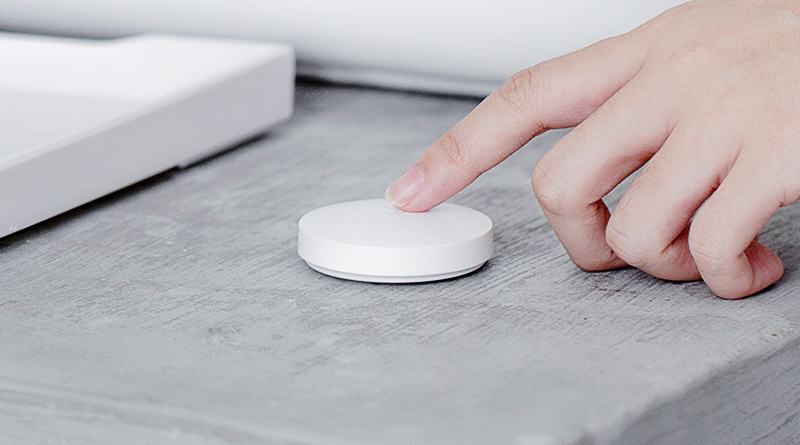
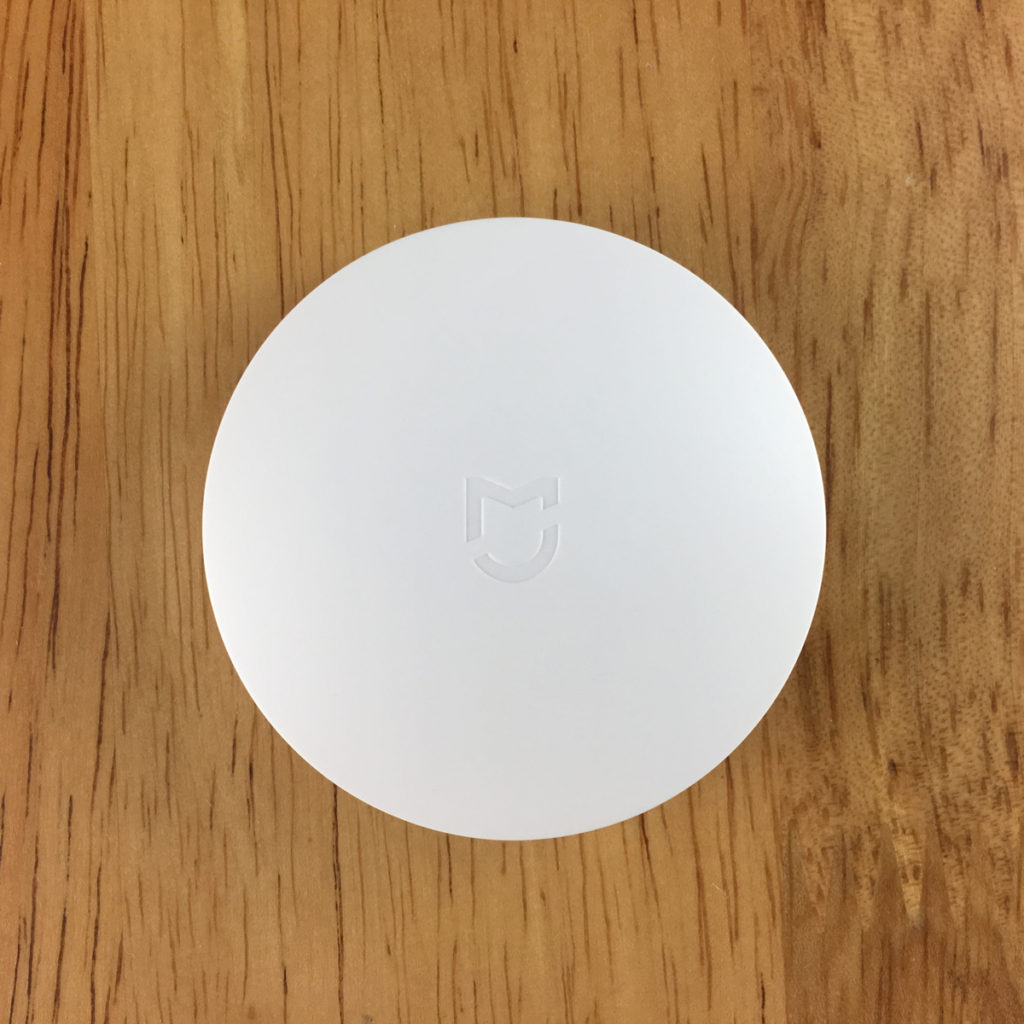
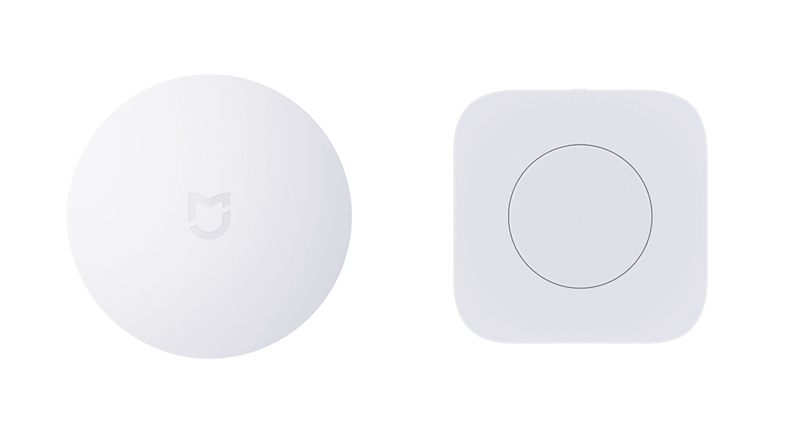
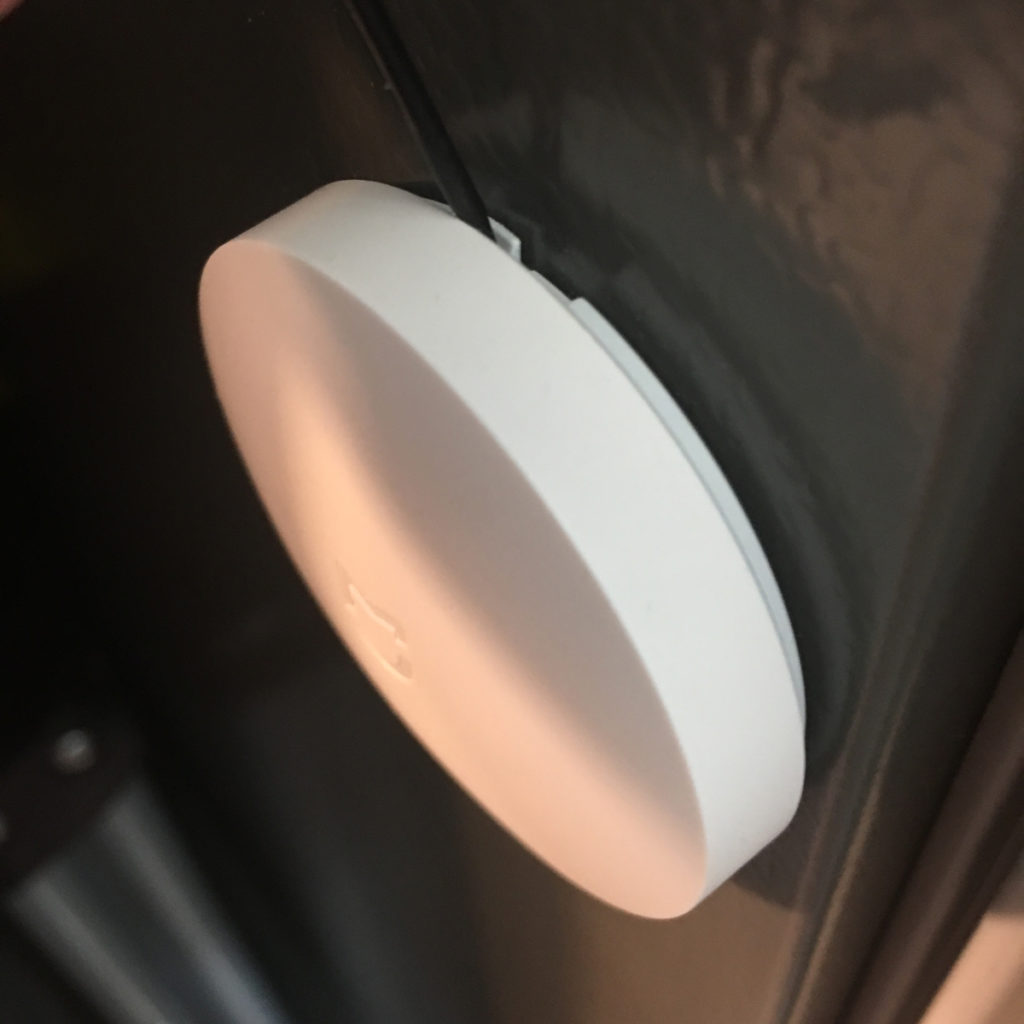
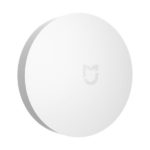
The switch itself is ‘all button’ on the front. By that I mean the whole front surface is the switch, so the button isn’t housed in a surrounding casing as such, unlike the equivalent Aqara Mini Wireless Switch. Whilst the base of the switch is necessarily flat, the button part is convex, raising the surface slightly. The travel of the button is not dissimilar to the feel you get with the individual buttons Philips Hue Dimmer switch, in that there’s a bit of ‘play’. If you press the button towards the edge, then you can feel it not pressing down equally, but more to the side, but only slightly. The comparison to the Hue Dimmer switch is a little unfair, as the Hue does feel quite ‘loose’ even when not pressed, whereas the Mi Wireless Switch feels solid, wherever you press it, almost to the point that you may not always notice at all. The body of the switch is made of the same matt finish plastic that many of the other Xiaomi products are made, and that’s no bad thing at all, which makes it fingerprint resistant, although it may be more inclined to pick up grease/dirt from your fingers over time. The front of the switch features an indented Mijia logo.
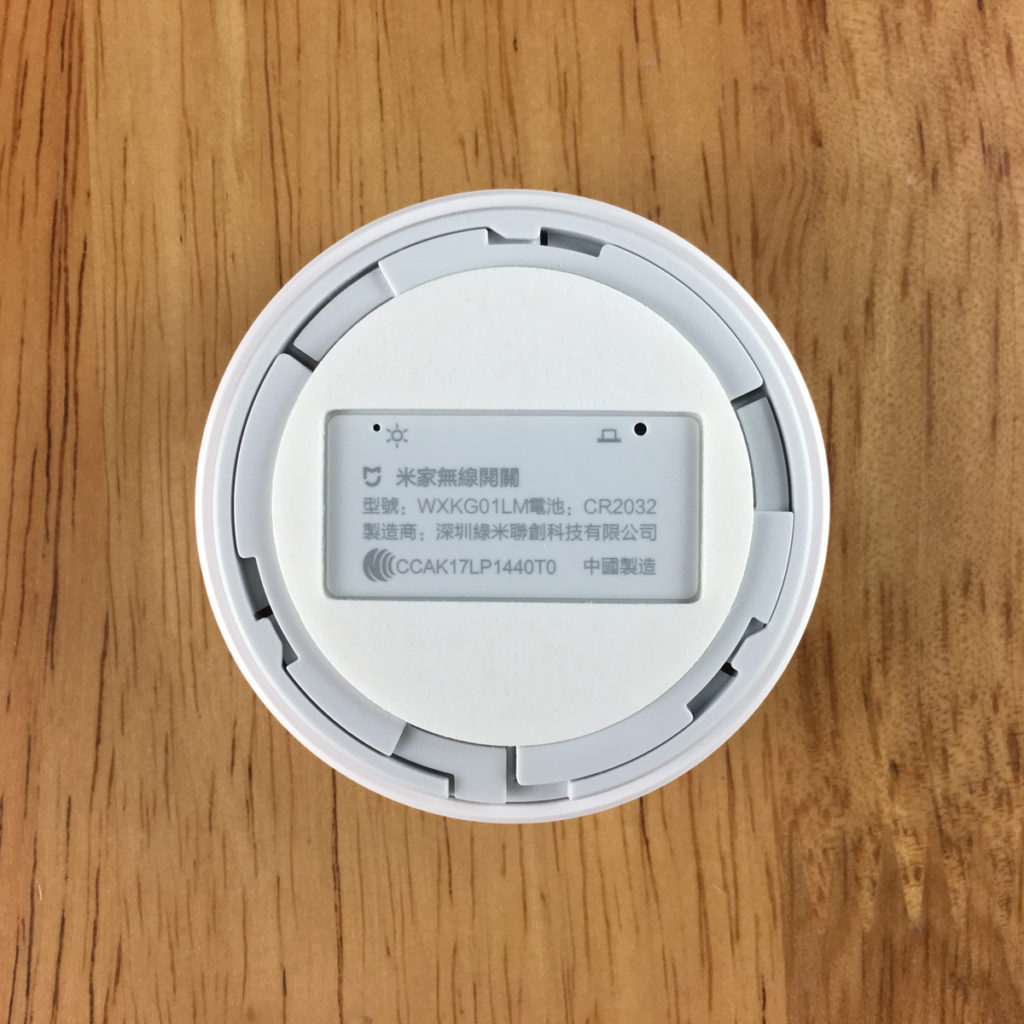
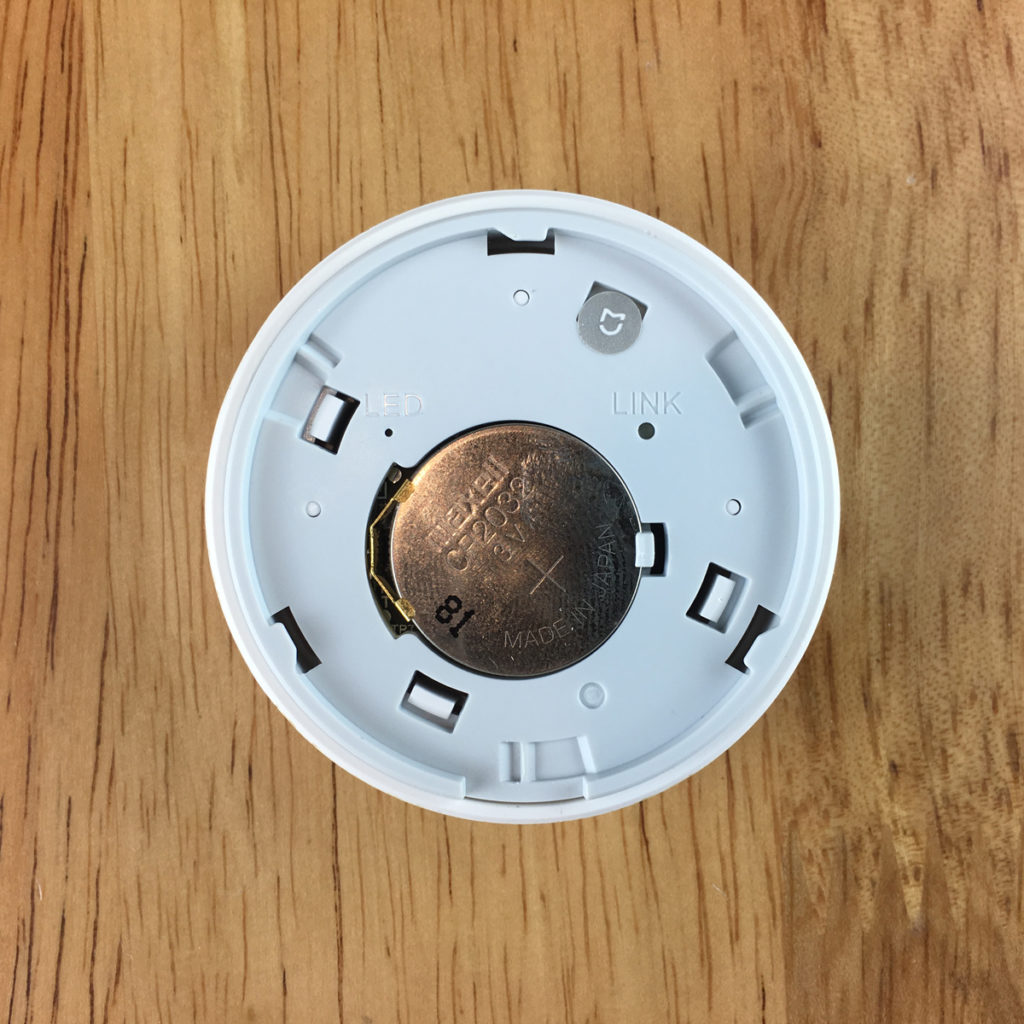
The rear of the switch comes with an included adhesive sticker already in place. In the centre of the rear of the switch, you have two small holes, only one of which you can use. The larger of the two, which also has a small ‘button’ icon, is for when you wish to pair or reset the switch. The other hole, which has a ‘light’ icon, displays a very small blue LED which only presents itself when in pairing or reset modes, so other than these occasions, you’re not going to see anything here, especially if the switch is stuck to a wall. Removing the rear case will reveal the same two holes again, with ‘LINK’ and ‘LED’ next to the respective holes. There’s a recess for a CR2032 battery. The battery should last up to 2 years depending on usage.
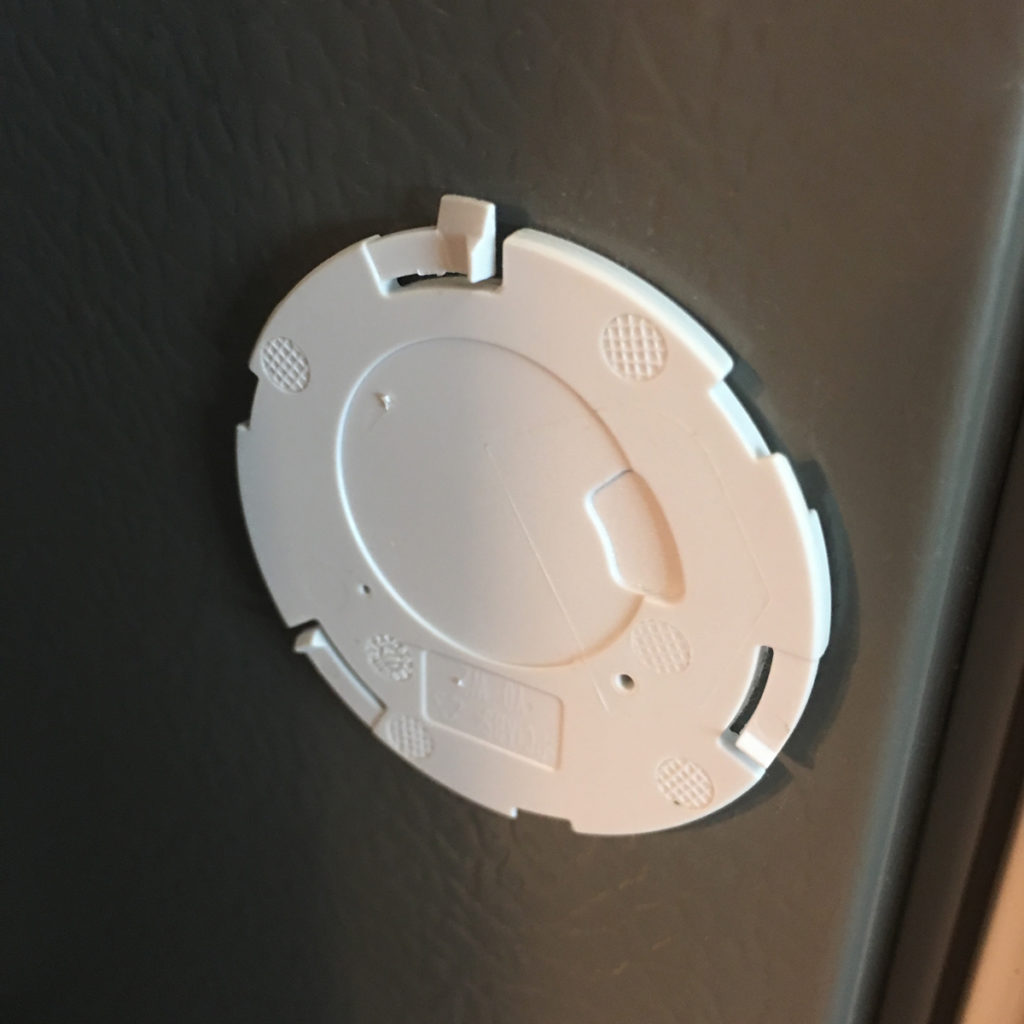
When it comes to getting into the battery compartment, this is probably the only, and in some ways, major design flaw. If the switch has yet to be stuck to any kind of surface, you may find it a thankless task getting into the compartment without a lot of effort. There’s a small tab that you need to lift up (with a small screwdriver, sim pin or similar) as you rotate the switch and the rear casing in opposite directions. This might seem simple enough in principle, but as the button ‘presses in’ whenever you’re trying to hold it, along with the fact there’s nothing to grip onto on the underside of the switch, it makes it almost impossible. However, if you do stick the device to a surface, and subsequently remove the switch from the battery compartment lid, then it’s very easy – as the lid is stuck to the surface, you’re free to use a small pin to lift the small tab and rotate the button in order to get to the battery. In fairness, the Aqara switch isn’t much better; Whilst the Aqara switches battery compartment lid has a groove with which you can use a coin to rotate it open, the plastic used is a bit soft, and so the groove can easily be worn to the point where you can’t use anything to open it, although again, this problem can be negated if you choose to stick it to a surface, in which case a simple turn of the body of the switch is all that’s needed to get access to the battery compartment.
INSTALLATION
When it comes to using this with Apple’s Home app, you will need the Aqara Hub as the gateway to get it exposed to HomeKit. Thankfully this is a painless process. As with all Mi/Aqara Zigbee devices, this needs to go through the hub.
- Open the Mi Home app and click on the ‘+’ sign in the top corner
- Select the Household Security tab, then the Mi Wireless Switch
- Choose your hub – it needs to be the Aqara hub to be exposed to HomeKit
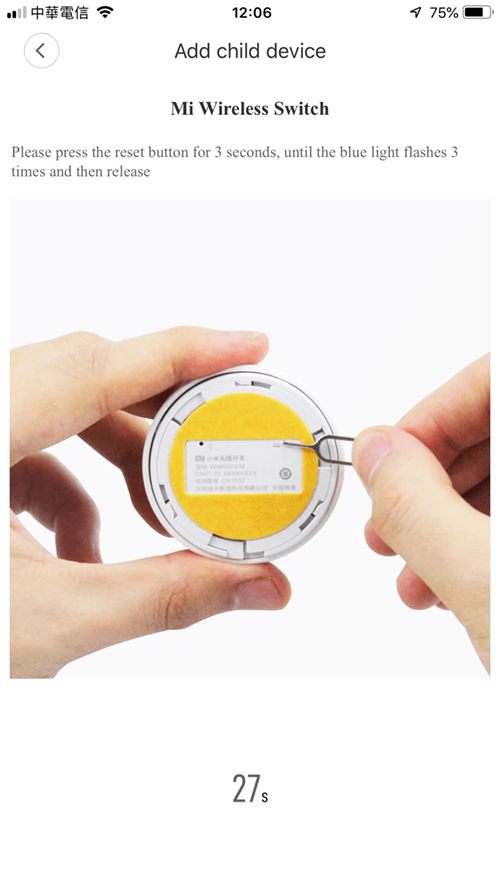
- Reset the device by pressing a sim pin into the reset hole and follow the voice instructions from the hub and visual instructions in the app
- once added, choose the room it’ll be located in and name the switch as necessary
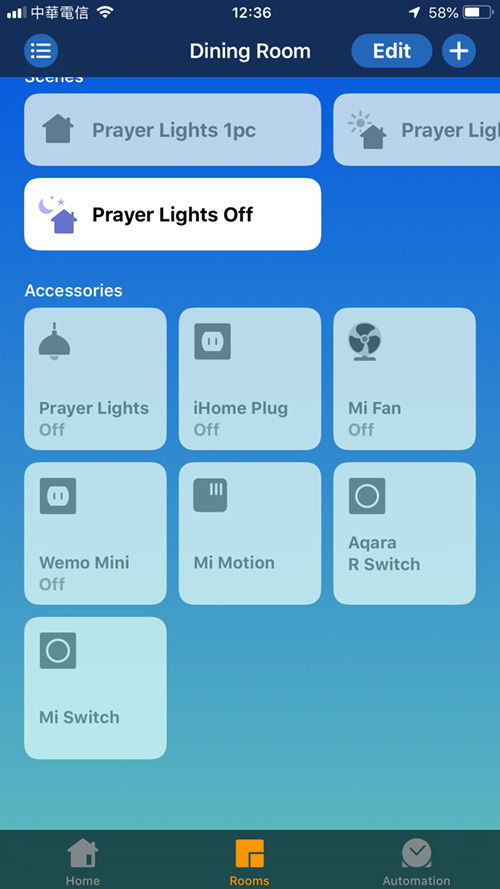
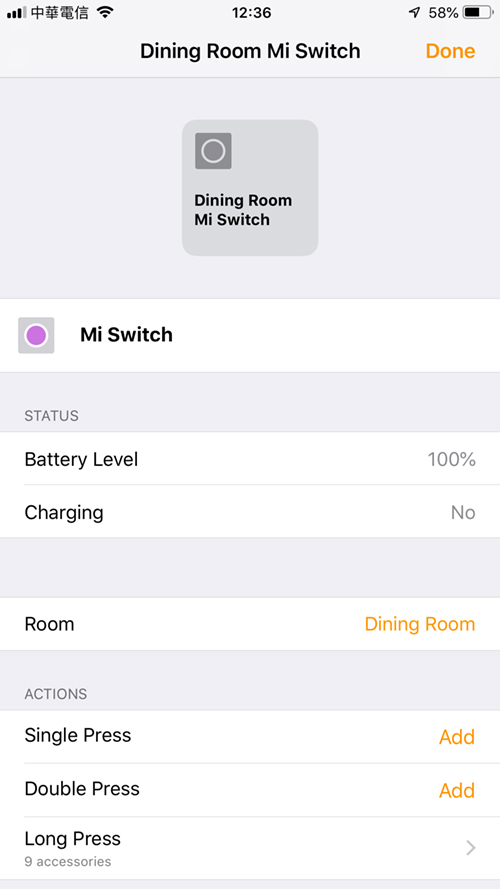
- It will then automatically appear in Apple’s Home app, although you will once again have to assign it to a room, as this data is not carried over from the Mi Home app
USING THE SWITCH IN MI HOME AND APPLE HOME
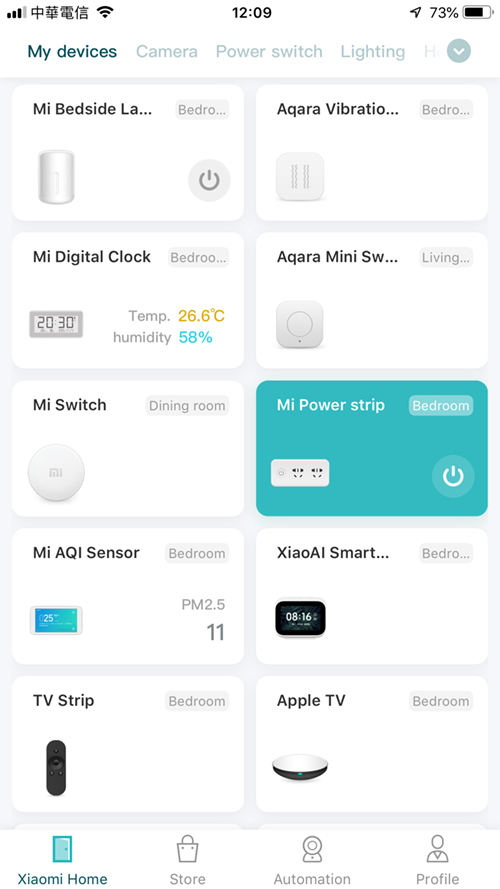
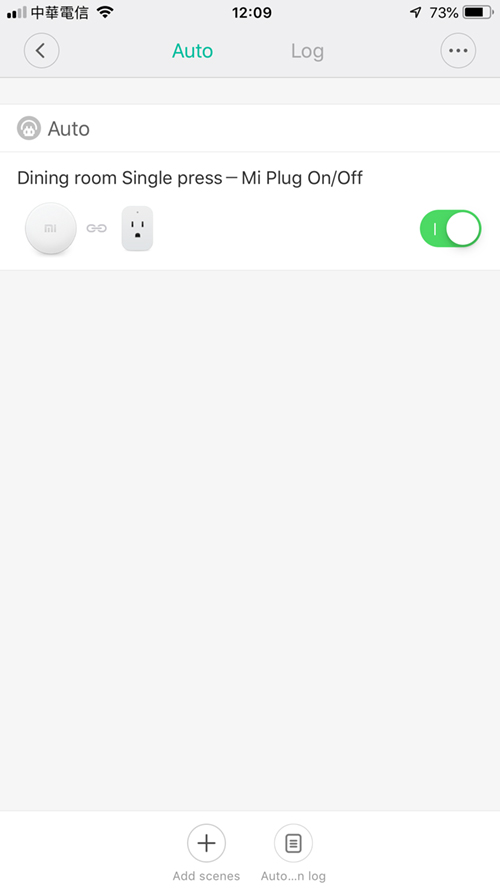
The Switch itself has three basic functions just like most other HomeKit enabled switches – single press, double press and long press. This applies to both the Mi Home and Apple Home apps. Now, if you look at the simple automation I’ve created in the Mi Home app, you should note that both the switch and the Mi plug that it’s operating are exposed to HomeKit, so there’s no reason why I can’t create an automation in the Home app, but in this case I’ve chosen to create an automation in the Mi Home app, as I’ll explain shortly. The automation is very simple;
- A single press on the Mi Wireless Switch turns the Mi smart plug on/off
- The Mi smart plug has a fan plugged into it
- When I press the Mi Wireless switch, the smart plug turns on (or off)
- When the smart plug turns on, the fan comes on
- If I press the switch again, the plug turns off, and the fan turns off
Now I can create this kind of automation in a 3rd party HomeKit app, but it’s a bit more involved and doesn’t always work too well. The Mi Home offers a simple on/off toggle automation without the need for clever programming, so the one button press alternately turns the plug on and off perfectly well, and the automation is very simple as you can see. As with any switches from either Aqara or Mi, the great thing is that you can assign functions to both HomeKit and non-Homekit (Mi Home) devices, which in my case means I can control some LiFX (HomeKit) and Yeelight bulbs (Mi Home), all with the one switch.
WRAPPING UP
All things considered, this is a cheap and cheerful bit of kit. it’s not the kind of things you’d generally use as a replacement for an in-wall light switch, as it’s a little small and insubstantial, but for specific lights in cupboards, or for turning a fan on, or perhaps placed on a coffee table, or better still, for use in arming your Aqara alarm set up, it could prove very useful, while being unobtrusive. At NT$195.00 in Taiwan, it works out at less than UK£5.00 or just over US$6.00, which is ridiculously cheap. Assuming you’re able to buy this from a local Mi Store, then you can expect a similar price, although buying from online stores like GearBest will be a bit more expensive, but still much cheaper than much of the competition – if you already have the Aqara hub of course. So, other than the issue with getting into the battery compartment, there’s nothing bad to say about this device.




Thanks for a great article and review!
Have you tried the Aqara mini switch? Any comparison?
I bought 2 aqara switches and they feel very plastic when pushing them but I haven’t synced them yet.
Just thinking if I should get these instead
Hi Roger, yes I’ve got one of the Aqara switches too. I would say even though the outside of these switches is fairly different. The ‘click’ action feels about the same, although I would give a slight edge to the Mi Switch due to the whole front being the switch. The latest version of the Aqara switch does have the additional ‘shake’ action, but that seems a bit of a gimmick and not entirely practical, plus this additional action is not exposed to HomeKit anyway.
Hi! I would like to know what is the technical reason to have 2 aqara hubs? I have 1 reserved just for the fear that aqara send a bad firmware as usual and replace it with reserved one. Thank You!!!
I actually have 5 hubs, but one is totally dead, with another waiting to be used in a separate location, and a US model that I’ve yet to decide what to do with. The reason for the two hubs you saw in a screenshot is that one of them covers most of the devices in the living room, with the 2nd hub covering a few more devices at the other end of the apartment, as the signal from the living room hub doesn’t reach these rooms very well.
Quick question… can you recommend one or two reliable sources to buy the latest version of Aqara hub?? I’m in the US and I thought the US version was being sold on Amazon but it doesn’t look like it.
Great blog! Thanks
Hi, I don’t think you’ll be able to find the US version anywhere now, but if you’re ok with the Chinese version (I personally think it’s the best option), then you can buy it from GearBest.com – https://www.gearbest.com/access-control/pp_009984932110.html?wid=1433363&lkid=41099421
You may be able to get it a bit cheaper at AliExpress, but I’ve found it generally better to buy from GearBest, as there’s never an issue over refunds, unlike AliExpress sometimes. Any questions, just ask away.
thanks for the info!…is it true that using the Chinese version with an adapter in the US will only connect to Chinese servers? if so, that seems like a poor solution for anyone US-based right?
You can actually use any Aqara hub on any server, but not in an official way. Basically, you can add the hub to a different server than it’s intended, but once it’s added, you can’t access the settings for it in the Mi Home app. It will allow you to add it to automations within the Mi Home app though, so you should be able to set up and alarm system. It will also appear in the Apple Home app as normal. The reason for me suggesting the China hub with the China server is so that you have access to the full range of devices that Xiaomi system companies make, as long as you’re willing to buy them from the Chinese online stores that is. Some of the small sensors and switches that you might find on amazon will work regardless of which server you use, but larger devices are usually restricted by region. So my Mijia Rice cooker bought here in Taiwan, can only be added to the Mi Home app set to the Taiwan server. This device doesn’t use the aqara hub, but it still means that I have to switch between the China and Taiwan servers in Mi Home, although I don’t use the rice cooker via the app too often, so it’s not a big deal.