Ambi Climate 2 AC Controller (review)

There are quite a few smart thermostats available these days that work with HomeKit, including devices from Honeywell, EcoBee, iDevices etc. but when it comes to AC unit controllers there aren’t currently too many choices, although just recently Tado released their Tado Smart AC Control V3+, which we’ll be reviewing soon. However, there is another product on the market that not only allows you to control your AC unit from your phone but also lets A.I. learning do a lot more to take control of your AC for you. This is the Ambi Climate 2 by Ambi Labs. I should point out from the start, that the Ambi Climate 2 is not HomeKit compatible ‘out of the box’, as such, but will work via plugins from HomeBridge, HomeAssistant or, if you have a Mac computer, then an app called AmbiBridge, that essentially does all the hard work normally associated with the aforementioned plugins, and puts them all into a little app that runs on your Mac. This will allow you to then add the Ambi Climate 2 to HomeKit via a QR code provided by the app. The Ambi Climate app also works with Siri Shortcuts, so if you don’t want to use any of the three previous options, you can still control your AC unit via Siri or the Shortcuts app.
UNBOXING
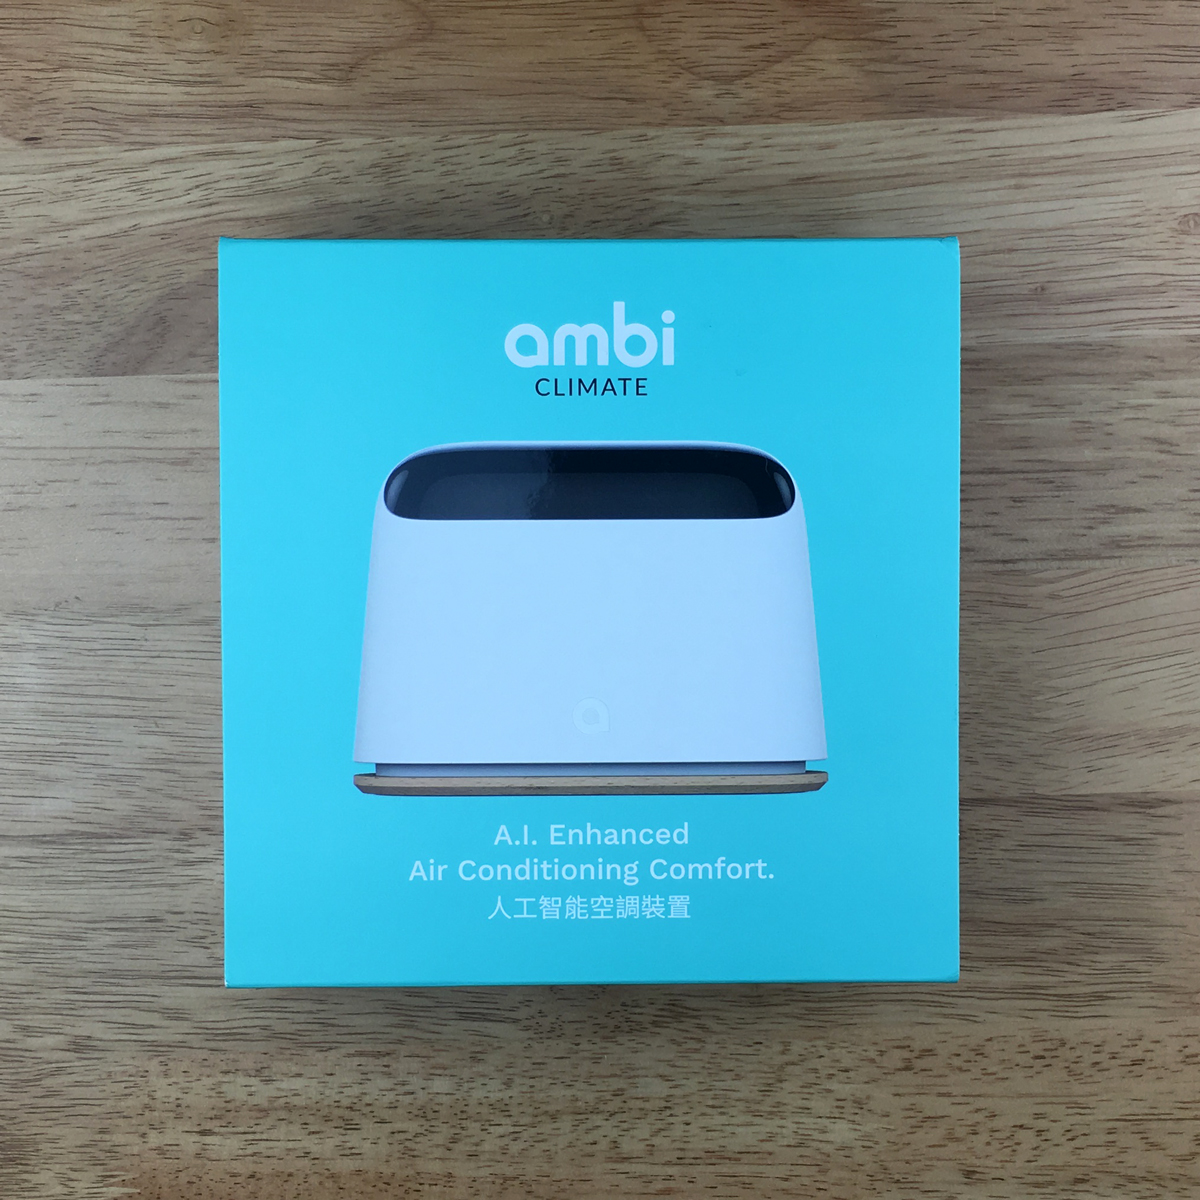
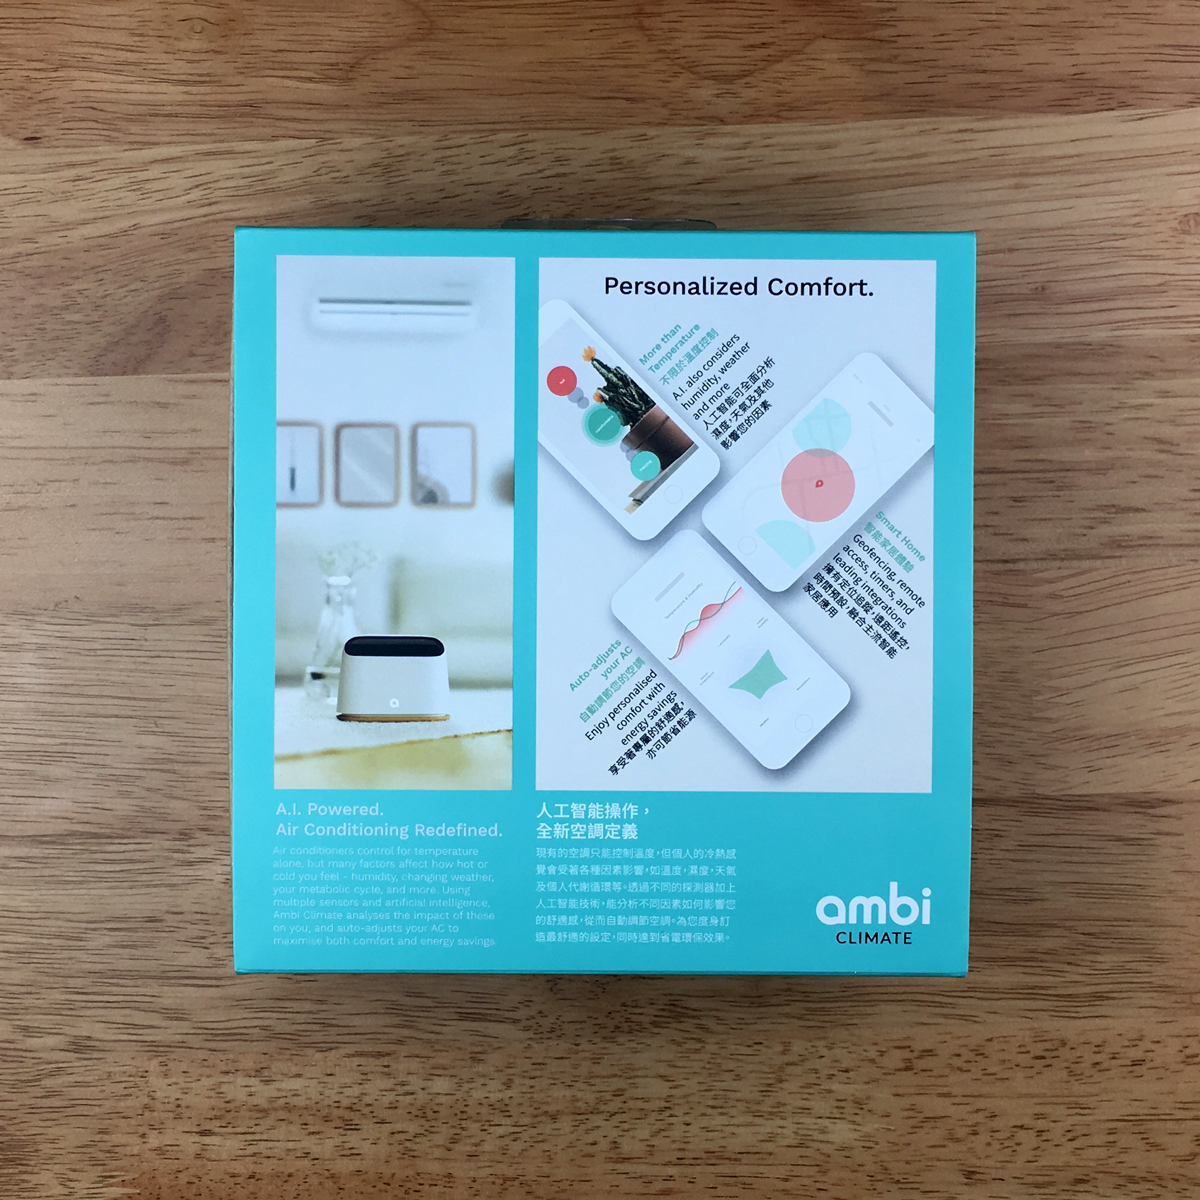
The packaging for the Ambi Climate 2 is pretty nice and in keeping with many other smart home products, we tend to see these days. The device itself is pictured on the front with a quick slogan on the front in both English and Chinese (A.I. Enhanced Air Conditioning Comfort). The rear of the box goes into a little detail about what makes this device smarter than other similar devices, which are essentially replacements for the IR remote controls you get bundled with your AC unit in the first place. The turquoise box is actually just a sleeve for the box-proper inside, which is all in ‘recycled style’ eco cardboard (I don’t actually know if it’s recycled…).
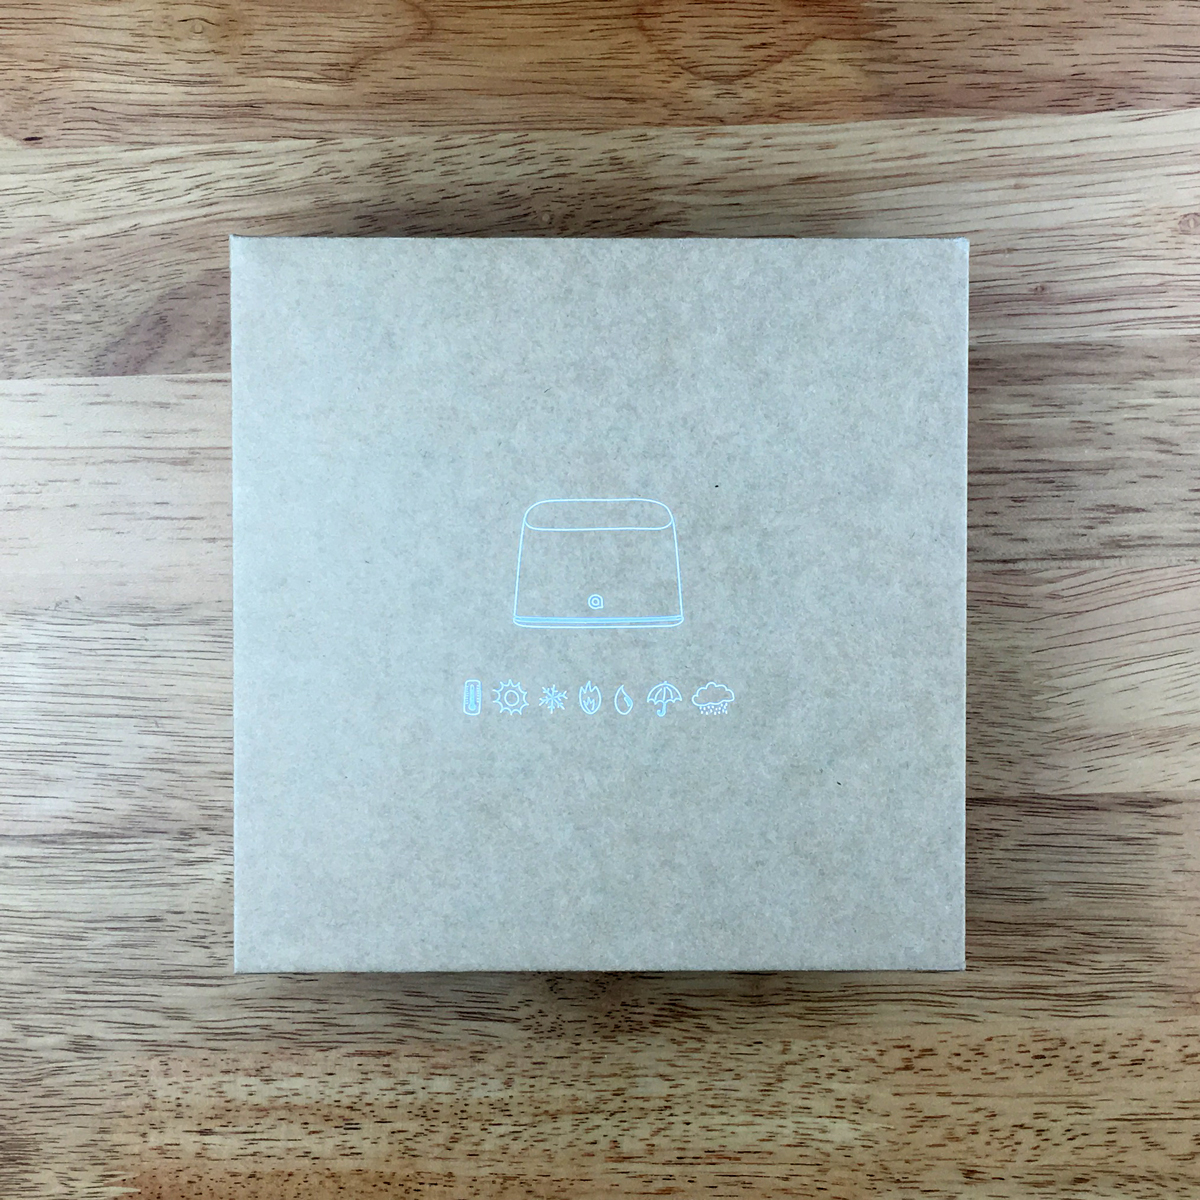
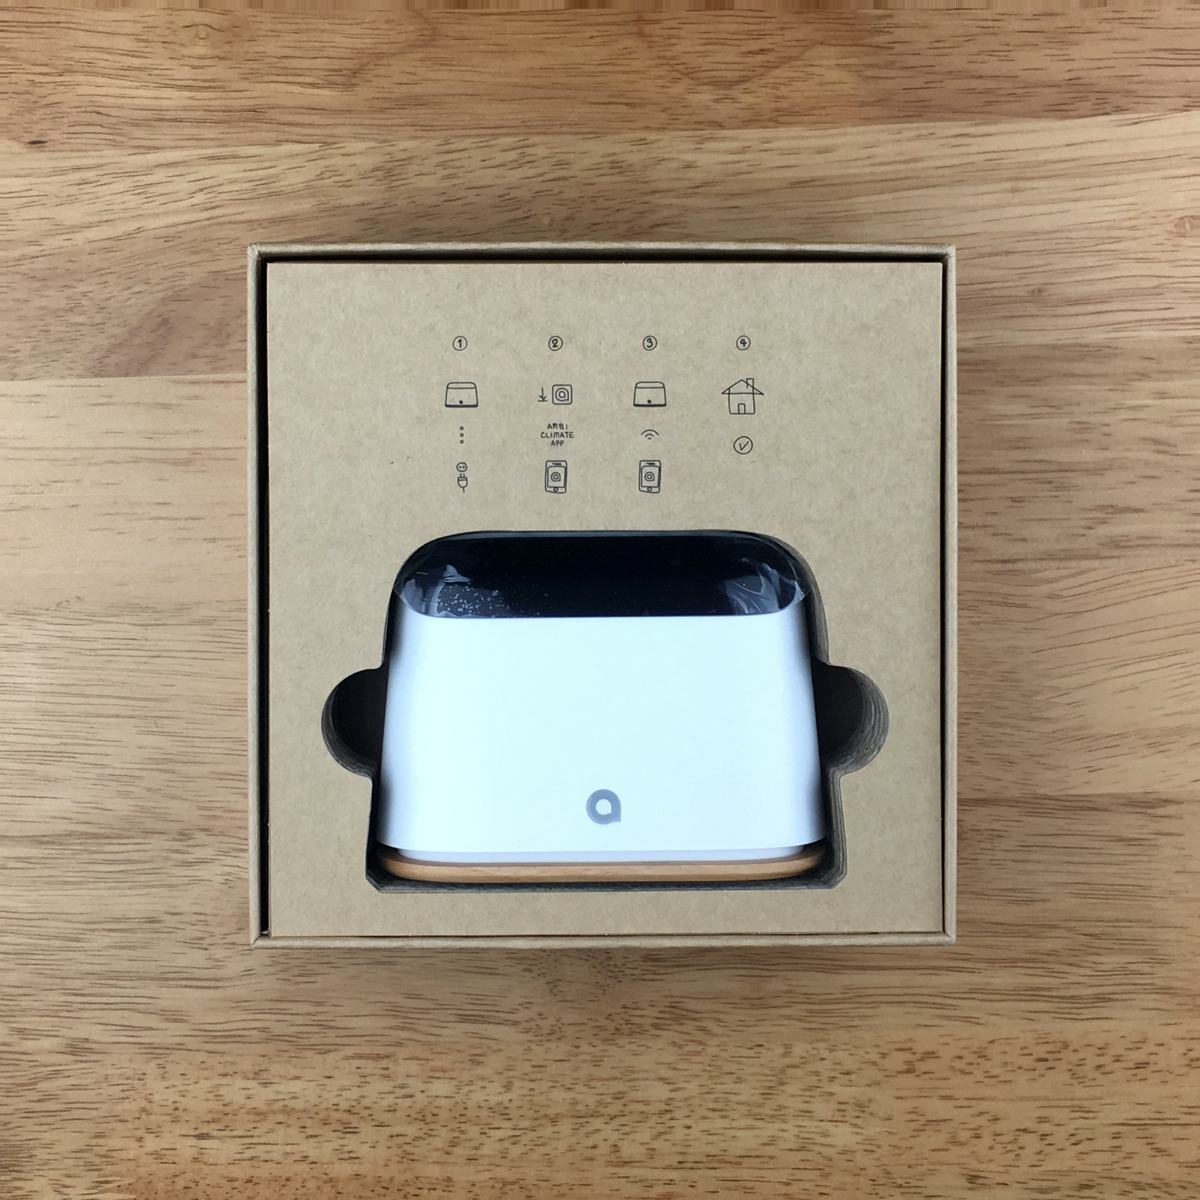
Once the sleeve for the packaging is removed, the first thing to greet you is the aforementioned card box with ‘hand drawn’ style printing. Removing the lid, you’re greeted by the device itself, held nicely in place, along with more icons in the same hand-drawn style.
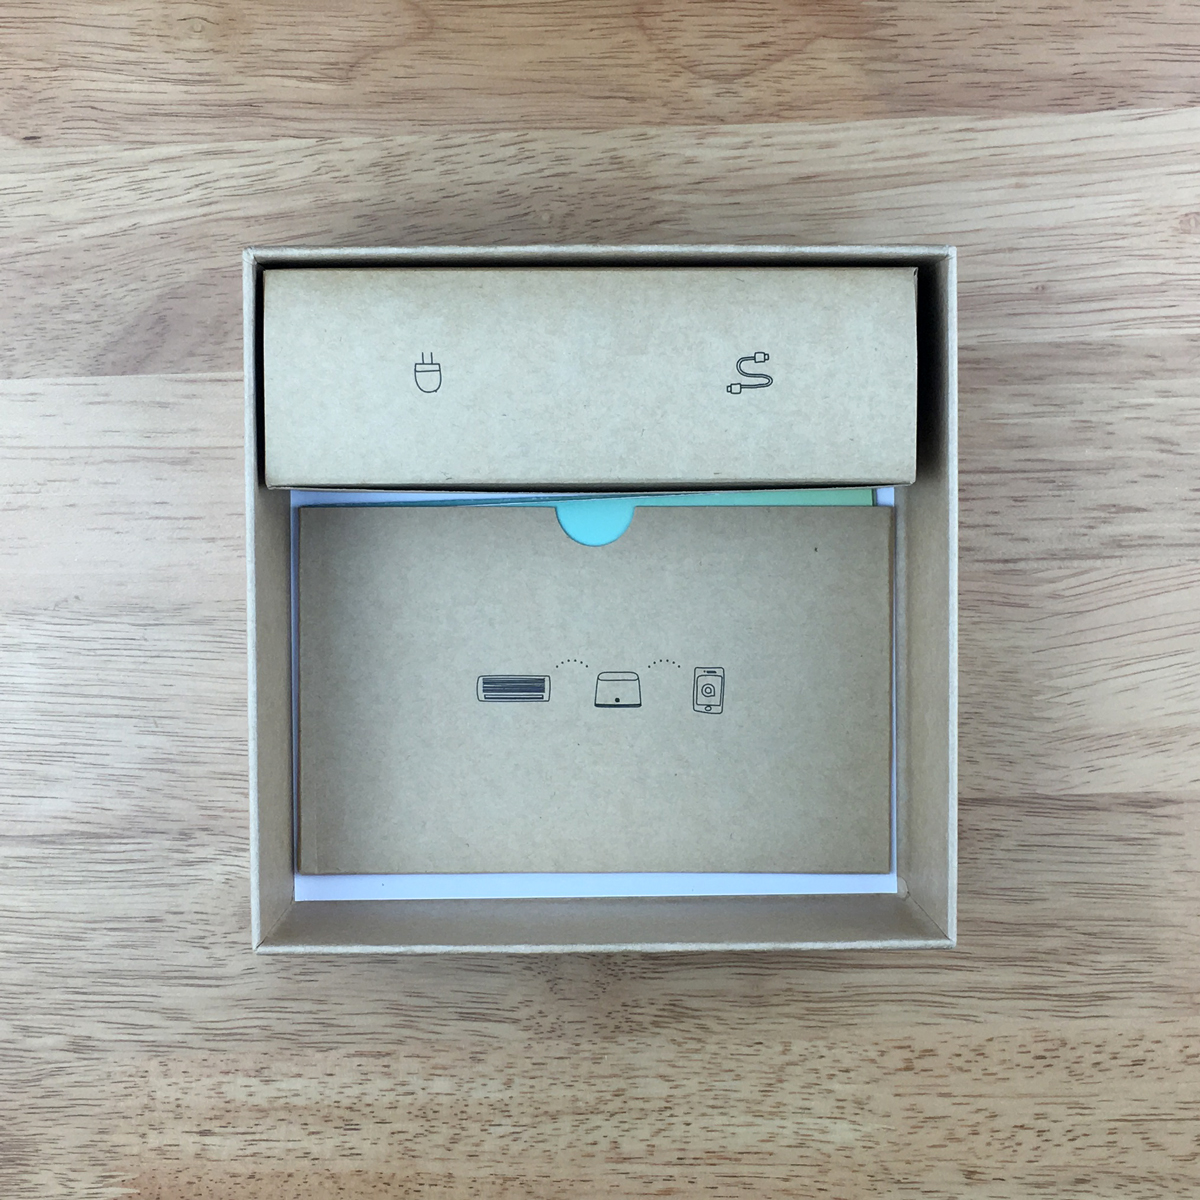


Under the section that holds the unit, you get a small card wallet with two quick start guides in Chinese and English, along with a box holding the power cable and power supply.
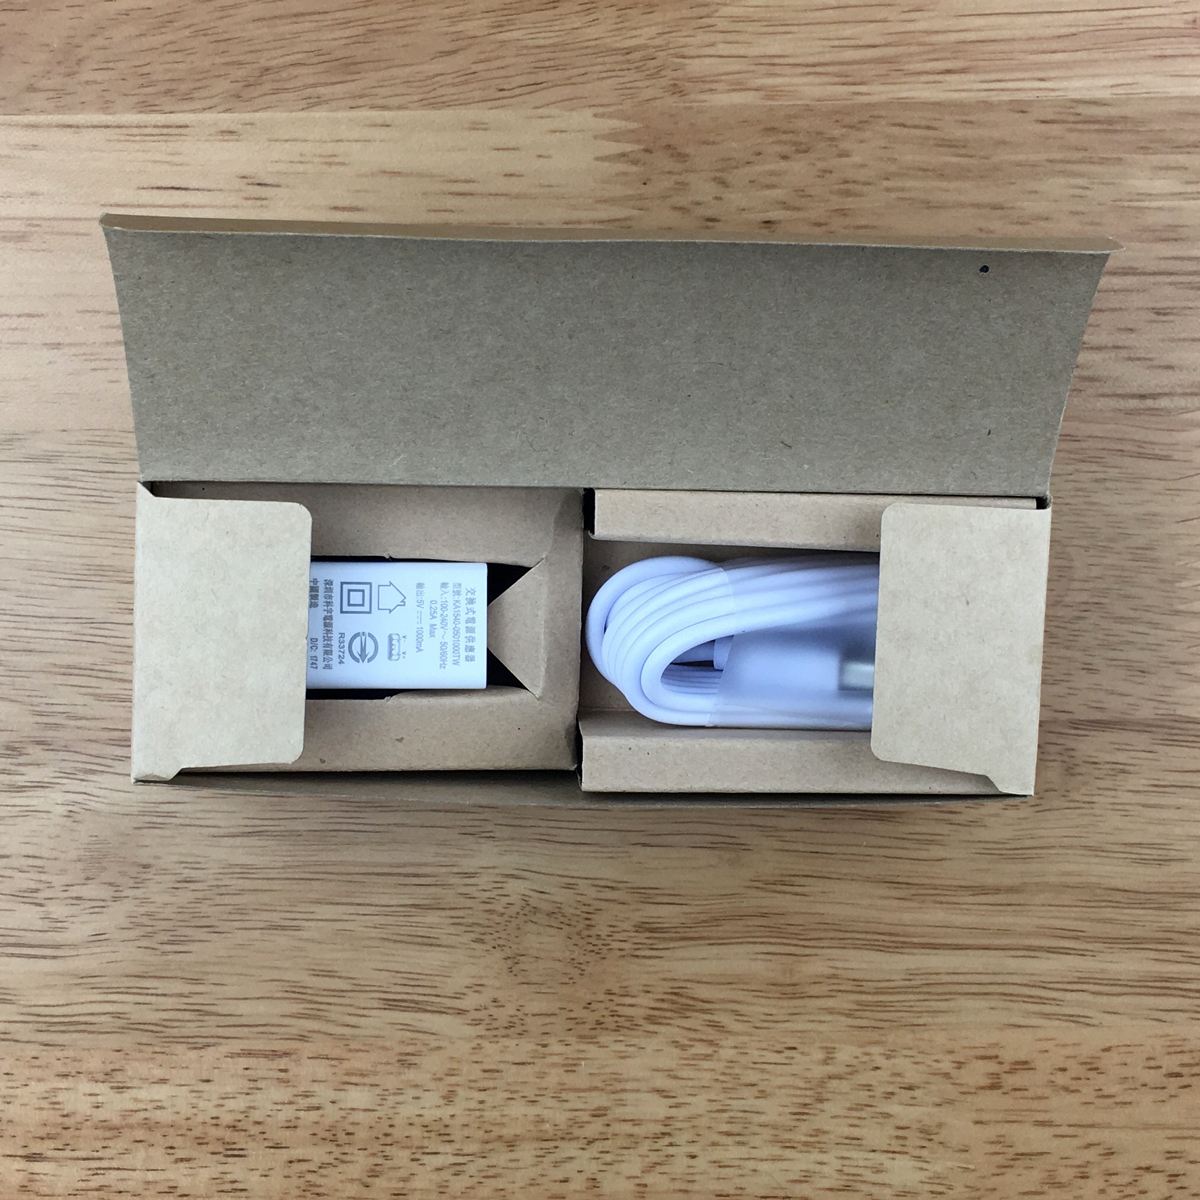
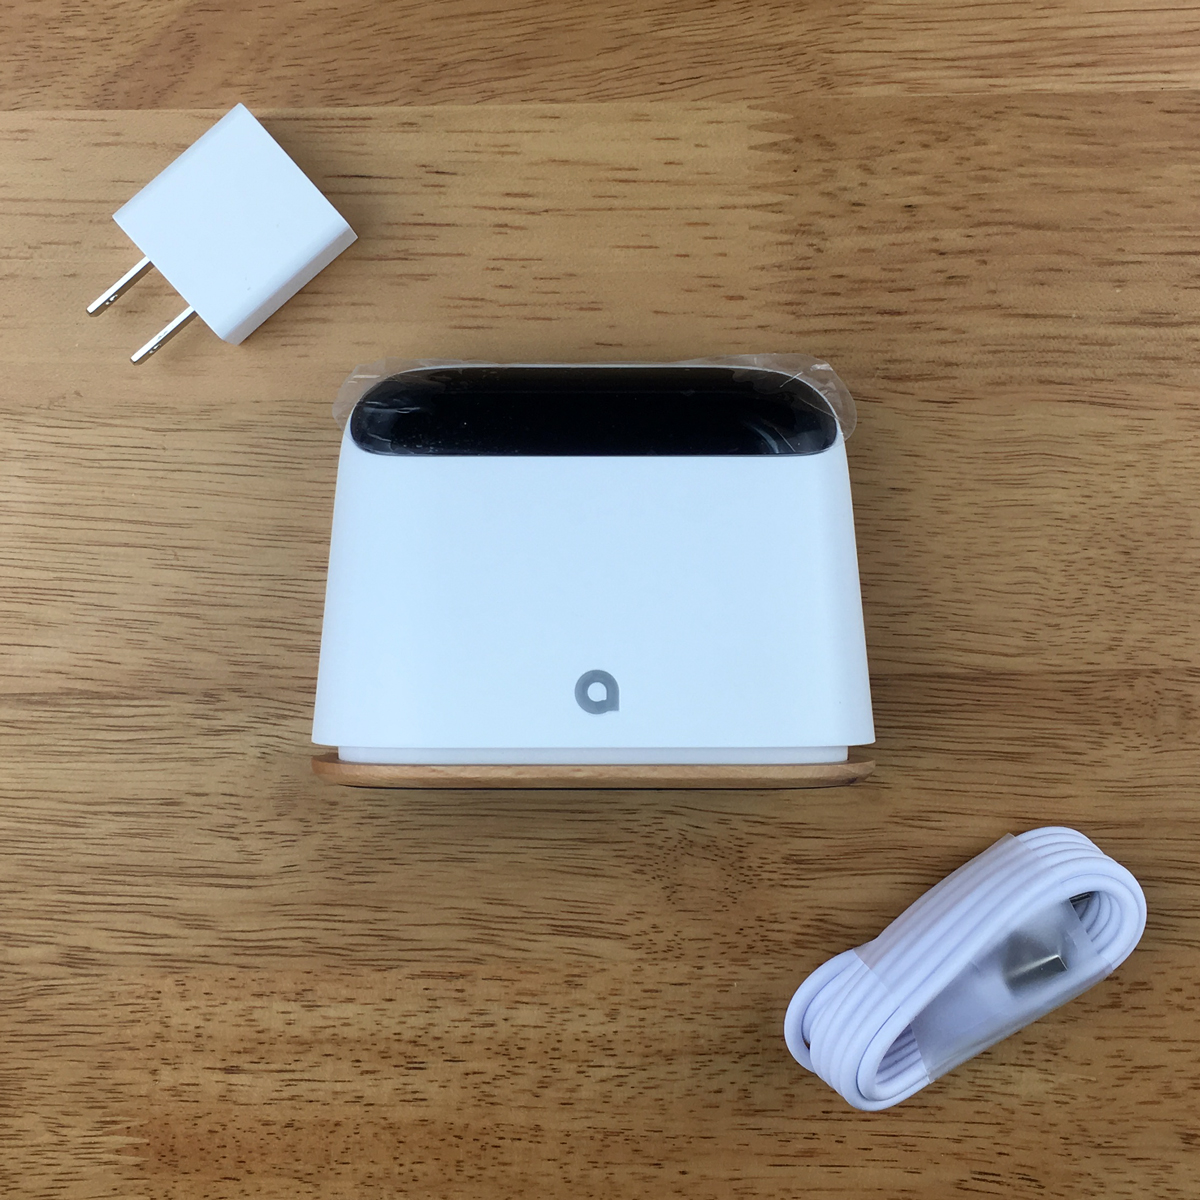
The power cable is simply micro USB to standard USB, with the full-size USB end plugging into the included USB power supply. The micro USB end plugs into the rear of the device.

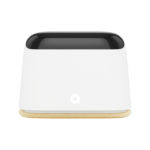
THE DEVICE
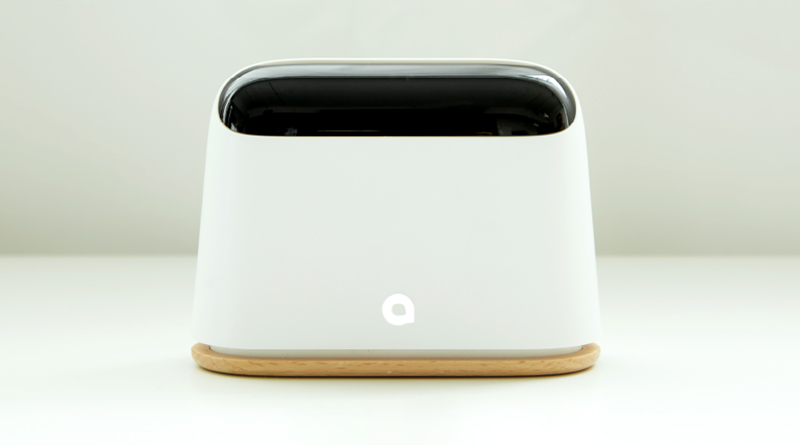
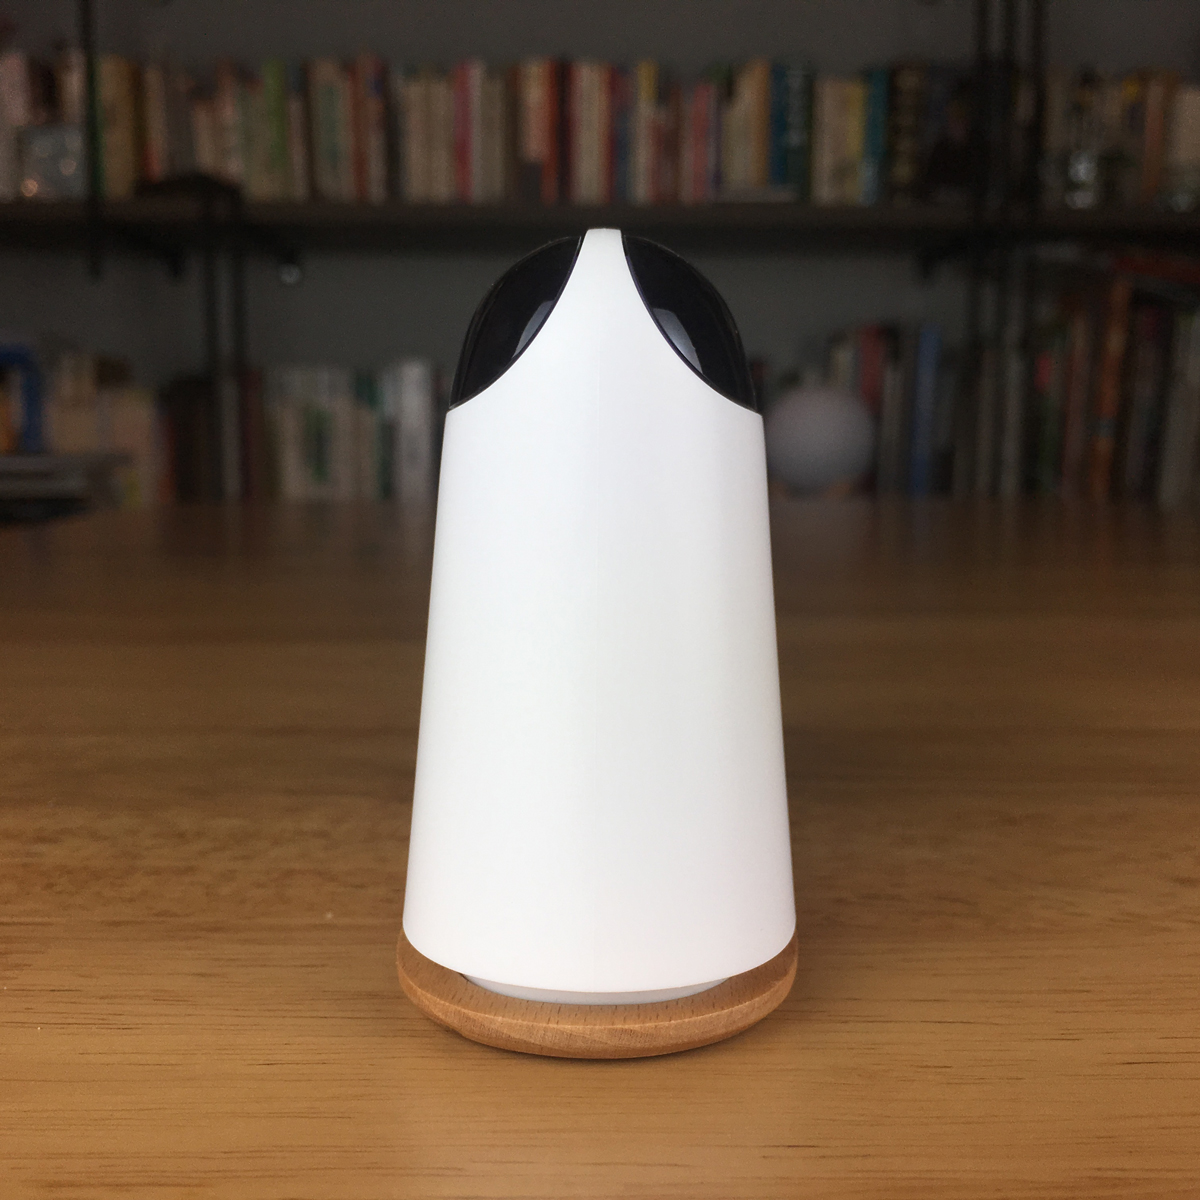
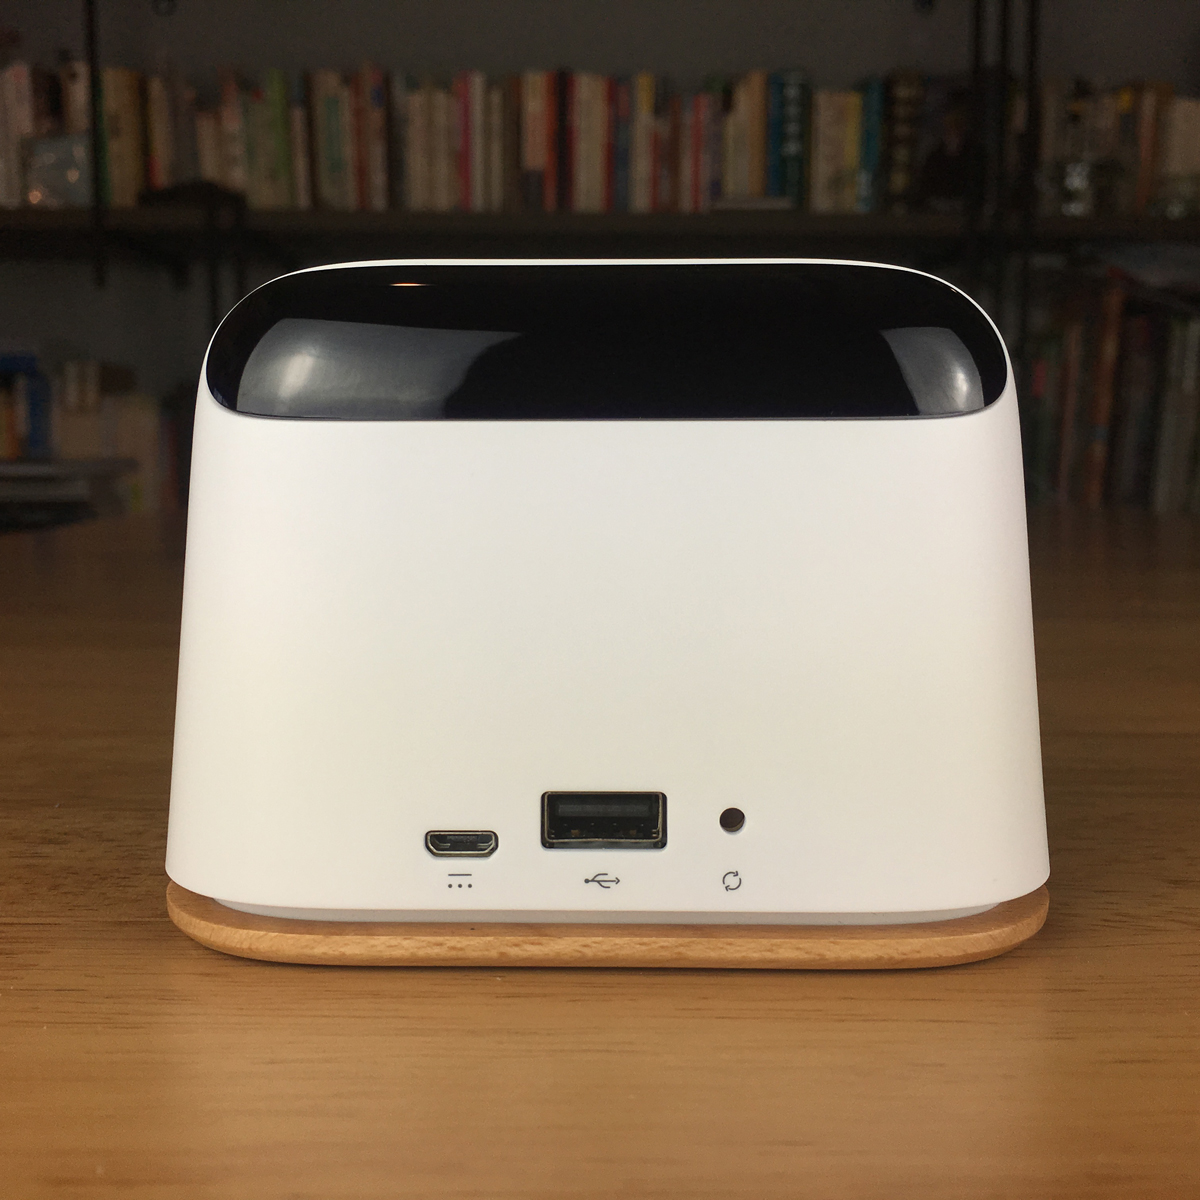
A quick look at the Ambi Climate unit reveals the Ambi Labs logo on the front along with a body in magnolia, topped off with a translucent area at the top which contains the IR transmitter as well as sensors for temperature, humidity and ambient light. This translucent portion is reflected on the back of the device too. The rear of the devices has a small hold for resetting or pairing the device. Next to that is a standard US port that is only designed for use when debugging the device, should it need to be repaired or otherwise tested by Ambi Labs. Finally, there’s a small micro USB port that the power cable plugs into.
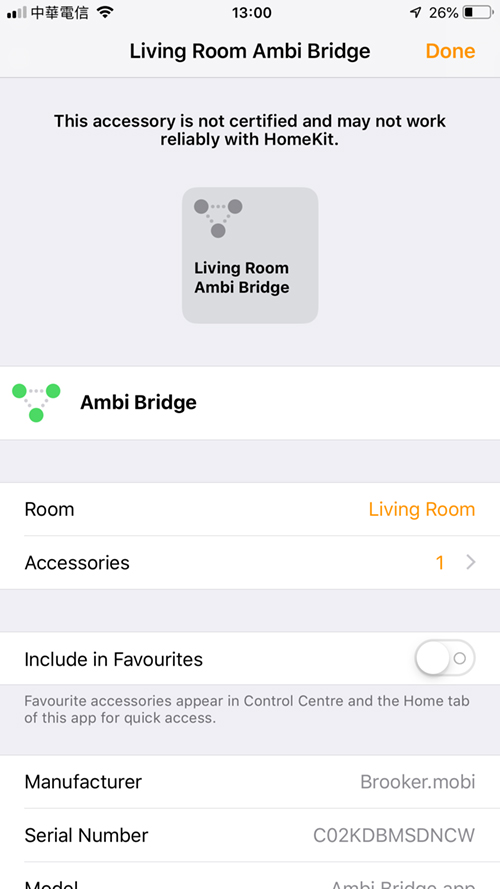
The basic concept as to how this device works in the most basic sense is that it sends out the same IR signals your AC’s remote would send out, so in that sense, you could say it’s a replacement remote, although of course, it’s a lot more than that. This device allows you to control all aspects of the AC unit from your phone, and via voice control too, using either Amazon Alexa, Google Assistant, or Siri. When it comes to voice control via Siri, you can use Siri Shortcuts to control the device, or if you want to use HomeBridge or HomeAssistant with the relevant plugin, then you can control the device like any other AC unit via HomeKit. The other option, if you prefer not to go into these options that invariably use a Raspberry Pi as a bridge device, is to install a small app on your Apple computer. The app – AmbiBridge – is essentially the same as the aforementioned plugins, but placed in an app that takes on all the hard work and simply lets you scan a QR code that then adds the Ambi Climate 2 to your HomeKit setup. The only issue here is that when you turn the computer off, the HomeKit connection is broken until you then turn the computer on again. This isn’t an issue for me, as my computer is always on up until I go to sleep, and as this device is used in the living room, there’s almost zero chance that the paired AC unit will be on when the household is asleep. As all of these options are not officially HomeKit compliant, adding the Ambi Climate 2 in these ways will generate the standard ‘This accessory is not certified and may not work reliably with HomeKit’. We’ll go into the HomeKit integration a little further later on.


INITIAL INSTALLATION
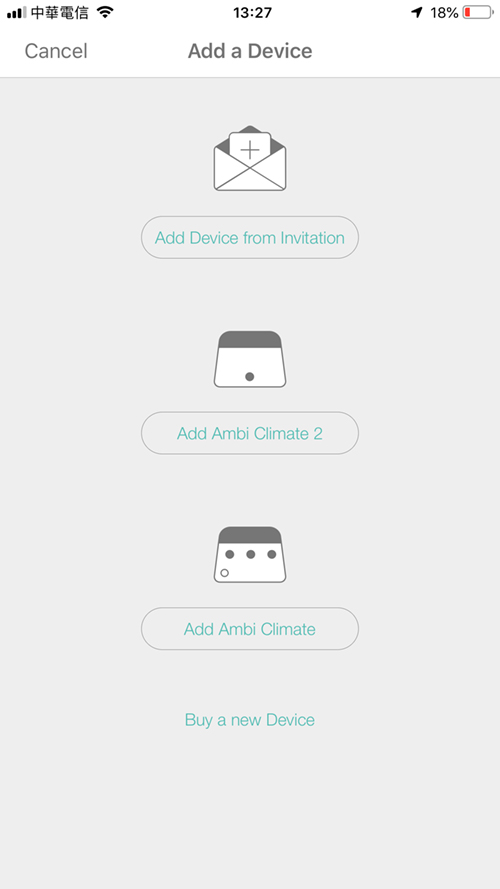
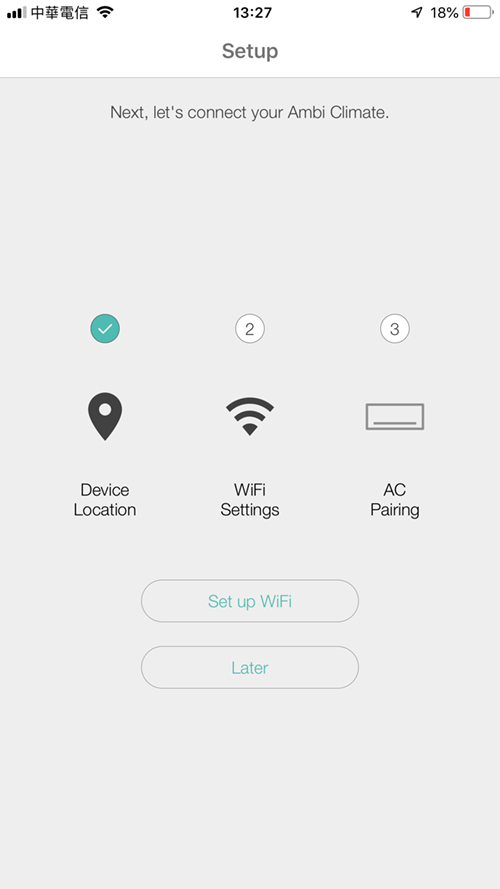
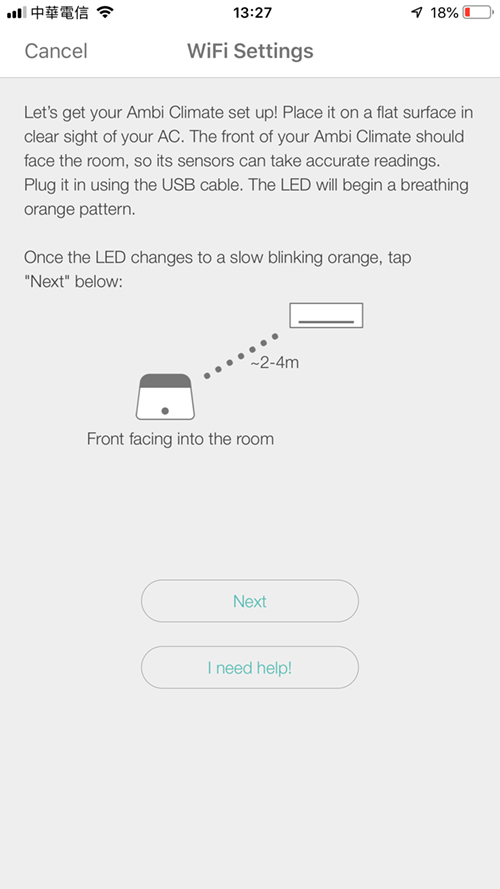
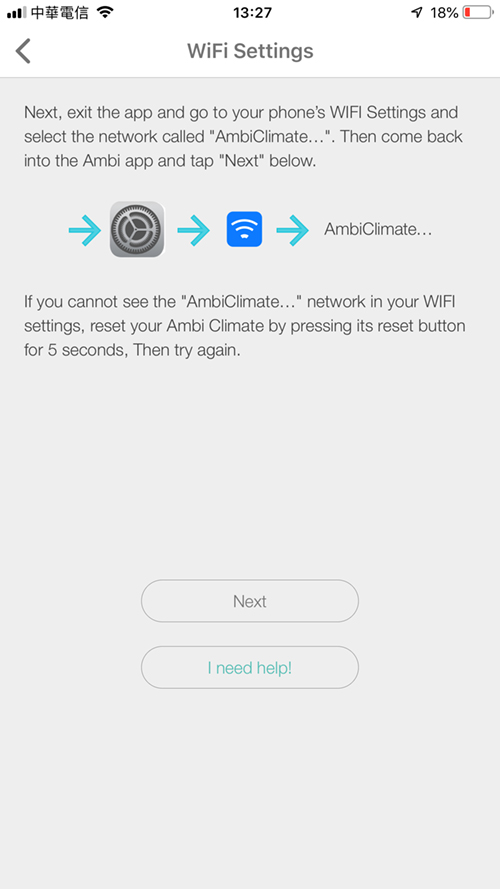
When adding the device your Home, regardless of whether you eventually decide to add it to HomeKit or not, involves initial setup via the Ambi Climate app. It’s a fairly painless process, which begins with you setting up an account. When that’s out of the way, you choose a device to add – Ambi Climate 1, Ambi Climate 2, or add a device from an invitation, so one that’s already set up. You then add your location (for getting accurate weather data) and the room in which the device will be used – living room, bedroom etc. Once that’s done, you will then go through the process of passing your wifi details to the device for connection, along with syncing the device to Ambi Labs AI cloud servers. After a few minutes, you should be up and running. You then need to start pairing the device to your AC unit. This is achieved by selecting the correct model of your remote, so that the Ambi climate 2 can basically mimic it, and control your AC as if it were the remote that came with it, only with additional smarts and with the ability to control it all via your smart device, or by voice. When you’ve selected the relevant remote mode, you then need to make sure the device is within range of the AC unit, in order for the Ambi Climate 2 to control it. The device will start sending out test signals to your AC and will ask you to confirm that the AC has responded accordingly. After that, you can begin to start using the device at will.
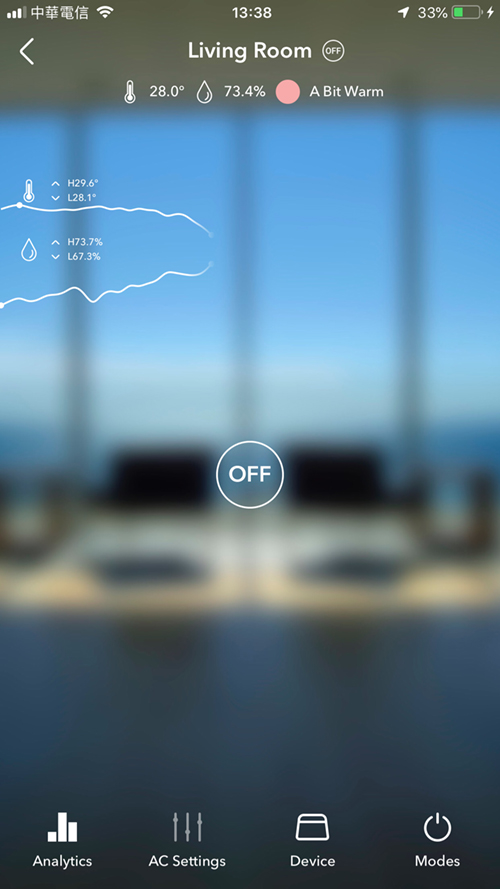
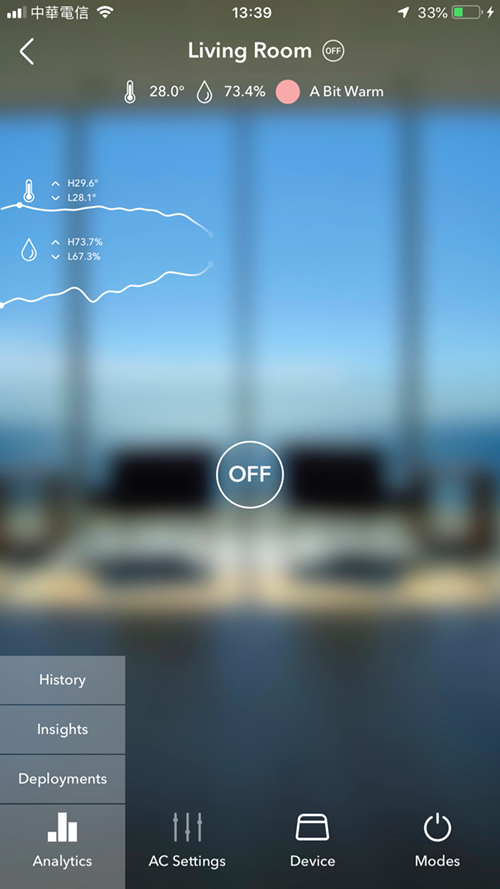

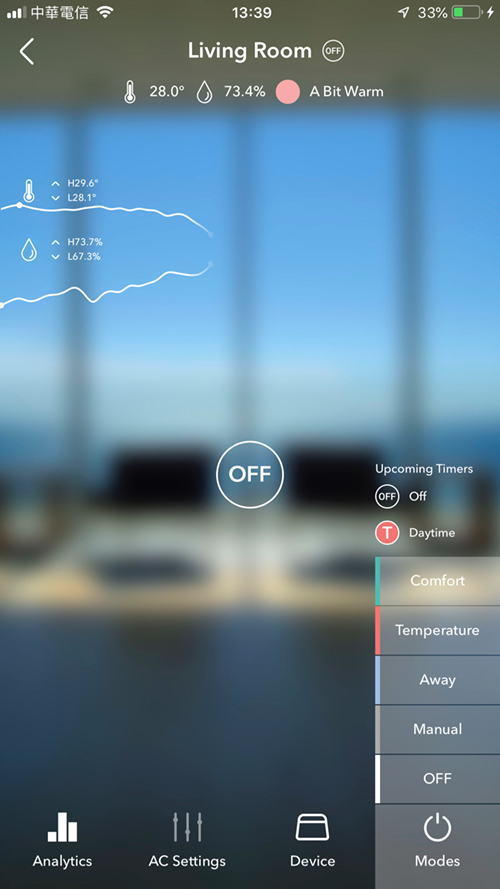
The initial screen shows four tabs, along with a circle in the centre of the screen indicating (in some cases) the mode that your AC unit is in – off in this case here. At the top are lines indicating the historical readings for both humidity and temperature levels in the room that the unit is located in, as well as the current levels, and the minimum and maximum levels reached up to that point. These historical lines will be generated as you begin to use the Ambi Climate 2, so initially, you may not see much. The first of the four tabs at the bottom is Analytics which is broken down into 3 further subsections – History, which gives you access to historical records of temperature and humidity levels, as well as basic mode use. This can be viewed by day, week or month, as well as allow comparisons for previous periods of use. the second subsection is Insights which reveals a staggering amount of data over six screens, detailing AC run time, Average AC set points, average temperature and humidity levels, mode usage, Comfort feedback, learned, and a diagram showing comfort factors via your own usage. The penultimate option is important in that this shows what the AI portion of the software learns about your preferences, and so eventually allows the Ambi Climate 2 to set the temperature, based on a wide variety of factors, so that you don’t have to make any adjustments, as it’s all done for you. This is pretty cool (no pun intended), but it will take a while to get to ‘know you’ and what you consider a comfortable temperature level. The AI doesn’t just access the temperature in the room however, as this is just one metric that could affect the comfort level you require. The AI takes into account the outdoor temperature, the light levels in the room, from outside light, which can affect the room’s relative ‘feel’. It also takes humidity into account, so when it takes all of these measurements, it should set the AC to a mode and level that always meets your level of comfort without you having to lift a finger – in theory. The AC Settings tab gives you access to both the preferences for the AC unit and the AI preferences. With these sections, you can let the Ambi Climate 2 control different aspects of the AC unit via the AC Controls subsection, so if you never use the heating element for example, then you can exclude this from the set of options it accesses. The same also applies to the speed of the AC’s fan, if your AC unit features such options. With the AI Controls subsection, you can control what functionality the AI can access in the AC unit, so if you don’t want it to use the DRY option when it calculates the best setting, you can set it as such.
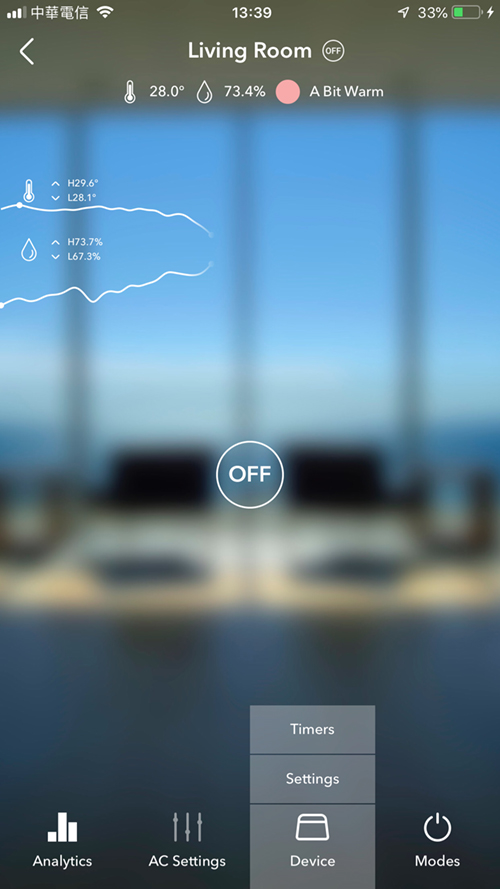
The third and fourth tabs are Device and Mode, respectively. Device has subsections for Timers, which is self-explanatory, and Settings, which gives you access to all the device and app settings you need, including settings for wifi, device location, AC pairing, user management, sensor calibration, and even the brightness of the LED light at the front as well as the beep volume that the device pushes out for each action.

The Mode tab gives you different options on how to control the AC unit; Comfort, Temperature, Away, Manual and Off;
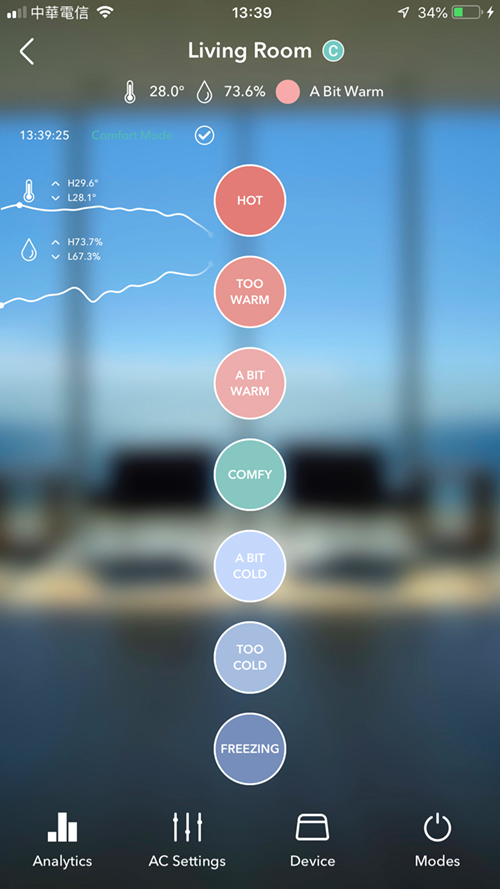
- Comfort mode allows you to tell the AI how you feel in terms of comfort, so when you press the circle icon in the middle of the main screen, it opens up to give you a range of choices, that then tell the AI if you’re Hot, Too Warm, A Bit Warm, Comfy, A Bit Cold, Too Cold, or Freezing. You tap this icon and choose the relevant option until you get to the ‘Comfy’ level. This all helps the AI work out the best settings for you over time.
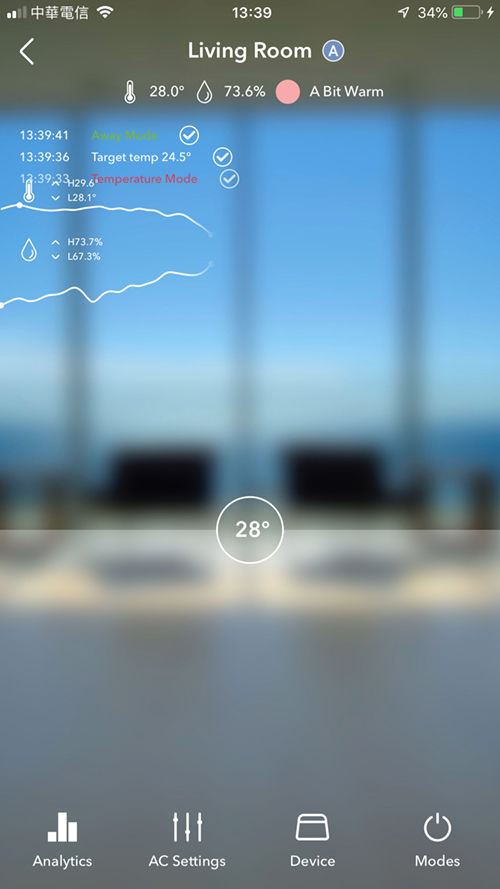
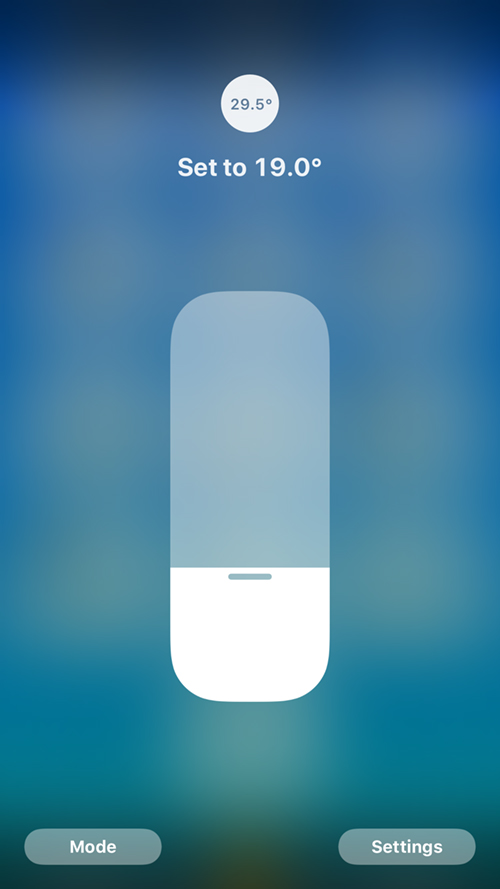
- Temperature mode simply allows you to directly set a temperature that the unit will stick to.
- Away mode allows you to let the Ambi Climate 2 control your AC to keep your home within a desired temperature or humidity threshold.
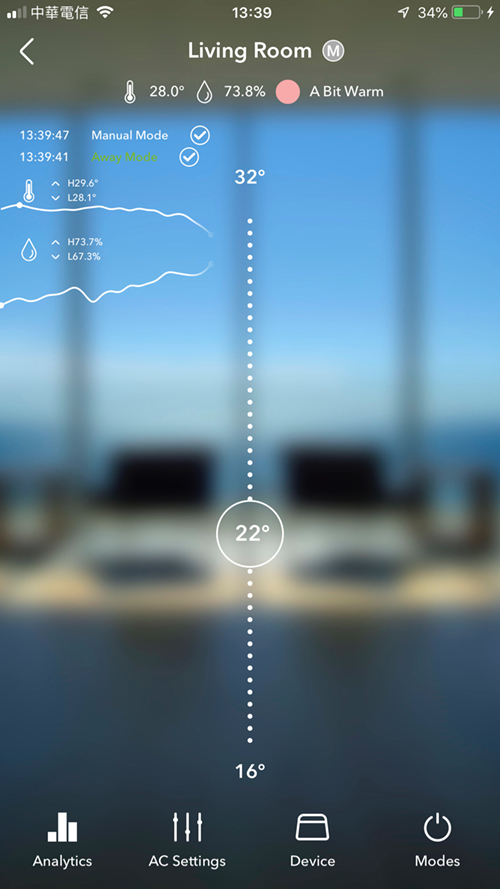
- Manual mode lets you take control of the AC unit and set the desired temperature when using it with timers.
- Off well, you know what this does…it turns the AC off if you don’t need it to be running. This also means whilst temperature and humidity data are collected, no user data is, as you aren’t using it.
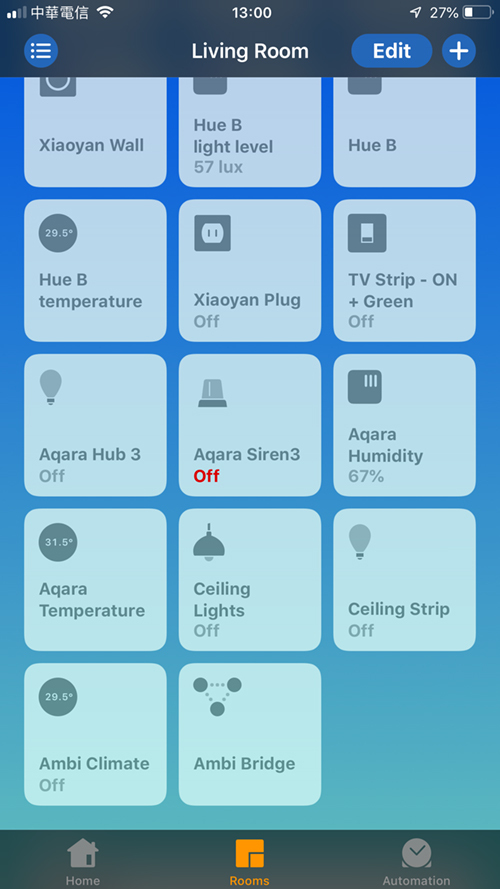

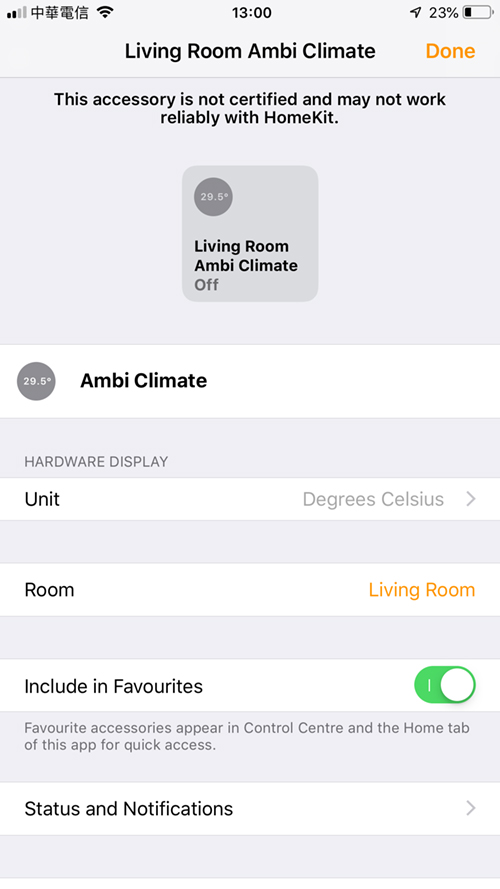
IN THE HOME APP
Adding the device to HomeKit via Ambi Bridge gets you two separate devices – the Ambi Bridge via the software version of the bridge to get the Ambi Climate 2 into HomeKit, and the Ambi Climate 2 AC unit. The Ambi Climate 2 gives you options for adjusting the temperature, via a slider that appears via a long press on the tile, in addition to an option to select the relevant mode – in this case, you get four options – Off, Heat, Cool or Auto. This doesn’t match the full range of controls you can achieve with either the Ambi Climate 2 app or the original remote control that would come with the AC unit, but it does allow for timers and automation, with other HomeKit enabled devices allowed to control aspects of your AC unit. The one install of the Ambi Bridge will add all the Ambi Climate devices you have in your home as separate accessories in HomeKit, and it is possible to customise in Ambi Bridge preferences which Ambi Climate mode maps to each HomeKit AC mode. There may be further options I’m not aware of via using the Ambi Climate via HomeBridge or HomeAssistant, so if anyone reading this is using it with either of these, feel free let us know.
You can find the Ambi Bridge app in the Mac App Store.
If you don’t want any of these options, the Ambi Climate app still works with Siri Shortcuts, so voice control is still within its skillset. Setting it up for Siri Shortcuts is pretty much the same as other devices, although you can’t set automations in the Ambi Climate app, so you have to rely on different Siri Suggestions to choose the options you need to control the device this way.
IN DAY TO DAY USE
At this point, it’s only fair to mention that I have had a few issues with the device itself, and I have had the team from Ambi Labs trying to work out the issue. We haven’t gotten to the bottom of the issue, but they have been helpful, and from my own tests, even though I haven’t gotten to the bottom of the issue, I think it’s down to an issue with either interference from other bridges (Zigbee perhaps), or some other interference I haven’t nailed yet. The problem is that I’ve been unable to set it up in the bedroom, where I tend to spend a lot of my work hours. Whenever you set up the Ambi Climate 2, you have to detect the device’s own signal, in order to connect to it and transfer your network details, so it can then connect to the network. For some reason, whenever I’ve attempted to set it up in the bedroom, my iPhone and iPad simply can’t detect the device’s signal, so I can’t set it up. However, if I take it into the living room, the problem disappears, I’m able to connect to the device, and from there continue with the setup. My bedroom has a LOT of wifi devices, including some ZigBee bulbs, a ZigBee hub, and a few Bluetooth devices, all in a fairly small area, so whilst I don’t really know if this is the issue, it’s not beyond the realms of possibility that this could have something to do with it, considering this problem only occurs in the one room.
Putting that all aside, I have had it on test in the living room for the past few weeks, and it works with my Hitachi AC unit perfectly well, even though it didn’t have the exact remote control model I was using. I’ve also tested it with the other AC units we have here, which are all made by Daikin, and it works perfectly well every time. The key to making this device work really well is to provide feedback to the device, so the AI can work out your preferences, so you barely need to open the app or adjust the AC ever again, unless you want to analyse your data, which would be good if you want to see the costs incurred, and how small adjustments can save you more money. At the end of the day, this is as much about collecting the data for you to make use of, as it is about controlling your AC, but it does both equally well.
The amount of options available to users via the app, most notably in terms of data, is quite mindblowing, and even in terms of the device’s settings, there are a lot of options to customise the Ambi Climate to your liking, but that’s something for you to look into, if you think this is something you’d find useful. Even though I’ve yet to review one of the main competitors in this field, namely the Tado AC Control I mentioned at the start, this does have a large head start in terms of its AI skills and the deep data set that it can produce. The only thing you may want to consider is that it’s not HomeKit compatible out of the box, although Ambi Labs have said recently that due to HomeKit being their most requested feature from their current user base, integration with HomeKit is on their road map, so let’s hope that it’s more than Siri Shortcuts that plays nicely.
Full disclosure: AmbiLabs provided HomeKit News with the Ambi Climate 2 for the purpose of this review. No other compensation was made or requested.
Ambi Climate 2
Pros
- Works with almost any AC Unit
- compact, modern design
- Uses a USB plug, so compatible plugs aren't an issue
- Very in-depth data analysis
- Additional sensors
Cons
- Doesn't work with HomeKit without a plugin