Yeelight Light Strip Plus (review) UPDATED
Back in June, when this product was originally reviewed, Yeelight had already announced that and update to bring HomeKit compatibility for this and three other devices was coming in Q3 of 2019. Well Yeelight kept their promise and delivered, and did so on time (seriously, how often does that happen?), so this review has been updated to include references to HomeKit functionality.
If you’ve not heard of Yeelight before, you’re probably not alone, but if you’ve owned any Xiaomi smart home ecosystem lighting products, chances are they’re made by Yeelight (or Qingdao Yeelink Information Technology Co., Ltd. if you prefer). Two such HomeKit devices that have recently come to market, the Mi Bedside Lamp 2 and the Mi Desk Lamp Pro, are both made by Yeelight for Mi/Mijia, and a short overview of these two products will tell you Yeelight know a thing or two about lighting. In this instance, we’re casting our eyes on the Yeelight Light Strip Plus, also listed in some places as the Yeelight Aurora Light Strip Plus.
UNBOXING
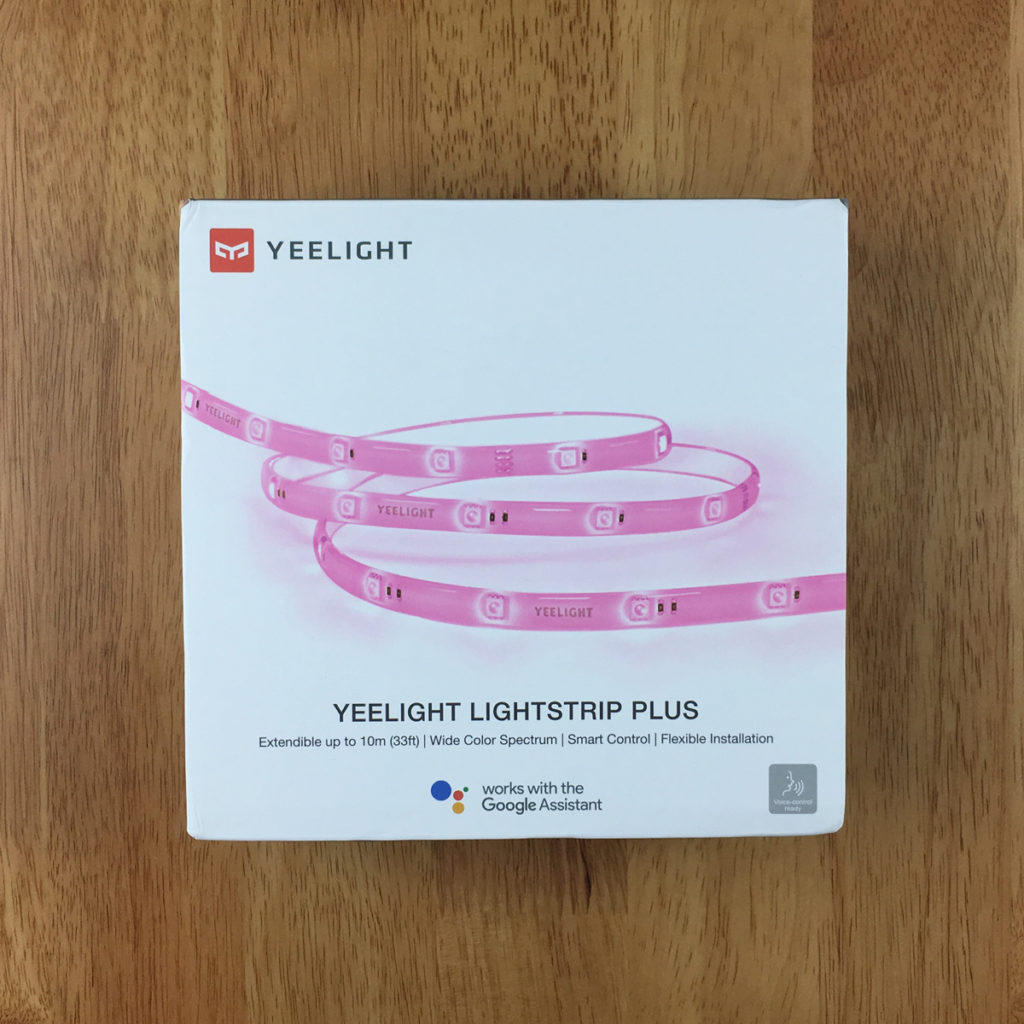
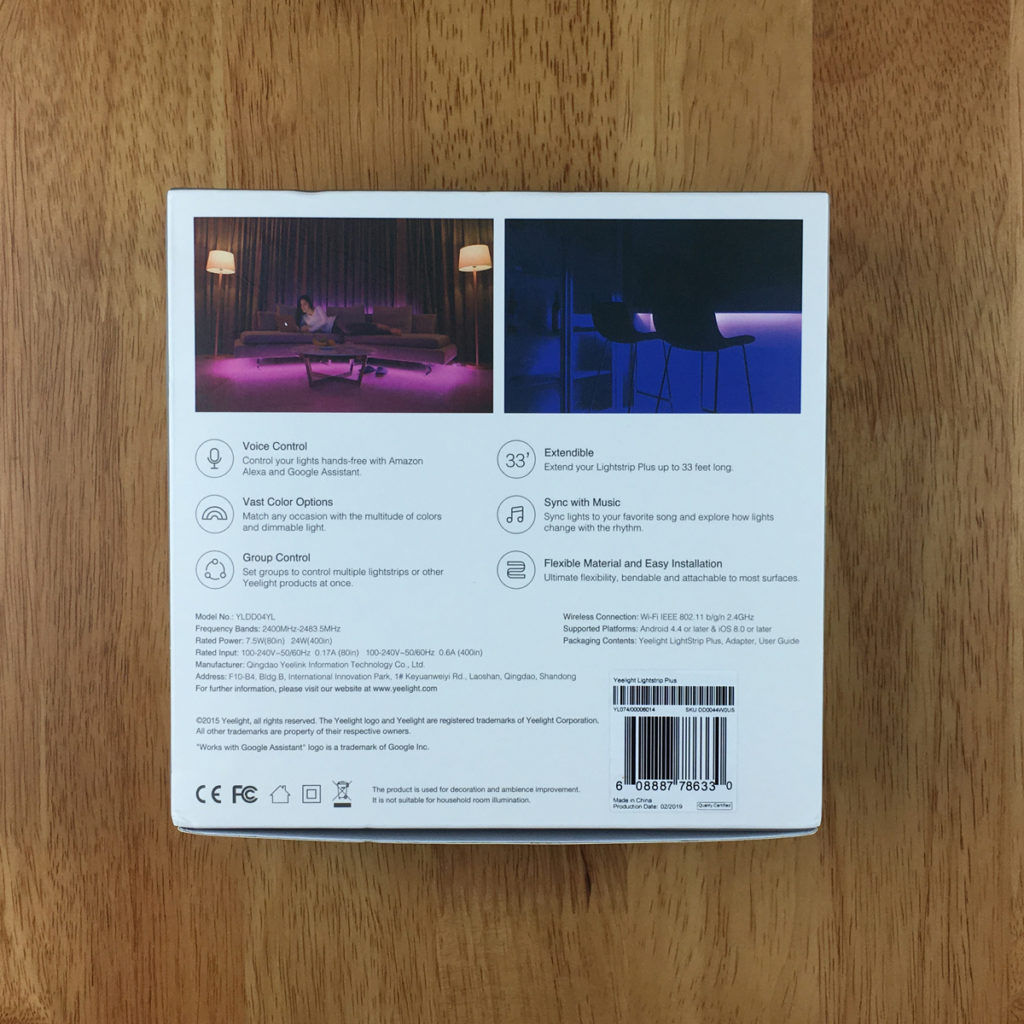
Even though the Strip is HomeKit compatible as of August 2019, if you buy any of the currently held stock in online stores, you won’t find a ‘Works with Apple HomeKit’ badge on the front. The only thing you do see is the ‘Work with the Google Assistant’ badge, along with a small ‘voice control ready’ badge. Other than that, the front of the packaging is ‘pro’ enough to instil at least a bit of confidence in the product, at least as far as I’m concerned. The front has a stylised photo of the product along with a few product bullet points, which other than the point about being able to be extended by up to 10m/33ft, are all just sales jargon essentially. The rear of the box expands upon the details of the product;
- Voice control with Amazon Alexa and Google Assistant
- Group Control – set groups to control multiple light strips or other Yeelight products
- Extendible by up to 10m/33ft
- Sync with music
This last point uses your phone as a microphone in the Yeelight app, to trigger the light strip to change with audio, which is something the Mi Bedside Lamp 2 is also capable of.
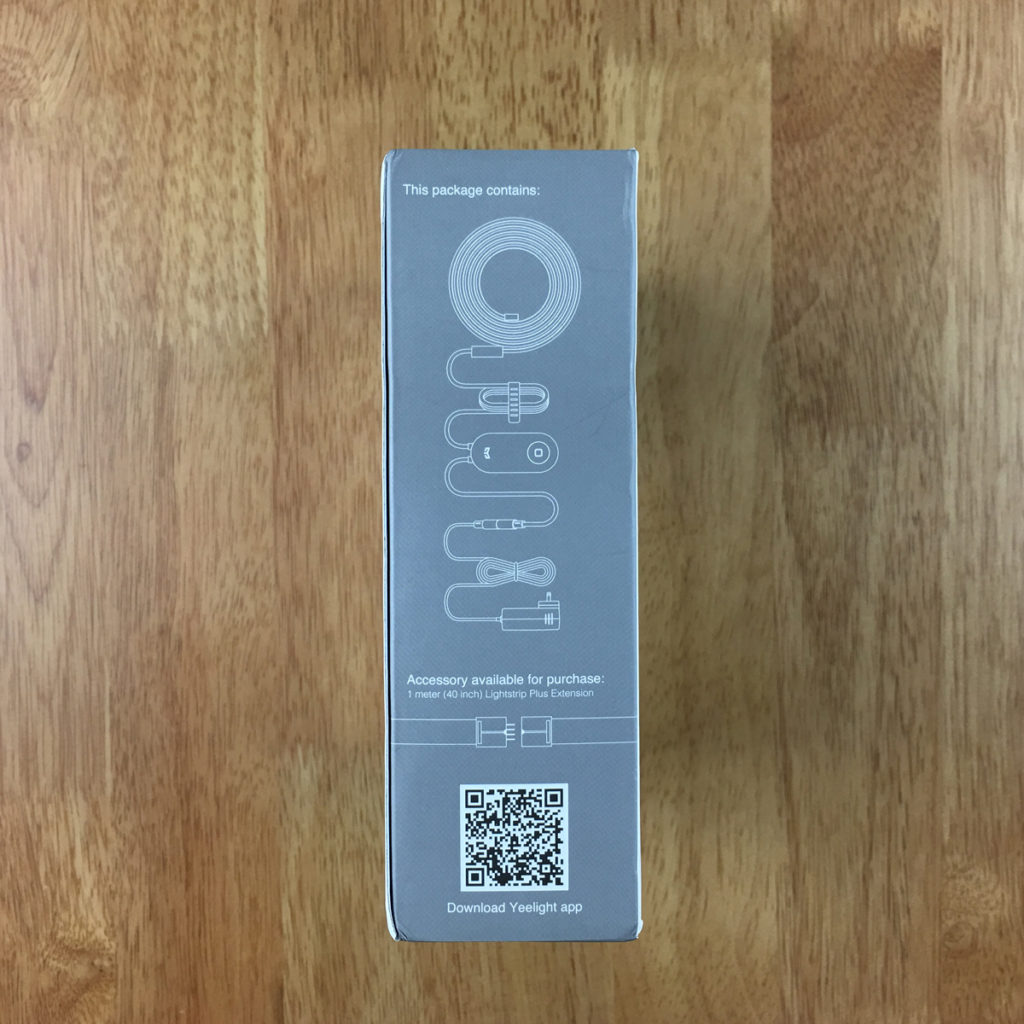
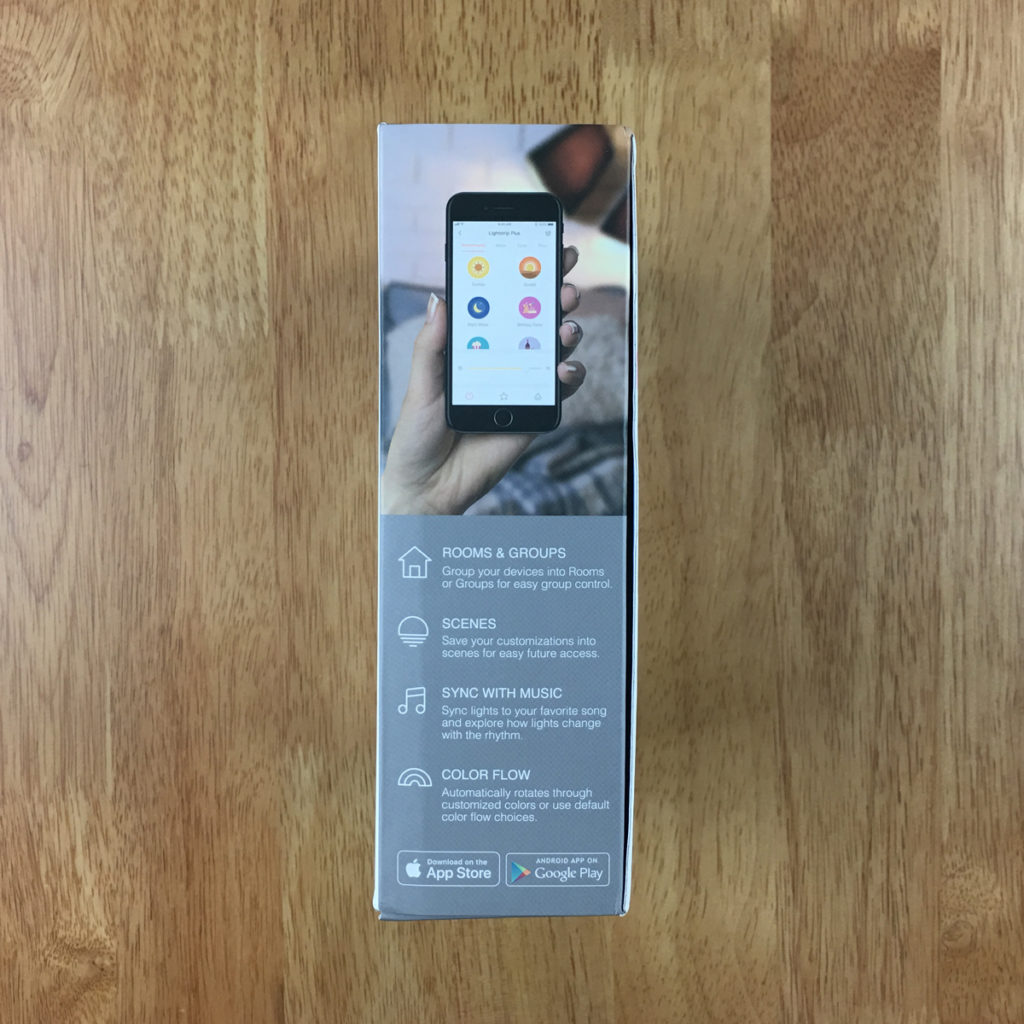
The sides of the box are more of the same, save for the mention of a couple of other functions that you get in the app, namely Scenes and Colour Flow. A quick diagram of the light strip along with a QR code to download the Yeelight app is shown on the other side.
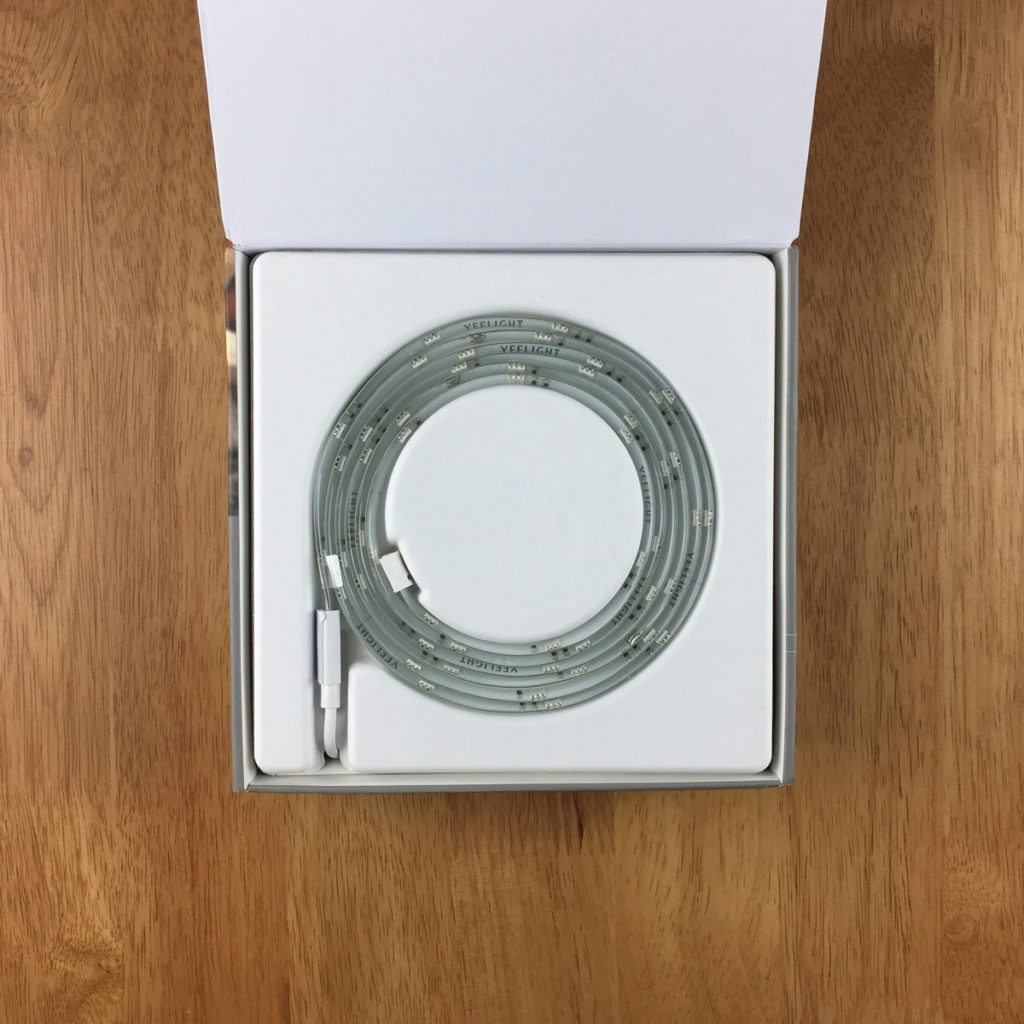
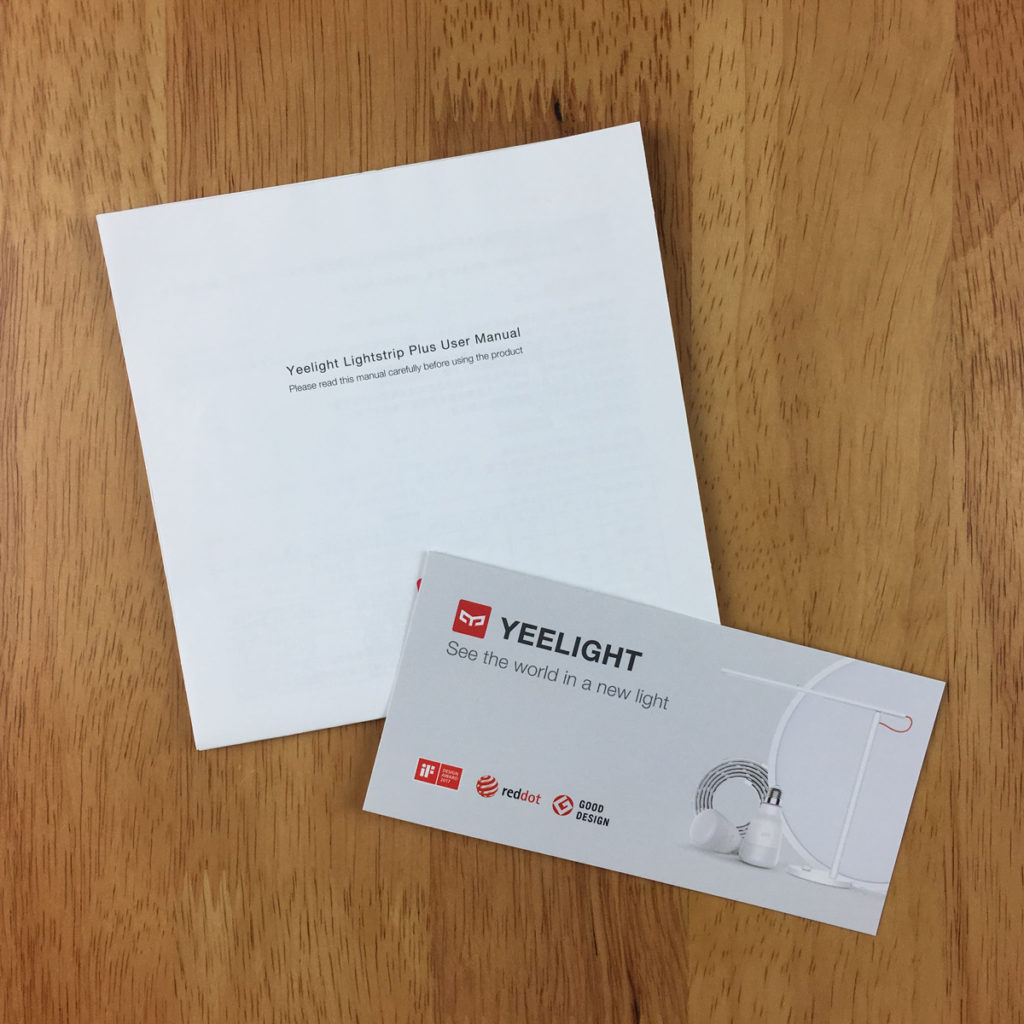
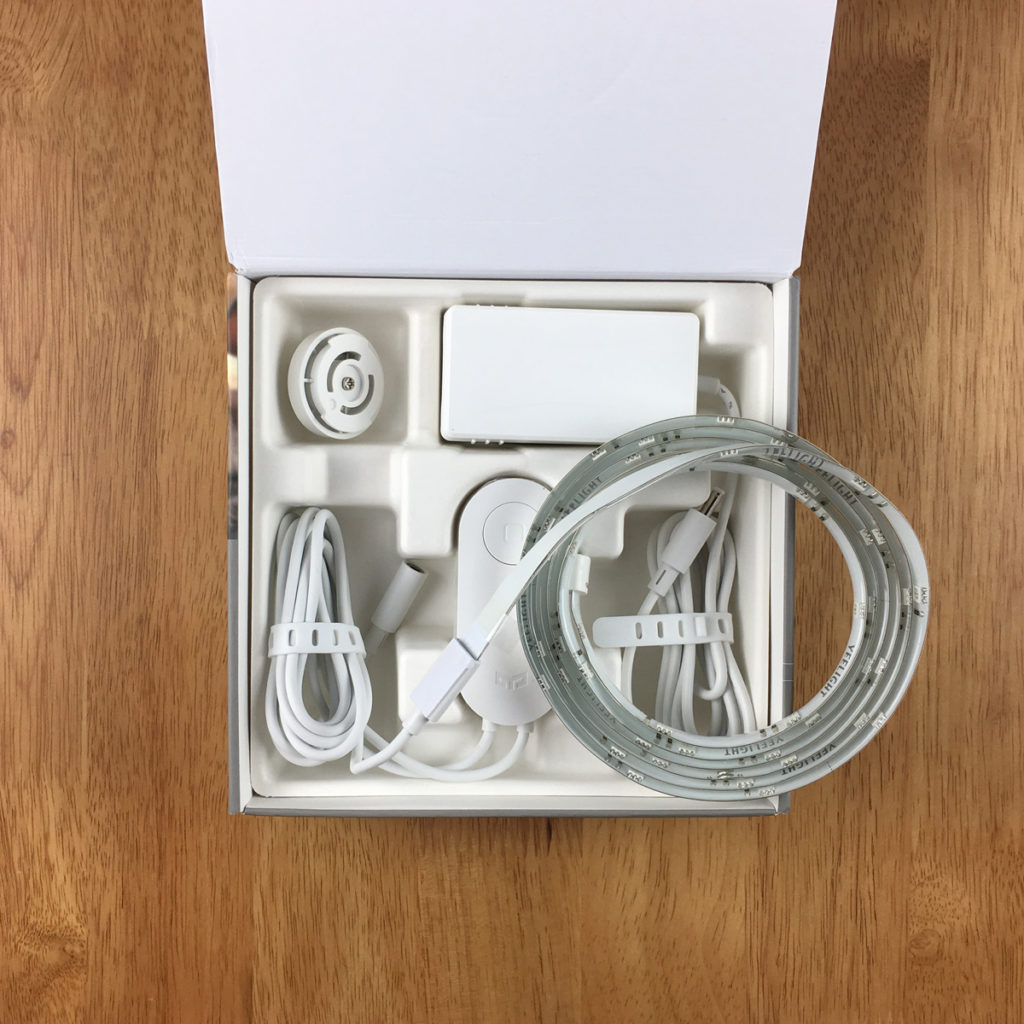
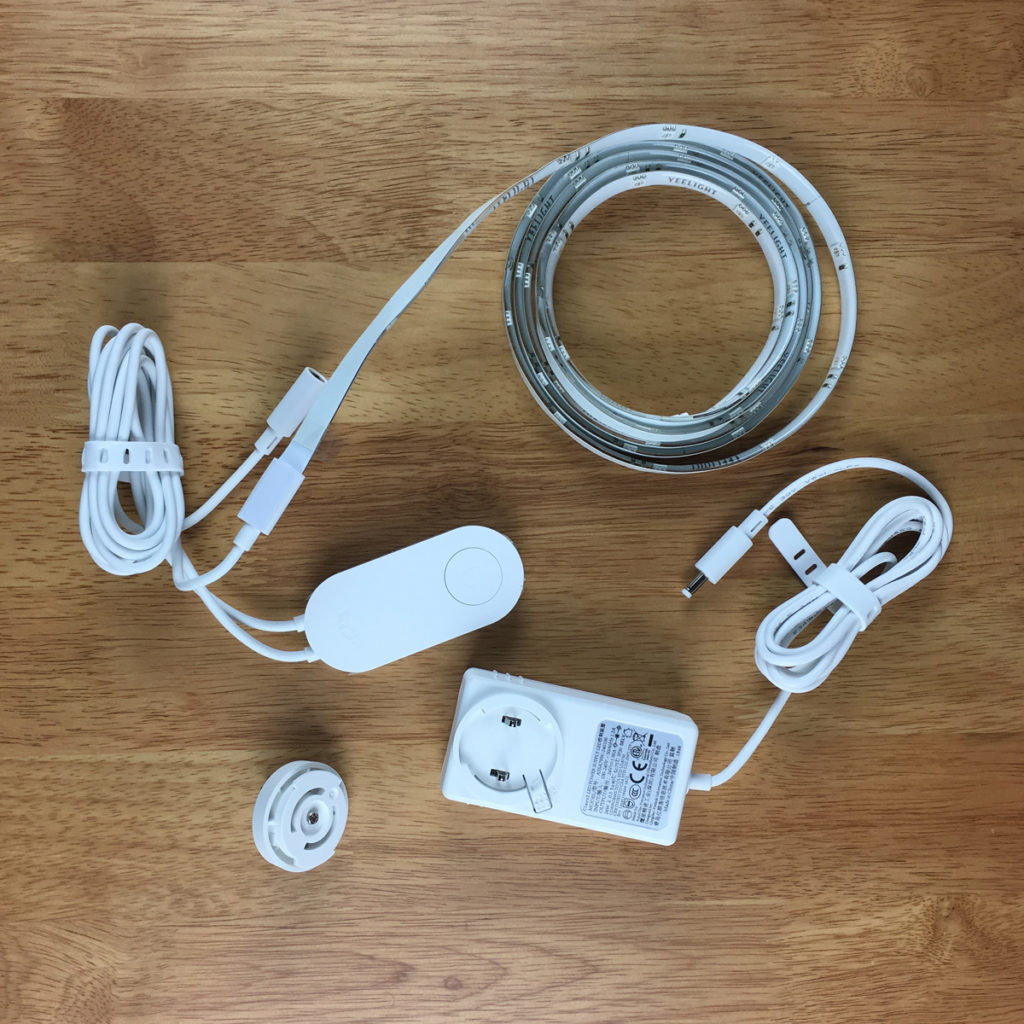
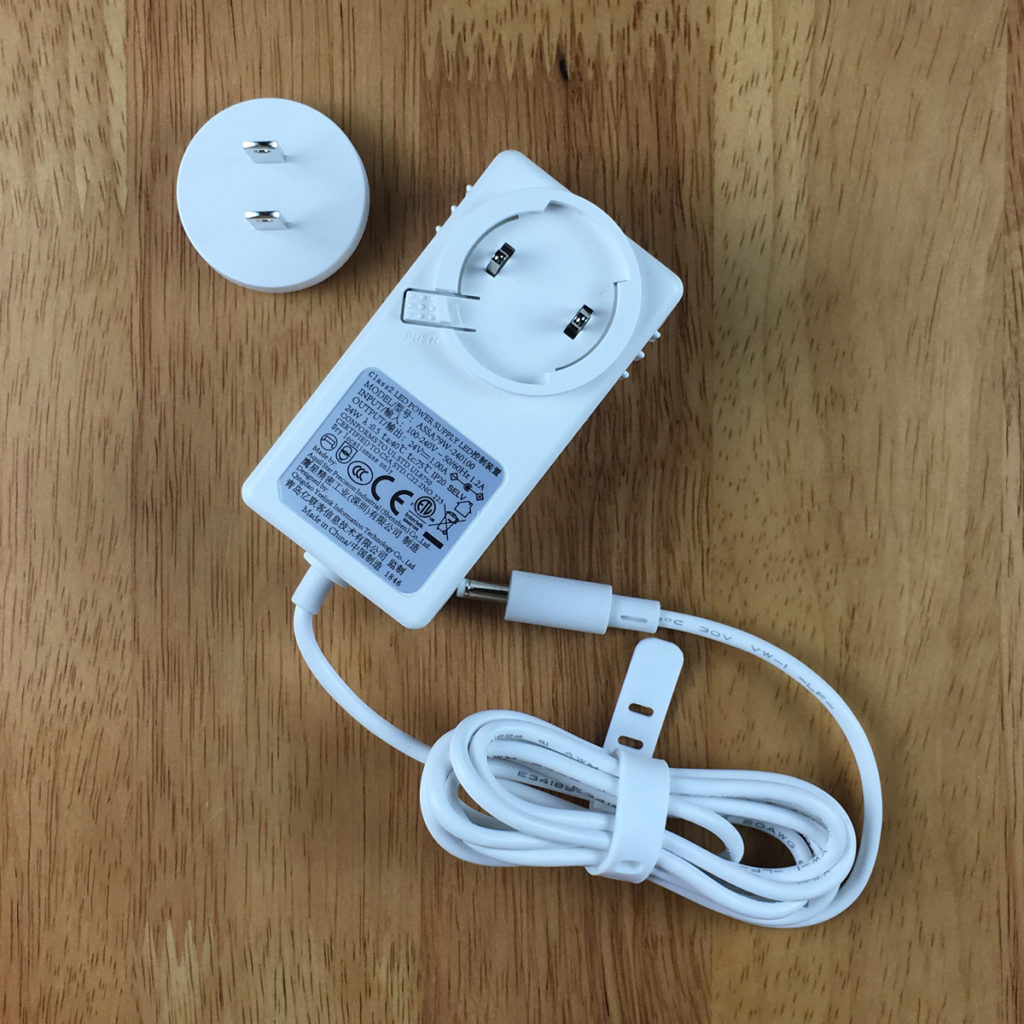
Once opened, you get to see a welcome card and a manual in English. From there is the light strip itself, curled around a moulded card holder. Beneath that is the physical controller that is permanently connected to the light strip and a power supply with an included adaptor that clips into place. I have the Type A North American style plug, but if you buy from any of the online stores, like Gearbest, they usually have an option to choose the type of adaptor you need.
THE LIGHT STRIP
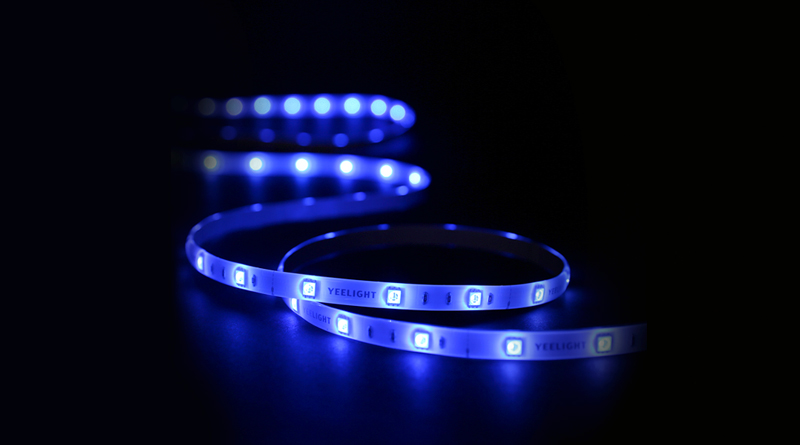
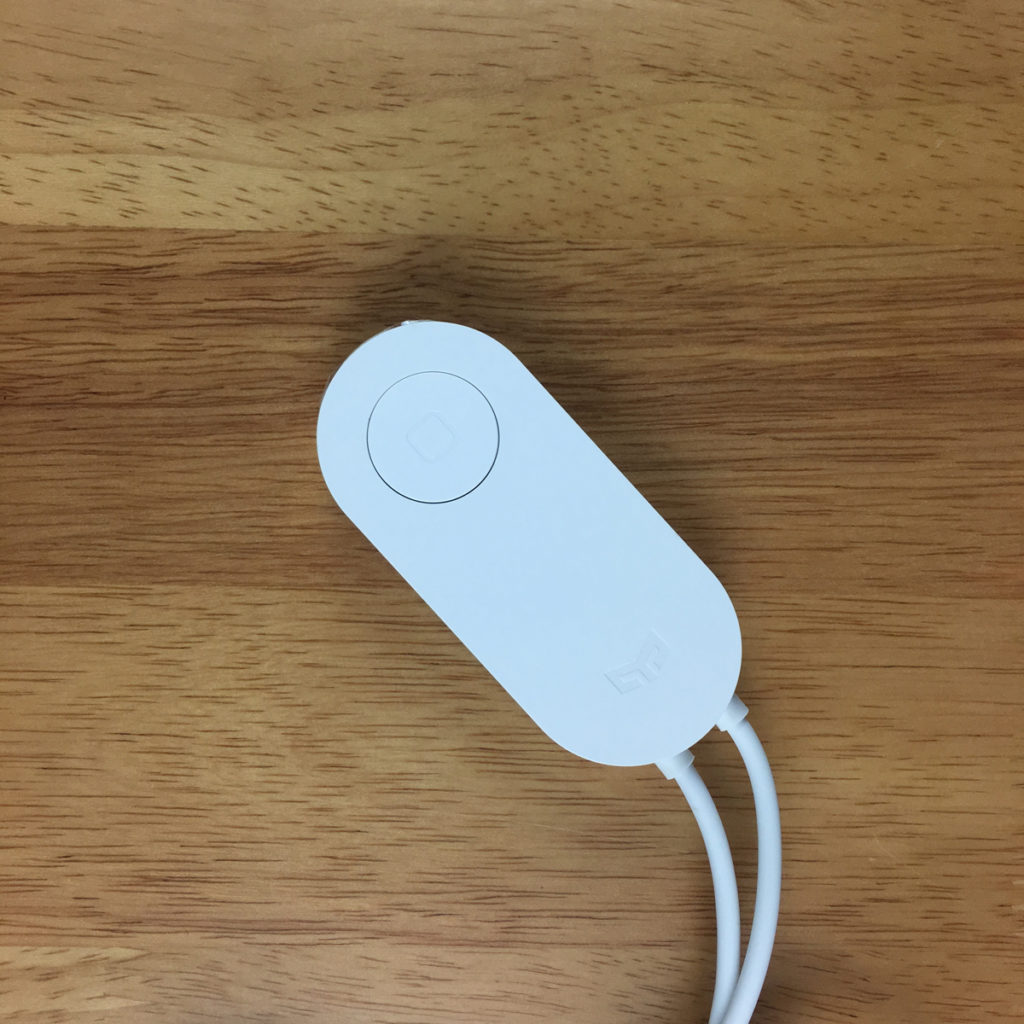
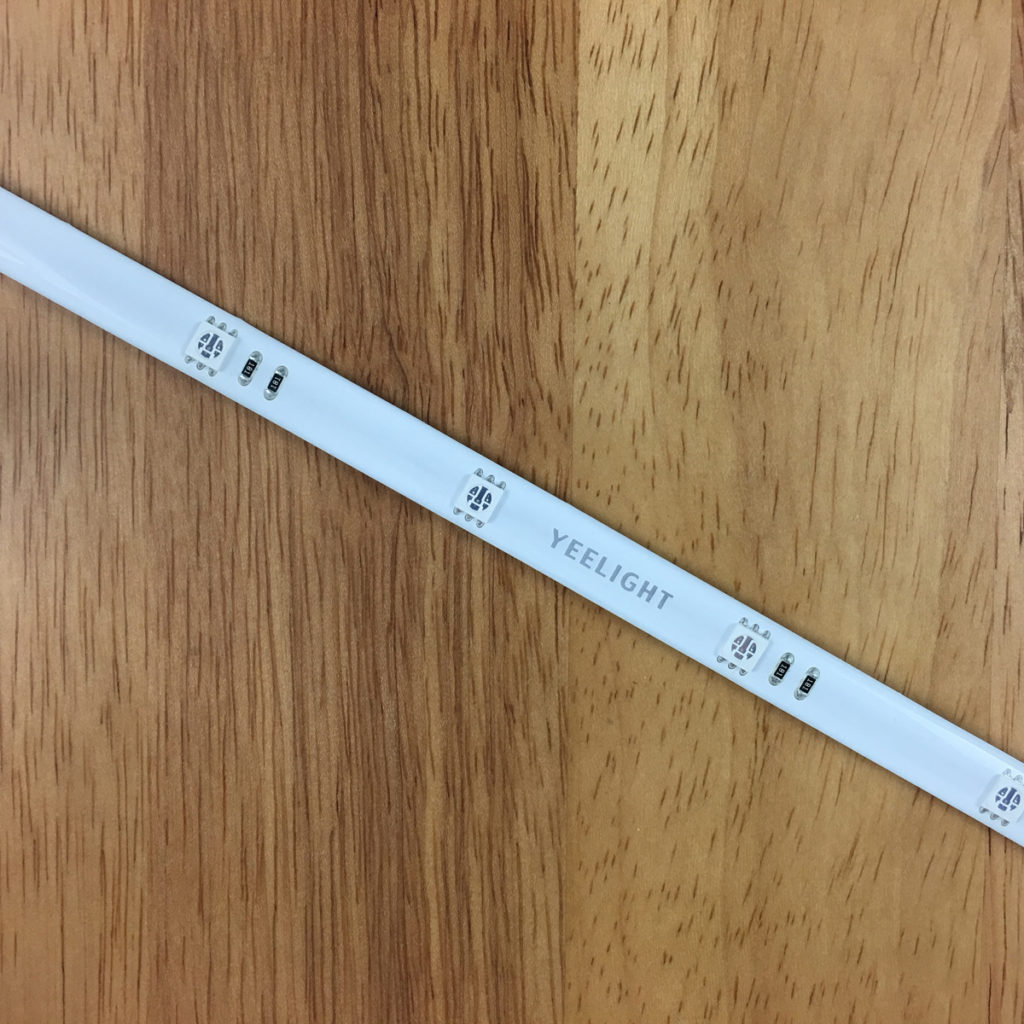
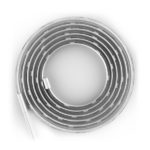
The complete contents of the box, are the strip with the physical controller, the power supply with adaptor for your region, and the manual along with a sticker for the controller. The light strip itself is 2 metres long, as standard for most light strips, and is quite flexible, but doesn’t feel in any way cheap. Although it’s a bit thinner than the VOCOlinc LS1 Light Strip, the LS1 is actually IP67 waterproof rated, so it’s a lot thicker for this reason, as it can be used outdoors. This also makes the LS1 a bit less flexible than the Yeelight Light Strip, so assuming you only plan to use this indoors anyway, you may find the additional flexibility useful. The physical controller is only used for initial pairing/resetting the light strip and turning the light strip on or off, so you can’t control the colour or brightness of the strip. The controller comes with a small double-sided sticker if you want to mount it to a wall or other surface. The design of the controller is quite minimal and only has an indented Yeelight logo on the button itself, with the two cables coming out of the bottom of the controller – one to the strip and one to the power supply. Many times other manufacturers opt to have these two cables come in one side of the controller and out the other, which I’m glad to say they don’t do with the Yeelight, and as such makes mounting it to the wall look and work a lot better.
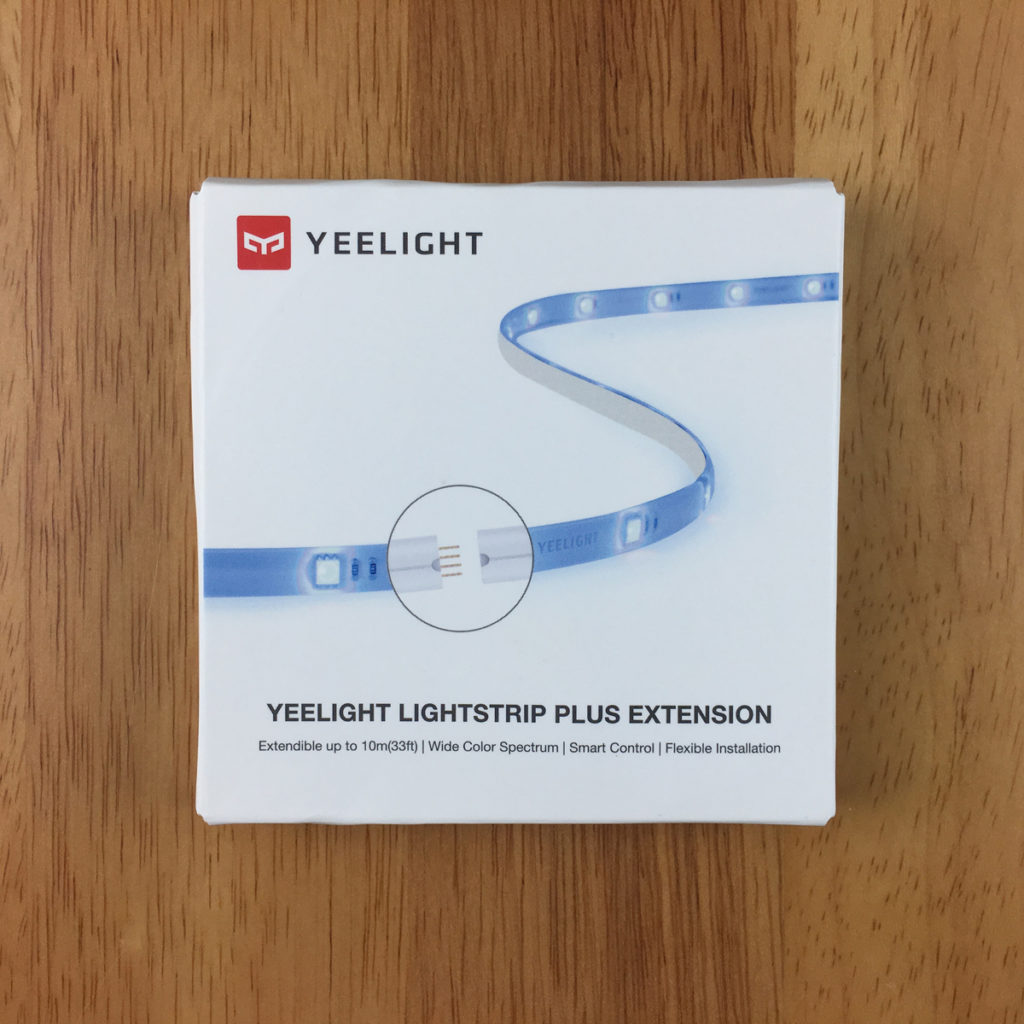
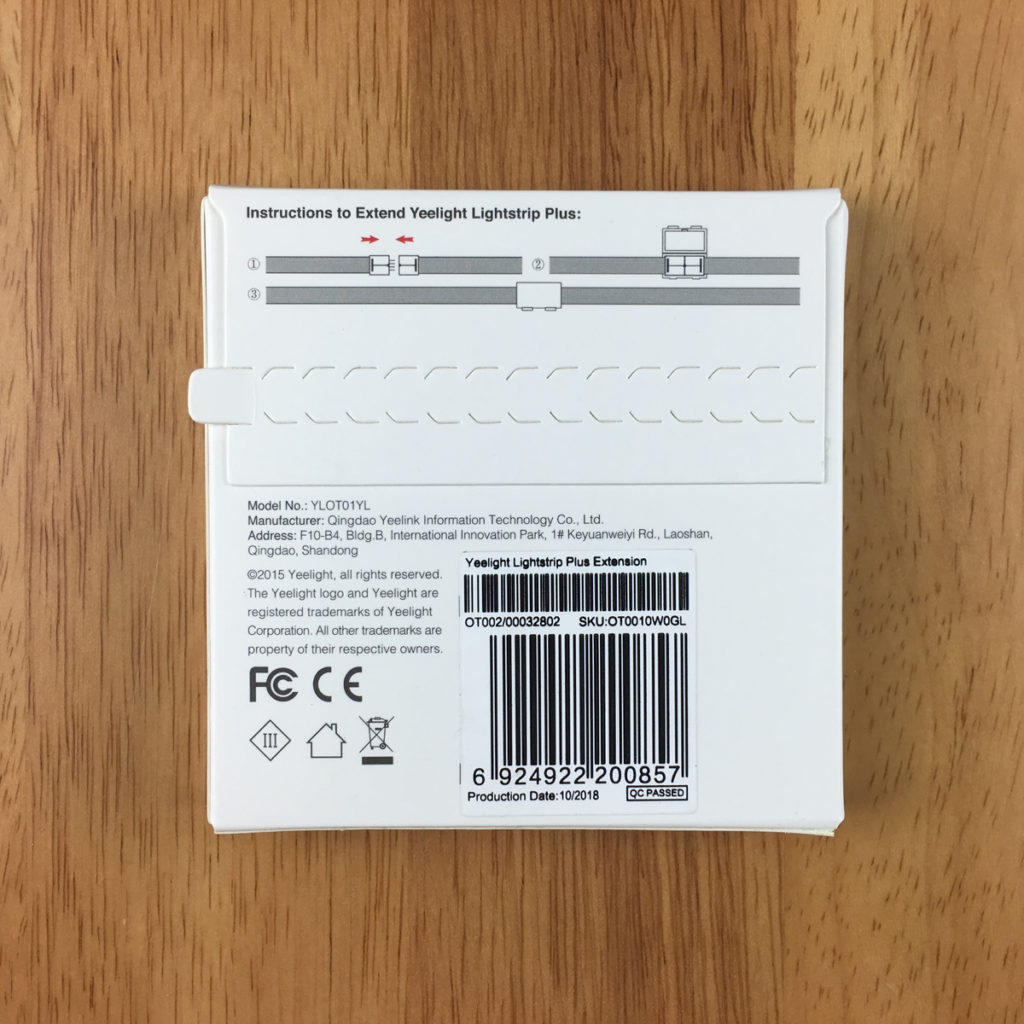
The one-metre extensions available can be bought separately, and come in a small package that reflects the design aesthetic of the main packaging (good!). The extension looks exactly like the main strip minus the connection to a controller. One end of the extension has four pins, with the other end having four holes, for further extensions, should you want them.
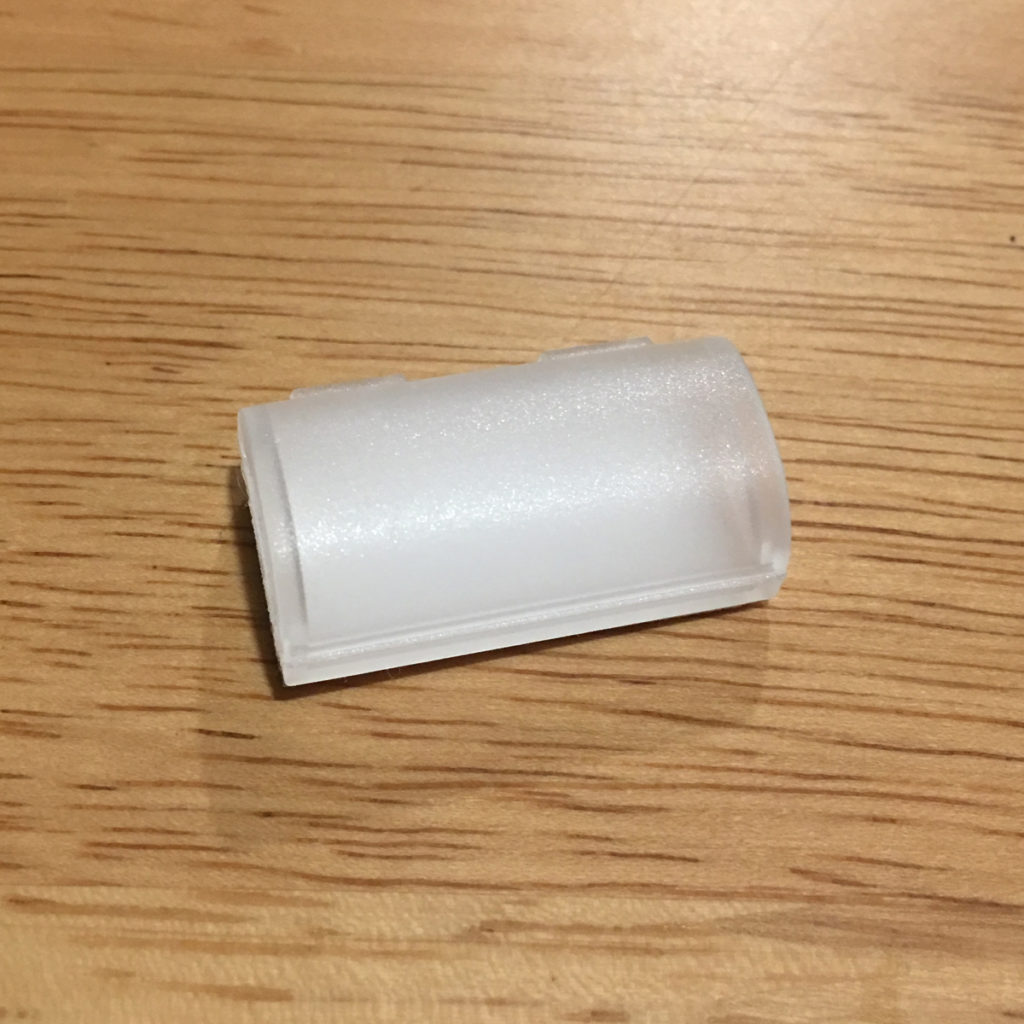
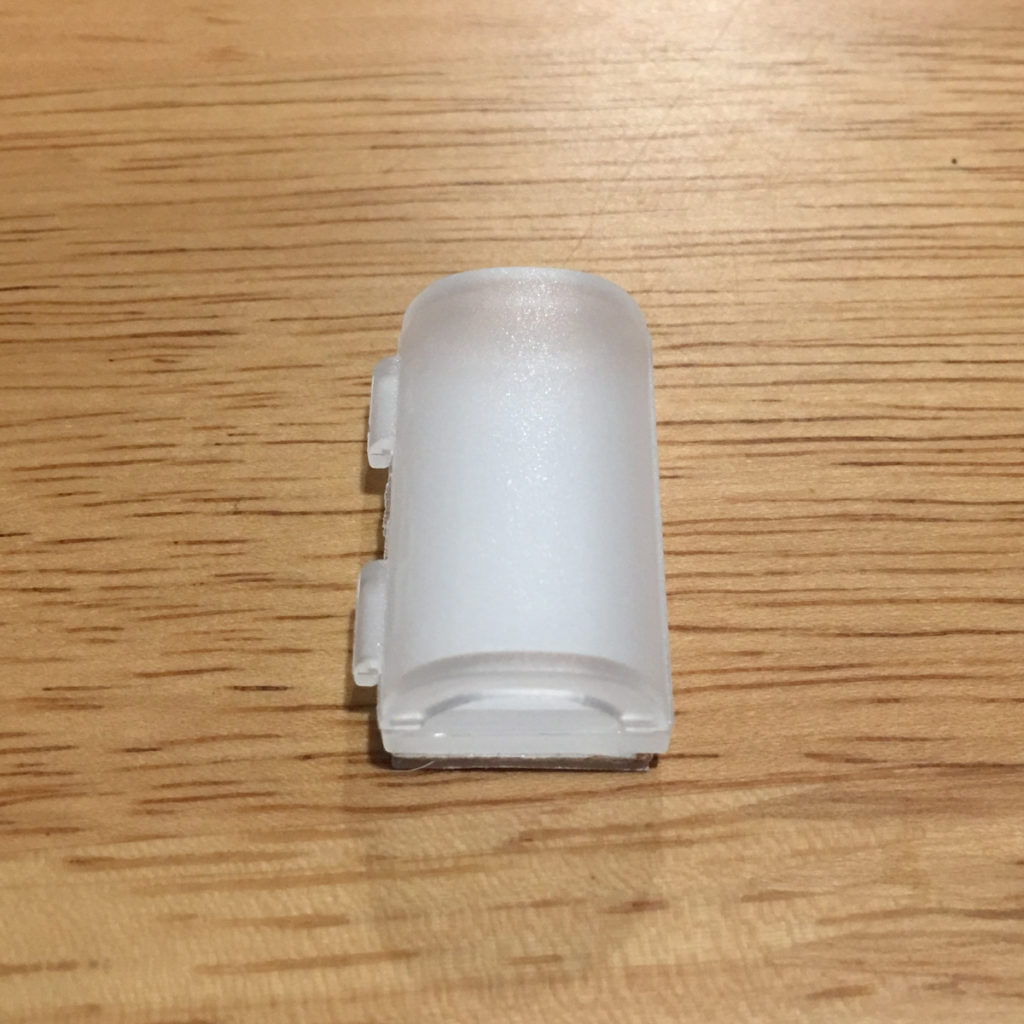
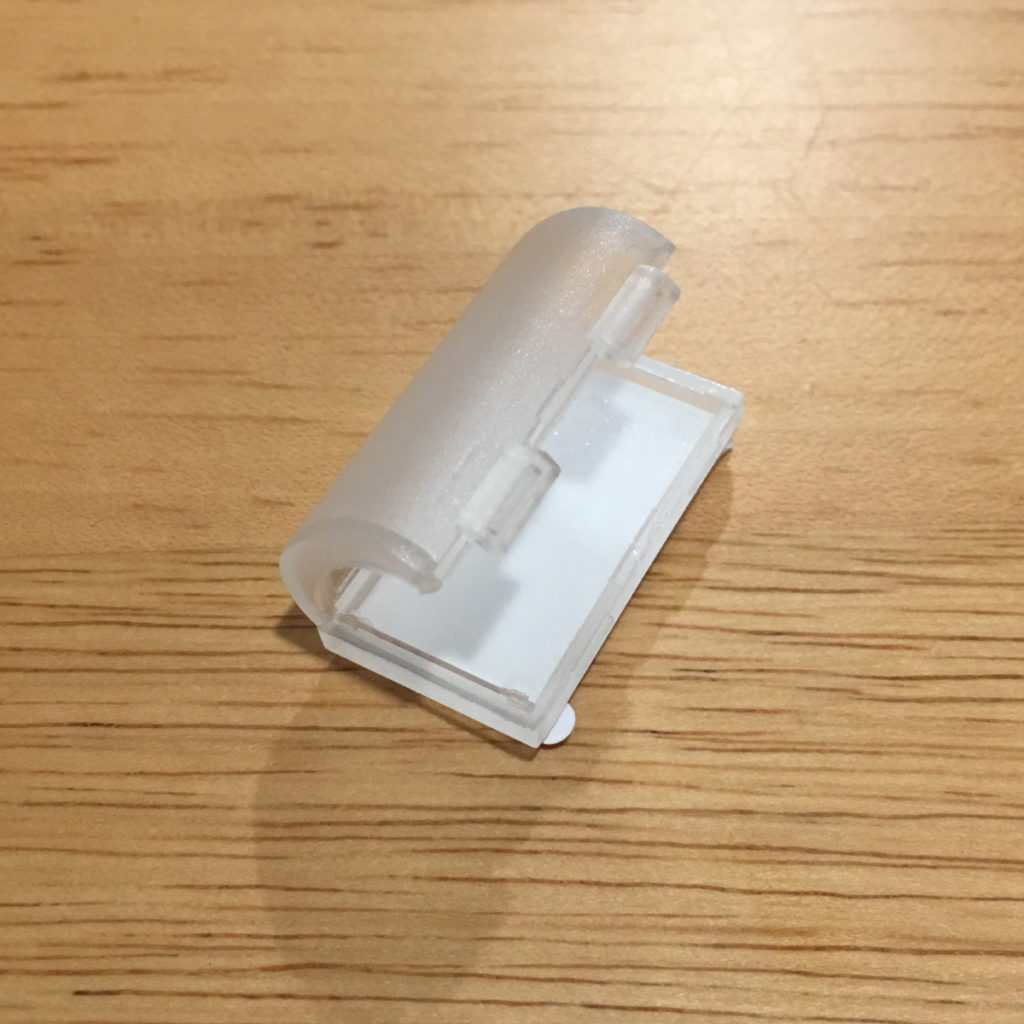
To keep the main strip and the extension from being disconnected from each other, every extension pack contain a small clear plastic clasp that holds the two halves together. The clasp also comes with a small piece of double-sided sticking tape like the strips themselves.
INITIAL SETUP
This is HomeKit compatible (as I keep stating, sorry) but installing this strip does initially have to be done via the Mi Home or Yeelight apps, both of which you’ll need to set up an account with. Setting the device up is quite easy via the aforementioned apps. If you’re already invested in the Xiaomi ecosystem, then for the light strip to work with Aqara or Mi sensors for example, just set it up in the Mi Home app, and it should then appear in the Yeelight app after you’ve installed it anyway. The YouTube video above goes into the setup procedure, so I won’t cover it too much here, but essentially the procedure is thus;
- Open the Mi Home app and click on the plus icon at the top
- Go to the Lighting section and choose Yeelight Lightstrip Plus (due to the app cutting off text, it won’t show the whole name, but the image is of a light strip curled up in a circular fashion
- You then follow the on-screen instructions, which involve resetting the device with the controller and sharing your network details with the light strip to get it to connect
- Once done, the light strip will be added with you being asked to choose a room for the strip, as well as name it.
- If the firmware is up-to-date (not likely in fact), then you may see the option to add the strip to HomeKit, which I’ll cover a little later.
- Once that’s all done, the light strip will appear in the Mi Home app for you to control
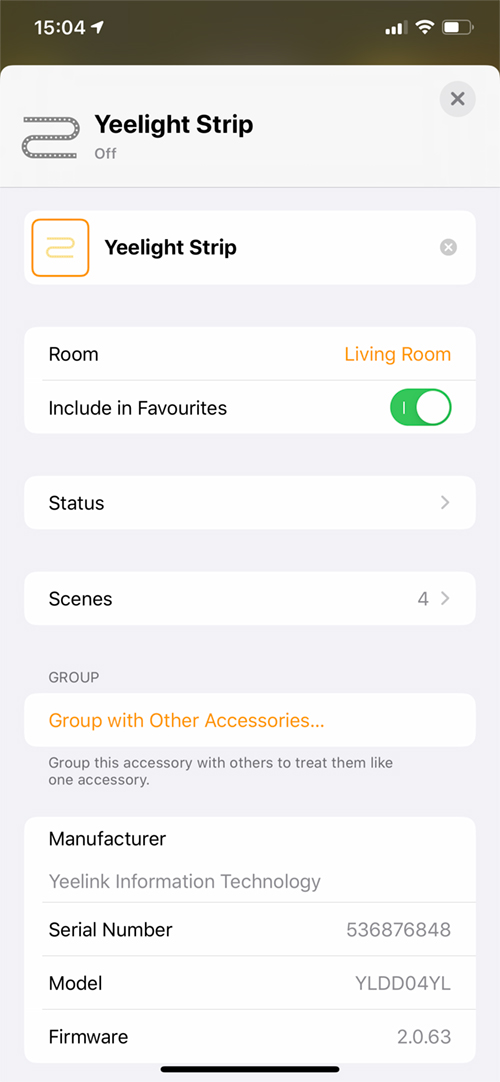
When it comes to getting the strip exposed to HomeKit in the Mi Home app, first of all make sure the firmware is update to at least 2.0.6_0063. If your fully up to date, then you may well get an on screen notification, letting you know that it has been discovered and will guide you through the process of adding it to your HomeKit home. If not, the procedure is almost identical except you have to initiate the procedure yourself, which is as follows;
Mi Home app
- Once installed, long-press on the light strip tile until the tiles start to wiggle.
- Press the HomeKit icon on the bottom of the screen
- Select your HomeKit ‘Home’ (if you have more than one, you choose which one)
From there you will go through a similar procedure to a standard HomeKit installation, minus the first part where you’re required to scan a HomeKit QR code, as there isn’t one, which is the reason why you need to install the light strip via the Mi Home or Yeelight apps first. Once installed, the light strip will be added to your Home as standard.
As this doesn’t work with HomeKit at present, the next best option is to use Siri Shortcuts, which I’ll go into later.
Yeelight app
- Once installed, select the Devices tab, and then select the light strip from the list of devices
- Press the Settings icon in the top left hand corner of the screen
- Select the ‘Add to Home’ option from the list of choices
- The next screen asks you to ‘Add Accessory’, where you then click the ‘Add now’ button
- Select your HomeKit ‘Home’ (if you have more than one, you choose which one)
As with the Mi Home app, you will go through a similar procedure to a standard HomeKit installation.
IN MI HOME AND YEELIGHT APPS
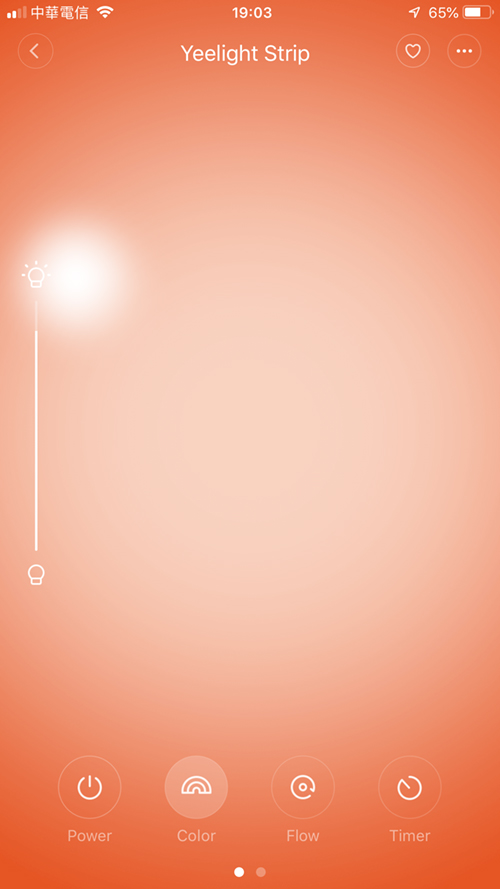
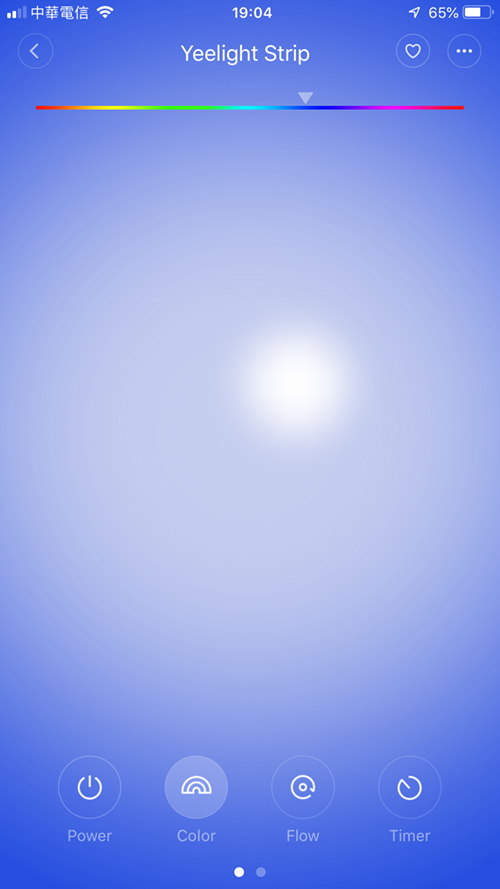
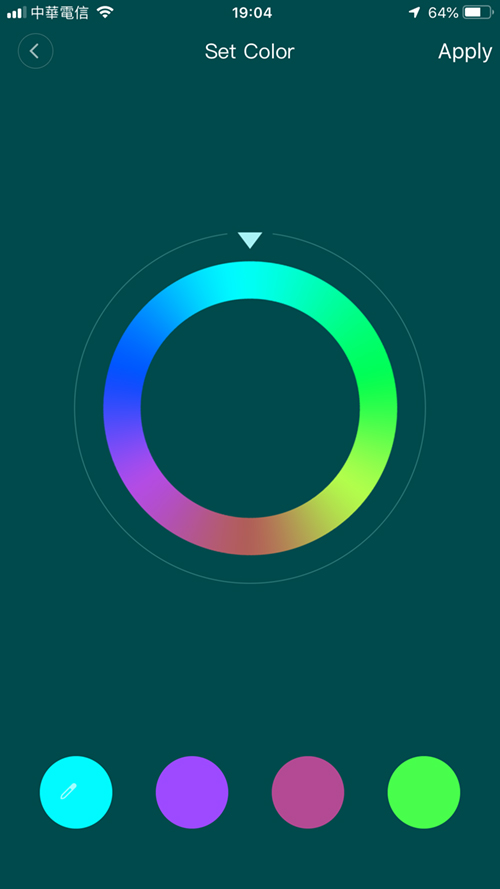
Once I’d gotten the light strip up and running and in place, controlling the light strip via the Mi Home app was quite simple, with a press of the relevant tile. You’re taken to a screen that shows the current colour the strip is set to if it’s on. If the light strip is off, then you see what seems to be a depiction of the night sky! The bottom of the screen has four icons; Power, Colour, Flow and Timer. The power icon simply turns the strip on or off, with colour being the option available when the strip is on. Flow allows you to choose four colours and have the strip cycle through these colours. Finally, Timers allows you to quickly set a countdown for the strip to turn off. The default is set to 15 minutes, but you can change this in the settings page, which is accessed by pressing the three dots icon in the top left of the screen.
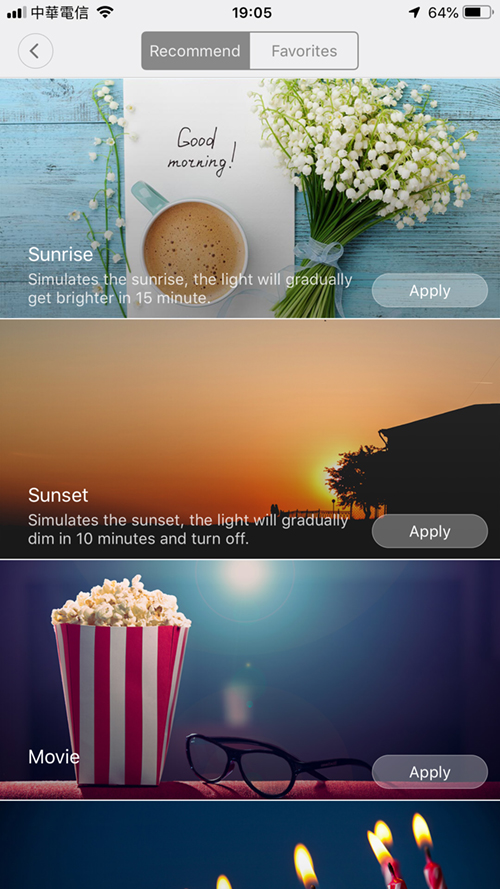
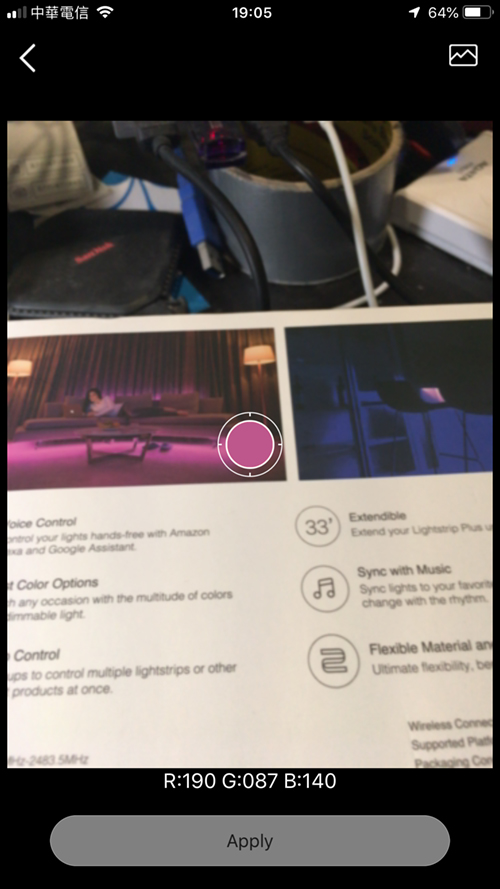
If you swipe right with these four icons, you get a further two options. Favourites and Snap. In Favourites, there are two further options, with the first, Recommend, giving you a selection of special preset scenes, with names like Sunrise, Movie or Night Mode, for example. The other tab, labelled favourites, is where your favourite colour scenes will be stored for recall at any time. Snap allows access to your phone’s camera which can then sample any colour that the camera sees, in order for you to replicate a colour you see, be that a favourite sweater, a specific wall colour in your home, or even product packaging.
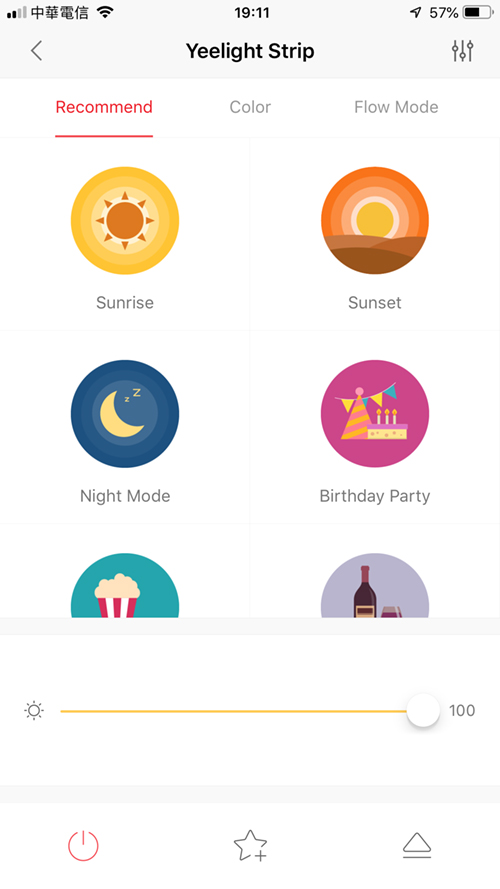
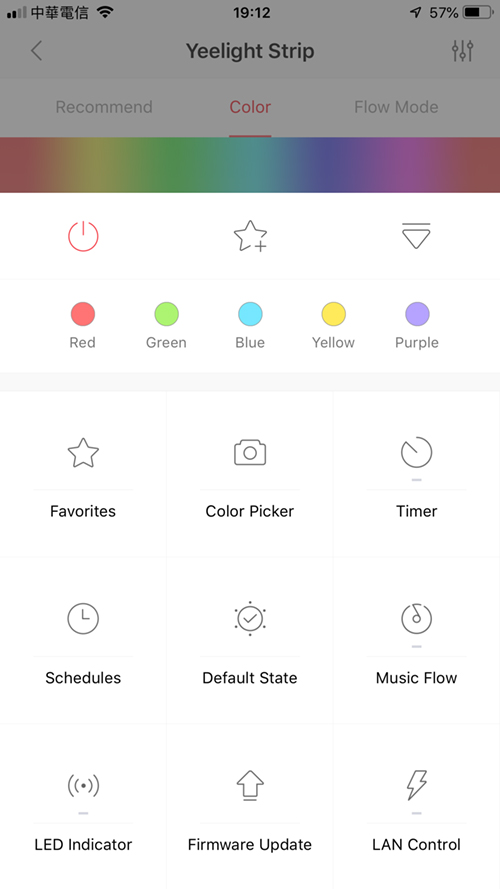
The Yeelight app, whilst outwardly different, offers many of the same features, although you can set 5 colours in the Flow mode, as opposed to 4 in the Mi Home app. The app also offers an option called ‘LAN control’, which in the words of the app “…will enable third-party control protocol. Users can discover and control LED devices by using the provided protocol.”. This isn’t something for the average consumer to engage in, but may be of use to programmers or app developers.
IN THE HOME APP
Assuming you’ve updated the light strip and gone through the procedure outlined earlier to get it exposed to HomeKit, the strip will appear just like any other HomeKit Light strip or colour bulb, with all the same options, so it’s fairly regular and nothing out of the ordinary in this respect.
DAILY USE/FINAL THOUGHTS
I’ve got a couple of Yeelight Tunable white bulbs (2nd gen) in the kitchen, and so I’ve already had a taste of the quality that Yeelight can achieve, which with the bulbs is fantastic, so I wasn’t at all surprised to find the same to be the case with the light strip. The one thing I have found strange and disappointing is that nowhere on the box or in the manual is there any mention at all of the lumen count for the strip. As a totally inaccurate guess, I’m going to suggest that the light strip is around 200-300lm per metre, but don’t quote that as fact, please. Every other light strip I own or have owned has been straight about this, so it seems a little suspect that it’s not included here. Nevertheless, the strip is as bright as I’d like, given that to my mind, light strips are mood lights and are there to enhance the main lighting, as opposed to replacing it. Others may disagree, but I find no need to have, for example, red strip lighting too bright.
Now that HomeKit support has arrrived, there are occasional instances where, for whatever reason, the light strip shows as ‘not responding’ in thr Home app, which is odd, as at the same time, they function and respond without an issue in the Mi Home or Yeelight apps, so there seems to be an issue with syncing between the apps. If this does happen, simply power cycling the strip seems to do the trick, and it works as normal again in Home. Hopefully these are just teething problems with the new way in which Yeelight products without HomeKit codes are added to HomeKit, and I fully expect that an update will follow soon enough to address this. Now that HomeKit support for this and the other updated Yeelight products that were mentioned by Yeelight at their press conference are here, I can see myself easily buying more of these, as they seem reliable (with the exception of the current HomeKit bug), easy to use, and despite the lack of info on the lumens, are actually quite decent in terms of brightness and colour richness.
Full disclosure: Gearbest provided HomeKit News with the Yeelight Light Strip Plus for the purpose of this review. No other compensation was made or requested.




If you had to pick a lightstrip, would you go for a Vocolinc LS2 or Yeelight plus? I’ve already got a vocolinc LS2 but am considering the yeelight instead. I think I prefer the yeelight app and seems to be built better. How does the brightness/colour richness compare?
Hi, honestly there’s not a lot of difference between them aside from things like how they connect and the power supply, but if I had to choose, it would be the Yeelight. The colour transitions are smoother, and you can extend the Strips more than the LS2. As for brightness, they’re about the same visually, although Yeelight haven’t published the lumens for their strip.
I bought a couple of these along with several meters of extensions. The firmware update did take a few tries on one of the strips, but after that it shows up in HomeKit.
In terms of quality of the light (richness of colours, dimming, consistency of colors while dimming), the Philips Hue strip is better, but this is so much cheaper, that I’ll live with it.
I did notice some flicker in Flow mode while switching colours and brightness but its not too bad.
The other strip that I have is the one by Koogeek and the Yeelight plus is much better in terms of light quality and being extensible.
Does it remember color, brightness and ON/OFF state when power dies?
I’d like to plug it into remotely controlled power strip and I want to make sure it will turn on automatically with previous setup when I turn the power back on.
Hi Martin
in the settings within the Yeelight app, there are options for the light strip to turn on automatically when power resumes, and an option to save the last light state or set a default light state.
Great! Thanks a lot!