Koogeek A1W Environment Monitor (review)
In today’s world, there’s no getting away from the fact that, in many parts places the air we breathe is more polluted than we care to admit, and as such we need to keep a keen eye on levels of pollution in the home as much as outdoors, if not more. In particular, many people are under the misconception that simply closing your windows is enough to protect yourself against PM2.5 – it’s not. If you’re unaware of what PM2.5 is (particulate matter that is 2.5micrometres in size) very, very fine matter that can get very deep into our lungs, and then into our bloodstream, causing, over time, a lot of irreversible damage. I won’t get into the details, as it’s pretty sobering, but if you are interested, you can check out the Wikipedia entry for more information.
So whilst there are plenty of things you could do help mitigate the effects – air purifiers are one example – it’s always good to know when levels get higher than they should, and this is where devices like the Koogeek A1W Environment Monitor can help. It has sensors to pick up both PM10 and PM2.5, as well as sensors for temperature and humidity – high or low humidity left unchecked can cause health problems too in fact. It also has other sensors, which I’ll touch on later, but for now, the unboxing…
UNBOXING
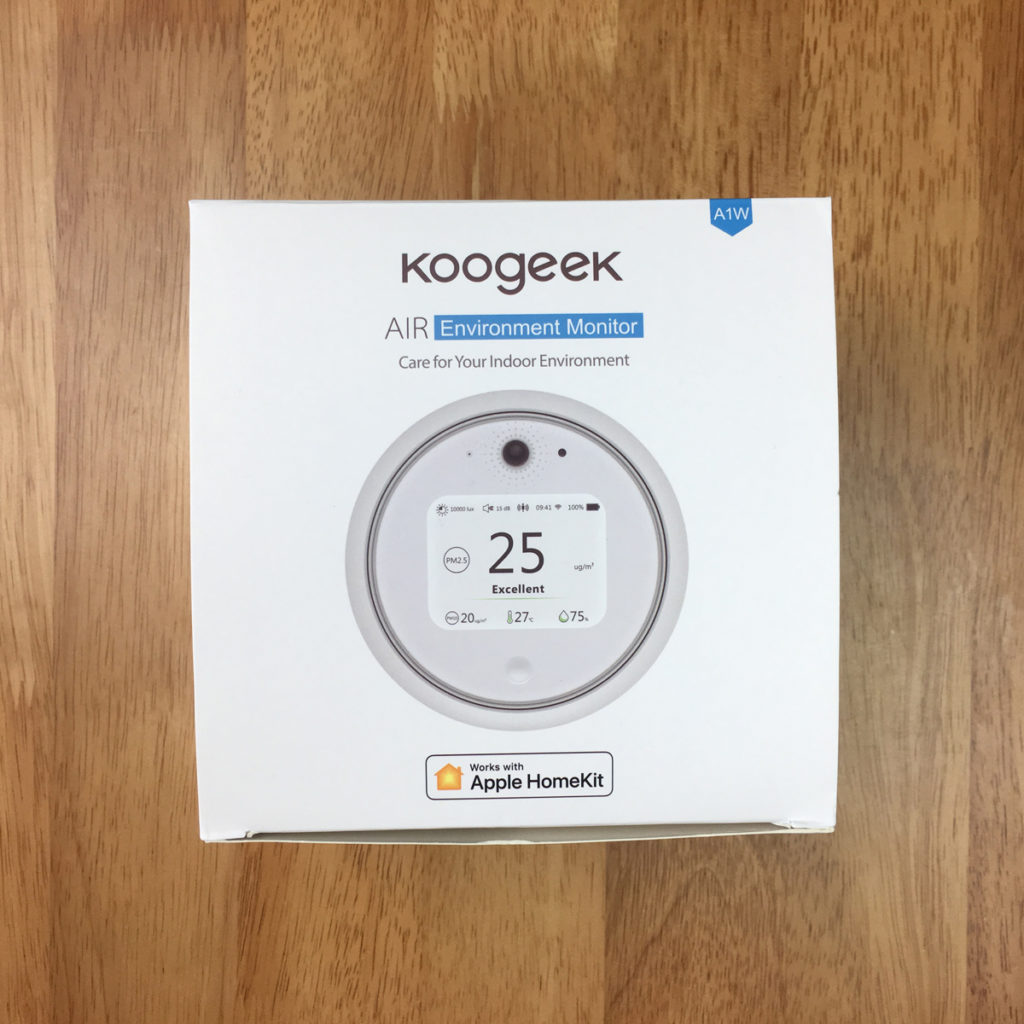
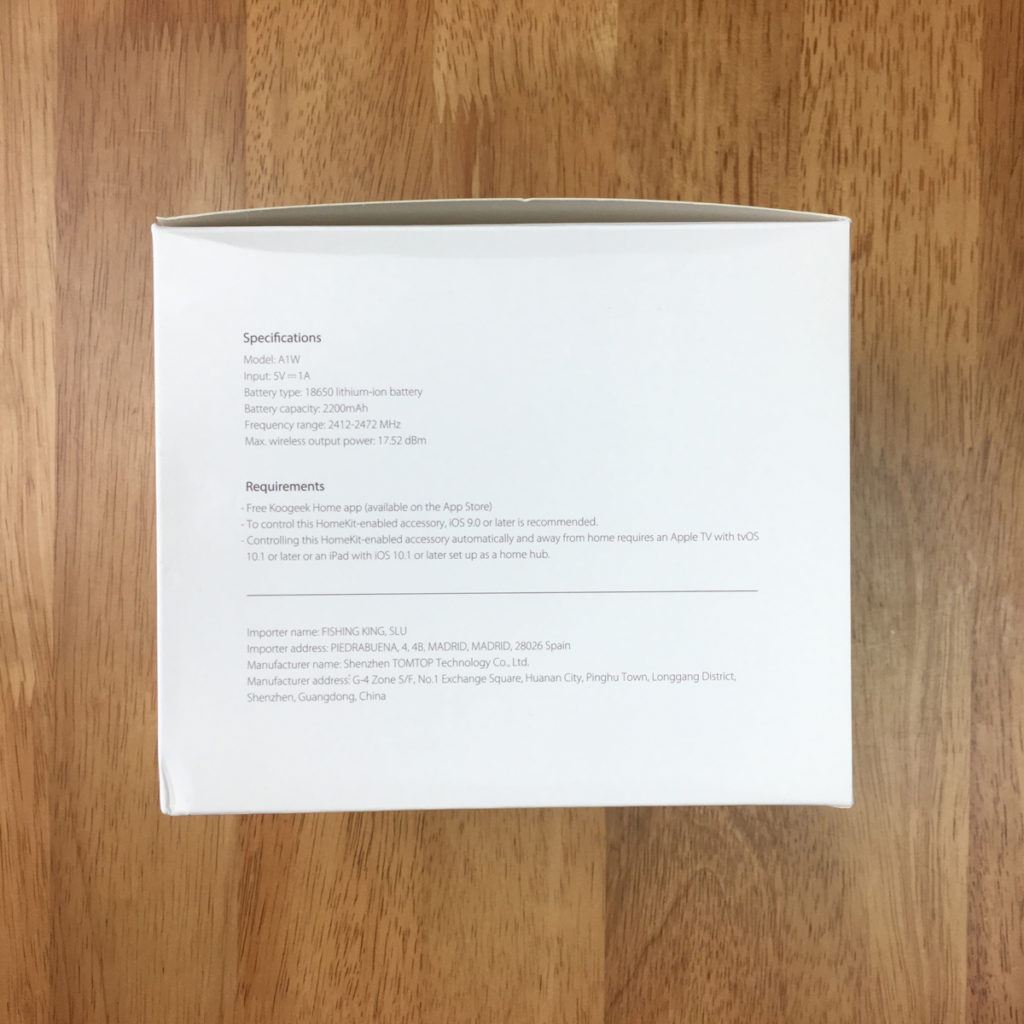
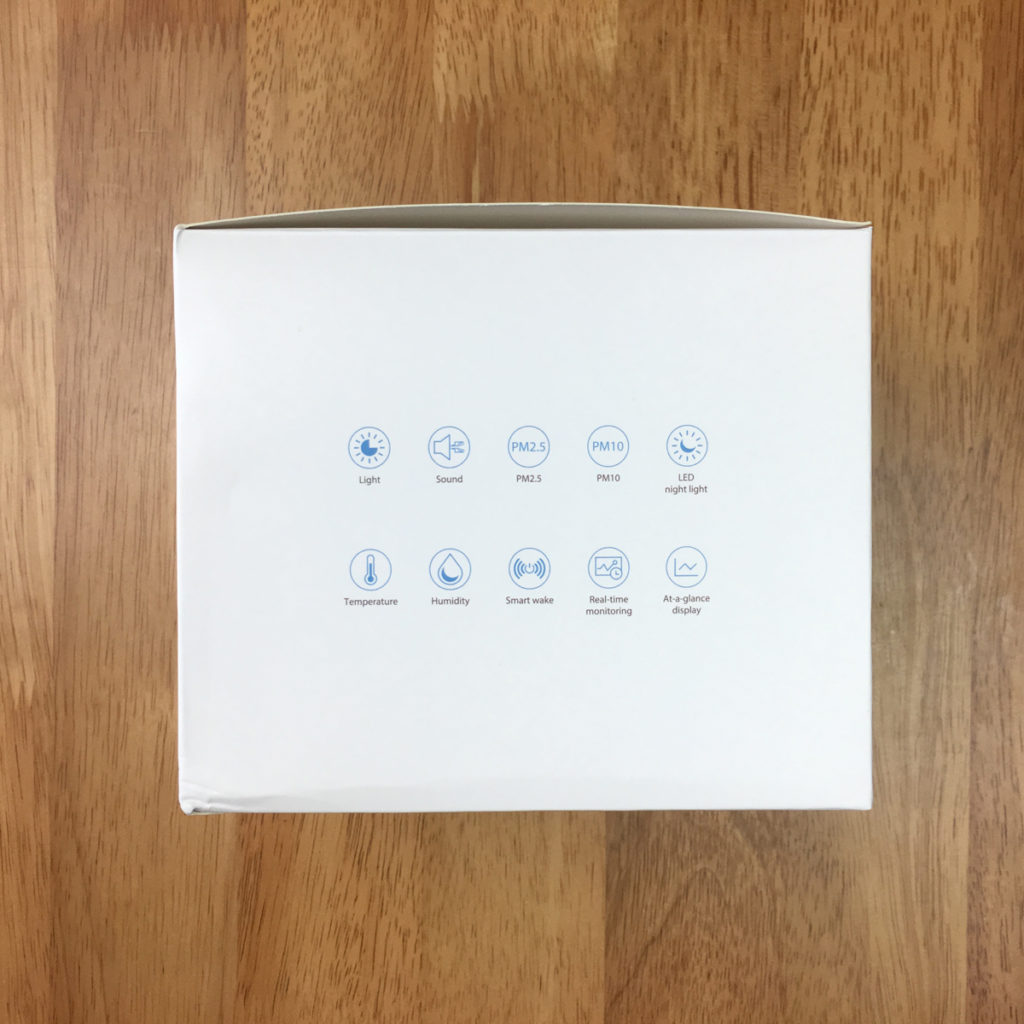
A short while ago I reviewed the Koogeek FL1 Fingerprint lock and I mentioned that a copy of the homeKit code was stuck to the outside of the box, which was a bit strange, to say the least. Well, with the A1W they did it again! I can’t see the logic of doing this when they could just as easily stick it to the inner of the lid, as Vocolinc do. Aside from this anomaly, the packaging for the A1W is much the like the FL1, with the same overall design; product on the front in a minimal way, along with the HomeKit badge, and specs on one side, and bulleted features on the other side, with icons for each function;
- Light (ambient light sensor)
- Sound (sound sensor)
- PM2.5 (sensor)
- PM10 (sensor)
- LED night light
- Temperature (sensor)
- Humidity (sensor)
- Smart Wake (function)
- Real-time monitoring (selling point)
- At-a-glance display (selling point)
I’ll come back to them shortly, but there’s certainly a lot there to sell itself to a casual shopper.
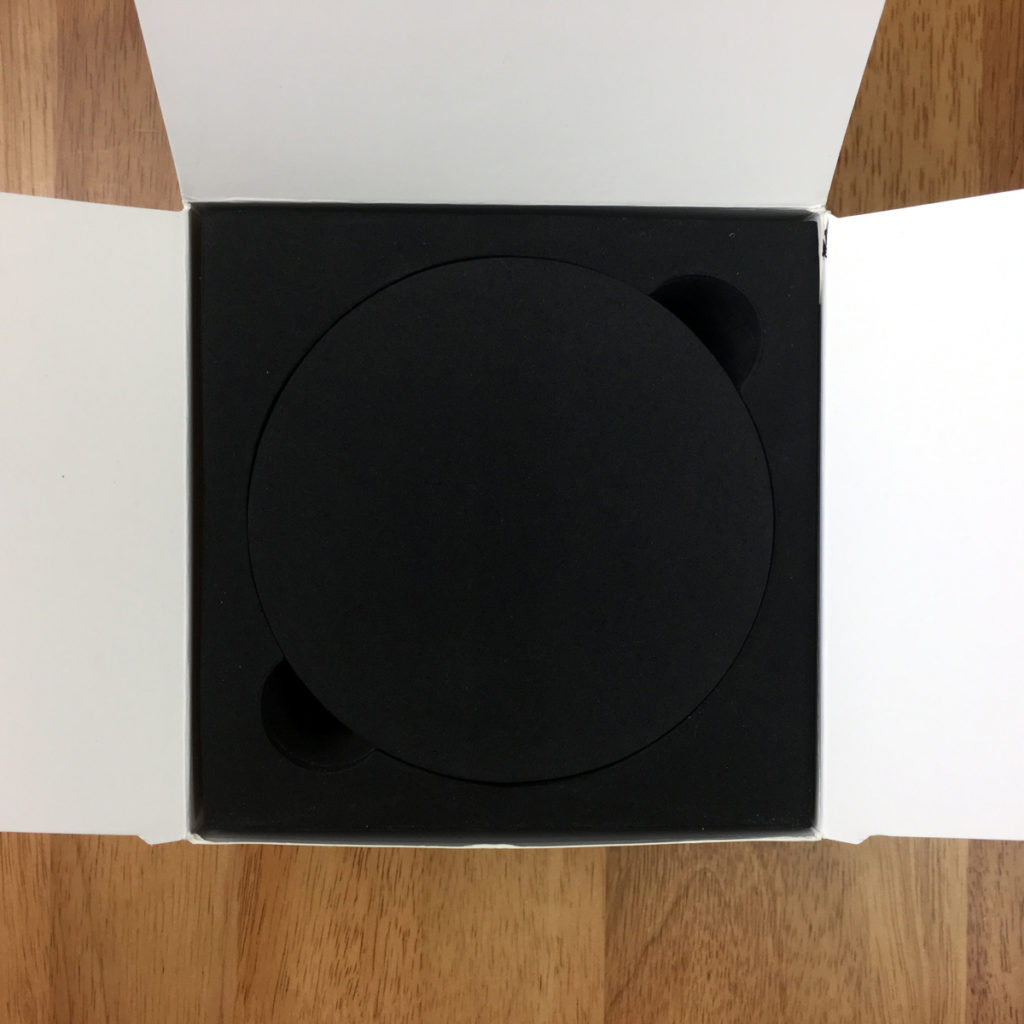
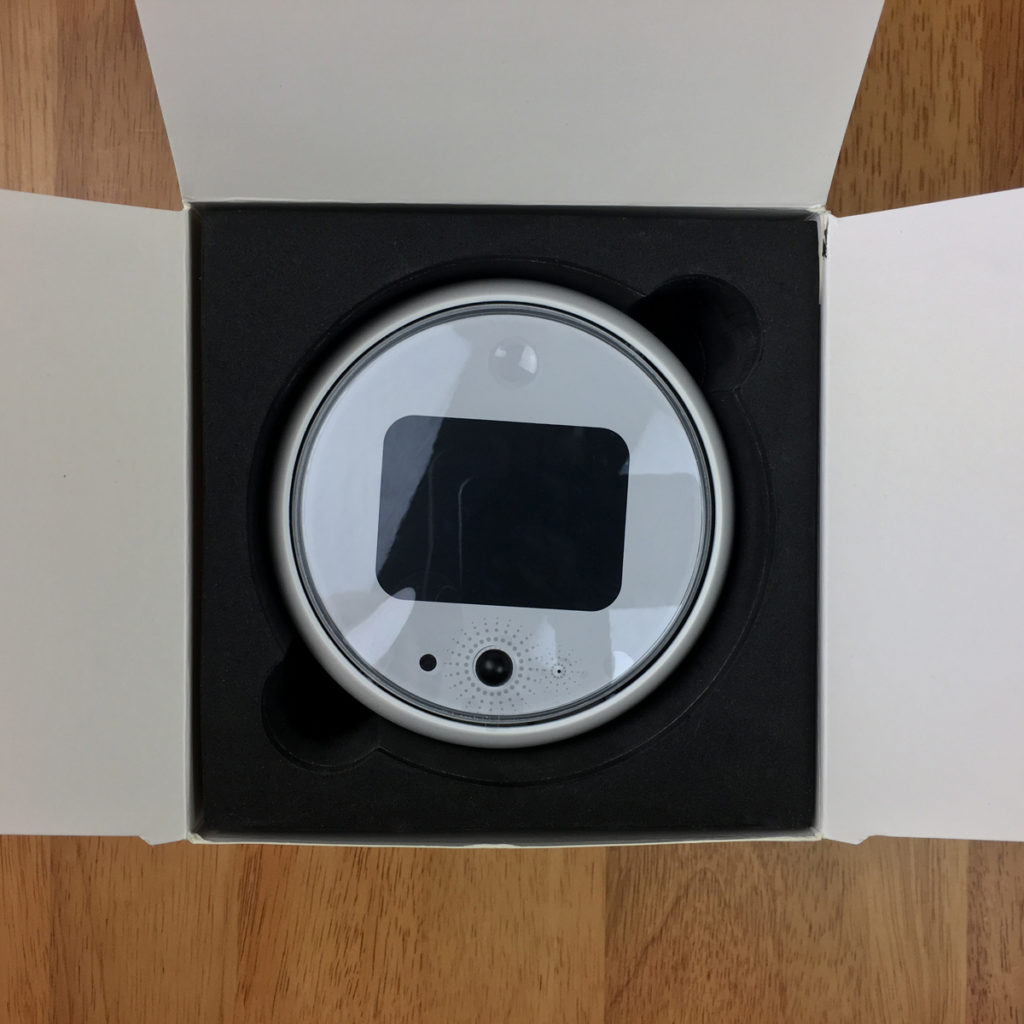
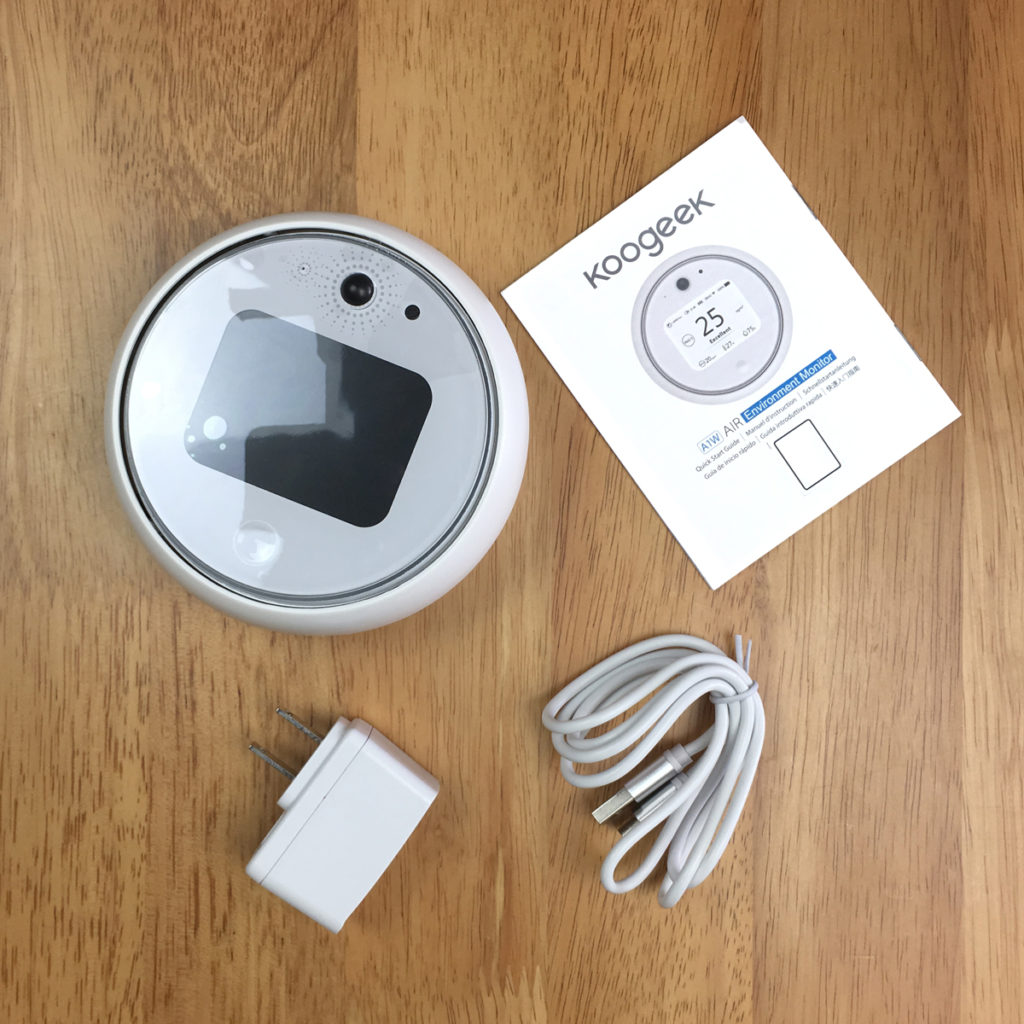
Upon opening the box, as with the Smart lock, Koogeek has wisely chosen very dense, impact resistant foam rubber to totally enclose the device. This is great, considering it’s protecting something a lot more sensitive than a padlock, with a lot of sensors inside. After lifting the small circle of foam rubber, you get the device itself, complete with a plastic film protecting the screen. All good so far!
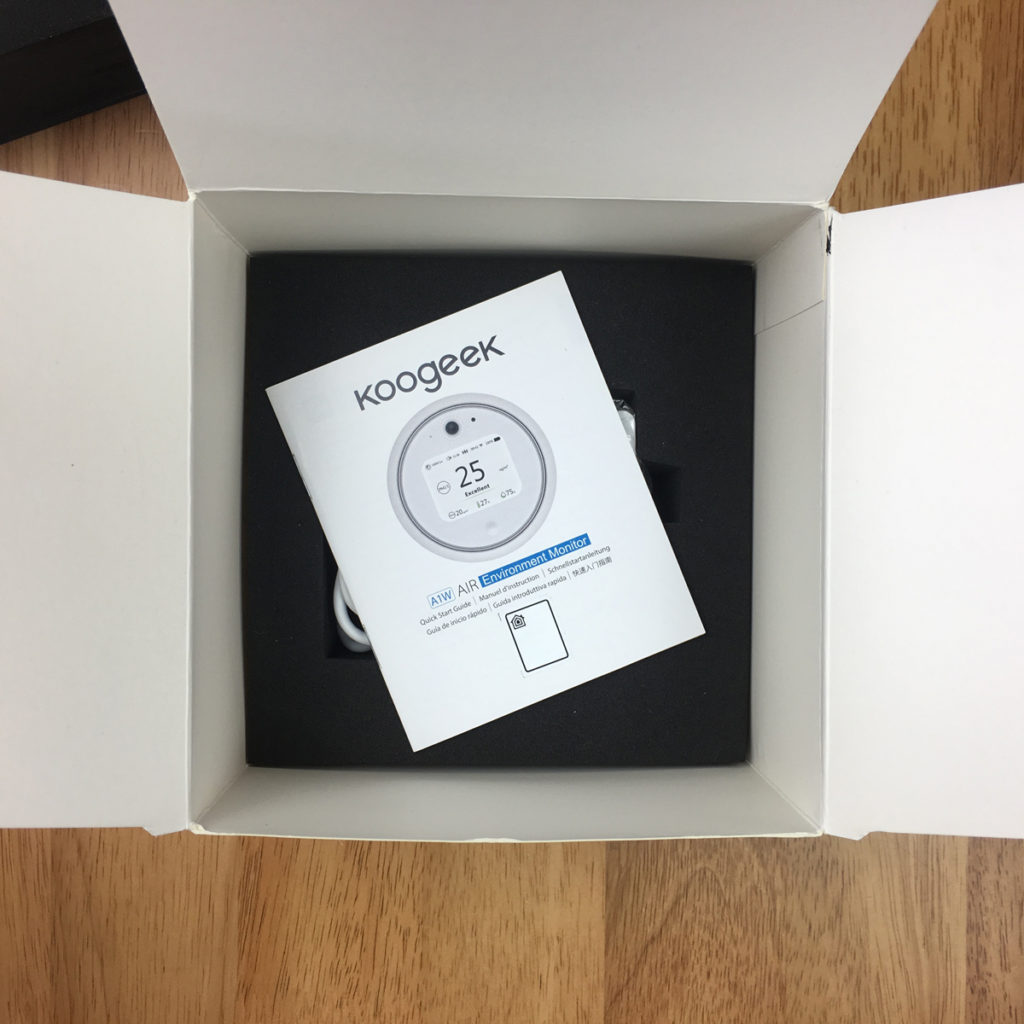
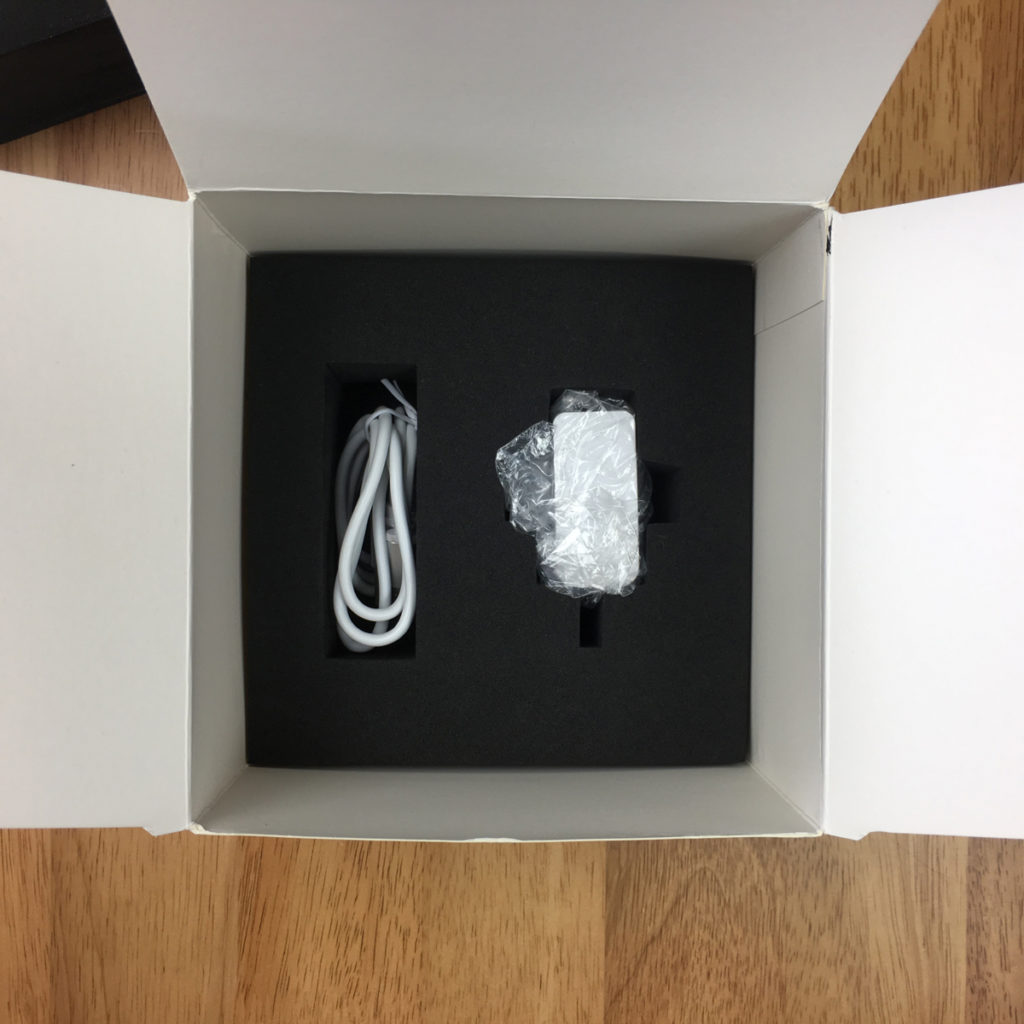
Underneath the first main level of foam, you’ll find the manual, complete with HomeKit code (the second of three). The manual comes translated into six languages – English, French, German, Spanish, Italian and Simplified Chinese. Beneath that is a USB-to-micro-USB cable and a rather bland and cheap looking USB power supply. The A1W has a built-in battery, so you don’t always need it constantly plugged in, but given the number of sensors it contains, the battery isn’t going to last too long, so it’s better to keep it permanently powered if at all possible. Basic specs for the power are as follows;
- Input: 5V 1A
- Battery type: 18650 Lithium-ion
- Battery capacity: 2200mAh
- Frequency range: 2412-2472MHz
- Max. wireless output power: 17.52dBm
THE DEVICE
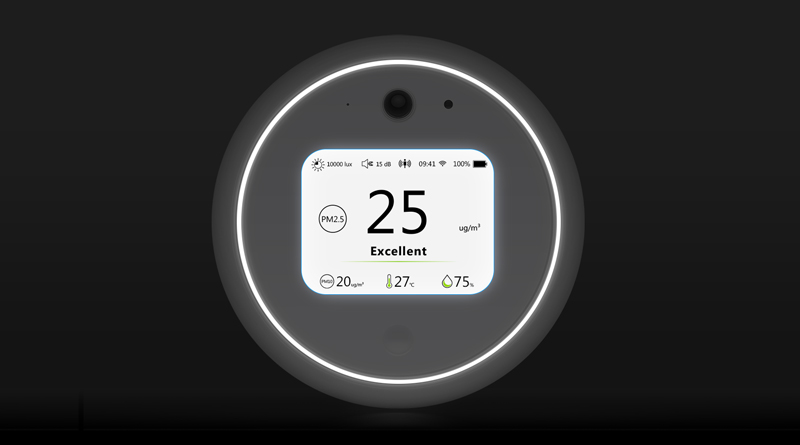
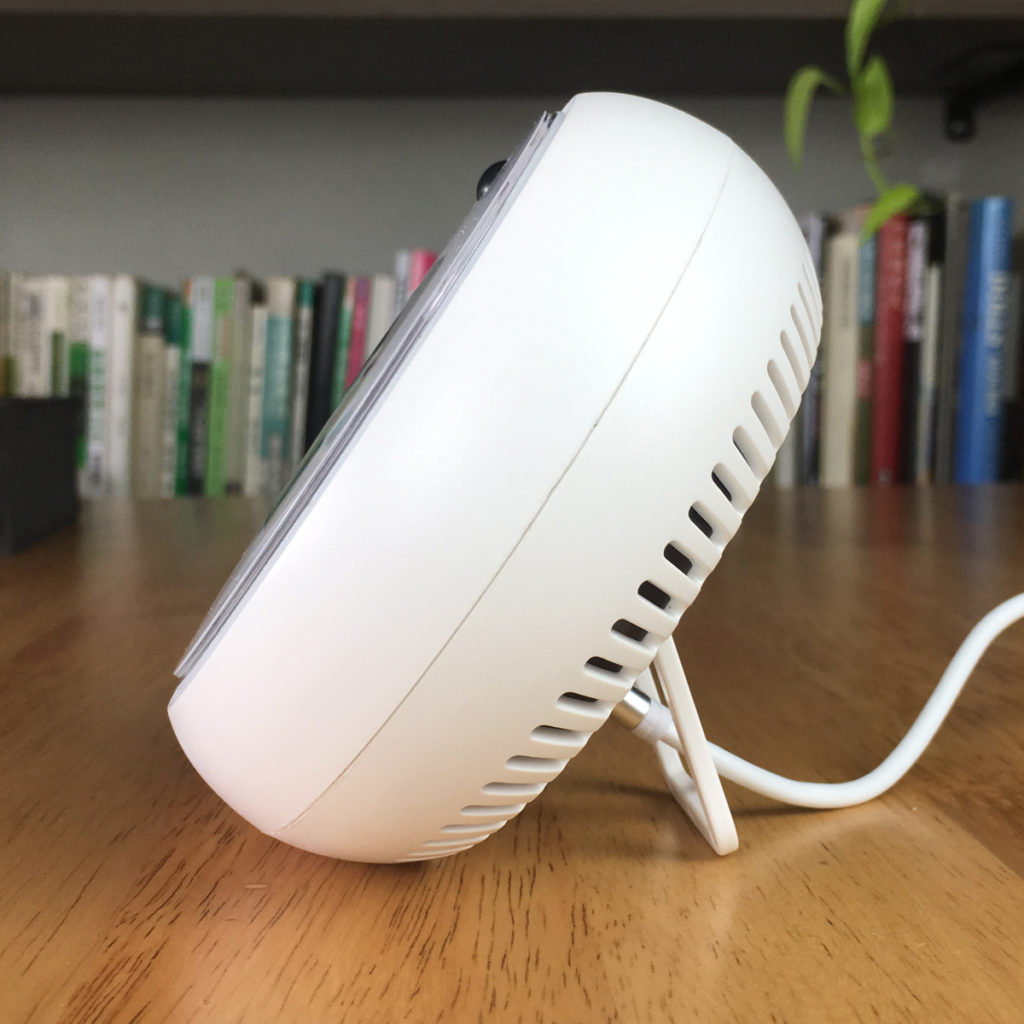
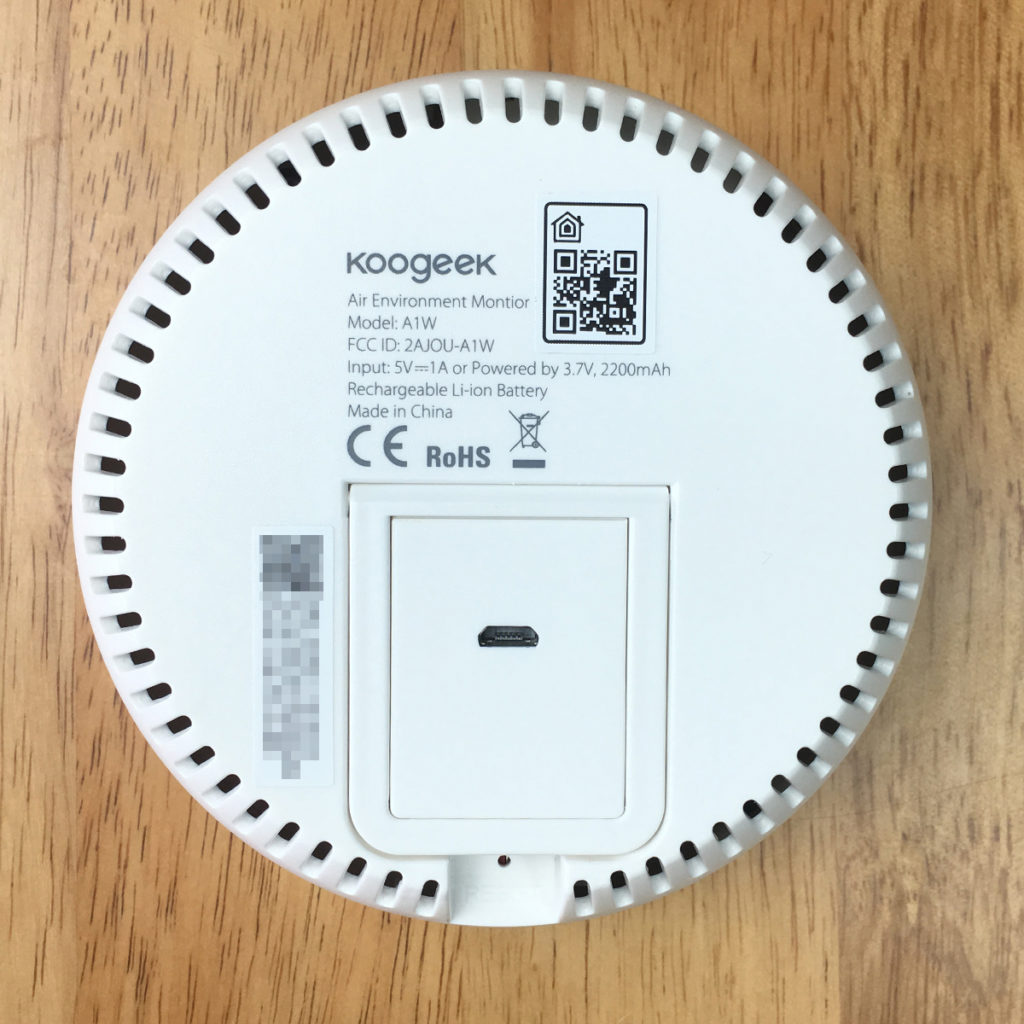
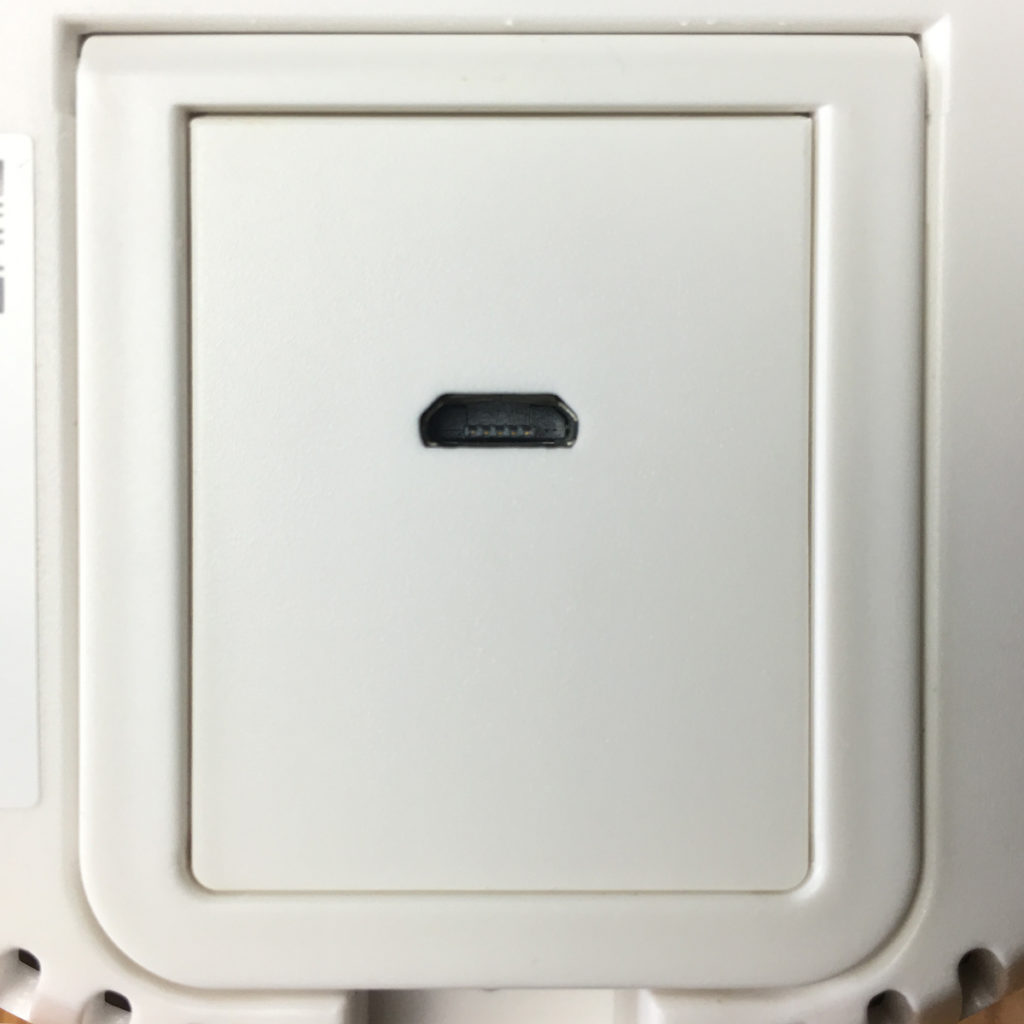
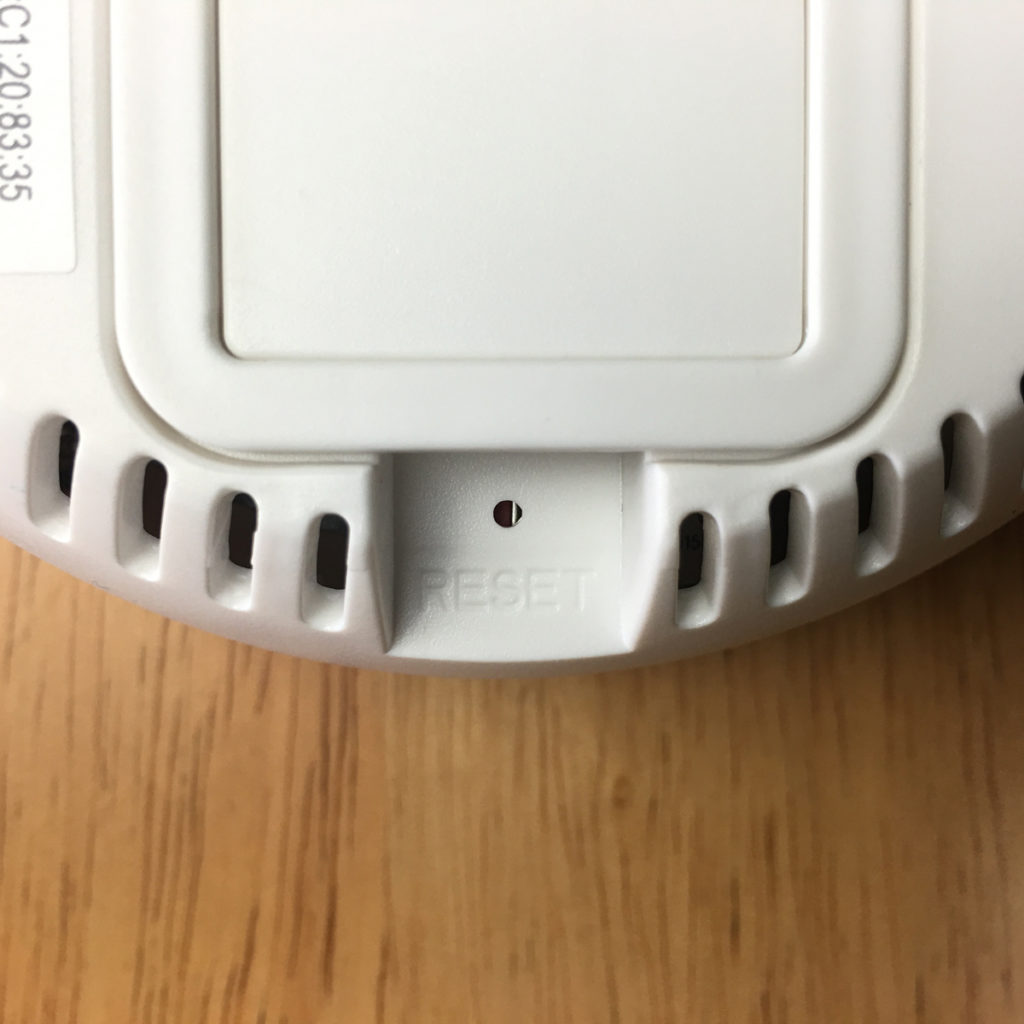
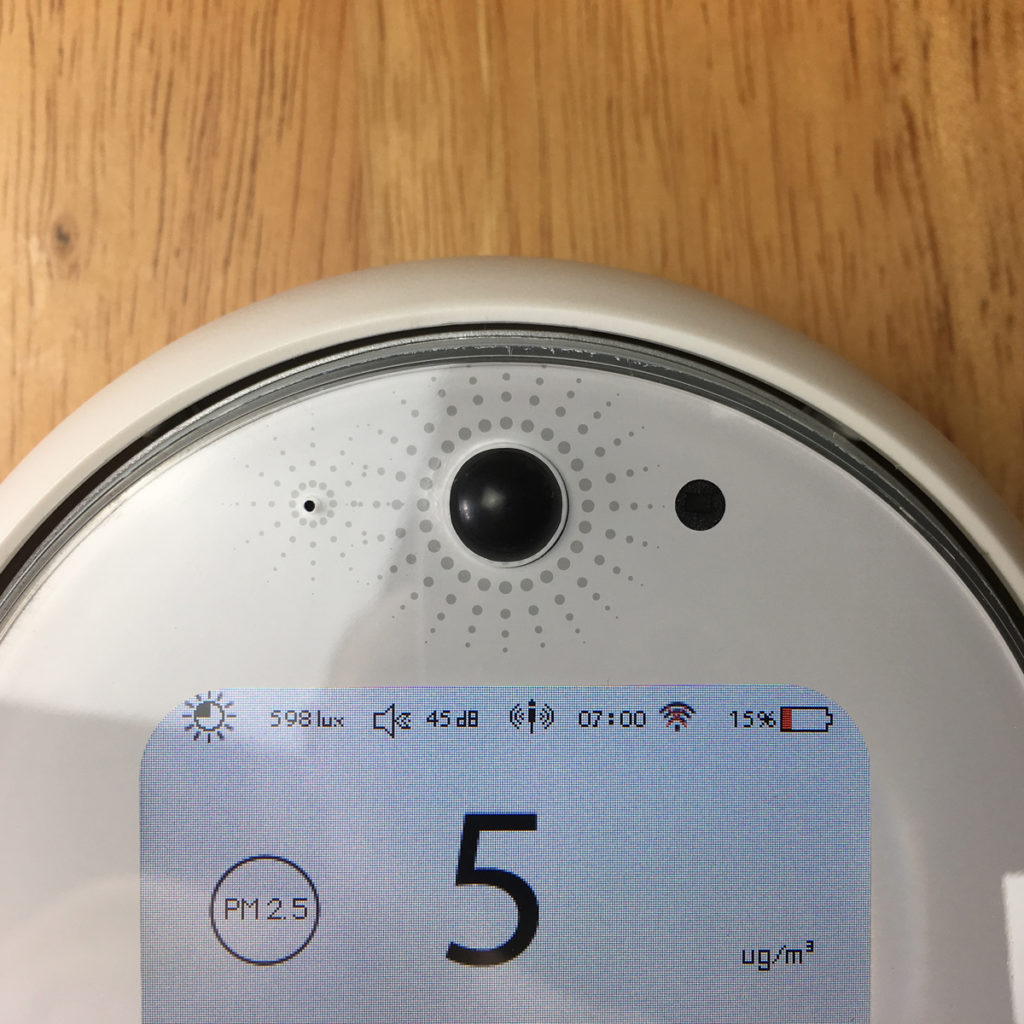
On first impressions, the device is fairly similar in many ways to my current PM2.5 monitor, the Kaiterra Laser Egg 2, although the Laser Egg 2 has a larger rear section, almost like the old, colour iMacs, whilst this is flat at the back, which is the reason for the kickstand. With the box and the manual each having a HomeKit code on them, the third instance of the code is to be found on the back of the unit, where you’ll also see the micro-USB port for charging/powering the device. The front of the device has the screen, which measures roughly 65mm/2.8in diagonally across. It’s nowhere near retina quality, but it has colour and does the job of displaying the data well enough. The device has a built-in fan that samples the surrounding air through the front around the circumference of the screen, and ejects the sampled air via the vents at the back.
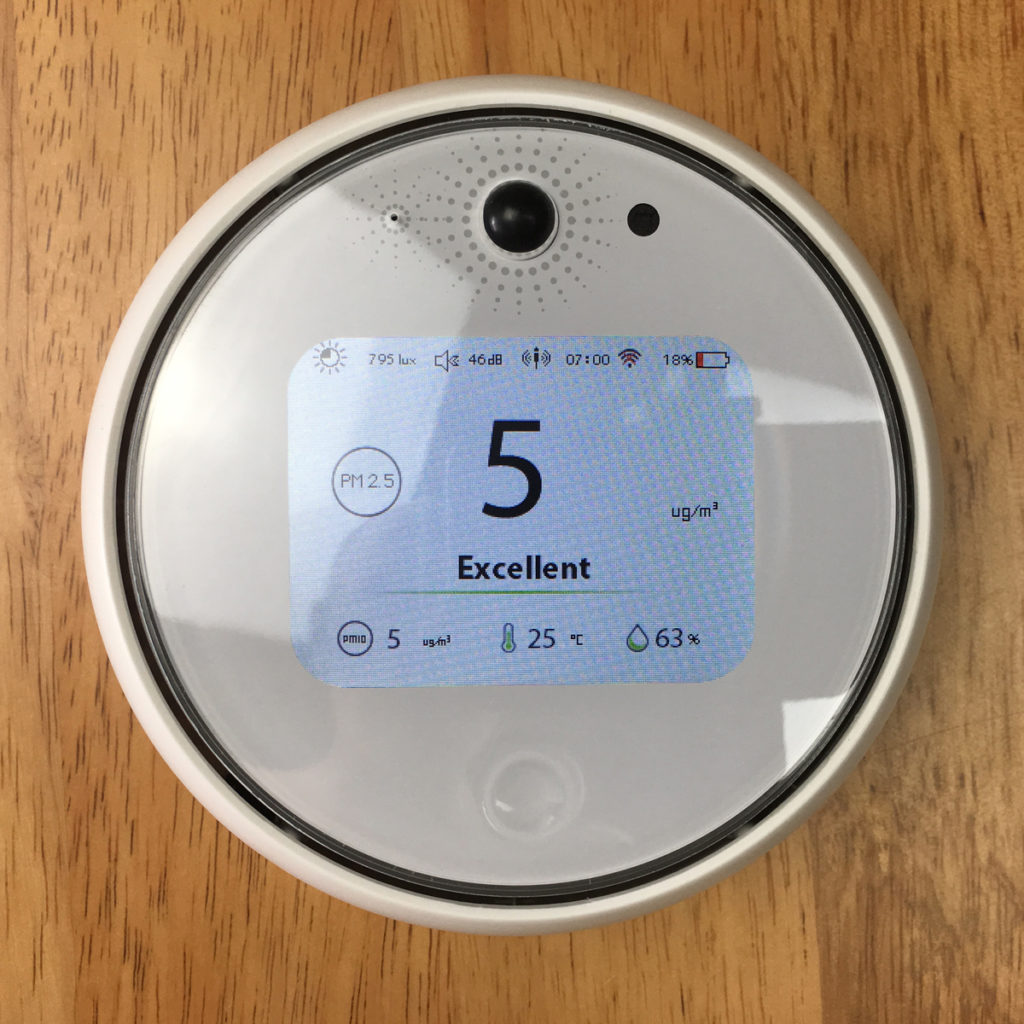
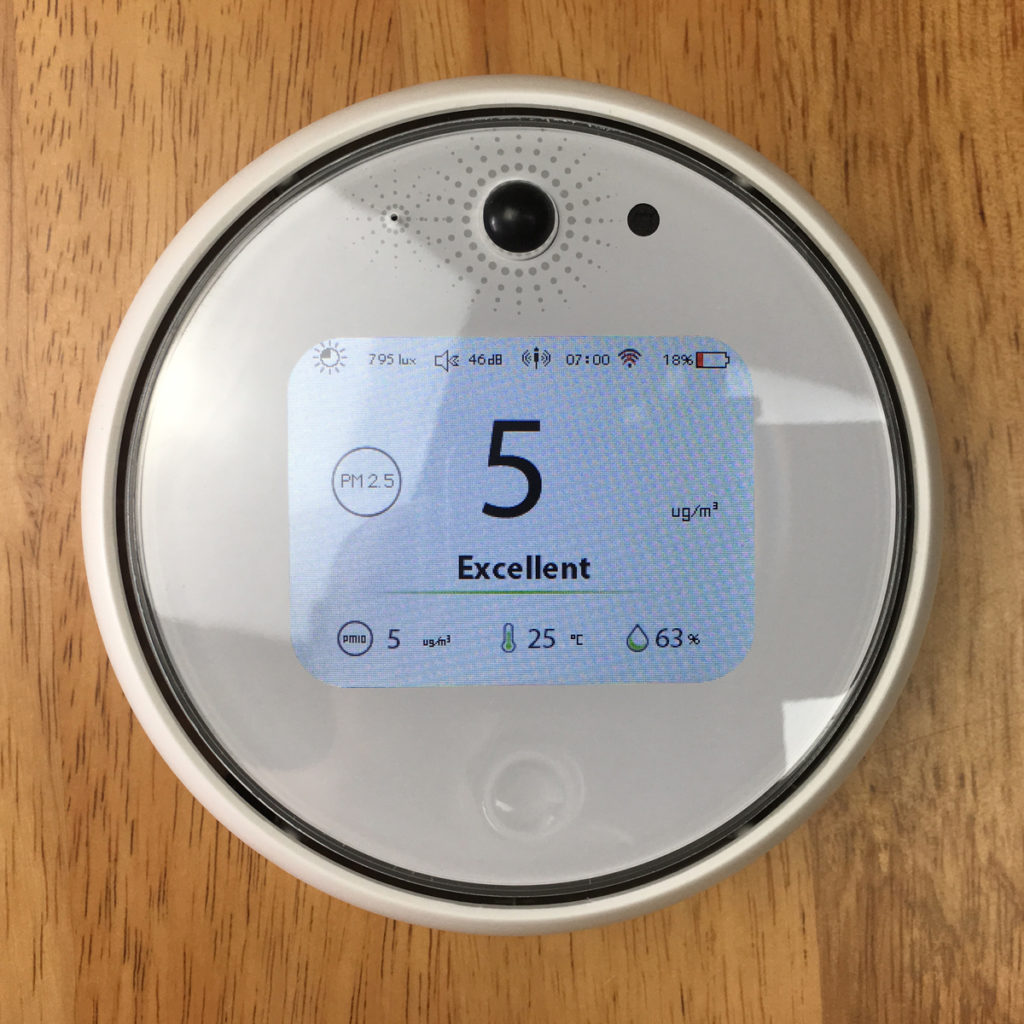
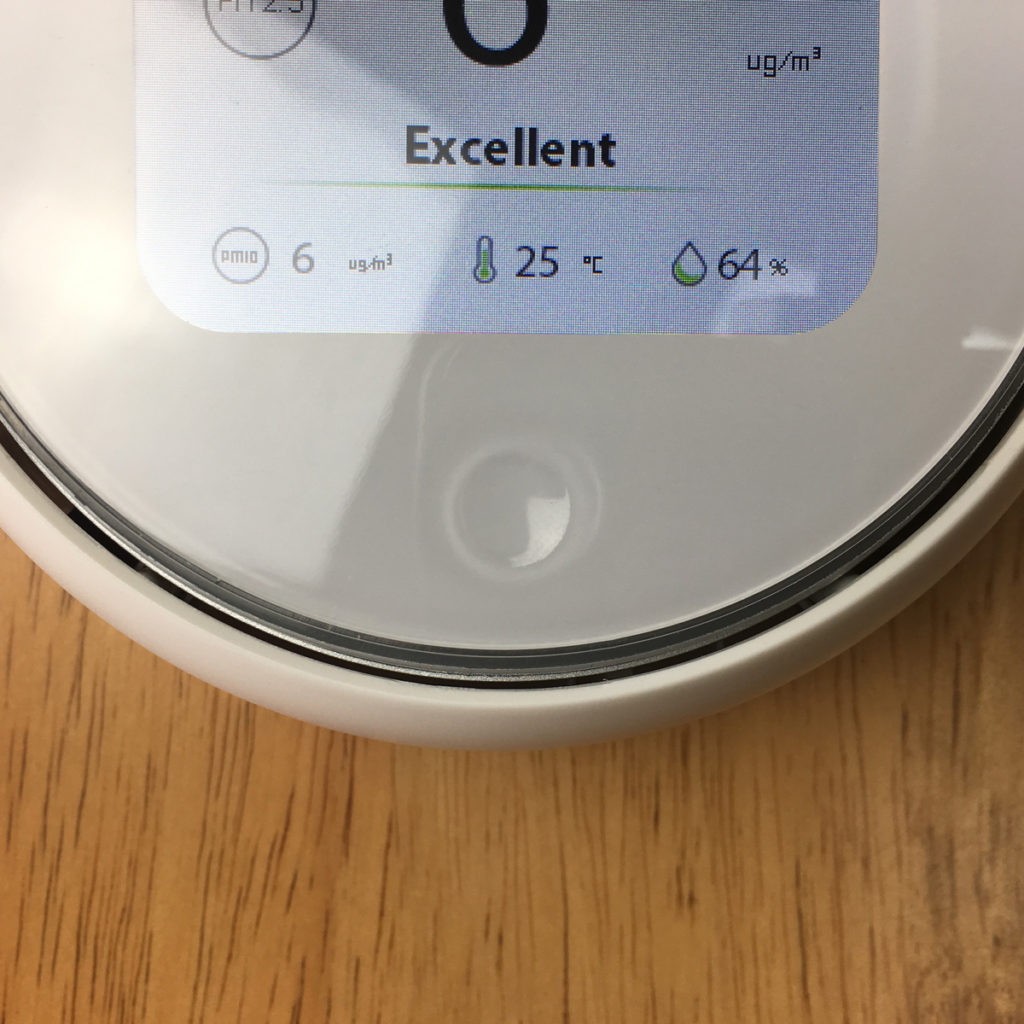
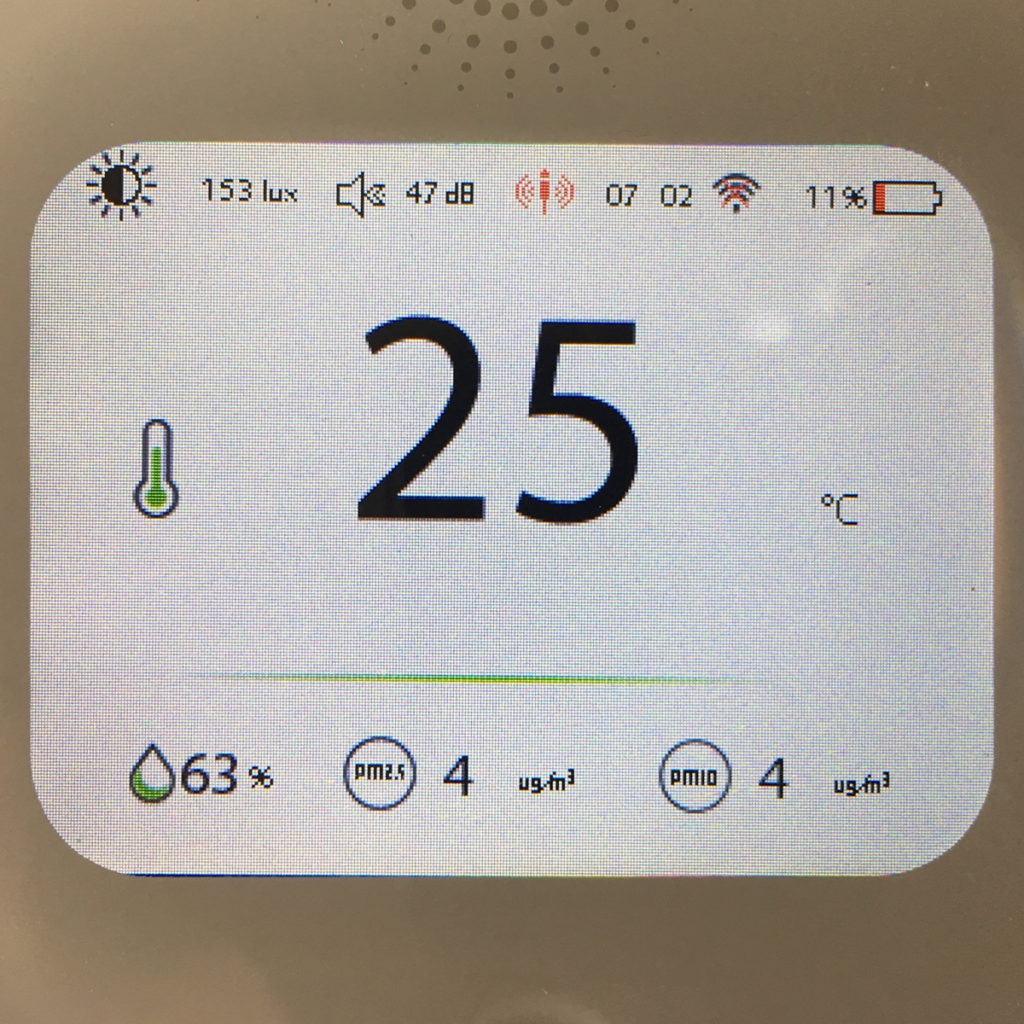
The front of the device is also home to the touch button, below the screen, which when briefly tapped, turns the screen on and changes the main number to switch between the PM2.5 level and the current temperature. The other levels will change around accordingly when you press the button. Above the screen are three sensors, with the sound sensor, a large motion sensor, and an ambient light sensor.
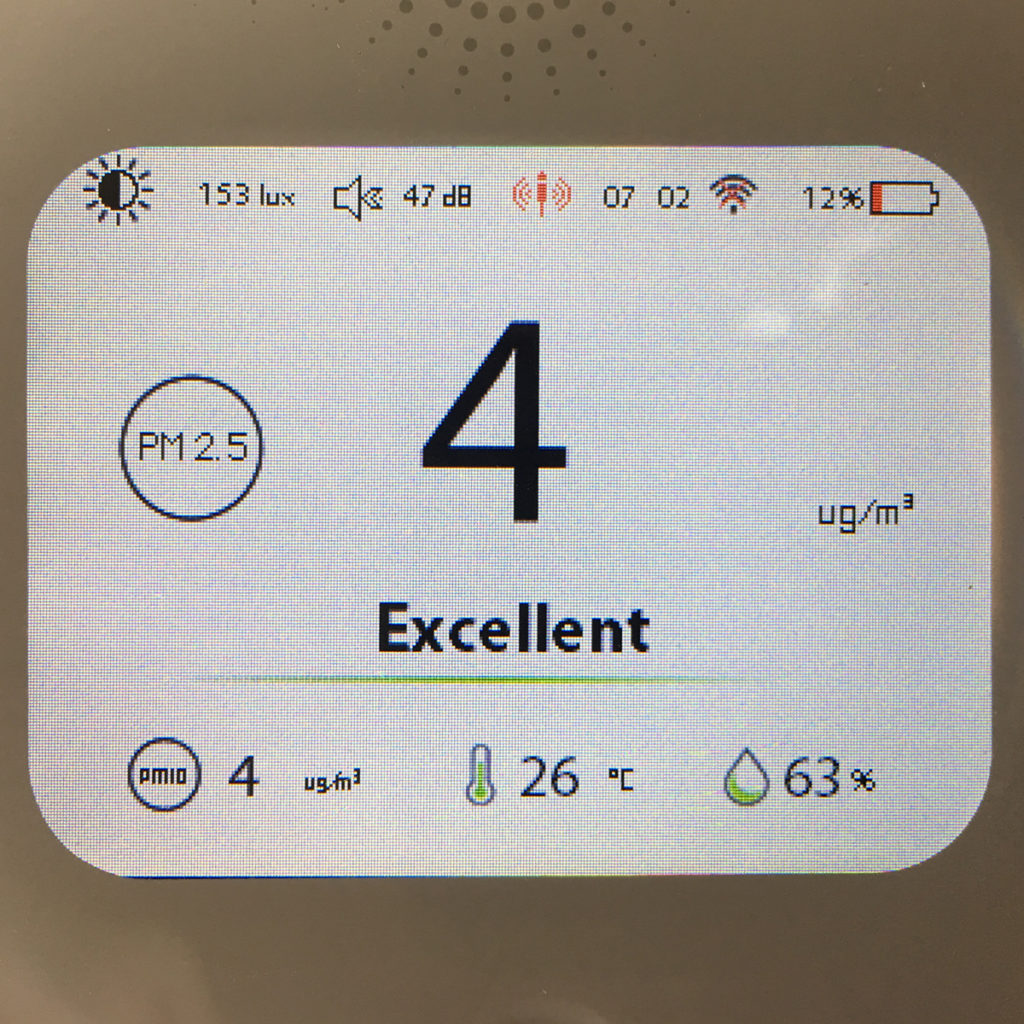
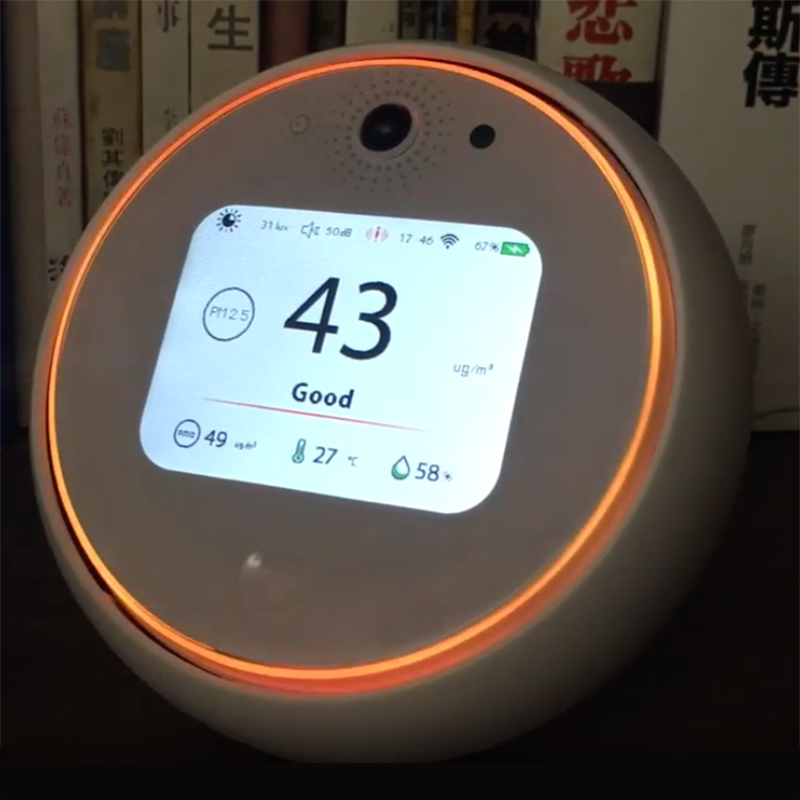
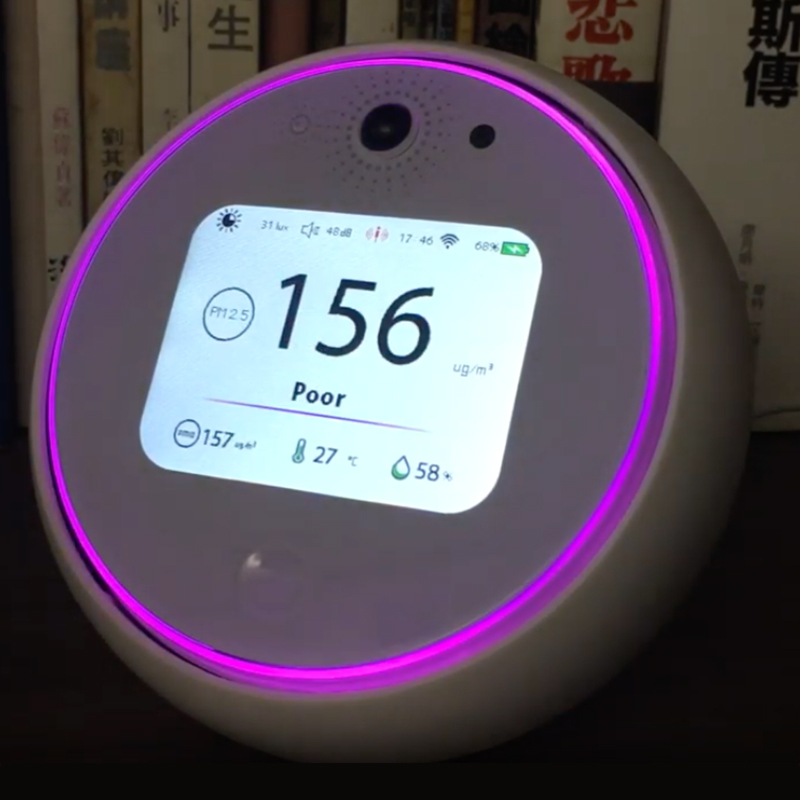
The screen itself shows all the data in one place, so at the top of the screen you have the lux levels for ambient light, the sound levels in dBs, a motion sensor icon that will turn red when detecting motion, the time in 24hr mode, a wifi icon and a battery percentage level along with a colour battery icon. the main number in the middle, as already mentioned, is the PM2.5 level, or the temperature level. At the bottom of the screen (if you have the main number set to PM2.5) you’ll see the PM10 levels, the temperature (in Centigrade or Fahrenheit), and the humidity levels.
If you long press the button, you get access to the settings section, along with settings for a couple of additional features;
- Smart Wake If this is turned on, when motion is detected between 2300 – 0700, the screen will turn on.
- Night Light If this is turned on, and if the light intensity is less than 5lux, when motion is detected or when the Home button is pressed, the night light will turn on.
The other settings are for language, reset to factory settings and the motion threshold, which is the amount of time before the motion sensor resets to ‘no motion. The options for this are 5, 15, 30 and 60 seconds, or 5, 10 and 30 minutes.
INSTALLATION
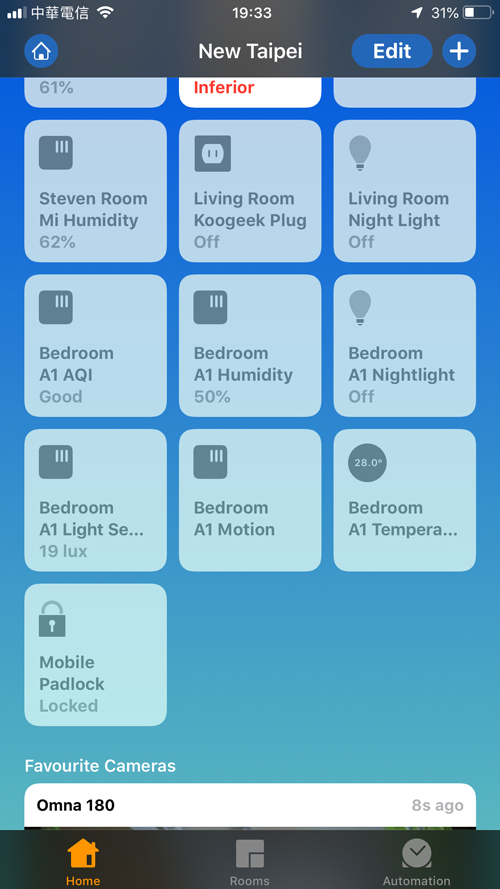
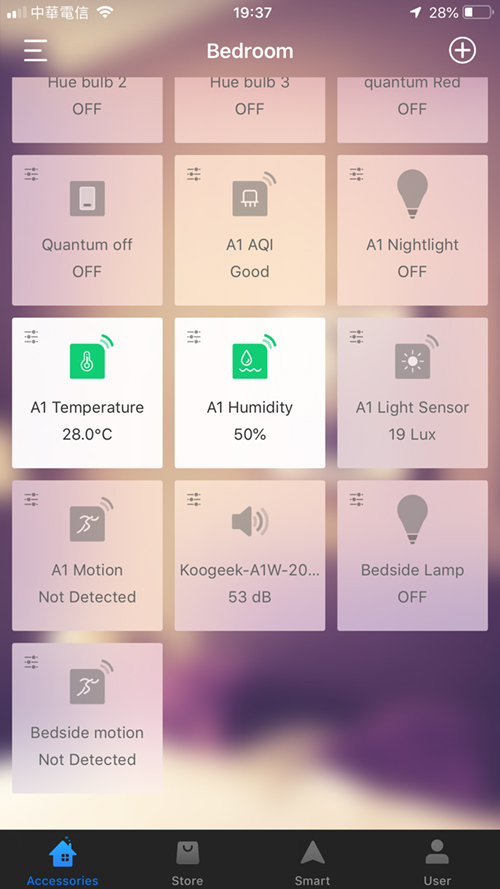
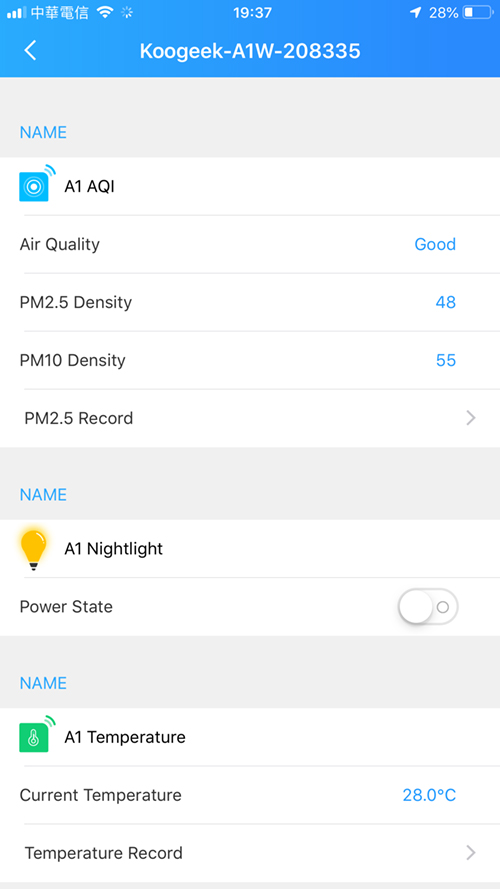
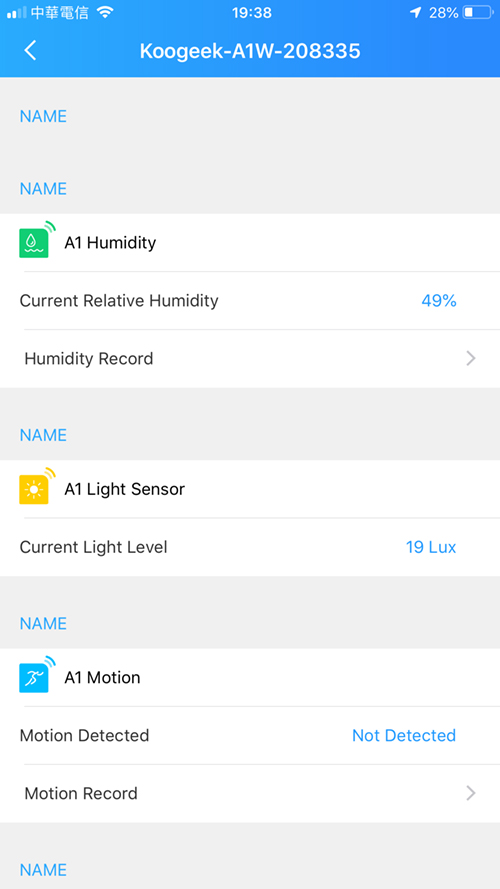
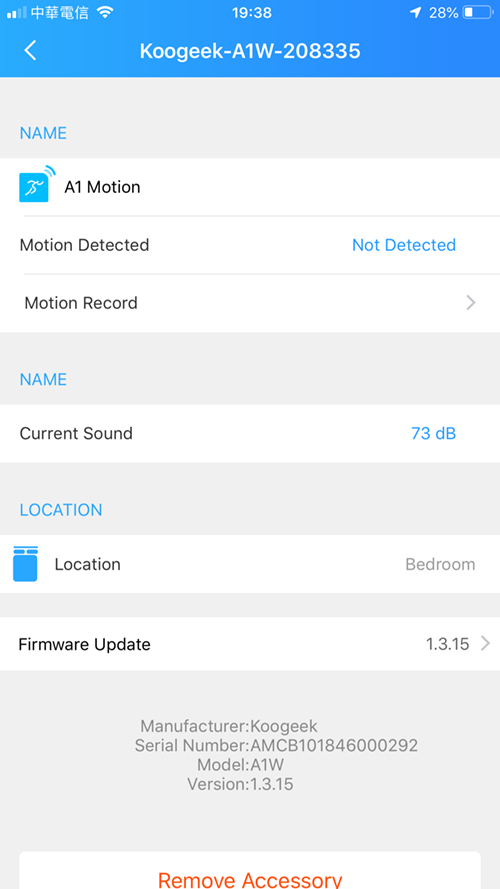
This was installed directly via the Home app, and afterwards opened in Koogeek’s own HomeKit app to check for any available firmware updates, for which there were none. Once installed, the A1W will produce six separate tiles in the Home app, representing PM2.5/PM10, Humidity, Ambient light, Motion and Temperature, with the sixth tile being the Night Light. That’s comes to only 5 sensors of course, with the sixth sensor being sound, but because HomeKit doesn’t support sounds sensors in iOS12, there’s no tile for it. In the Koogeek app, the sound sensor does produce a separate tile, however, if you press any of the seven tiles that represent all of the referenced sensors, including the night light, you get to the same settings page, which then lists each sensor along with the relevant settings for each one. The sound sensor has no settings that you can change, however, so at this point it seems pretty useless, and even with the arrival of iOS13, there still seems to be no support for sound sensors in the betas that have been released so far, so all that you can gather from the sound sensor tile in the Koogeek app is the decibel levels.
IN USE
I’ve had this on test for about a 10 days now, so I feel I’ve gotten use to the device fairly well. I have made a few observations about the device; First of all, generally the temperature and humidity sensors seem to work fine, and are within an acceptable margin of error when compared to other sensors that measure these two metrics. With the light sensor, it’s hard to know whether it’s measuring the light accurately, although it does react instantly when I turn the lights off or cover the sensor, for example, so I know it’s working. To me, ambient light measurements don’t need to be spot on, down to the individual lux points, so that’s not an issue.
The front of the unit also includes an LED ring of light around its circumference and will turn on (in white) when you press the night light tile in the Home app. This will also turn the screen on, which only stays on for approximately 60 seconds at a time. Pressing the tile turns the light on and off, although turning the night light off, doesn’t turn the screen off. If you want to have the screen permanently on, you simply need to turn the night light on via the individual tile, which will stop the display from turning off after 60-seconds.
This ring of LED lights also serves as a visual indicator of PM2.5 levels; According to the manual, if the levels of PM2.5 are between 0 – 35 the ring should be green, but it never is, and so far I’ve not seen the ring as green once. Between 36-75, it will go to orange, between 76-115 the light will turn red, and for concentrations from 116 upwards it will be purple. Having tested the sensor out, I can say it works, although the reading were different to the Laser Egg 2 in tests. The ring will also turn orange if you have the main display in the centre set to temperature whenever the temperature is 29ºC or above.
As already touched upon, when it comes to the sound sensor, it’s not going to be of much use right now, although you can access the sound sensor in some 3rd party apps, and possibly set up an automation, although I’ve already tried one app and it just didn’t work.
When it came to the motion sensor, I did find it very sensitive, and there seems to be no way to adjust the sensitivity in the Koogeek app unfortunately. You can of course use the motion sensor to work at only certain times of the day, if you’re in need of something that can pick up motion, but I did also find that whilst it can be sensitive, it can also miss motion at times, so I’m not entirely sure it’s of much use other than to turn the display and night light on in dark areas – just make sure you set an automation to not turn the display or night light on when you sleep!
There have been some early reports of people finding the built-in fan to be too noisy, and have returned their units on this basis, and I can say that you can hear the fan, although I personally don’t find it to be irritating at all, but then that’s down to the individual. Where I am, which is next to Keelung river, Taipei, there’s plenty of noise from both insects and humans, and as it’s hot and humid for much of the year, we’ve either got the AC or some fans on at night, not to mention the air purifier, so I really don’t notice it.
SUMMING UP
I’m happy that I bought the unit, if for no other reason than I love my HomeKit gadgets (in case you didn’t notice…), and I already have an Eve Room (1st gen) that can read temperature and humidity, as well as VOC levels, which the A1W can’t, a Kaiterra Laser Egg 2 for PM2.5 levels, and a Mijia multi sensor that covers PM2.5, VOCs, temperature, humidity, and carbon dioxide levels, so I’m already well covered. It is another device to get me a better idea of pollution though, and living in Taiwan, this is a big concern unfortunately. If I were to compare it to the most similar product of the other two devices mentioned, it would be the Laser Egg 2. I’ve had this product for nearly 18 months now, and I do like that you can see the average PM2.5 levels for where you are, to compare with indoor levels, and that it has an app that allows you to customise the display, as well as set the Air Quality Index standard (AQI) to either China, US or India, none of which the Koogeek can do. On this point, I would guess that the A1W has been calibrated to Chinese standards, but that’s just a guess, based on the different numbers I see between the two devices. That being said, it’s a fair bit cheaper than the Laser Egg 2, and it has more functions for the price, so it’s a toss up on more sensors for you money or more reliable readings – but only based on my guesses.


Nice review! Is there an option, like the Eve Room, to monitor this in a report in the app over time?
So does it have a memory option to store data of the sensors?
I really think this is still a benefit from the Eve Room.
Thanks,
Hi Jur, thanks. The Koogeek app allows you to access data for the following sensors – PM2.5, Temperature, Humidity, Motion. For the first 3 sensors, you can view data either by day, week or month. The motion data is either for the last 30 days or the last 100 motion logs. The Koogeek app isn’t great and certainly not as good as the Eve app, and the Koogeek app doesn’t allow you to export any of this data.
I’m looking for a sensor that can alert me to a room temperature going outside of a specified range.
I’m also needing to be able to turn the lights and screen off because it’s going in my kiddos room.
She is autistic, and any new sounds or lights will likely prevent her from sleeping well.
Thanks!
Hi Chester
In the Home app you can’t get notifications of these sort. Notifications are limited to motion sensors and door sensors. You can set up an automation that will notify you via another device though, so as an example, you could set it so that if the temperature goes above a certain measurement it will turn a colour bulb red. The screen goes off after 30 seconds and won’t turn on unless you press the button or press the night light tile in the Home app. You would also need to turn on an option for the motion sensor to turn the screen on.
That sounds like it might work just fine! Is there a specific sensor you’d recommend for it? I have hue bulbs in my living room and master bedroom. That would work. I could have those lights flash and wake us up if the temperature went too high or low.
If you’ve already got Hue bulbs, then I’d definitely recommend the Hue Motion sensor, as it has an ambient light sensor and a temperature sensor built in, all of which are exposed to HomeKit separately.