Nanoleaf Aurora ‘Rhythm Edition’ (review)
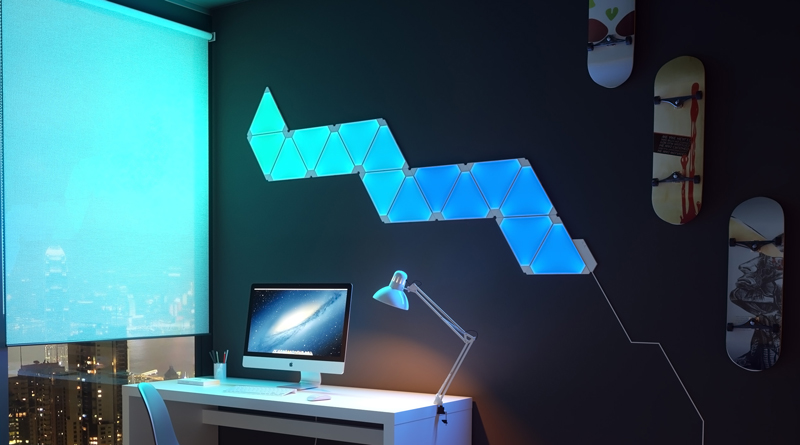
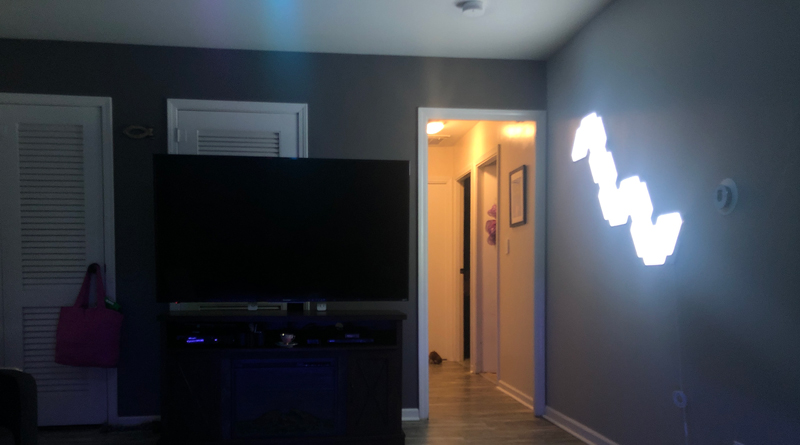
I recently decided to redo my living room, as it was a cluttered mess of old paint, old shelves, and just general poor taste. As I was doing this I thought “what better way to bring in the new than with a product designed strictly to be a new idea in almost every way?”. The Nanoleaf Aurora light panels.
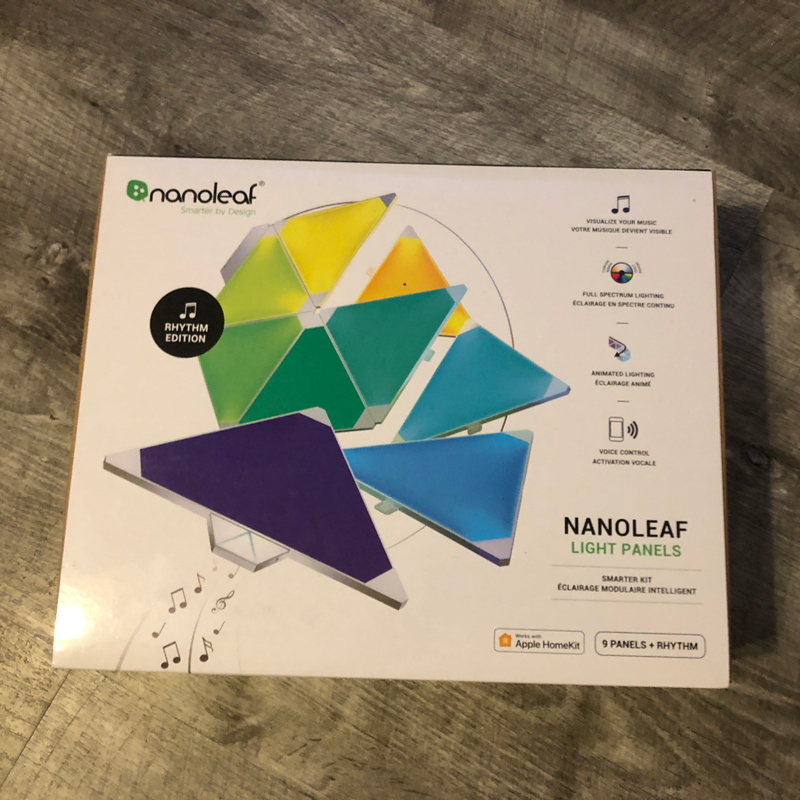

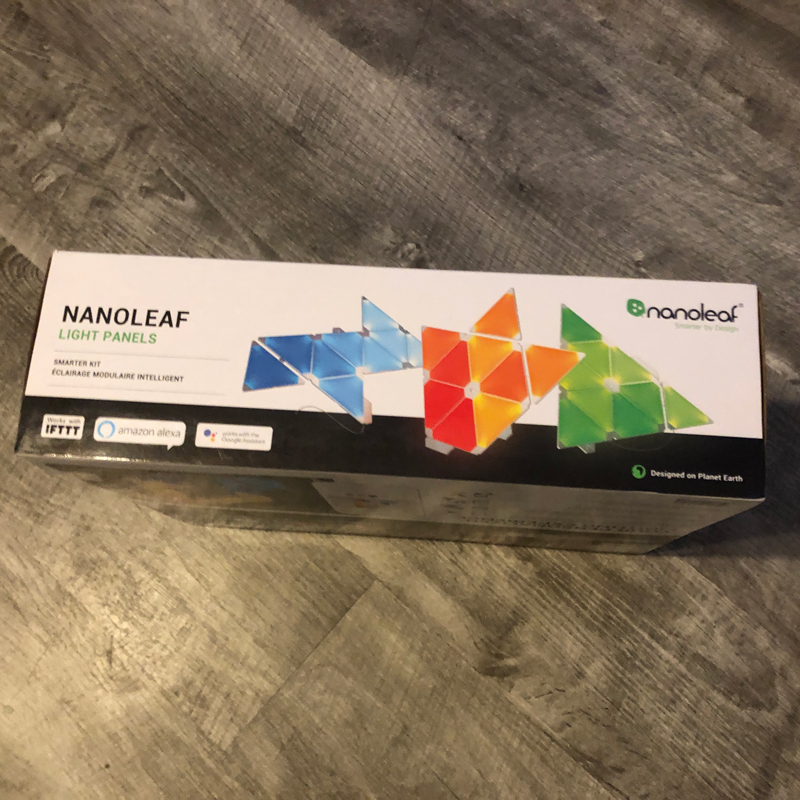
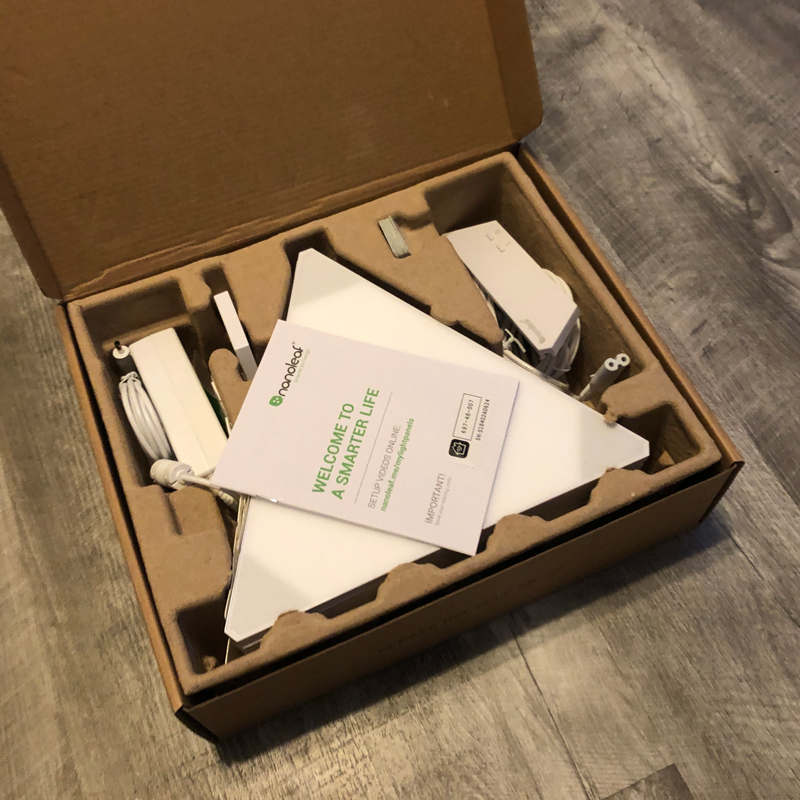
My first impressions upon seeing the box were a little odd. This is a company that thrives on design, and they decided to use a high gloss exterior box sleeve with a brown box inside it. What? Having said that, the packaging was pretty intelligently laid out on the inside, and I’m sure it could be shipped about 7 times before anything got damaged.
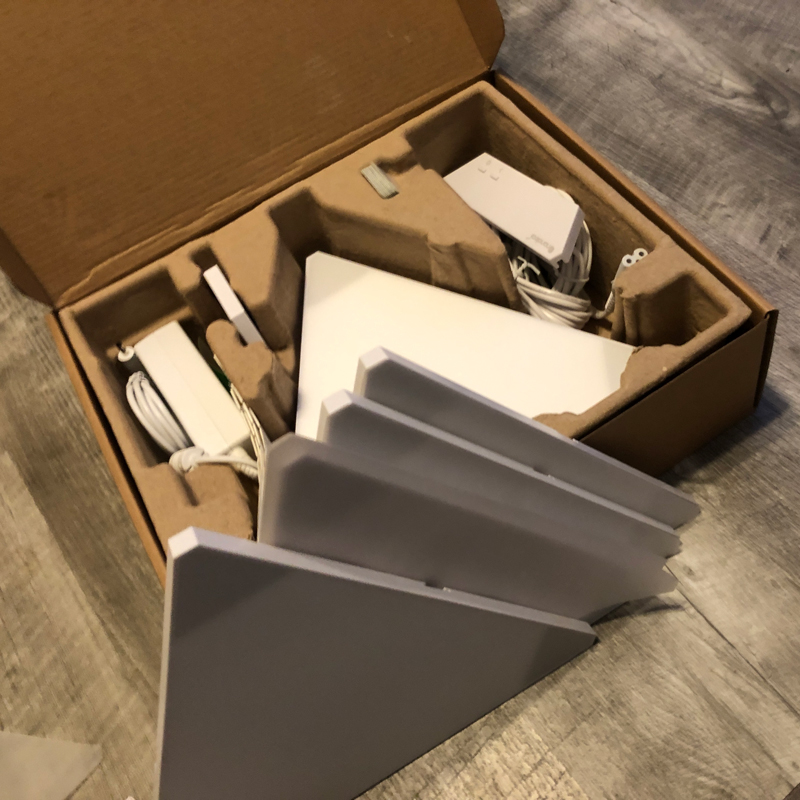
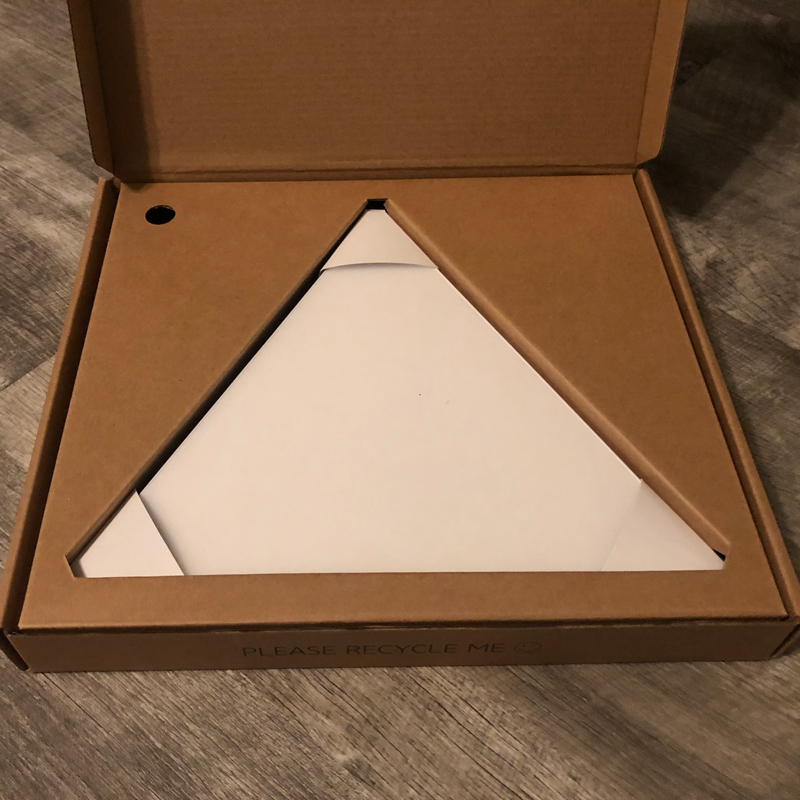
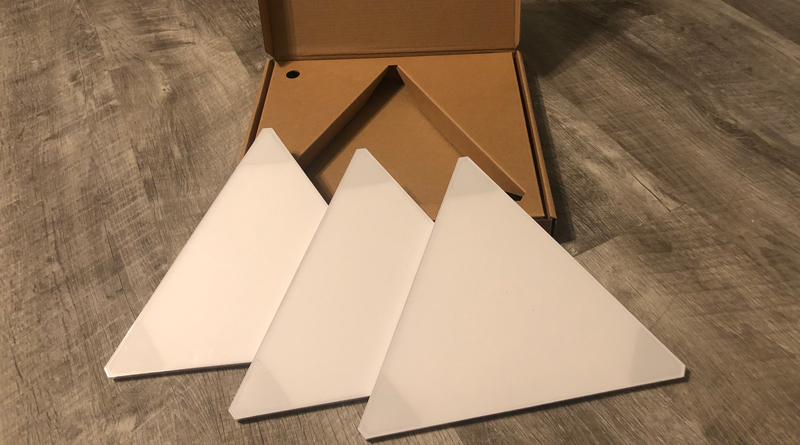
The colour part of the packaging was decent looking; maybe I’m being a bit rough on them. I originally purchased one ‘smarter” kit’ and one ‘expansion pack’, with the ‘smarter kit’ containing nine panels and the ‘expansion’ being three. I had to rob a bank and sell a kidney, so I hoped it was worth it. For some reason, I did think the panels would be thinner, and at first, I thought they might be a little off-putting on the wall.
Anyway, it comes with:
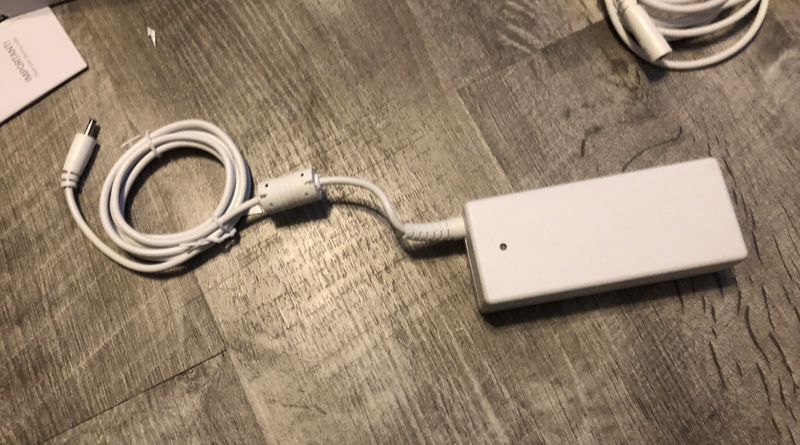
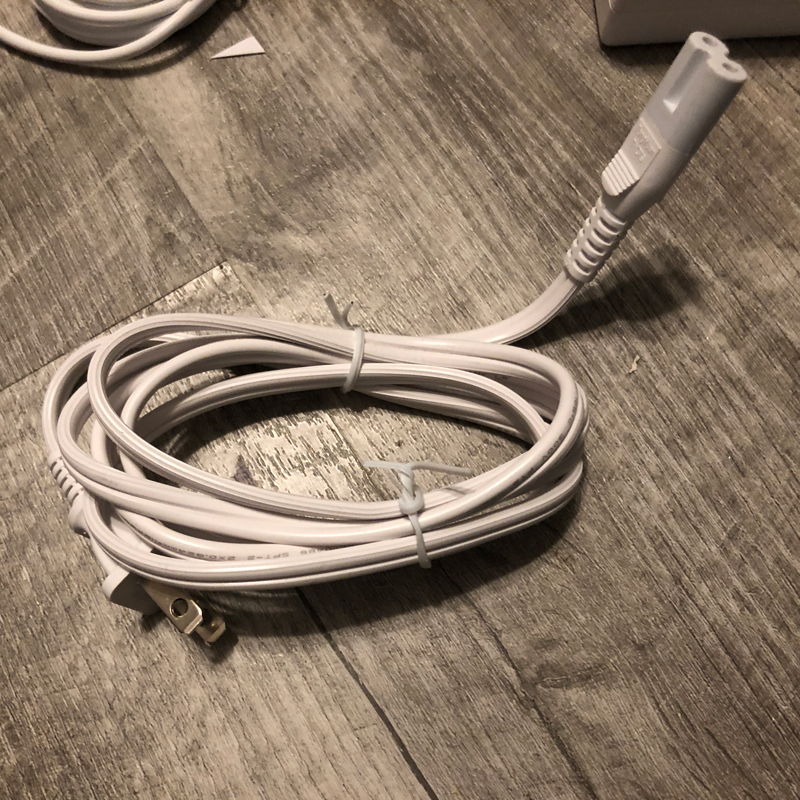
- The power cords
- The power module
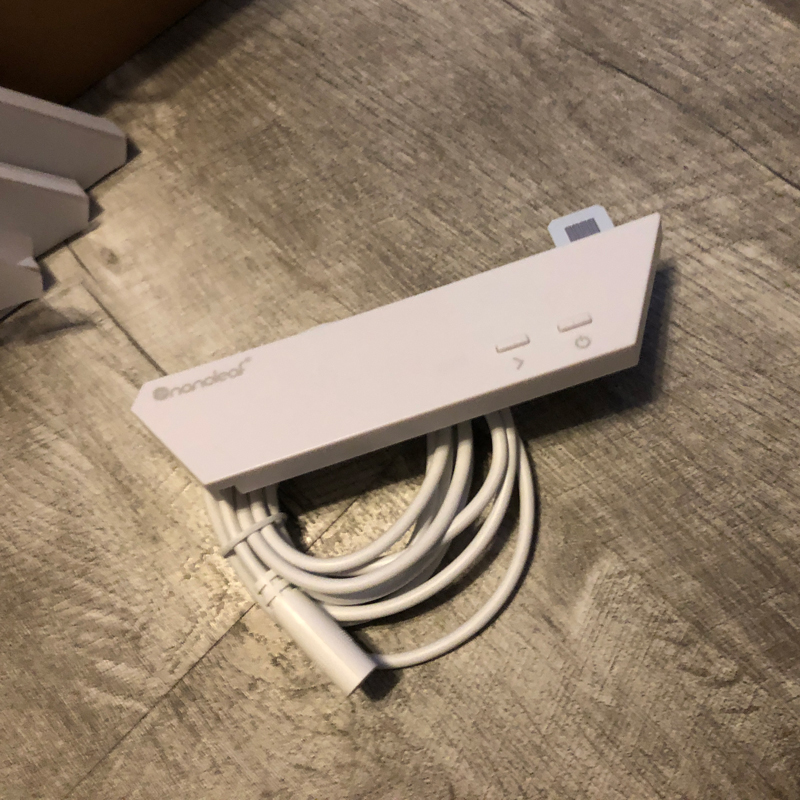
- The rhythm module
- The panels
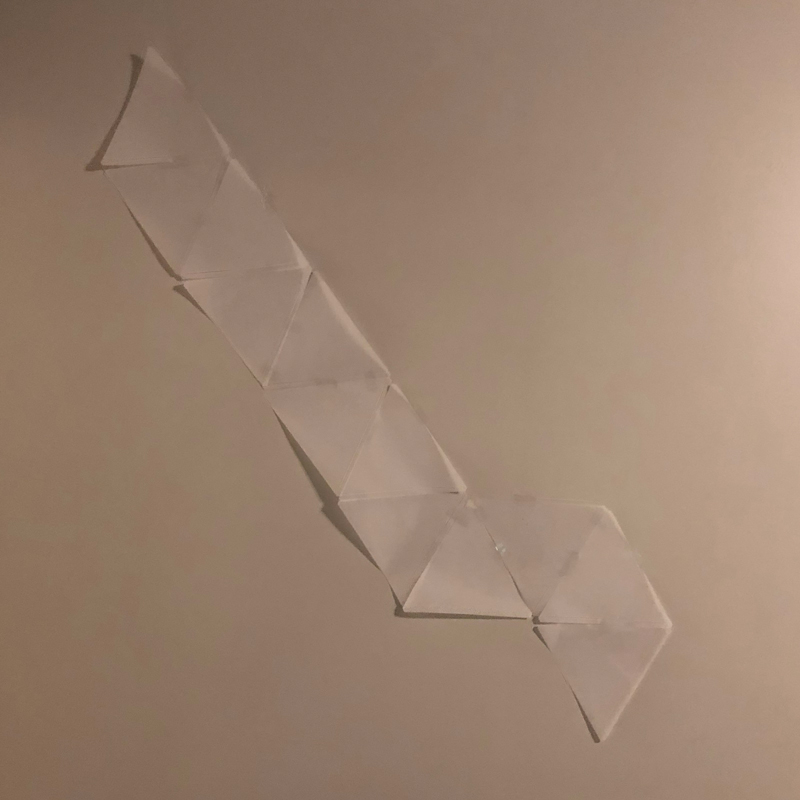
- The prep sheets (tissue paper for layout)
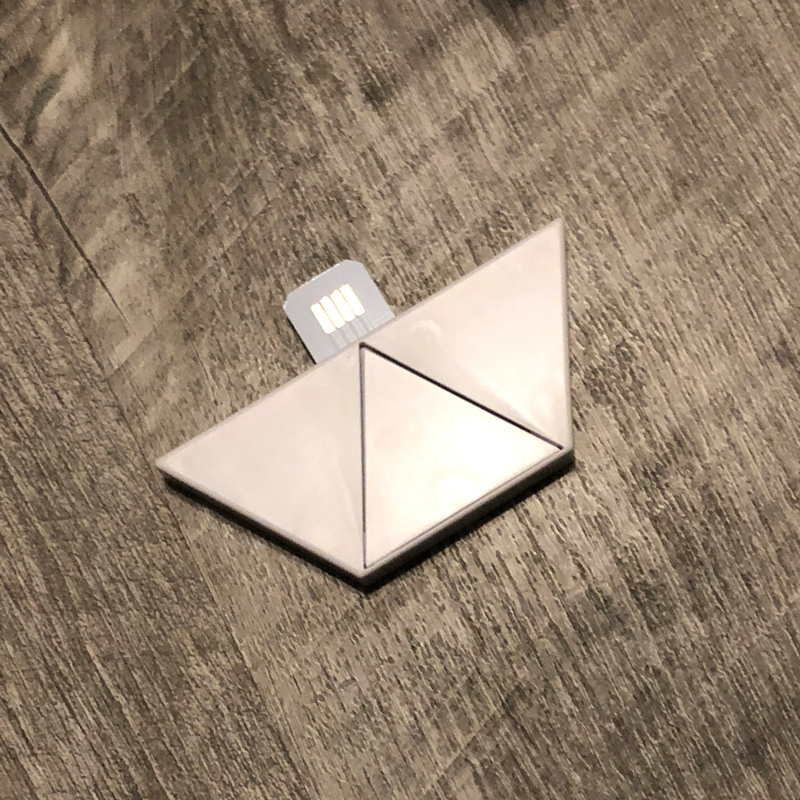
- The diode transfer pieces (visually similar to SIM cards)
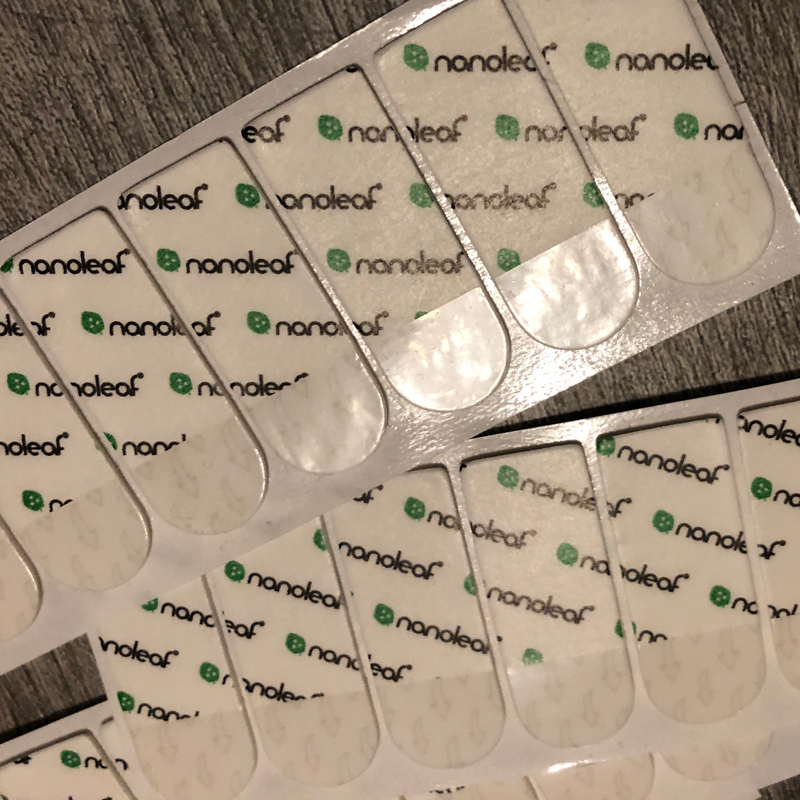
- Stickies to attach to the wall (3M)
- A Sticker for branding and fun

Installation:
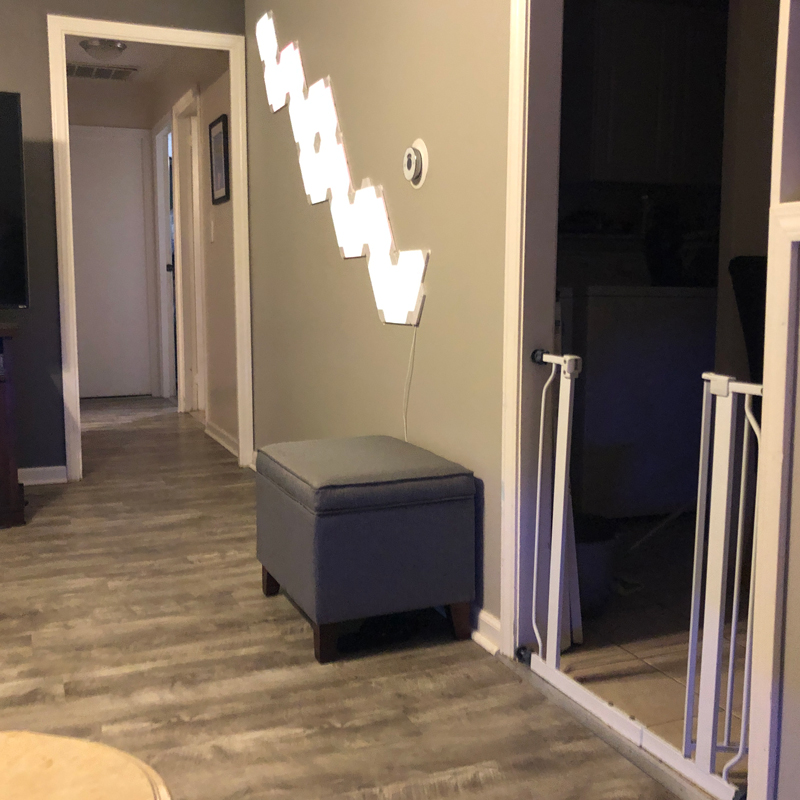
So, after you get the panels out of the box, you need to get creative on your wall. You can make a shape or any design you want using the ‘prep sheets’, or as we later learned, using a function in the app to plan the wall layout as well. The prep sheets are just tissue paper. We had to do it twice because we aren’t great thinkers, and here’s where I stop to say “There is no shame in that”.” If you really want a nice looking ‘artsy final project that looks clean’ I recommend being willing to spend up to a few hours. Once you have the prep sheets how you want them to take the power module, you then test each panel, as it says in the instructions. We’ve had experience with 3m stickies, which you basically use to make sure each side of each triangle panel sticks, by getting a majority of the sticky inside and leaving a little out. You might consider shaping of the stickies externally for neighbouring tiles too (so that external stickies don’t create a stack and make the tiles sit unevenly). Like I said, patience. Once you have your first one up, you have started the process. The electric chip (diode transfer) should be slid in first, so you want to keep panels at an angle and sorta slide in each new panel (to the diode first) and ease it ‘stickies side down’ then press down. You will want to check each and every tile as you go since each panel transfers to the ones connected. This will help to avoid mistakes in the long run. When you are done, depending on your setup, you may not love the cords and/or want to hide them somehow. I will touch on this later.


The app:
The App is segmented into several pieces (read destinations) with some of them available from 3 different menus. The main functions of the app are as follows:
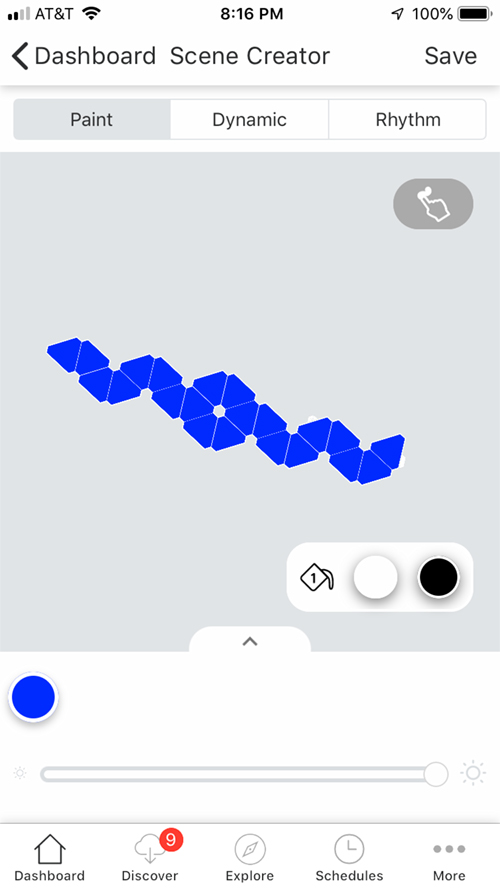
- Help you design the wall setup if you don’t want to use the paper.
- Help you create and sync scenes both in the app and HomeKit.
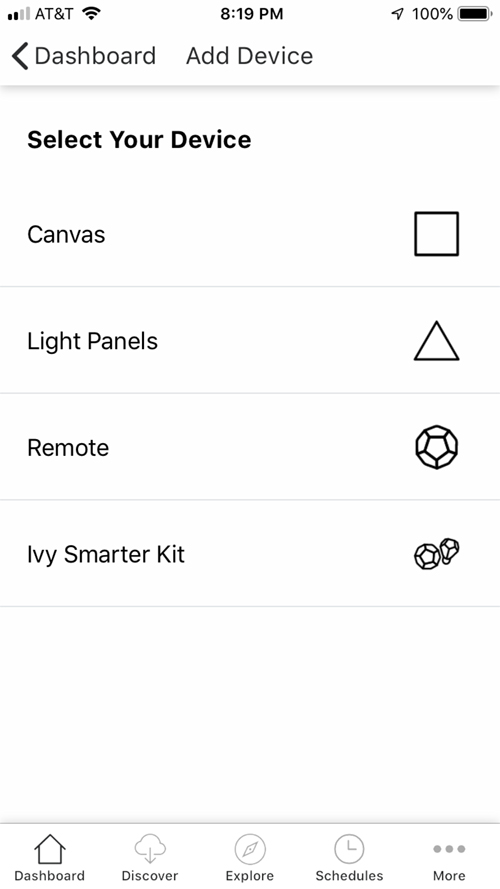
- Help you add hardware, if not already added, prior to buying the panels (think controllers and other lights)
- Help you buy more Nanoleaf products.
- Help you discover other peoples scenes they created and acquire them.
Of these, the main functions I used were adding and editing scenes, along with syncing them, mostly. The reason being that once the relationship with HomeKit is established it’s sort of in my wheelhouse since that’s the platform I use. I am cutting this somewhat short here because the layout of the app is enough to frustrate some non-technical users. I’m not going to go into every user interface choice I don’t love, as it could be an issue for some users.
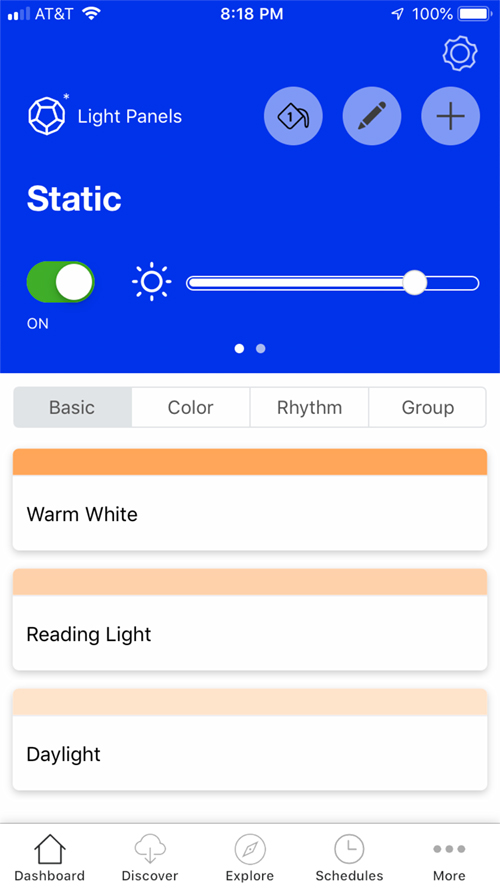
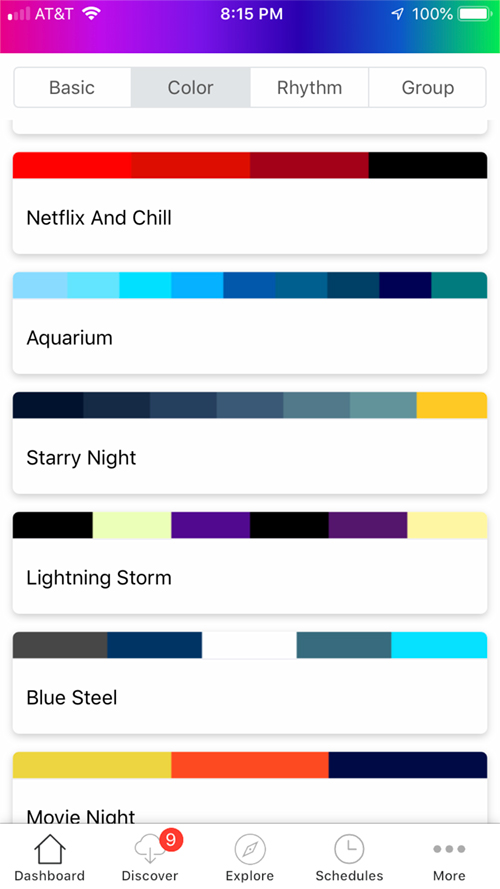
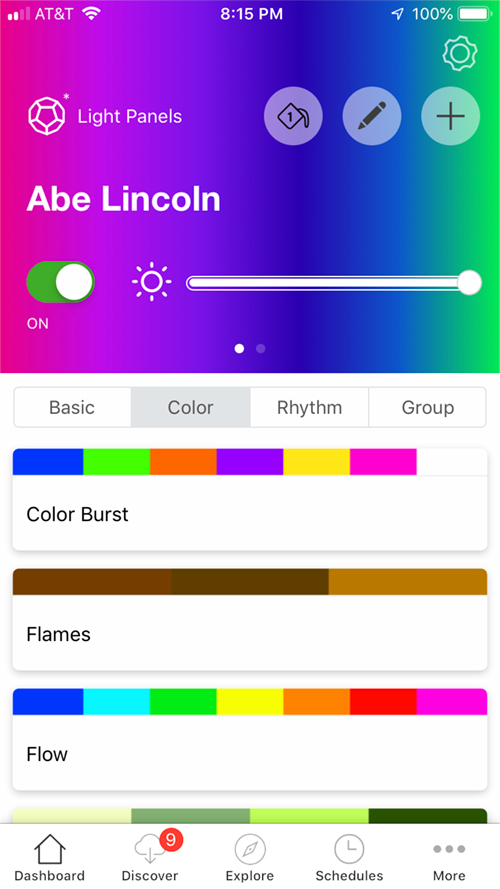
The main dashboard has five main tabs that most users will use.
- Basic: choose a basic colour/gradient for all panels scene.
- Color Static: choose a multi-mix static non-gradient colour which can be different for all panels scene.
- Color Dynamic: choose a multi-mix of dynamic animated colours that change based on time intervals.
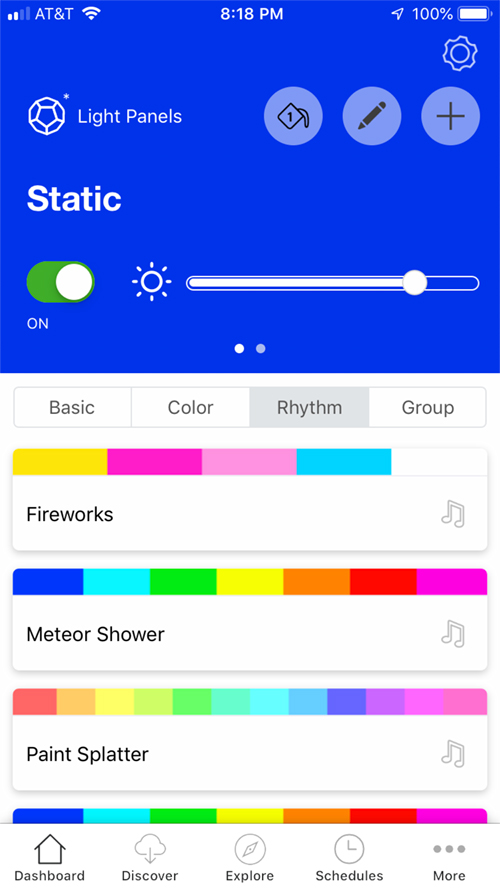
- Rhythm: choose a multi-mix static non-gradient colour which can be different for all panels with animation scene and changes based on parameters by sound with the invocation of scene or module by hand.
- Group: Look at scenes from HomeKit to try and group Nanoleaf scenes.
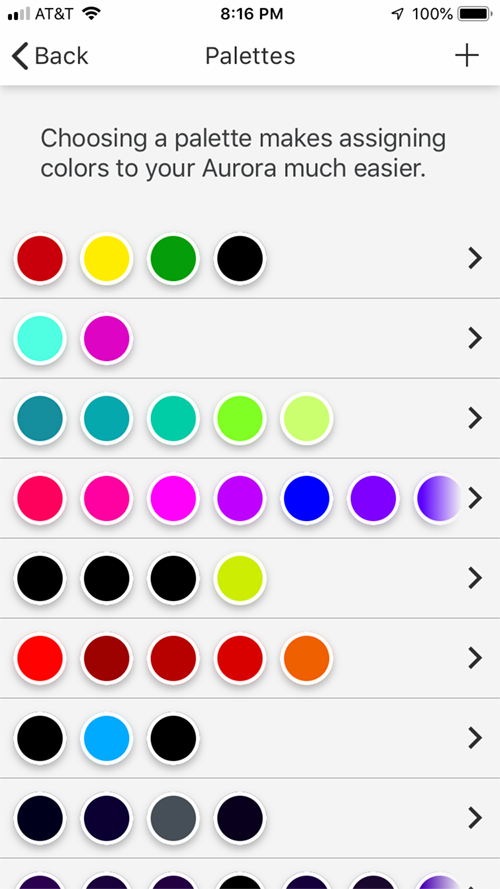
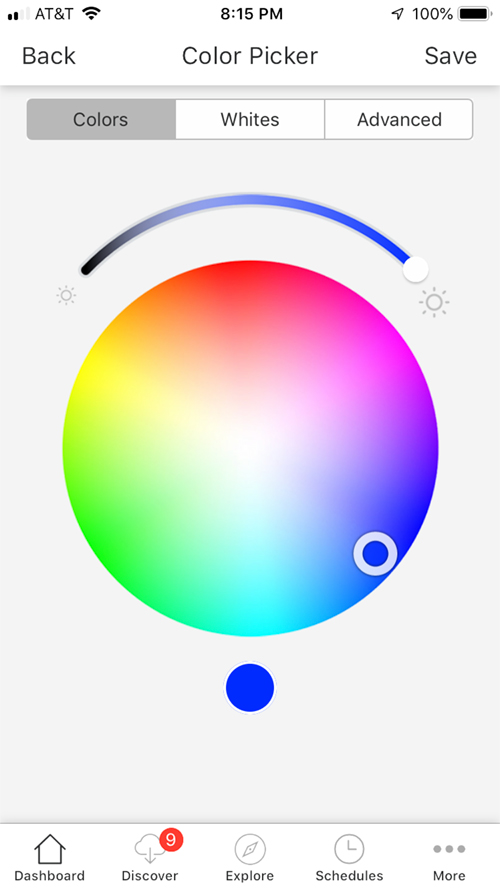

Once chosen, you can use the pencil tool to edit any scene (located in the top right corner). Depending on the capabilities of the type of scene, there is also the palette tool. This is an artsy device guys, and I almost feel like I’m reviewing a piece of Adobe software here, so I’m gonna stop there. You can edit animation colours etc with some limitations, so you could spend quite some time doing your own or even fooling with the several built-in scenes under any scene type.
Day-to-day use:
Using this product on a day-to-day level will be different for all users. With its Homekit support and sync function in the app, you will be able to trigger animated, basic, and colour scenes that are entwined with your other HomeKit scenes. You can do this by fighting with Homekit or fighting with the nano leaf app, to pair the scenes in sort of a manual fashion. IT IS NOT STREAMLINED. With HomeKit you can also control all panels by voice. You can physically control it by touching the buttons on the power module. The buttons are basically on/off and set a scene. Likewise, with the rhythm module, you can press that and anyone can clap or yell etc. and it will ‘dance’, based on the rhythm scene set using either the app or HomeKit.
Intelligence aside, I think, as my wife put it in our wedding vows, “(s)he/it is nice to look at”. It should be noted that if you have the Nanoleaf Remote you can easily attach scenes to it in HomeKit or the Nanoleaf app. Furthermore, even on non-Rhythm colour scenes, it uses the Rhythm module to reduce the brightness when turning the remote counter-clockwise and brighter while turning right. So we set the remote to control eleven HomeKit scenes and number twelve to turn off the panels for when we leave. We haven’t automated the device aside from attaching it to scenes, mainly being that it can be quite bright.
I want to add a side note with concerns I have regarding the NanoLeaf Remote in combination with the Aurora; Since it can do both Nanoleaf and HomeKit scenes, you can have some issues if you decide to populate HomeKit then turn off sync. There are reasons to do this, but I don’t think it is in your best interest. Having said that, If sync is on, you can mix and match as you like and its pretty cool. We leave ours sitting by the door so you can come in and flip the die (controller) and get our favourite scenes from both platforms. The people who live here know that the higher numbers are rhythm scenes. So you just walk in, flip to 10 and tell Siri to play your favourite song.

I wanted to speak to the actual rhythm module and controller though. At its core, this product can be turned off and on, and have scenes changed via the power/main module. There is one button for each of those functions. If you have issues pulling the power, that will reset the network card inside. The rhythm module can be invoked at any time by pressing the triangle section on the switch, which now makes the panels responsive to sound. There have been complaints about a delay from several other users, but if you aren’t a pro DJ or didn’t spend thousands of dollars putting these in a club it won’t matter much as that feature is sort of a novelty for most end users. It’s supposed to be fun.
HomeKit:
I’ve spoken a little about HomeKit here but connecting it is pretty simple; You scan the code and there it is. I also spoke a little bit about the remote. The remote sort of auto-syncs rhythm or colour scenes to empty HomeKit scenes on it (or at least it did for me). This is great for people with the remote that want that and don’t have HomeKit. As far as the actual panels go, the controller module is what is connected to HomeKit. So it looks like one light. It works flawlessly in my opinion under those terms. If you are okay with learning a light design platform that connects to HomeKit, that is what this is. It’s not as hard as ‘Mario Paint’ but it is a platform.

As for how it behaves in HomeKit… It behaves, as previously said, like a single light with no editable properties in the Home app. Voice can turn the panels on a single colour or percentage in the way you would expect of a normal colour light bulb, with the exception that it doesn’t take commands by calling it “light panels”. You must say “turn the”; for example “turn the light panels blue” works, but not “Light panels blue”. It will take light panels and a per cent though. For example “Hey Siri light panels 15 per cent”. Of course, the tile is adjustable just like any single light as that’s what it thinks it is in HomeKit.
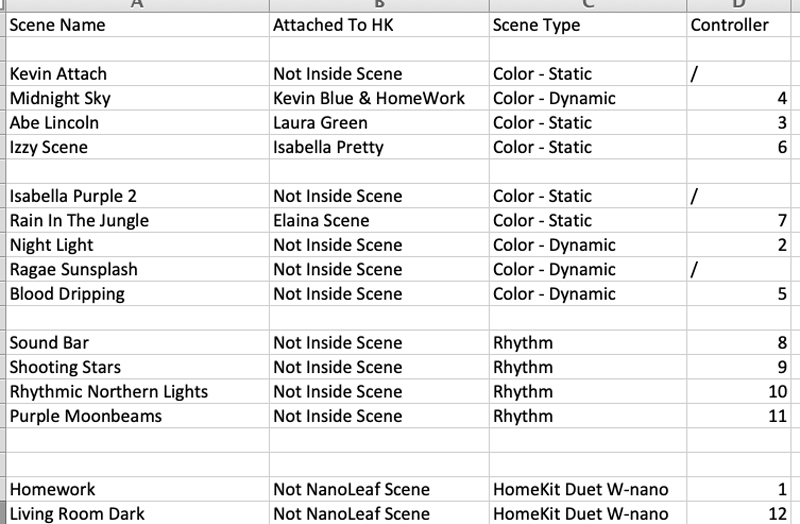
I do have a HomeKit warning, however, that you must have the ‘sync’ function on when you want to add a Nanoleaf scene from the app to a HomeKit scene or even as a stand-alone scene in HomeKit. This sync function isn’t granular. It will sync every single scene from the Nanoleaf app you have downloaded, or created, to HomeKit – and you have a limit of 100 scenes within HomeKit. This is problematic in several ways especially if you didn’t know it would do that. To alleviate this, I chose to only have 10 scenes or so in the Nanoleaf app at any point in time. There is no other way around this as every time you load the app every scene will populate to Homekit, which even by default, is several. This is a huge misstep.
When you have a scene you want to publish in conjunction with a HomeKit scene it requires:
- saving the scene to Nanoleaf (after creating it or editing it, or downloading etc)
- clicking groups in the app from the dashboard
- finding the HomeKit scene you want to publish the Nanoleaf scene to
- swiping that scene left
- pressing the Pencil tool
- finding the light panels by scrolling
- clicking them and adding the scene by name
This is a dumpster fire for most users. None of this is documented in any real way. At least not to my knowledge. I mitigated this by diagraming how the platforms talked and making sure I didn’t have lots of scenes in the Nanoleaf app as previously said.
Other Notes:
This is an art driven platform modular device with tech on the back end. I said I would get back to the problems with the setup in terms of power cables etc. Because of the power required, unless you have a good ‘hide’ technique (aesthetically) the plugs/cables will be off-putting seeing as they’ll in most cases be dangling down to the nearest outlet. So consider this before buying. Ultimately I bought a seat that doubled as storage and a 6-inch flat plug extender. Your methods may vary.

Final thoughts:
I love it, but it wasn’t the easiest thing to implement. Also, consider your budget. Obviously, this isn’t aimed at the lightbulb replacement crowd. I was accidentally double-shipped and got quite a discount so I went a little crazy. In closing, I think it’s a cool product aimed at people wanting to paint with light. When you think about the fact that the famous French impressionist Monet had to sit for hours and wait for enough light so he could paint, what’s a little tech bullcrap to literally paint with light?