Mi Motion Sensor (review)
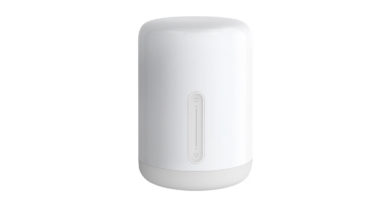
If you’re new to our website, you may not be aware, but many of the sensor and switches that are part of the Xiaomi smart home ecosystem, including brands like Mijia, Aqara and Yeelight, are slowly becoming compatible with HomeKit. Some are compatible straight out of the box, like the Mi Desk Lamp Pro, or Mi Bedside Lamp 2, for example, but if you’ve also got an Aqara Hub, then many of their sensors and switches get exposed to HomeKit via this hub, and if you’re really on a tight budget, you’ll soon see how attractive their devices can be for the price. One such device we’re looking at today is the Mi Motion Sensor.
UNBOXING
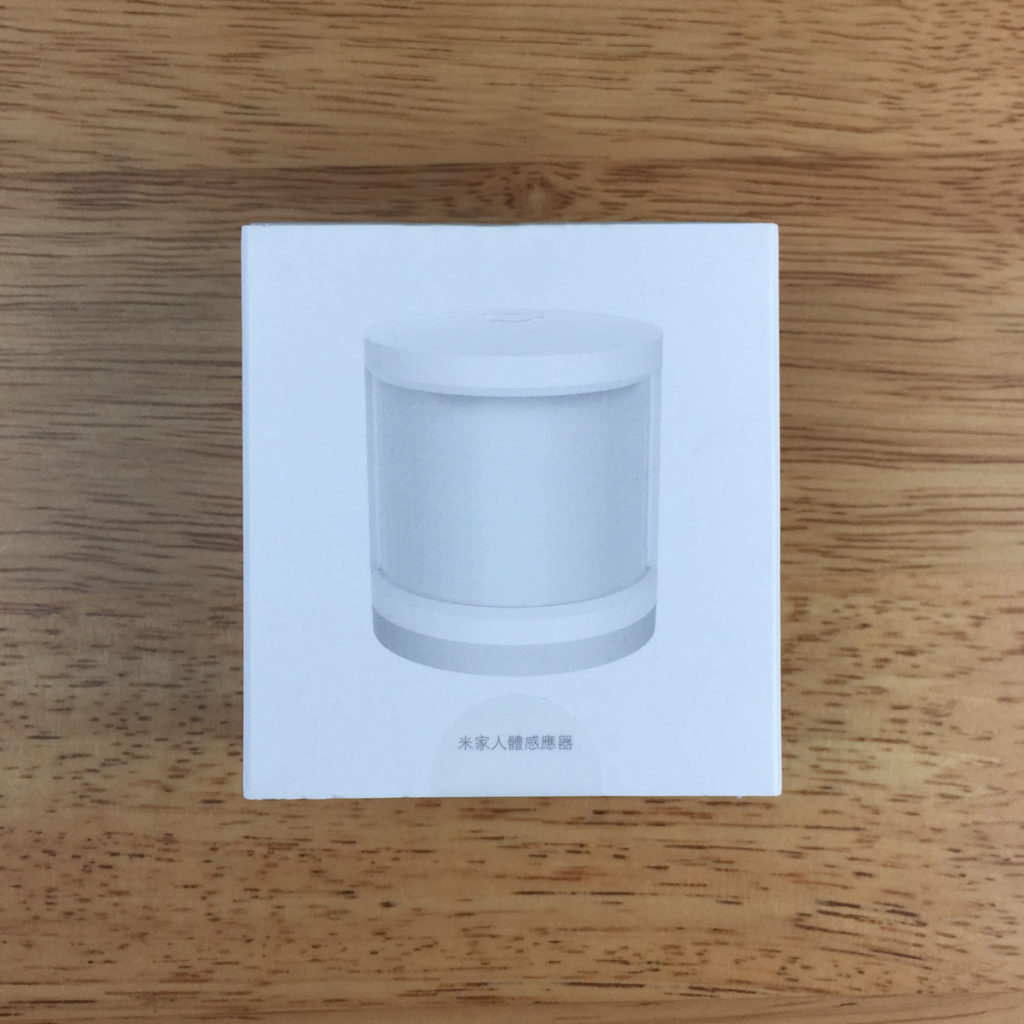
As with our last Mi product review, the Mi Door and Window Sensor, this device comes in a fairly plain box, with the device itself printed on the front in greyscale (it’s pretty much white and grey in real life anyway) along with the name of the device in Traditional Chinese. As this was purchased in Taiwan, the main details on the back of the box are also in Chinese, although you can make out the basics, like the specs, the operating temperature range, and the fact that this is a ZigBee device (more on that later). It also has the ‘works with Mijia’ logo on the back, meaning it works with the Mi Home app (now called Xiaomi Home). There’s no ‘Works with HomeKit’ logo, but don’t let that bother you, as, if you’ve bought any Hue bulbs, for example, you’ll be aware they don’t have a ‘Works with HomeKit’ logo on them either, which is another thing we’ll get to shortly. Safe to say, these work with Apple’s Home app really, really well…
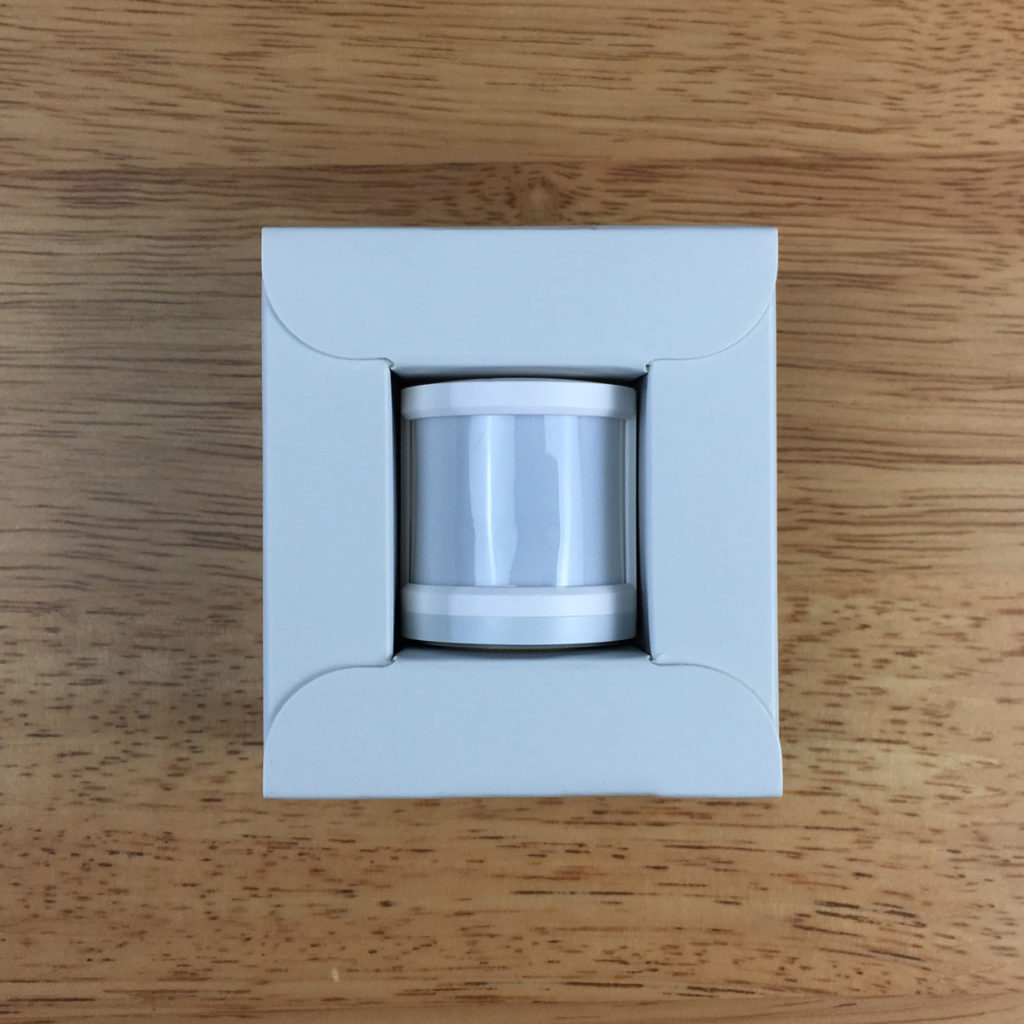
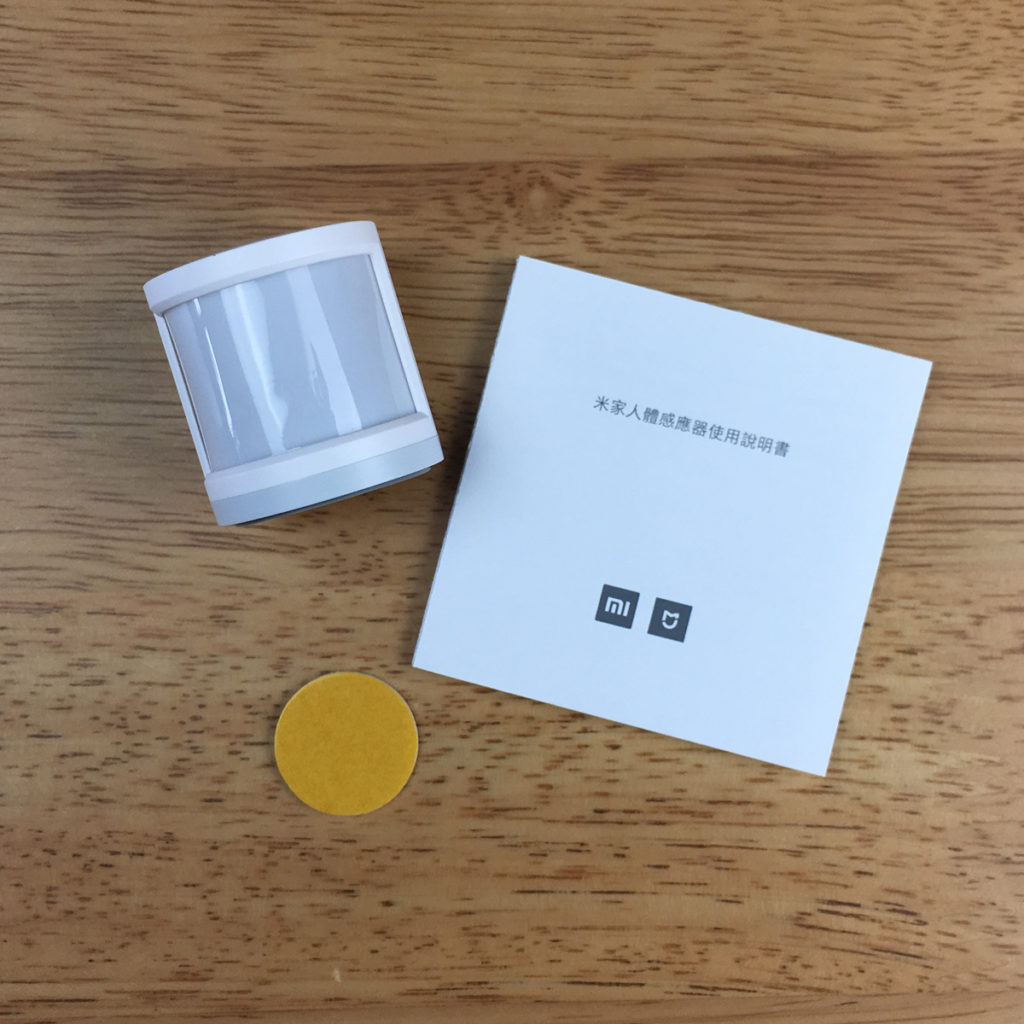
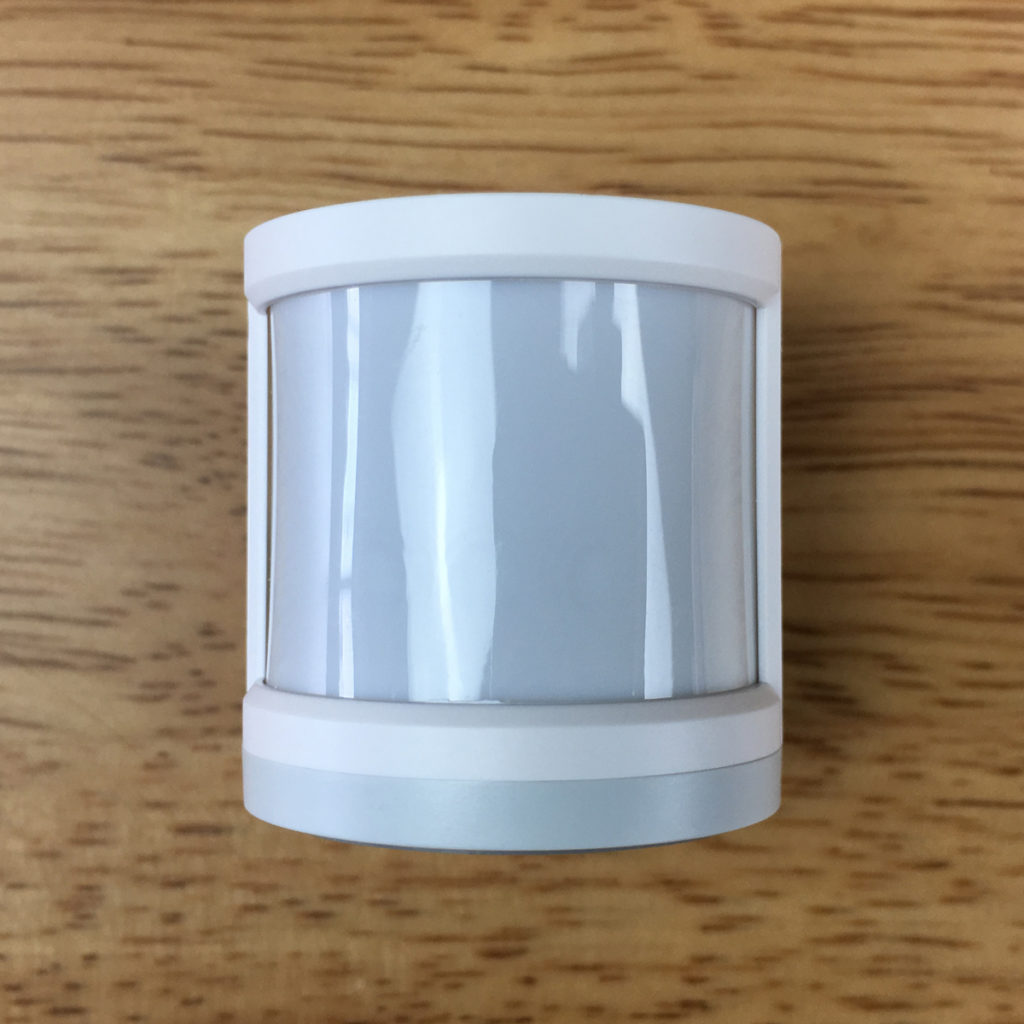
sliding off the cover that surrounds the box, you’re presented with the motion sensor staring back at you, like some faceless Ancient Astronaut’s helmet, being that the front is almost all sensor. included with the sensor is a manual, all in Mandarin, and a double-sided circular sticker to stick the sensor to a wall, ceiling or shelf.
THE SENSOR
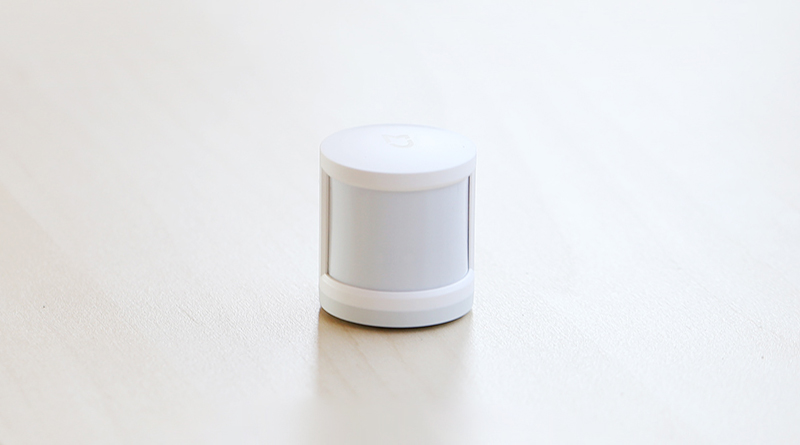
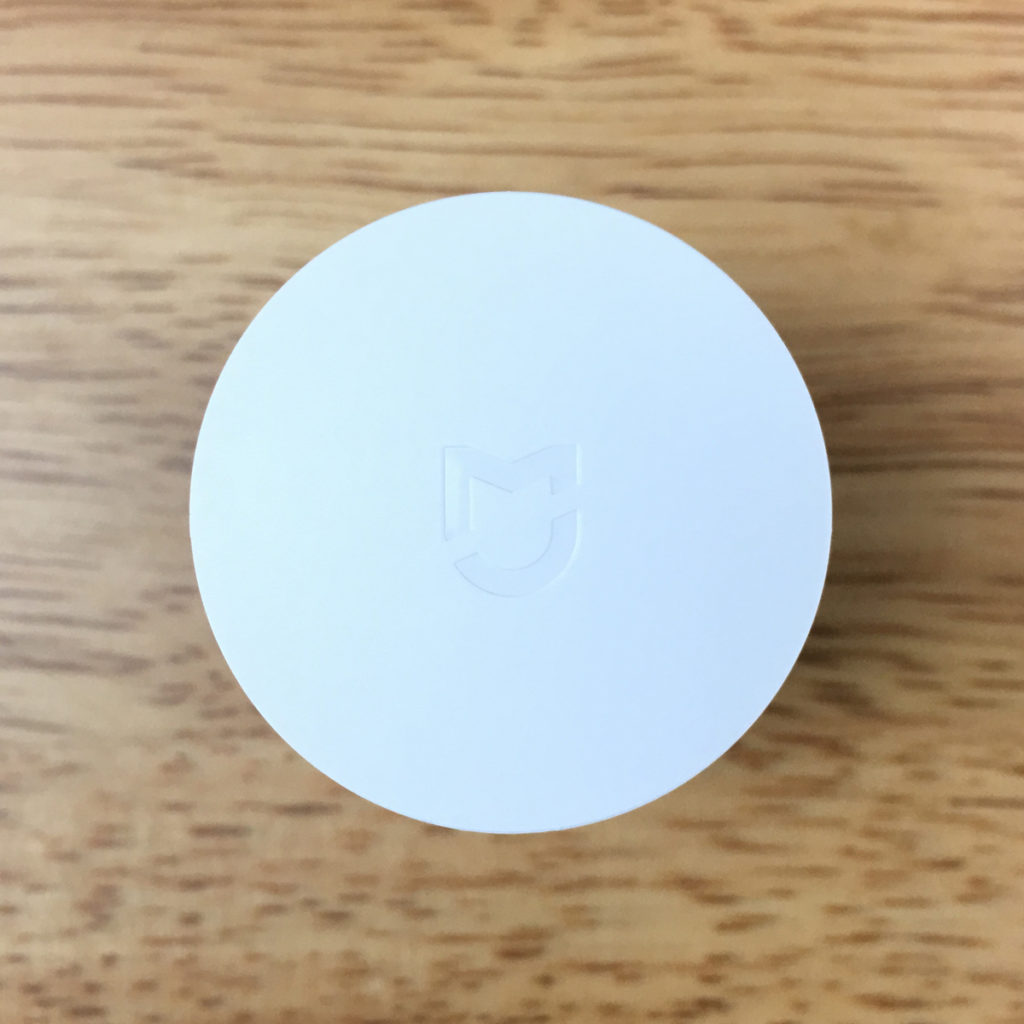
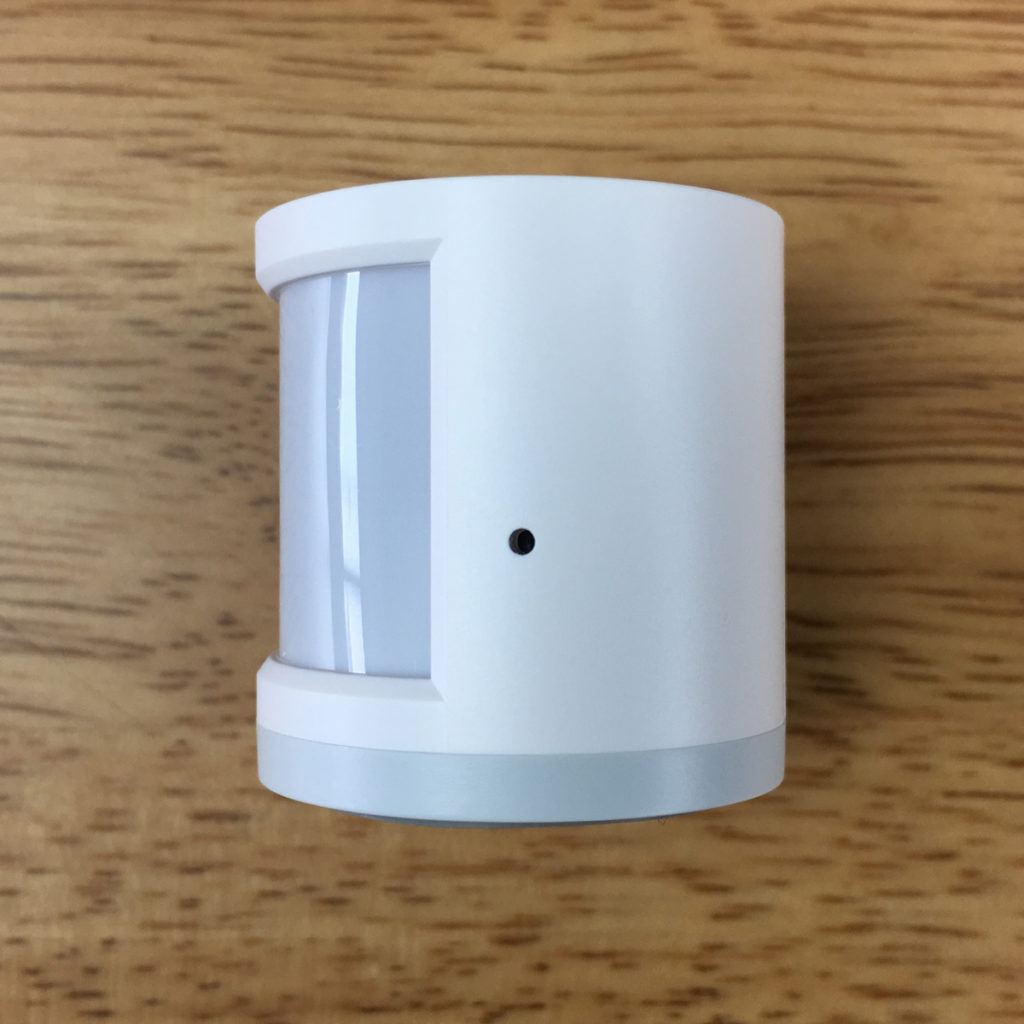
The sensor is quite diminutive really, standing at just under 33mm/1.3″ with a width and depth of 30mm/1.2″. One side of the device has a small hole where you’re required to insert a sim pin or paper clip in order to initially set it up or reset it. The top of the device has a slight dome shape to it, so you can only mount it from the base.
On the subject of the base, there is a rubber ‘foot’ (for want of a better word) that allows it to sit fairly securely on any flat surface, without it sliding around. The base also has an area where you can use the circular double-sided adhesive patch if you wish to stick this somewhere else. Unlike the Mi Door and Window sensor, there’s no spare sticker included, so think wisely before you choose the location for this device. If you turn the grey base of the sensor, you then get access to the battery compartment. The battery needed here is a slightly larger CR2450 coin battery, which while still fairly easy to find, isn’t as common as a CR2032 for example. You should get anywhere between 12-18 months of life out of the battery, which, considering how cheap the batteries are, makes this a very attractive device to set up and just forget about.
COMPARISON WITH AQARA MODEL
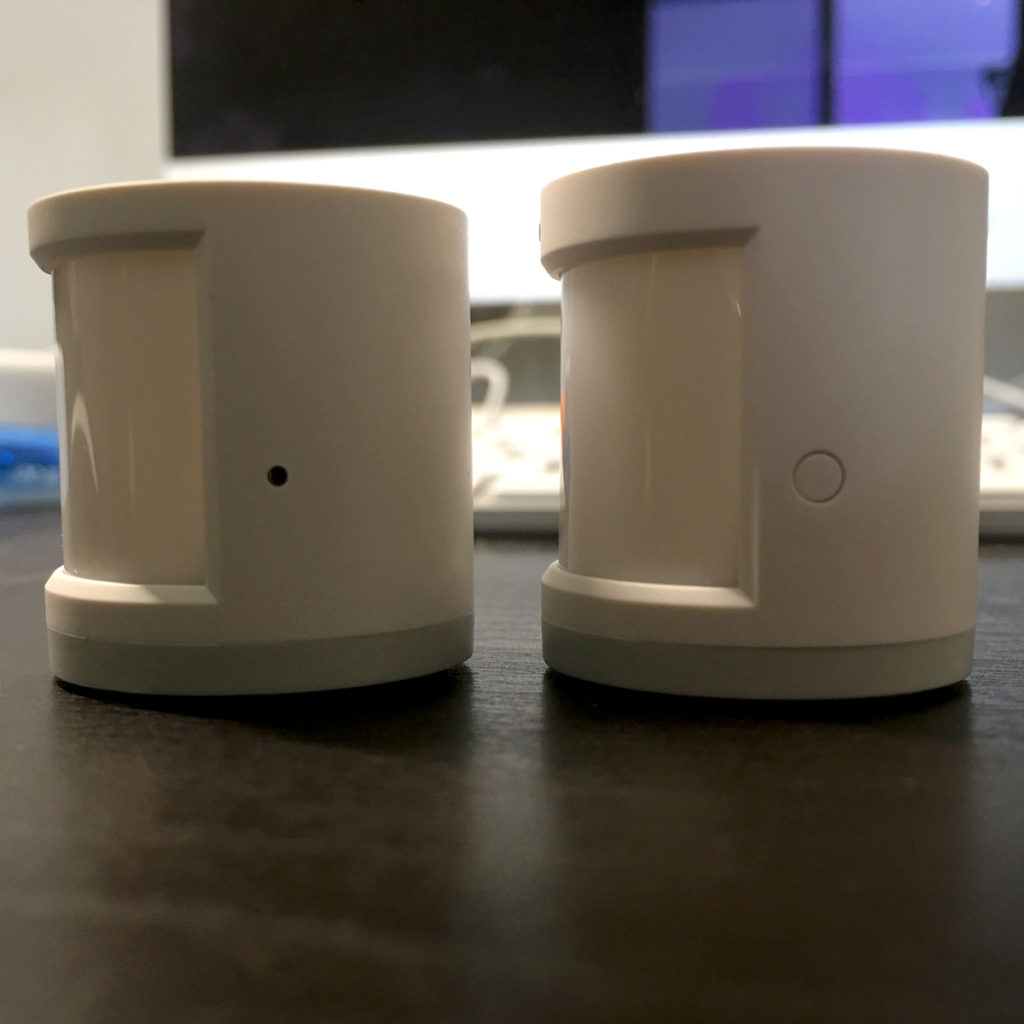
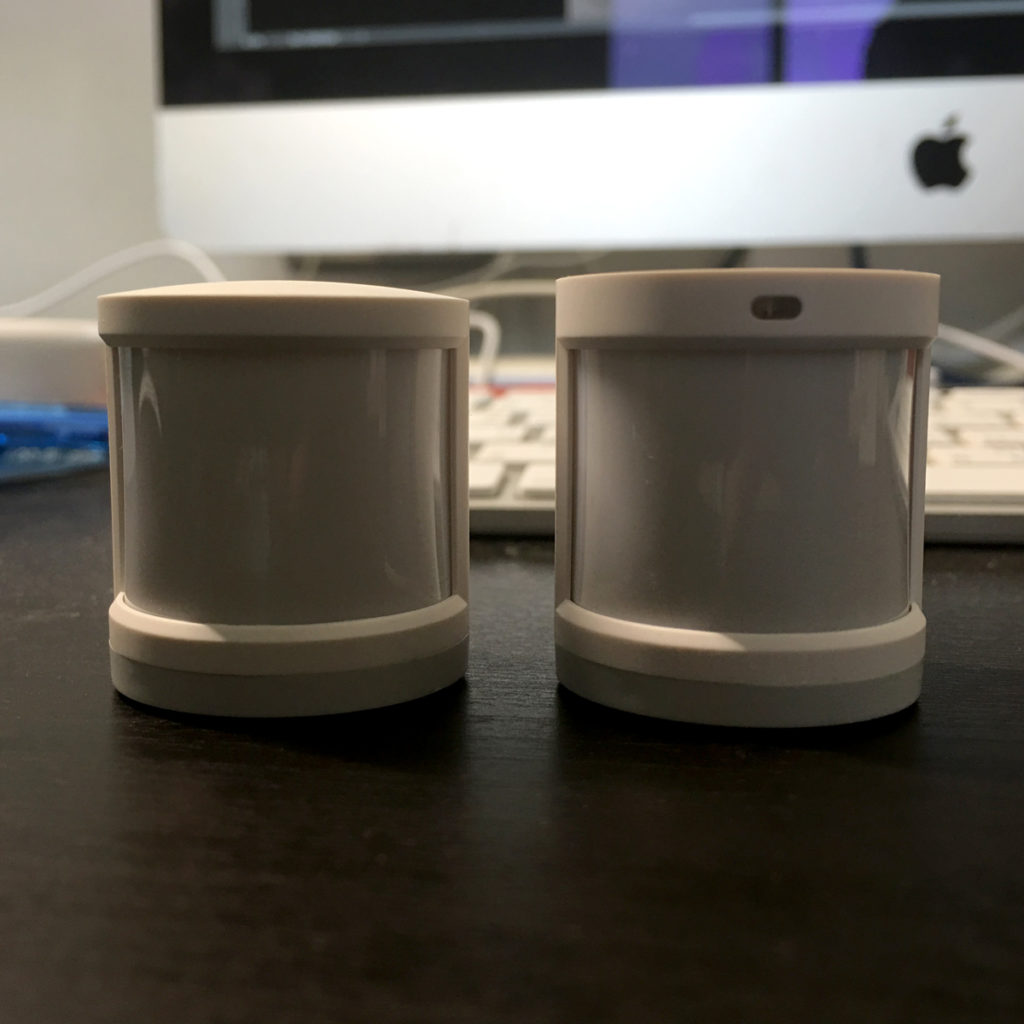
If you’ve started to immerse yourself into the Aqara ecosystem, you may notice that the Mi motion sensor looks an awful lot like the Aqara motion sensor. As you can see from the two images above, they are indeed quite similar. Unlike the Mi sensor, the Aqara has a flat top, with no convex shape. The Aqara sensor also has a button instead of a pinhole, although they’re in the same place, so in effect, they’re the same under the ‘skin’. The only real difference of any importance is that the Aqara has an ambient light sensor at the top, whilst the Mi sensor doesn’t have one, which also bumps up the height of the Aqara compared to the Mi, but only by a fraction. Whilst the Aqara can boast this ‘extra’ sensor, it doesn’t actually get exposed to HomeKit, and has only limited use within automations in the Mi Home app, although the last time I checked, the Aqara app does add a little more functionality. If the Light sensor was exposed to HomeKit, it would have a clear edge over the Mi version, but as it stands, not so much right now. The Aqara model usually also comes with an adjustable mount, which allows the sensor to be mounted and adjusted to a greater degree. This mount is available to buy separately at the usual Asian online outlets though, so if you really need one, they’re not expensive.
INSTALLATION
Installing this device is done either via the Mi home or Aqara apps and if you want it to be exposed you’ll need to have the Aqara hub to do so. I’ve been through the process of adding devices to both these apps elsewhere, so I won’t repeat it all again, but if you refer to my review of the Mi Door and Window Sensor, the procedure is exactly the same. Needless to say, in essence, you add it to the Mi Home app, it gets added via the Aqara hub (which is required), and it automatically appears in your Home app. In the process of adding the device, you will be asked to choose a room for it, but this will not be carried over to the Home app, so you’ll need to assign a room in the Home app too.
I’ve already mentioned that, as this is a Zigbee device, you do need a hub to make it work, regardless of whether you use Apple HomeKit or not, so if you’re just using the Mi Home app, you can add it via one of the older Mi Gateway’s to make it work, but for HomeKit, currently you need the Aqara hub.
DAY-TO-DAY USAGE
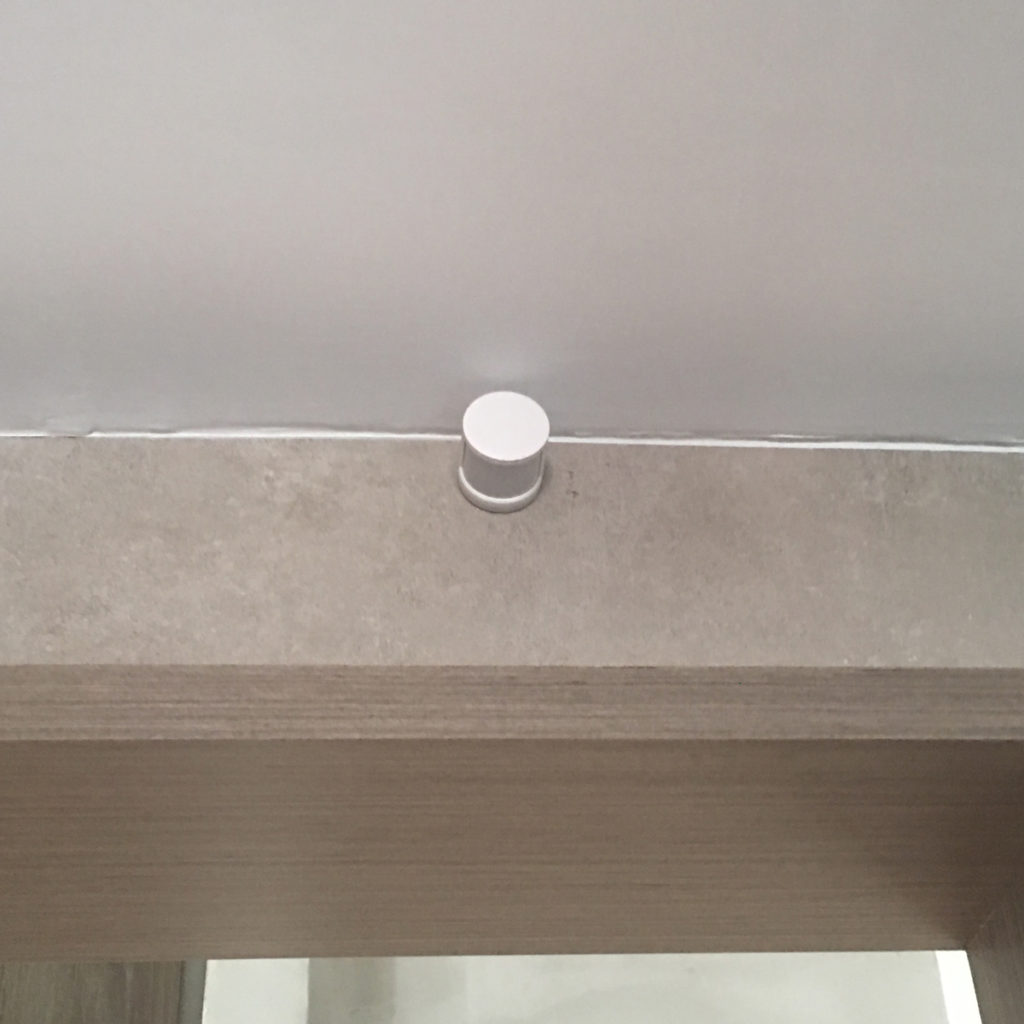
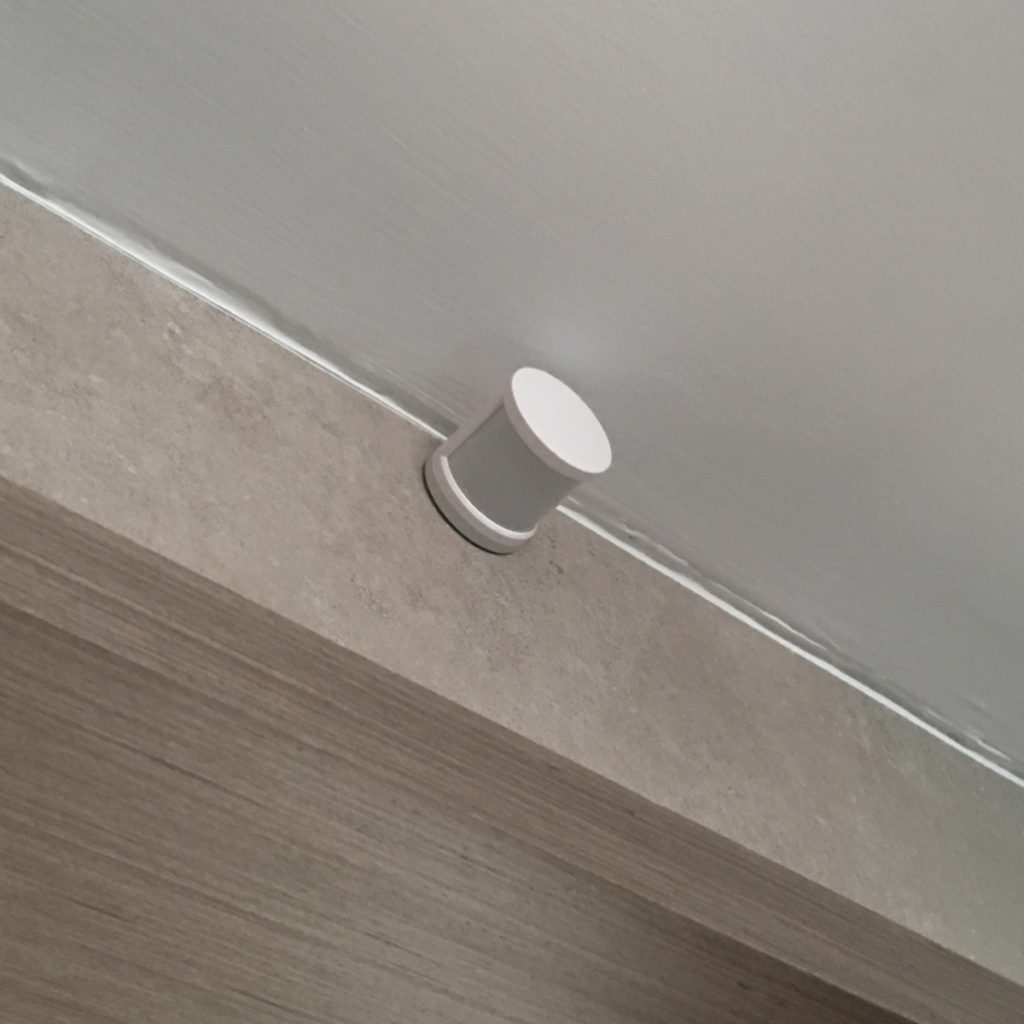
If you own any Zigbee devices, you may already be aware of how fast they respond in general, and in the case of the Mi Motion Sensor, it’s no different. They’re easily as fast as the Hue Motion Sensor, which also uses Zigbee, and it really tends to leave Bluetooth motion sensors in the dust. As with the Aqara sensors, these are quite sensitive and seem to have quite a long reach in terms of how far away motion is detected, which could be a blessing or a curse, depending on the situation. I have two of these, one for each bathroom, and they’re set to turn the bathroom lights on in both cases. In my particular case, both bathroom doors tend to stay open when not in use, as they slide open sideways. This means that in order for them to not be triggered when people walk by from outside the bathroom, I’ve mounted them above the inside of the entrances to the bathrooms, so they only trigger if you pass over the door frame threshold as such. The downside with that is that if you rely on the sensor to keep lights on, then the particular angle I have them set for, in the pics above, don’t cover the whole bathroom. for me though, it’s more a case of triggering the lights to come on, than for them to turn off in the case of no motion being detected, so it’s not an issue, but you may want to think about mounting these in a corner and at an angle, facing inwards, so they cover the bathroom, but not anything outside. This also has its downsides, as you’d have to go slightly further into the bathroom to trigger the sensor, than you would with the way I have it set up, but as I’ve said, these are fast, so the difference is going to be minimal in reality.
AVAILABILITY
I bought these sensors from my local Mi Store, and they’re available either as part of a bundle, which includes switches and door sensors, along with a Mi Gateway, but also individually. As I’ve already got an Aqara hub (I’ve actually got five, but that’s another story…), I just needed the sensor itself. It would seem this is also available in stores in the EU as well, although as far as I can tell, only as part of a bundle, so you may want to think about buying from GearBest or AliExpress if you don’t need all the other stuff.
WRAP UP
There’s no getting around the fact that these devices are very cheap, very reliable and very fast. You do need a hub, but if you’re investing in more of these, along with other devices that need the hub, then the additional outlay for the Aqara hub, does get reduced quite a lot. Besides, the Aqara hub does have its own set of benefits anyway, so it can ‘earn its keep’ quite easily. Recommended.




Pingback: Mi motion Sensor (review) - HomeKit News & Reviews - Smart Home Informer
No… hub is not cons 😉
The alternative is Bluetooth, which usually works much slower. On Wi-Fi you can not make devices powered by small batteries.
It is better to have 1-2 hubs than a few dozen BT devices and Wi-Fi 😉
The only disadvantage is not automatically connecting to HomeKit via IP (Ethernet, Wi-Fi) devices avter restart or Wi0Fi issues.
I’m happy to use hubs myself, but there are still many people that prefer to connect directly to HomeKit via their wifi network, so in this instance I have to deem it a ‘Con’ even though I could add as it as a pro too. In the article I do also mention that the hub is actually worth getting anyway, as it has it’s own special uses.
I am trying to educate in my articles and give the advantages of the solutions defects, which the user may not know or have not experienced 😉
If we already have dozens of Wi-Fi accessories then network problems may occure.
I add more features to my hubs, so you do not have to feel that something is wasting space or electricity 😉
https://www.instagram.com/p/BxFt8-ilFme/
Yep, totally agree with you. I like using hubs personally. I have a Hue Bridge, 2 Aqaras, a Xiaoyan Hub and a LifeSmart Hub (that’s not Zigbee though).
LifeSmart? Wath communication use?
I in my devices use ESP-NOW (Espressif) becouse I made Hub and accessories on ESP chips. But I tu use nRF24 in some simple lamp witch Attiny processors 😉 Hub works on ESP32.
I think it uses some kind of RF transmission. I got it at a time when they had a beta option to add the hub to HomeKit unofficially, so I was able to add their bulbs and motion sensor, as well as the LifeSmart Spot, which is a night light and IR blaster.
I have Aqara version that is great comparing with one made from IKEA that I bought to use with IKEA bulbs and homekit. Aqara one is more sensitive and cheap. Has more details in the Mi App that shows you level of light, and a log of the movements detected.
Yes, I’ve got an Aqara motion sensor in the Kitchen. The ambient light sensor is useful when working with my Yeelights, so hopefully they will eventually expose it to HomeKit.
I do not know if the Aqara Hub has, but the Mi Gateway has a ambient sensor. I expose the Mi Gateway via Homebridge and in addition to controlling the led in the Home application I also have a ambient sensor.
If I add an Aqara Motion Sensor to the Mi Gateway, is the ambient sensor also exposed to Home app via Homebrigde?
Does the Aqara motion sensor also works with the mija version of the gateway? I guess it should?
Yes it will work with the Mi/Mijia Gateway. You just don’t get it exposed to HomeKit, but apart from that it works the same.
My plan is to let Home assistant expose it 😀 Thanks for good review
I’d you’re using Home Assistant then you should be fine.
Excellent article comme toujours.
J’ai commandé trois capteurs après avoir lu votre article, et je les aient reçus mais je suis un peu déçu de ne pas pouvoir faire se que je veux avec. L’application MAISON d’Apple ne permet pas de faire de créer une automatisation que je souhaité faire dans la chambre des enfants. Je m’explique…je voulais créer une règle qui éteigne la lumière d’une chambre si aucune détection n’était faite pendant 20min. Mais malheureusement on ne peut pas régler une minuterie.
Dommage…
Excellent article as always.
I ordered three sensors after reading your article, and I received them but I am a little disappointed not to be able to do what I want with. The application MAISON Apple does not make it to create an automation that I wanted to do in the children’s room. Let me explain … I wanted to create a rule that turns off the light of a room if no detection was made for 20min. But unfortunately we can not set a timer.
Pity…
Hi
you can quite easily create an automation like the one you require in the Home app, but you will need two separate automations; Create one automation where, when motion is detected, it turns on the lights. Make sure that it is not set to turn off. The second automation should be set like this; if no motion is detected, turn on the light (the light will already be on from the 1st automation), and make sure the light turns off after 20 minutes.
salut
vous pouvez facilement créer une automatisation telle que celle dont vous avez besoin dans l’application Accueil, mais vous aurez besoin de deux automatisations distinctes; Créez une automatisation où, lorsqu’un mouvement est détecté, il allume les lumières. Assurez-vous qu’il n’est pas configuré pour s’éteindre. La deuxième automatisation devrait être définie comme ceci; si aucun mouvement n’est détecté, allumez la lumière et assurez-vous qu’elle s’éteint après 20 minutes.
Oui mais justement c’est pour la chambre des enfants qui allume parfois la lumière pour rien et ils sortent
Merci pour votre aide, mais je vais vous expliquez plus en détail se que je n’arrive pas a faire.
Je ne veux pas que la lumière s’allume quand les enfants rentrent dans leur chambre.
Mon soucis c’est plutôt que les enfants allume parfois la lumière de leur chambre la journée et ensuite monte au salon et oublie d’éteindre. Et moi j’aurais juste voulu que si il n’y a pas de détection pendant 20min alors sa s’éteint tous seul et moi éteint leur chambre a distance.
Avez-vous une solution?
Cordialement.
Yes, but it is for the children’s room that sometimes lights the light for nothing and they go out
Thank you for your help, but I will explain in more detail what I can not do.
I do not want the light to come on when the kids come back to their room.
My concern is that children sometimes turn on the light in their room during the day and then go up to the living room and forget to turn off. And I would have just wanted if there is no detection for 20min then it goes out all alone and I extinguished their room at a distance.
Do you have a solution?
Cordially.