Control The Temperature of Your Tunable Bulbs
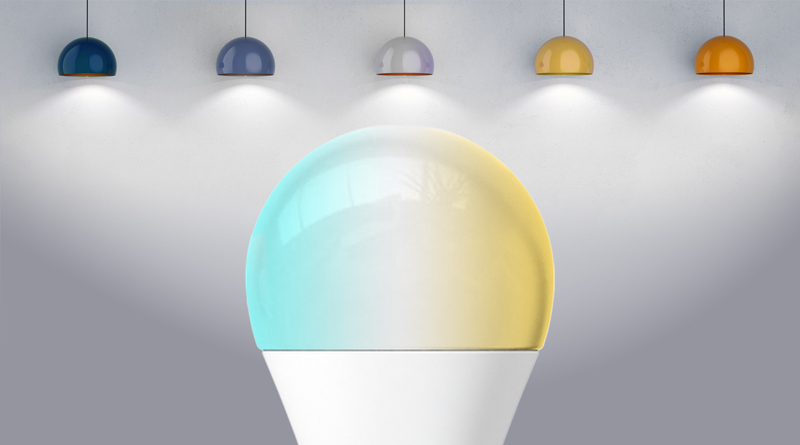
If you’ve just started on your journey to making your home ‘Smart’, you may well be aware of smart bulbs, and even smart colour bulbs, but you may not be aware of what are known as ‘tunable white’ smart bulbs, or as Philips Hue call them, ‘White Ambiance’. These are essentially white smart bulbs that can be ‘tuned’ to different colour temperatures, from ‘cool’ white for the daytime or for aiding in concentration, if you’re working, to ‘warm’ white, with a more orang tinted light, for use in the evening, to help you relax.


If you do have one of these, it’s also entirely possible that you’ve never gotten around to exploiting this extra functionality, mostly due to the fact that to change the lights from one ‘temperature’ to another generally relies on you changing it via the app, with the result that you never bother, and just stick to the one temperature.
However, with a simple bit of one-off planning, and a few scenes and automations, you can get the lights to come on at the appropriate colour temperature whenever you turn them on. When I say the ‘appropriate’ temperature, I’m going to set some basic rules for this tutorial, so;
- Cool white from 7am – 1pm
- Mid-white from 1pm – 6pm
- Warm white from 6pm – 7am the next day
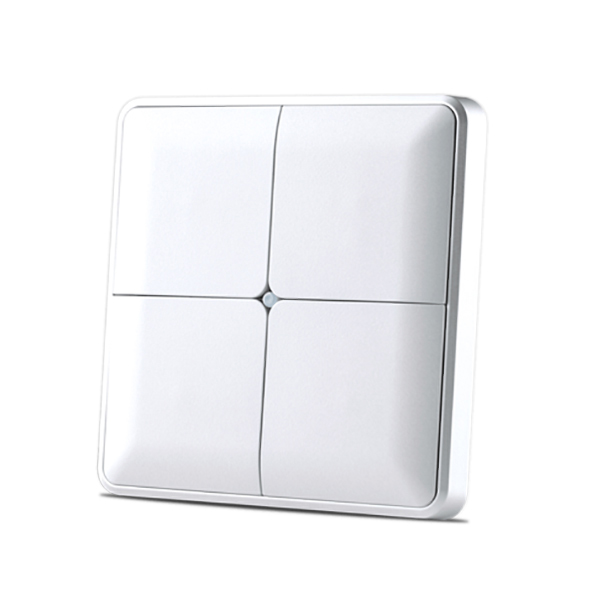
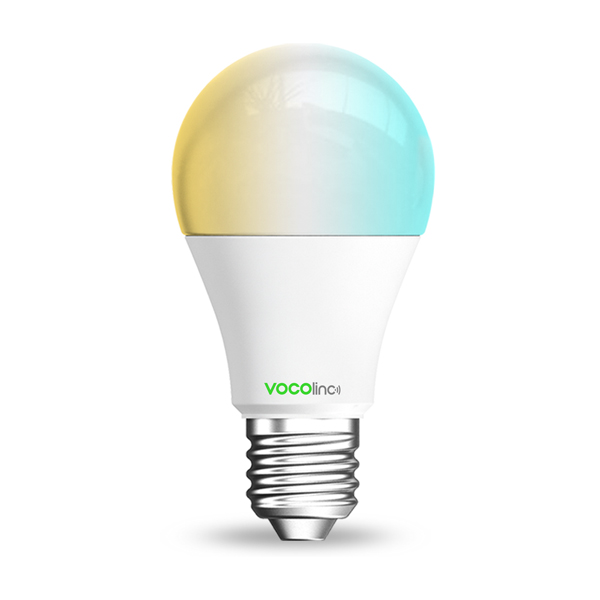
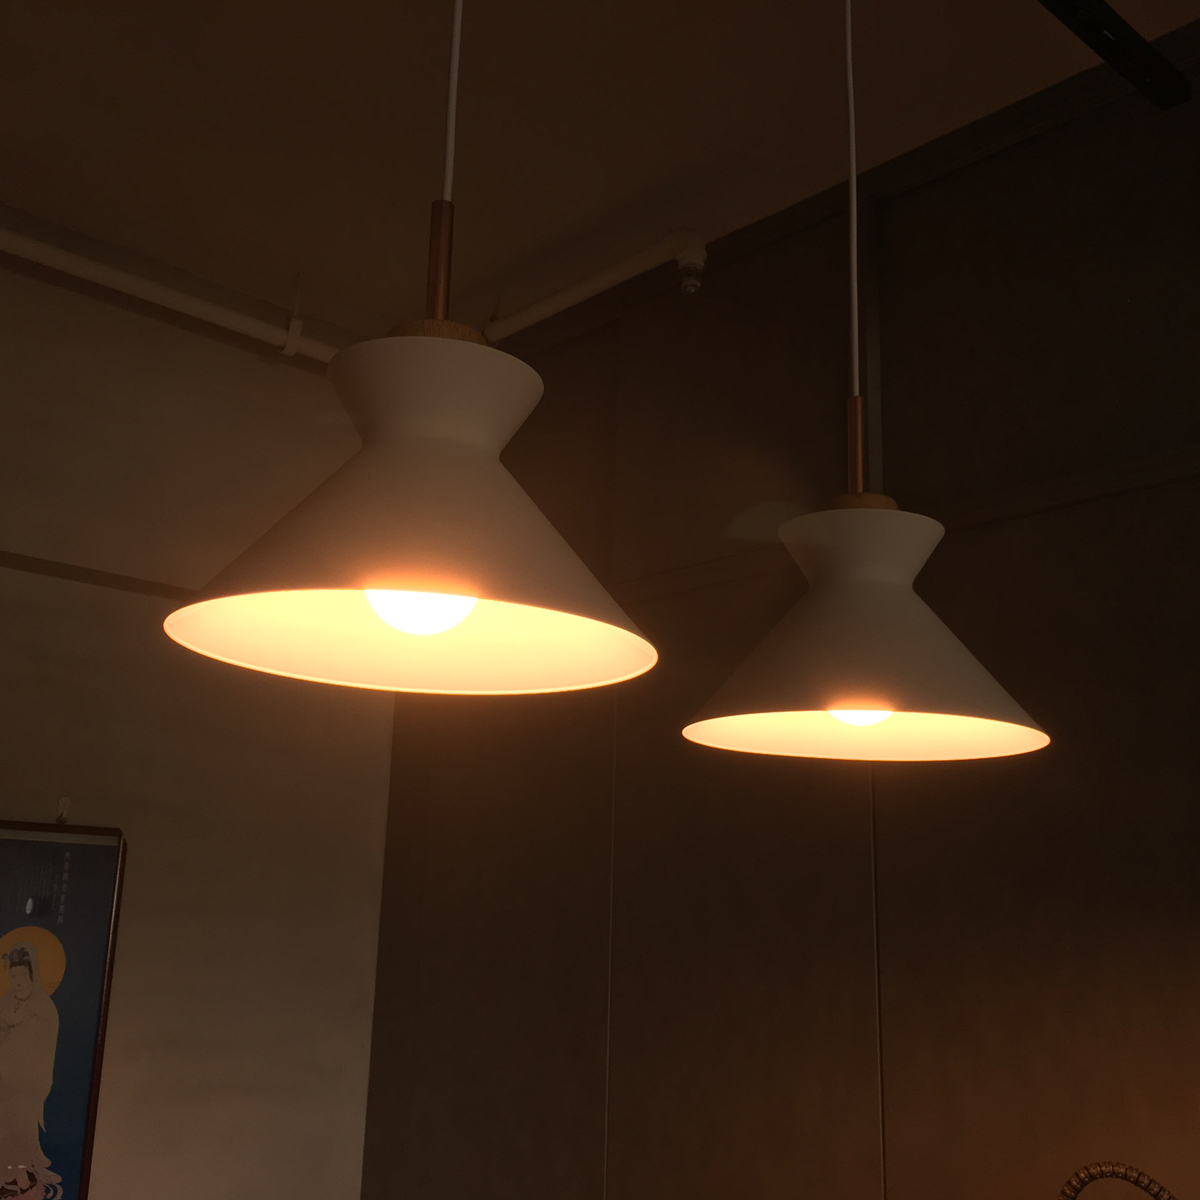
Of course, you can decide these times for yourself, so feel free to alter these in the automations and scenes that I’ll proceed to show you how to create. Before I do proceed, you’re going to need at least one tunable white Smart Bulb (I’m using two of the Vocolinc L2 Tunable White smart bulbs), a programmable wireless switch (I’m using the Terncy In-wall switch that also has two programmable switches), and the Eve for HomeKit app, which is free to download.
One final note; There is another, possibly simpler way to achieve this, but I don’t believe it’s as good as a solution as the one I’m showing today, but I’ll add the simple guide to the end of this article for the sake of argument.
PART ONE – SCENES
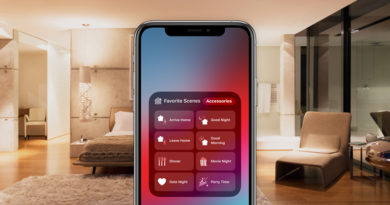
The first thing we need to do is to set up three distinct scenes that set the different colour temperatures, which I’m creating quickly in the standard Home app;
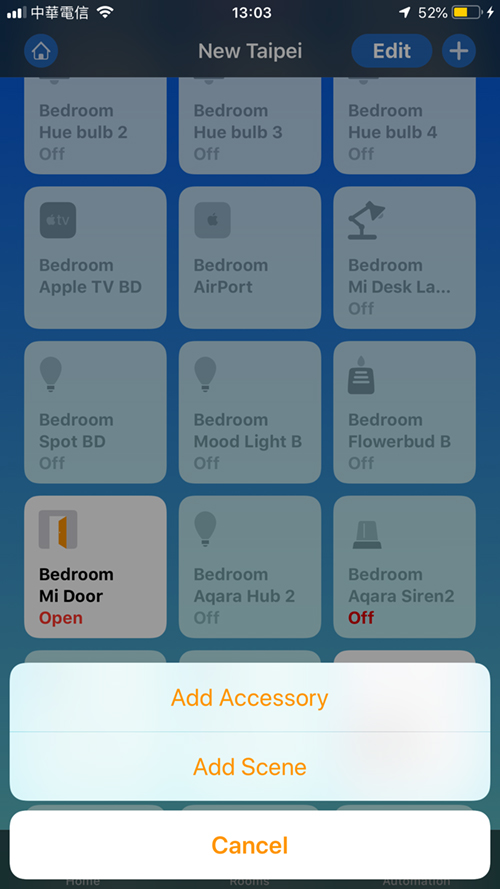
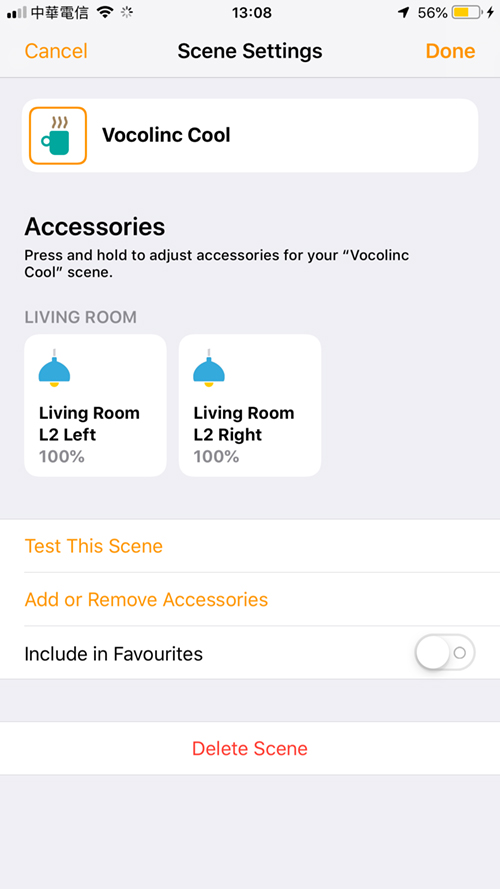

- In the Apple Home app, click on the plus symbol in the top right corner and select ‘add scene’
- Click on ‘custom’
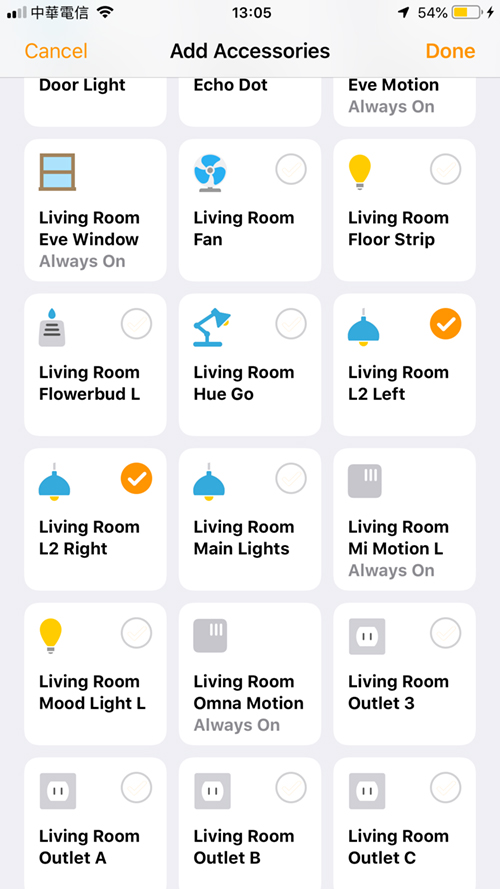
- Select the devices you wish to be included in the scene – I’m selecting two Vocolinc L2 tunable White smart bulbs
- Once you’ve selected your devices, click on done
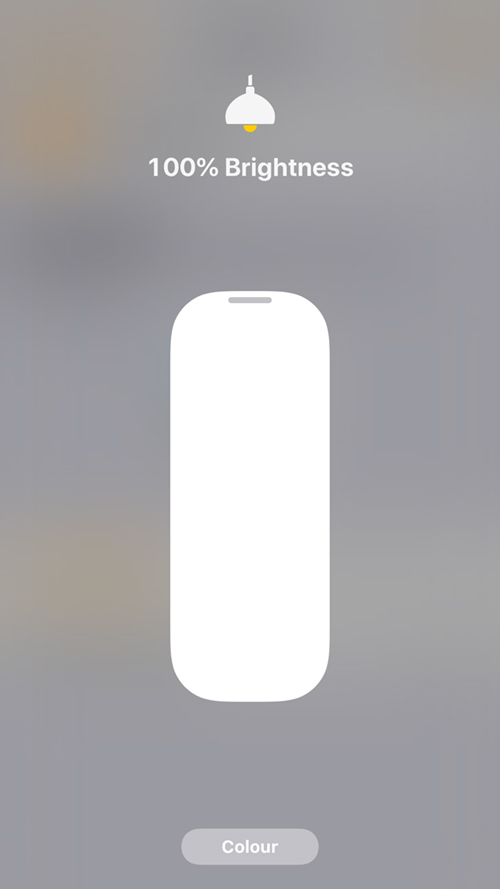
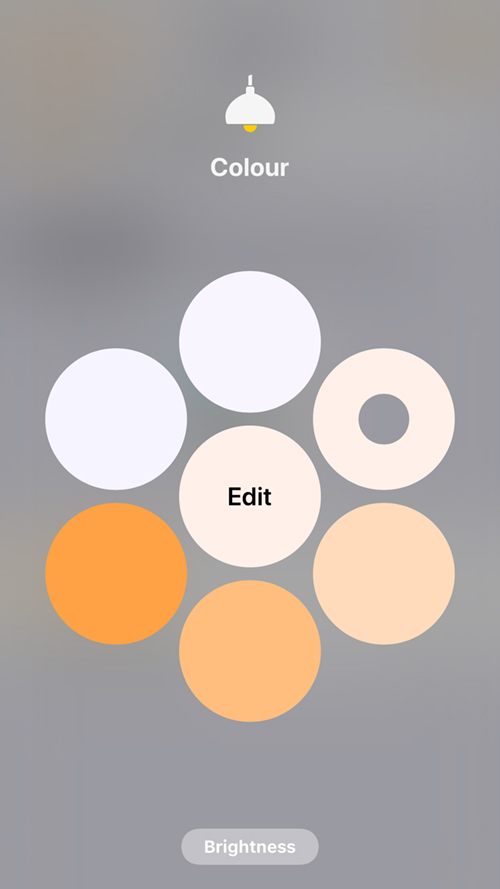
- long press on each of the bulbs and set the colour temperature and brightness of each bulb, making sure each bulb is set the same
- Make sure the bulbs are set to be ON – which they will be if you’ve set the brightness levels anyway
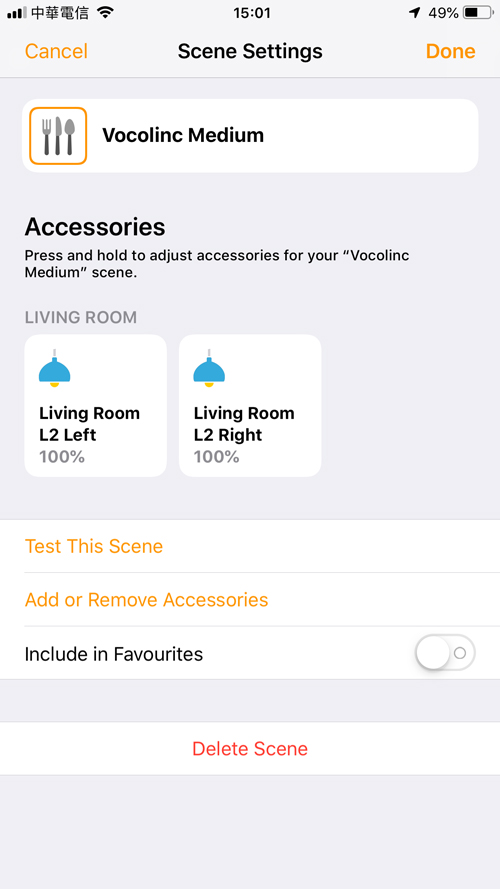

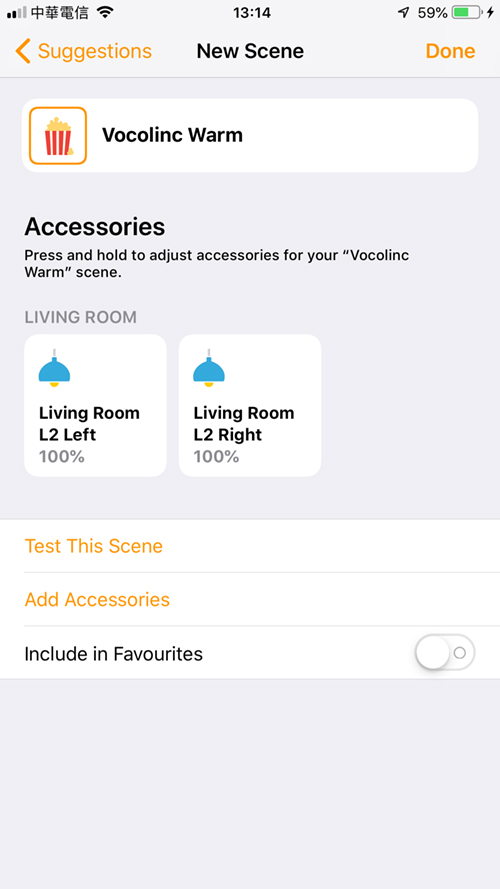
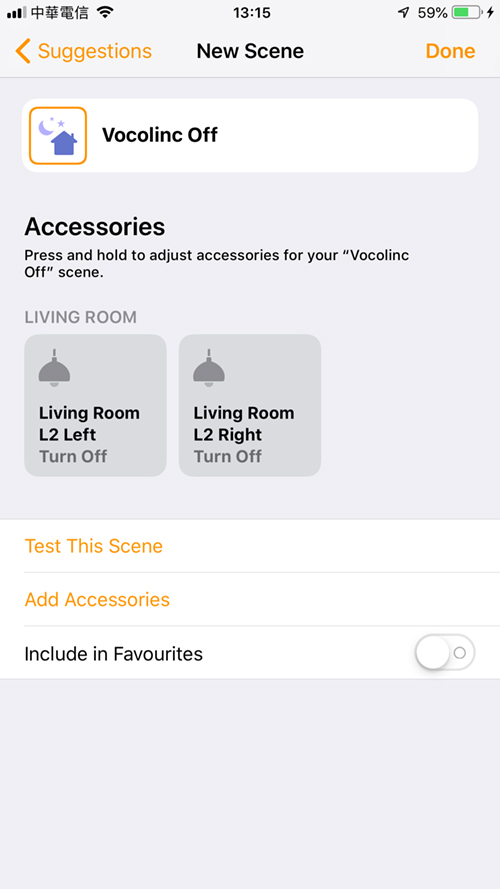
I’ve now created a scene for the bulbs to be set to Cool white, so you simply repeat the process for another two (or more) scenes – in this case, one for Medium white, and one for Warm white. Once they’re done, you should then create one more simple scene that has the lights set to Off. As they’re set to be off, the brightness and temperature don’t apply of course.
PART TWO – AUTOMATIONS
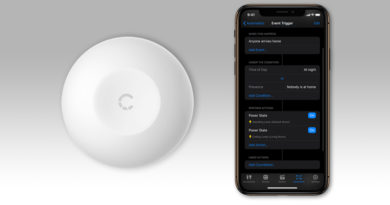
We now move over to the Eve for HomeKit app, as we need to create automations that have ‘conditions’ of the kind the current Home app simply isn’t capable of. In the Eve app, things are a bit different when it comes to automations. These are located within the Scenes tab and are labelled ‘Rules’ for some reason, but this is still, nevertheless, where you create your automations.
For these automations, I basically want it so that when the switch is pressed, it will turn the lights on, but depending on the time of day, will then select one of the three automations I created in the previous section. Additionally, these automations will only work if the status of one of the lights is ‘off’. There’s a reason for this, for which I’ll go into later.


- Click on the Scenes tab at the bottom, then click on the Rules tab at the top.
- Scroll to the bottom of this page and click on ‘Add Rule’
- On the next screen, you get the basic structure for your automation laid out – Triggers > Conditions > Scenes. Click Next
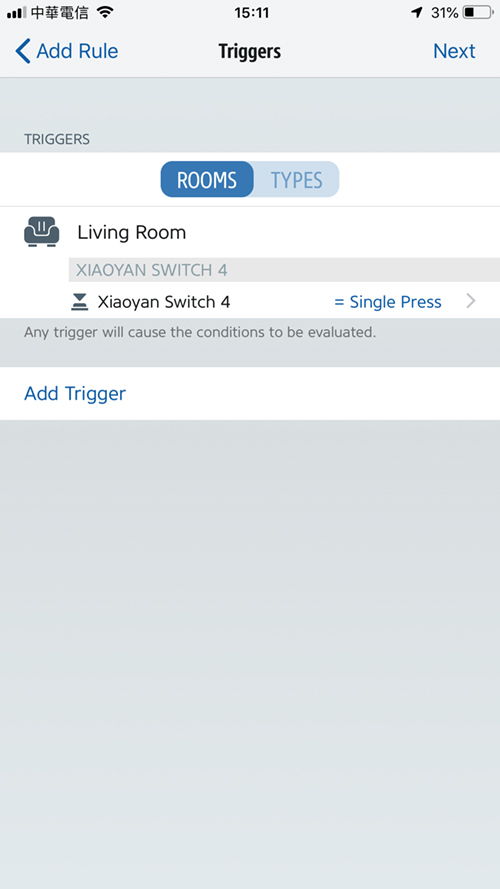
- You then add your Trigger device – which in this case will be a switch that turns your lights on
- Click on ‘Other Value’ then select the room where the switch is located.
- scroll through the next screen until you find your switch
- Toggle it on, and select either Single, Double or Long press. I’ve selected a single press for this example
- Click Add, and you’ll return the Triggers screen, which should now show the trigger device you selected
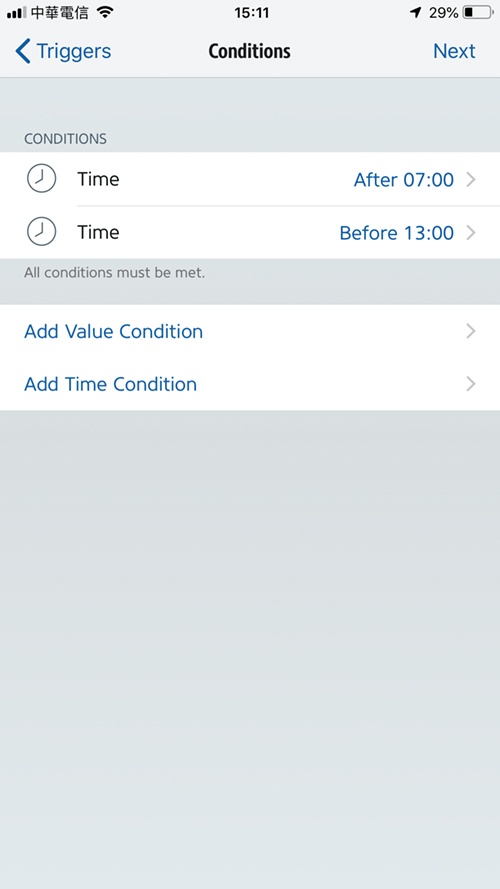

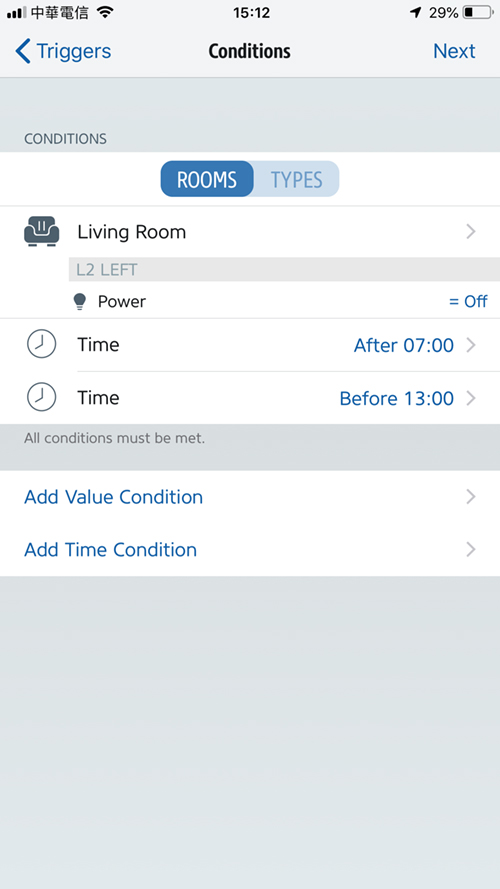
- Click Next and you get to the Conditions section, which is where this app is more useful than Home.
- For this automation I want it to only work between certain hours, so I add two ‘time-based’ conditions – after 0700hrs and before 1300hrs (7am – 1pm)
- Once you’ve added your two time conditions, you can go ahead and add a Value condition, which in this case will be the status of (one of) the light(s).
- I’ve got two bulbs in the scenes created, but I only really need to check the status of one of these bulbs for this automation.
- Find one of the bulbs and set the status so that its power condition is toggled on, and the condition equals ‘off’
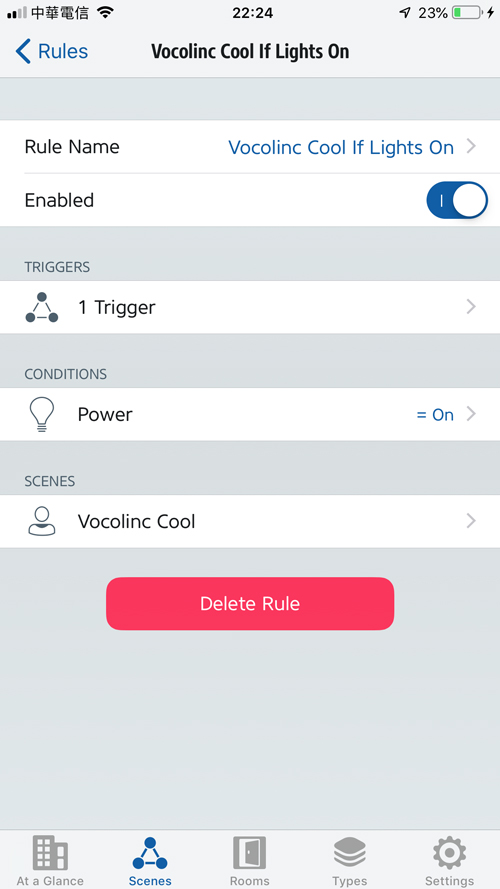
Once you’ve added that, you’re left with three distinct conditions – The power status of the bulb should be off, and the time should be after 7am and before 1pm. If these conditions are met when the button is pressed, the scene – which we’ll get to next – will be triggered.
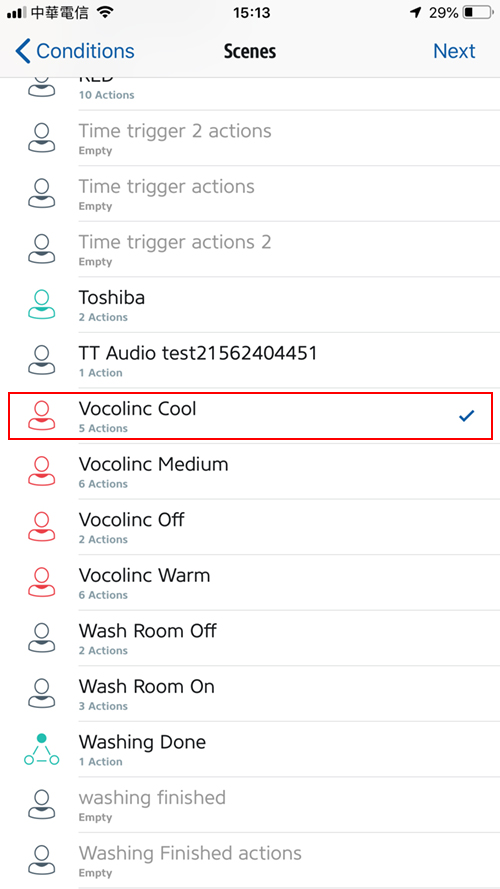
- Click Next and you then choose your scene
- As this Rule/Automation is set to work from 7am until 1am, I want the bulbs to be set to cool white, so I’m going to choose the ‘Vocolinc Cool’ scene I created earlier in the Home app
- Once you’ve chosen the scene you want, ensuring the tick mark appears to show it has been selected, Click Next
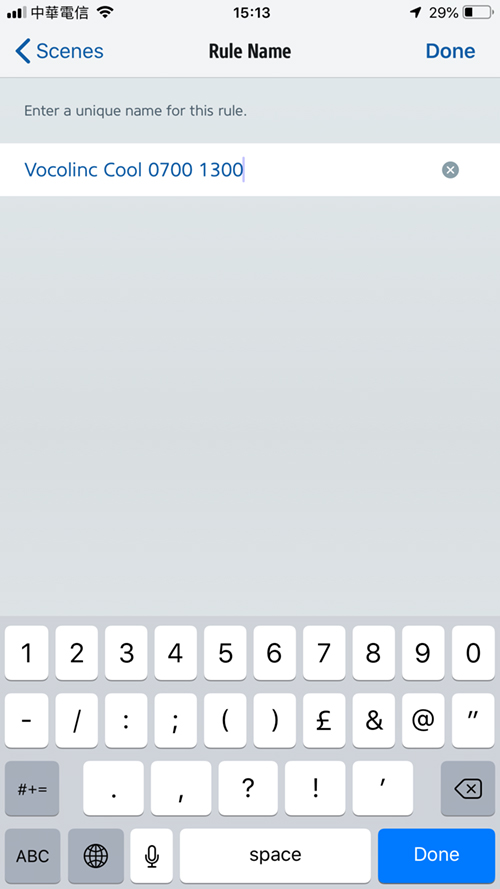
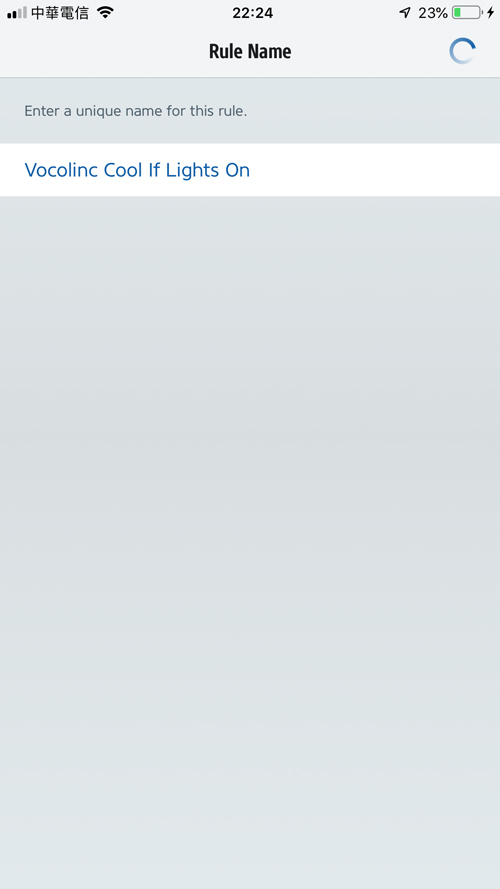
- You finally get to name the Rule/Automation – and in this case, I’ve named it to reflect both the scene and the time – Vocolinc Cool 0700 1300
As with the scenes you created earlier, you then repeat the steps above in the Eve app, for two more Rules/Automations, but changing the time conditions – in my case, the Medium white scene would be set to work between the hours of 1300 – 1800 (1pm – 6pm), with the Warm White scene working from 1800 – 0700 (6pm – 7am), although with this third Rule/Automation, you only need one time condition – After 6pm, as the bulbs will stay with Warm White until the next morning at 7am, when the first Rule/Automation we created takes over again. Make sure each subsequent Rule/Automation has a name that follows the same convention already established, to make things easier to trace, should you need to adjust anything later.

The Final part is much simpler, and it related to why you need a condition in the other Rules/Automations that checks the status of the power to the bulb(s).
- Select the same switch you chose for the previous Rules/Automations
- The only condition you need to set is for the bulb – who’s status you set as a condition before – to be on. If the bulb is ON, then this automation will turn the bulbs OFF
- Choose the Vocolinc Off if On scene and name the Rule/Automation
This Rule/Automation ultimately allows you to use just one action and one switch for both on and off functions. In conjunction with the other Rules/Automations, It works like this;
- The button is pressed once
- is the bulb off or on? Off
- What time is it? 0900
- Trigger Vocolinc Cool 0700 1300 Scene
– or –
- The button is pressed once
- is the bulb off or on? On
- Trigger Vocolinc Off if On Scene
There is one issue that you will almost certainly encounter at some point with this method, and that is if your lights are already on, and they’re set to say, medium white, they’re not going to change to warm white when 6pm comes around, unless you go and turn the lights off then on again. To fix this, you simply need to create three small automations that will turn the lights to the appropriate colour temperature at the right time, but only if the lights are already on. After going through the above parts, you should be able to figure it out, but I’ll go through it anyway. As you’ve already set up scenes for the three different colour temperatures, you don’t need to create new scenes, just re-use the same ones in new automations;
- Go into the Eve app, and as before, create a new Rule
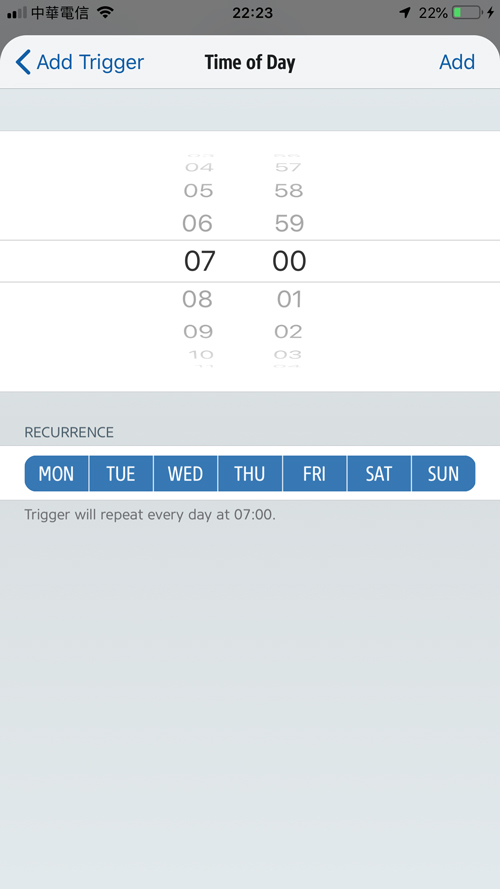
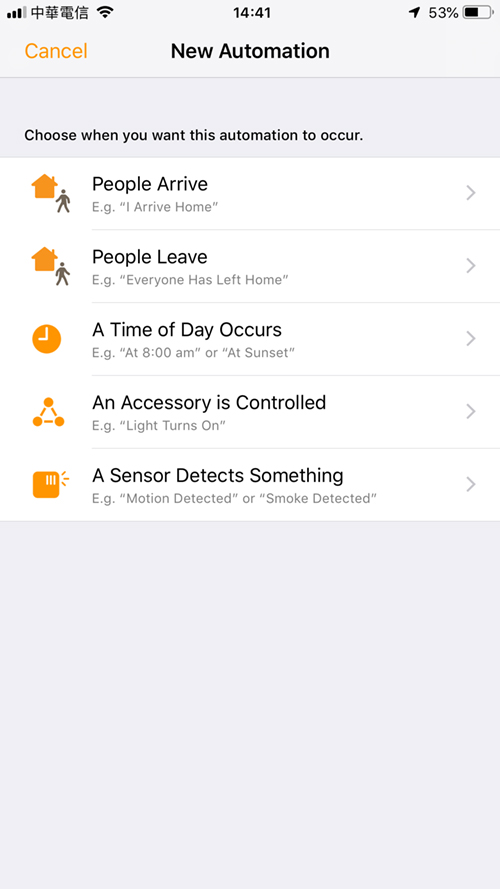
- For the Trigger, use ‘Time of Day’
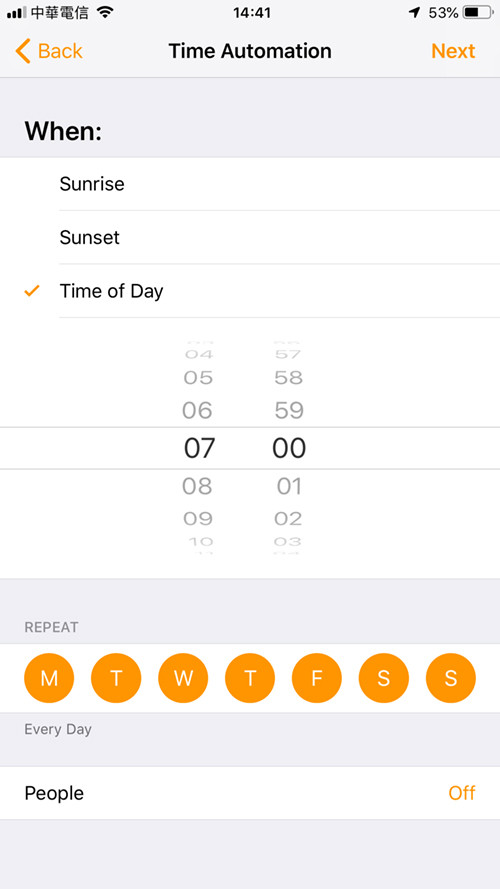
- Select the same time that the particular Scene will start…
- My Cool white scene will start at 7am, so I select 7am too. Click Next
- Add a Value Condition, and select one of the bulbs that will be used in the corresponding scene
- Set the power toggle to ‘On’ and condition should equal ‘On’. Click Add
- Then Click next and select the corresponding scene, and finally name the Rule/Automation
That’s it. So when 7am comes along, and the light isn’t on, the lights won’t come on, but when someone does press the switch, and turns the light on it will be set to cool white. If someone happens to have turned the lights on before 7am (which would mean they’d be set to warm white from the last automation the night before), then when 7am comes around, this other automation will kick in and change the lights to cool white at 7am.
WHERE THESE AUTOMATIONS RESIDE
Normally in the Home app, you can’t create automations that involve switches, as the only option is to go into the settings for the switch and choose a scene for each type of press to be triggered. For this reason, these automations will not appear in the Automations list in the Home app, so any adjustments that need to be made should be made in the Eve app, but aside from changing the times or disabling the automations, you shouldn’t need to touch these automations again.

THE QUICK METHOD
If this all seems a bit complex, there is a way to achieve the same results that is much simpler. This method simply involves turning the lights on for 1 minute, before turning them off again, and in the process of turning them on, sets the relevant colour temperature. So, you could have the lights turn on for 1 minute at 7am in cool white, then turn on again for a minute at 1pm in medium white, and finally turn on again for 1 minute at 6pm in warm white, before turning off again.
- Select the Automation tab in the Home app, then click on the Plus icon
- Choose ‘A Time of Day Occurs’
- Select the time you want your lights to come on, click next
- Choose the lights you want to be controlled
- set the brightness level and the colour temperature for the bulbs
- Select the amount of time they will be on for before the turn off again – the minimum is 1 minute in the Home app
You then repeat this for each time you want the bulbs to change. The only reason I’m not as keen on this is that if the lights are off when someone is in the room, it can be a bit of a surprise to have the lights turn on by themselves, if they’re not aware of these automations. Additionally, if the lights are already on, whilst someone may be working, they’ll go off after a minute, meaning the person will have to turn them on again.
This tutorial may seem like a lot of effort, but it only needs to be done once and you don’t have to worry about it again. If amyone has a more streamline solution, feel free to let me know in the comments section below.