Xiaomi Smart Dehumidifier (review)

Where we live, high humidity is a fact of life for much of the year, so having dehumidifiers of all shapes and sizes dotted around one’s home is a standard in Taiwan. When it comes to smart humidifiers, the choices start to thin out a bit, and when it comes to smart humidifiers with HomeKit, well, let’s just say they’re pretty much non-existent right now. DeLonghi manufactured one (since discontinued I’m told), with the remaining devices you’re likely to find only working with Google or Amazon.
Still, when it comes to smart home tech, there are ways around this, with Siri Shortcuts probably being the easiest way to control a non-HomeKit device – assuming the accompanying app supports that feature. Other than that, there’s HomeBridge or Home Assistant, but with today’s product from Xiaomi, the latter two aren’t as easy to sort, largely due to the difficult task of getting a ‘token’ to add to the code of the plugin. As the (Xiao)Mi Home app is compatible with Siri Shortcuts, this – to me – is the easiest way for day-to-day voice control. If you’re in need of a dehumidifier, even for part of the year, this could easily be the best you can get. Read on to learn more.
THE DEVICE
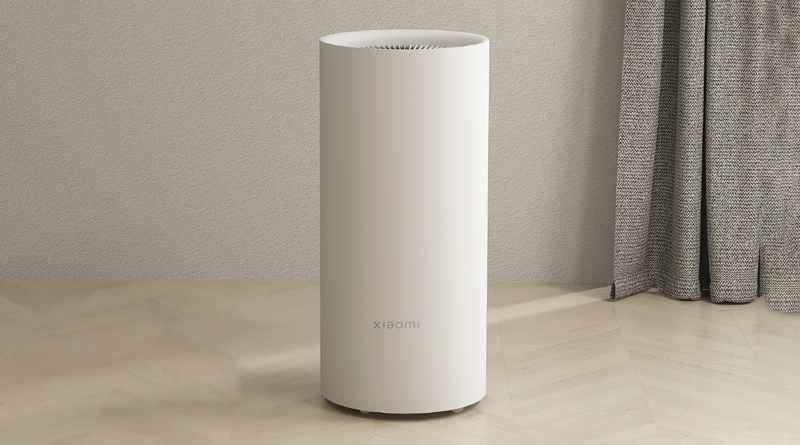
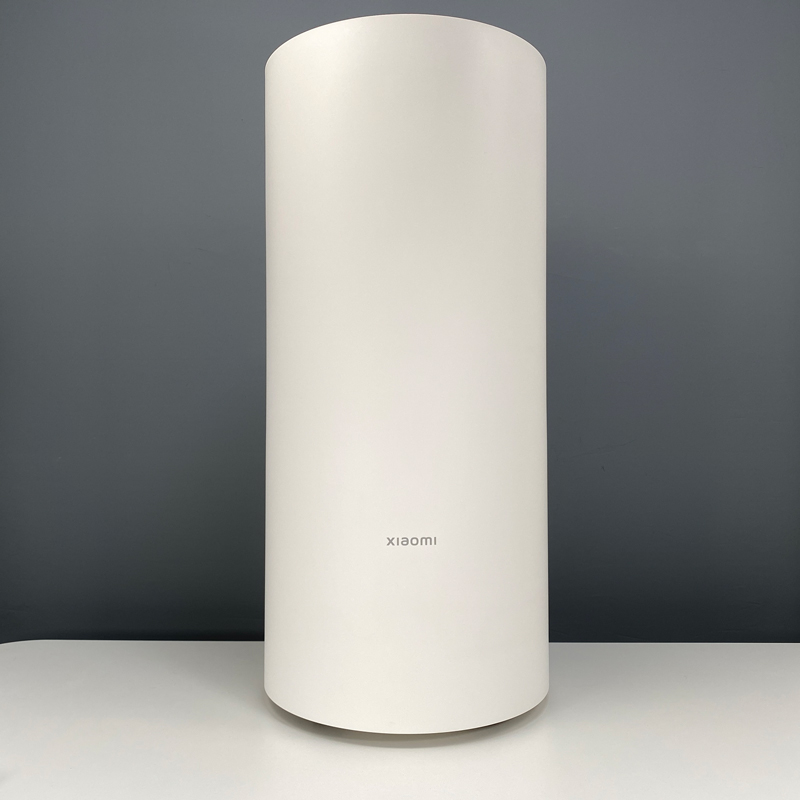
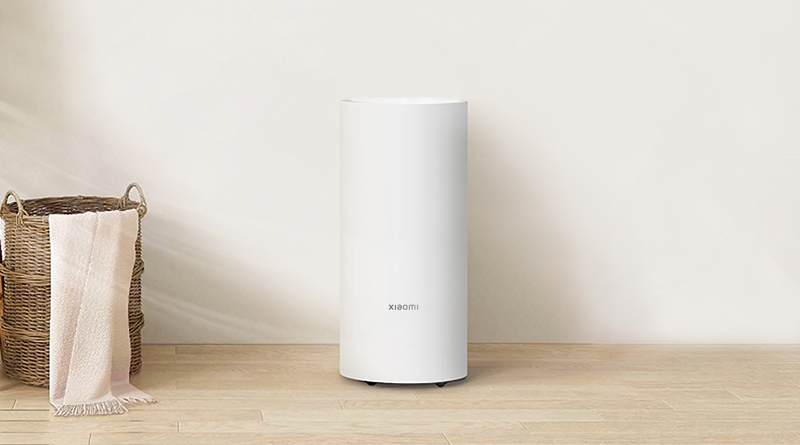
The dehumidifier is a ‘beast’ in terms of size – 668mm/26.3in tall and a diameter of 300mm/11.8in. It’s the largest smart device in our home, with only the Smartmi Air Purifier 2 (review HERE, video HERE) coming close at 563mm tall. Even though it’s rather tall, the minimalistic design is less distracting than you’d imagine, with a plain white front only punctuated by a very discrete Xiaomi logo on the front. The unit uses standard 2.4GHz WiFi for smart home connectivity.
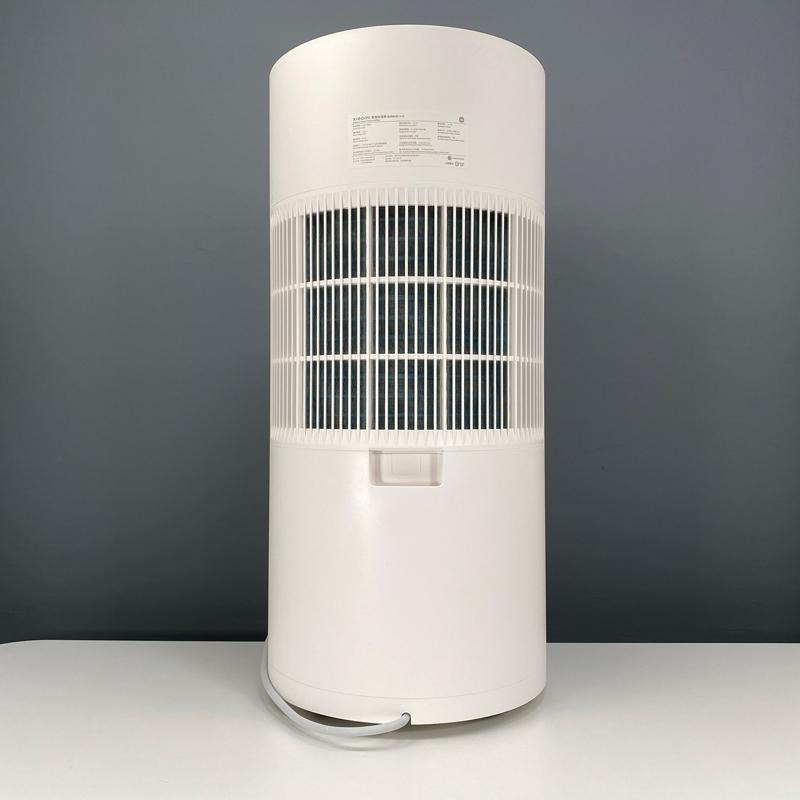
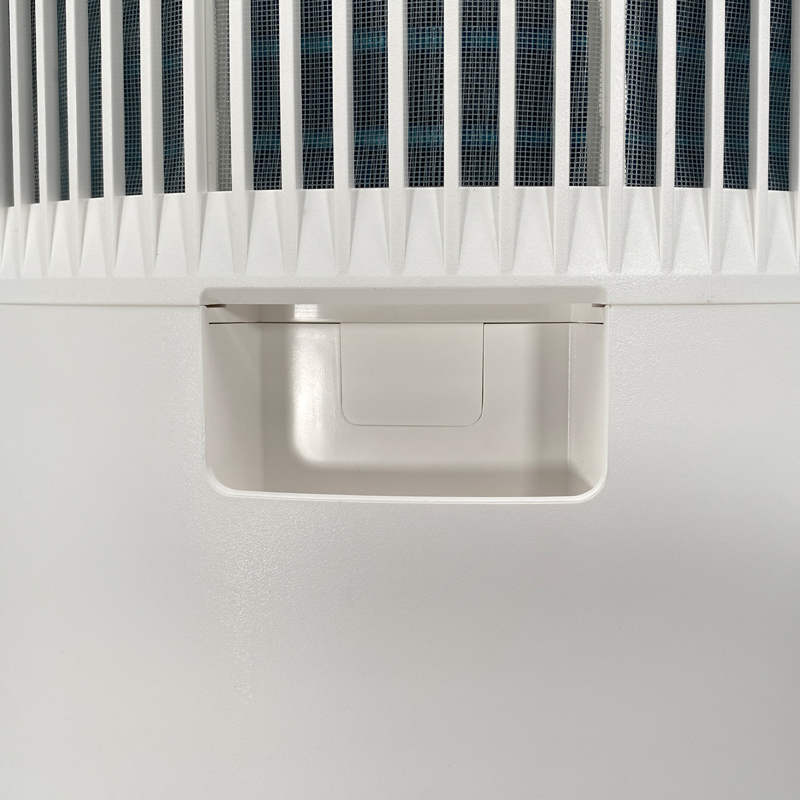
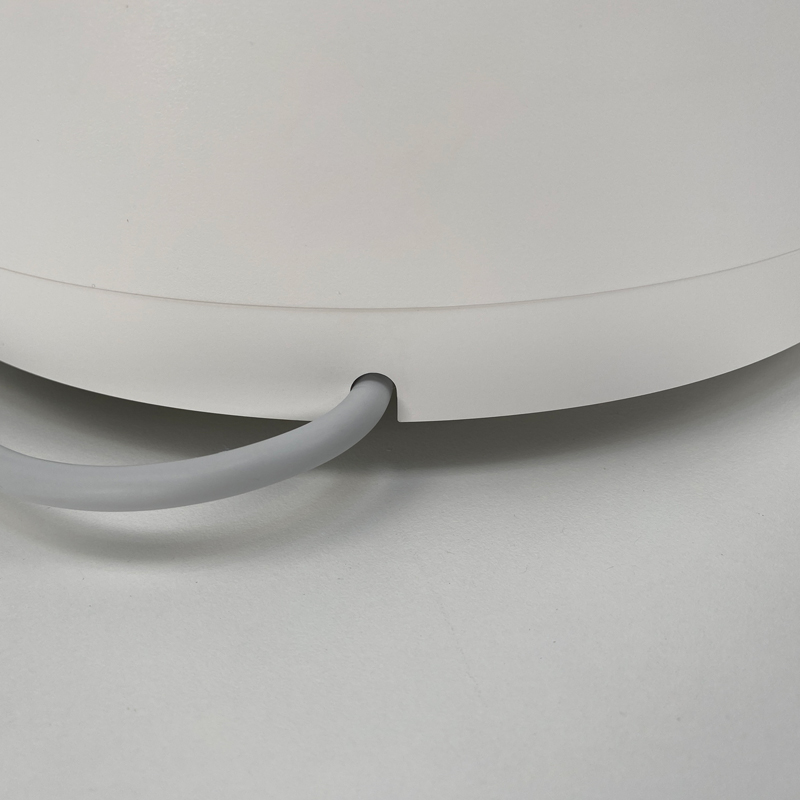
The back is much more utilitarian, with a grille to draw in humid air and a handle with which to extract the tank that collects water drawn from the air. At the bottom is a fixed power cord, so it’s not possible to remove it from the device.
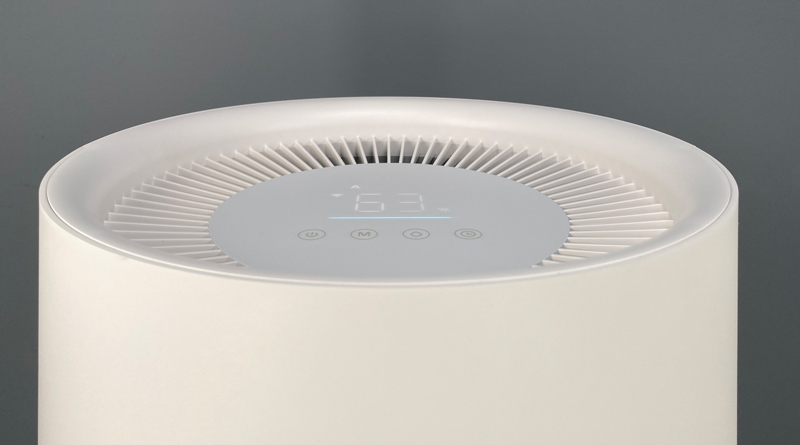
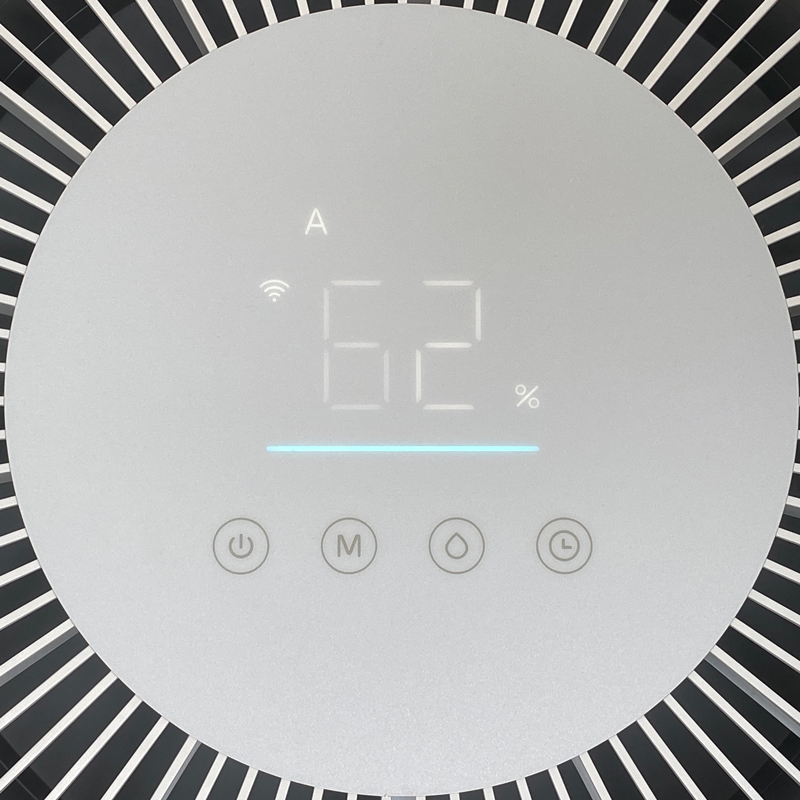
The top of the device is where it all ‘happens’ so to speak; The outlet grille that sends out dehumidified air surrounds a control panel with a simple but easy-to-understand display.
So, for manual control, this is the one area you’ll be dealing with. There are no mechanical buttons as such, so all controls are of the capacitive type. Starting at the bottom, you have four controls;
- Power
- Mode
- Target humidity
- Timer
the first of these is the Power button, which is pretty self-explanatory, although it does slightly more than turn the unit on/off; tapping it when the unit is off, will simply turn it on. If you tap it when the unit has been on for a while, it will turn off partially, with the display turning off, but the fan inside still functioning for up to 40 minutes. The reason for this is that it has a function designed to ensure the inside workings of the unit are dry too, so they don’t attract mold. This can be disabled in the app, but I think it’s better to keep it on. If you press this button a second time, the unit will turn off completely.
The Mode button allows you to choose from three different operating modes – Auto, Sleep, and Dry Clothes mode. I’ll go into these modes a bit later.
The Target Humidity button allows the user to set the target humidity level. Once humidity reaches the desired level, the unit will turn itself off. The display will stay on, but the fan is effectively off. When humidity rises above the set target, the fan will start up again and resume dehumidifying the room. This feature is disabled in Clothes Drying mode for reasons I’ll explain shortly.
The Timer button allows the user to set an amount of time before the unit turns off. You can only set it in units of one hour, with a maximum of four hours via the controls, or eight hours via the app. If the Timer function is activated, a small clock icon will appear to the left of the main central display.
MODES
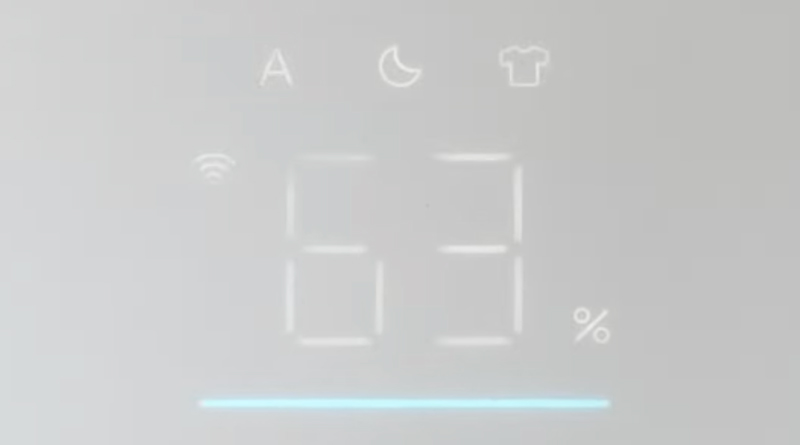
The three different modes start with Auto (using an ‘A’ symbol), which as you can probably guess, adjusts the fan speed depending on the amount of humidity in the surrounding air according to the built-in humidity sensor. You should use this mode in conjunction with the Target Humidity feature as well. Sleep mode (using a ‘half moon’ symbol), once again, is pretty clearly designed for low volume and power when it’s used during the night. the Target Humidity feature also works with this mode. Finally, Clothes Drying mode (using a ‘shirt’ symbol) should really be referred to as something like Power or Turbo mode, as it essentially sets the motor and fan to the top speed it’s capable of. As mentioned, the Target Humidity option isn’t available in this last mode, as it’s designed to get to work as powerfully as possible, regardless of what the humidity levels are like.
Below the icons that show you what mode the device is set to, you have a large numerical display depicting the current humidity levels. Tapping on the Target Humidity button shows you the set level, before quickly returning to the current level. Besides the large digits is a WiFi symbol that is solid during normal operation, but will flash if for any reason it gets disconnected.
Below the Wifi symbol, is a ‘padlock’ symbol (not pictured) that will show up if you turn on the Child Lock feature. This feature can be activated by pressing the Timer and Target Humidity buttons for seven seconds. Below that is a ‘water full’ symbol (not pictured) that will also only show up in certain circumstances – when the water tank is full.
Finally, below all of the display items, but above the buttons, is a long thin LED strip that changes to one of three colours, depending on the humidity levels. If humidity is over 70%, the strip will display in Blue. If the humidity level is between 40~70%, the strip will be Cyan. If humidity is below 40%, the strip will be Orange.
Whilst the controls on the unit are something I’ve found I rarely use, they work really well, with great responsiveness at all times, so for those that prefer the ‘hands-on’ (literally) approach, they’ll encounter no problems at all. This is partially due to the very simple-to-understand features and overall layout. It’s simple to pick up and quickly understand for most people.
ADDITIONAL PARTS
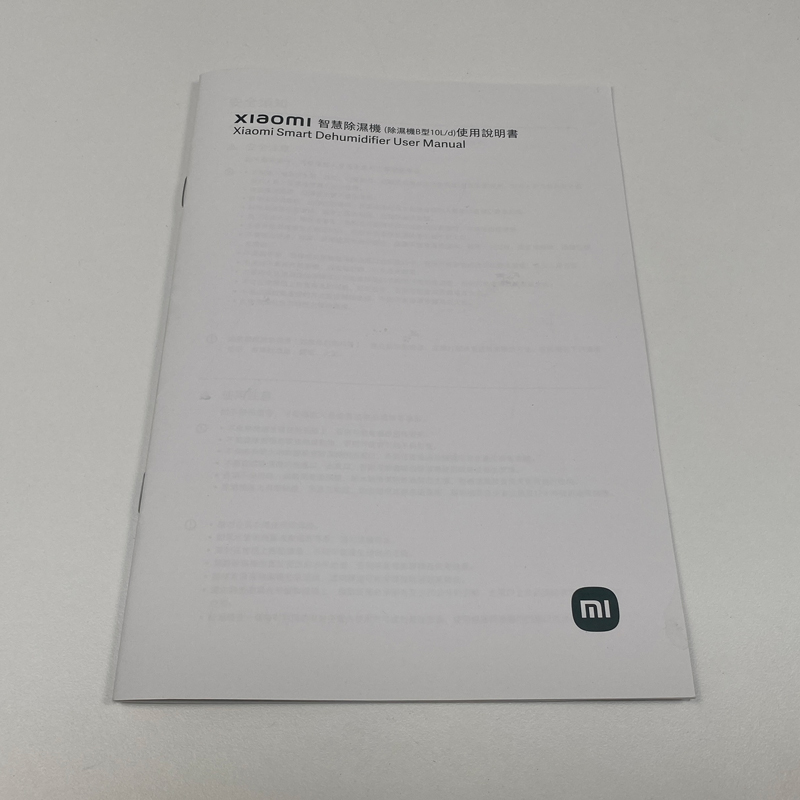
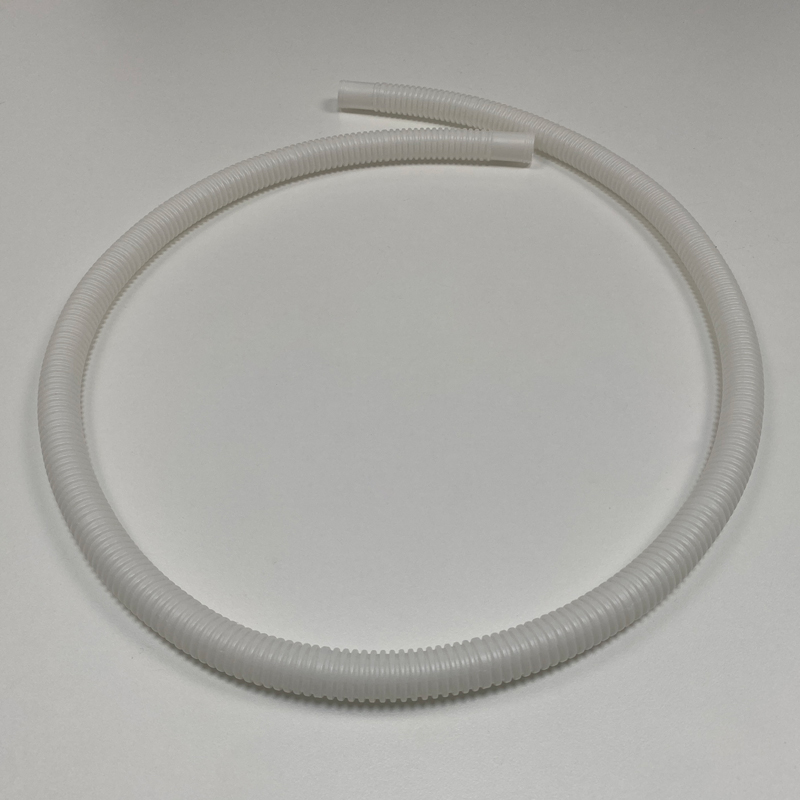
The only parts to come with the dehumidifier are a manual in English and Chinese* and a drainage pipe, which I’ll mention a little later.
* (simplified or Traditional, depending on where purchased)
REAR OF THE UNIT
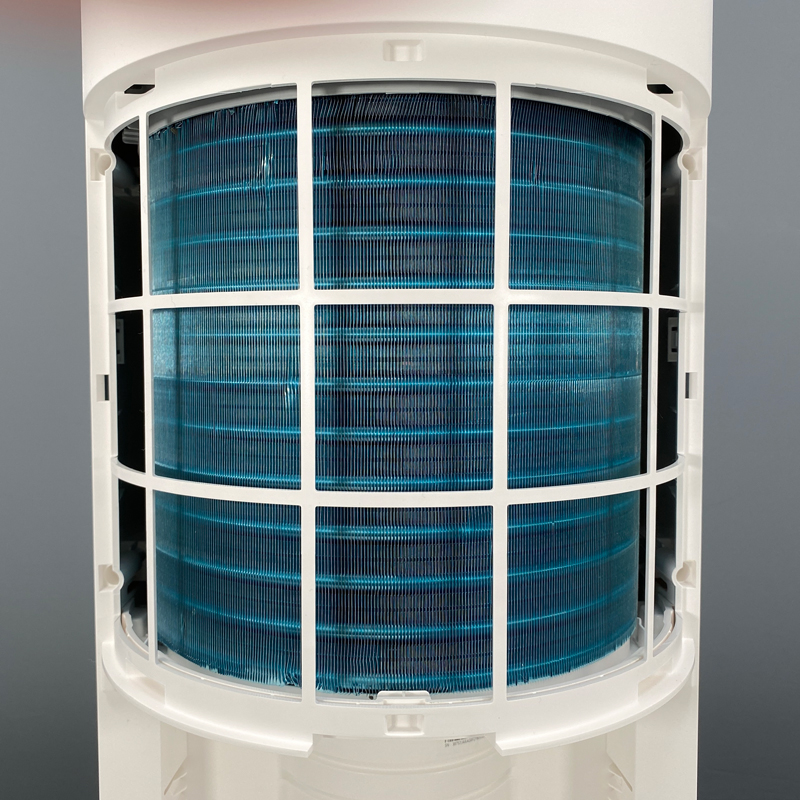
The rear of the unit really consists of the water tank and the compressor, hidden behind a combined grille and filter. The fixed power cable is also present at the bottom.
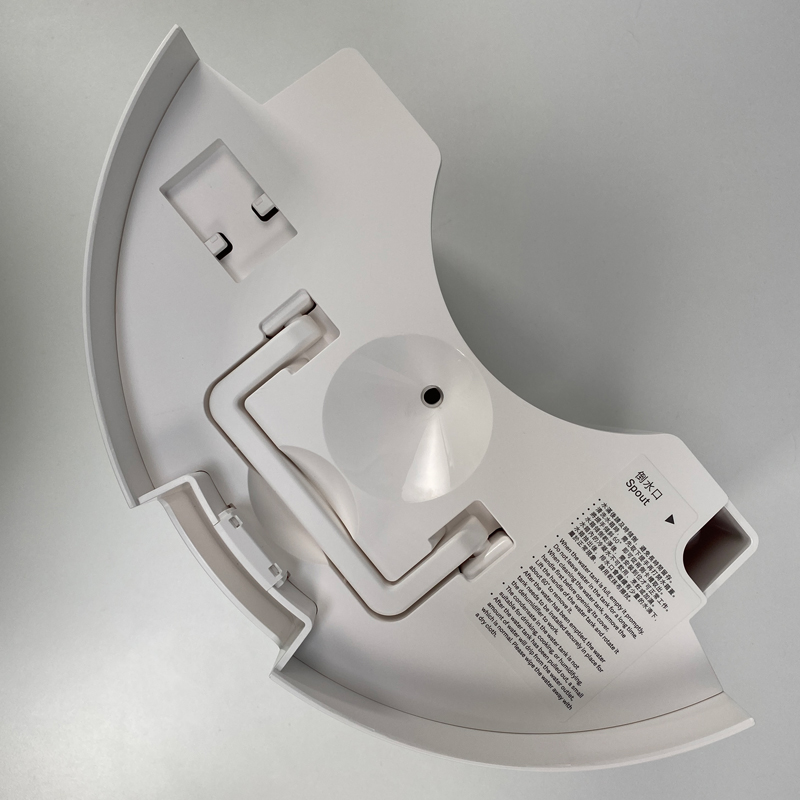
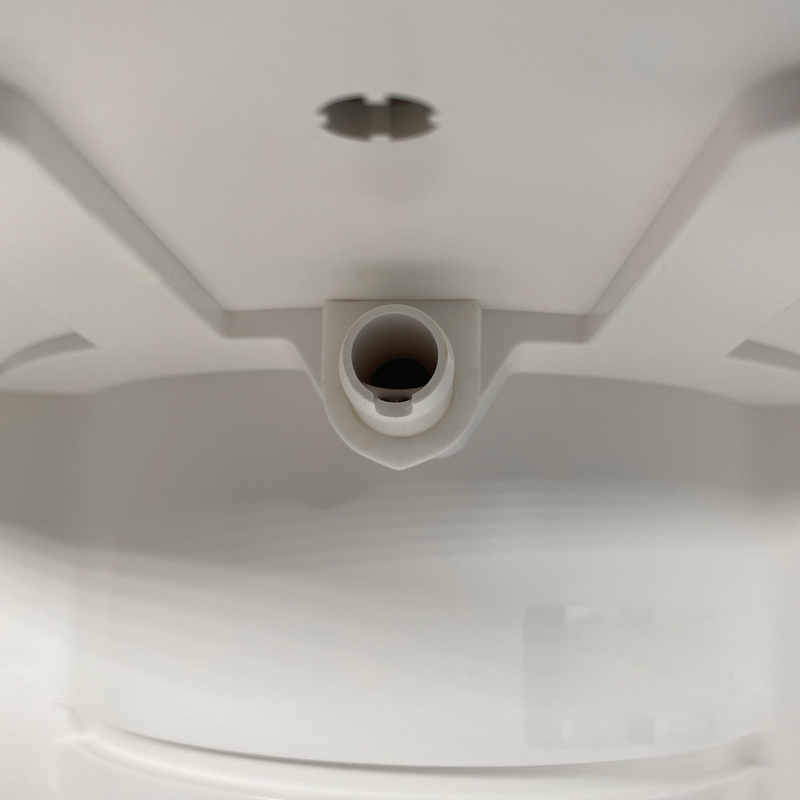
Once you remove the water tank, you see a small carry handle and a spout, amongst other smaller details. The carry handle is useful as a full tank of water is heavier than you think. The tank can hold 4.5 lt / 9.51 pt of water. When you want to empty the tank, you simply tilt it at around 45º with the spout at the bottom end so the water can be expelled. However, due to the fact that the whole top cover of the water tank can be removed (in order to periodically clean it of any potential mold build-up), water does seep out of the adjoining parts, which isn’t ideal. Directly behind the carry handle is a small ‘gate’ that can be removed to allow the drainage pipe to pass through.
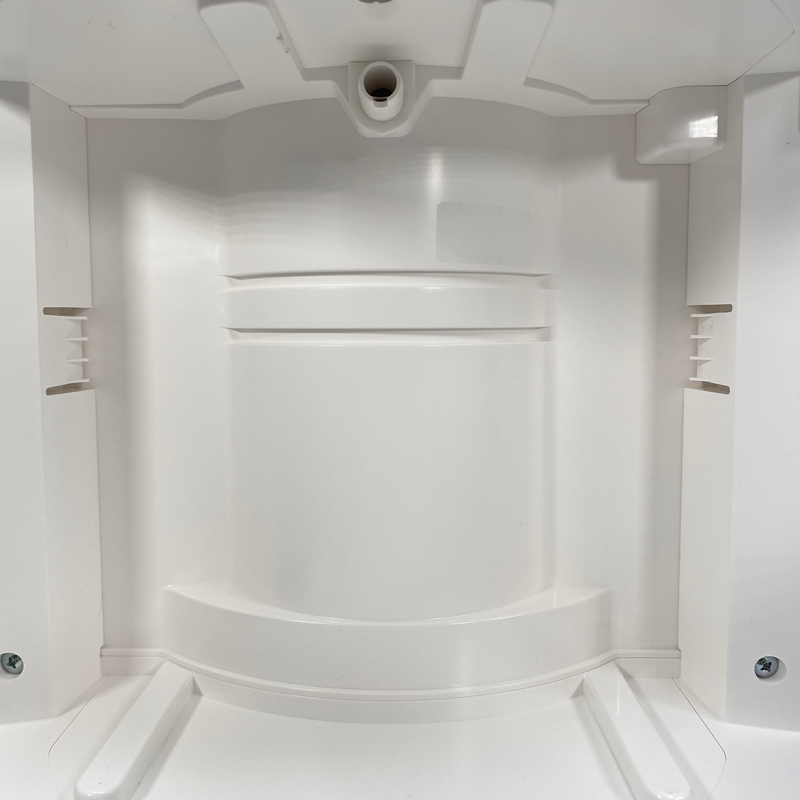
The recess where the water tank resides features a small outlet that allows the water to trickle into the tank. If you use the drainage pipe to bypass the water tank, it will be connected to this outlet.
The compressor is the part that does the most work, removing humidity from the air drawn in through the grille. As it’s sucking in air via the fan, in order to keep it clean and dust free, the removable grille also includes a rudimentary filter. This filter will only stop things like dander or hairs and larger clumps of dust, so don’t expect HEPA 13 levels of control. The filter can simply be washed under the tap, and although the manual states the filter can be removed from the grille, I simply couldn’t remove it, not that it matters.
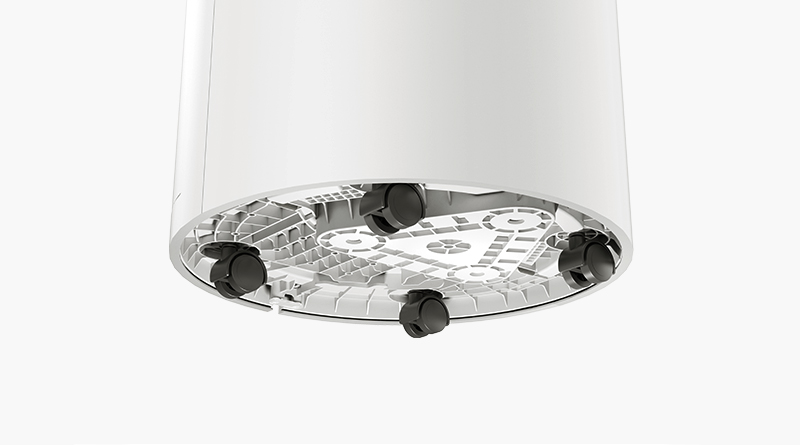
As mentioned at the start, this is a large device, and even if it were light and had a carry handle – which it isn’t and doesn’t – at 13.2kg/29.1lb the size alone would make it cumbersome to carry around. Luckily it comes with a set of casters so that you can wheel it from room to room, without any issues.
SMART CONTROL
As stated at the beginning, this is not HomeKit compatible, so it only really works in the Mi Home app, although as also mentioned, there’s a HomeBridge plugin for unofficial HomeKit compatibility, and Siri Shortcuts, which I am using.
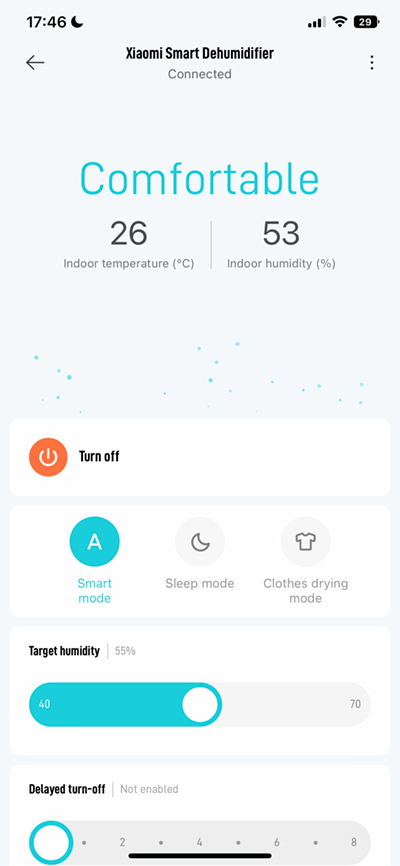
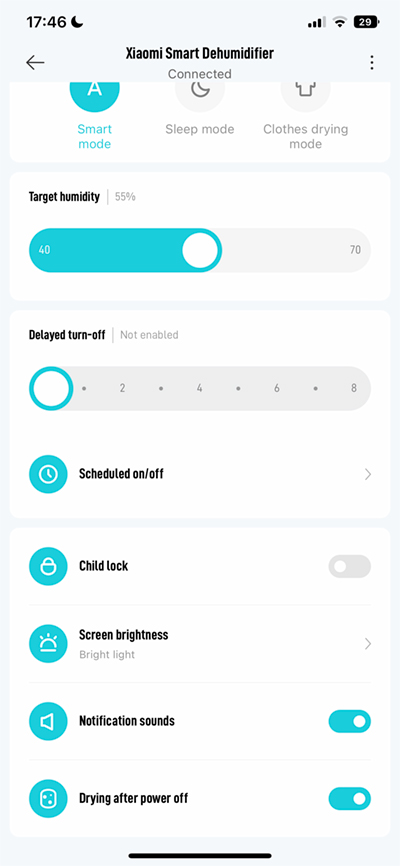
As with pretty much all smart home apps these days, Mi Home has tiles for each device connected to it. The dehumidifier tile has a quick-access on/off button, but pressing elsewhere on the tile reveals the main control screen for the device. The top of the screen features the temperature and humidity reading from the device – yes it actually includes these sensors! Then you have all the controls you would also see on the device itself; on/off, modes, target humidity and timer (delay turn-off). You also get a dedicated child lock control, screen brightness options, notification sounds control, and the drying feature I previously mentioned when you turn the device off.
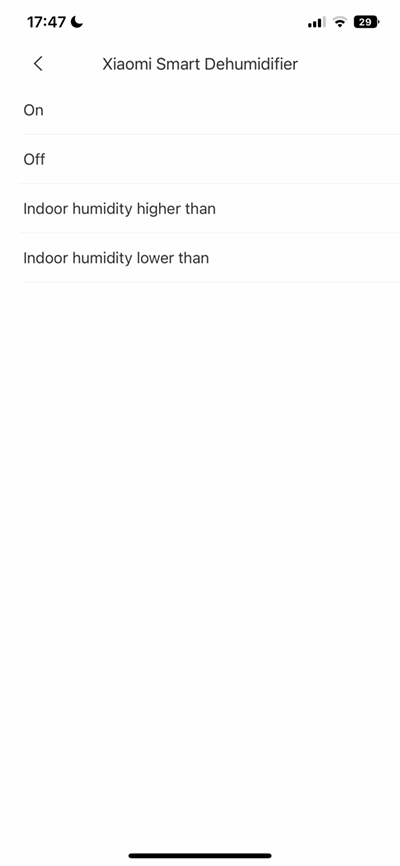
Going back to the display controls, you basically have the option to have it turned on at full brightness, low brightness, or off. You can include these and other features within scenes or automations in the Mi home app, which is cool. When it comes to automations the dehumidifier has limited options to trigger them – on, off, and indoor humidity, but in the case of temperature, there’s no option, which makes sense; even though it has a temperature sensor, it is irrelevant to humidity on a basic level. When it comes to devices triggering the humidifier, however, you do get a lot more options; you can turn it on or off, set any of the three modes, control the display and the child lock, and also cycle through the modes.
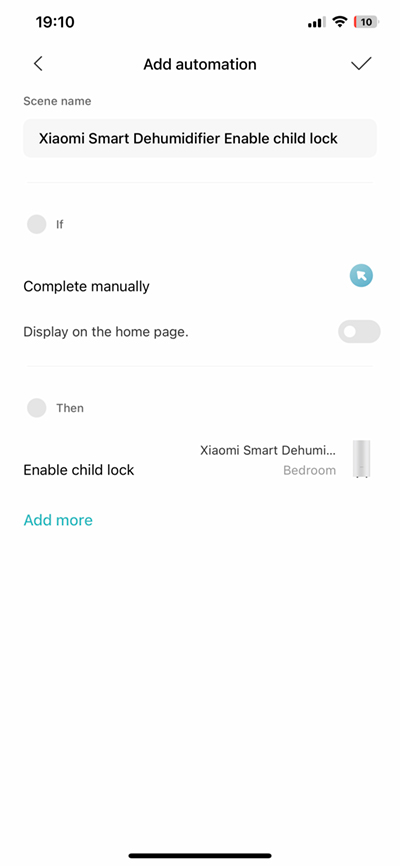
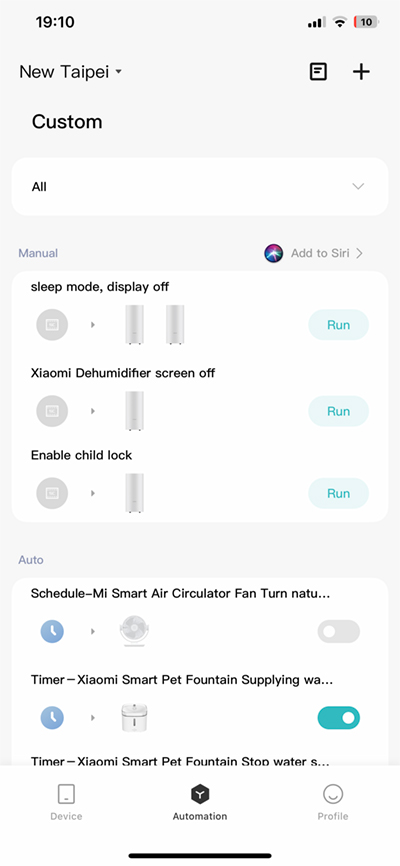
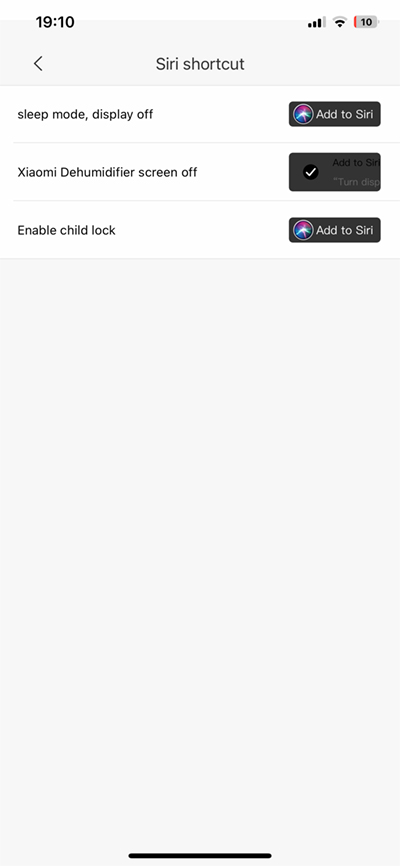
When it comes to functionality via Siri Shortcuts, the process is quite simple; you create an automation with the IF section set to ‘Complete manually’, and the THEN section selecting whatever function you want to control for the device itself. In the example above it’s enabling the child lock. In the list of automations, you can see an ‘Add to Siri’ option. This takes you to your automations that are capable of being converted to Siri Shortcuts. Once you click on the ‘Add to Siri’ button next to the relevant automation, you’re then switched over to the Shortcuts app to complete the Shortcut, which simply involves adding a meaningful phrase you can bark at Siri to enact the automation.
Of course, you can nest these Shortcuts within other more complex Shortcuts, so as an example, I can create a ‘Good Night’ scene that not only includes turning off a set of HomeKit lights, but also set the dehumidifier to sleep mode, and turn the display off.
WORKING WITH HOMEKIT COMPATIBLE DEVICES
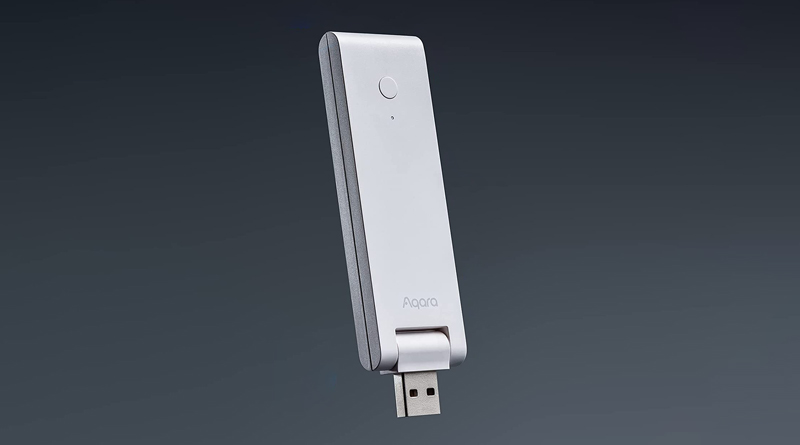
Although I have a lot of devices that connect to the Mi Home app, many of them also work with Apple HomeKit too, so I don’t tend to use the app a lot, but if you do use it, and have an Aqara hub added to it – the original M1, M1S or E1 – you can get many of Aqara’s child devices to work with the dehumidifier too, which takes control of this device one step closer to a HomeKit experience, at least for people who want to use sensors or buttons as a means of control. That said, the sensors inside the unit seem pretty decent (for once) so that sort out discounts the uses of temperature/humidity sensors. Motion or contact sensors could be a good use case, as would wireless buttons.
WRAPPING UP
I’ve had the Xiaomi Smart Dehumidifier for a couple of months so far, and it really came into its own recently when we had almost a week’s worth of heavy rain due to a nearby typhoon. Humidity can get high in Taiwan but with this particular spell of weather, humidity in our wash room got ridiculously high, at just under 92%. The clothes hanging up couldn’t get dry, but with this set to the most powerful mode, and the pipe directing the water straight to a drain, we were able to counteract the extreme conditions until the storm finally passed. This solidified its usefulness immediately, and although we have two other smart dehumidifiers in the home by LG, this has beaten them in terms of its excellent ability to reduce humidity really thoroughly.
The fact that I can control the display may seem like a minor thing, but the LG models didn’t have this, so if we wanted the humidifiers on all night we had to place some card over the display to stop it from keeping us awake. Both models have wheels, but the Xiaomi model takes up less space even though it’s taller, so that’s also a plus, given the limited space in our main bedroom.
Finally, the controls are really straightforward when compared to the LG models. This is partially due to the latter coming with Chinese text for each function, but the Xiaomi one has no text, and so relies on well thought out and simple to understand icons that don’t require text, so this is a pleasure to use compared to the LG models.
What it does lack is good accessories; The LG comes with a pipe that allows not only the warm air to be fed elsewhere instead of the outlet at the top, but this same pipe also has a special adaptor to place it into a pair of shoes. If you get caught in the rain and your shoes are thoroughly soaked, this handy little adaptor did help a lot to dry them out.
Still, it’s cheaper than the LG, and as I said, and simply does a better job all round. If you have a need to keep humidity under control, even for just part of the year, and the Xiaomi Smart Dehumidifier is available in your region, this is a definite purchase, as it not only does a good job of dehumidifying, it has also been ultra-reliable so far, which I can’t always say for Xiaomi devices, unfortunately.








Is this available on the Europe servers?
I don’t think so. Unless it’s for sale in your country it’s not likely to be added to their server.
Do you have any news/rumors regarding native Homekit/Matter-enabled dehumidifier other than existing Delonghi?
The only possible related new I recently heard was that the LG ThinQ app and WebOS system have been Matter certified. Whether that automatically means LG devices in that app will be exposed to HomeKit (very unlikely) or that the ThinQ app will reveal all Matter devices – including its own ThinQ devices (more likely) I don’t know.