RunLessWire Friends of Hue ‘Click’ Switch (review)
Many reading this review will no doubt have at some point come across the quandary of whether to go with smart switches or smart bulbs. It’s a difficult one to answer;
- smart switches can control a whole bunch of low priced ‘dumb’ LED bulbs, so the switch may be more expensive, but the bulbs are a fair bit cheaper than smart ones. However, other than buying a smart dimmer switch and dimmable LED bulbs, you’re simply left with the only option of turning them on or off, so no colour options essentially. You could, of course, put smart colour bulbs in, but that’s a little bit overkill – smart switches controlling smart bulb – and you’re still going to be disconnecting the bulbs when you turn the smart switch off.
- With smart bulbs, you can change the brightness and the colour, which is great, but assuming they’re plugged into bulb sockets normally designed for regular bulbs, i.e. there’s a regular light switch connected to the sockets, then you run into the issue of your ‘smart’ bulbs being disconnected from your network due to someone inadvertently pressing the switch which you’ve designated to be “out of bounds” for the purposes of controlling said lights. Sure, you can cover these switches with tape or put a Wireless dimmer next to the regular switch, but it’s also less than ideal.
Philips Hue and Friends of Hue affiliated companies have countered this with products that are essentially wireless switches, some of which can also be placed into the recesses where your standard switch would go, so you get control of your smart lights, but also can rest assured no one will disconnect them.
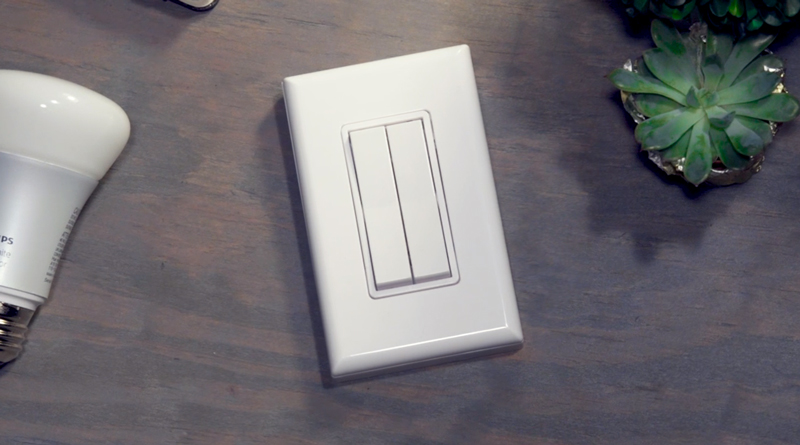
One such company, aptly named RunLessWire have come up with a switch that does all of the above, but unlike the Hue Dimmer Switch, doesn’t require a battery, relying solely on energy harvesting techonology generated from the toggle switches every time they’re pressed, much like Hue’s own ‘Tap’, although in a more standard form factor.
UNBOXING…
Nothing to see here folks, move along! RunLessWire kindly provided us with a sample double rocker switch for this review, but the package sent didn’t come in a box, although I’ve read that the box they come in is plain anyway, apparently. No matter, it’s the product that’s important at the end of the day, so we should see what we get in the box (ok, padded envelope…).
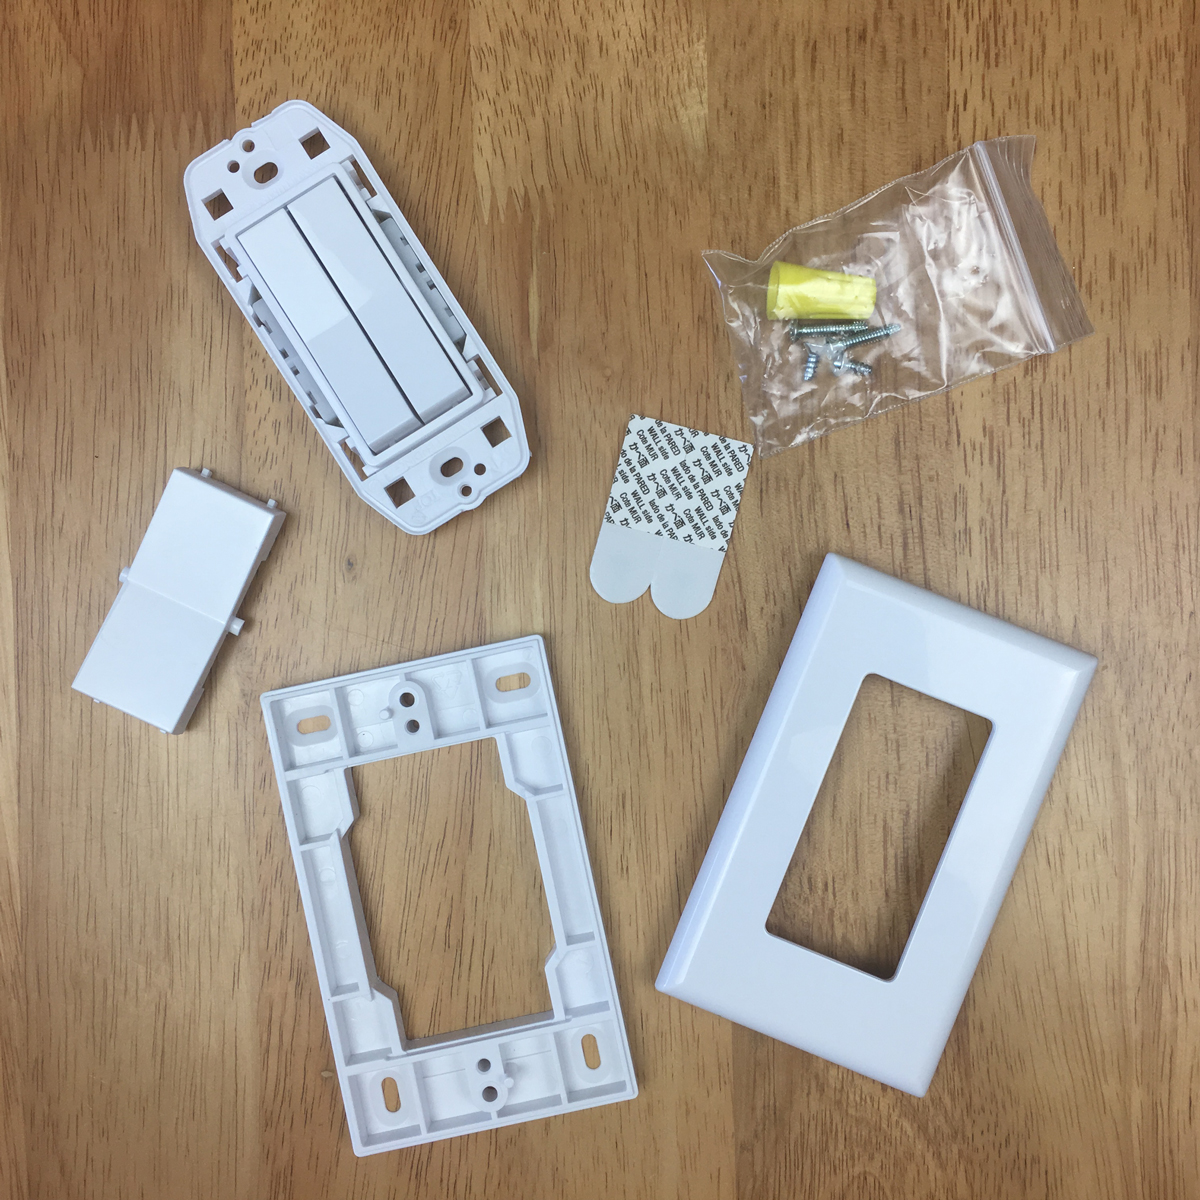
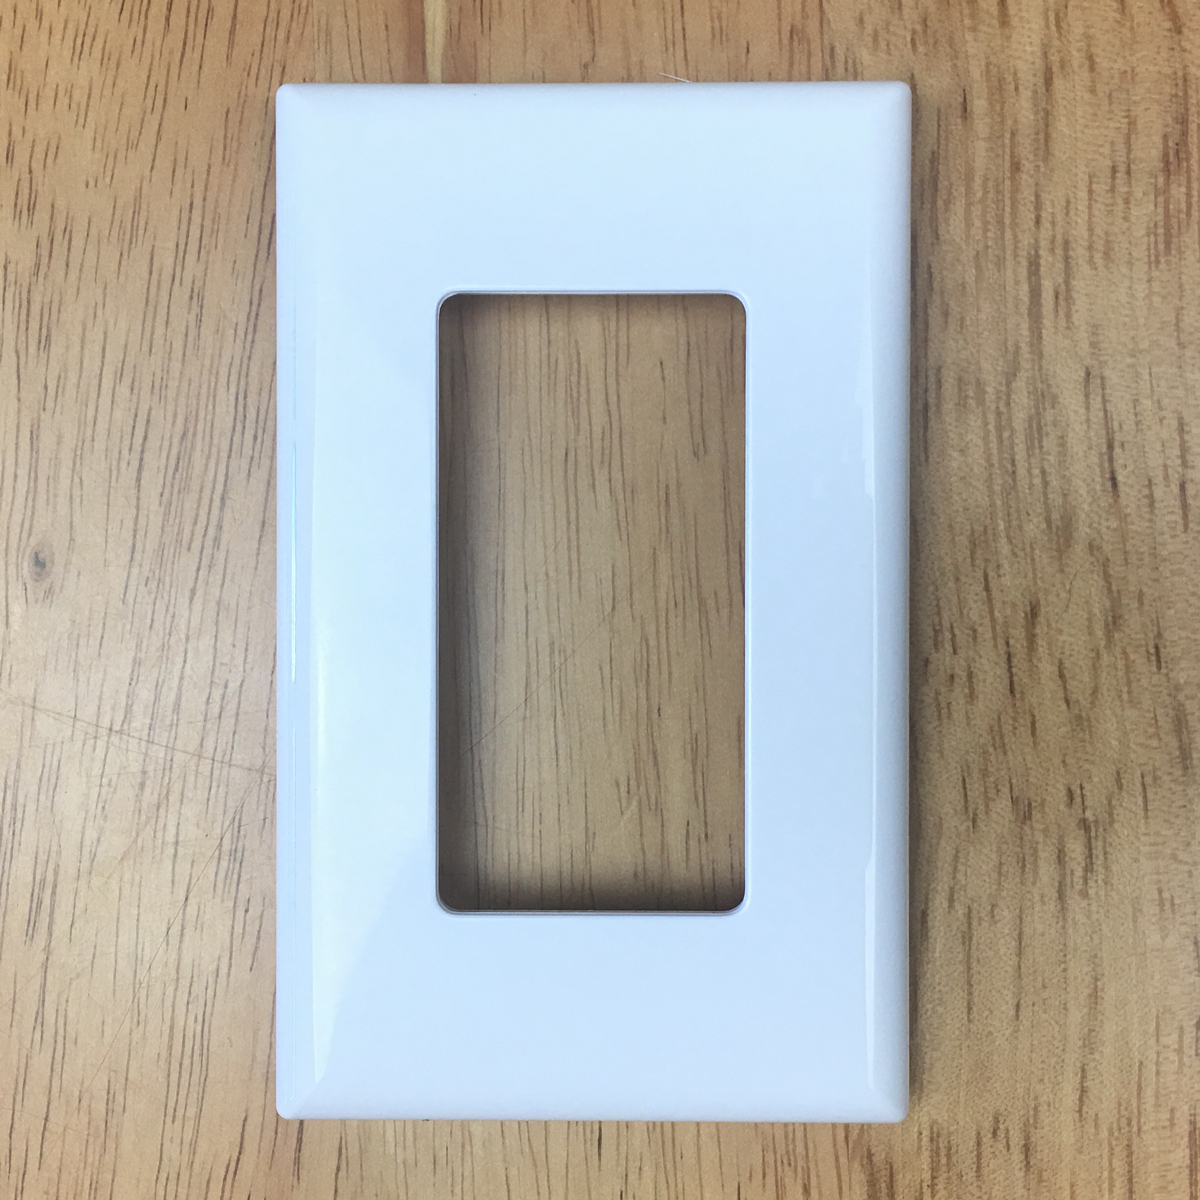
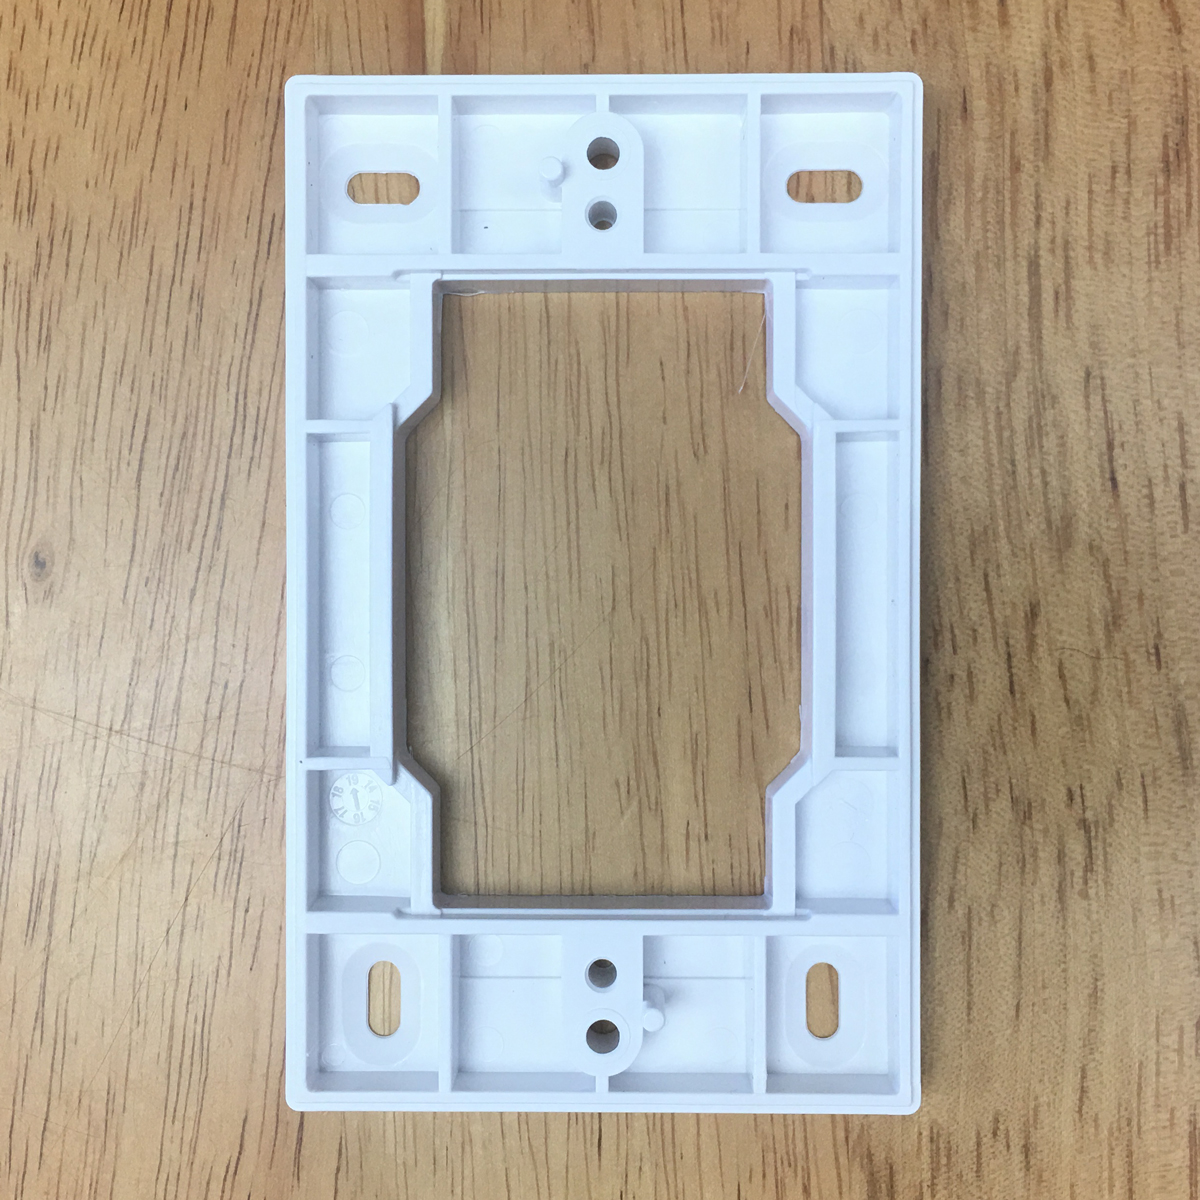
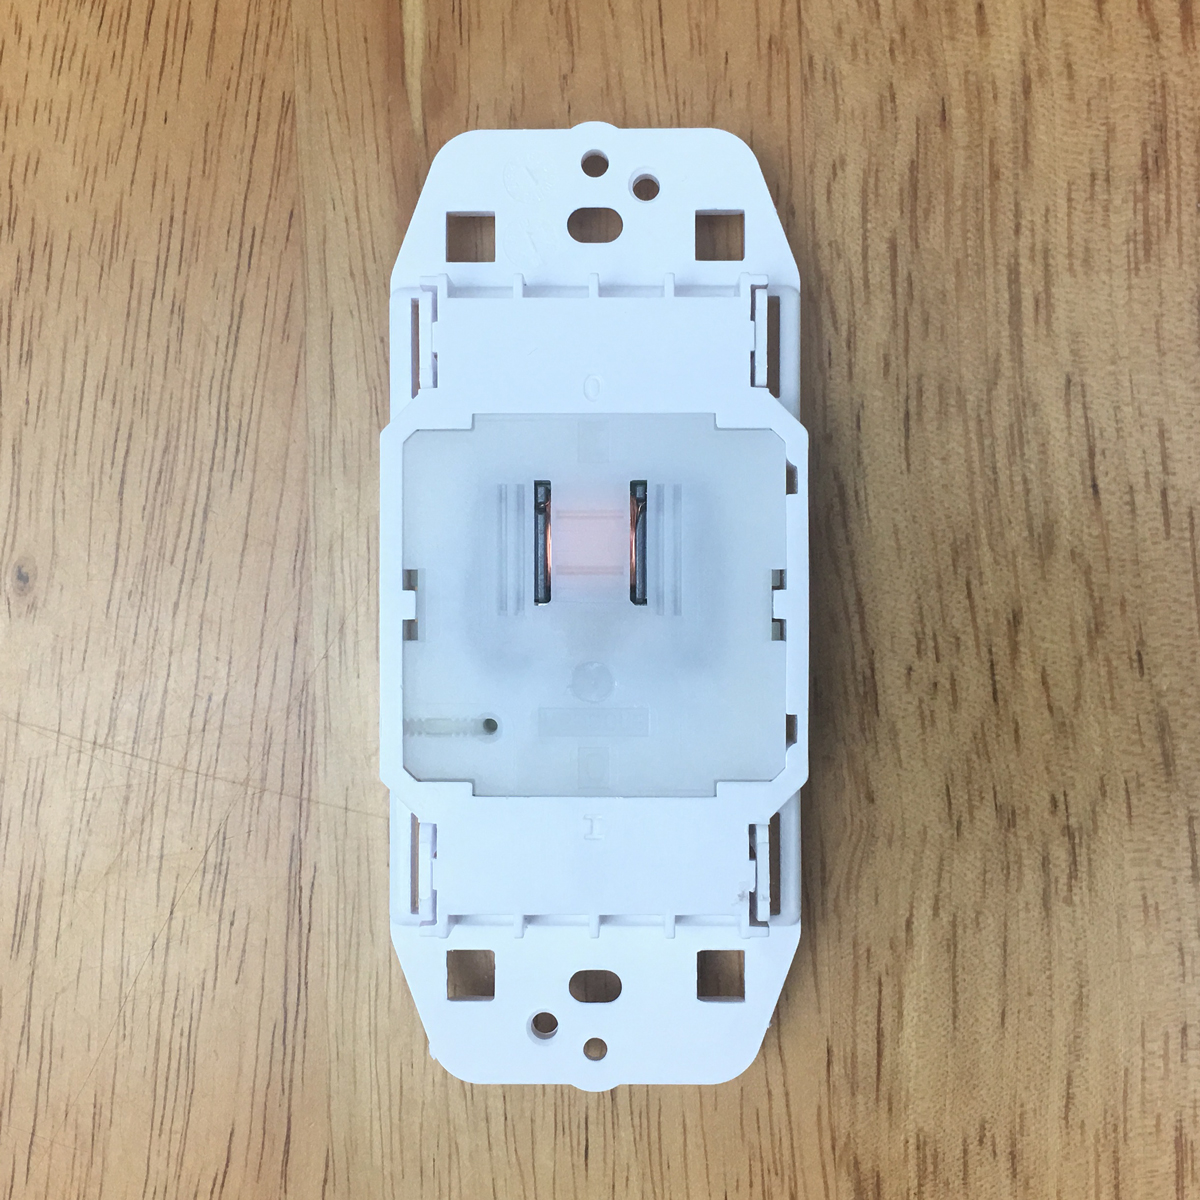
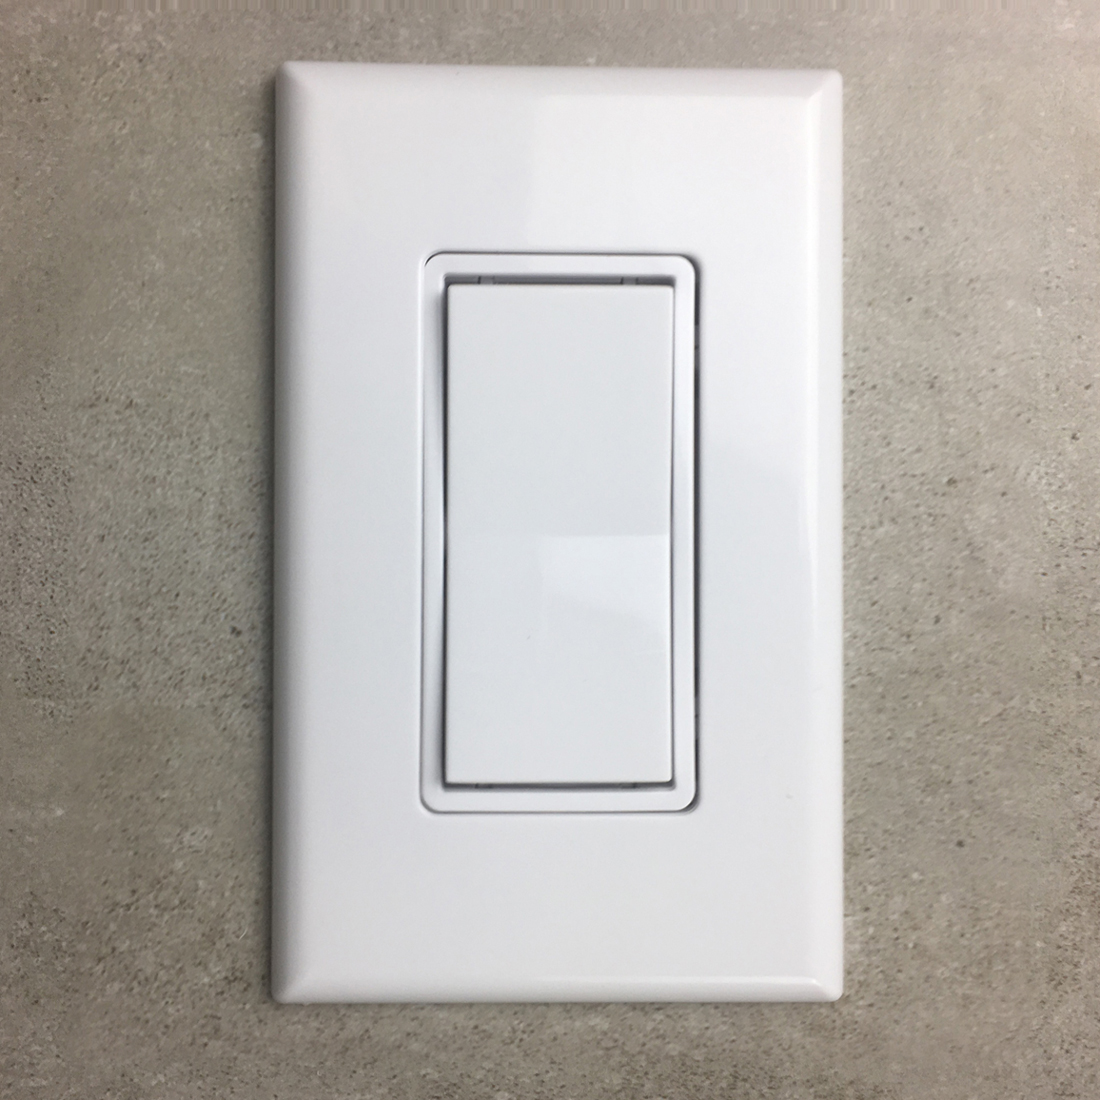
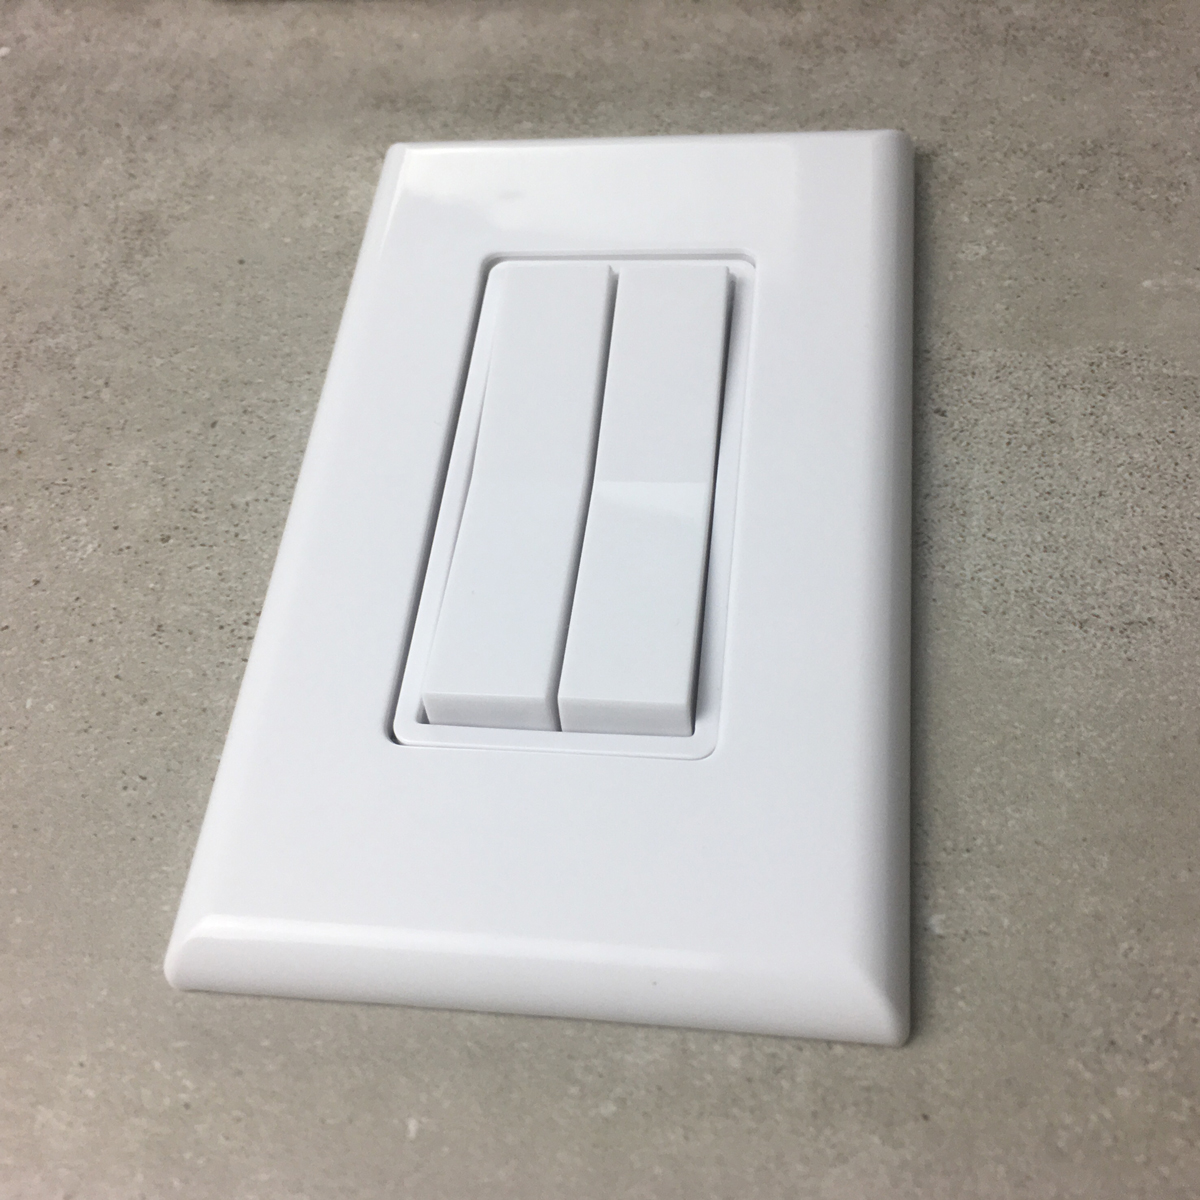
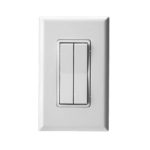
The complete contents include the three main items you’ll need, which are the double rocker switch itself, the Decora faceplate (if you don’t already have one), and a backplate. The backplate is for use if you decide to stick the switch to the wall, as opposed to having it replace a standard wall switch box.
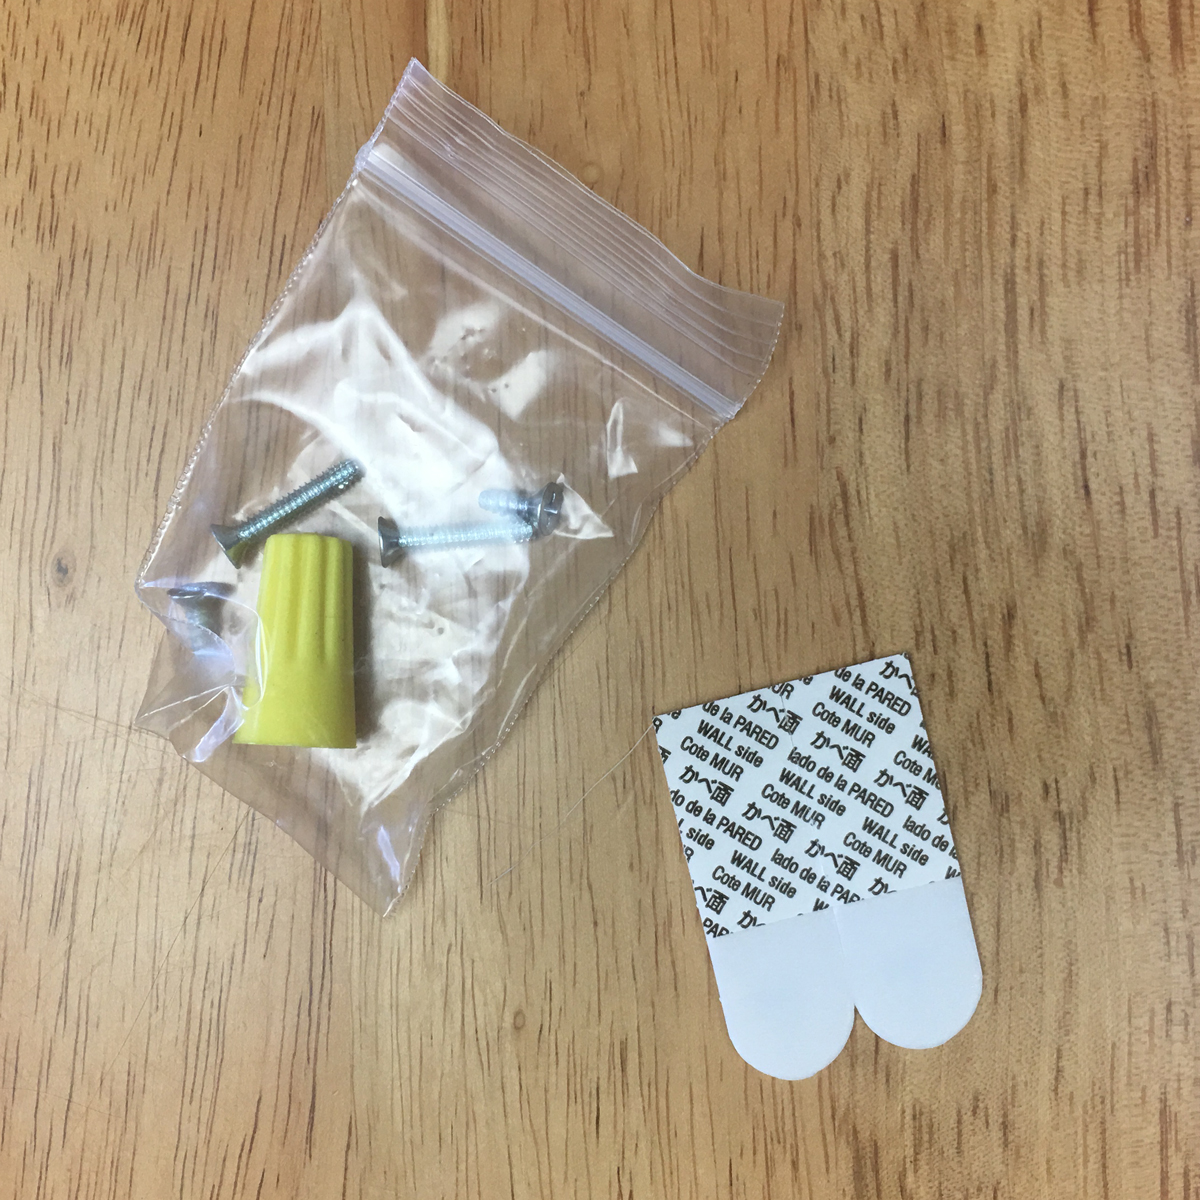
Along with the double rocker switch, you get a spare single rocker switch that can replace the two individual rocker switches, which are very easy to switch over. Finally, you get a few screws, a wirenut and two small double-sided Command strips. The long screws are for attaching the rocker switch unit to the switch recess if you’re replacing a standard switch box, whilst the shorter screws are for attaching the rocker switch to the backplate if as mentioned before, you intend to simply stick this switch to a blank wall. According to the included instructions, in order for you to keep the power on to the sockets that will hold your smart bulbs, you use the wirenut to connect all of the wires connected to the current switch (excluding the ground wires, if present), which I presume completes a circuit and keeps the lights permanently ‘on’ (I’m not an electrician, so if this is not correct please let me know).
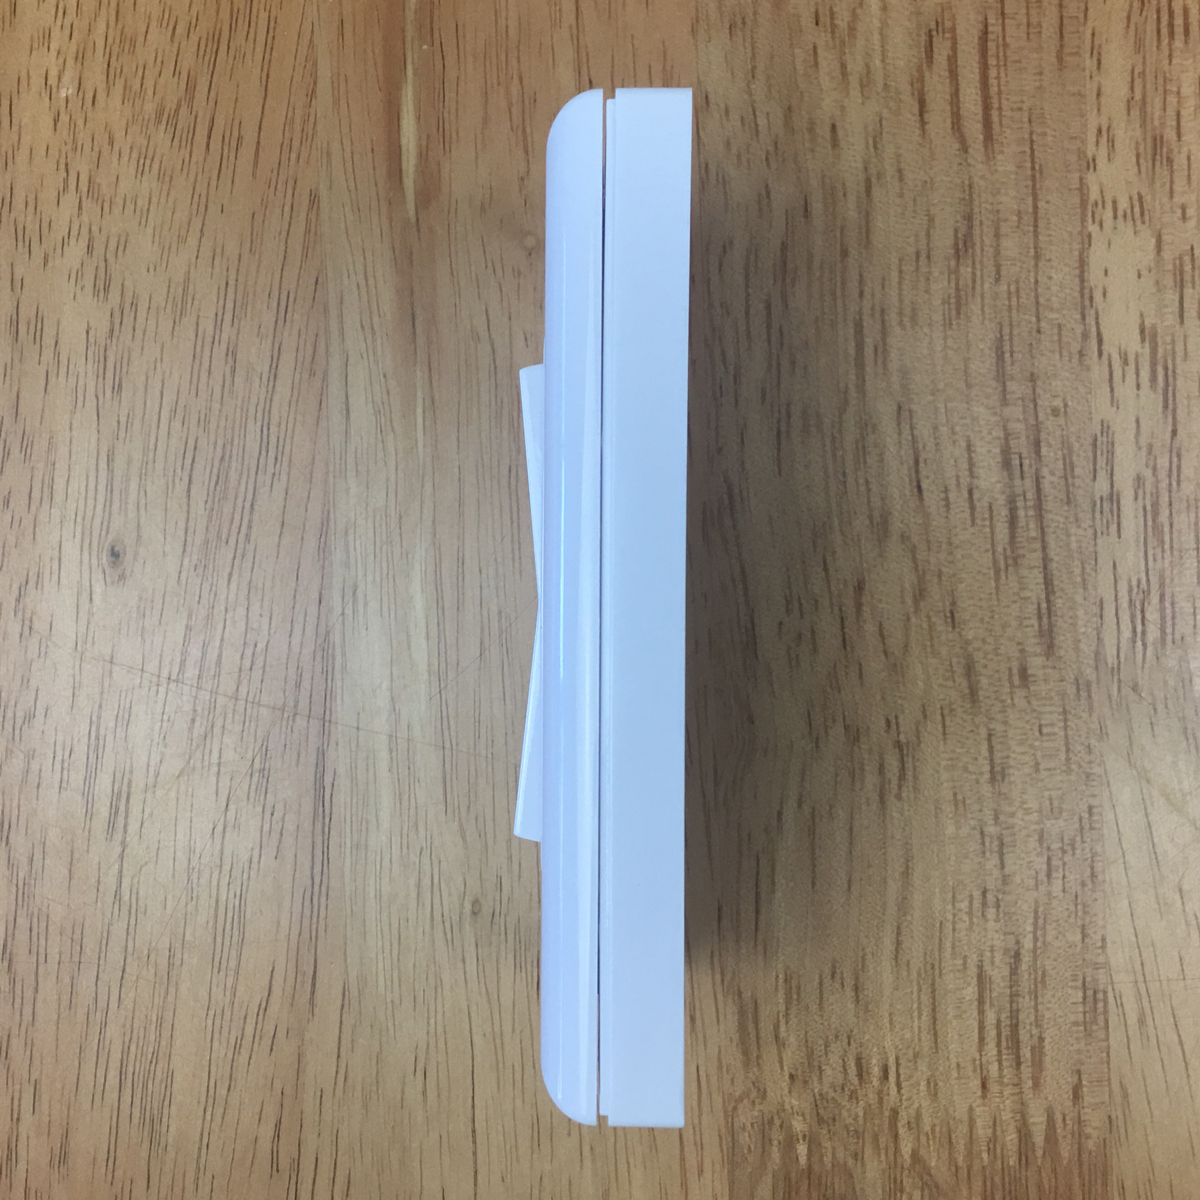
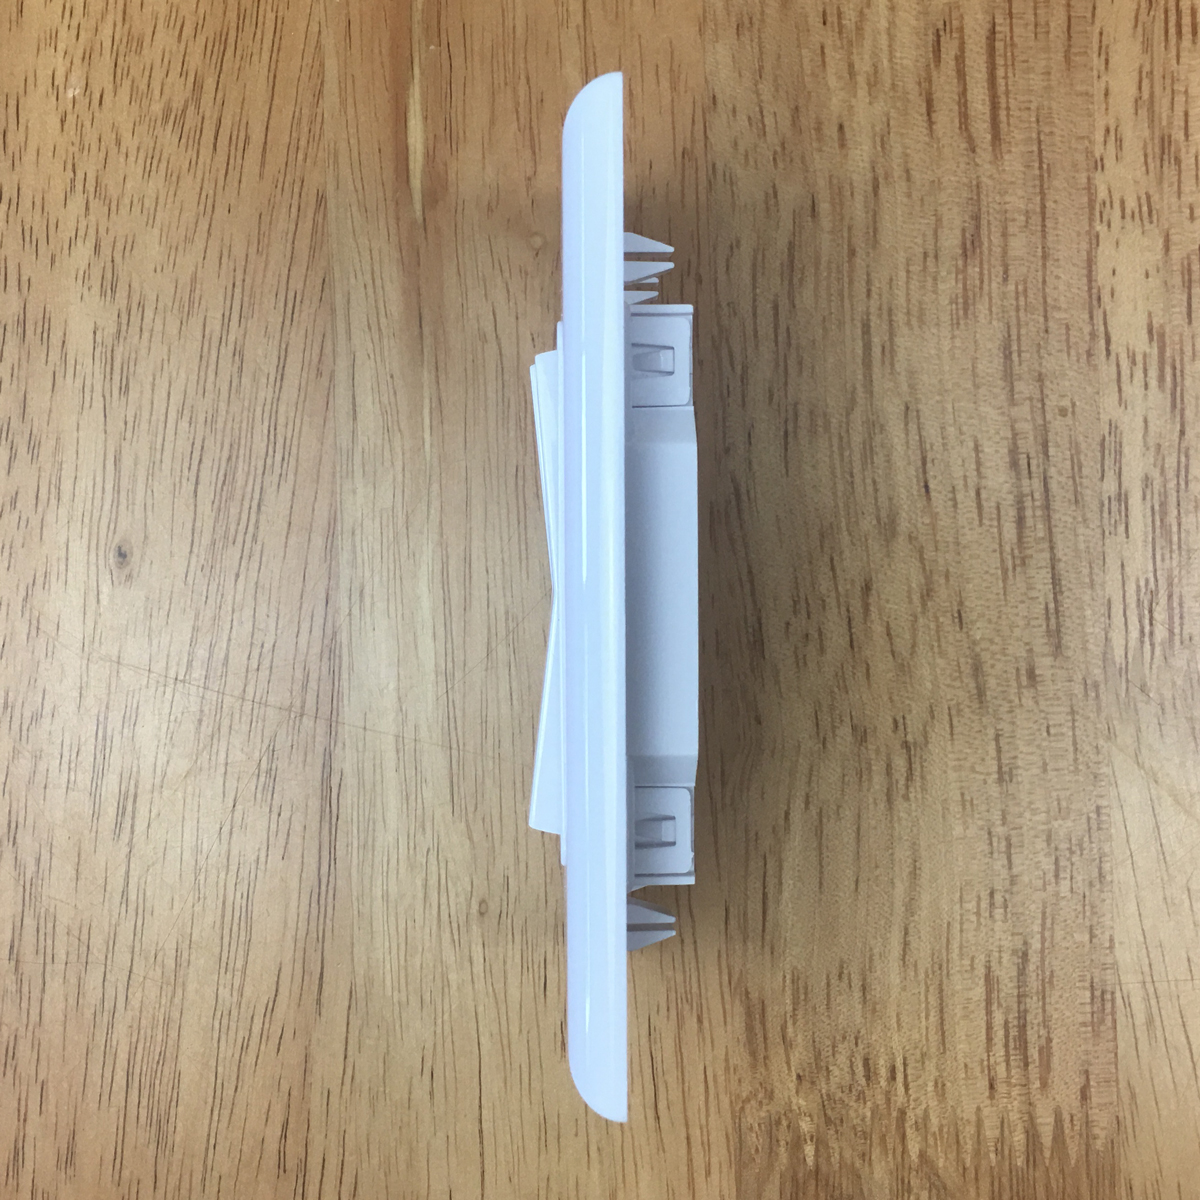
The depth of the rocker switch with the backplate is 15.57mm/0.62in (not including the depth of the rockers themselves) which is slightly more than the standard Hue Dimmer switch, which comes in at 14mm/0.55in, so there’s not much in it. If you forego the backplate and place it in a switch box recess, then it comes in at around 10mm/0.39in (including rockers), essentially the same as a regular rocker switch.
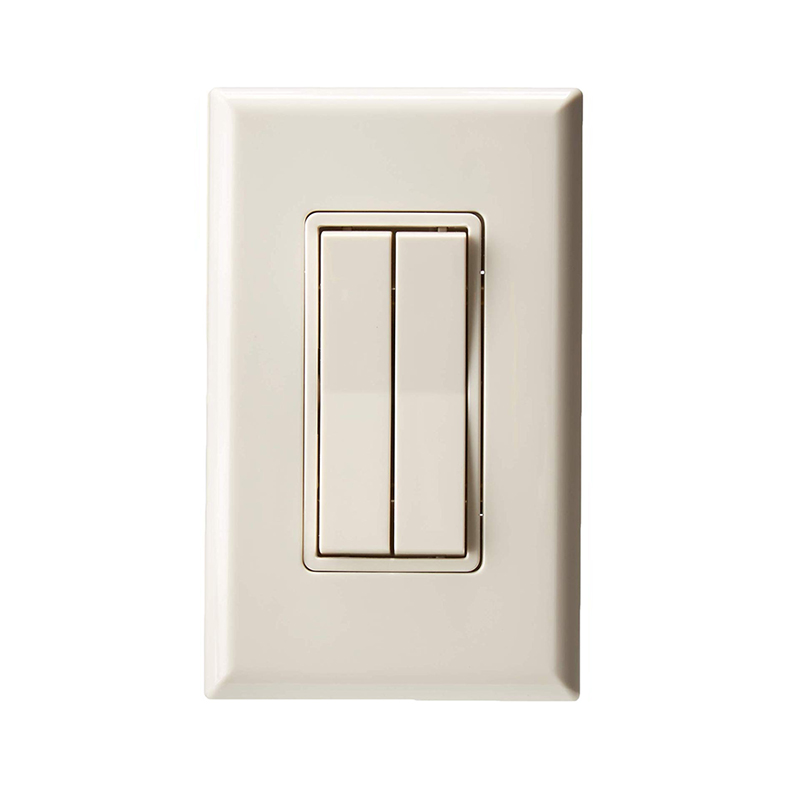
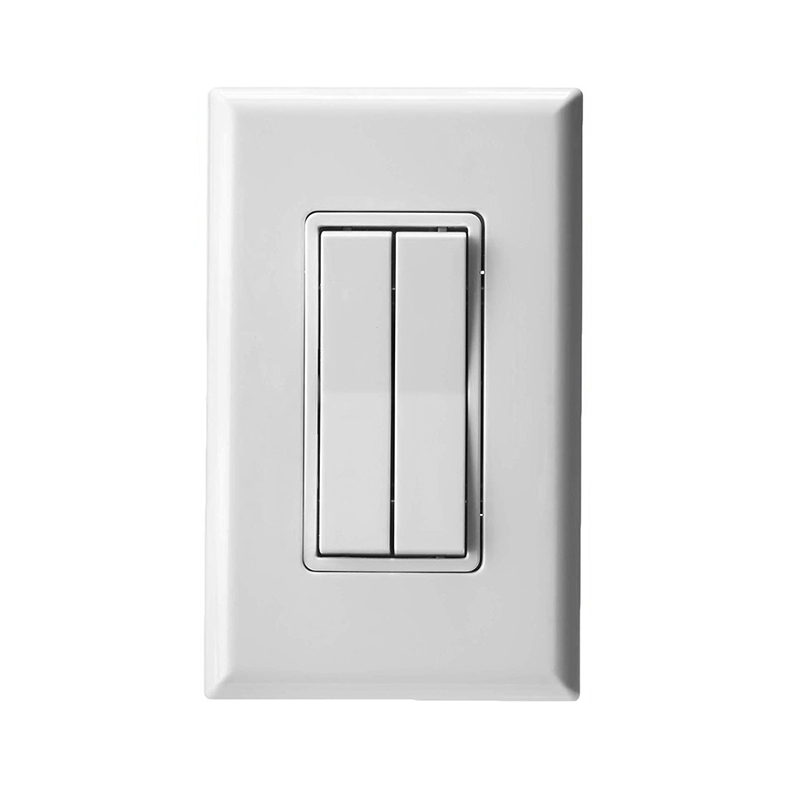
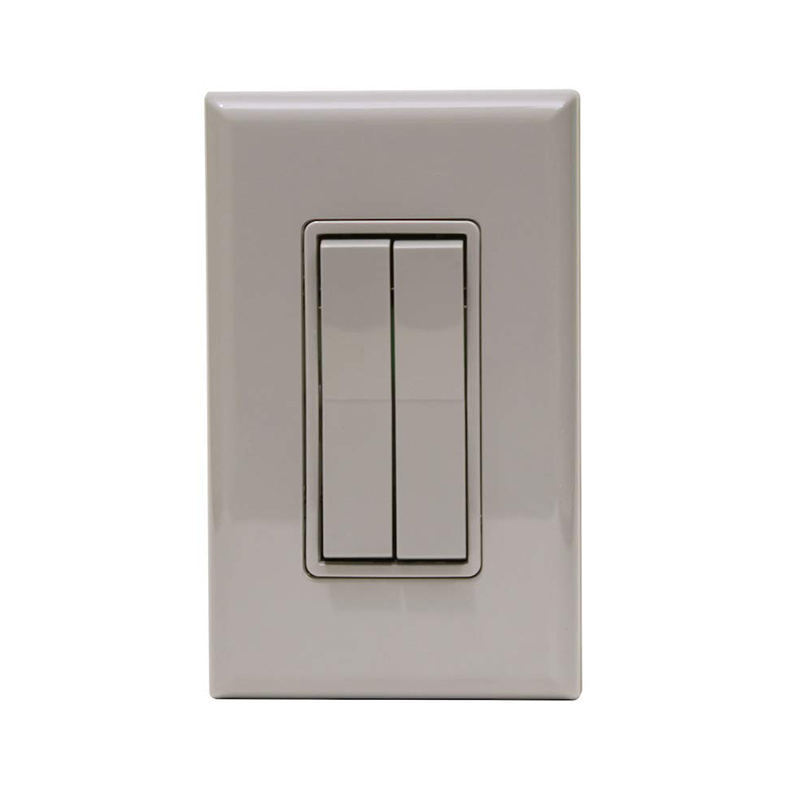
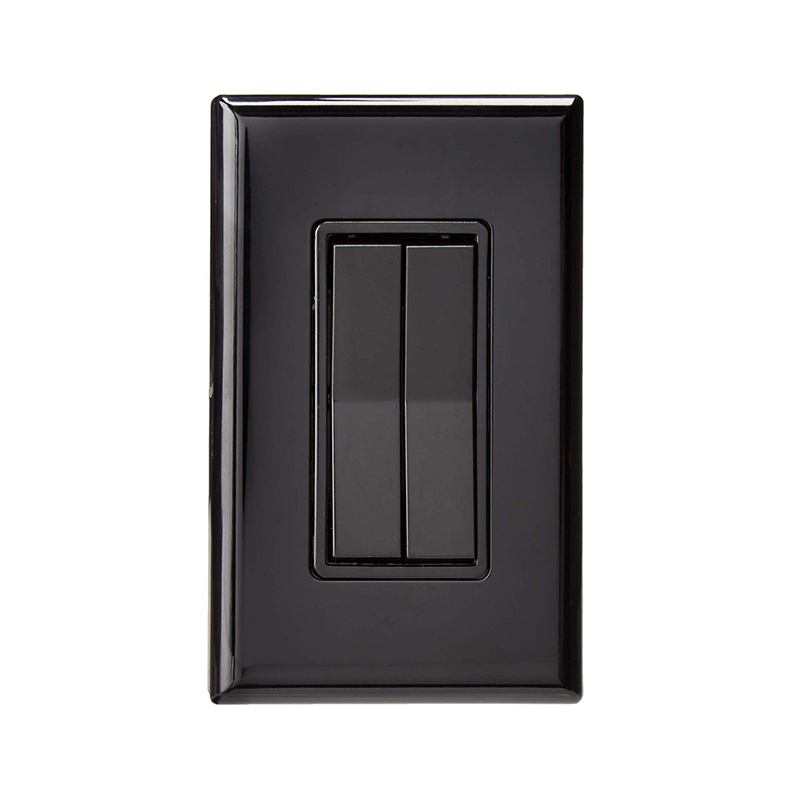
I was sent the standard white variant of the switch, but the company actually offer six colour options, so there really is a switch for most situations.
INITIAL SETUP
As this switch is already able to power itself by merely clicking the rocker switches, you can set this up with the Hue app immediately, and I would suggest that you do this before you decide where to place it, just in case there’s an issue, as otherwise, you’d just have to unscrew the whole unit, if you were placing it into a switch box, or worse still, possibly damage your wall/wallpaper when removing the switch held on with the stickers, if you’re intending to place it on a blank wall.
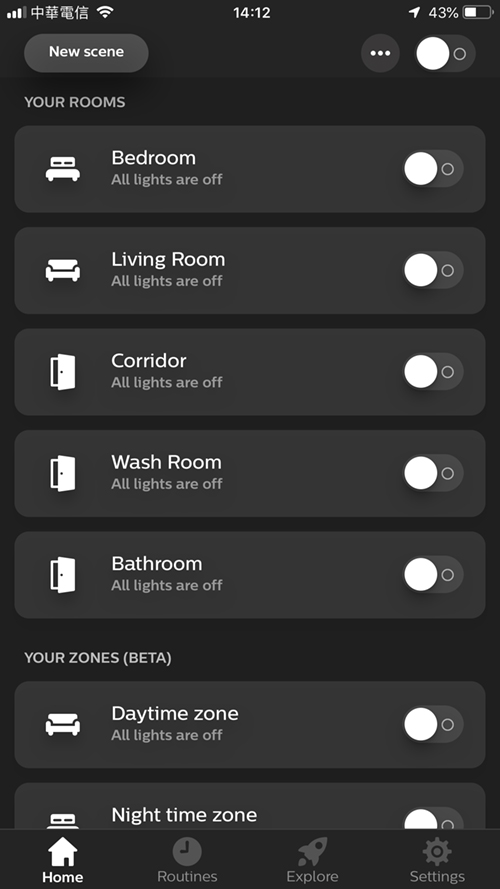
- Open the Hue app and select the ‘settings’ tab
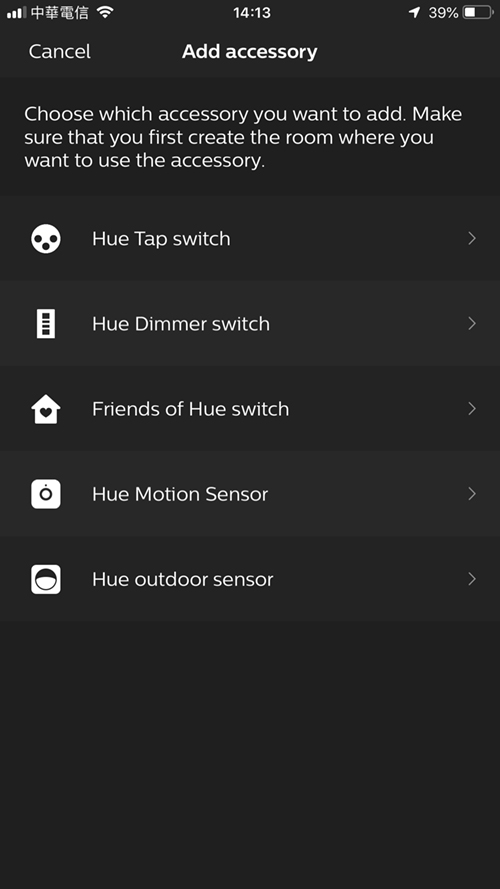
- Click on ‘Add accessory’
- Select ‘Friends of Hue Switch’
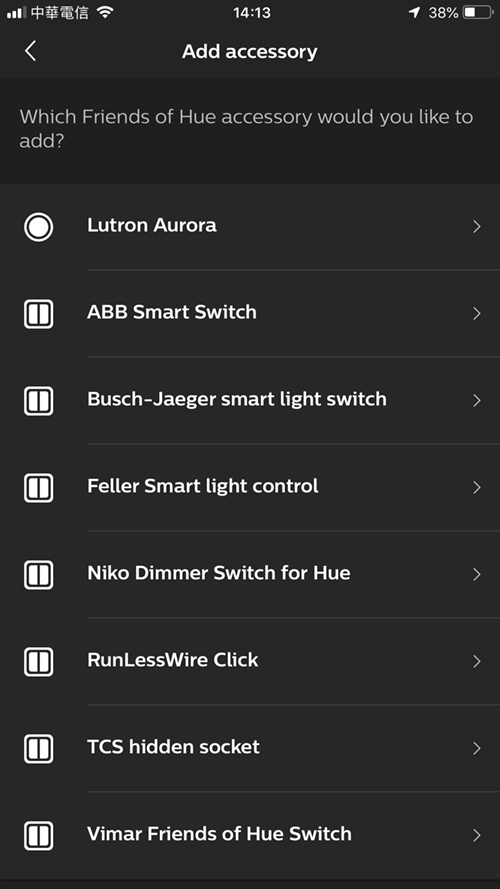
- From the following list, select ‘RunLessWire Click’
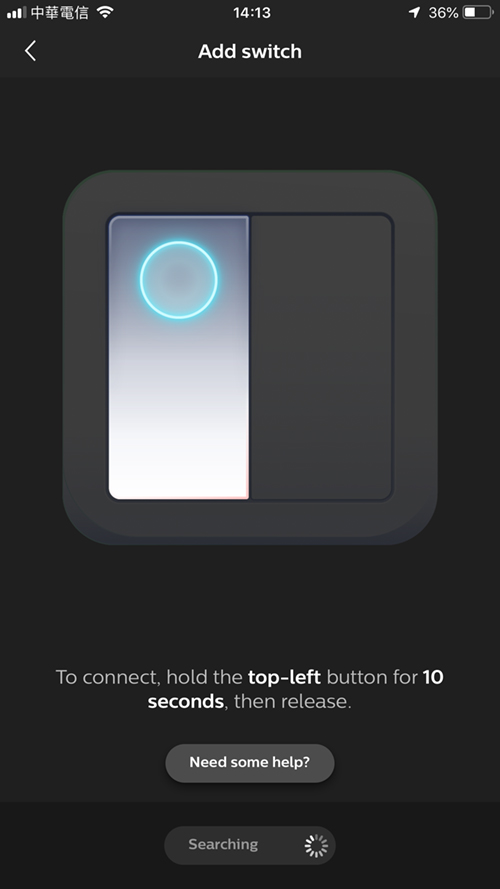
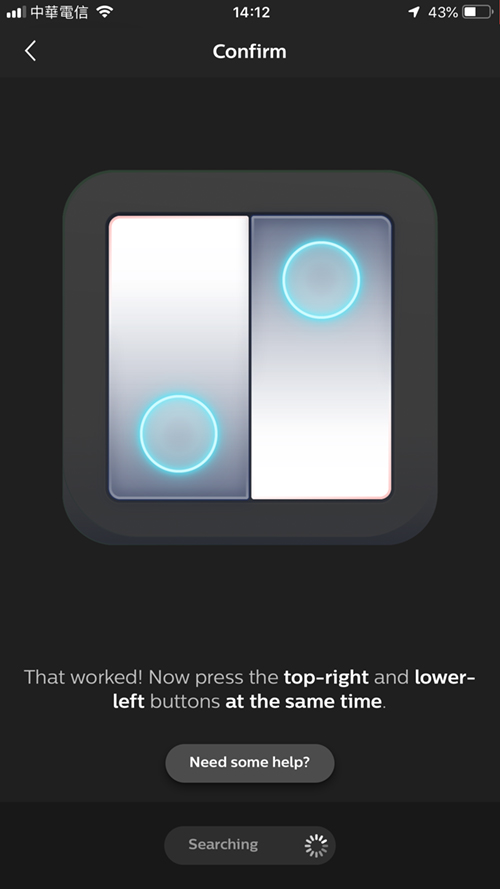
- You will then go through a setup procedure, that will involve connecting the switch to the Hue Bridge
- This will involve pressing the certain buttons for a period of time until the connection has been made
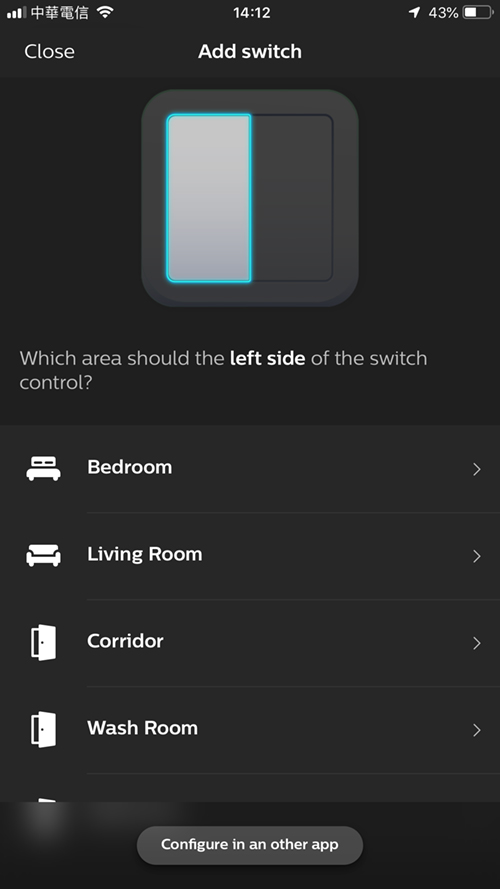
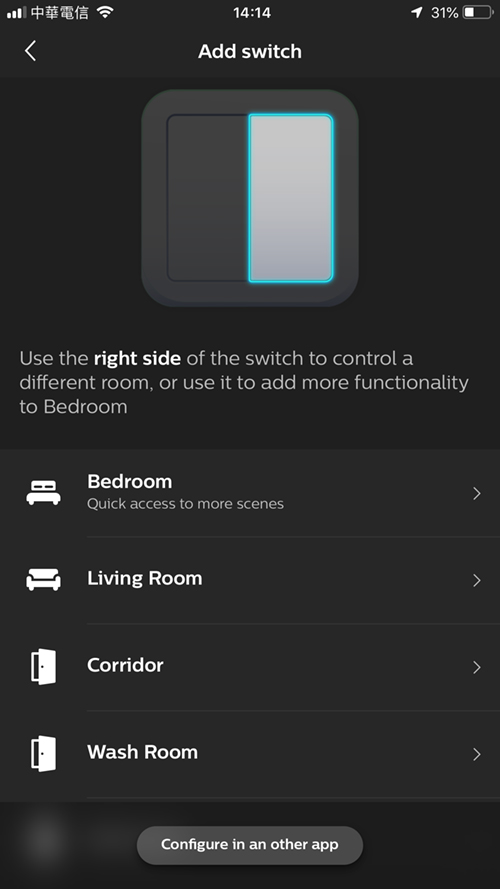
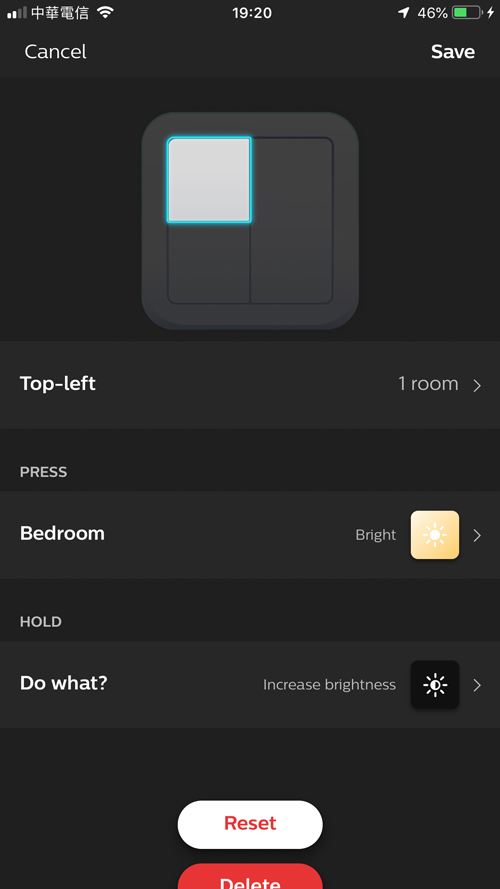
- Once you’ve successfully connected the switch to the Hue Bridge you then select which switch controls the lights in an assignable room
- each switch will be able to control all of your Hue or Hue compatible lights in the room
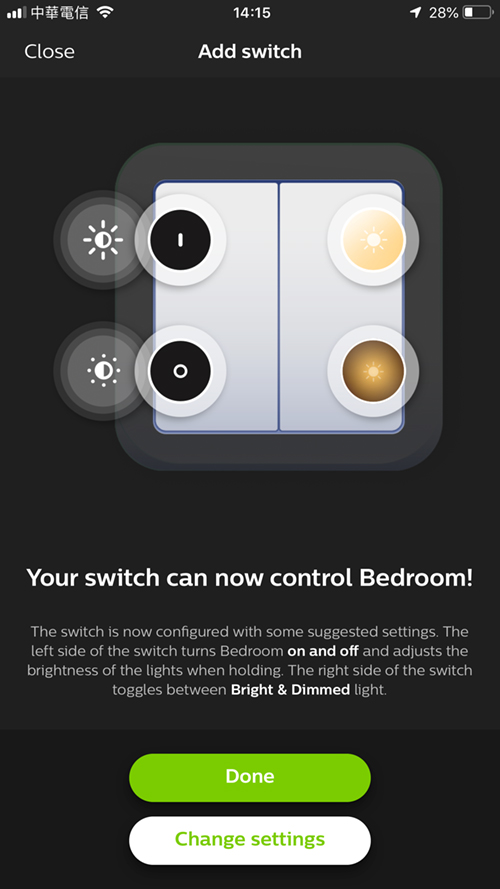
- Once you have selected the rooms, you’re good to go
You can actually assign and control a maximum of three rooms per switch, so you can control all the lights in the downstairs section of your house, like the living room, dining room and kitchen, as long as all the lights are Hue.
THE SWITCH
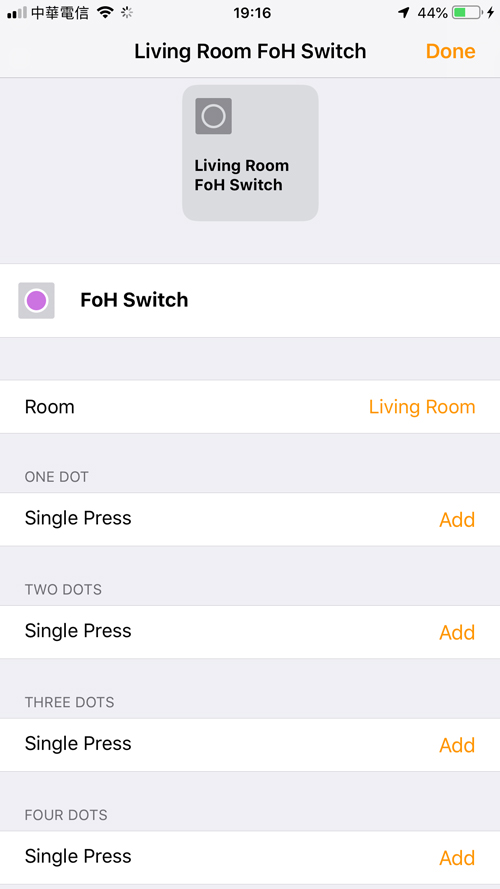
One of the nice touches with this switch is that you can swap out the two slim rocker switches and replace them with the provided single rocker switch, which is, as can be seen in the video, very easy to install. When it comes to either installing the switch into a light switch box, or changing the rocker switch from double to single, you only need a small flat head screwdriver, which you need to gently prise the decora faceplate off from the rocker switch, or for when you change the rocker switches from double to single. You’ll also need a Philips screwdriver to fit the rocker switch to the backplate – or – the switch box recess. No other tools should be necessary. A couple of things to note; for initial setup or for reset/reinstallation you will need the original dual rocker switches, so don’t discard them. Additionally, if you decide to just use the single rocker switch, you will see options for four switches in the Hue and Home apps, however, only two will function.
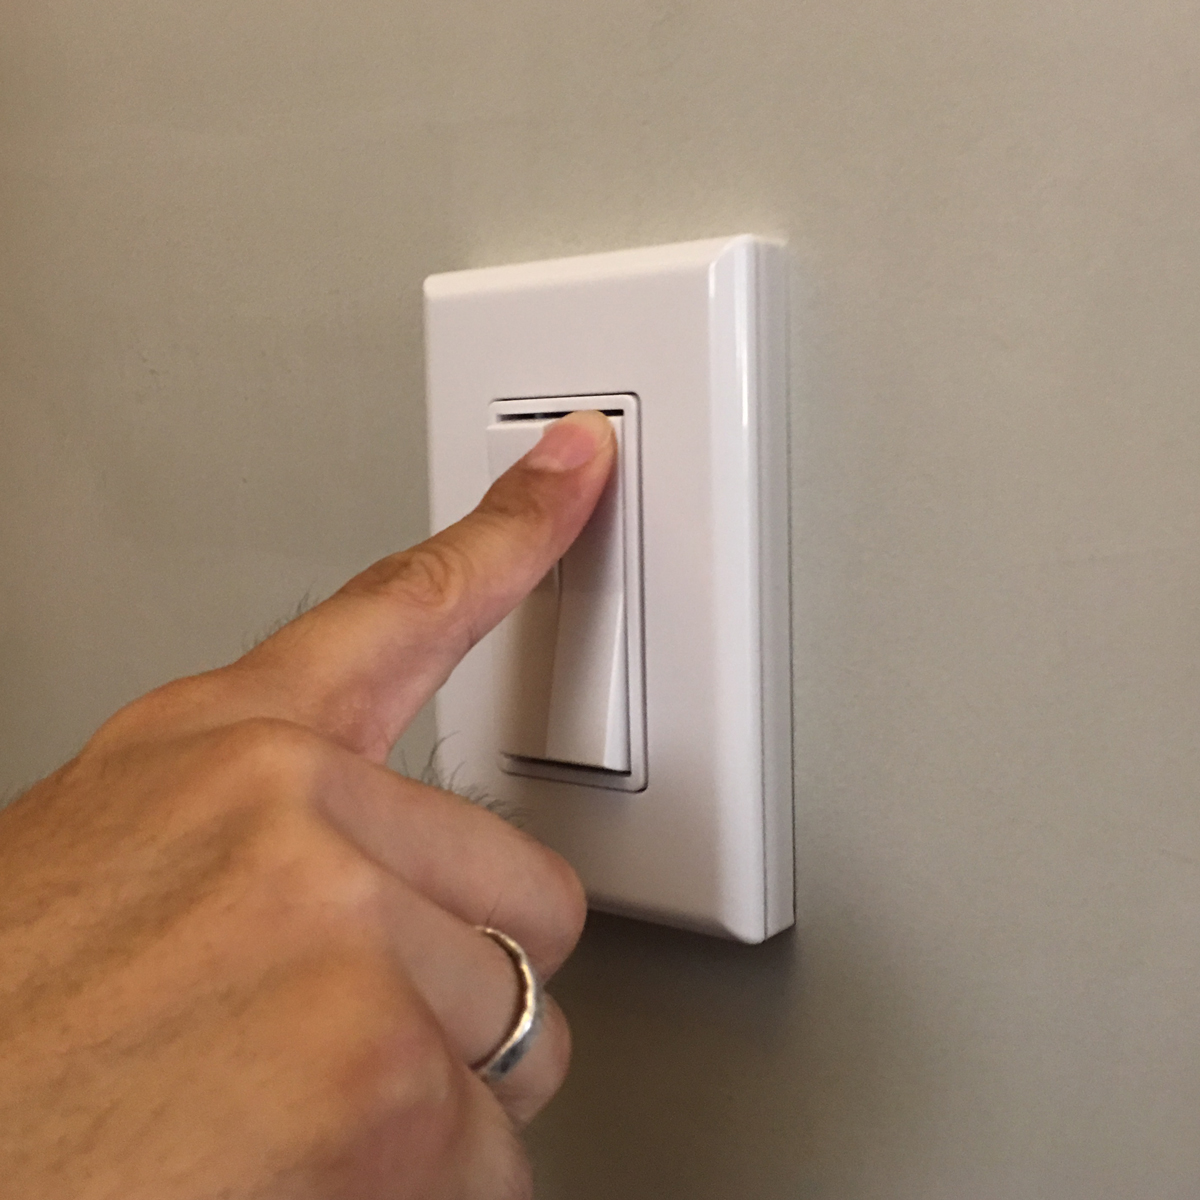
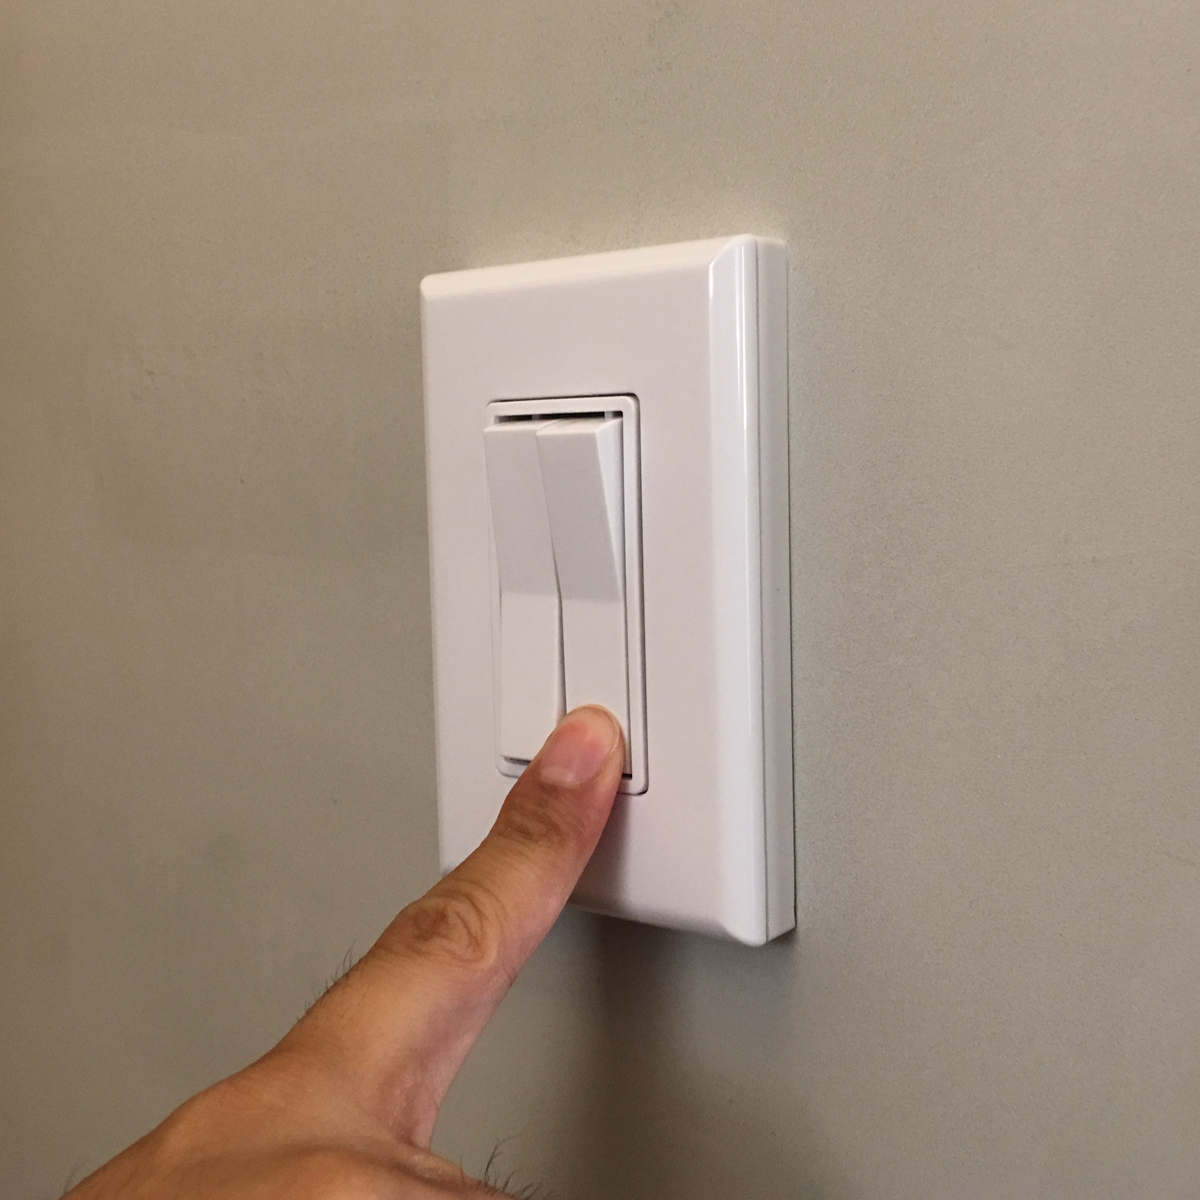
The basics of the device are that it’s a rocker switch which is always in the central position, with it returning to the central position after a press of either button at the top or bottom. If you press and hold the top or bottom part of either switch, you can dim the Hue lights in the room(s) allocated to that particular switch, by default, although you can assign other functions to the long-press action if you prefer. You can also assign a maximum of three rooms to each switch, and by that, I mean the up switch and the down switch can each be allocated to up to three separate rooms, although you’d probably just want the up part to turn lights on and the down switch to turn them off. You could just as easily arrange it so that one button turns three rooms worth of lights on, with a long press turns them off, although it could get complicated for the less technically inclined. The RunLessWire switch can work with both Hue and HomeKit, although there are restrictions with either route.
PHILIPS HUE AND APPLE HOMEKIT
- If you only use this switch with the Hue app, you can only control Hue or Hue compatible lights, obviously. So, if like me, you have a room with some Hue lights and maybe some Vocolinc or LiFX bulbs, this switch won’t be able to control those lights alongside the Hue bulbs, at least not without some ingenious automations. What you do get in return is the ability to use the dimming functionality in the switch, which isn’t supported in HomeKit at this time. Even if you didn’t want to use the dimming functionality, the long press of each switch can be allocated to do something.
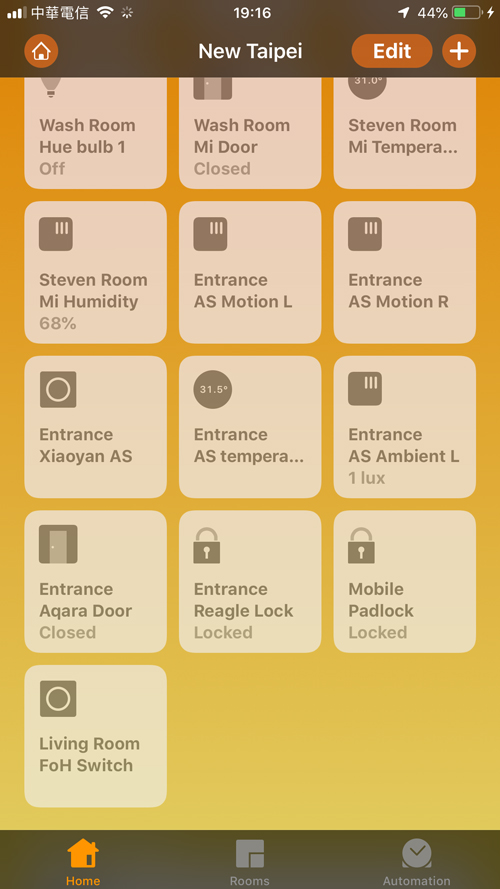
- If you decide to go the HomeKit route, you can set each button to control a HomeKit scene, which of course can involve both HomeKit and Hue products side by side. You can even replicate the Hue side of things by assigning the switches to two different rooms if you want it to be easy to understand. In my case, we have an en-suite bathroom and the current wired switch, which is located outside the bathroom, but also in the corridor section of the bedroom, isn’t used for anything (it’s not wired up). I could replace this switch with the RunLessWire switch and assign one rocker to turn the bathroom lights on and off, as well as controlling all of the lights in my bedroom, regardless of whether they’re bulbs or even desk lamps or smart plugs. Whilst you do get control of each button, there’s no functionality in HomeKit to take advantage of the long-press action on these switches, even though long-press is supported with other switches, like the Even button for example.
Taking into account the points listed, as long as you’re not bothered about using dimming/long-press functionality, you’ll probably get more mileage out of going down the HomeKit route.
COMPARISONS WITH OTHER SWITCHES
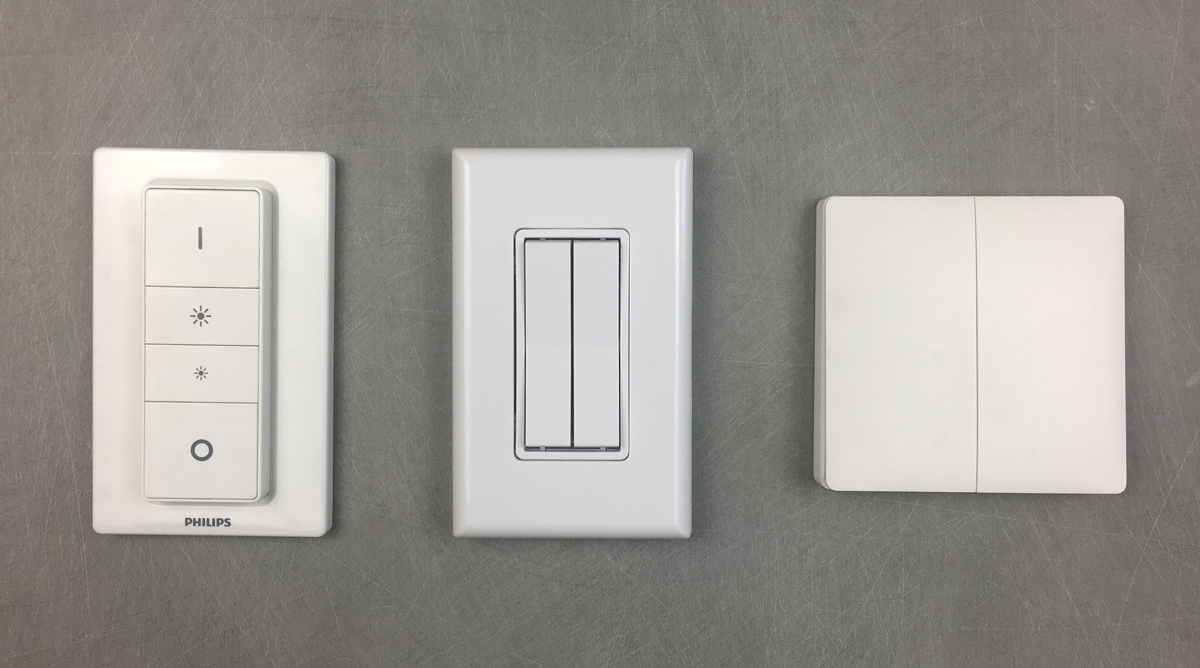
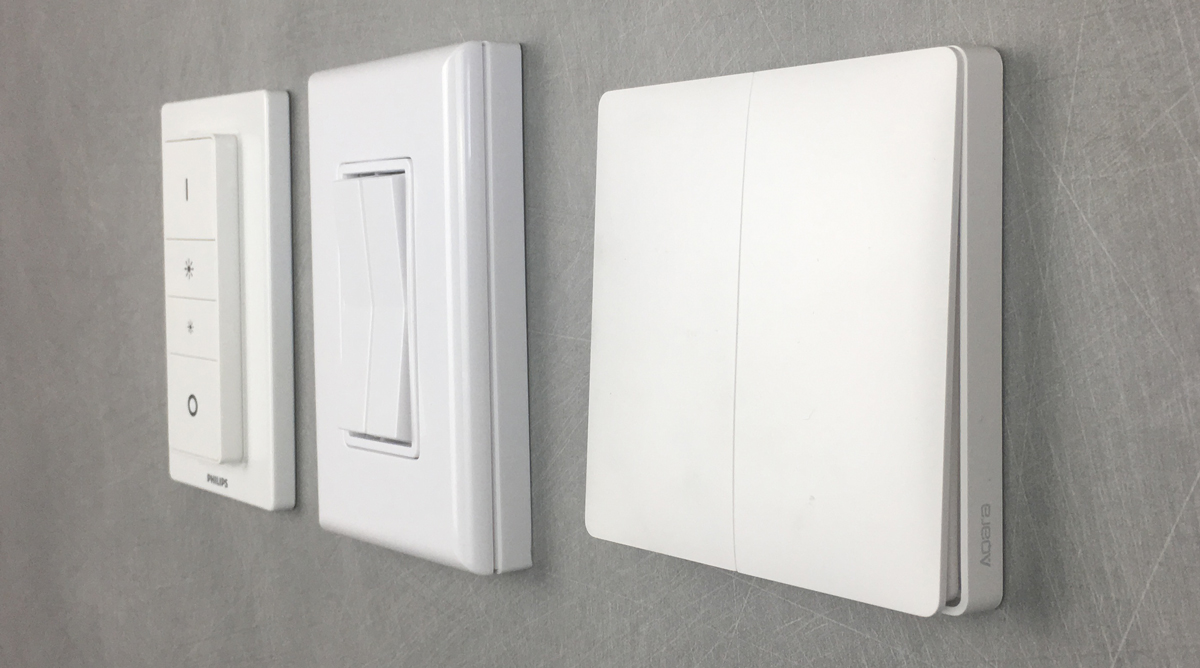
I have a quite mixture of switches in the apartment, with a wired, four-button Xiaoyan Zigbee switch, a wired Aura Bluetooth Switch, that also uses a battery, a couple of wireless Aqara Rocker switches that use Zigbee, and quite a few Hue Dimmer switches, that also use Zigbee. Of all of the wireless switches, the RunLessWires switch is the only one that doesn’t need a battery. This may be appealing to some, and it’s also good for the environment in its own small way. The trade-off with this is that in order to generate the energy to keep the switch working, the buttons do require a bit more effort than the Hue Dimmer switch, which is so soft that you could almost consider it touch-sensitive, were it not for the slight ‘click’ you feel when pressing the buttons. Not so with the RunLessWires switch. I would say due to the fact the buttons are required to bounce back to the central position, there’s a bit of resistance. Not so much that you’d need to concern yourself, and if anything, you’d certainly not be in any doubt that your press was registered, as the button emits a click sound for each press. If you’re looking for touch-sensitive control, then this is not for you, but if you like to know you’ve pressed it, then it is more than suitable!
DAY-TO-DAY USE
Having been using the switch from the first day it arrived, it was great to be able to get it up and running so quickly, largely thanks to the efficiency of the Friend of Hue program and it’s requirements I assume. As it isn’t HomeKit compatible unless it goes through the Hue bridge (it is, in fact, incapable of doing anything without the Hue Bridge), then setup wasn’t actually needed for HomeKit installation, only the necessary decisions about what each button would control. From this statement, you can guess that I decided to gain control of this device via the Home app rather than the Hue app, but in actual fact, you can do both if you wish, but it could get complicated, especially if you wanted to track down a particular issue. As for issues, so far there have been none, so that’s really something to be happy about. I’ve got the switch controlling the bathroom lights with one rocker and the bedroom lights with the other switch, but at some point, I’ll probably do a piece on how to get even more out of these switches with conditional automations. The only ‘negatives’ so far are that my wife isn’t so keen on the slightly extra effort needed to push these buttons, but then she does appreciate the fact that it requires no batteries at all, so anything that is either recyclable or in any way helps to conserve resources, she’s happy to go along with. Where I live, in Taiwan, whilst the houses here use the same size of switches here as they do in the USA, for some reason switches are fitted horizontally as opposed to vertically, so under a typical scenario, this switch would look less than the way it was intended. Luckily, the builders, out of necessity due to lack of space, had to fit a couple of switches vertically, so that has worked in the switches’ favour on this occasion! In actual fact though, due to the option to simply stick this to a wall, I can easily place these vertically if I so wish, if they weren’t going into the recess of an already existing wired switch.
SUMMING UP
I remember seeing these switches a while ago and while I wasn’t so keen on the look of the skinny switches as such, it does actually give you a lot of possibilities whilst taking up no more space than any other switch. Indeed, if you were to stick to controlling Hue lights alone, if you use an app called iConnectHue, you can actually assign even more controls to the buttons, with subsequent presses triggering different scenes or lights, so there’s a lot of scope for a switch of this kind. The one thing to bear in mind, as with anything these days, is the cost. These are currently selling on amazon.com at around $60 each, so they are a fair bit more expensive than the Philips Hue dimmer. The quality of feedback from pressing the buttons on this product is much more solid than the Hue dimmer though, as the switches on the Hue dimmer tend to wobble a bit when pressed, like the keys on a cheaper computer keyboard, so for some, the additional cost, as well as the extra choice of colours and no need for a battery, both of which the Hue Dimmer doesn’t offer, may be worth it. You pay your money, you take your choice.
Full disclosure: Ad Hoc Electronics provided HomeKit News with the RunLessWire Switch for the purpose of this review. No other compensation was made or requested.










Honestly it is cooler and cheaper to install the hue motion sensors which is cooler and cheaper than flipping a switch. In my house I removed the switches, connected the power, and then patched over the hole. I have a Google home in every room and a motion sensor in some. While this is a good alternative, the price is a bit much for not having a dimming feature. I do love though that you can just mount these anywhere, but I want the lights to turn off when motion is no longer detected. Overall, I think it is a really great technology, and I would be interested in seeing further applications.
Hi Tim
I like to have everything automated as much as possible, usually with motion sensors or door/window sensors, but I do find there are occasional instances where a switch is required. As for this switch, it does have dimming, but as with all Hue Switches, it’s not supported in HomeKit at present.
Just to clarify, the RunLessWire Click for Hue switch is supported in HomeKit, just not the Hold to Dim feature. HomeKit allows configuration of routines associated with Click for Hue press, not Hold events. The Hue, HueDynamics or iConnectHue apps all support configuration of press and hold dimming.
Thank you for the great video explanation and product review!
Also, thanks for demonstrating how to convert from the dual rocker to the single rocker configuration. Point of clarification: Linking to the Hue bridge requires all 4 buttons in the dual rocker configuration so link the switch to the bridge prior to converting to the single rocker configuration if applicable.
Thanks again and all the best!
– RunLessWire support