iDevices Instant Switch (review)
This is the latest piece of tech loveliness by the iDevices team, and while it has been on sale for over a month now, it has only been available to US & Canadian customers – either via the iDevices website or Amazon. However, Amazon has now started directly selling it themselves, which means international shipping for people like me, who live on the other side of the world (Taiwan, since you’re asking). This is the reason for my late entry into reviewing this particular item.
Ok, so with that out of the way, the other important thing to take on is that technically speaking, this isn’t an actual HomeKit device, so should it be here on this site? Well yes, as most of the iDevices range IS HomeKit compatible, and this is able to directly control these devices in a very simple and efficient way. So, my logic is that if it can control at least one HomeKit device, then in theory you could create an automation that allows this switch to control other devices via the original iDevice it controls. That’s the logic, and I’m sticking to it!
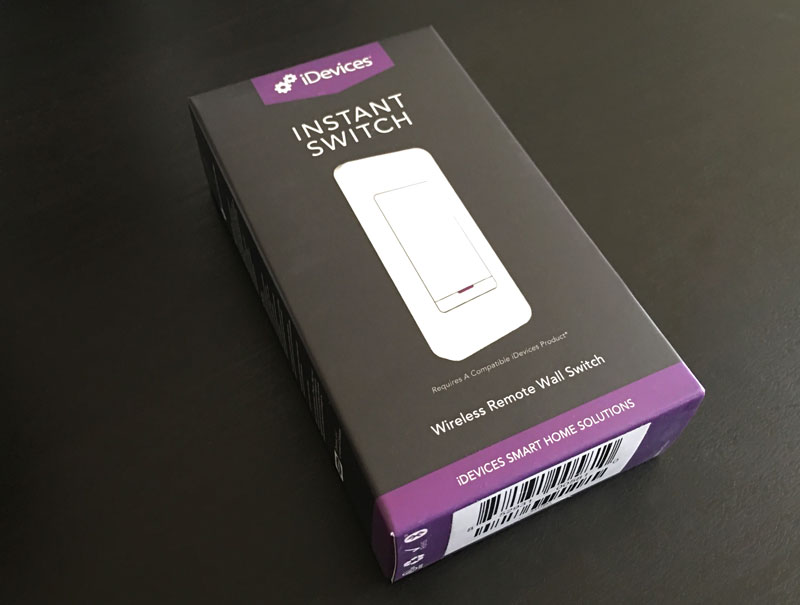
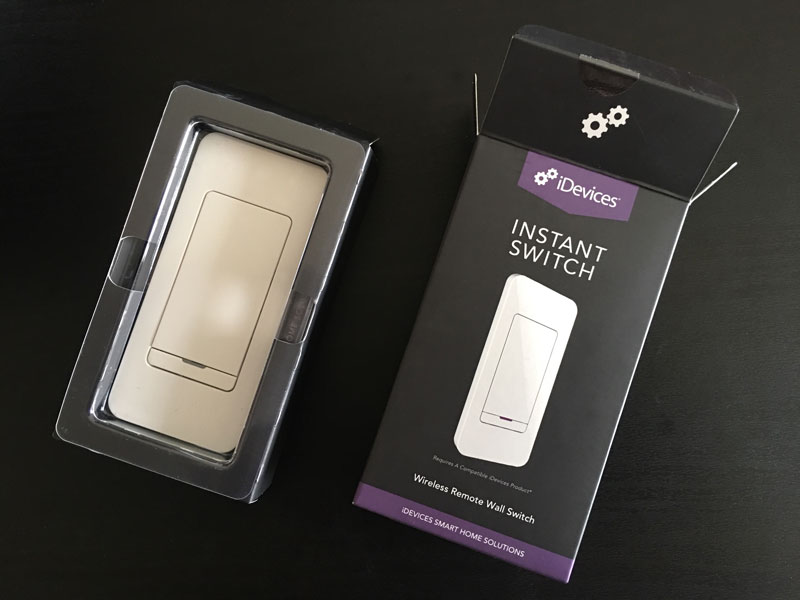
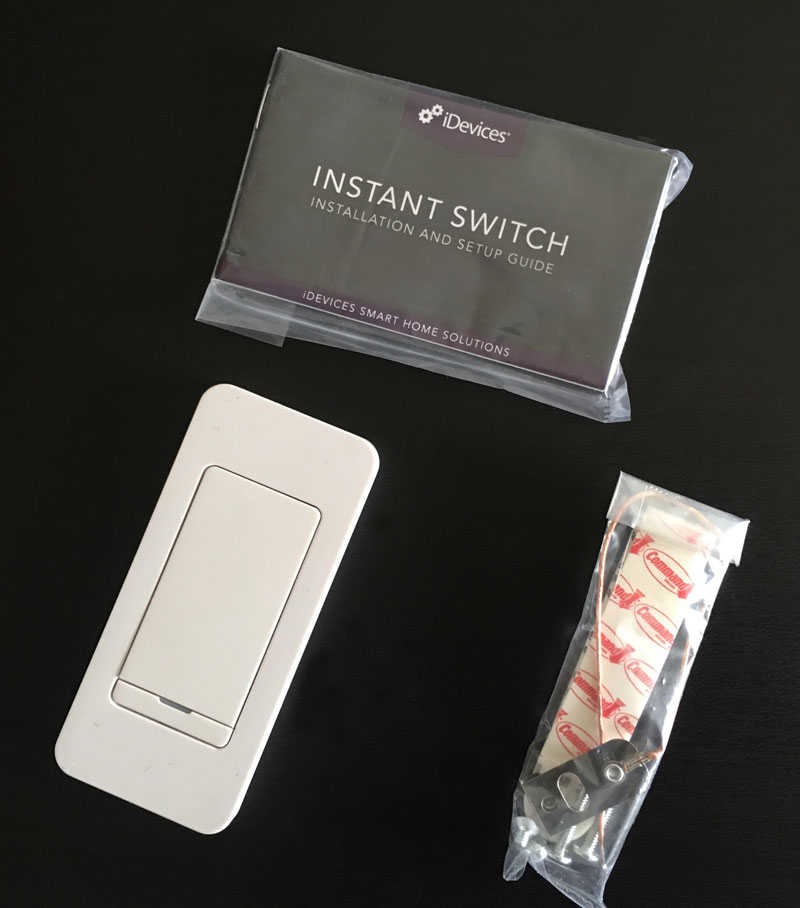
The switch arrived in a nicely discreet, brand-conscious box, with iDevices’ now recognisable purple & black colour scheme. As soon as I took it out of the parcel it arrived in I could tell it was well packaged. inside the box you initially just see the switch itself, covered by a protective clear plastic tray, but within the back part of the packaging you will find a rather comprehensive installation and setup guide, a pvc bag containing two sets of screws, an earthing wire (more on that later) and two adhesive 3M Commandstrips.
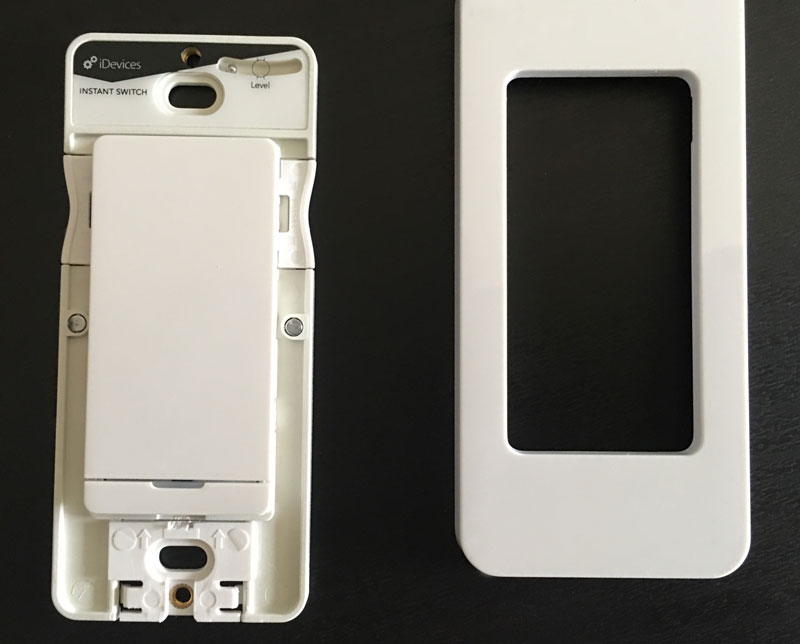
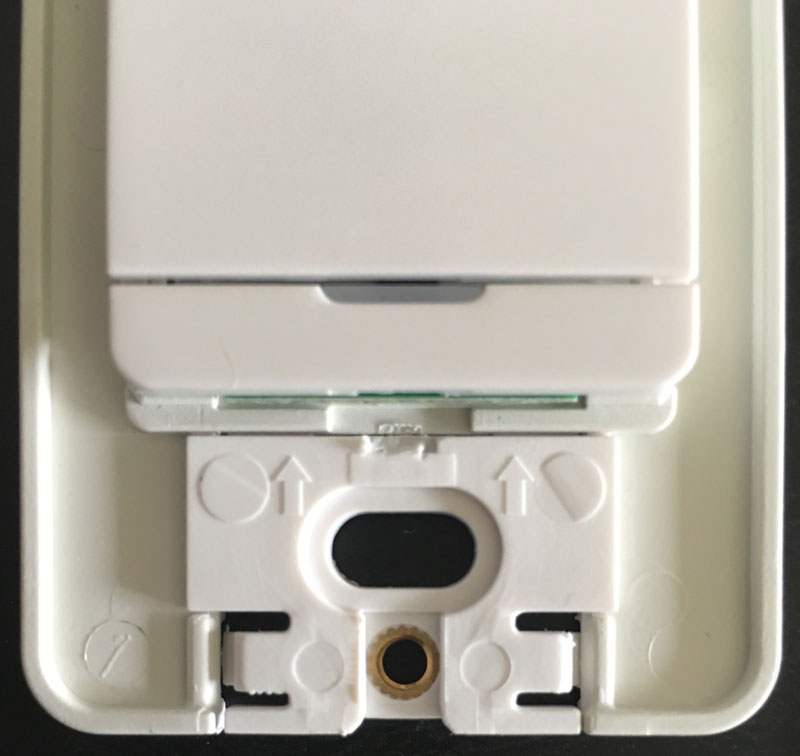
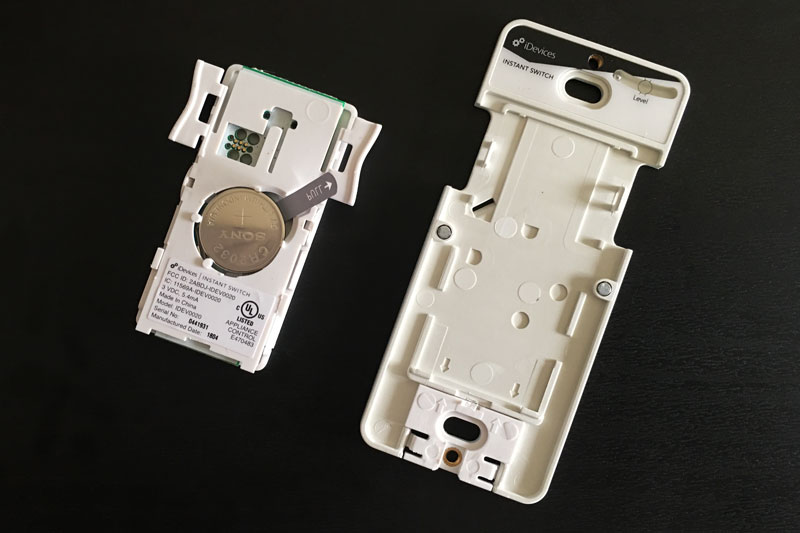
Once you start to take apart the device for battery replacement and perhaps removing the switch and relocating it to another location, you become aware of the intricate details that have been put into the switch. There’s a rather small but useful spirit level on the top of the inner plate to aid you in placing the switch on the wall straight. If you need to move the device, there a small removable tab at the bottom of the inner plate that gives you access to the non-sticky part of the 3M command strip that allows you to easily remove it from the wall, so there’s no need to try prizing it from the side of the switch with a kitchen knife like you would the Philips Hue Dimmer Switch, for example. The battery compartment is also accessible quite easily with two tabs that you press in from the sides.

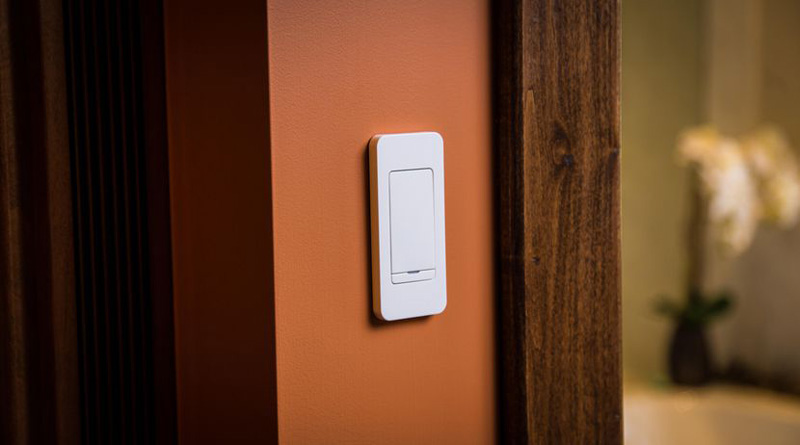
iDevices have made it so that you can have this stuck directly to a wall with the provided faceplate, or amongst other switches with a 2 or 3 slot faceplate. They’ve thoughtfully provided an earth wire in the event that if you place it with other switches that are directly wired, there’s no chance of an issue with electrical problems or accidents. If you’re sticking this directly to a blank wall like myself then the wire isn’t needed, but its a thoughtful little touch.
Setting up the switch in the app is very straightforward, using a Bluetooth connection, but you’re advised to make sure the firmware on the device you’re going to pair the switch with is up to date. I plan to pair the switch with my iDevices Smart Socket, which to me is the most obvious and useful reason for having this switch; I have the Smart Socket in a ceiling lamp in the entrance to the main bedroom and it’s far too high up for me to reach the switch that is placed on the body of the socket itself, and whilst I can control the Smart Socket with my iPhone, I don’t want to have to pull out my phone every time just to turn this particular socket on or off when I walk into the room, and if guests use the apartment, chances are they’ll not have an iPhone and will tend to use the standard wired light switch, which will disconnect the Smart Socket from HomeKit anyway.
One could argue that it would be better to have a HomeKit compatible switch that could work with other devices and not just it’s own brand, but actually when you look at the market now, the only non-hardwired switch that is also designed for wall mounting is the Hue Dimmer, and that requires the Hue Bridge, and it has dimming capabilities like the Hue too, so this is the best and cheapest alternative, at least for me and my needs right now. iDevices have their reasons for not making this HomeKit compatible, and I’m sure it has been looked at but as it stands, it’s not.
Besides my use case, it’s quite handy for iDevices lights or switches that themselves might be hard to reach, or you could simply use it as an additional wall switch to go with one of your hardwired iDevices switches without having to do lots of wiring should you not already have a switch in place.
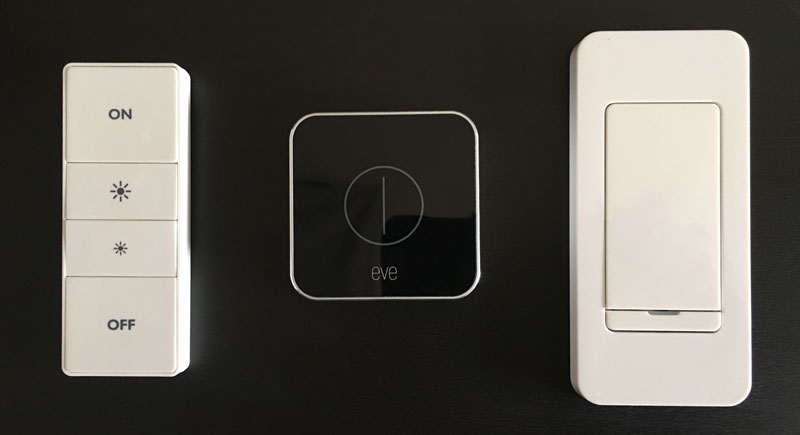
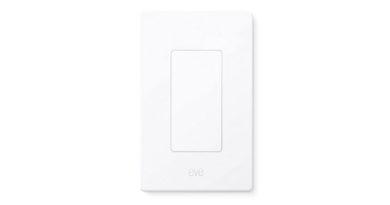
for comparison, here are three of the different switches that I have right now. Its not a real or fair comparison, as the Elgato Eve Button isn’t really designed for wall mounting, and while the Hue Dimmer is, you’re not seeing the faceplate that comes with the switch, but it might give you a rough idea.
I’ll admit that when it first came out I was a bit skeptical and wasn’t really sure what it would be able to do for me, but as it happens I’ve come around to the idea, and as I’m a fan of the iDevices range in general, it was an easy purchase once I’d realised its potential.
- A compatible iDevices product
- Free iDevices® Connected App
- Controlling this product requires an iPhone, iPad or iPod touch that supports Bluetooth® Low Energy and is running iOS 9 or later
- Android™ 4.3+ device with Bluetooth® low energy
- Height: 4.33″
- Depth: .31″
- Width: 1.97″
- 3 VDC, 5.4mA
- Replacement Battery: CR2032 ONLY