
Aqara Water Leak Sensor (review)
Seeing as for some parts of the world, they’re in the midst of winter, bringing with it not only cold, biting winds, snow and all manner of damage to your rear when you slip on the ice, but also the possibility of frozen pipes. Pipes which could easily burst, causing untold damage if not caught quickly. Enter the Aqara water leak sensor. Not a totally unique device as such, but certainly the class of device we don’t see too much of, with only the Fibaro springing to mind in terms of HomeKit compatible sensors of this type.
With that in mind, we’ll take a look at this device and how it works in real world situations.
I’m not going to start with any packaging images on this occasion, as the two leak sensors I bought were actually available before the Aqara Hub was even a twinkle in the company’s eye, and so, as with almost all Mijia and Aqara products at this time, the box was about as plain as you could get, with only the Aqara logo printed on the front of a rather flimsy cardboard box. This offers very little protection to be honest, and while this device is very cheap, it’s still a waste of money if the device arrives broken. Thankfully, since then, Aqara have stepped things up in the regard with colour packaging with a bit more protection. I haven’t seen the packaging for the Leak sensor, but I think I can safely assume it’s of the standard I’ve seen with other devices with the new style packaging.

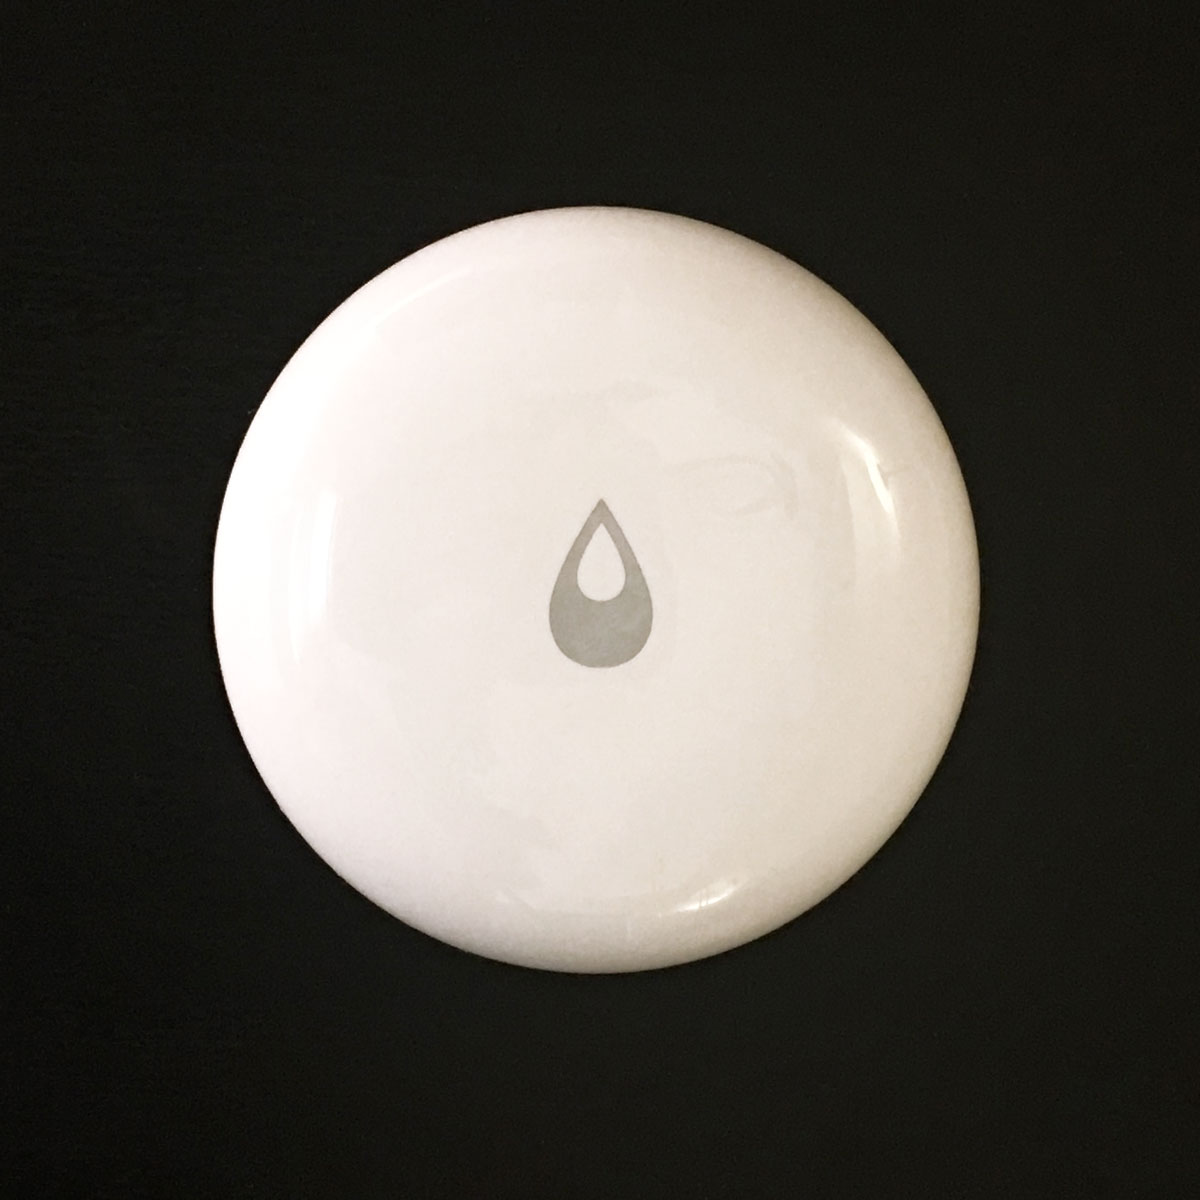
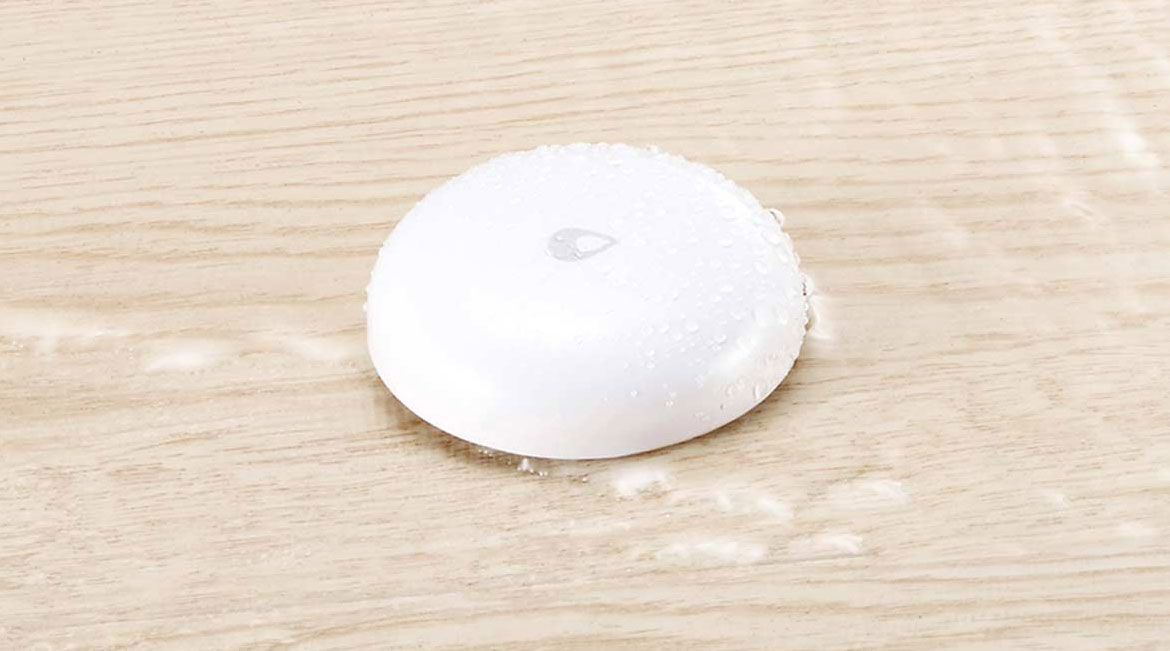
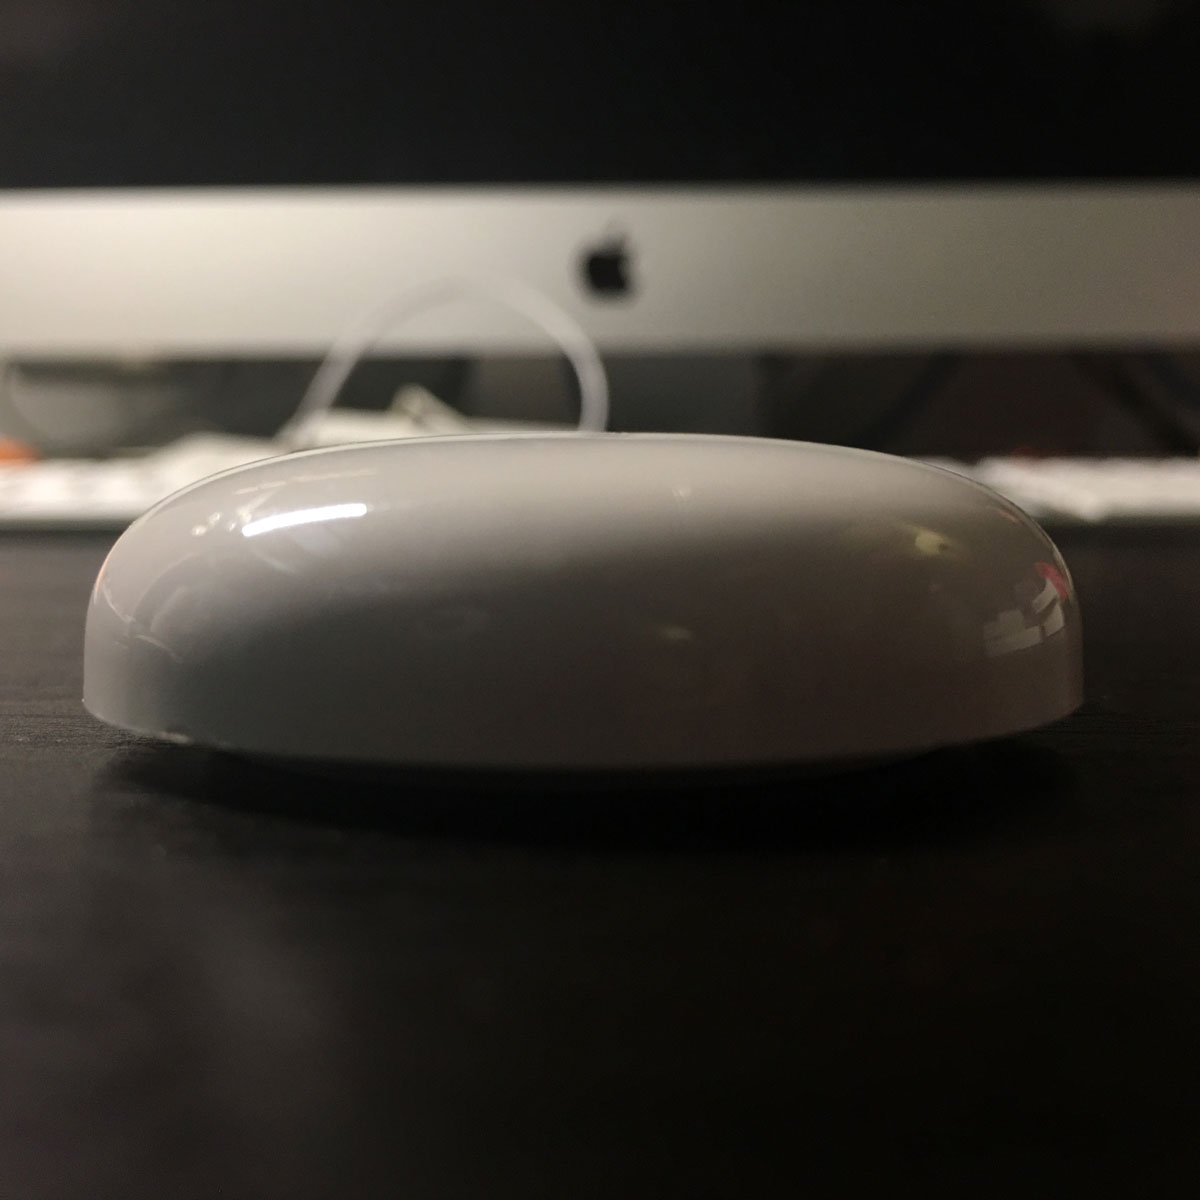
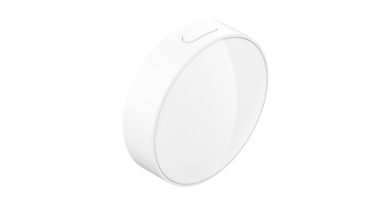
Right out of the box, you can see it’s quite small, measuring a mere 50 × 50 × 15 mm (1.97 × 1.97 × 0.59 in.). The main body of the device is plastic of some variety, which in this case is also more glossy than their switches and plugs, which is probably for making it more repellent to water. The top of the device features a simple ‘water droplet’ icon, that follows the design aesthetic of the other sensors (temperature/humidity and vibration sensors), not that you’re likely to mix any of them up, but still, I like it. The top of the sensor is slightly soft, which allows you to press down on it, for when you’re ready to pair the device.
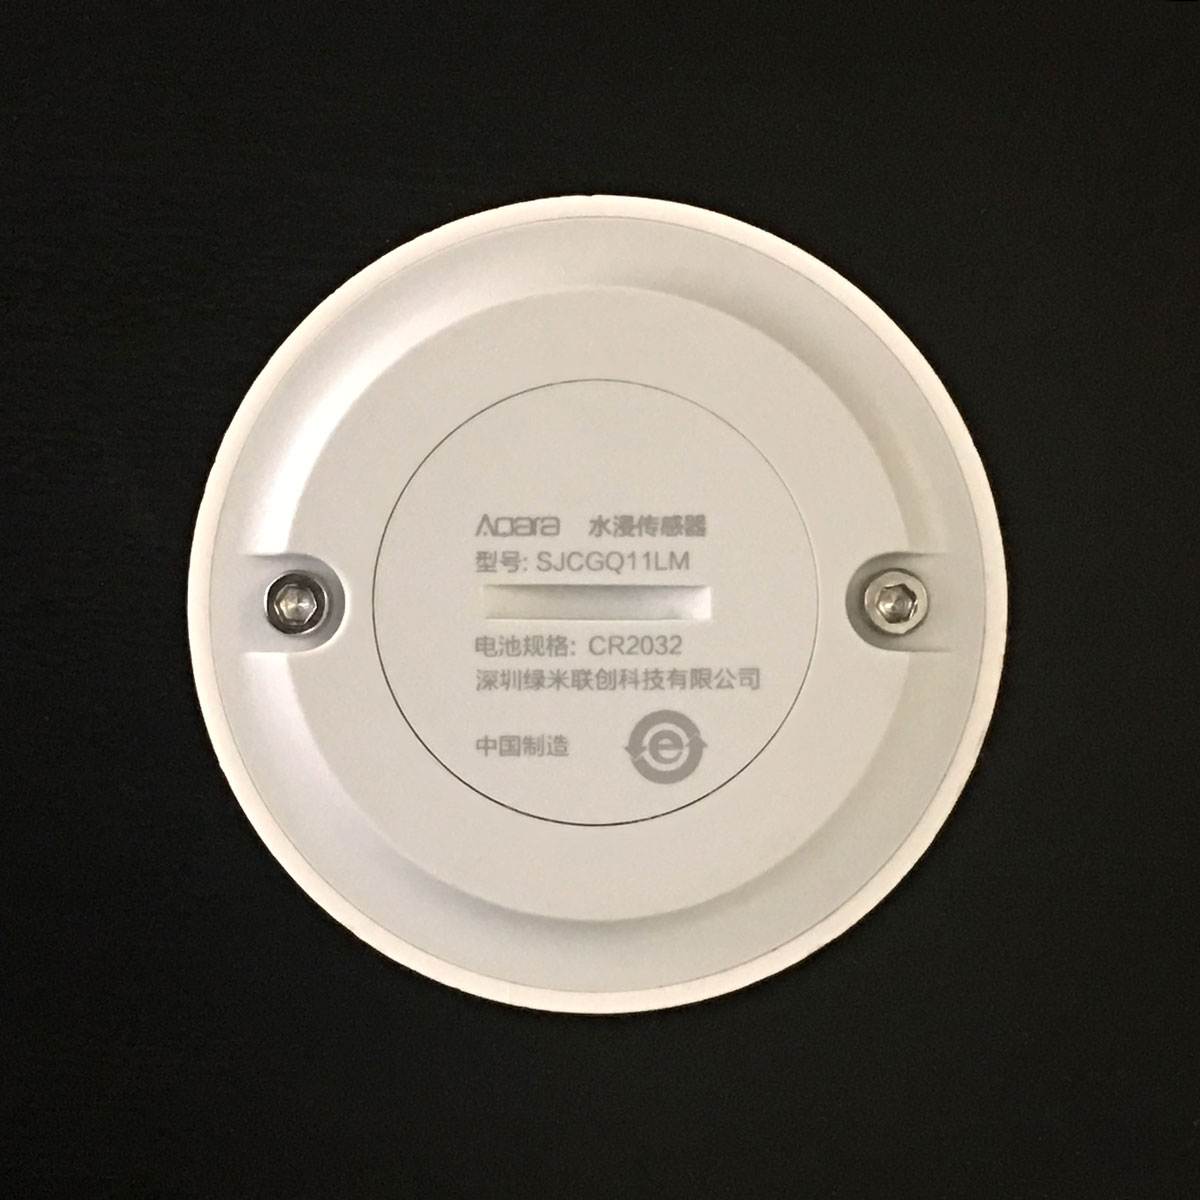
The base has two ‘Hex socket’ contact sensors that can be extended with the use of a hex screwdriver (which we’ll come to in a bit), and there’s a brief bit of info printed on what is essentially the battery compartment, which also uses a watertight seal to keep the battery and internals all safe from water damage. This sensor uses a standard CR2032 coin battery, so you’re unlikely to have any issues with finding a replacement and you’ll have plenty of time to find one anyway, as Aqara claim the battery will last up to 2 years in typical circumstances. You can attach a pair of suitable wires to the contacts on the bottom, thereby making sure only the wires are in contact with any leaks, or even better, leak prone areas that are hard to reach by themselves. So, mounting these with some double sided tape, and having the wires drop down has a few advantages.
Now this is a HomeKit compatible device, but only if you have the Aqara hub for it to go through, so you will need the Aqara hub. If you don’t require HomeKit compatibility, then the Mijia hub can be used instead. Either way, you will also need either the Aqara or Mi Home app in order to add this, with an account set up for either app and the server set to Mainland China. So, assuming you’ve got all those things in place, setting up and pairing the device is a doddle. The device communicates with the hub via Zigbee, whilst the hub itself communicates with your network (and by extension, HomeKit) using wi-fi.
NOTE: For the purposes of instructions for setting up the device, I’m only showing instructions for setting it up via the Mi Home app, although the process is almost the same for the Aqara app.
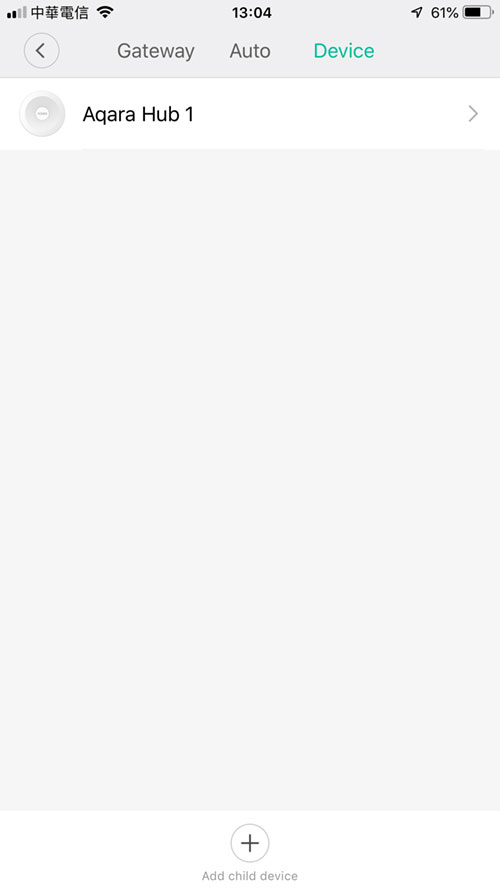
There are a couple of ways you can add a ‘child device’ to the app and the Aqara hub, but I find this way works every time.
- Open the Mi Home app, click on the Aqara hub tile
- on the next screen, click on ‘Device’ at the top
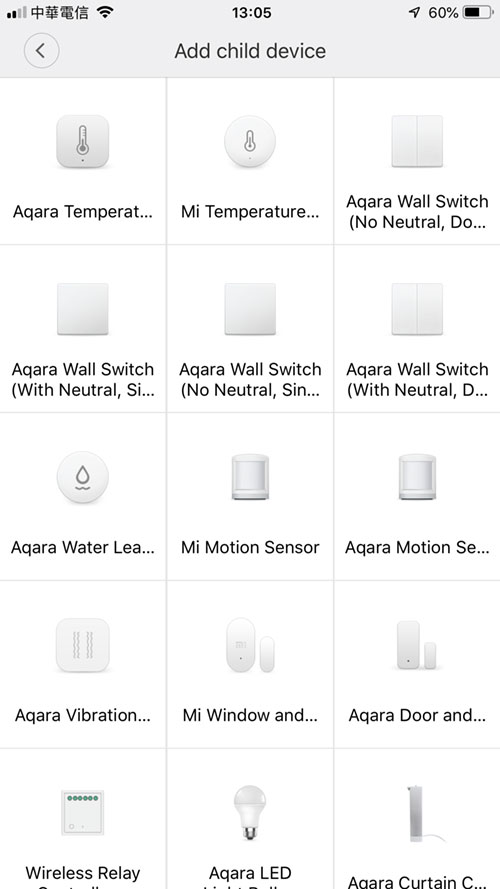
- Click on Aqara Hub and then click on ‘add child device’ at the bottom
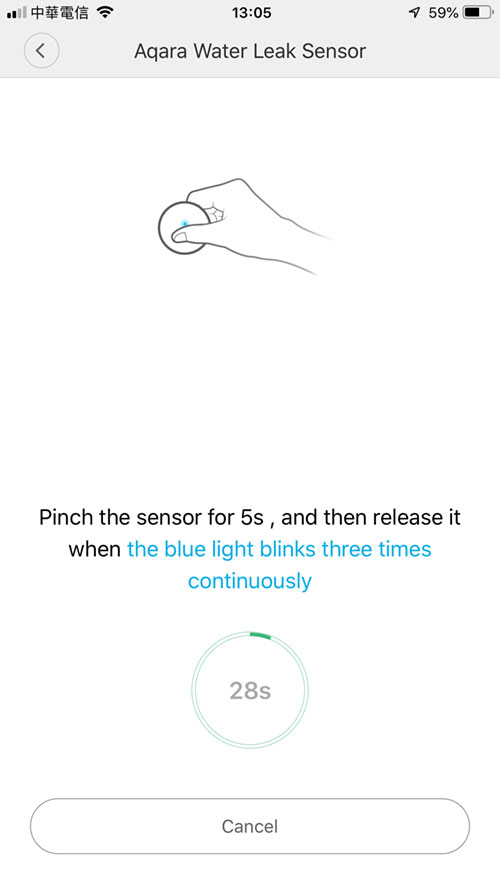
When you click on this, you will then go through the process of pairing the sensor to your Aqara hub, which involves the hub telling you it is “ready to connect to child devices”. You then press down on the top of the sensor until you see a blue LED flash 3 times just under the plastic casing. The hub will then respond that pairing was successful and you’ll then just go through choosing the location of the device.
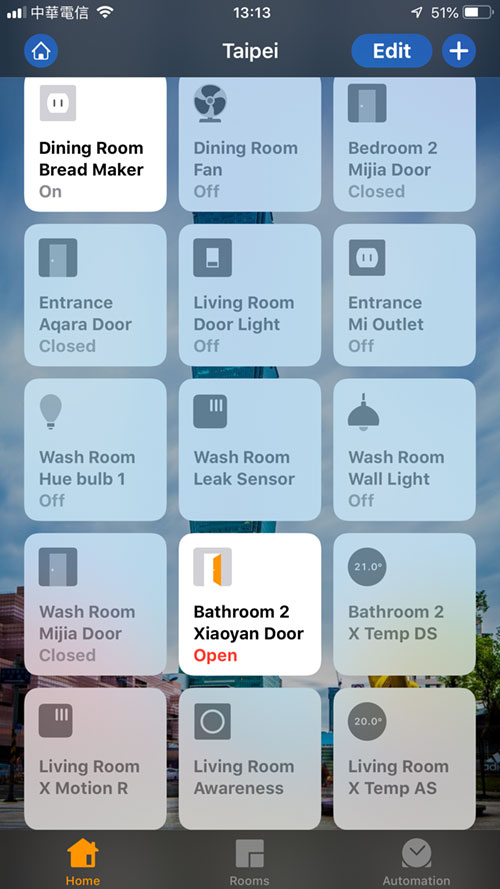
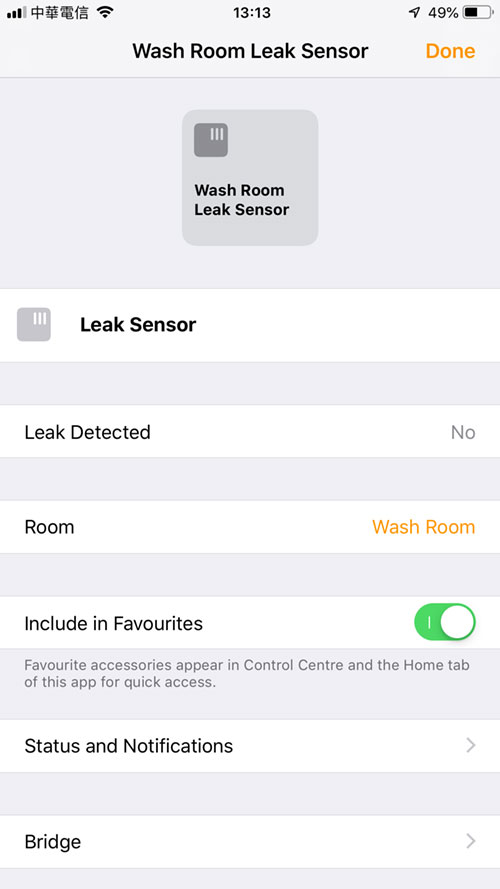
Once that’s done, the sensor should automatically appear in the Apple Home app, although you may need to force quit the app for it to refresh. It’s also important to note that while you may have designated where the sensor belongs in the Mi Home app, rooms are not synchronised across the two apps, so this device will appear in the default room, waiting for you to place it in the correct room and add it as a favourite, if required.
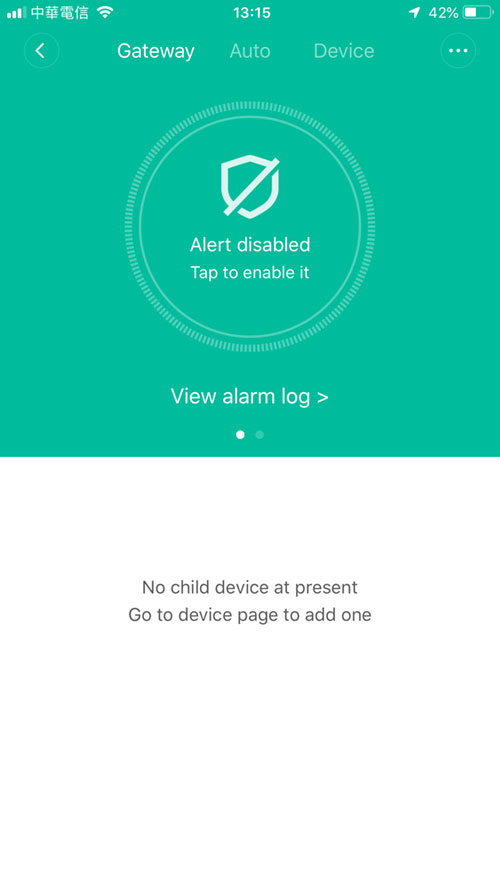
As you have this in the Home app, you can set up various automations for when it’s triggered, in addition to getting standard alerts on your phone, so in this regard it acts just like any other sensor. In the Mi Home app, you have additional choices; Once set up, the alarm feature on the hub is linked to the sensor by default, so as soon as the sensor is triggered, the alarm will sound on the hub. You can turn this off, and just set up push notifications to your phone, which is my preference.
The sensor has an IP67 waterproof and dustproof rating, and is guaranteed to work in humid and dusty environments. This does not mean you should totally immerse it in water (indeed why would you?).
Having looked up this particular rating, it is stated that the ‘6’ refers to effectiveness against “ingress of dust; complete protection against contact (dust tight). A vacuum must be applied. Test duration of up to 8 hours based on air flow.” While the ‘7’ refers to “Ingress of water in harmful quantity shall not be possible when the enclosure is immersed in water under defined conditions of pressure and time (up to 1 m of submersion).”
Video showing the Water Leak sensor working in the Aqara app and Home app.
We’ve got two of these, one located under the sink, and another located between the two washing machines, and just before I typed this review up, I did in fact get an alert of a minor leak under the sink, so it works! Of course, there are many other ways in which you can use this, for triggering an extractor fan/dehumidifier in your bathroom for example when the floor gets wet.
How does it perform? Really well. It has triggered every single time in my tests and in real life situations, like the one I had earlier today (Jan 1st), and as it works in the Mi Home app and the Apple Home app, I’ll get at least a notification from one of them if there happens to be an issue with the other app, so I feel confident any issues will be nipped in the bud really quickly, one way or another.
Regarding the cost, I feel it’s pretty reasonable to compare it to the Fibaro sensor, seeing as their main function it to detect water leaks, although to be fair to the Fibaro sensor, it does have a temperature sensor as well as tamper detection technology. As the Aqara sensor uses Zigbee, with the Fibaro using bluetooth, it’s arguable that Zigbee is a better form of communication, and definitely seems to work more efficiently, more reliably and faster than bluetooth devices. It should also be pointed out that the Fibaro sensor doesn’t require a separate hub, unlike the Aqara sensor, but if you’ve already got the hub for other devices, it’s easy enough to divide the cost of the hub by the amount of devices you already have using said hub, and I still think you’d be saving money in all honesty. As an example, the Fibaro flood sensor is $69.99 on amazon, whilst the Aqara flood sensor, also on amazon, is a mere $19.99. That’s a $50 difference. If you were to shop at AliExpress for example, you can pick up the Aqara sensor for around half that price again, so it’s difficult to justify a minimum of $50 extra, even with all additional functionality that the Fibaro brings.
Obviously, only time will tell as to how long a device like this will last, but for the time being, I’m very happy with these and I feel like these kinds of devices are a real help to those on a budget, but also want to protect their homes from the inevitable damage that flooding can cause.

This water sensor is GREAT, I am using it in the server room at work, yes a stupid backup AC in the server room that might leak because we don’t use it often…
Also using it in the boiler room at home.
I happen to be using one of mine underneath a leaking AC unit too!
Thank you for reviewing this product, I was looking for something like this for a long time and didn’t want to spend $79 on the FIBARO Flood Sensor.
Can you elaborate or show an example of adding wires to the Leak sensor, i.e. type of wire and where to attach it. I have several hard to reach areas that are prone to having leaks and our cats think the sensor is a toy… so adding wires to extend this little sensor would be a huge help. I ordered this sensor a few weeks ago and just got them in. I had to order a different power adaptor than what came shipped with the Hub since it just kept falling out of the wall socket.
Hi Brad,
I have to apologise and say that I didn’t get to the actual point about extending wires from the contacts under the sensor. I haven’t done it myself, but unfortunately, I was told by someone else that these contact sensors do come out, but they don’t in fact. So what I thought was easy, isn’t that easy. Having said that, any type of conductive wire (taken from a length of ethernet cable for example) would be suitable but you would have to solder the wires to the contact sensors themselves. I haven’t soldered anything since school, so I haven’t bothered, but this is what I’ve been told is the easiest way.
Get your information straight – Fibaro doesn’t use BT, it uses Z-Wave.
No, get your information straight. The HomeKit version uses Bluetooth, and seeing as this is a website for HomeKit devices, then you can assume we’re talking about the HomeKit version.