Aqara G2 Smart Hub Camera (review)

Welcome to the first review on our site of devices that work with Siri Shortcuts. As already stated across the top of this review, and for all listings of this class of device, whilst they’re not HomeKit compatible, they do work with Siri Shortcuts, which can be combined with other HomeKit created scenes, which in turn can then be triggered with a voice instruction to Siri, so essentially I like to refer to this class of devices as ‘HomeKit-lite’. The level of use that you can get out of any of these Shortcuts-compatible devices varies, but as long as there is some basic functionality, we will list and review them.
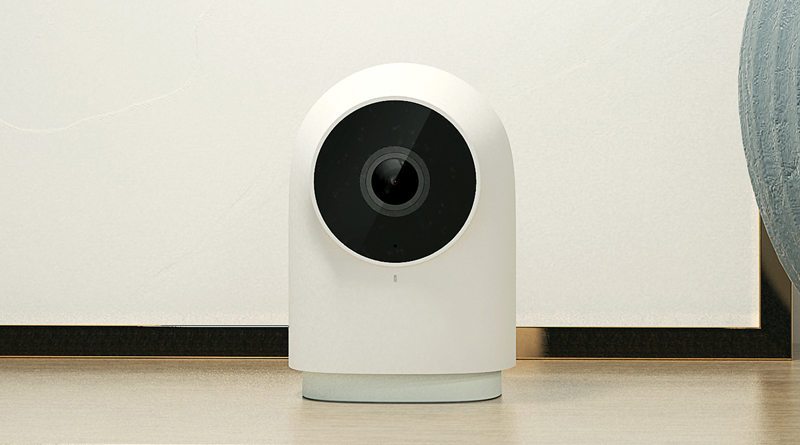
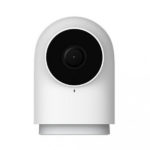
Onto the particular product itself, and this is the latest offering from Aqara, the G2 Camera (gateway edition). It’s called ‘Gateway Edition’ as this is actually an Aqara hub/gateway in addition to being a camera.
UNBOXING
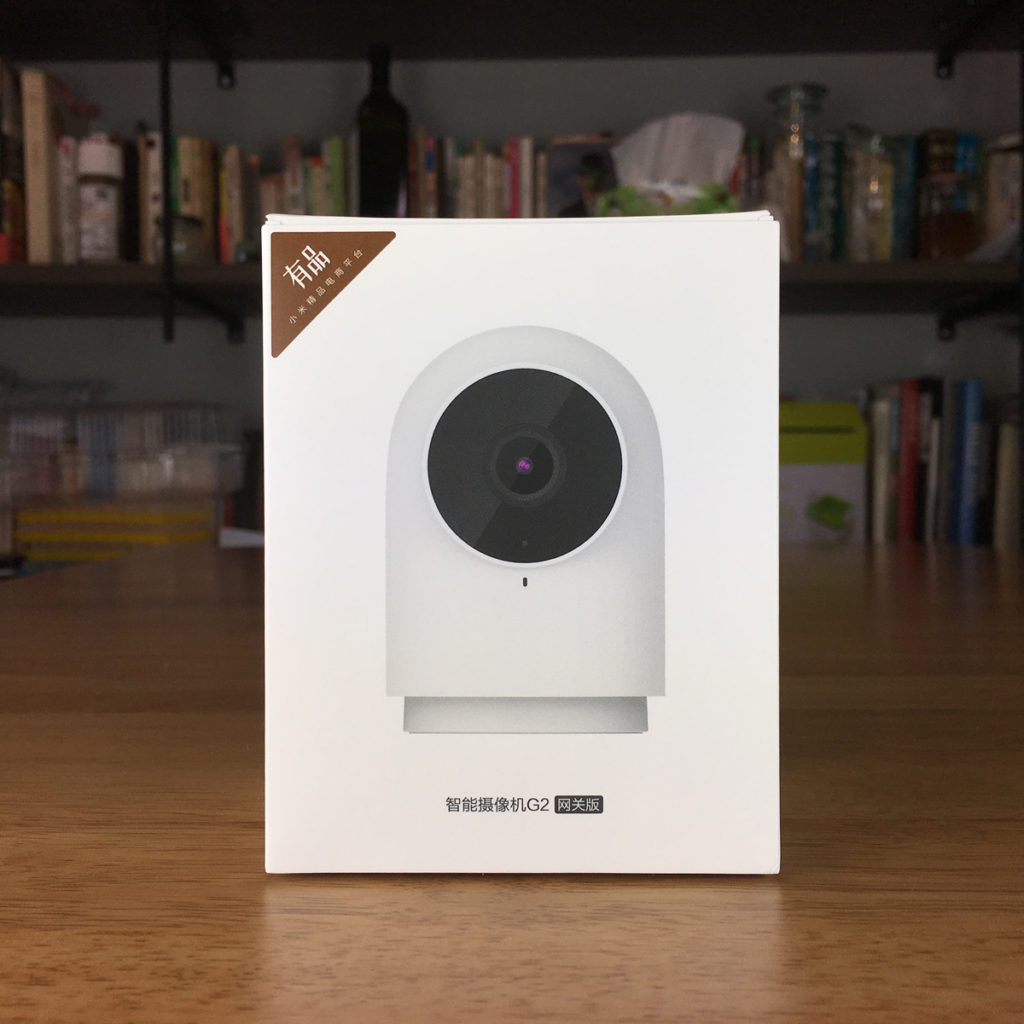
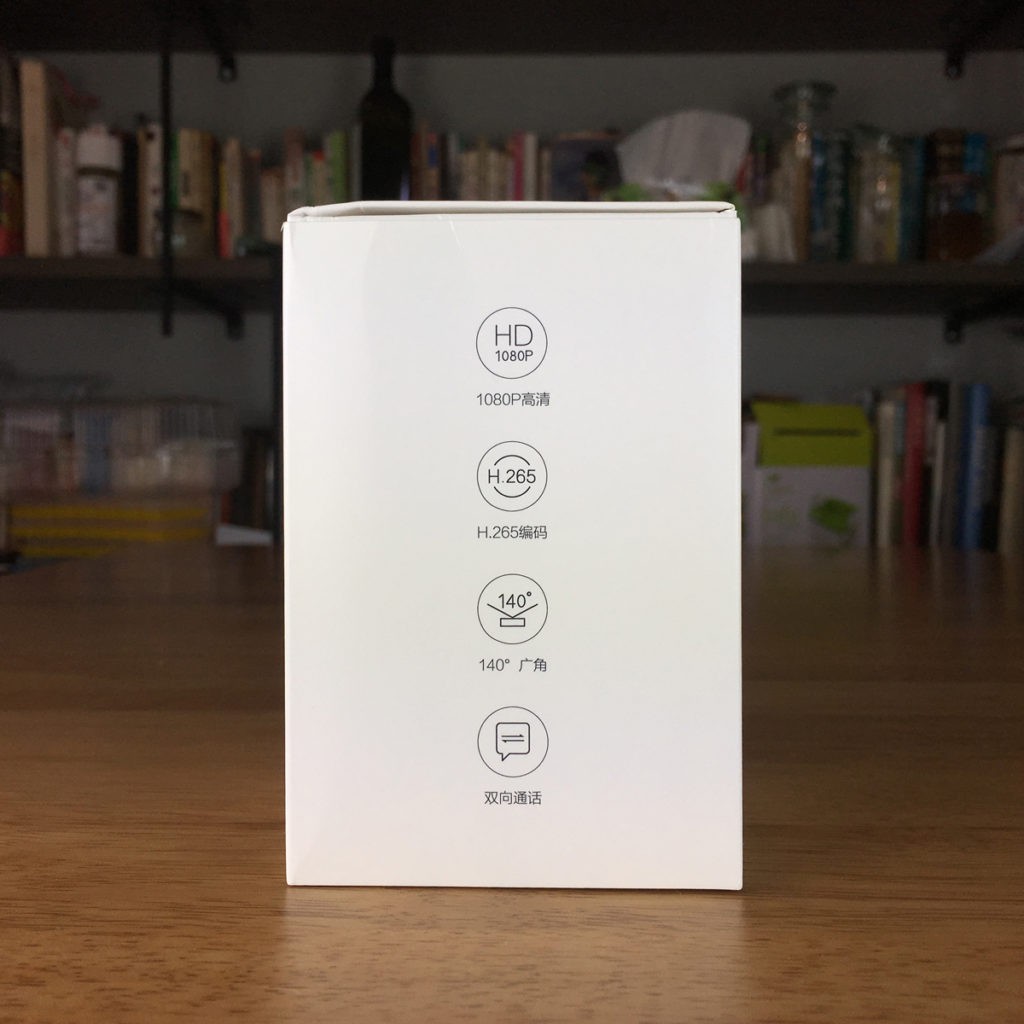
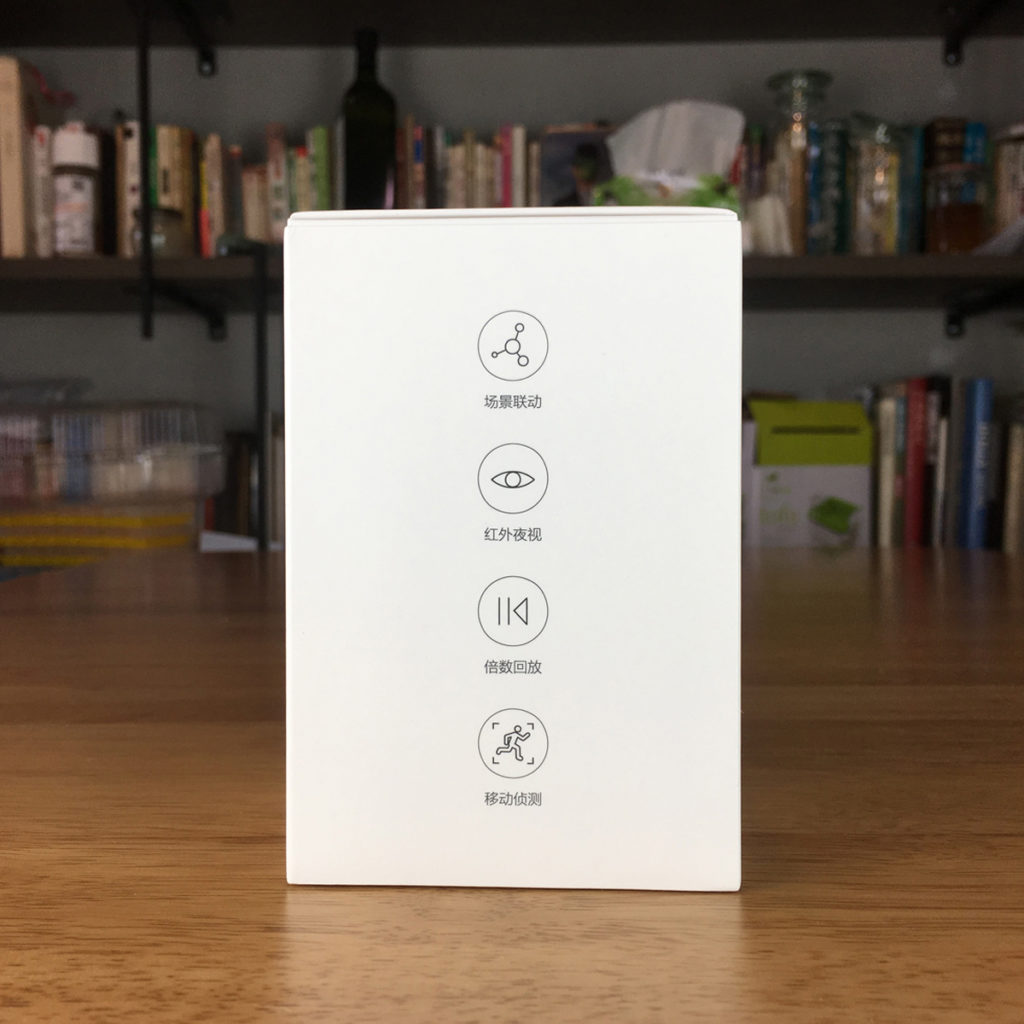
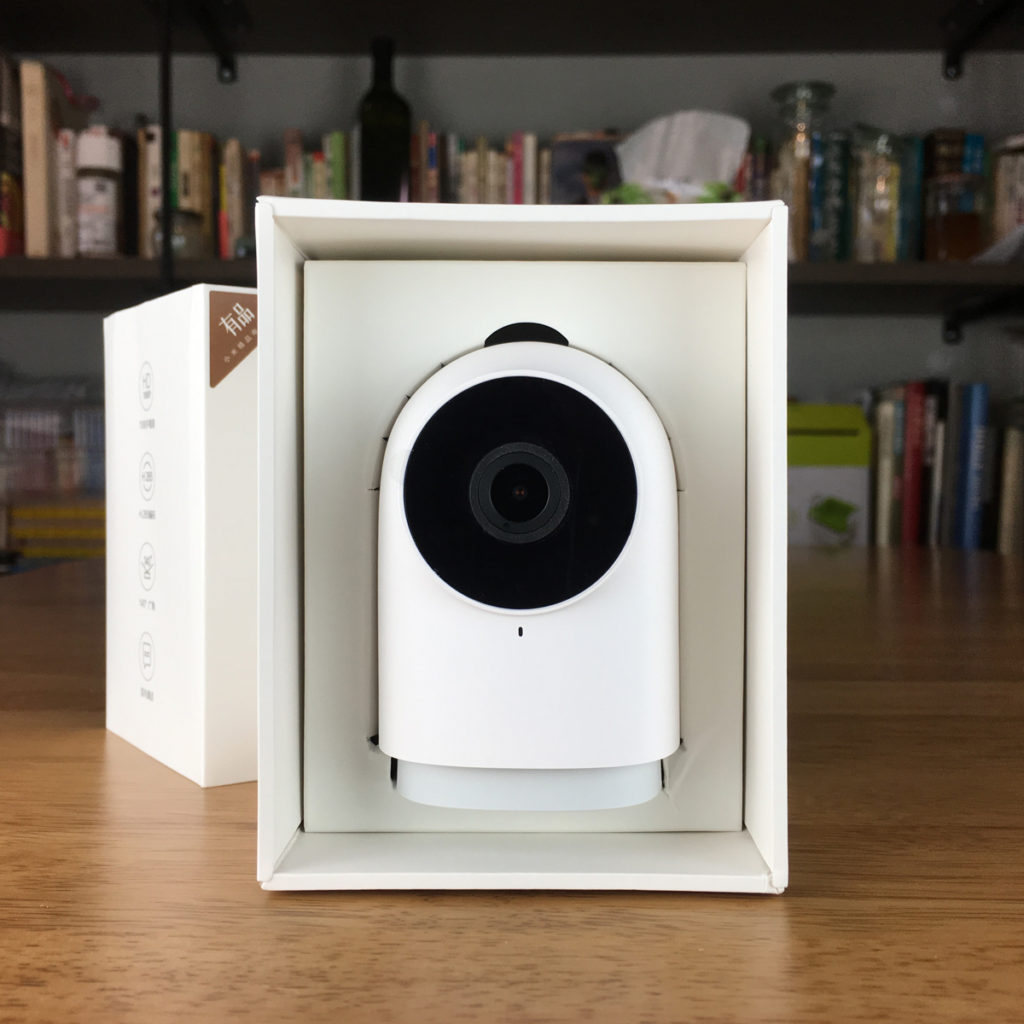
Starting off, as always, with the packaging, this is part of the new generation of Aqara/Mi/Yeelight products that feature all-round better packaging, and while the containers still aren’t as strong or protective as they could be, generally it’s a massive improvement, at least in terms of presentation. The front features the product itself, whilst the two sides of the box show off, in icon form, the main features of the camera itself;
- 1080p recording/streaming
- H.264 and H.265 compression options (no longer selectable by the user)
- 140º field of vision
- Two-way calling and video messaging
- Smart gateway
- Night vision
- Various recording and playback options
- Motion detection
There is a lot more than this though, which we’ll attempt to touch on, but safe to say this is one fully featured camera!
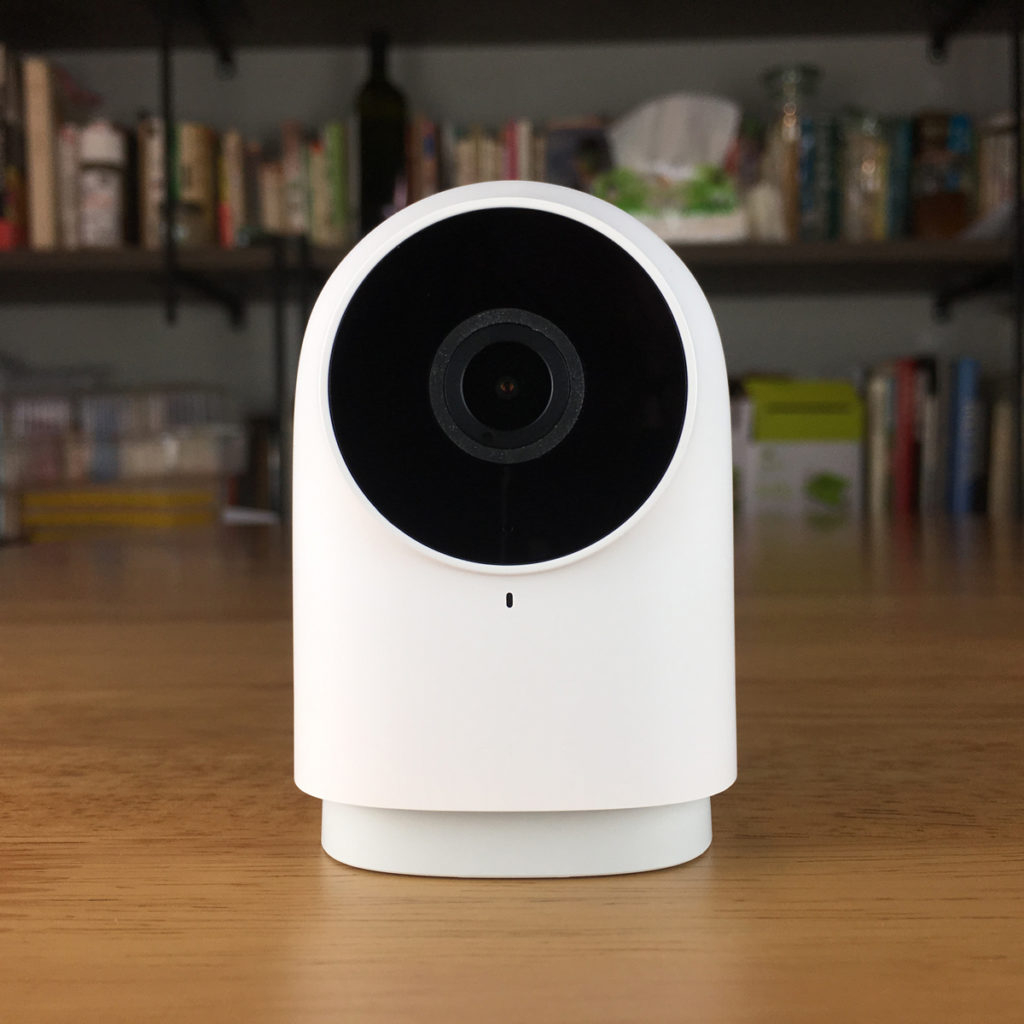
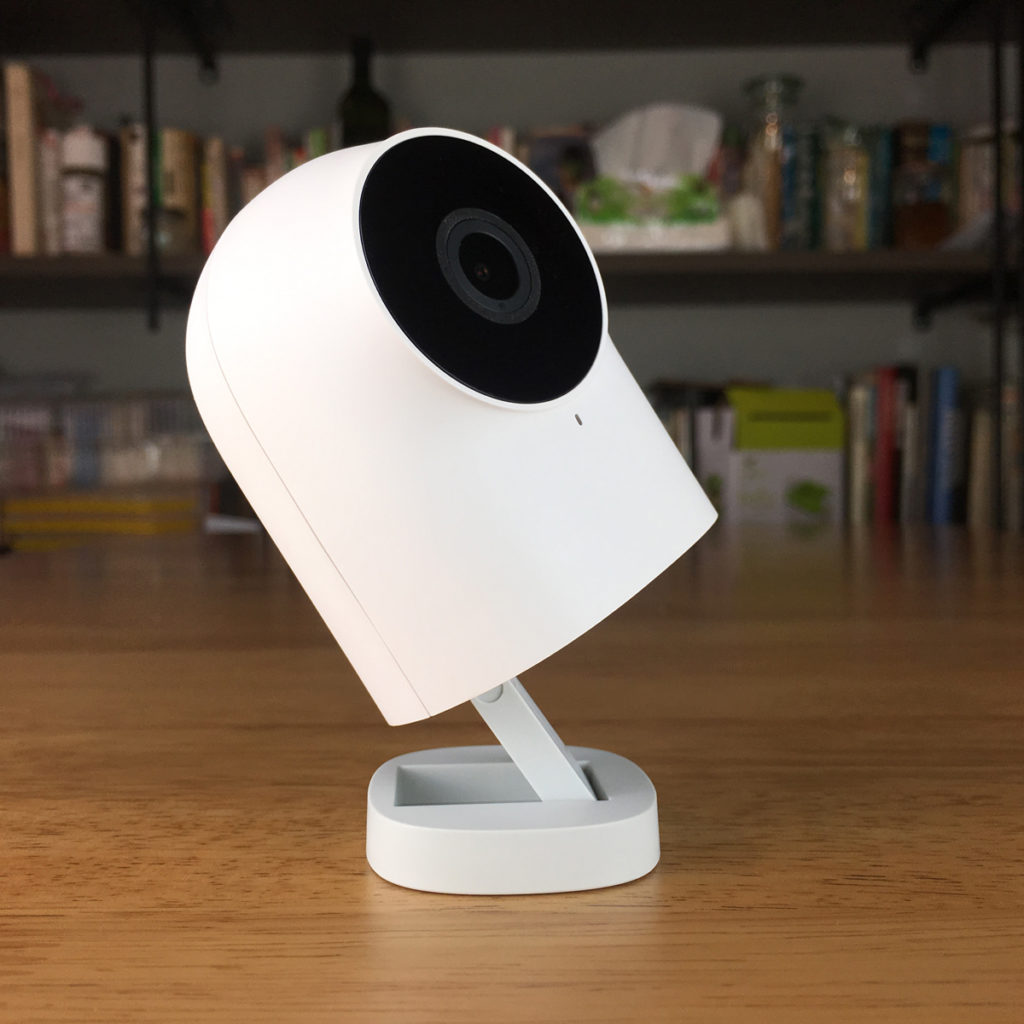
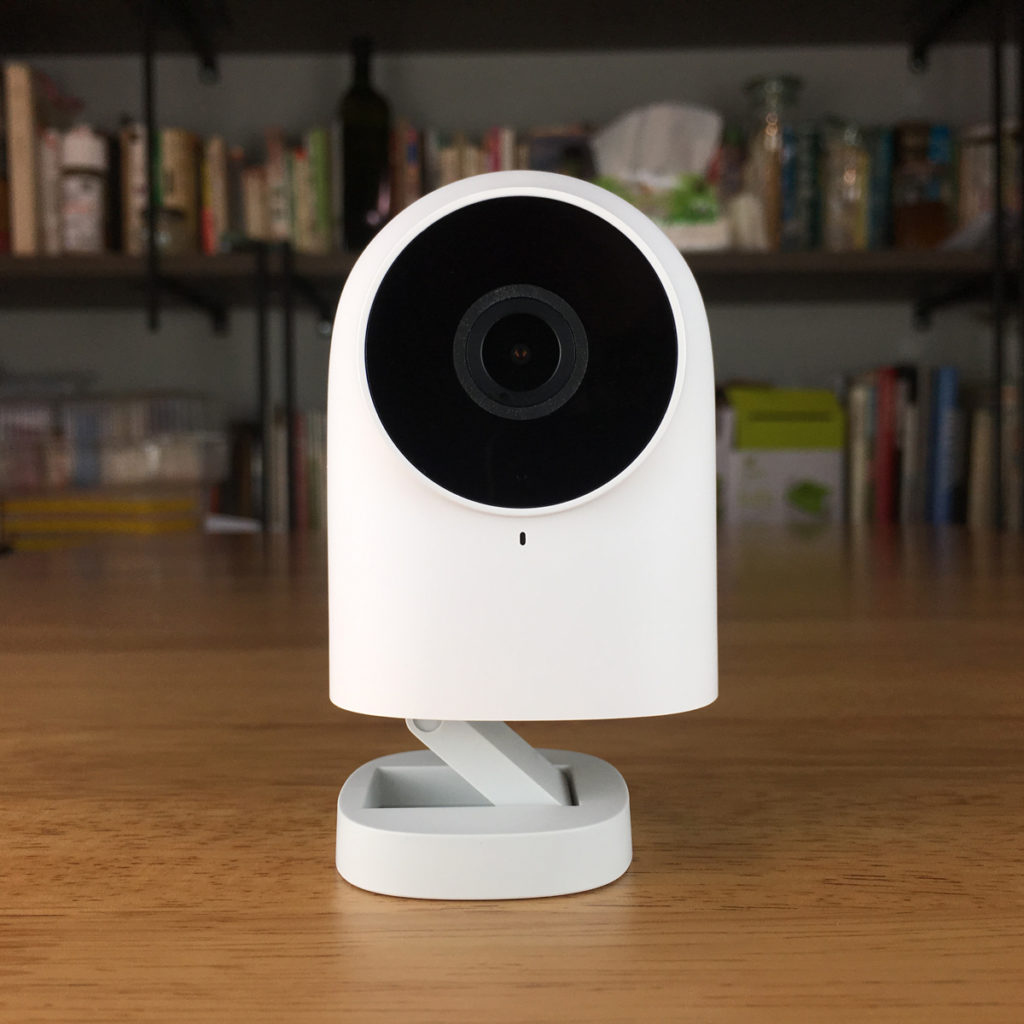
Once inside, the camera is the first thing to greet you, and it really does remind me of one of the ‘Minions’ characters in the ‘Despicable Me’ animated franchise (I know many of them have two eyes (except for Kevin, Stuart & Phil apparently (thanks Krazy Ruskie)), but it’s the shape, ok?).
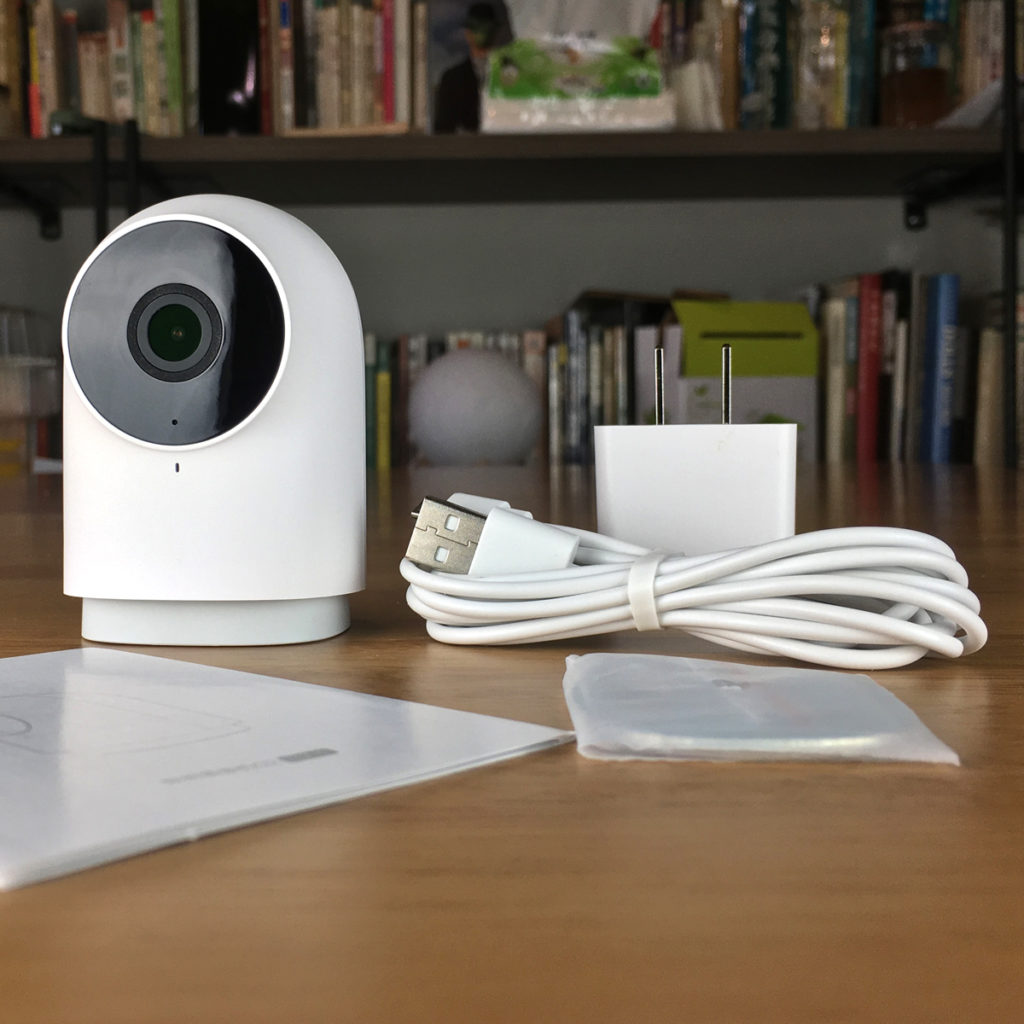
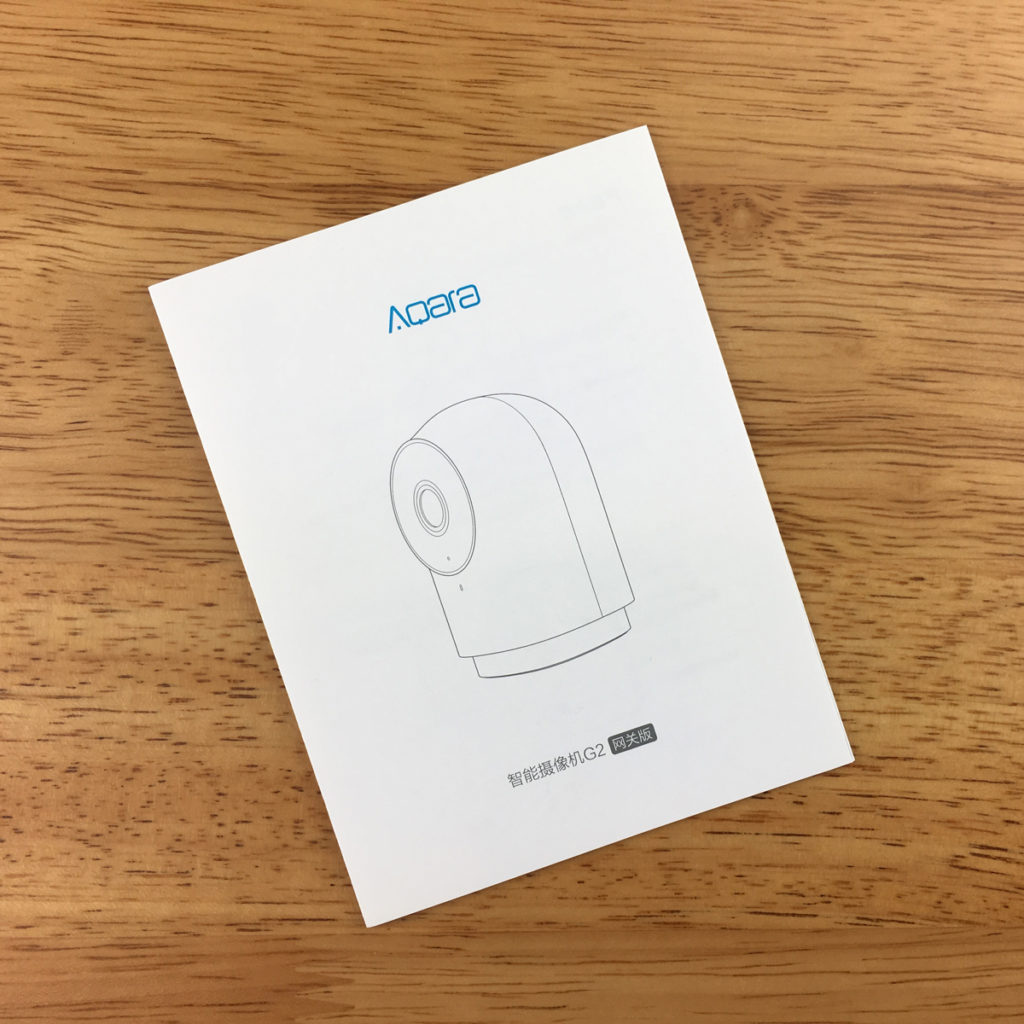
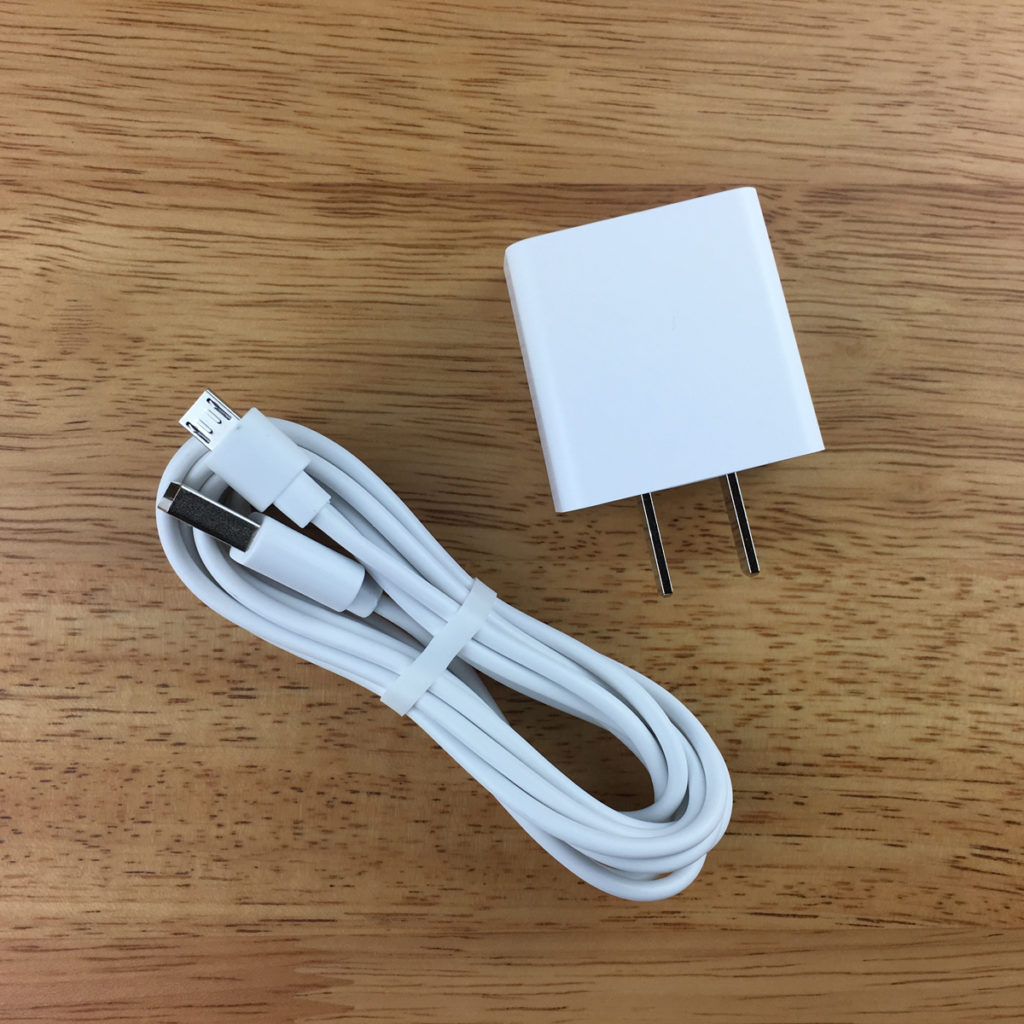
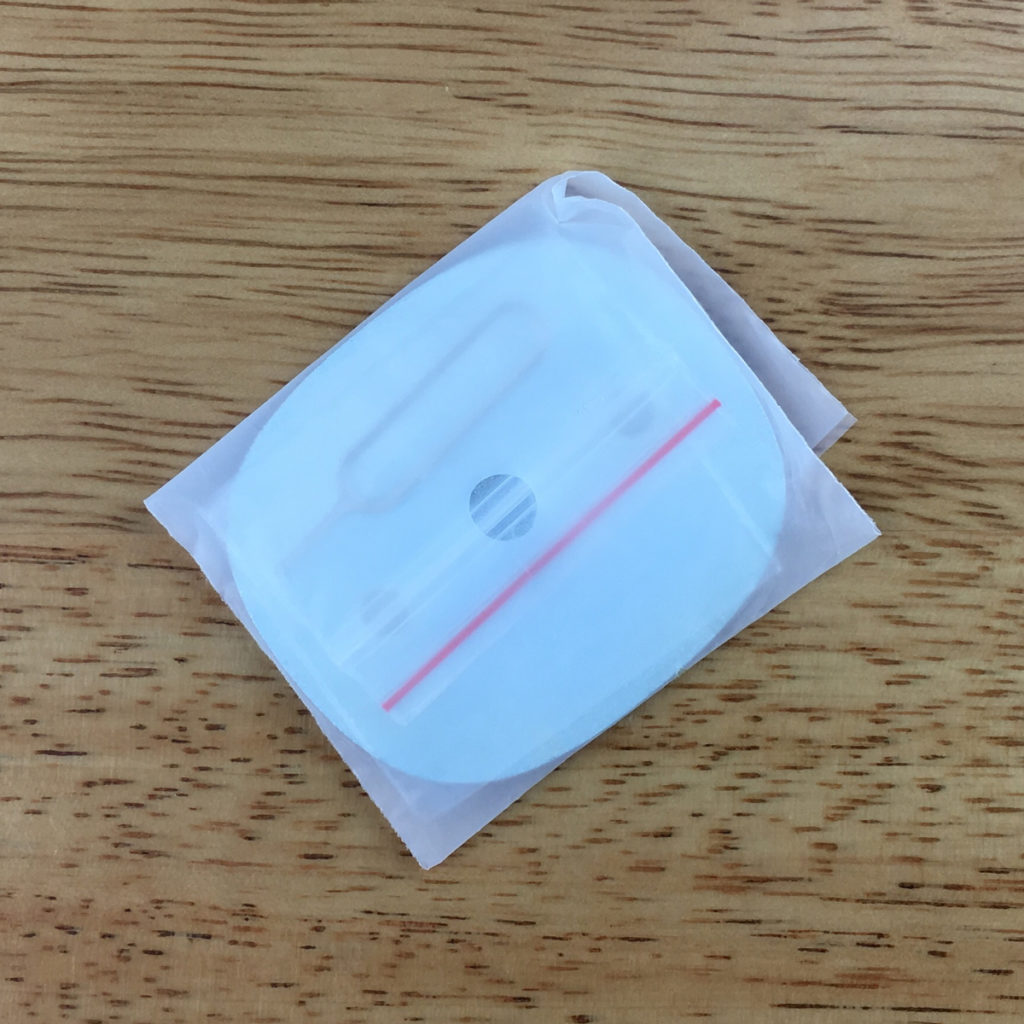
Underneath the camera, you get a few extras, which are the manual, in Chinese, a USB cable and Type A power supply, and a small plastic bag containing a metal plate, which you can screw to the wall, an adhesive, double-sided sticker for attaching the plate, if you don’t want to screw it to the wall, and a sim pin that allows you to reset the camera, should the need arise.
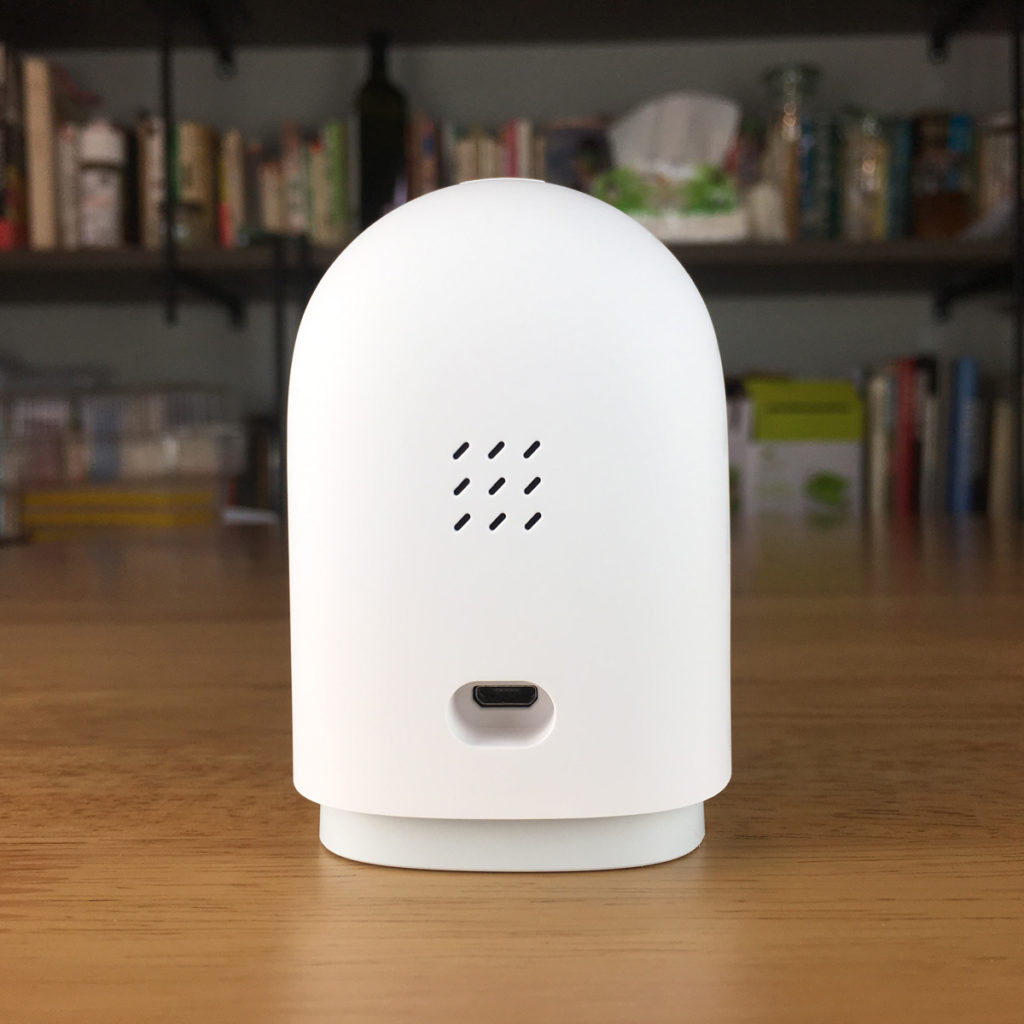
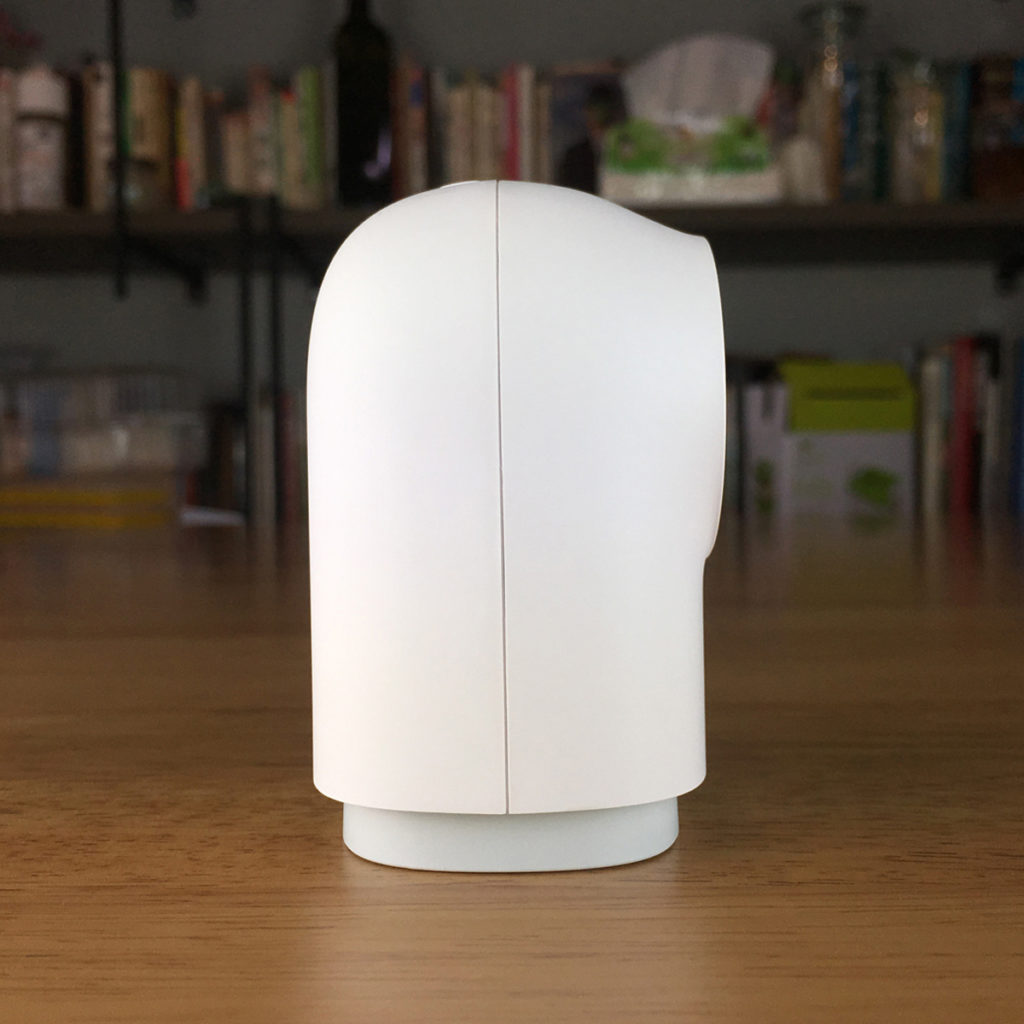
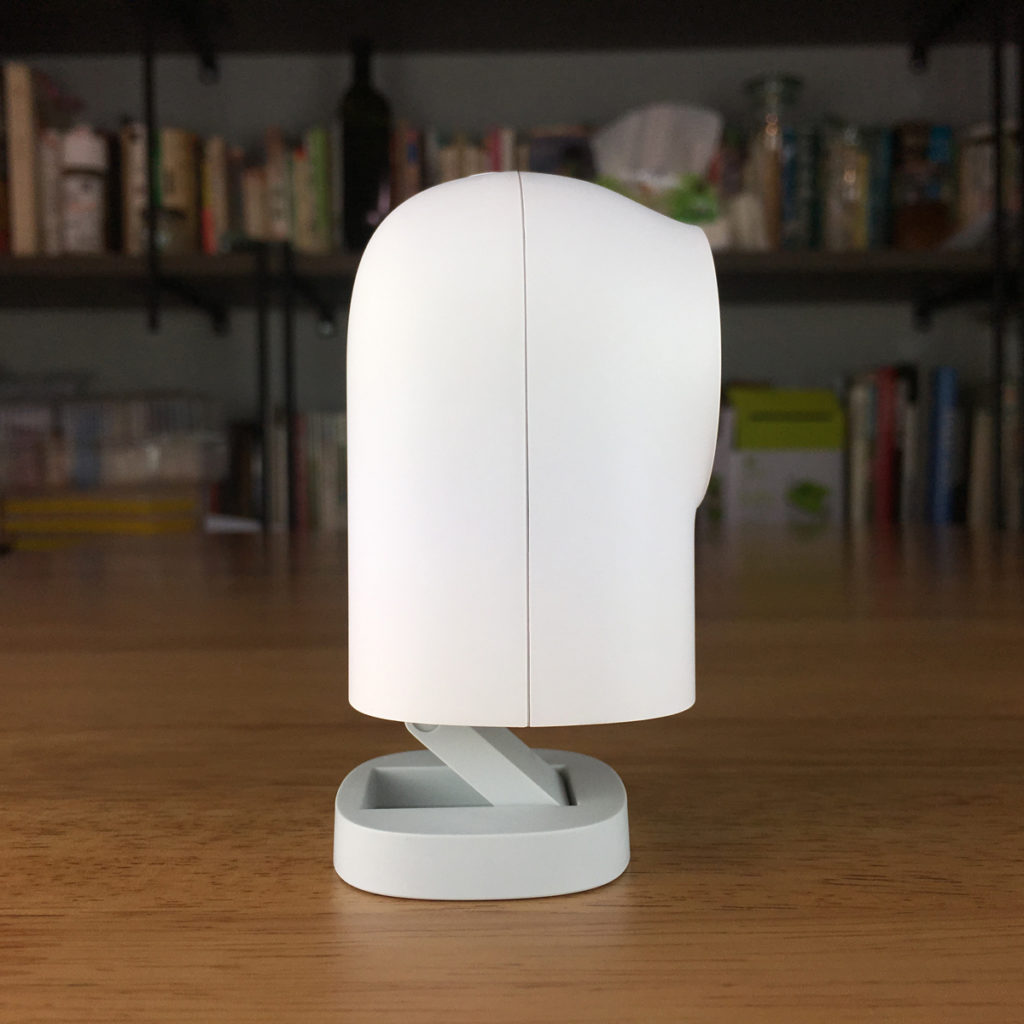
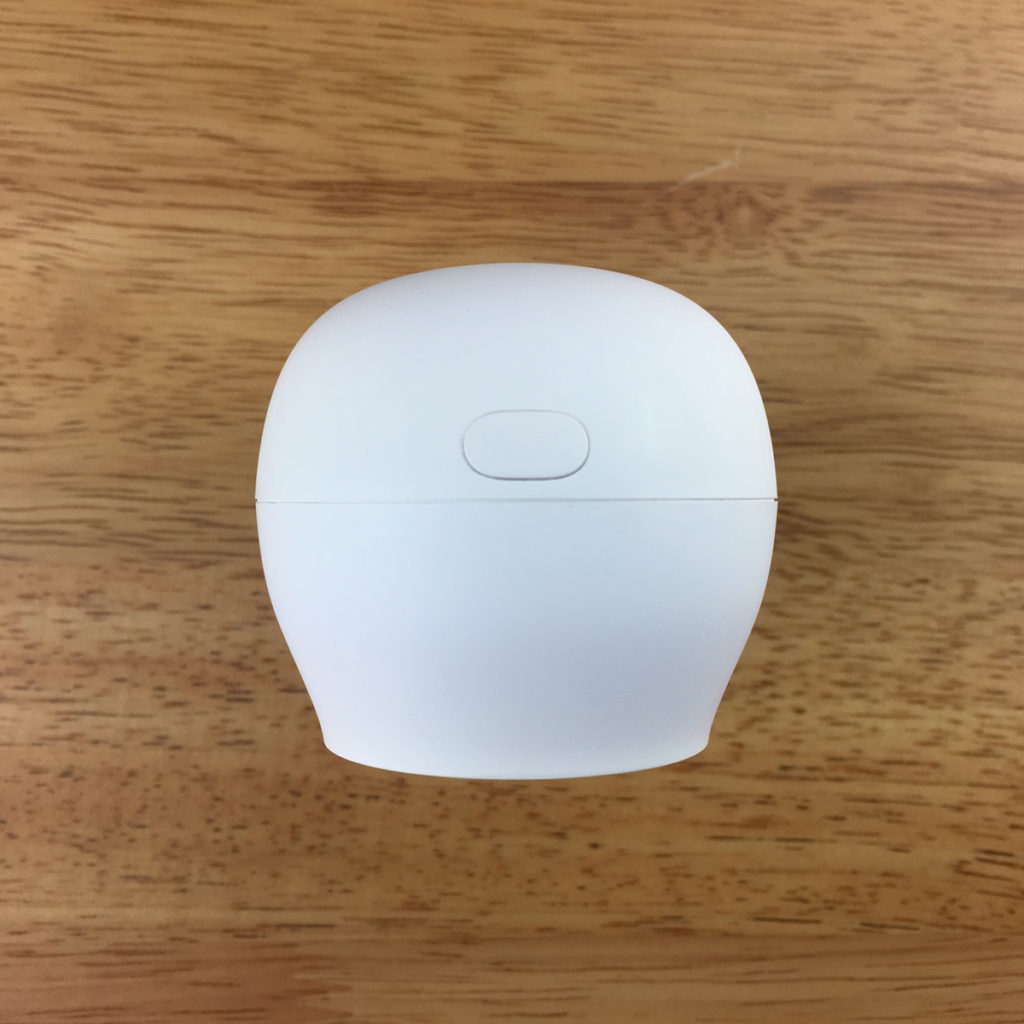
The camera itself is quite minimalist, with the front being 50/50 camera ‘eye’ and body, with only a small microphone hole to break up the white plastic front. The rear is almost as minimal, with a small speaker grille at the back, along with the power input for the supplied micro-USB cable. The basic dimensions of the camera are approximately 82mm (H) x 56mm (W) x 50mm (D), so pretty small, and about two thirds the size of my D-Link Omna, and only a little taller than the Xiaomi XiaoFang camera.
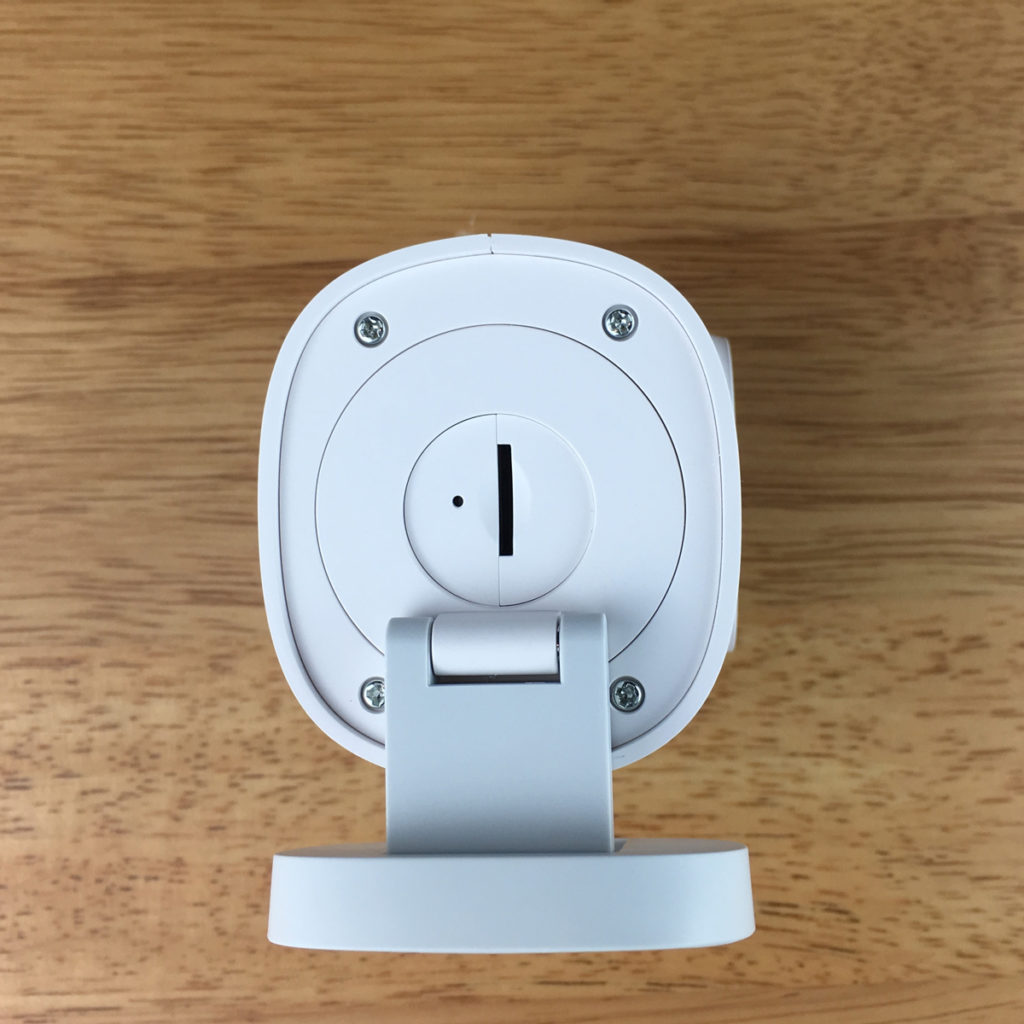
If you’ve previously owned the Xiaomi XiaoFang camera (sold by Wyze Labs as the Wyze Cam), then you’ll be aware of the 3-Axis foot that allows the camera to be pivoted or angled in a variety of ways, and that same type of base is used with the new G2 camera, which makes it very adaptable to being placed on the side of walls, suspended from the ceiling, or simply stood on a surface. It isn’t motorised, however, so once you’ve fixed your angle, that’s it until you decide to move it again.
The base of the camera has an SD card slot, as well as a reset pinhole, all located in the middle of the swiveling ‘foot’. The top of the device simply features a multi-function button. If you double press this button, it arms/disarms the built-in alarm (more on that later). If you press and hold for 3 seconds, it allows you to record a video message, which can then be accessed via your phone or from the SD card itself. The button can also be used to stop an alarm, although you do need to be able to access the camera. The button can also be used as a quick way of adding devices to the hub part of the camera.
INSTALLATION
Installing the device is really quite straightforward, but if you’re new to products from the Xiaomi ecosystem, you will need the Mi Home app (recently rebranded as ‘Xiaomi Home’).
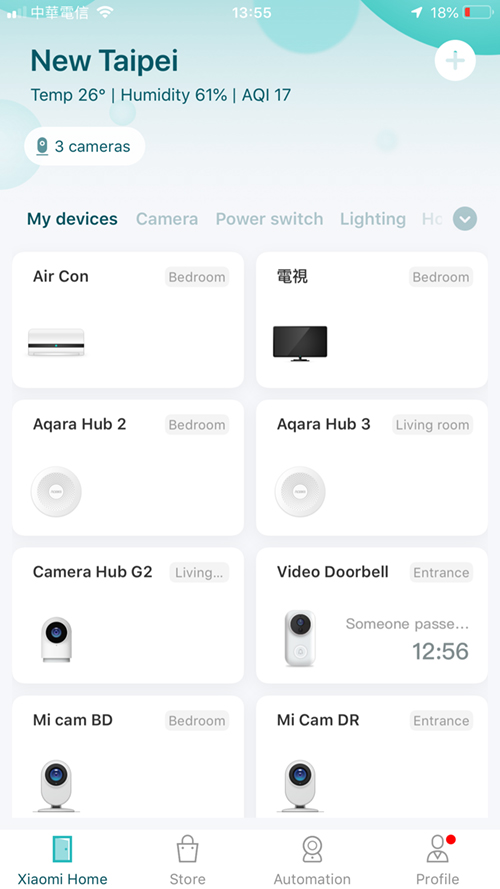
- Starting off on the home screen of the Mi home app, click on the ‘+’ icon to add the camera.
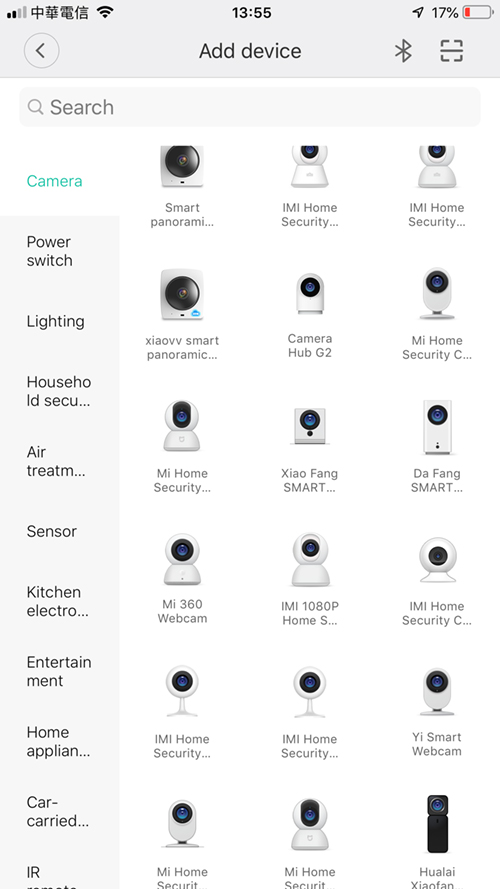
- Select the Aqara G2 from the list of devices.
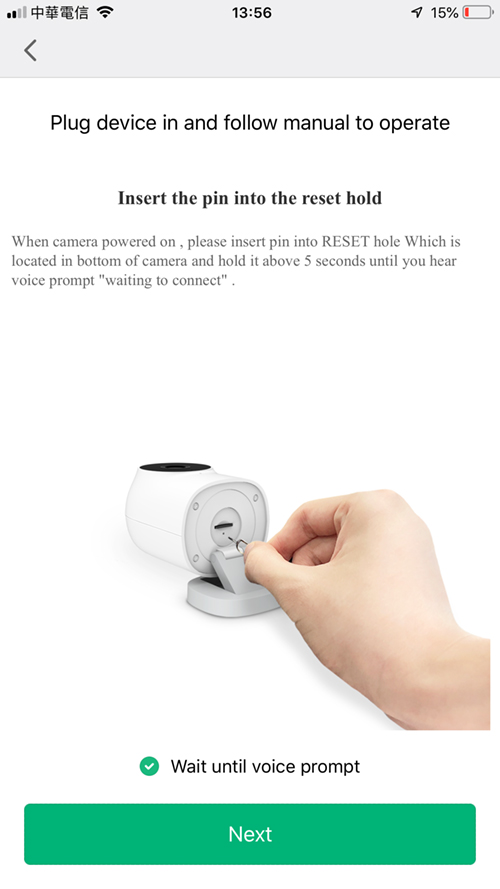
- If need be, reset the camera using the sim pin, although if this is the first time you install it, this may not be necessary.
- Wait for the voice prompt (in Chinese), and click next.
- You’ll then see a screen with a QR code on the screen of your phone. put this in front of the camera lens to begin the installation.
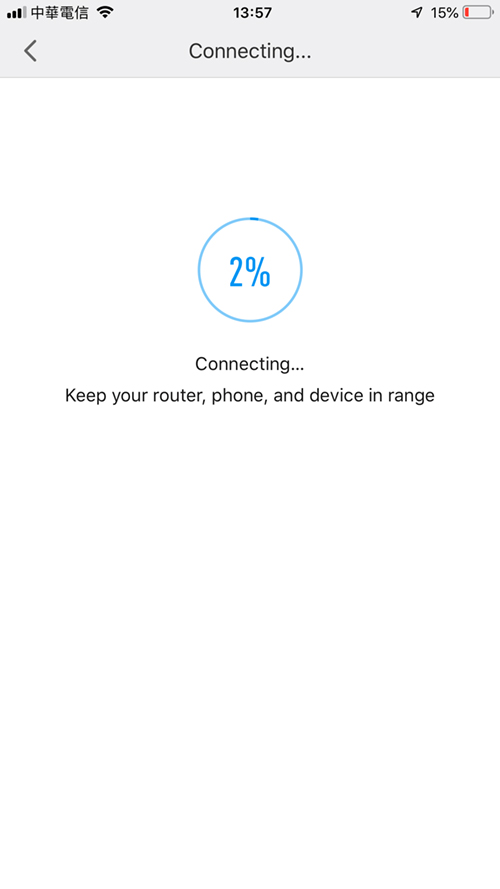
- You will hear another voice prompt, and the camera will then begin installing.
- Once it has completed installing, you need to give the camera a name.
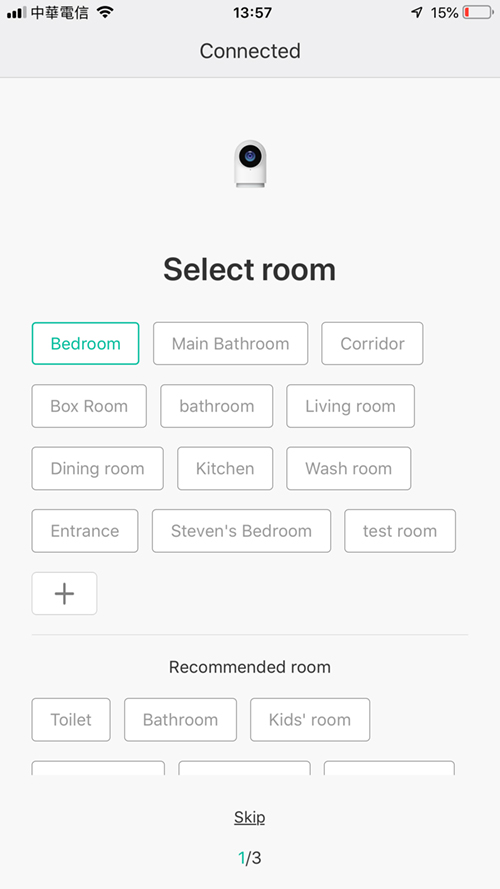
- Decide which room you’ll locate the camera in.
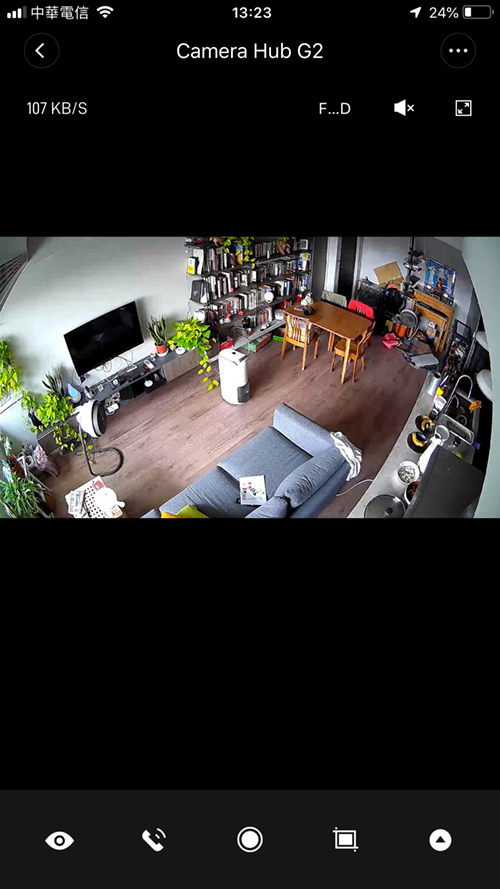
- If the setup has been successful, the camera will automatically launch and you will see a live stream from wherever the camera is pointed at.
FUNCTIONS
The camera, as I’ve already alluded to, is packed with features, and while this has many options based around the camera, it also has a built-in hub/gateway that allows for other Aqara or Mijia ZigBee devices to connect to it.
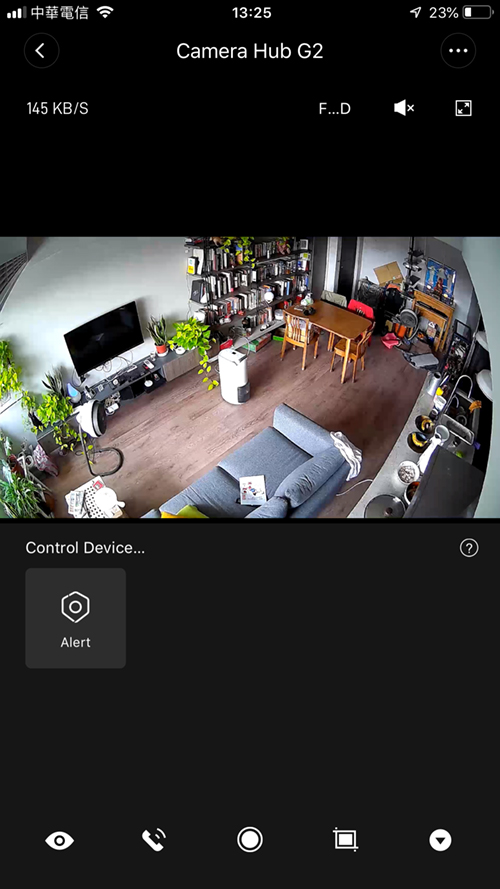
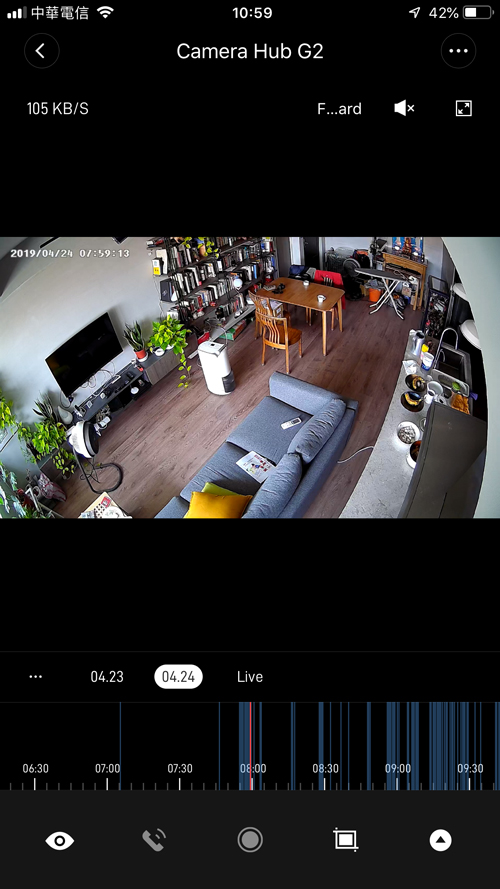
Starting off with the basics though, there are five icons at the bottom of the live stream screen.
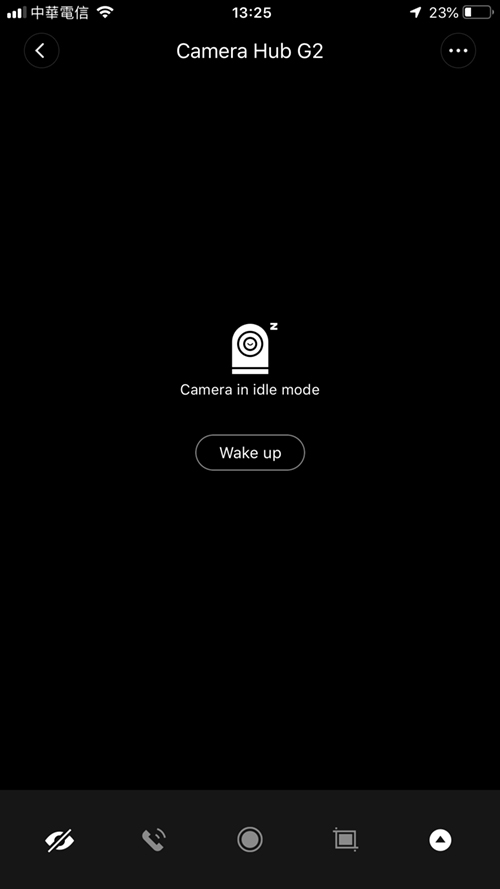
- The Eye icon allows you to put the camera to sleep (Idle mode), which is great for those with privacy concerns.
- the Phone icon allows you to speak to the person(s) in earshot of the camera and have a two-way conversation.
- the Circle icon allows you to commence manual recording.
- the Crop icon allows you to take a quick snapshot of the live view.
- the Up Arrow icon gives you the option to arm or disarm the built-in alarm.
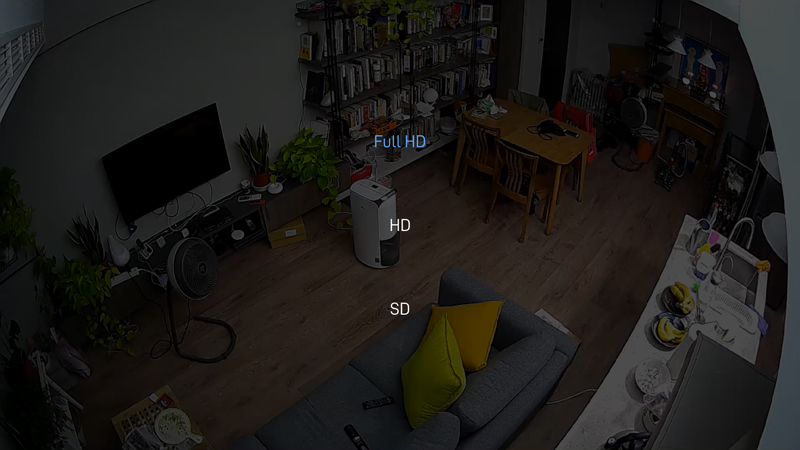
- At the top part of the screen, you can see ‘F…D’. If you press this, you then get options for streaming in Full HD (1080p), HD (720p), or SD (480p).
- Next to this is a speaker icon, which allows you to hear audio from the location of the camera (it’s muted by default).
- If you put your phone in landscape mode, the camera stream automatically goes to full-screen mode.
- Once you install an SD card, you get access to a timeline function. This appears as a ‘timeline’ at the bottom third of the screen and allows you to scroll backward and forward to find a recording at a particular time and day. If you have the camera set to record only when it detects movement (or abnormal sound detection events), then these will in the timeline as blue sections, so you can skip to the relevant time/date quickly.
Whenever you launch the camera from the Mi Home app, it usually shows the live stream on your phone in less than a second, and so far this is the quickest camera in terms of how long it goes from pressing the camera to the live feed. It may take longer if you use mobile internet/4G when you’re out and about, but I’ve noticed it to be pretty consistently fast.
When it comes to recording options, aside from the different resolutions you can choose from (FHD, HD, and SD), you have some other highly sought after options that most cameras don’t possess;
- SLEEP MODE
If you’re concerned about the camera only recording when there’s no one in the home, or at night when everyone’s asleep, you’re able to put the camera in Idle/Sleep mode. You can schedule this with timers in the Mi Home app, or you can turn the Sleep mode on or off via the UI on the live stream screen for the camera. You can also put the camera to sleep using a voice command via Siri Shortcuts. - TIME-LAPSE RECORDING
You can choose to record footage in Time-Lapse mode, should you want to conserve SD card memory, or for times when you purely want a quick overview of any recordings. This can be scheduled for specific periods of time and specific days. - DVR/REAL-TIME RECORDING
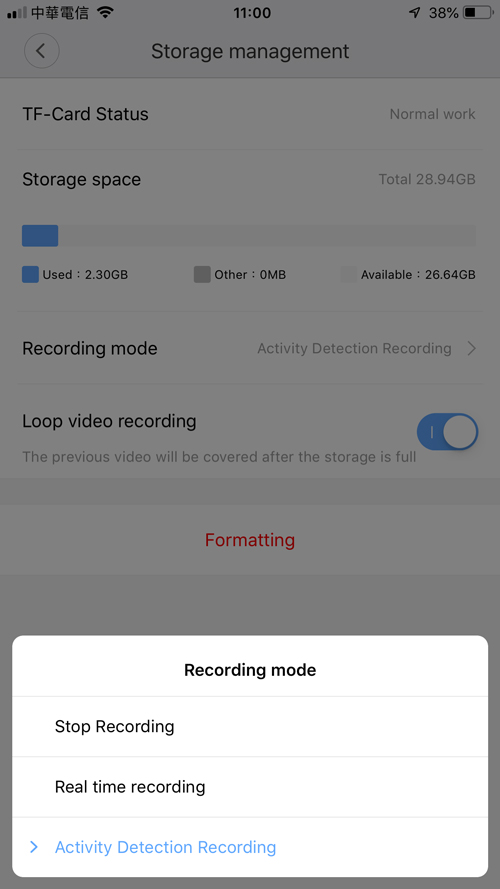
If you want to have the camera record constantly, you can do via the camera’s storage management option the settings section. In this section, you can choose between ‘Stop Recording’, ‘Real-Time Recording’, or ‘Activity Detection Recording’. The first option is to make sure the camera simply doesn’t record, so you can only see the live stream. the second option records constantly, so to keep more than a day’s worth of footage, you’ll need a large SD card. You also have an option for all recording modes, that allows you to overwrite old footage when the SD card is full (Loop video recording).
If you click on the 3-dots icon, you then get access to all the other features of the camera and hub settings. Now there are so many options, I’m simply going to list them all rather than wax lyrical over each one, so…
- Status light – can be turned on or off.
- Mobile data protection – stop buffering in progress.
- Idle settings – either set to idle mode here or schedule times for this to take effect.
- Video settings – watermark can be turned on or off.
- Image rotation – used for adjusting the image if you’ve mounted the camera upside down for example.
- Infrared Night Vision – set to Auto, Always on or Always off.
- Video encoding settings – H.265 or H.264 (manual recordings only record in SD when using H.265)
- Time-lapse shooting – turn on or off, or set a start and end time for recording in time-lapse mode, with the additional options to choose specific days.
- Alert settings – detect movement can be turned on or off.
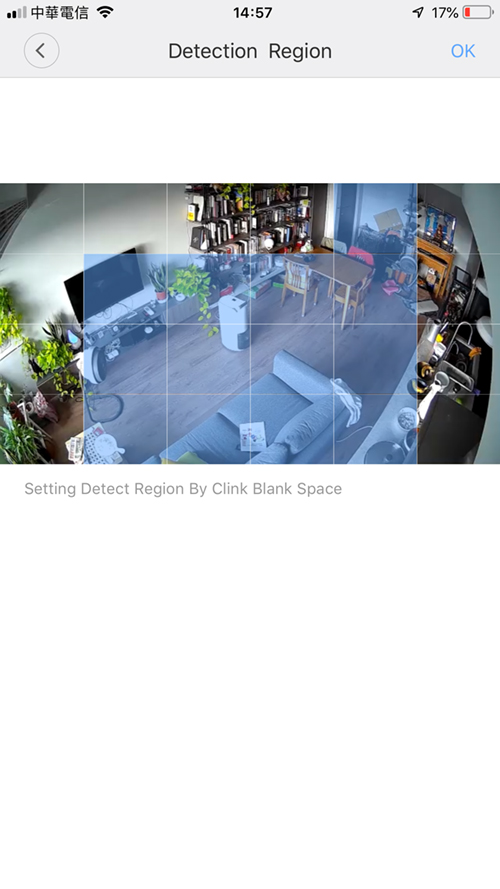
- Detection region – You can select areas for the region of detection, and choose the sensitivity level.
- Motion detection notification – turn notifications on or off.
- Human detection notification – sends notifications, only if humans are detected, as opposed to strong moving shadows or pets for example.
- Abnormal sound detection – video will begin to record if loud or abnormal sounds are detected.
- Detection period – set a time for when detection is on and off.
- Alert frequency – sets a reset time for when detection is retriggered.
- Gateway settings – arm the alarm at preset times or manually.
- Choose a trigger device to set off the alarm. This can be the motion detection in the camera itself or an external sensor that is bound to the camera’s hub.
- Delay effective time – the delay time between the trigger and the alarm going off can be set.
- More settings – you can choose the sound for the alarm, as well as the volume.
- You can set the length of time the alarm plays for before turning off.
- you can get push notifications to your phone when the alarm is triggered.
- Linkage alarm – if you have other Aqara or Mi hubs on the same network and same Server in the Mi Home app, the camera can also trigger the alarms in those hubs if the camera alarm has been triggered.
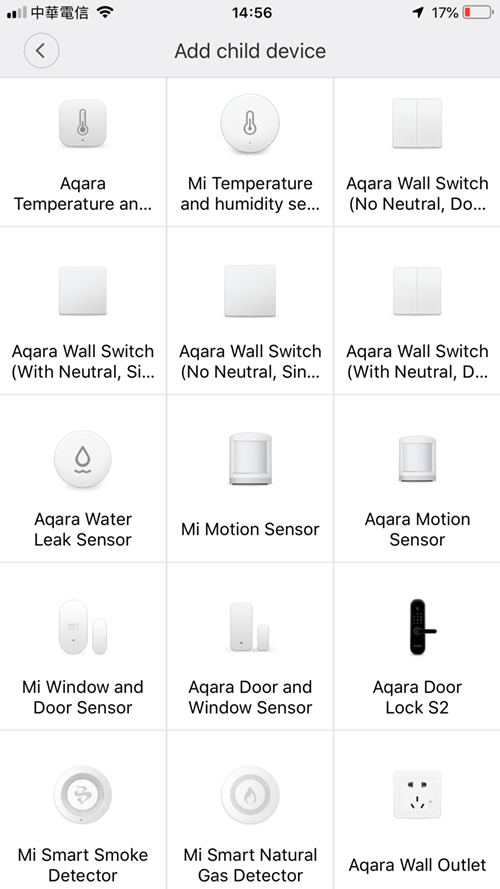
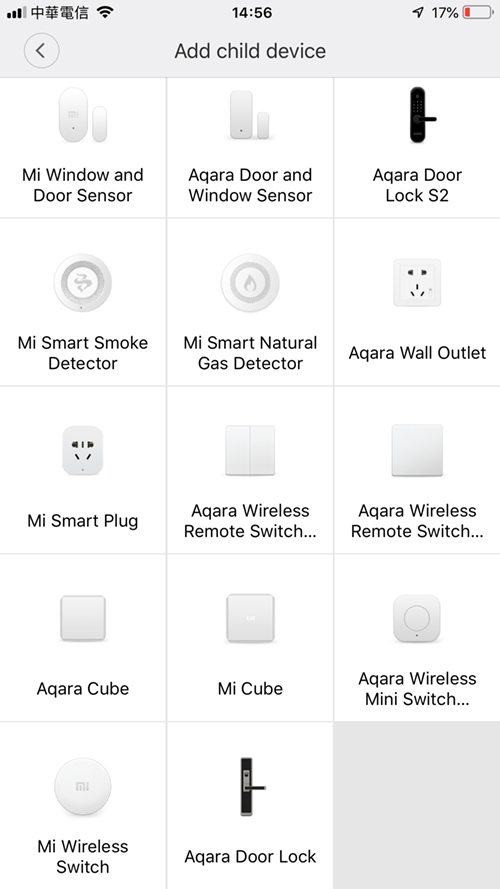
- Child Device list – here you can add certain other devices from Aqara or Mijia.
SIRI SHORTCUTS INTEGRATION
Here is where things get interesting, as even though this is not a HomeKit device at this time (we’ve been told support is coming), you can still control many features using Siri voice activation, or via the Shortcuts app, much in the way you would in the Home app. The only limitation currently is being able to automate procedures. Here are a lot of things you can do with this camera and Siri Shortcuts;
- Enable arming mode
- Disable arming mode
- Enable/Disable arming mode
- Sleep (put the camera to sleep)
- Wake up (wake the camera)
- Wake up/Sleep
- Record video and push notifications
- Play a designated ringtone (read that as ‘alarm’)
I won’t go into the whys and wherefores of whether this is as good as a HomeKit camera, as it isn’t in respect of total integration, but given the cost of this device is, at a minimum, half the price of the cheapest HomeKit camera, with way more functionality, to me that’s more than a good enough reason to have it. Additionally, as it’s included in Mi Home, you can use many of the devices that straddle both Mi Home and HomeKit to create some rudimentary but still interesting controls.
For example, you could set an automation in the Home app like this;
- you’re about to leave for work, and you want to arm the camera as well as the alarm when you leave. You might also want to turn off some HomeKit enabled lighting. this can easily be achieved with an Aqara or Mi wireless button (both of which work in Home and Mi Home), that will activate both the alarm, wake up the camera and turn off the lights. The first two automations would be programmed in Mi Home, whereas the ‘lights’ automation would be done in the Home app. You could also combine the automation in the Mi Home app and a ‘lights out’ scene in Siri Shortcuts, and simply say a phrase like ‘set alarm’ and all three actions would be completed.
When you put all these things together, and if like me, you have begun to invest in the Mi/Aqara/Yeelight side of things, then it really isn’t hard to justify a product like this. Only time will tell if it’s as reliable as my other cameras and whether the rumoured HomeKit integration will ever arrive, but it’s still an amazing product for the price, and it’s cute looking too…



Something I find strange is, as being an Aqara device, it is not possible to add it to Aqara app!?
By the way, what advantadge do I have if I already have the Aqara hub with several devices attached? does this camera working as a new hub “expands” some way the coverage?
That’s a good point. Regarding the hub, it can help with reaching devices that are too far from your main hub, but of course any devices that go through the hub part of the camera will not be exposed to HomeKit, so it would be better to have another Aqara hub in the case of HomeKit. Any non-HomeKit Zigbee devices would benefit from this though.
That’s really important, because I was thinking to get that camera and use the gateway to help the Aqara Hub which is too far from future devices I want to buy.
But, now I realize the fact this camera will not expose them to HomeKit
Sincerely Aqara and Xiaomi managed to make it a bit confusing. Several ZigBee devices cannot be added to this G2 Hub Camera at the moment.
Only a limited subset of ZigBee devices can be added. Even not all Aqara devices (ie. doorlocks) none of Ikea lights cannot be added.
There is no documentation whatsoever of “Works with Mijia” compatibility list (ie. subdevice hub requirement).
I’ve also noticed Aqara devices are not available in any assistant skills including Alexa and Google.
Similarly confusion is introduced on their Bluetooth ecosystem. Some devices do have Bluetooth hub but only for legacy Bluetooth profiles without support for Bluetooth Mesh. In my setup of luminaries Bluetooth Mesh would be ideal but at the moment that would require additional hub since YeLight ceiling lights don’t have plans to support Bluetooth Mesh.
I’m pretty sure Mi Home strategy has good intentions, but implementation lacks key clarity on supported devices. With it quick expansion of new gadgets this will become even more painful for customers.
Home infrastructure is not something you replace every 5 years! But the case how Aqara and others operate does not match this model. At the moment it is clear: we as customers are taking full risk without knowing how long will each product have support.
So yes, when a switch or ceiling lights breaks there is no warranties you will get a matching replacement in 3 or five years or that the replacement will work with your Hubs …
The list of devices you can add to the G2 via the Mi Home app, is actually longer than for the Aqara app. In addition, the G2 does list the Aqara door lock and the Aqara S2 as being able to be added. As regards Google and Alexa, bear in mind this camera is only officially made for China, where both these services are not permitted, so it’s not surprising they Rent supported. The only major thing that is a bit strange is that you can’t add the Aqara G2 to the Aqara app at present.
I have just bought a G2. When the room is lit with daylight from outside or pointing the camera outside the window, the white balance is extremely bad. The room would be red, and the trees outside would be pink.
However, under artificial lighting at night indoor, the colours are normal.
Is it just my unit, or are all G2’s like that?
I can’t find any options to adjust the white balance within the Mi app.
Hello David
I’ll have to do some tests to see if I can replicate your issue, but so far I’ve not noticed anything out of the ordinary. As far as I know, there’s no option to adjust the white balance. I shall report back with my findings tomorrow.
Hello,
It seems that Video settings that let you selection h264 or h265 video compression have disapears from the last version of Mi Home.
Can you confirm that ?
Hi
I’ve just checked mine and a friends’ camera and they do seem to have removed that option. I have no idea why though.
I’ve had a colleague do some tests, and it seems they’ve taken away the option of whether to record in either option, but they do still use them; for recording to the cloud (manual recordings, push motion detection recordings and video messages) they use H.264. For recordings to the SD card (PVR continuous recording or motion detected recordings), they use H.265.
Hi
Will work with Smoke detector Mija Honeywell ?
Yes, you can add both the Smoke and gas detectors to the gateway/hub section of the G2 camera.
Hi
How can share G2 cam via weChat?
Today, I remotely turn on the light in the room where the camera is. The camera treats light as a motion in the room and activates an alarm 😕
Few questions :
1.Can this be setup and viewed in Aqara home app ?
2. I have Aqara Homekit hub, can it be work in tandem with homekit hub?
Currently the camera only works with the Mi Home app, which is strange, considering it’s an Aqara product. It can work with the Aqara hub in some ways, as long as they’re both in the same app – Mi Home. When they eventually add support for the camera in the Aqara app, then you can get it to work with the hub in that app too, but there’s no HomeKit functionality so far.
Hey, was wondering if you heard any update on the potential HomeKit support?
I’ve heard nothing at all unfortunately. It could be that they’re waiting for iOS 13 to be officially released, but that’s just a guess.
In your video (at 1:25), it mentions SD Card Storage up to 32 GB. Elsewhere, I’ve seen references that it can support a card up to 128GB. Can you please confirm what’s the maximum SD Card size that can be used.
Hello Harry
When the G2 was first released, the maximum storage was being reported as 32GB, but this changed after an initial OTA update they released that also changed the behaviour of the way the device recorded too. I don’t know what the current maximum is, but if you’ve seen it listed as 128gb, that sounds about right to me, but there’s no way of testing without buying a 128gb card, which I can’t do right now.
Hi,
I can’t find the camera in the me home app…
Which device should I select?
Thanks
Hi Assaf, which server region are you connected to in the Mi Home app? This camera is only designed for China, so it will only appear as an option to add Mi Home if you have it set to the China server.
Hi
Today is a new software update or someone has already installed and knows what brings a new one? Is it worth updating?
is there a rechargeable battery in it? if yes, how long does it last before the need to plug it in again?
Hi, the G2 camera is powered with a Micro USB cable but there’s no built-in battery.