iHaper DL1 Smart Desk Lamp (review)
When it comes to smart devices, generally, the ones you’re going to need more than one of, in most situations, are bulbs or maybe smart plugs, but do you need more than one desk lamp? Well, that depends on how many desks you have that require them of course, but if you’re more than a little addicted to anything less common in terms of HomeKit, then the question is irrelevant! I’ve got three desk lamps (so far…), of which two are HomeKit enabled – the recently reviewed Mi desk Lamp Pro, and now this little beauty, the newly released on Amazon iHaper DL1 Smart Desk Lamp. So, if you’ve been paying attention, you’ll have noticed the quick rise of iHaper products in recent months, and whilst we’ve been sitting on the news of this product since last December, it’s really only now that we’ve been able to get a look at it, as well as put it through some tests.
What we have here, in essence, is a desk lamp…oh, and a flashlight…and a motion sensor.
If a desk lamp with a flashlight and a motion sensor intrigues you, then read on…

UNBOXING
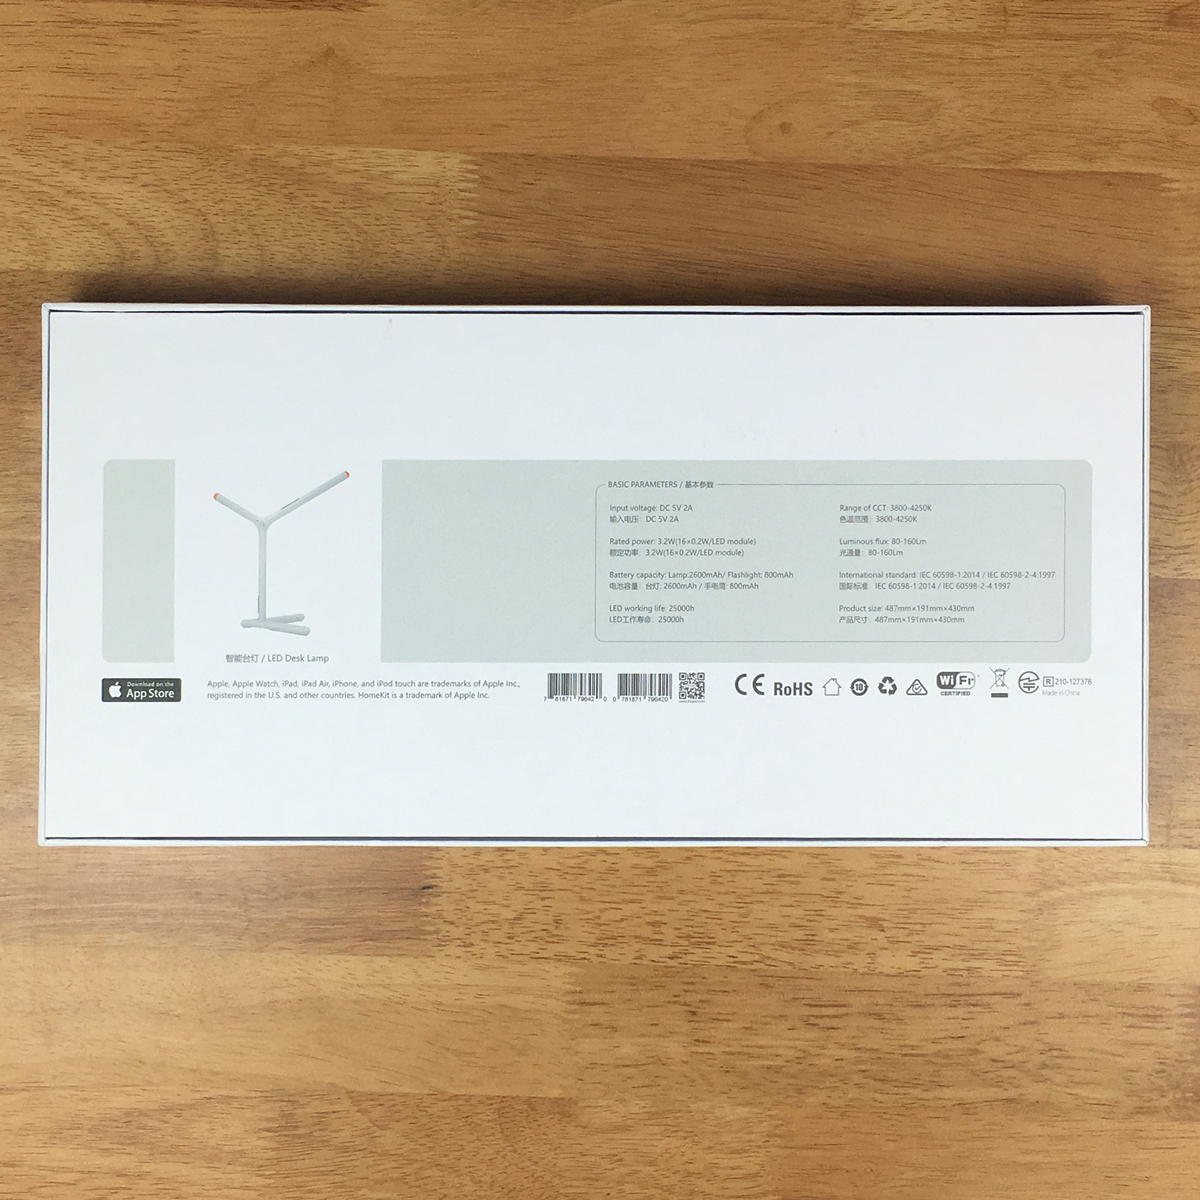
I previously reviewed the iHaper B2 White Smart Bulb, and was actually quite taken aback at the quality of the box, considering the product itself was essentially just a smart light bulb, and they clearly aim to impress with the packaging for the DL1, with the minimalist white carton and silver foil letterpressed name on the front. It’s properly luxurious! The front only really has the lamp and the HomeKit logo on the front, whilst the back give you the lowdown of the product itself, which is as follows;
- Input voltage: DC 5V 2A
- Rated power: 3.2W (16 x 0.2W LED modules)
- Battery capacity: Lamp – 2600mAh / Flashlight – 800mAh
- LED working life: 25,000hrs
- Rang of CCT: 3800-4250K
- Luminous Flux: 80-160lm

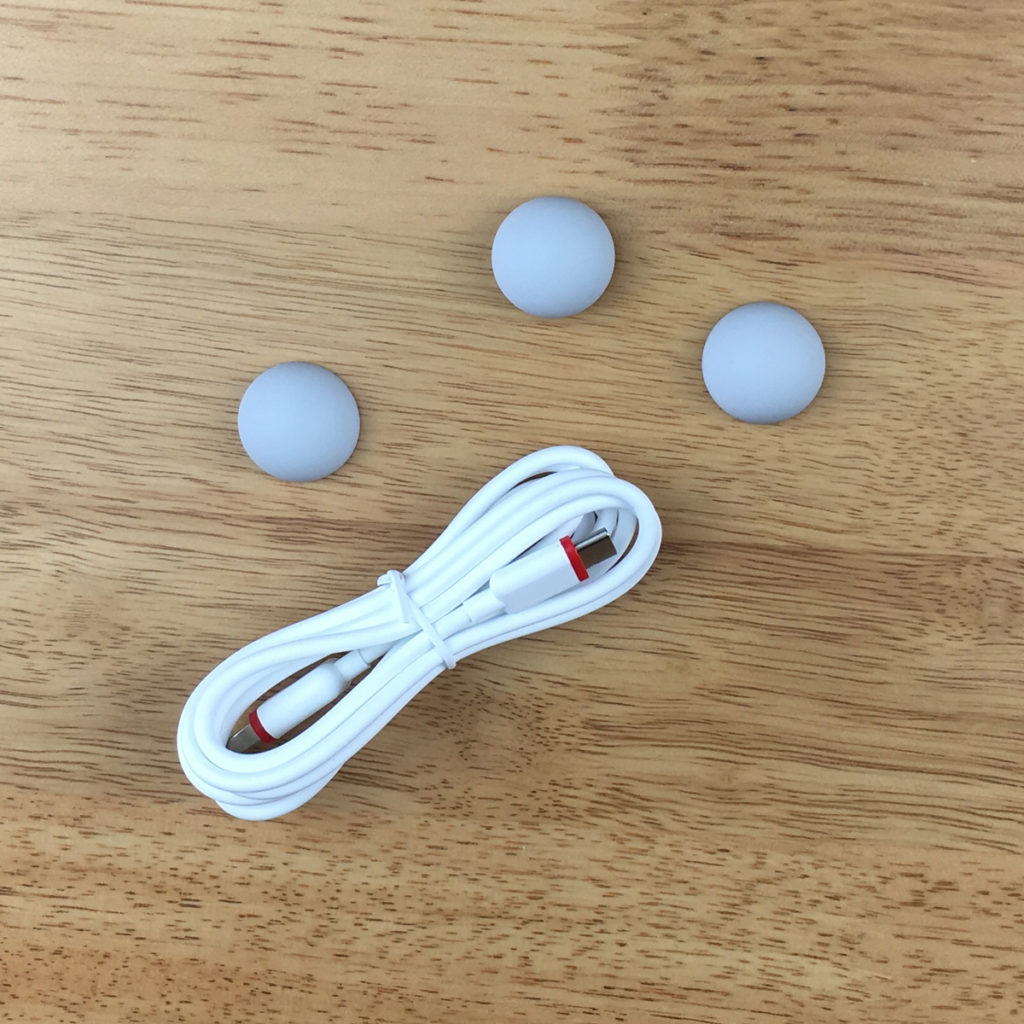
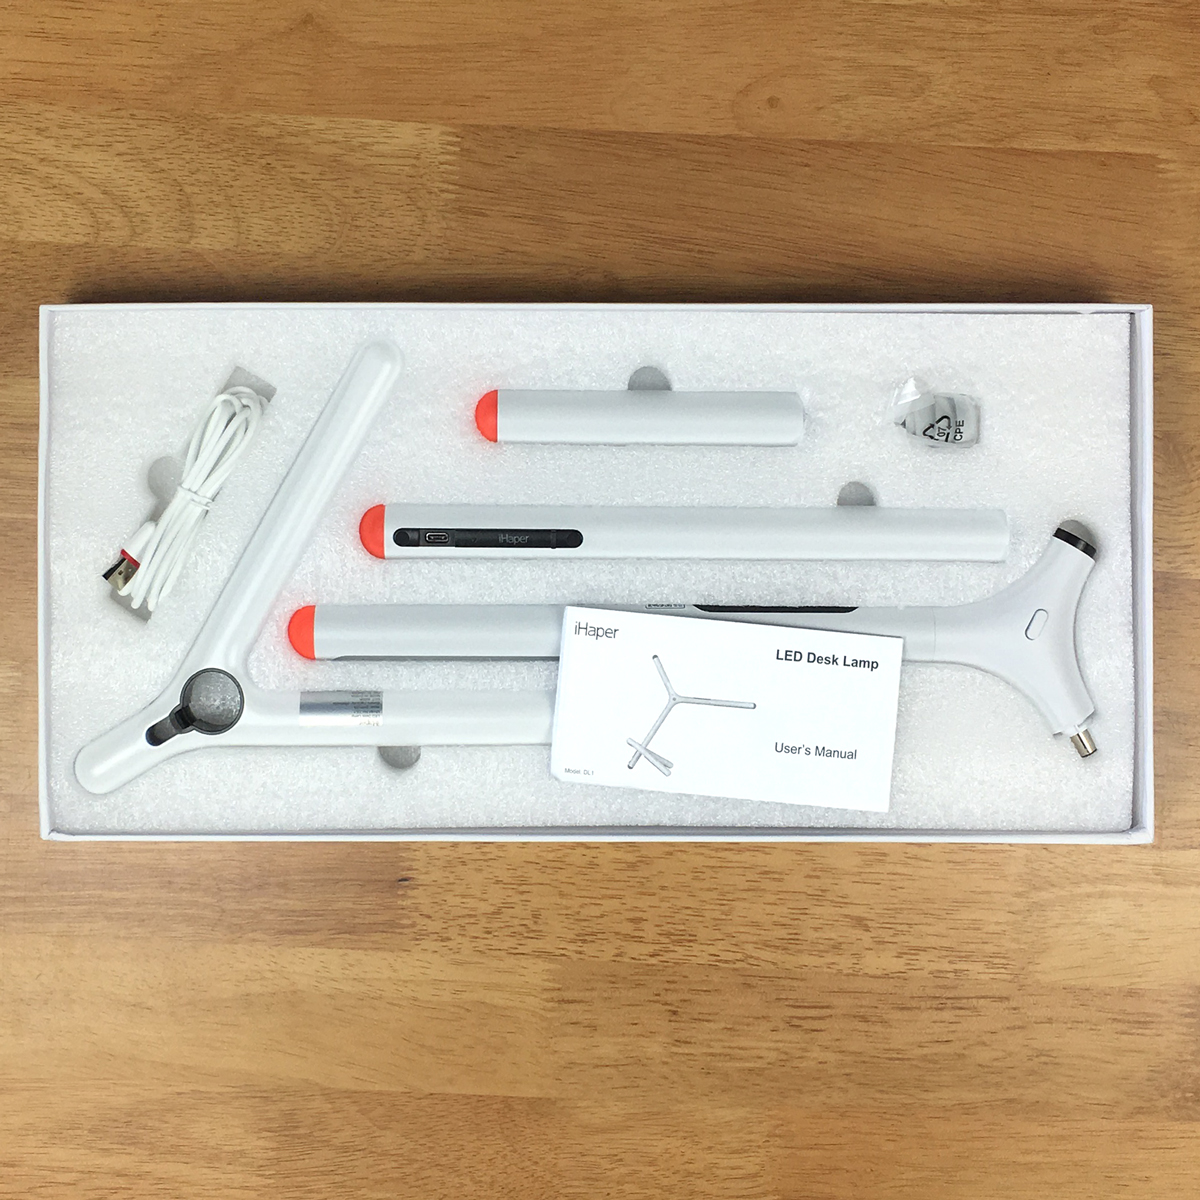
All the main parts are made of some sort of metal (except for the central three-way joint) – presumably, aluminium. The parts do feel really well made and have enough heft to not feel lightweight or flimsy. The coating on these parts too has a slightly matt look and feel, with an off-white or even every so slightly pearlescent look to the finish, which only adds to the premium feel. The inside of the box has all the parts of the lamp separated into sections, for easy transportation and assembly, all held in place with foam, along with a manual in English and Mandarin. Those parts are, the base of the lamp, which is sort of like a two-toed duck’s foot, the stem of the lamp, the lamp section that contains the LEDs and the touch-sensitive control, and the aforementioned flashlight, that sort of counterbalances the LED section, albeit only in a visual sense. You also get a USB-C to USB cable to power the device, and three grey half-globe rubber stops, presumably to replace the neon red/orange ones the lamp comes fitted with if they’re a little gauche for your taste. Personally, I like the red/orange-grey look – very Habitat!


INITIAL SETUP/CONSTRUCTION
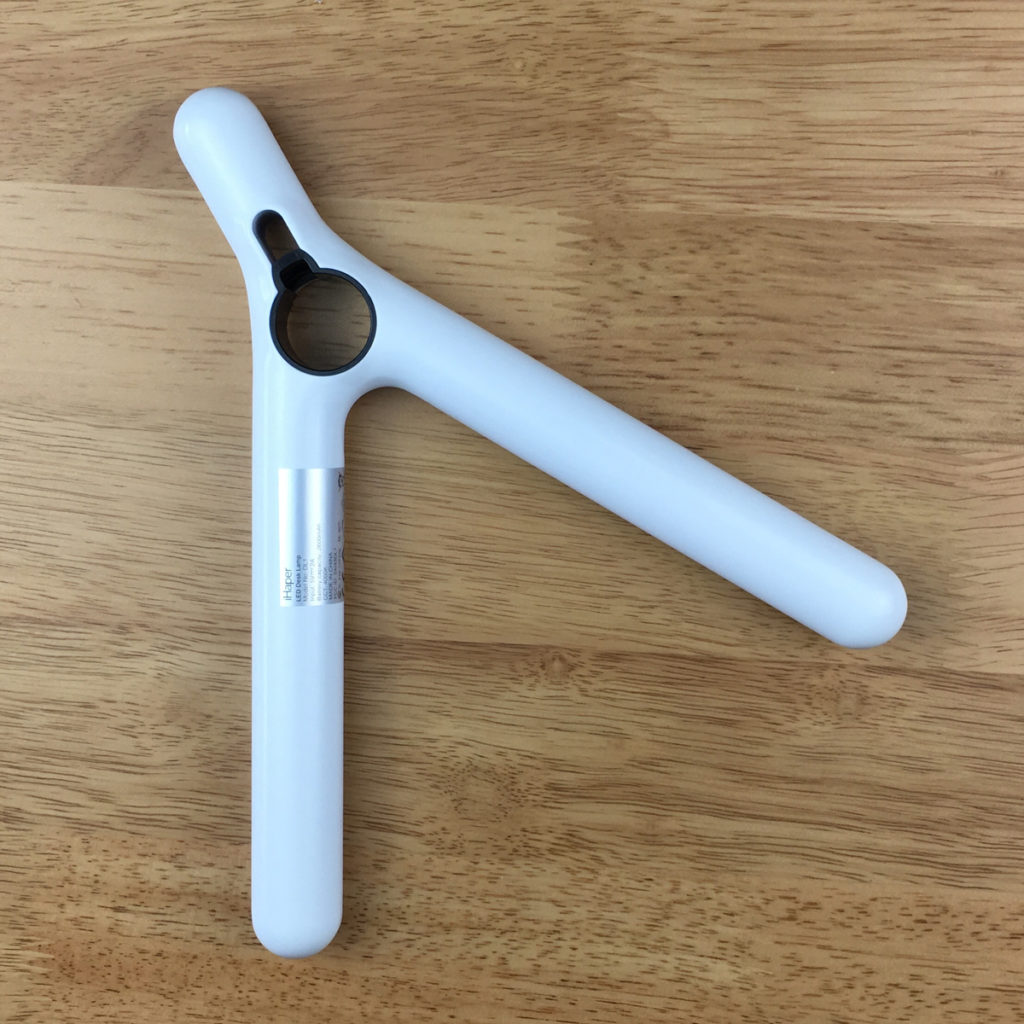
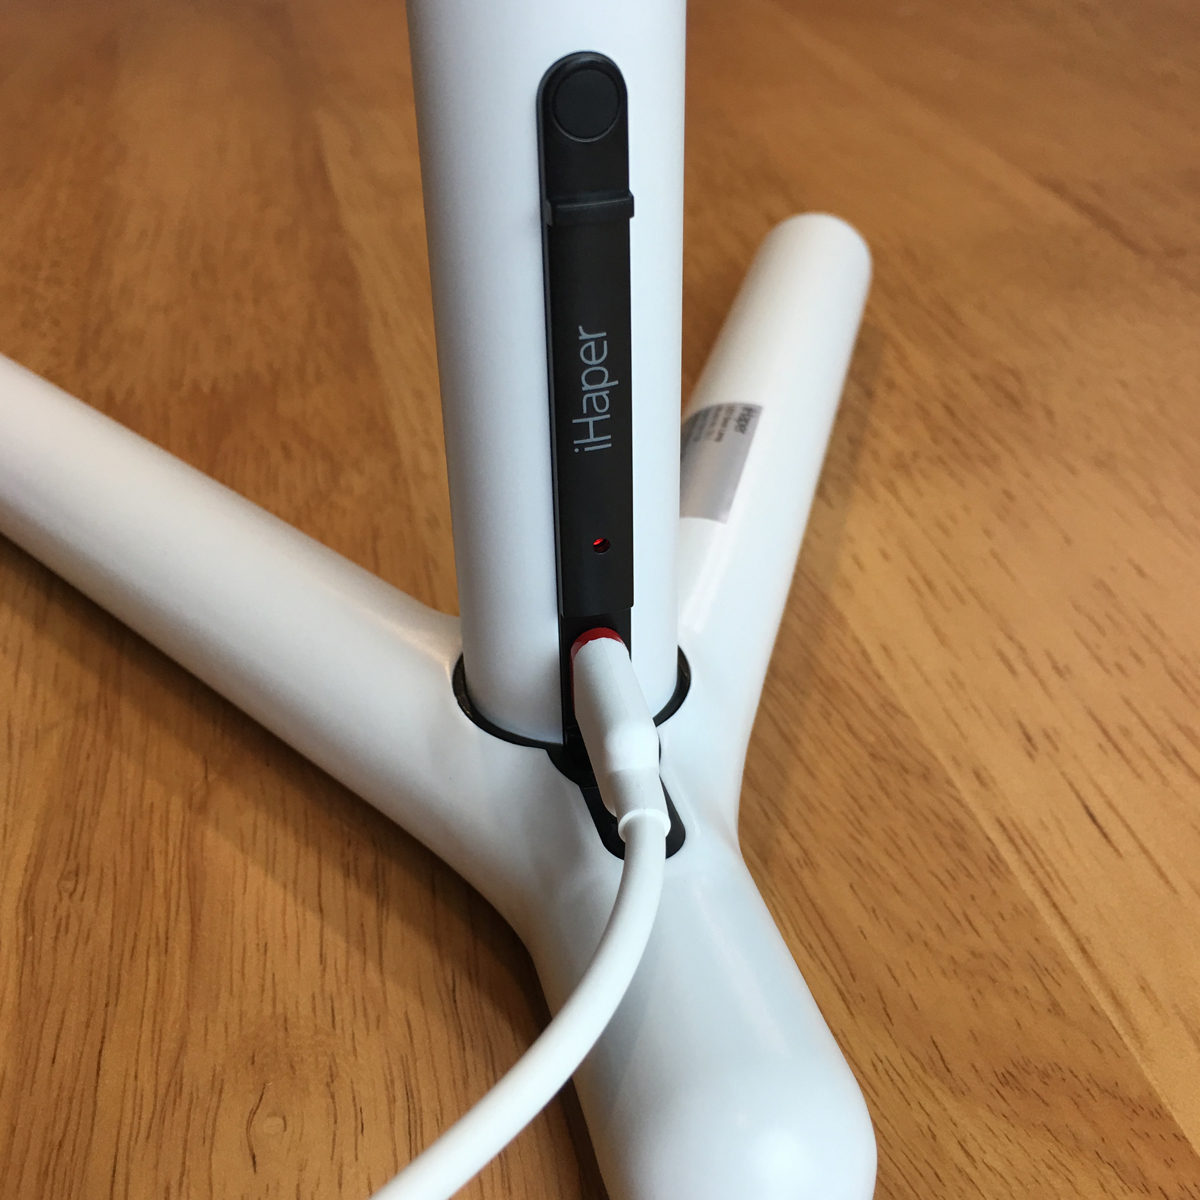
Putting it all together was fairly simple, with the main stem sitting inside the hole of the base of the lamp. The section with the LEDs and touch-sensitive controls then locks into place with a simple twist, with the flashlight clamping itself into place with a very satisfyingly powerful magnet. Once that’s all done, you only then need to place the USB-C cable into the slot at the base of the stem section, and plug the standard USB end into a powered USB port. Speaking of the USB cable, this is only the second device I’ve got with a USB-C connection (the other being a Mi Air Quality multi-sensor with colour screen), and after having dealt with micro USB leads of one variety or another, USB-C really is a delight by comparison, with no issues of which way round the plug needs to be – essentially just like the Lightning cables for iOS devices. The provided cable also has matching trim to go with the red/orange caps on the lamp.
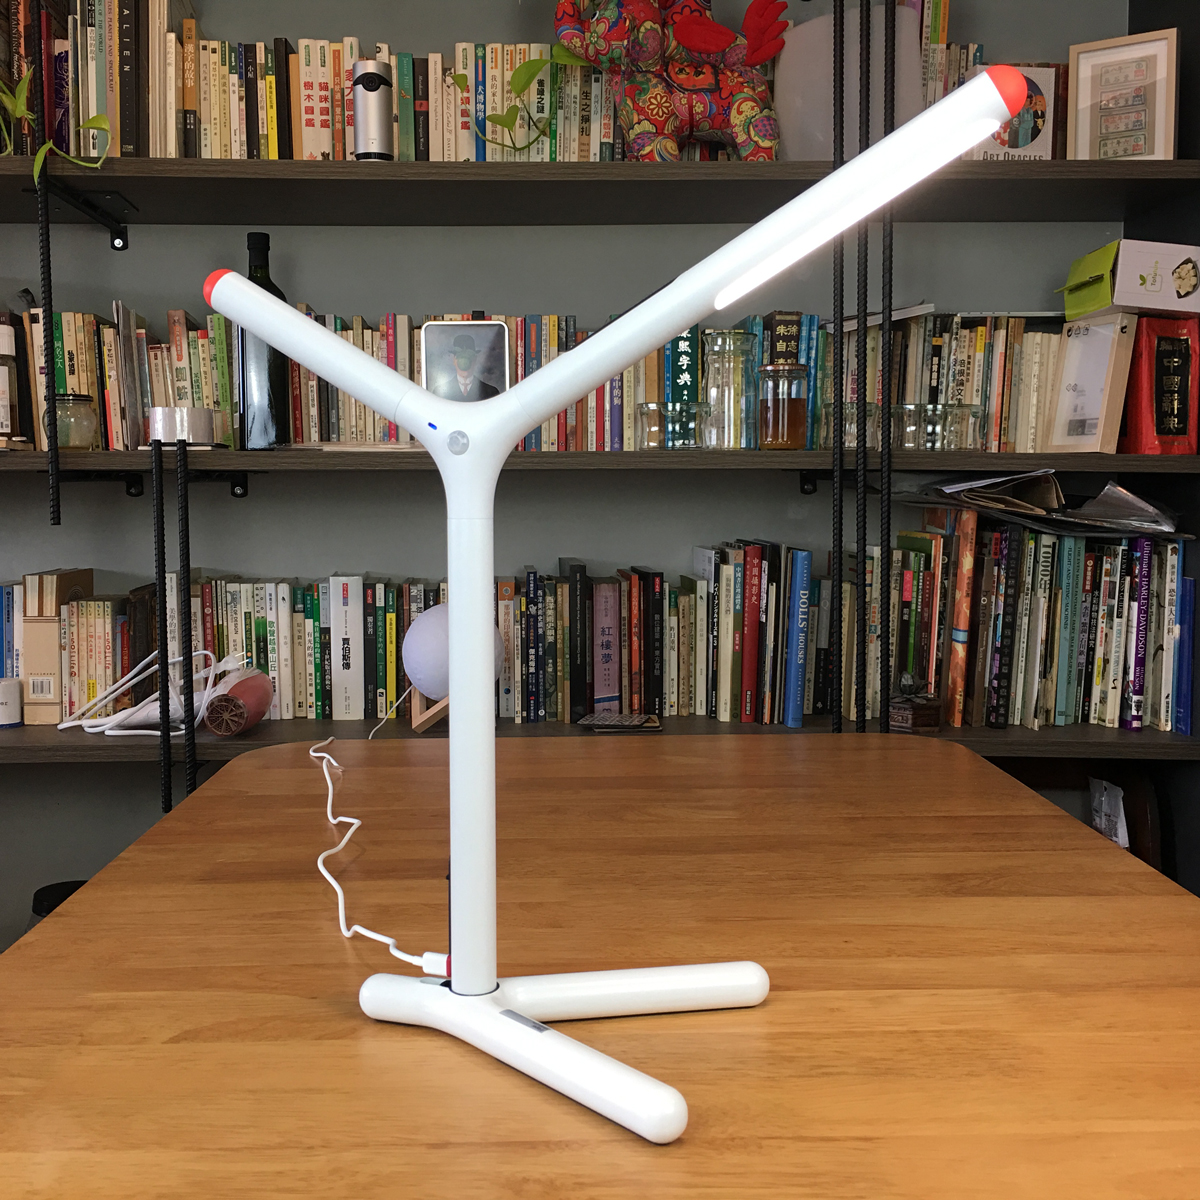
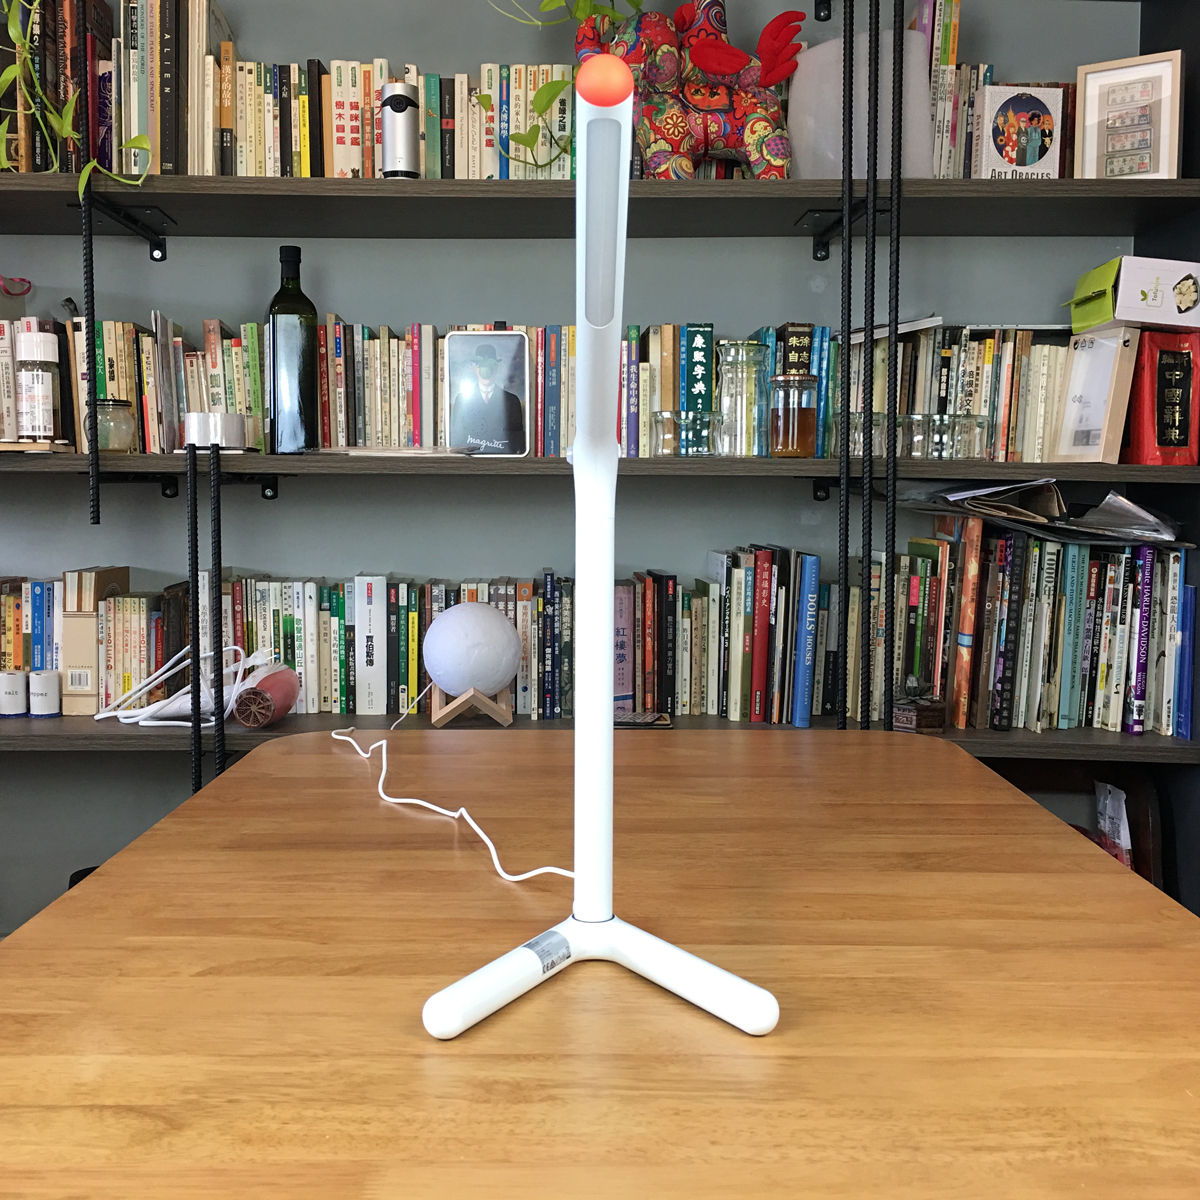
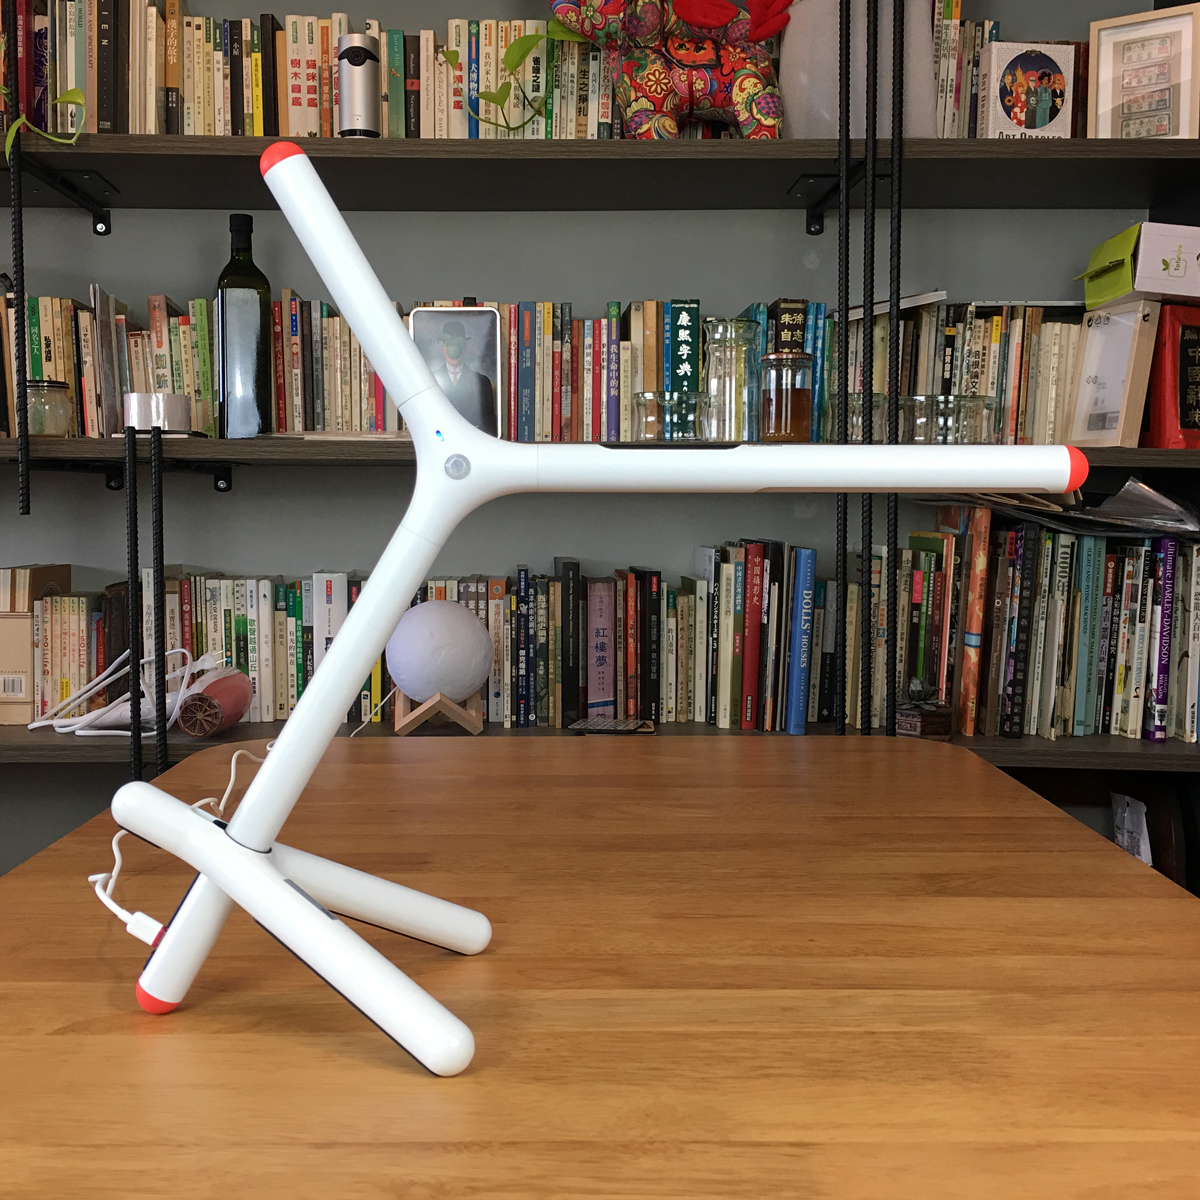
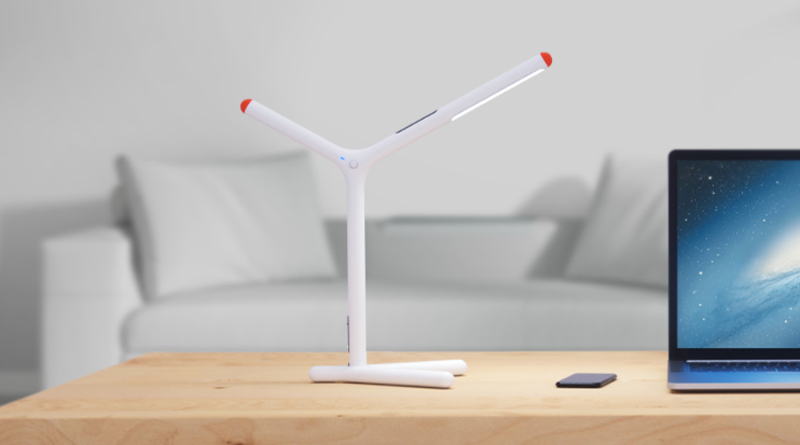
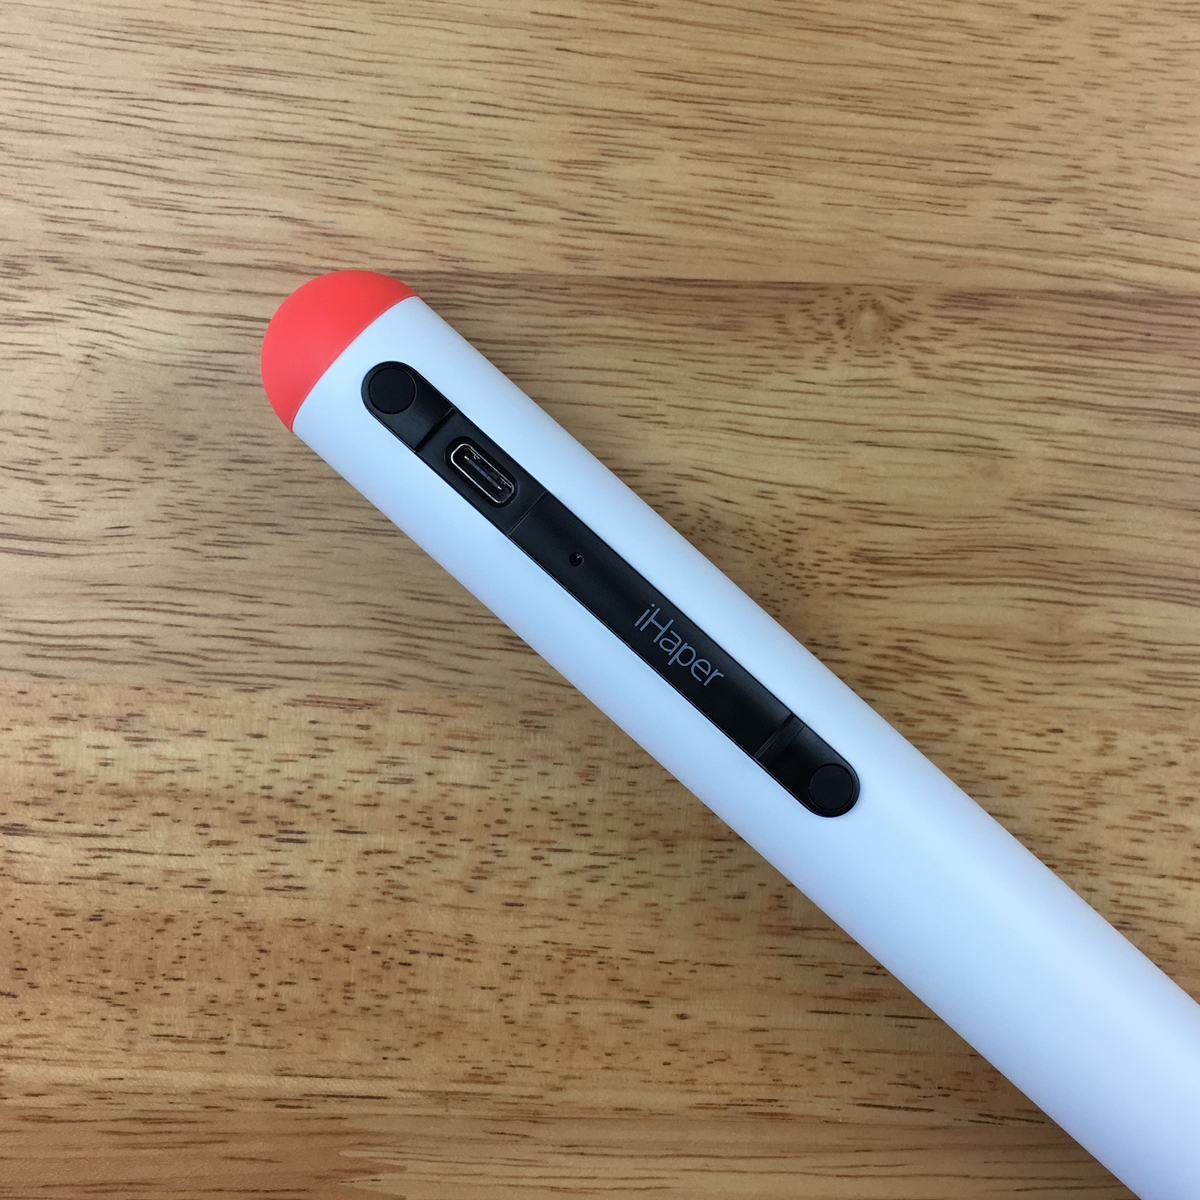
Once you’ve put the lamp together, there are pretty much two positions for the lamp, with the LED section either being at a 45° or horizontal angle. You can adjust the foot of the lamp to be at any position in between these two positions, by simply adjusting where the hole of the foot sits in relation to the stem, as long as you’re not blocking the USB-C port of course. The section for the USB-C cable is just a plain black strip with a small ridge to let you know the limit at which the base can be angled to, along with the iHper logo and a small red LED to let you know it’s being powered.
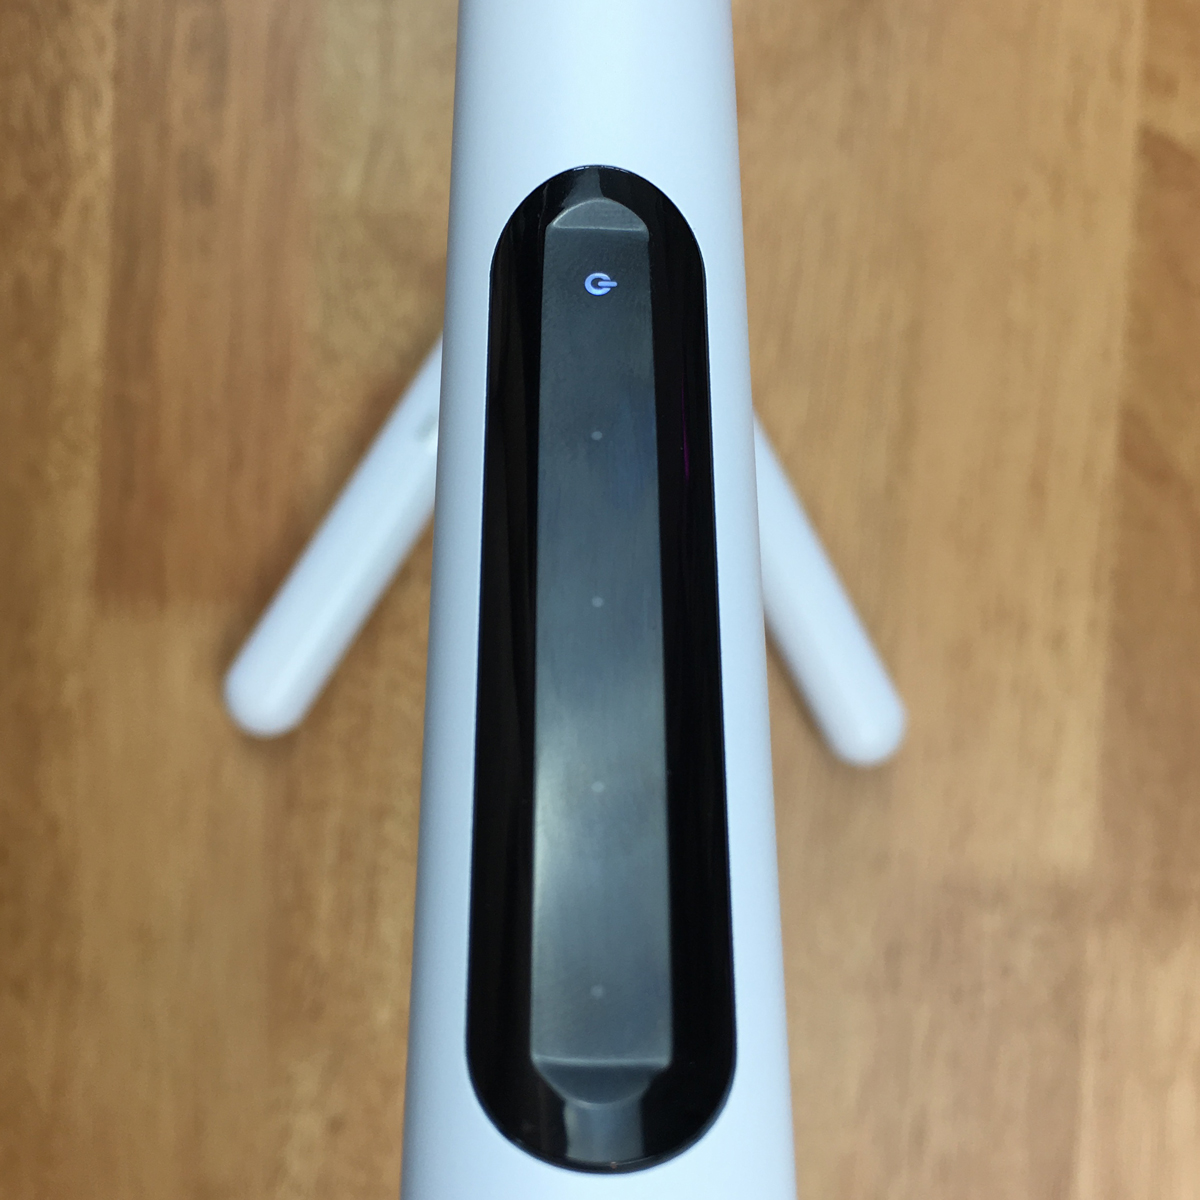
MANUAL CONTROLS
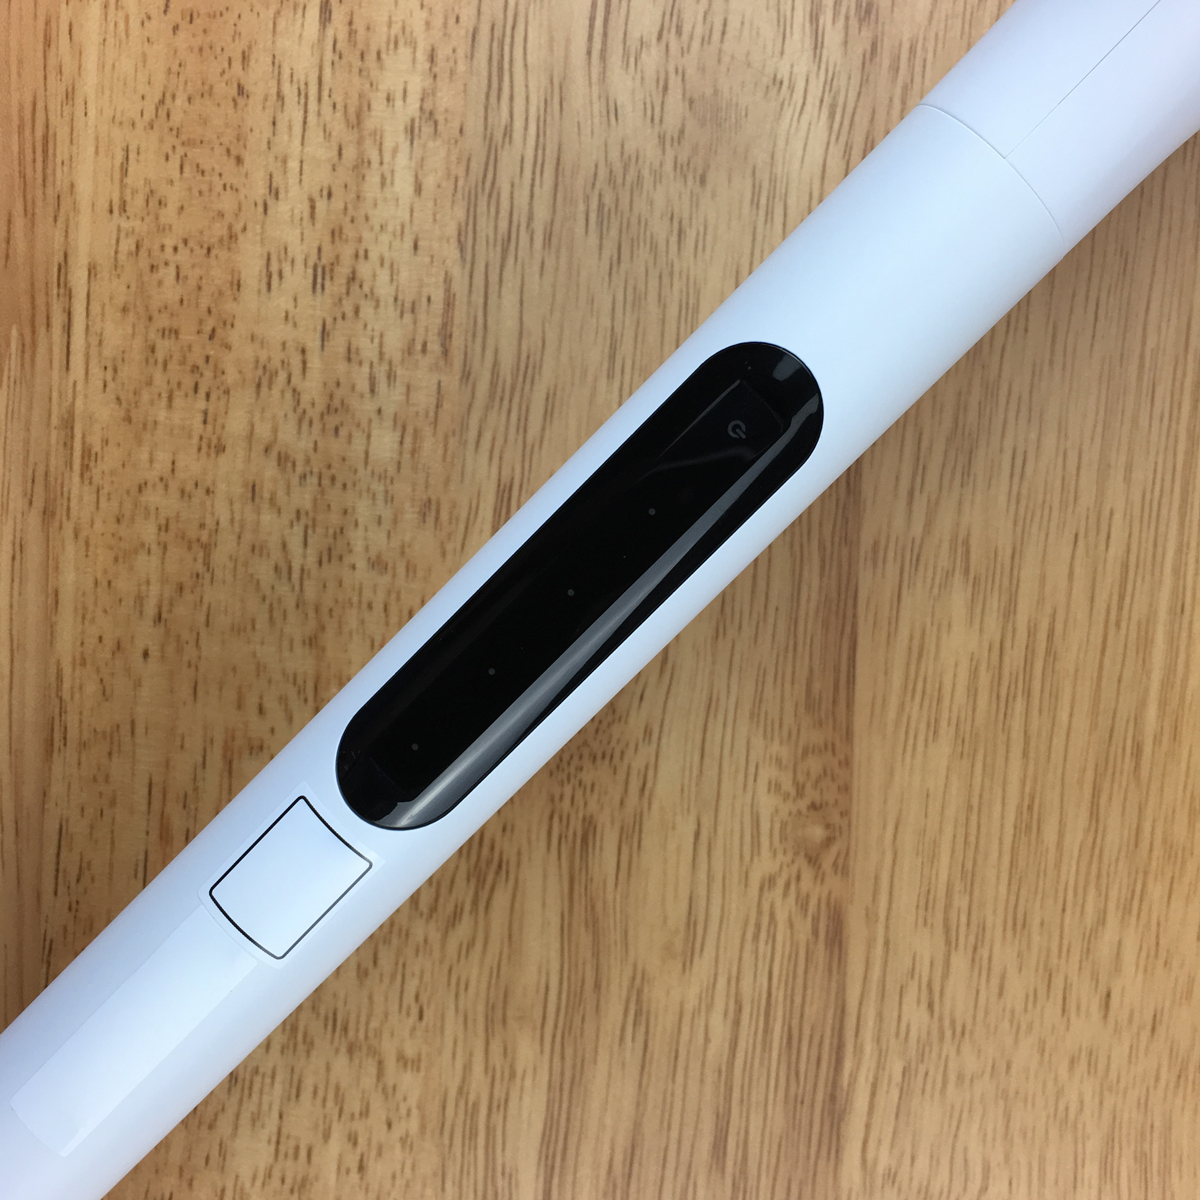
Taking a closer look at the other aspects of the light, we can see that to control the light manually, there’s a touch-sensitive strip at the top of the arm containing the LED lights, that’s broken down into an on/off icon and four dots, each of which lights up when activated by touch. So, to increase or decrease the brightness, you can simply press on one of these dots to get straight to a relevant brightness level, or slide your finger up and down the strip to adjust the brightness accordingly. When I say ‘accordingly’ though, that’s a very loose term in this case, as each dot on the touch-sensitive strip doesn’t correspond to equal amounts of brightness levels;
- power icon = off or 5% brightness
- dot 1 = 10% brightness
- dot 2 = 20% brightness
- dot 3 = 50% brightness
- dot 4 = 100% brightness
It’s a little confusing to use at first, as when you slide your finger downwards to reduce brightness, eventually you hit the on/off button, which should be taking you to 5% brightness, however, it instead turns the light off. Personally, I’d prefer to decide separately as to whether I want to turn the light off, as I can simply do that by pressing the on/off button without having to slide my finger across the control, so to me this is a bit of an oversight, albeit a minor one. The light temperature itself is pretty much a mid-white, so not too cool and not too warm, sitting somewhere between 3800-4500K, and it’s not tunable, unlike the Mi Desk Lamp Pro. You can actually get even lower than 5%, via the Home app, and each level from 5-1% does have a distinctive brightness level.
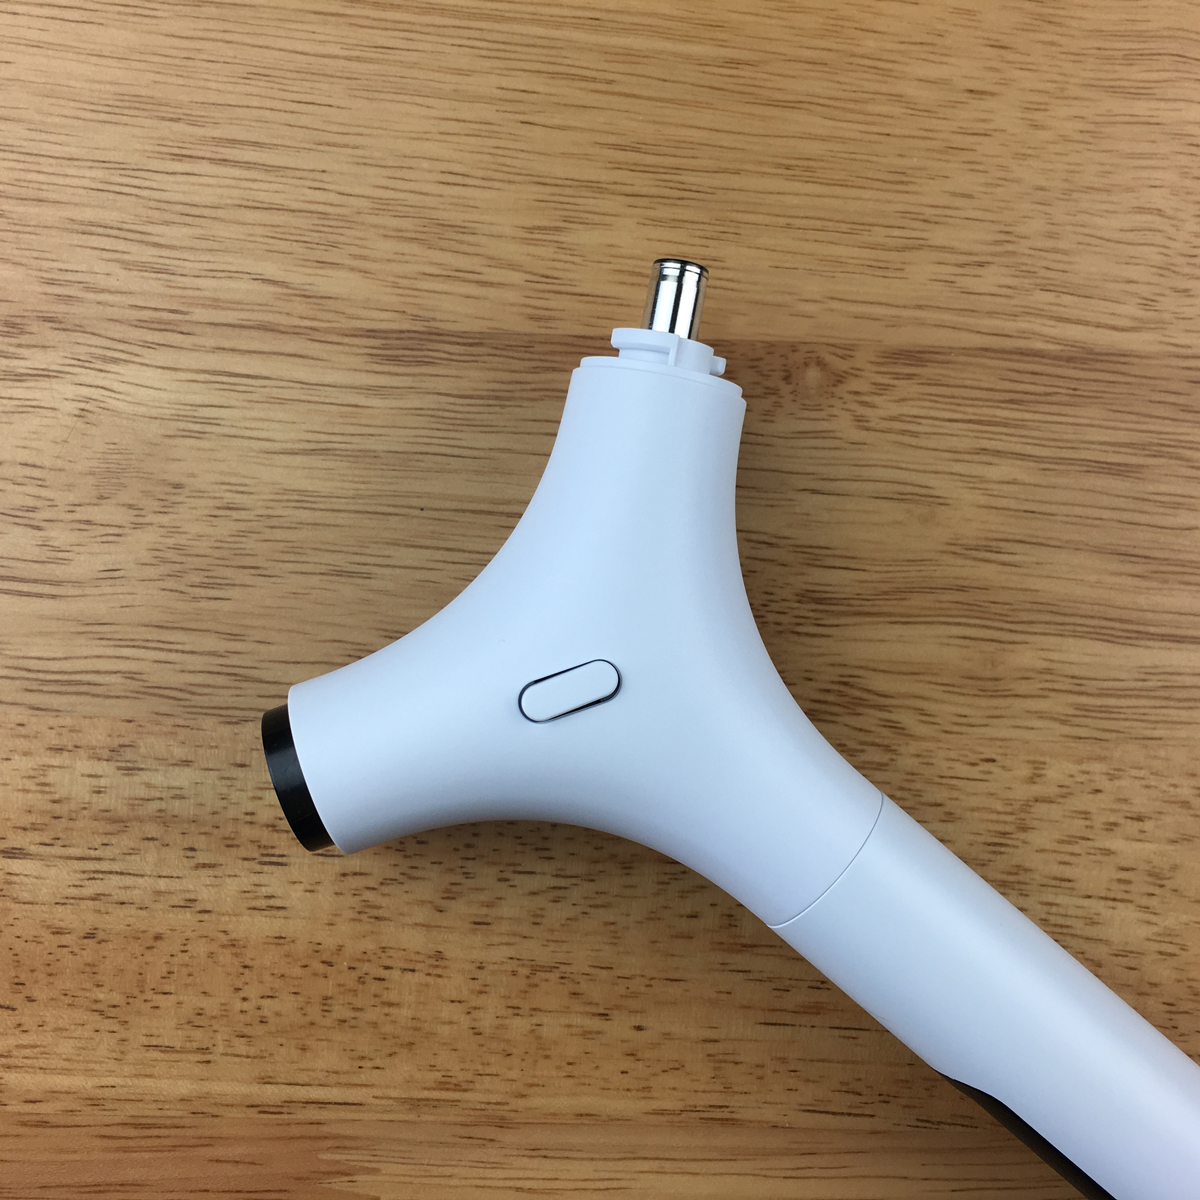
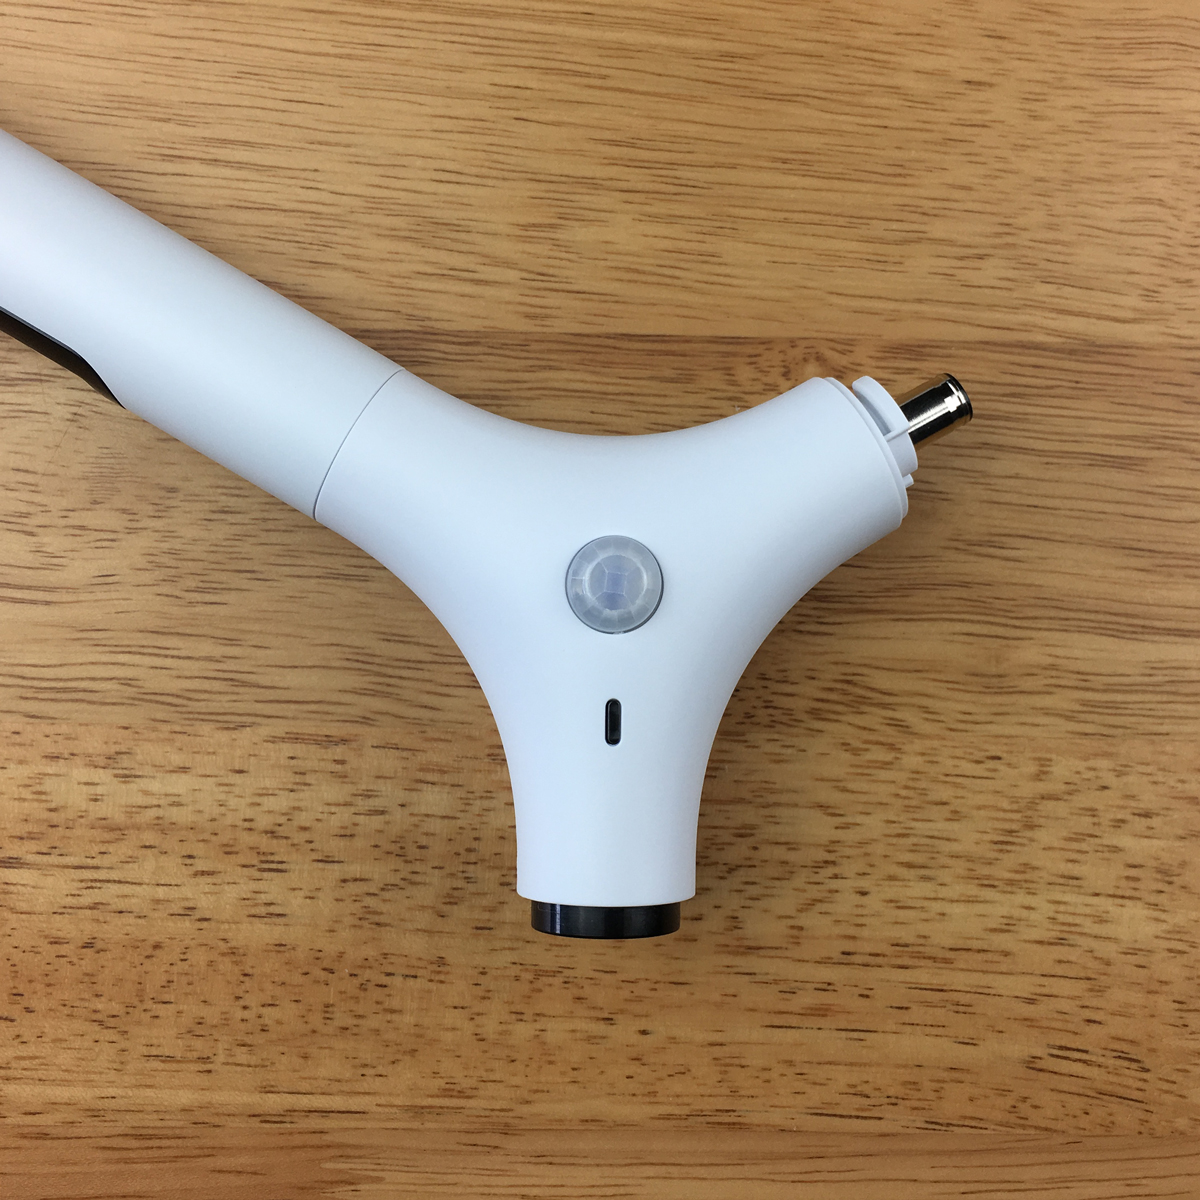
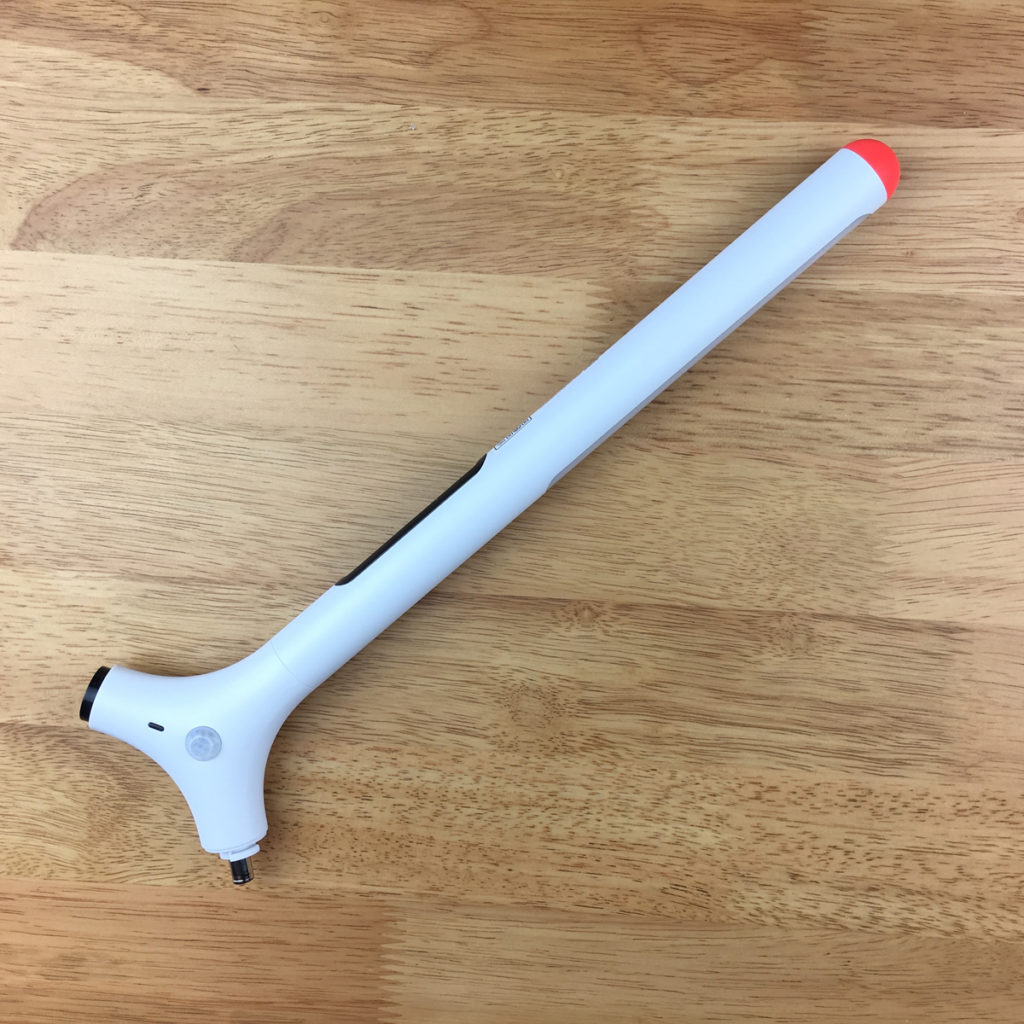
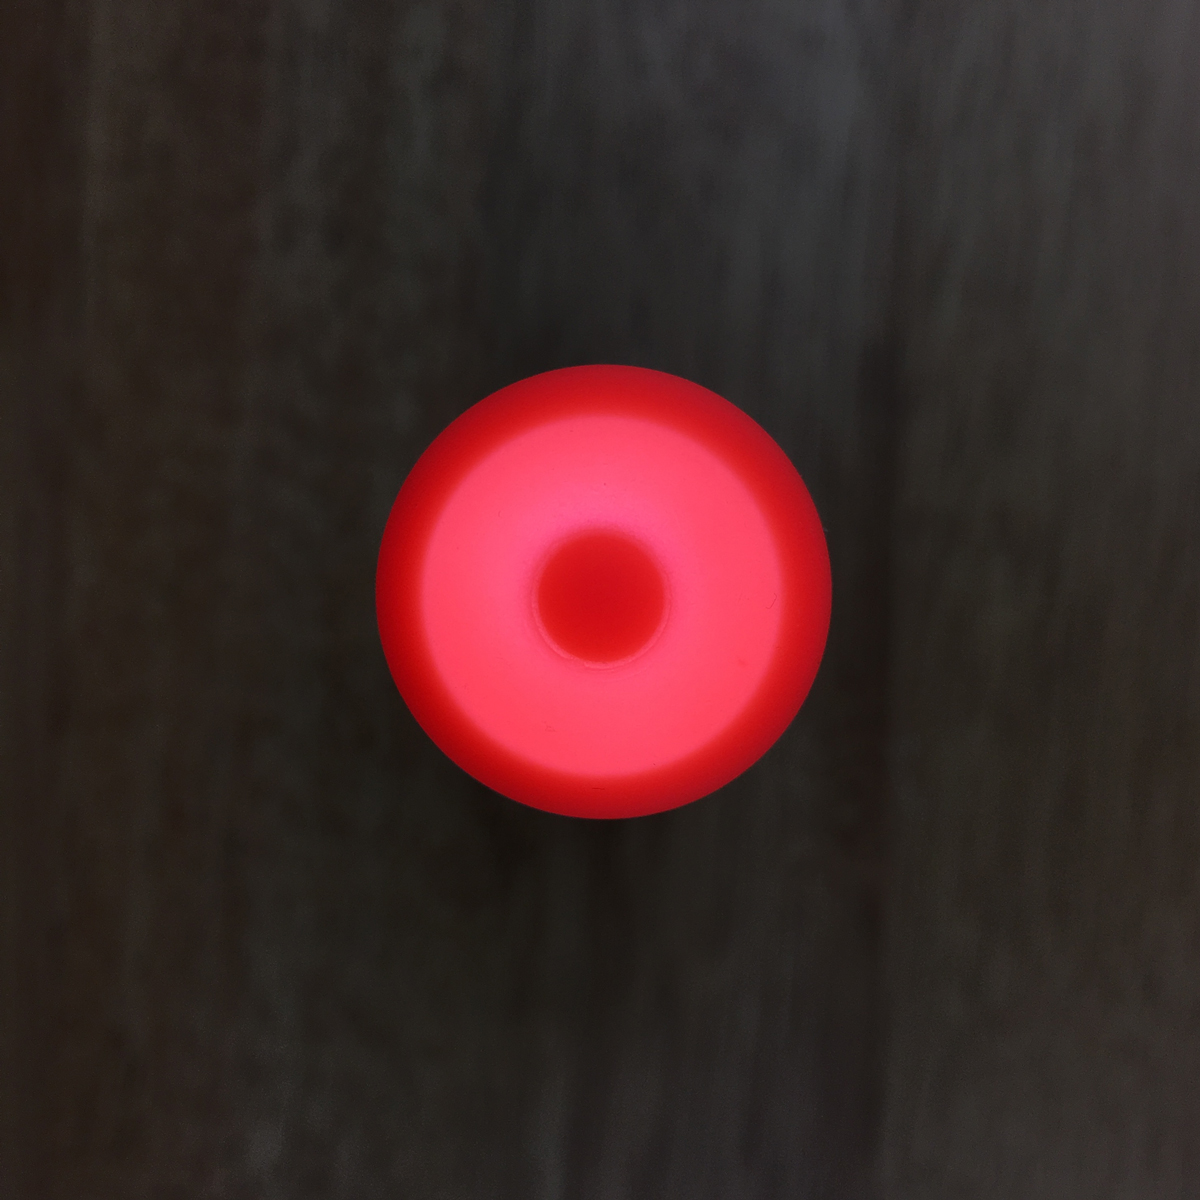
placed in the middle of the lamp, where the stem, the LED section and the flashlight all connect, is a small motion sensor, with an even smaller recess containing a blue LED. The flipside of this section contains a mode/reset button. This button activates/deactivates a special ‘automatic’ mode that illuminates the blue LED and works thus, once activated;
- if you are away for more than 5 minutes the lamp will adjust to the darkest mode automatically (5% brightness). If you are back within 30 minutes, the lamp will readjust back to its original brightness level before you left. If you are away for more than 30 minutes, the lamp will turn off, and will not reactivate on your return until you turn the light on again.
This mode works by using the motion sensor to detect your presence, so assuming you’re using the desk lamp at your desk and you’re also working there, it’ll detect your constant movement and keep at the level you’ve set, only turning down once you’ve either not moved for 5 minutes, or have left to get a coffee or take a restroom break. The motion sensor can be used just like other motion sensors via any HomeKit app, in automations and for triggering other HomeKit devices.


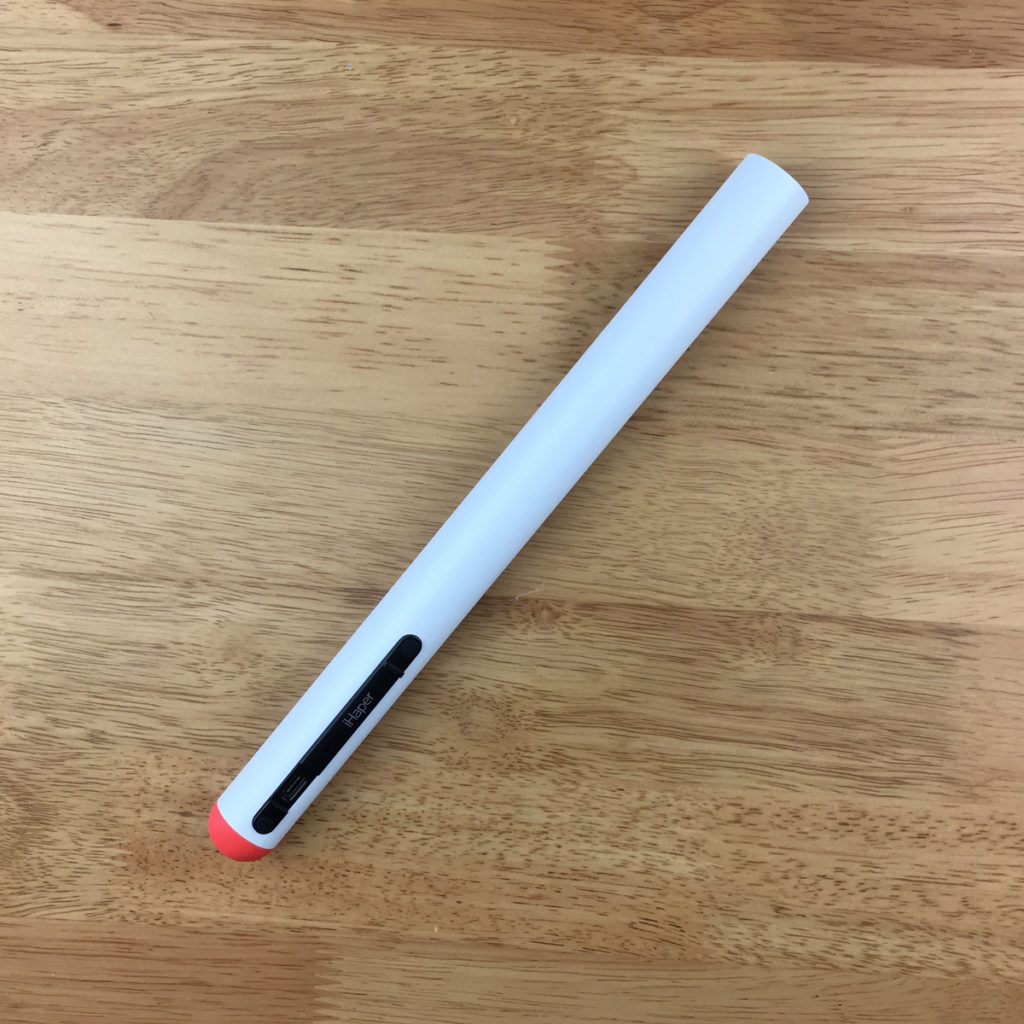
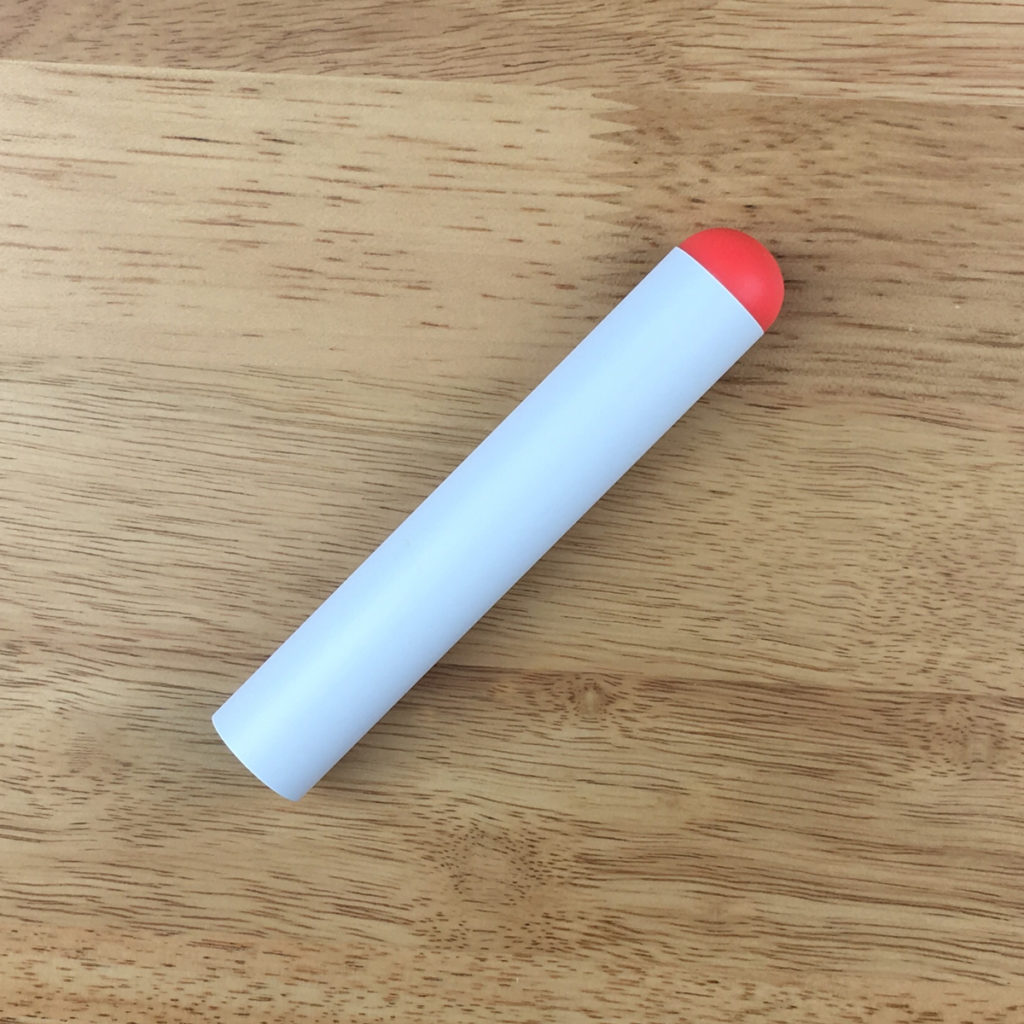
With the lamp part looked at, we now should focus on the flashlight portion. This isn’t actually the first HomeKit product I’ve owned with a built-in flashlight, with that honour going to the Eton Blackout Buddy Connect Charge. The flashlight, which is, of course, detachable, is 14cm/5.5″ long and sits comfortably in the hand. The connector that magnetically (did I mention satisfyingly?) connects to the lamp also contains a recessed on/off button for the torch. The torch has a removable cap, which is part of the overall aesthetic of the lamp, as the other section, with the main LED light, also uses the same cap. It is removable though, and whilst the light is decent enough with the red cap on, once removed, the flashlight is actually quite bright and creates a quite sharp ‘spot’ of light. I don’t have the number on how bright it is in terms of lumens, but it’s more than enough for minor emergency situations. Given that this is detachable, it does contain its own lithium battery, as in fact does the lamp itself, so essentially both can run without mains power. The manual states the lamp can run for approximately 4 hours on a single charge, and also takes 4 hours to fully recharge, although it’s not entirely clear whether this applies to the flashlight too, or indeed whether the lamp relies on the power from both batteries combined to achieve the 4 hours of power free light it claims.
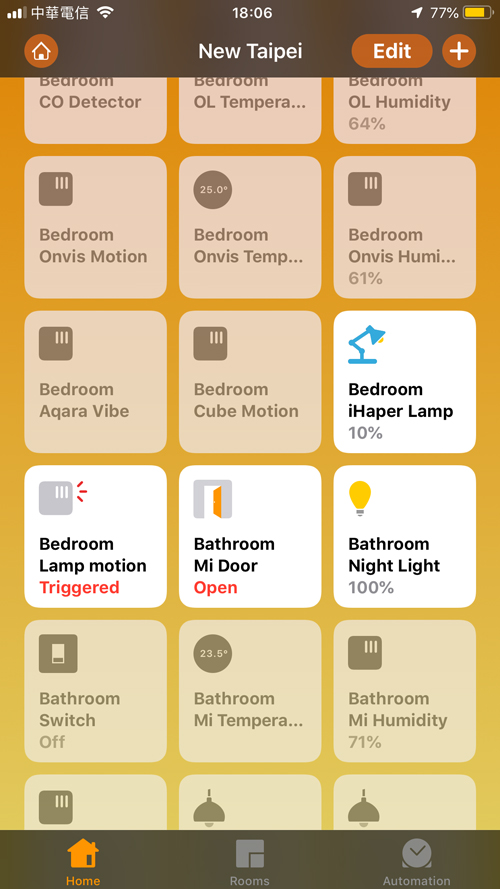
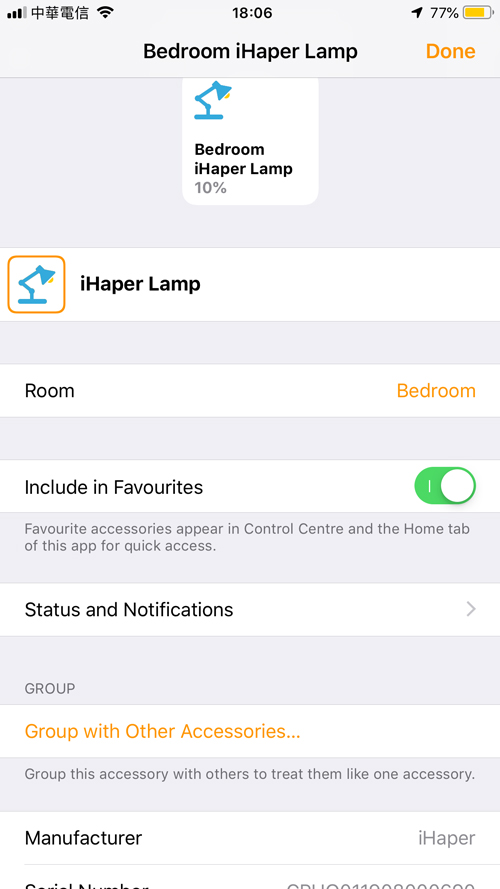
SETUP FOR HOMEKIT
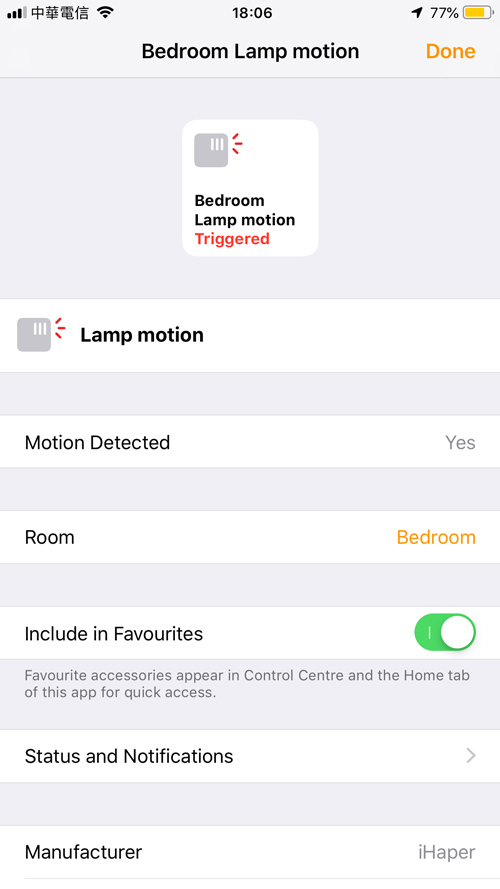
This is a great lamp, but it would be just a lamp (and flashlight) if it weren’t for HomeKit integration. The lamp comes with two instances of the HomeKit code; one in the manual, and one next to the touch-sensitive control panel on the lamp itself. It’s a strange place to have the code, but I guess for many people the top part is actually out of sight for the most part, so no matter. As ever, installation is as simple as adding an accessory by scanning the QR code, assigning it to a room and naming it, so nothing to see in that respect. Once it has been installed, you get two devices – the lamp, that, of course, allows for adjusting the brightness, and the motion sensor, which I previously mentioned can be used just like any other motion sensor. The previously mentioned ‘automatic mode’ for the motion sensor is totally separate from general HomeKit automation, however. Having tested the motion sensor for the past 7-10 days, as part of an automation, I’ll be honest and say it’s not massively fast. It works, but it’s a little on the slow side. As it can be used in automations, it’s not limited to controlling the lamp though, so it’s still a welcome addition nonetheless. The torch is merely an added bonus to the lamp and is not exposed as a separate device in HomeKit, which is a shame, as the Eton device, which I mention in the previous paragraph, does see the nightlight, flashlight and motion sensor, all as separate devices. The lamp itself can still be seen by the Home app even if it’s not connected to mains power, which is great, and generally, the lamp itself has been well behaved, only showing up once with the ‘no response’ issue, which I pretty much take in my stride these days.
Whilst I use the Home app for 95% of the time, it’s always a good idea to download the relevant company’s own apps, if only for checking if there are any firmware updates. In the case of the iHaper app, it’s a fully functional HomeKit app, and it doesn’t look especially ugly which seems to the case for a lot of third-party apps. Unfortunately, every time I’ve tried to either sync this lamp with the cloud (in case I want Google or Alexa integration), it has failed consistently. Not only that but whenever I go to the settings for the lamp to see if there’s a firmware update, it’s constantly stuck in ‘checking’ mode. You really would think, given all the attention to detail they’ve lavished on not only the product but even the packaging, they’d get their app sorted. Alas, it doesn’t seem to be the case. Hopefully they’ll fix this, but for now, I’ll just rely on the lamp as it stands at present.
CONCLUSION
As this is a desk lamp first and foremost, it’s the kind of device that you generally would operate manually much of the time, and so you then have to ask yourself whether paying the extra for HomeKit integration is worth the extra cost. well of course it is!! In all seriousness though, there’s nothing wrong with a bit of automation in your day-to-day items, even if you don’t use them often, and with the addition of the torch and the motion sensor, bundled together with a rather unique design, it had me sold on the first day I saw it late last year. If I had to choose between just one desk lamp – the choice being either the Mi Desk Lamp Pro or the iHaper, then I’d veer towards the more traditional Mi lamp, as it’s not only more adjustable, it also has the option for cool and warm light. That doesn’t detract from the unique and funky design of the iHaper though, and thankfully I don’t have to make that kind of decision, so I’ll keep both.
iHaper DL1 Desk Lamp

Pros
- Unique, adaptable design
- extras - flashlight & motion sensor
- built in batteries for mobility
- good build quality
- touch sensitive controls
Cons
- Occasionally slow motion sensor
- design not suited to some tastes