
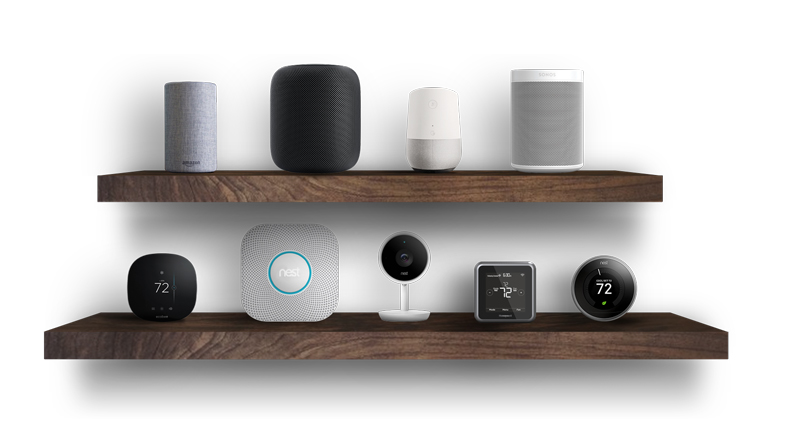
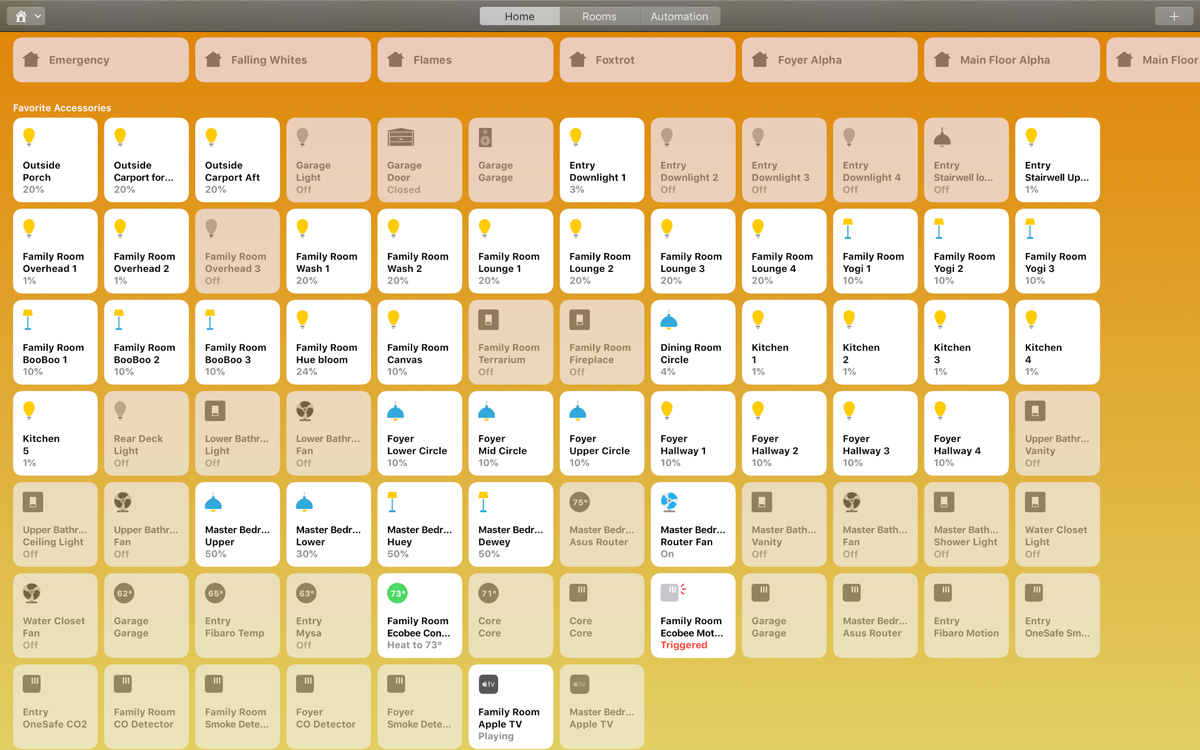
To Hub Or Not To Hub. That Is The Question.
- 1 x Hue Bloom
- 1 x Hue Beyond Downlight
- 10 x BR30 lights
- 4 x GU10 lights
- Hue Tap switches.
As I was writing this article I installed;
- 1 x “Friends of Hue” ET2 24-inch pendant light
- 2 x ET2 17-inch pendant lights
- 1 x ET2 17-inch flush mounted ceiling lamp
- 4 x Hue BR30 Gen 3 downlights
- 2 x Hue smart dimmer switches.
That comprises the hub connected devices. However, I have a lot more HomeKit devices than that. The following is a list of non-hub connected devices, the number installed, and the connection method used to connect to HomeKit;
LIFX (Wi-fi connection)
- 3 x BR30 downlights
- 6 x Lifx-Z strips
iDevices (Wi-fi connection)
- 10 x Wall Switches
- 3 x iDevices smart plugs
Koogeek (Wi-fi connection)
- 3 x Wall Switches
Eve (Bluetooth connection)
- 1 x Wall Switch
- 1 x Eve Button
Fibaro (Bluetooth connection)
- 1 x Motion Sensor
Misc. (Wi-fi connection)
- 1 x Mysa high voltage electronic thermostat
- Sonos Play 2 speakers
- 1 x Chamberlain Smart Hub connected to the Chamberlain garage door opener.
- 1 x Ecobee 3 thermostat
As for the Ecobee 3 Thermostat, there are four remote temperature sensors, each of which shows up as a separate HomeKit device. In that regard, the Ecobee 3 thermostat acts as a wireless hub for the remote temperature sensors. I might have missed a few devices, but you get the idea! You might say I’m a power user since I have so many devices. For the most part, all of these devices work well enough most of the time, but there are glitches on at least one or more of them at any given time. This article is not about reviewing all of these devices as that would take far too much space here.
So let’s get to the heart of the hub discussion
I can really make this a simple discussion by just asking anyone who has even just a few wifi HomeKit devices to just do this one thing: Change your wifi password. (Actually, don’t do that yet). If you have changed your wifi password (and you should on a regular basis for security reasons) then you know that all wifi connected HomeKit devices will be offline once the wifi password is changed. All hub connected devices are still working just fine as are the Bluetooth connected devices. Also, none of those wifi connected devices is available in their individual apps. Those wifi connected devices depend on wifi to connect and be available and if they cannot connect to wifi then they are no longer available. Anywhere. So what to do? Does the device have an interface? Devices that connect to HomeKit via wifi can be subdivided into two categories. Those with an interface and those without an interface. By interface I mean any HomeKit device where it’s possible to select a wifi network and/or enter a wifi password ON THE HomeKit DEVICE ITSELF. That’s the important part. The only wifi connected HomeKit device I have with an interface is my Ecobee 3 thermostat. It has a touch screen display and settings available on the device to select a wifi network and enter the password. Simple enough. Devices connecting to HomeKit through wifi without an interface on the device itself include everything else. That includes every device on the list above. The apps for any of these devices cannot connect to any of their respective devices since those devices are no longer connected to the wifi network. The app is the only interface for any of those wifi connected devices, so if those apps can’t connect to their devices can you say “Factory default/reset.”? Yes, you can…
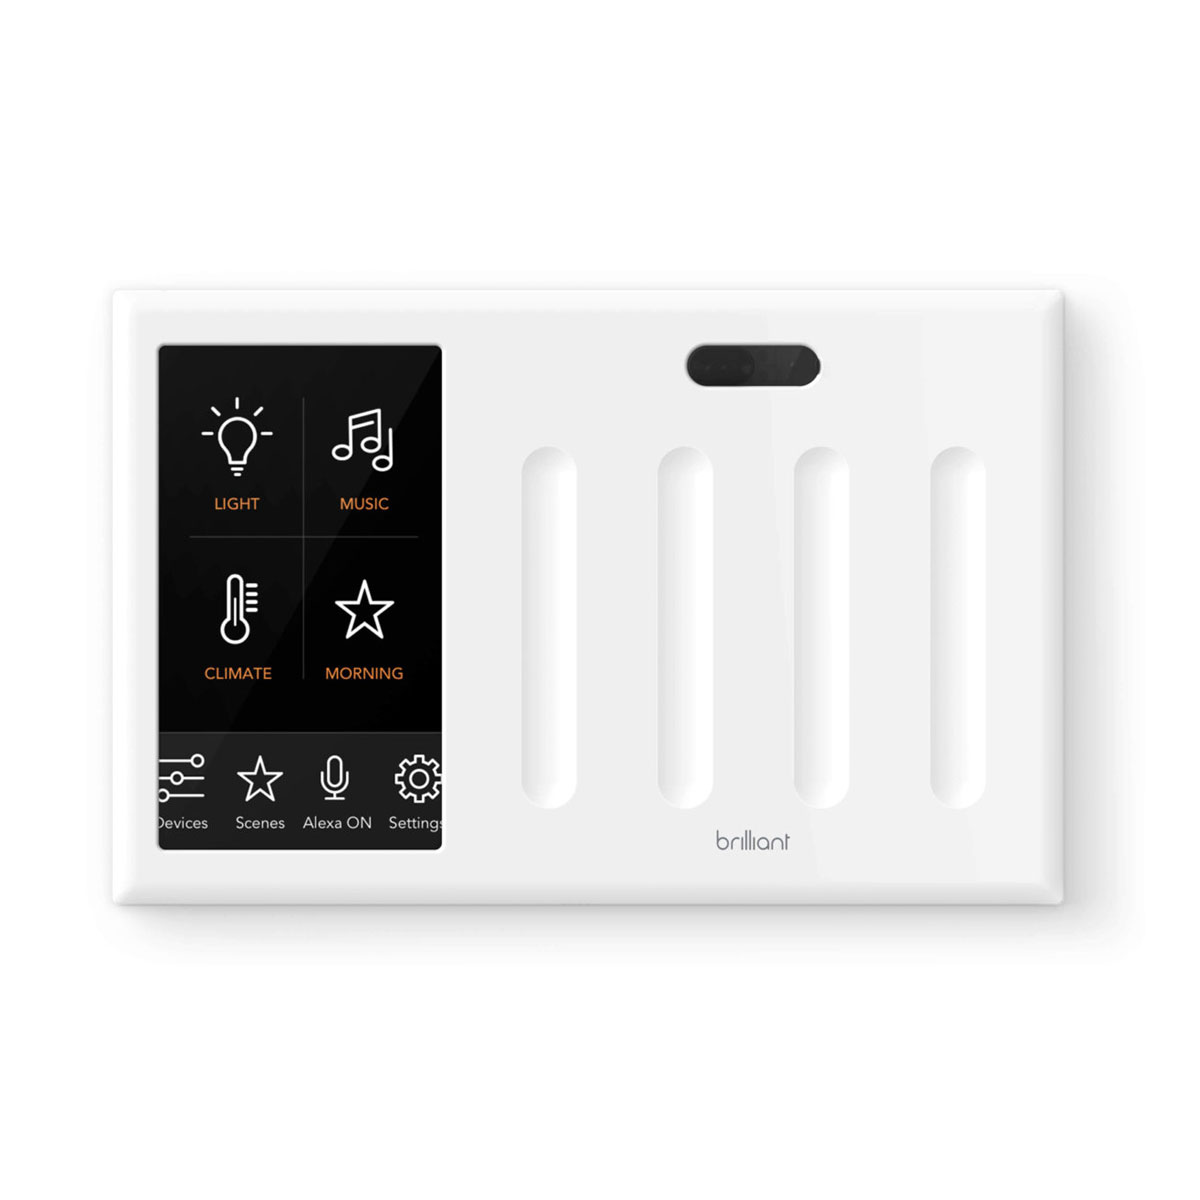
Side note: when Brilliant releases the HomeKit upgrade to their wall switches, then they may be the first HomeKit switches that have an interface where you can select wifi networks and enter passwords on the device. That depends on how Brilliant designs their software and interface, but why would they not want to add that feature? Additionally, if all the Brilliant switches connect to each other, then changing the wifi password on one may be able to change the password on all of them. Brilliant does state that there is Bluetooth as well as wifi connectivity so that can be a function if they choose to add it. That would save a lot of time. As soon as Brilliant adds HomeKit support I will be purchasing several Brilliant devices. But not until then. Promises, promises. We’re still waiting… So back to factory default/reset, then start from scratch again. When you first set up a wifi connected HomeKit device you usually go through a three-step wifi registration process with whatever IOS device you’re using on whatever wifi network that device is connected to. I use my iPhone XS Max and my 2.4 GHz network. Most HomeKit devices using wifi to connect to HomeKit require a 2.4 GHz network. Especially lights. Some devices are starting to evolve beyond that, but that makes no difference for this discussion. More on that below. Just after a password reset all those wifi connected devices in HomeKit that are now showing “No Response” will have to be deleted from your HomeKit home. All the scenes that were EXCLUSIVE to those wifi connected devices will be automatically deleted. Scenes that contained other devices still available will remain, sans any of those wifi connected devices. Those wifi connected devices will also be removed from any automation that was created, although the automations will remain, even if there were only wifi connected devices contained within them.
If you just have one or two wifi connected HomeKit devices, none of this is that big of a deal. It will take 5 to 10 minutes per device to restore it to HomeKit. But the more scenes and automations that each wifi connected device needs to be re-entered into, the more time it will take. If you’re like me and you’ve built a large HomeKit infrastructure with numerous wifi connected HomeKit devices, you better clear your schedule. You now have work to do rebuilding your wifi connected HomeKit universe. For me, that took almost ten collective hours of work. But there are backup apps for HomeKit you say? Yes, there are and I hope some of them actually work. I’m not sure how well they work when you need to restore only half of your devices. Say 50 to 60 devices out of 100. I’m not going to try and find out and I won’t be reviewing those apps here. Possibly in the future. If anyone has any experience with any of those backup apps please share!
Here is where the hub connected devices shine: none of the hub connected devices drops offline for longer than it takes to reboot the router after changing the password. As soon as the router was back online, so were the hub connected devices. They required no attention at all. None. All the Bluetooth connected devices remained connected since they connect directly to the HomeKit hub through Bluetooth. Devices remaining within the HomeKit home after a password change is just one of several advantages of having a hub connected device versus a direct wifi connection. And that is a major advantage since it saves tons of work and time. There can be more than just password issues that will bring down all wifi connected devices. Change the network name? Same issue. New router? Better use the same exact name and password and hope that works. There are other advantages to hub connected devices. Connection reliability. Hub connected devices do not use a standard wifi signal. They typically use a protocol called “Zigbee” or Z-Wave.” The advantage here is that Zigbee wireless devices create their own mesh network so the more devices you have, the better the signal to all of them. That’s a very nice feature in larger or older homes with thick plaster walls that tend to block wifi signals. Wifi signals can get weak at distances and through structures such as walls and floors. My iDevice switches are some of the coolest HomeKit switches I have, but they are also the most prone to dropping offline and not functioning. Especially the ones that are the farthest from the router, but even the switches closest to the router drop offline sometimes. The hub connected devices are, hands down, the most reliably connected devices in my HomeKit home. I rarely have any of the Caseta switches show up as “No Response” unless there is a connection issue with the hub itself. I did have an issue with a bad ethernet cable once and had to replace that cable. It caused the entire hub to drop offline and all switches with it so it was pretty easy to figure out since there is only one connection from the hub to the router. Same with the Philips Hue Bridge. If there is a hub issue, all devices associated with that Bridge will become unresponsive. In over three years I have had that happen maybe twice. In the early days of my HomeKit home when I only had a few hue lights, the Hue lights were less reliable, but that may be because the mesh network created by Hue was not as established as it is now with many devices. The more devices in a mesh network the better the mesh network work. I rarely have any connection issues with any Hue devices anymore. Another advantage of having hubs is setting up new devices. There really is only one step with a hub connected device. Power it on and add it to its respective app. Obviously, there’s no wifi network to join first. If the device was added properly it will be added to HomeKit as well. Some Hue devices require a serial number from the device itself. That would be for Friends of Hue devices like the ET2 lamps I installed. It’s pretty straight forward. With Wifi connected devices generally, you go through three separate steps. It does not matter if you’re adding a new device or a device that was factory defaulted. The steps are exactly the same. This is the number one reason that Hub connected devices are much easier to install and maintain. By a long shot.
With LiFX lights and devices that use the same method, the first step is to power on and search for the devices unique wifi network. Once you find it, join it to add it to your wifi network. This joining process is done by the apple wifi app. Usually, this is intuitive and easy. There can be issues if the IOS mobile device you’re using is on a 5.0 GHz network. Most wifi connected HomeKit devices require a 2.4 GHz network. So make sure you’re on the correct network specified by the manufacturer or the device will not connect. In that case, you will receive those ambiguous “failure to connect” error messages. Some head scratching may ensue.
Secondly, after the device is successfully added to the wifi network, add the device into its own respective app. Again this is usually intuitive but can also have various issues. Usually, you just open the respective app and the device will appear there. Some apps require you to click on a search button for adding new devices. Lifx bulbs just appear on the main window of the app after a successful first step. Then you can continue to additional steps.
Third, add the device to HomeKit. You’ll need the HomeKit code that came with your device for that. The HomeKit code is usually on the device itself, but not always. HomeKit codes are also usually on the instructions, manual, or brochure that came with the device, but again, not always. Depends on the manufacturer.
iDevices wall switches shine in this area above all the others in that they provide a pullout tab on the top front face of each wall switch with a scannable HomeKit code. It is attached to the switch itself so you can really never lose it. I’ve used those codes numerous times. Kudos to iDevices for that! Additionally, iDevices devices have a unique joining process that foregoes the three steps most wifi connected HomeKit devices have to be put through. It is a unique process that only iDevices have. It’s a little easier and closer to the process for hub connected devices. But there can be connection issues, especially if the device is farther away from the wifi network. It may take multiple attempts to be added to HomeKit. This can be very time consuming as it takes some time for the connection process to result in an error. During that time you have to wait for the device or the app to process the procedure. In any case, iDevice devices need to be factory reset if you change the wifi password. As easy as iDevices tries to make the process, it will take some time. The more devices you have the more time it will take.
Some LiFX devices have the ability to pass their HomeKit codes back to the Lifx app on your IOS device. That function is in the device settings section of the LiFX app for devices that support that function. Not all LiFX devices do support HomeKit code retrieval. I’ve used that feature more than once. Most LiFX devices have HomeKit codes printed on the device itself, albeit in fine print, mixed in with all the other manufacturer information that you’ll need the magnifier app to read. But at least it’s there. You may not always wish to remove a device to retrieve its HomeKit code. A bulb or other device may be in an inaccessible area where you may not want to attempt this. High ceilings that require ladders, controllers located inside of areas that need special access, bulbs in lamps the require you to take the lamp apart to remove the bulb like GU10 bulbs in track lighting, and other issues can make removing the bulb very undesirable. Each device is different and each manufacturer includes a HomeKit code in a different way.
- Suffice to say, follow these two cardinal rules:
Rule #1 with HomeKit devices: Never throw out your HomeKit code. Keep that instruction/installation manual in a safe place and preferably all together so you can find them when you need them. - Rule #2 with HomeKit devices: always backup your HomeKit code. I use HomePass, but you can use whatever app works for you. HomePass backs up to the cloud so I have copies of it on all my mobile devices and computers. This is just extra insurance against a lost code.
If you lose your HomeKit code and that code is not on your device, your device will effectively be bricked. Uh hum… Fibaro…. HomeKit code is not printed on the Fibaro motion sensor so if you lose that code you have to contact Fibaro and go through a lengthy snail mail process to get your code back. This very issue is discussed on the Fibaro FAQ page where they discuss that HomeKit codes are not printed on their devices. They give you the address and requirements to send you the code. It’s not a simple process. Fibaro takes the security of its HomeKit codes seriously, but they could help us out by printing the code on the device somewhere. It is a tiny device so they may feel there is no room on the device itself to print a HomeKit code. I had to read the Fibaro FAQ once when I factory defaulted the Fibaro when I accidentally deleted my HomeKit home with the Chamberlain garage door app last year and did not remember where I put the Fibaro instruction sheet. That was a bad couple of days. I looked for the Fibaro code on the device and then panicked and could not find the installation manual. That’s when I started looking online and found the FAQ and instructions to get the code back, but then I got lucky and found the installation manual with the HomeKit code. Crisis averted….
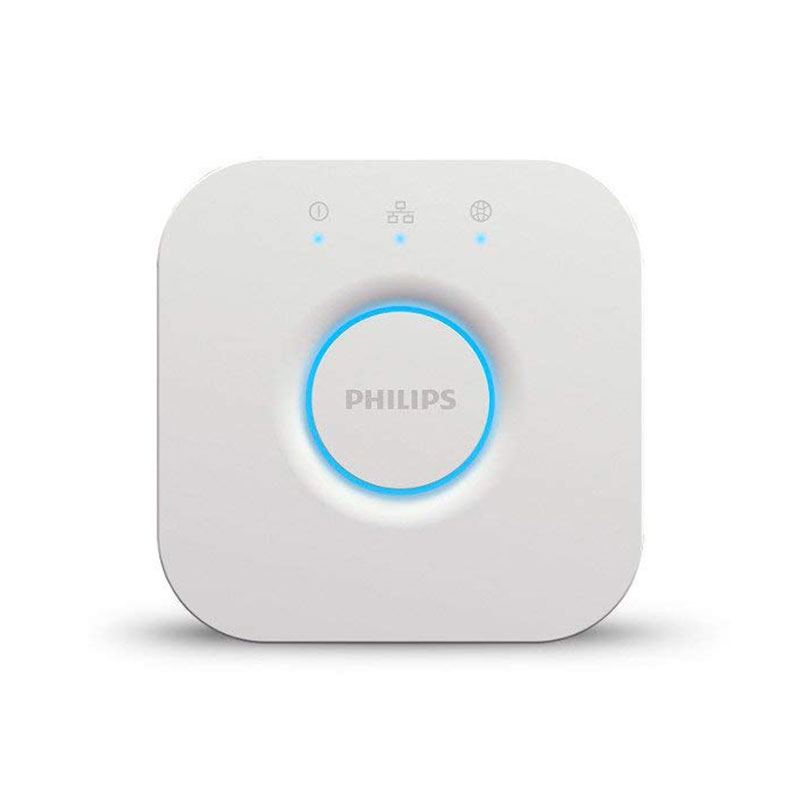
Also, treat your HomeKit codes like your social security number. Don’t lose them, and keep them private. Those codes are unique entry ports into your network and could possibly be exploited as such if they fall into the wrong hands. With a hub connected device the process is a lot easier to set up with fewer procedures. Since hubs are connected directly to the router with an ethernet cable there are no wifi or router passwords to deal with. And you will usually only have to go through this process when you first add your device to its hub. You won’t have to do this when changing a wifi password or having other wifi issues. With hub connected devices you can skip the first part where you usually add your device to wifi. Just power on the device and go straight to the respective app. Also, adding the device into HomeKit is easier since there is no HomeKit code. Only the hub has a HomeKit code, not any of the connected devices. Some Hue devices do require a serial number be entered to add that device to the Hue hub. The Hue app would not see my ET2 24” pendant until I entered its 6-character alphanumeric serial number during the add process. Once you add a hub connected device to its respective app it just shows up in HomeKit. You might have to designate the room, scene, automation, and other parameters you choose, but you never have to worry about those damned HomeKit codes. In the Hue app, you can even designate the home and room for the HomeKit device so when you open the Home app it is already in the right place. The only real issue that I have with hubs is some of them are limited to the number of devices you can connect to a hub. Hue is limited to 50 devices per hub and you only get one hub per account. Most people won’t approach half that number per hub, but I might. I guess I’ll cross that hub when I get to it. Right now I’m at 27 Hue devices on my hub. 23 to go….
So that’s the main gist of hub connected devices vs non-hub connected devices. Each person can decide what is best for them but I can tell you from experience that the more devices you have the more appealing hub connected devices are. Especially when there are problems.
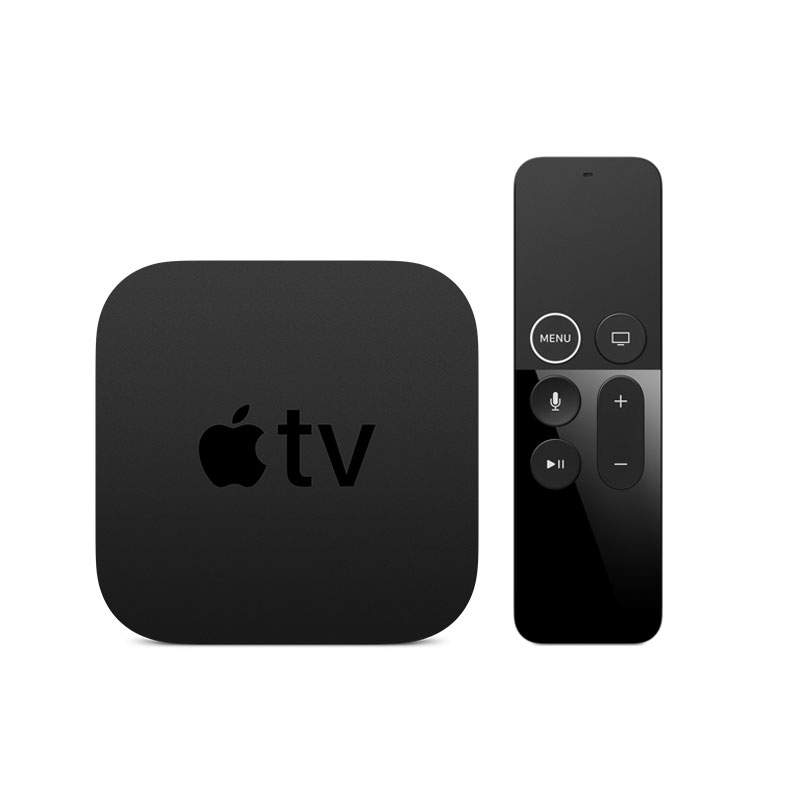
Now a quick note about the other types of hubs in the HomeKit universe. I have three Apple TVs and any of them can act as the controlling HomeKit hub at any given time. Currently, Apple has control over which hub is the primary hub. You can see which one is connected in HomeKit Home settings.
Due to a bug in the Apple TV, when I changed the wifi password, I had to factory reset each of the three Apple TVs I have. This bug showed up when each Apple TV could not join the network because I changed the password. It gave the standard error message “Incorrect Network Password,” but when I selected OK, it did not present a dialog to enter a new password, it just sat there and showed the spinning busy icon until I force quit the settings app on the Apple TV. There was no other way out of the settings app after once the spinning icon showed up. There was no time out. I let it go for 15 minutes in one case. Every time I restarted the settings app on the Apple TV to rejoin the network and change the wifi password, the same thing happened.
With no way to enter a new network password, I had to factory reset each Apple TV in turn. Luckily the Homescreen function of the Apple TV worked and all apps were reloaded. I did have to renter all passwords for all apps that required it. Also, I had to re-register my cable TV provider and resubscribe to each channel that required it. This was exactly the same on each Apple TV. It was not an isolated occurrence. All three Apple TVs had the latest version of TVOS. So there are some of the issues you can encounter with HomeKit. The more you build your HomeKit universe, the more effort it will take to maintain it. I have a lot of experience with home automation. I started with the X10 system in the 1980s and used those devices throughout the 1990s. I’ve designed and installed home security, home theater, and all low voltage systems in new and older homes. Some of my best security system designs incorporated X10 interface for lighting control and other devices. As buggy as HomeKit can get, it is not nearly as buggy as the older X10 systems were. Thank the advancements in technology for that. As HomeKit continues to develop and advance we will see more reliability improvements and new features. There are some big changes coming in IOS 13 (iPad and iPhone), the new Mac OS, and the new Apple TVOS. I look forward to using these, not that I have a choice…. I will upgrade and I will find out how it all works. It would also be nice to see the manufacturers of wifi connected devices add the ability to re-add their devices to a network without having to factory default it every time we change the password. I’m not sure how they can do that but that would be a very desirable function.

Agree, I love Hubs.
I have Wemo wifi plugs, and now I want to change my wi-fi password. Too much trouble
Thats why I love Hue, the bridge just works
I’m gonna try using Aqara because they use a Hub.
I’m going to look into Aqara also. I’m very reluctant to add anymore Homekit devices that don’t connect to a hub. I might have to but I will try to avoid it.
Hopefully manufactures develops a way to reconnect homekit wifi devices back into wifi networks that have been changed without having to factory default them every time.
Hub is great if they have many kit and sensors, I don’t like to get a hub/bridge for just one 1-2 devices, aka August connect… horrible bridge.
I have tons of Xiaomi and Aqaba sensors, they are very affordable~ I would say its still in beta but with that price, I can’t complain.
For just one or two devices a hub is not worth it. It really only becomes a benefit with a lot of devices. Can you share what is it about the August hub that is problematic? I’d like to hear that.
My setup is almost entirely Hub-based. 29 Hue lights and lights trips, Aqara Hub for sensors – 4 magnetic door sensors, 4 flood sensors and 6 temperature sensors, Lightwave RF hub linking 9 power sockets and 6 light switches form the backbone of the home together with a tado thermostat with 9 smart radiator valves. 4 hubs, only 4 IP addresses taken on the local network for 68 independently addressable HomeKit devices.
There are a few other devices – 2 Nanoleaf Aurora light panels, a couple of Eve sensors (being replaced by Aqara) and some Koogeek stuff and 3 cameras, but when I’m buying new stuff I look for the devices that are controlled by a hub. It’s easier, tends to be cheaper in the long run – the hub costs extra but the devices linked to it tend to be a bit cheaper, and it reduces the load of devices connected to your wifi network.
You have a pretty involved Homekit universe Simon. That takes effort. Those hubs shine in that case. They pay for themselves in time and effort.
Are any of those hubs problematic in anyway?
I also have some non-Homekit systems. I have a Nest Guard, three Nest cameras, a Nest Yale Assure Lock, and three nest Secure motion sensors/door sensors. Also a Nest Connect to extend the signal from the Nest Guard. Usually the Nest works with no issues, bust sometimes that motion/door sensors drop offline and I have to factory default them. That happened twice with two of them in the last year. Also, sometimes the Nest Guard drops the wifi signal, but it will revert to cellular backup which I love.
The three Nest cameras drop off of the wifi signal on occasion, but there is always notification when they do so.
I also have an Arlo Pro 2 system with 6 cameras. That system usually works very well, but every now and then one of the cameras stops recording video when it senses motion. That’s a known problem with Arlo and some of its cameras. Still waiting for Homekit integration which should have been done in the first quarter of 2019. I think Arlo/Netgear may be waiting for IOS 13? Not sure but there are new Homekit camera protocols in IOS 13 so they may just be waiting for that.
Thanks for the post!
Bart