Mi Light Sensor (review)
When the new HomeKit compatible Mi smart Gateway was released around mid-December in China, it was also accompanied by the Mi Light Sensor, which was first spotted ‘in the wild’ when beta testers for the Mi Smart Gateway, who had also been supplied with the aforementioned sensor, started posting pics of the devices on Chinese social media platforms like Weibo. Both the new gateway and the sensor soon made their way to places like GearBest, AliExpress and Banggood, making them finally available to the wider world. So today, armed with this new sensor, we’ll take a look at this device and try and find out if it’s any good, and if we can actually find a use for it!
PACKAGING
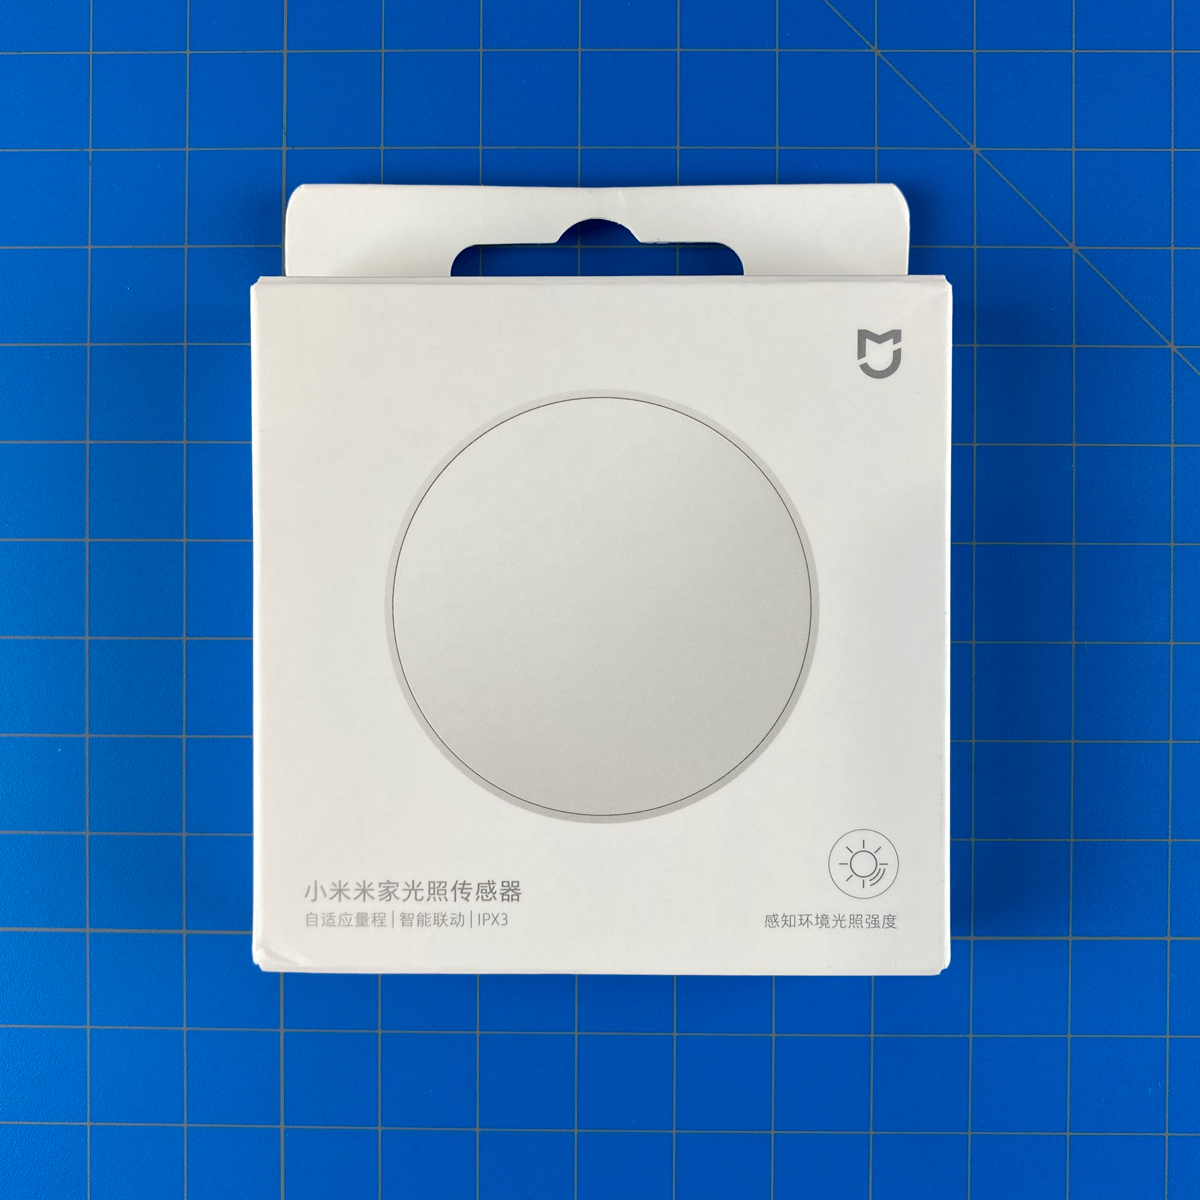
As this is actually quite a small device, the packaging for it is equally diminutive. So much so, that it even comes with a holder at the top so that it can be ‘hung’ on display racks when needed. There’s nothing that stands out from previous Mi or Aqara products when it comes to the aesthetics, so you simply get the device pictured ‘front-on’ on the front of the box, with the Mijia logo, an ambient light icon with text (in Simplified Chinese) that says ‘perceived ambient light intensity’. There’s also more text at the bottom that translates to ‘Xiaomi Mijia Light Sensor’ along with three features – Adaptive Range, Intelligent Linkage, and IPX3. We’ll come back to ‘IPX3′ in a bit, but take it to mean there’s some level of protection from water.
The rear of the box, has, as standard, some basic specs, along with legal jargon. It also carries both the ‘works with Mijia’ logo and for the first time for a Mi or Aqara smart ‘child device’, the Zigbee Certified Product badge. The packaging for Mi smart Gateway also came with this, which as we mentioned in the review for the gateway, seems to indicate that this device is officially able to work with other Zigbee 3.0 devices, besides the gateway it accompanies. This is, in fact, a Zigbee 3.0 device, which discerns itself from the current batch of sensors currently available by Aqara or Mijia. There is also some small print at the bottom, that translates to “This product needs to be used with Zigbee 3.0 gateway-capable devices”, which is interesting in that it doesn’t specify the Mi smart Gateway in particular.
In terms of the specifications, they’re fairly standard for a Mijia or Aqara child device;
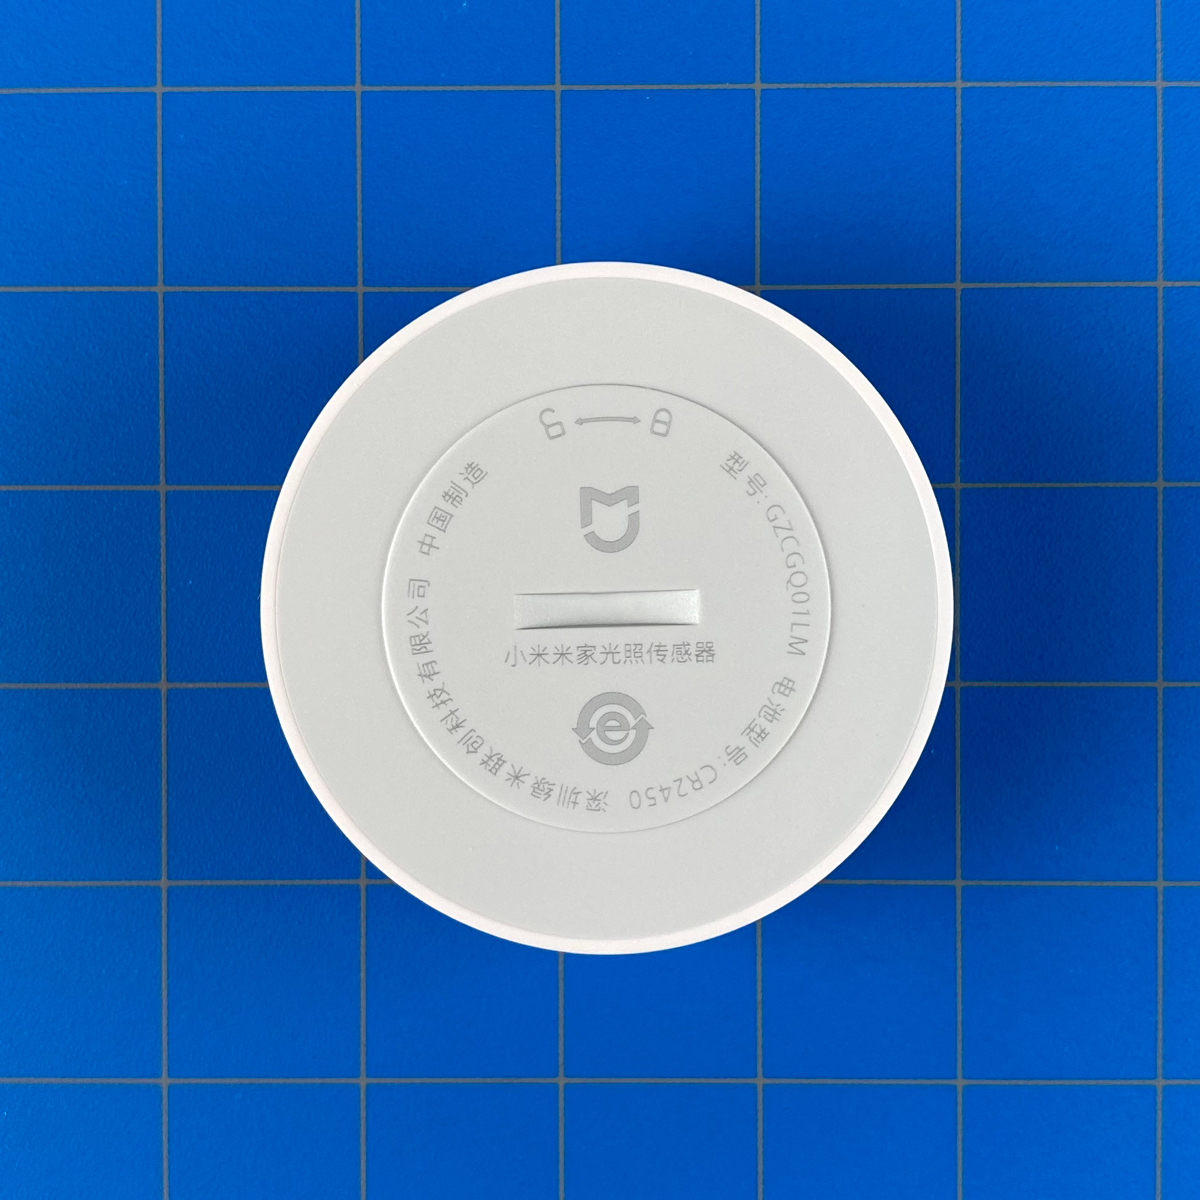
- Model: GZCGQ01LM
- Battery: CR2450
- working temperature: -10 ~ 50ºC / 14 ~122ºF
- Wireless connection: Zigbee 3.0
- Dimensions: 40 x 40 x 12mm / 1.57 x 1.57 x 0.47in
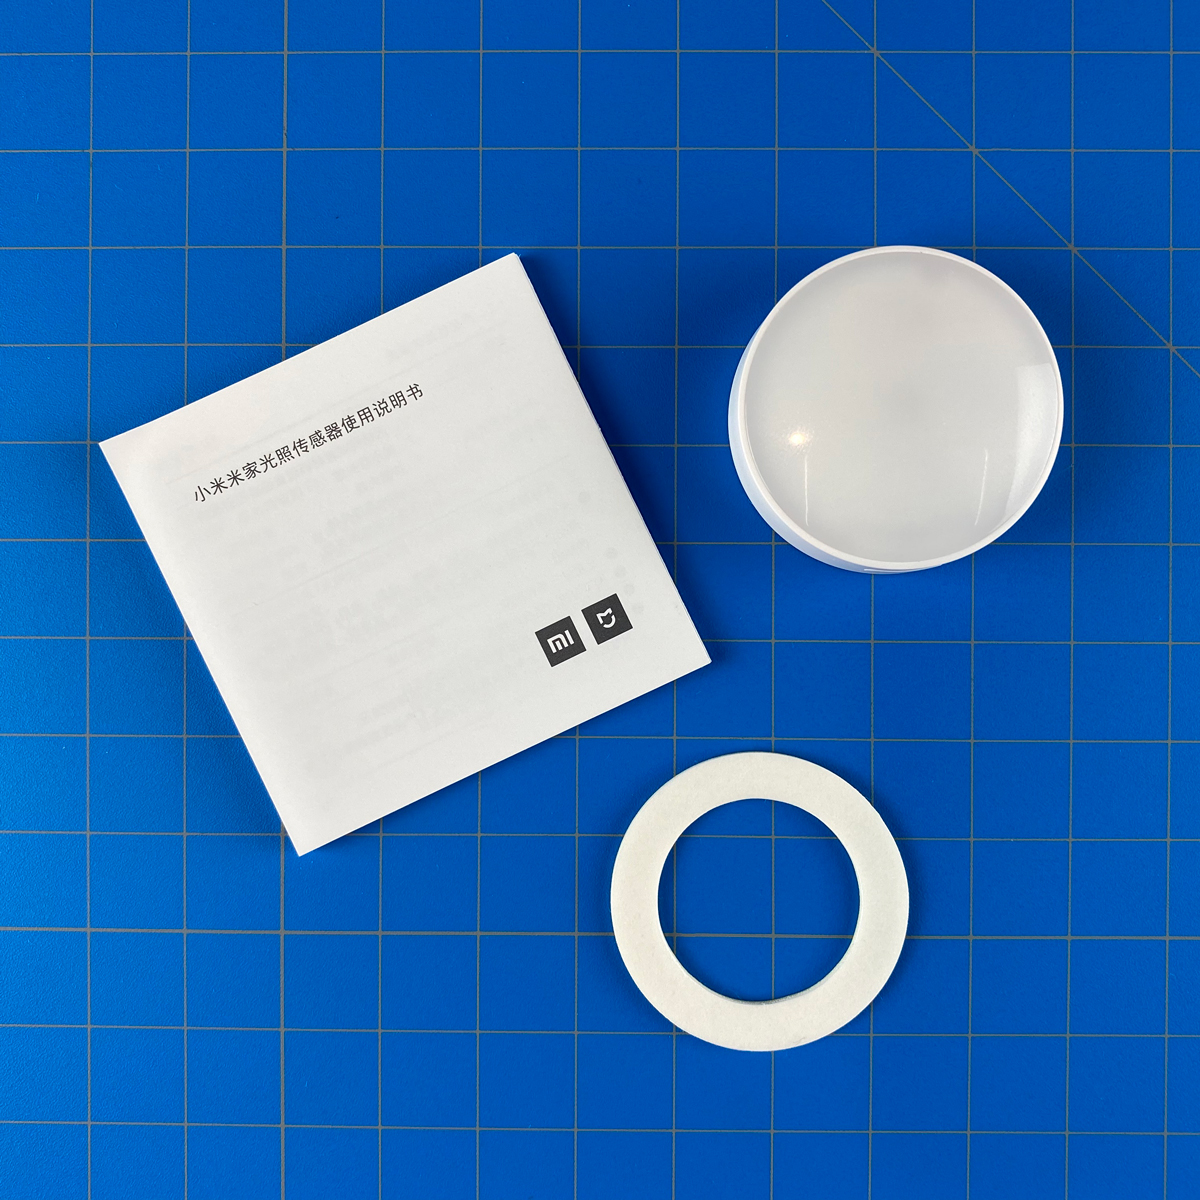
Out of the box, the sensor has a reasonable amount of protection, being held in place by a cardboard holder. Aside from the senor, you get a small manual (in Chinese), and a circular, double-sided adhesive sticker.
THE SENSOR
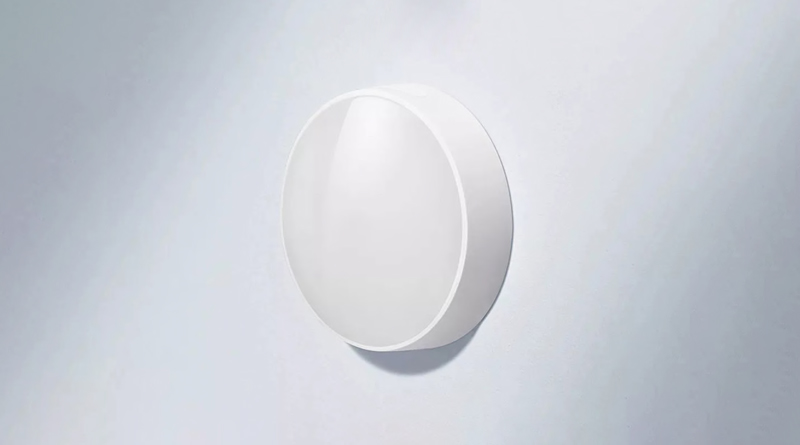
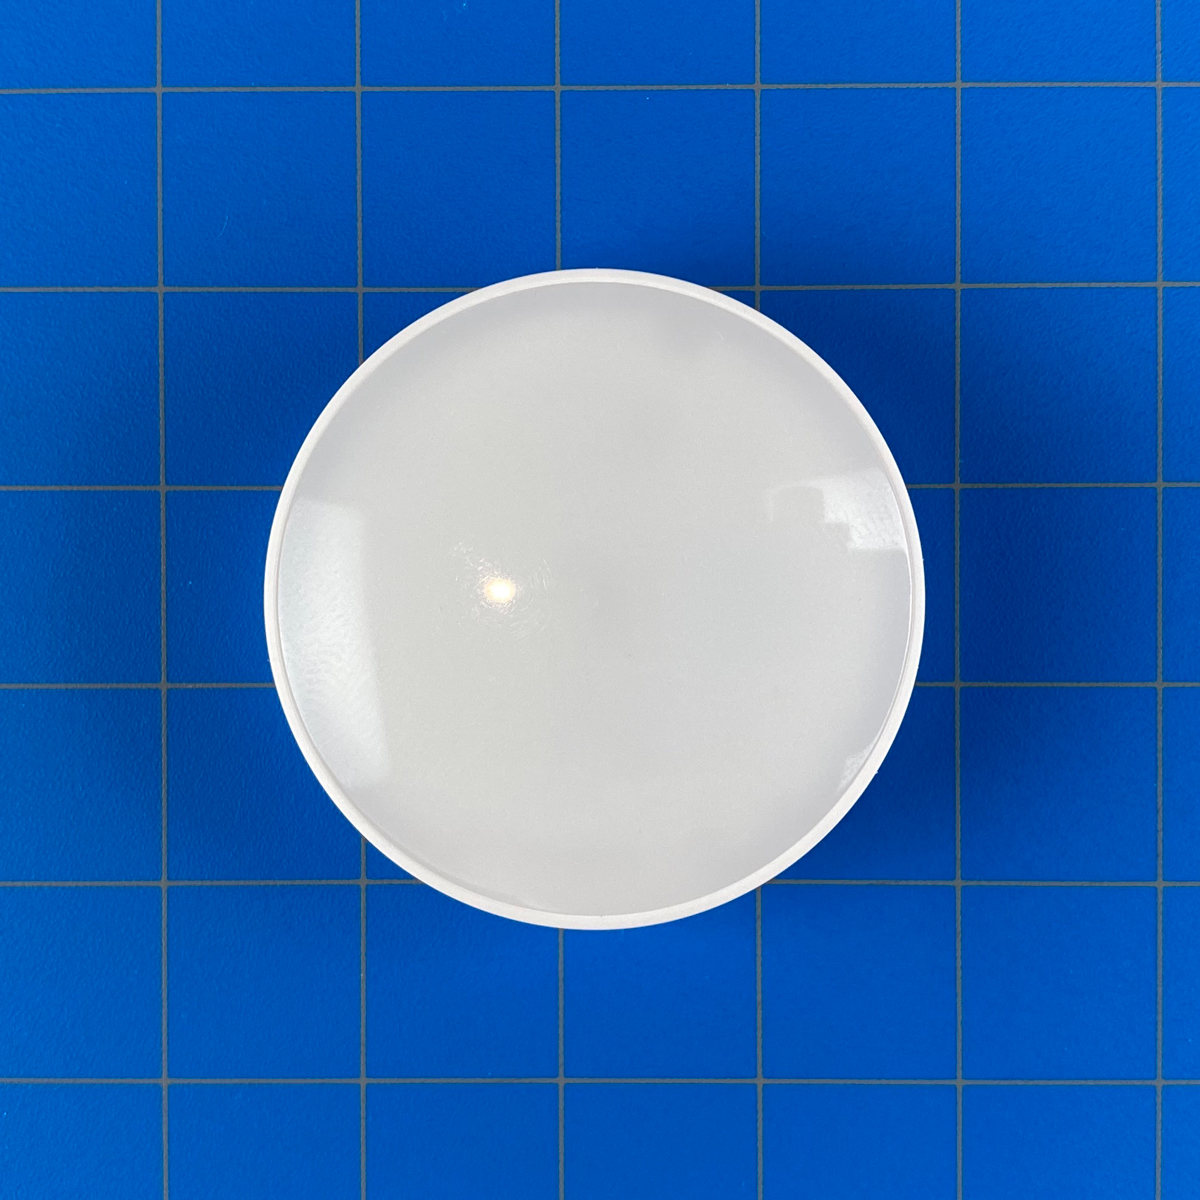
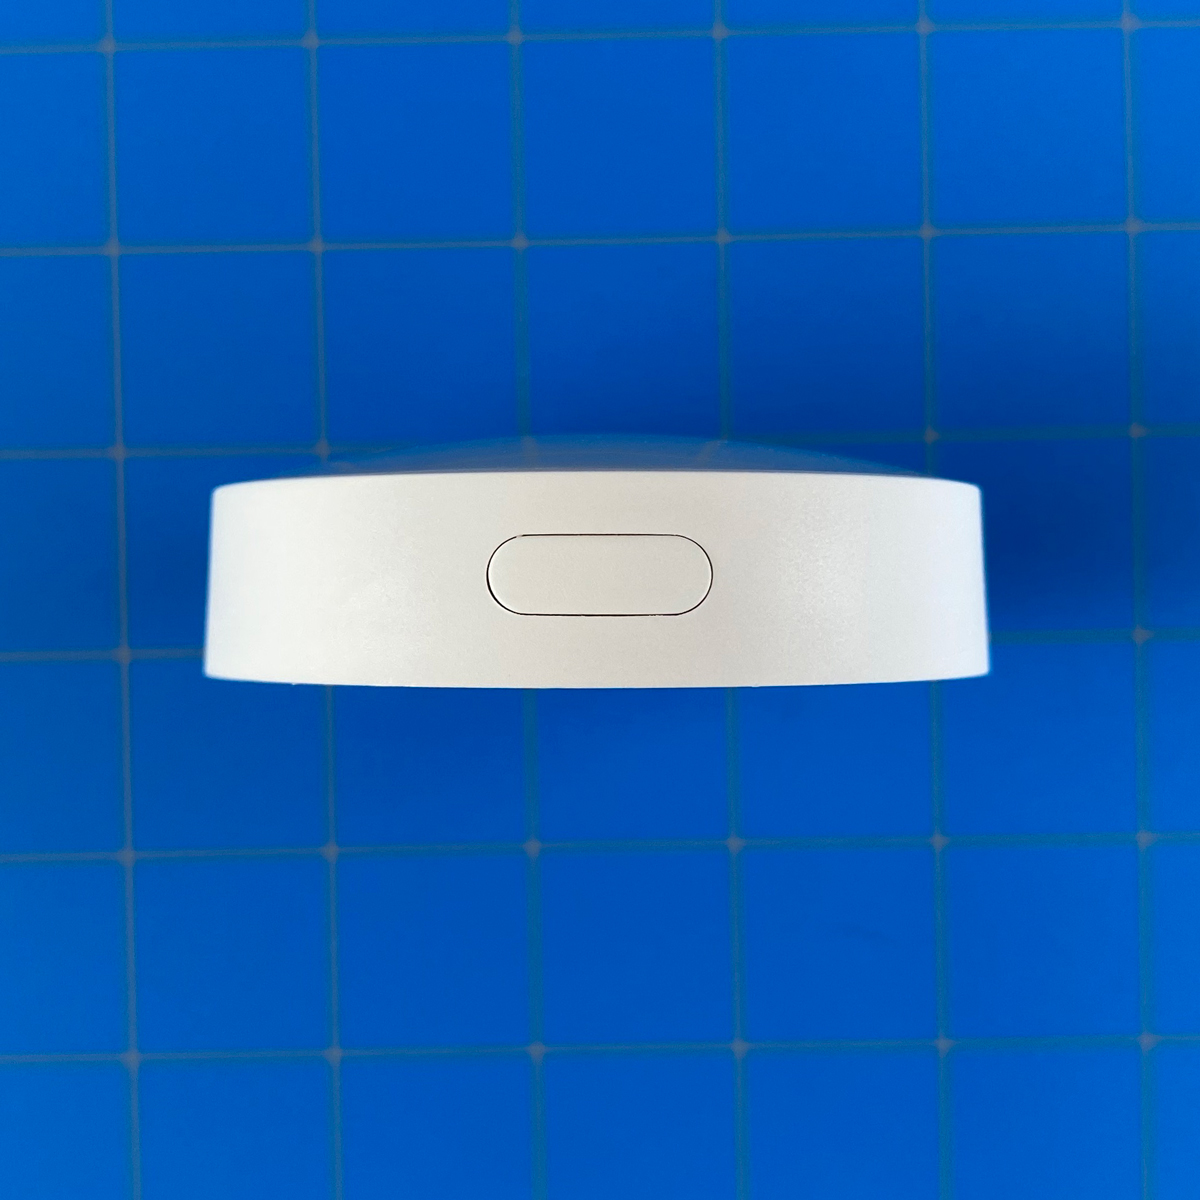
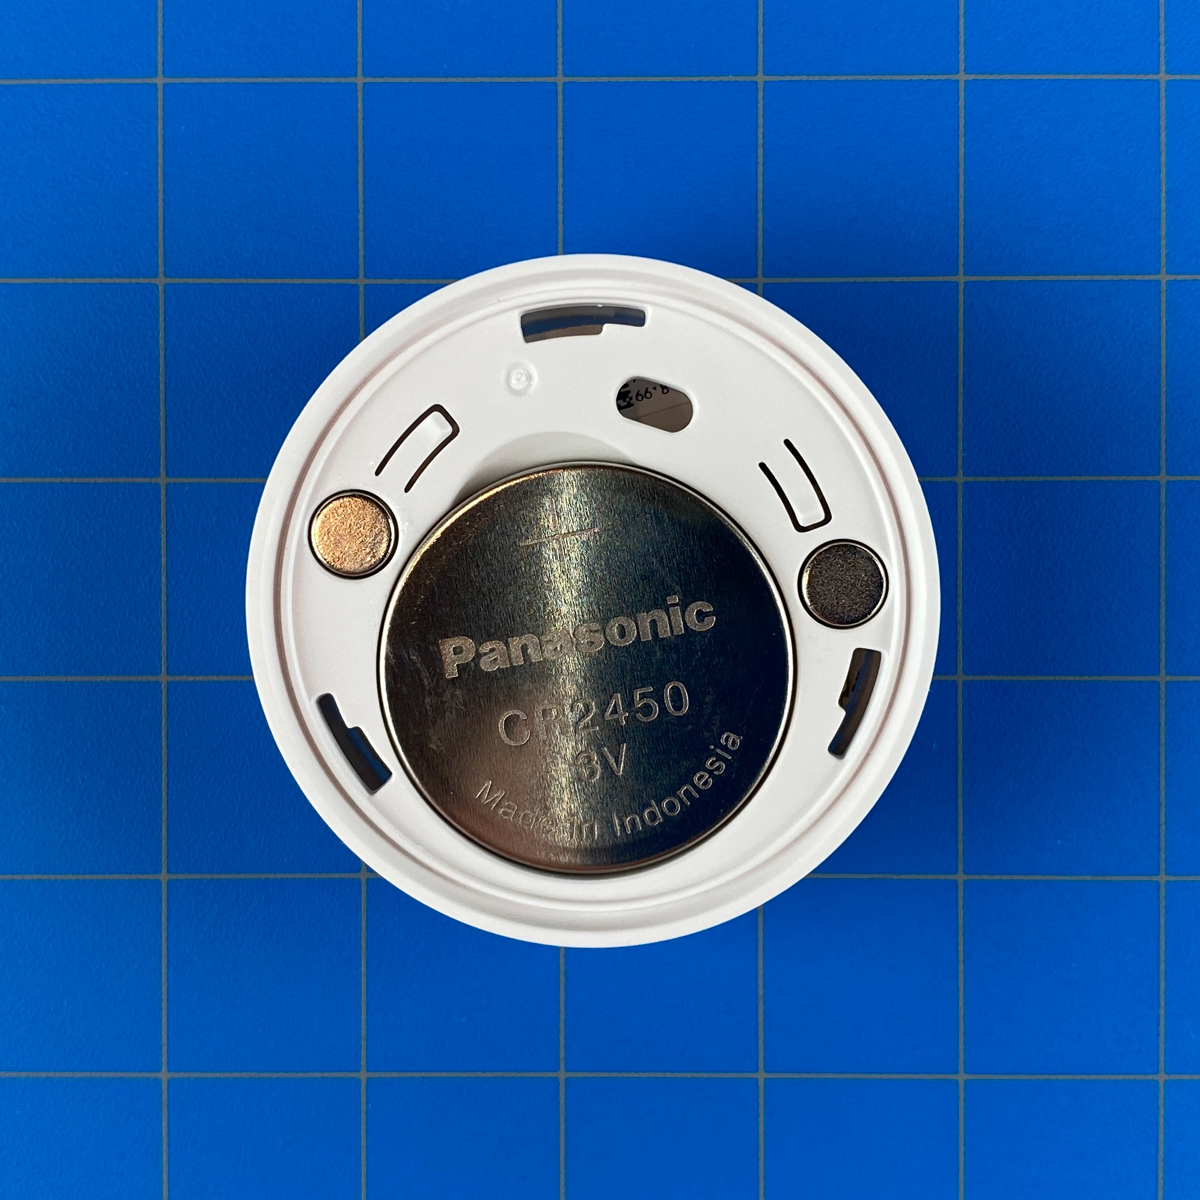
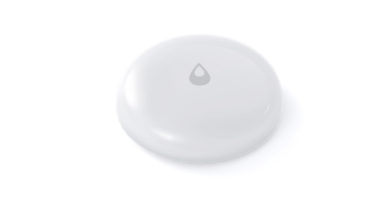
The front of the device is all translucent plastic, which hides the ambient light sensor. It also covers up a small blue LED that you only really see when initially pairing the device. If you’re familiar with either the Mijia or Aqara versions of the motion sensor, you’ll have noticed the translucent plastic protecting the sensor is rather pliant. The front of the light sensor is rather rigid and is therefore a lot more durable. The rear of the device features a turnable back cover that holds the CR2450 battery in place. With the cover removed, you get access to the battery compartment, which also reveals two small magnets. As this has magnets, you can mount it to any suitably magnetic surface, like the door of your refrigerator, for example. If you don’t have a magnetic surface where you want to place it, you can still use the provided double-sided circular sticker. The magnets aren’t that strong, to be honest, and if you’ve experienced the strong magnets of either the Hue Dimmer Switch or better still the incredibly powerful magnet used for the Hue Motion Sensor, this is going to be somewhat of a surprise. Still, it has enough to keep it from falling, although I feel it could easily be knocked to the floor inadvertently, which is why it’s just as well that the front of the device is all the more durable. Alternatively, as it has a flat base, you can simply leave it sitting on any horizontal surface. The only other functional part of the device is the reset/pairing button at the top.
In the specifications listed earlier, it mentions an IPX3 rating. If you’re not at all familiar with IP ratings, they relate to how well a device is resistant to both water and dust, amongst other things, with IP being an acronym for Ingress Protection. An IP code usually has IP, followed by two digits, of which the first digit refers to a level of ingress protection against solid particles, which can include dust. The second digit refers to the ingress protection against liquids. As this sensor has a rating of IPX3, the X, in this case, means there’s no specific data relating to protection against solid particles. the ‘3’ protects against ‘spraying water’, defined as;
“Water falling as a spray at any angle up to 60° from the vertical shall have no harmful effect, utilizing either: a) an oscillating fixture, or b) A spray nozzle with a counterbalanced shield. Test a) is conducted for 5 minutes, then repeated with the specimen rotated horizontally by 90° for the second 5-minute test. Test b) is conducted (with shield in place) for 5 minutes minimum.”
From this, you can take it that this isn’t fully waterproof but can withstand some level of ‘spray’ for at least five minutes. Whilst the battery cover may be tight enough to resist water for a certain amount of time, the weak spot would most likely be the button at the top of the device. This being the case, if you do choose to place this somewhere where at least some water can get to the device, it might be best to place it with the pairing button on the base.
ADDING TO MI HOME | AQARA HOME | HOMEKIT
* Whilst this is compatible with HomeKit via the Mi Smart Gateway, many readers here will be using the Aqara hub, so the focus will be on adding this to the Aqara hub only.
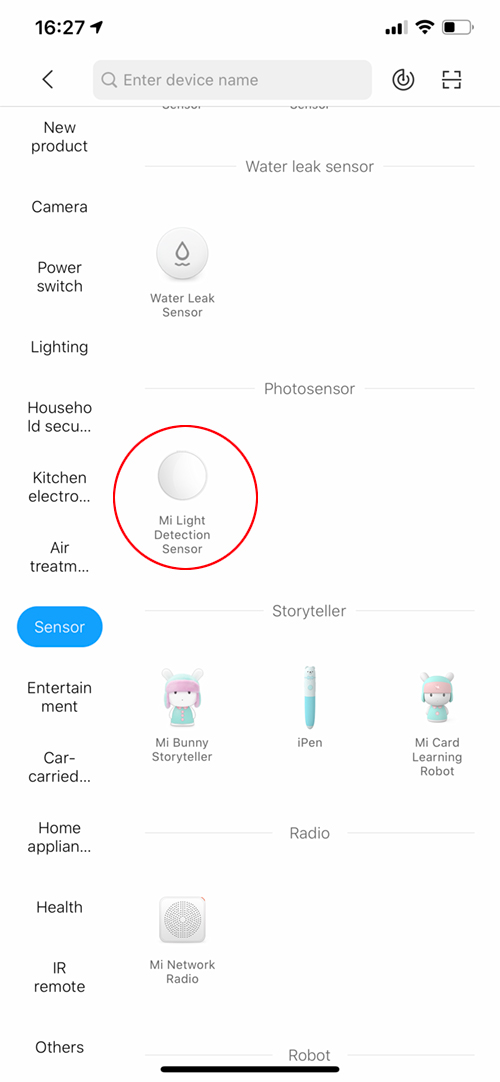
Some, if not all, of the resellers for this device state that it will only work with the Mi Smart Gateway (and HomeKit) via the Mi Home app. Whilst it’s true that it does work with both the gateway and the app, it can, in fact, work with the current Aqara hub. Additionally, because the Mi Smart Gateway can only be added to the Mi Home app when set to the Chinese Mainland server, if you don’t use this particular server in your app, you’re going to be a bit stuck. Even with your Aqara hub set to the Chinese server, this device isn’t listed in the Mi Home app as being compatible with the Aqara hub. Thankfully there is a simple way to add it to the Aqara hub, even if you have it in the Mi Home or Aqara apps, with a couple of provisos.
Mi Home
- If you have the Mi Smart Gateway you can add the sensor and it will appear in both the Mi Home app and also be exposed to HomeKit, appearing in the Apple Home app. The process is as with adding any other device to the Mi Home app.
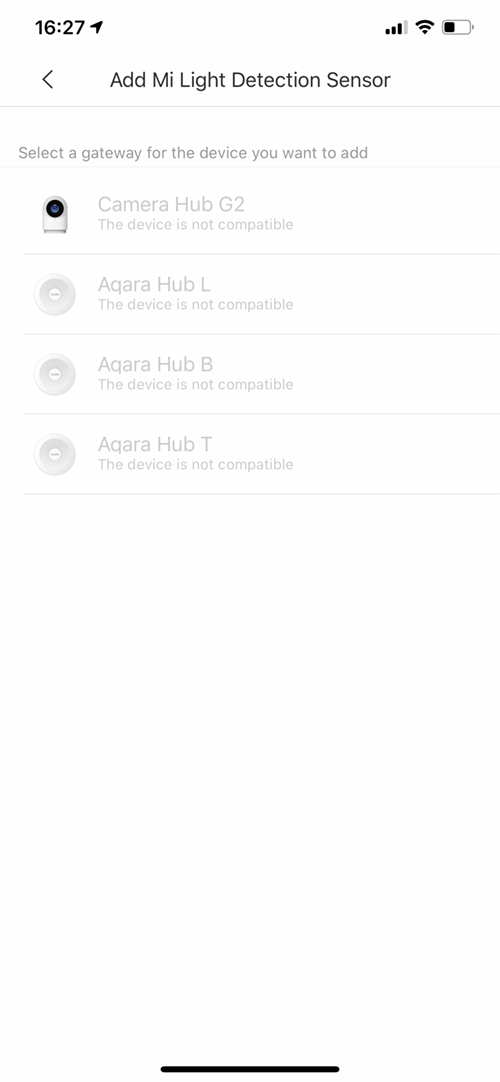
- If you have the Aqara hub in Mi Home, you can’t officially add it, as it’s not included in the list of devices that are compatible, and if you add it from the main menu, it will show that neither the Aqara hub or the Aqara G2 Hub Camera are compatible (see images above)
- You can unofficially add the device to your Aqara hub in Mi Home, by clicking on the hub’s button three times, where it will state “ready to connect to Child Devices”.
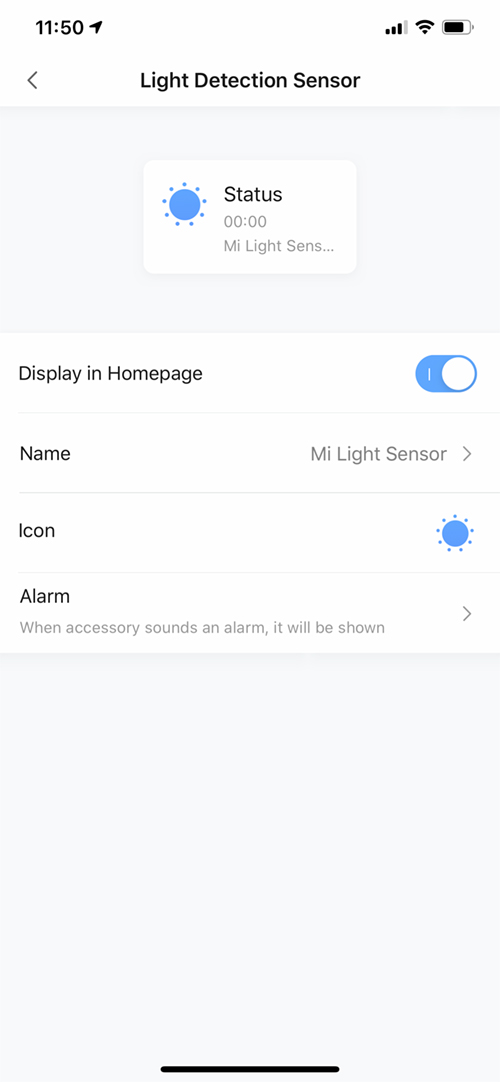
- This will add the Sensor to the Aqara hub, and it will be exposed to HomeKit and the Home app. However, it will not appear in the list of child devices connected to your hub in the Mi Home app, nor will it appear as a device in your list of devices. It will also not be available when creating automations, which used to be the case with supposedly incompatible devices in Mi Home. This all means that you won’t be able to update the firmware if and when it’s issued, so this is not a solution I’d advise, even if you only intend to use it with HomeKit.
Aqara Home
- If, like me, you use the Aqara Home app (instead of, or as well as, the Mi Home app), then using the Aqara app is a much better proposition, even though this device isn’t a listed device in the Aqara Home app.
- Adding it to the Aqara Hub simply requires the same manual way of adding the sensor;
- Press the button on the hub three times
- Wait for the voice prompt from the hub – “ready to connect to Child Devices”.
- Press and hold the pairing button on the sensor until the blue LED blinks three times, then let go
- Aqara hub will confirm successful connection
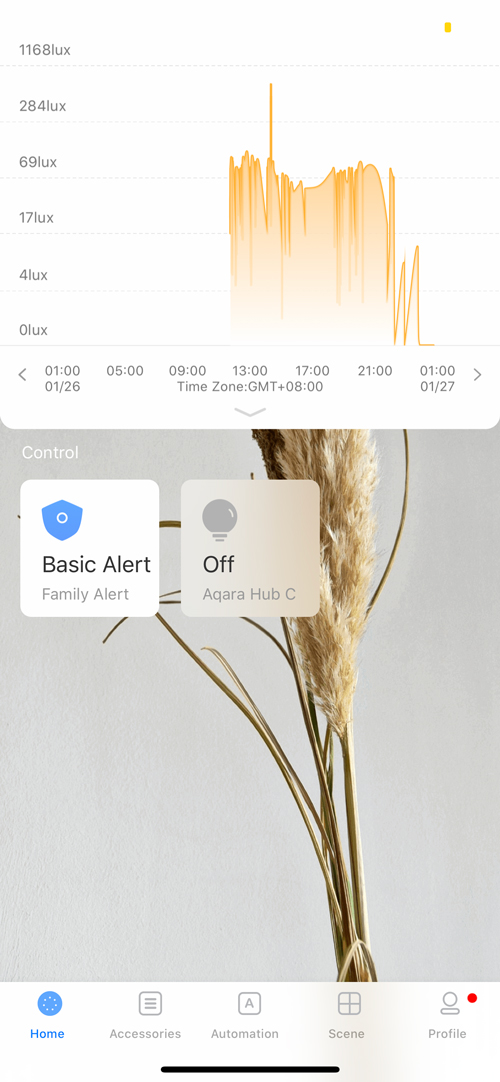
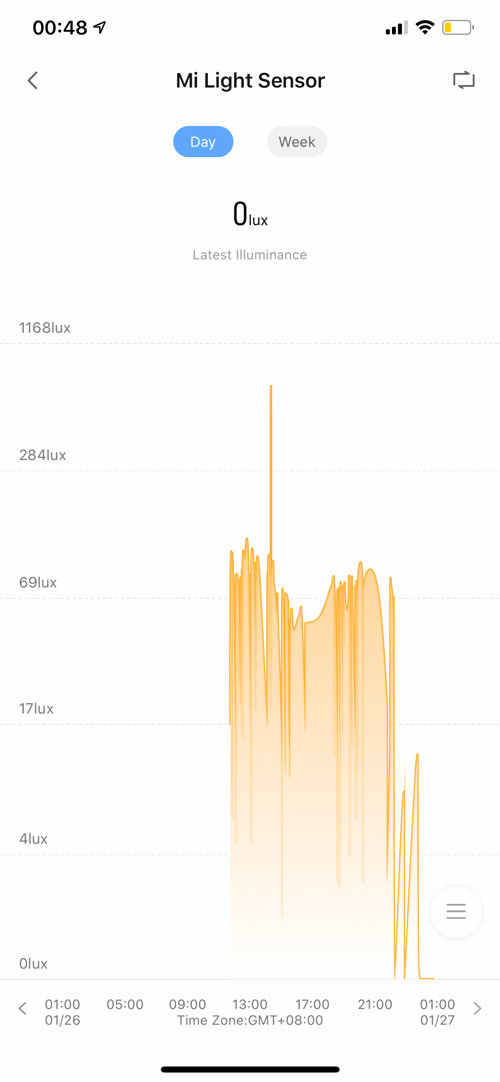
Regardless of whether you’re signed into the Aqara app or not (HomeKit Mode), you can still add this device, and it will also appear as a device in the Aqara Home app once added. It will also be exposed to HomeKit and the Home app as normal. To access light reading data, or to create automations in the Aqara app, you will need to be signed into the app though. Once signed in, you can simply tap on the icon for the sensor, and a window will drop down halfway showing a chart for light readings in daily or weekly format. this window can be fully dragged down to make it fill the screen.
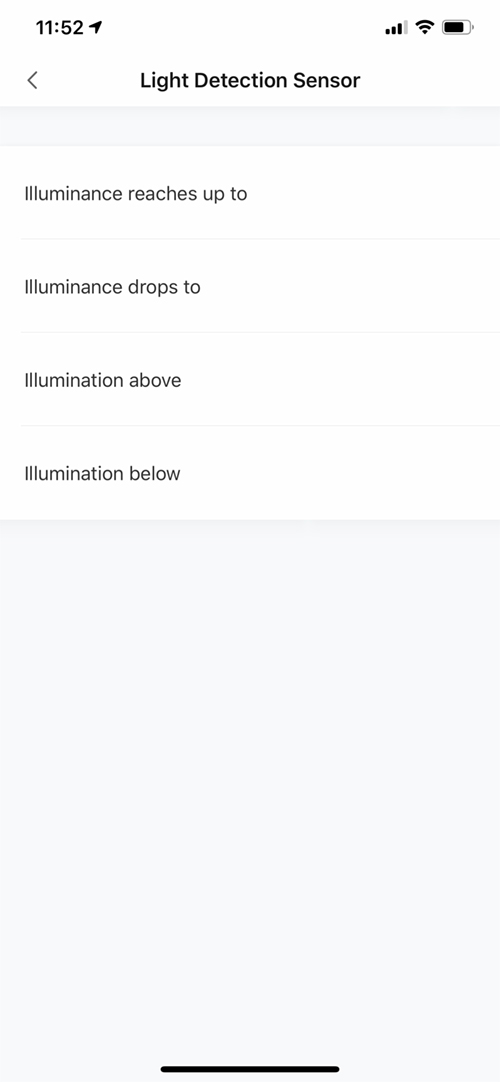
In terms of automations within the Aqara app, you have four basic options;
- Illuminance reaches up to…
- Illuminance drops to…
- Illuminance above…
- Illuminance below…
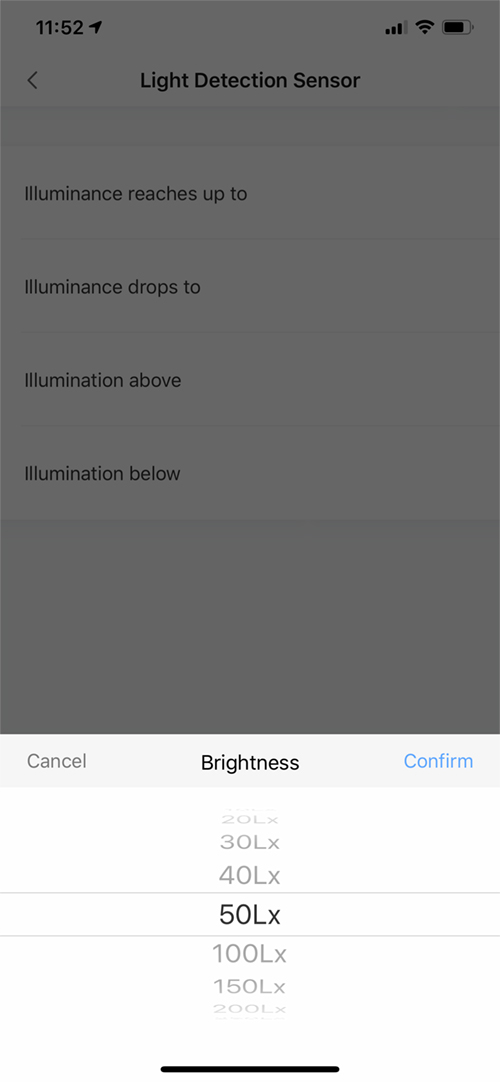
You can set the level in lux at which the relevant automation should be triggered. As an example;
- IF Illuminance below 50Lx, THEN turn Aqara hub night light ON
Apple Home
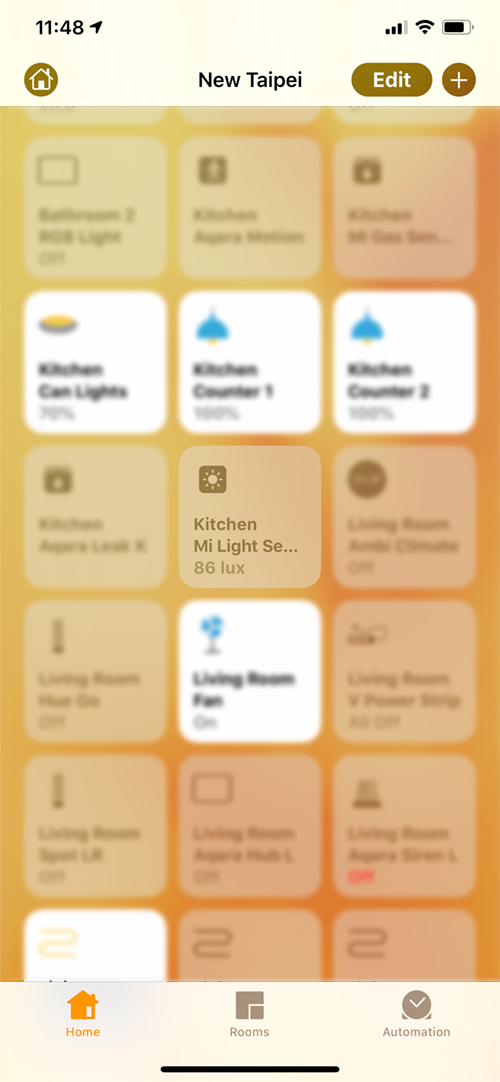
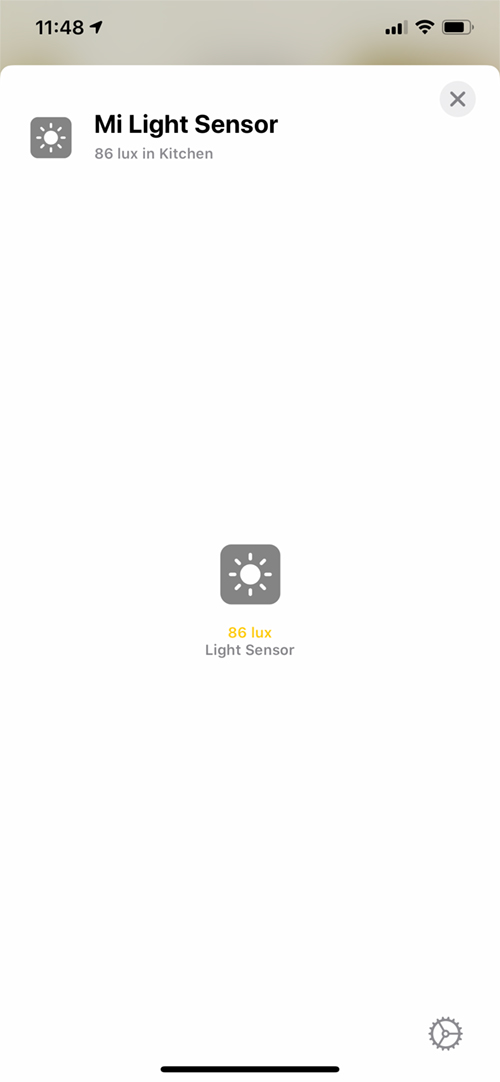
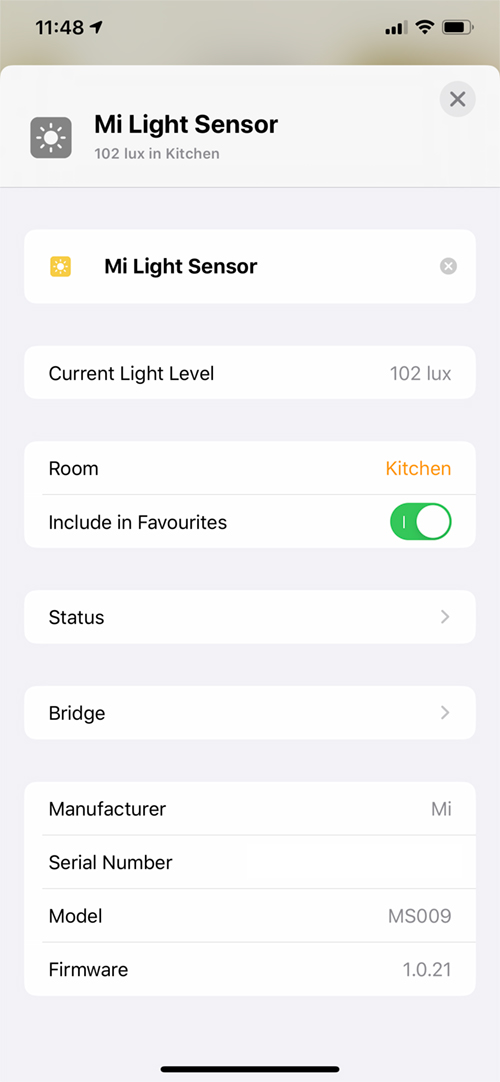
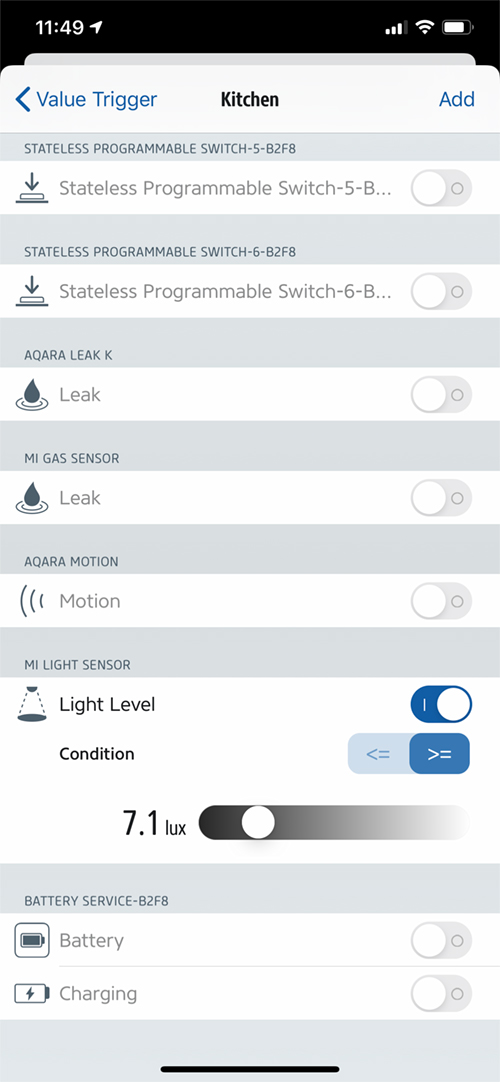
As already stated, this device is HomeKit compatible, so whichever way you decide to add this, it will show up in the Home app, as well as third-party apps, like Eve for HomeKit, for example. In the Home app, the device is represented with just the one tile and one service, as expected. The tile will show the current Lux reading, and this reading is also shown in the first splash screen after you long press on the tile to access the settings. In terms of settings themselves, you’ll notice there’s no option to add it to a scene as such, and you can’t use it in any automations in Home, as light readings are still not supported in this app. They are supported in third-party apps, however, and as you can see above, I’m able to use the light readings from the sensor as a trigger for an automation in the Eve app.
AUTOMATIONS
It should be noted, that as this only works from light readings, when it comes to automations, it can be seen as a bit limiting. Indeed, the sensor readings only update every few seconds, which whilst great, aren’t ideal if you’re looking for the type of quick reactions associated with a motion sensor for example. It’s also a fact that the Aqara motion sensor also has a light sensor built-in, so you might think there’s little point in this light sensor. Whilst the light sensor inside the Aqara motion sensor can be used in automations, you’re severely limited to just one option in the Mi Home app – ‘motion detected and indoor brightness is weak’ so not exactly very customisable. If you’re using the Aqara motion sensor in the Aqara app, you do have more options, including, ‘Motion is detected and brightness is above…’, or ‘Motion is detected and brightness is below…’, where you can set the Lux level reading to trigger an automation. Of course, the light sensor inside the Aqara motion sensor is not exposed to HomeKit. In my brief tests, I found that the light sensor in the Aqara Motion sensor was less accurate when compared to the Mi Light Sensor and the Hue Motion’s light sensor. Combining the light sensor with a motion sensor is a much better proposition, as not only is there more scope for automation involving light readings, but the Mi Light sensor is far more accurate, being able to seemingly report on different readings just 2Lx apart. The light sensor can also examine light from 0-83000 lux. Impressive.
OTHER LIGHT SENSORS
This isn’t the first device to use a light sensor by any means, and there are plenty of quite capable devices that include a light sensor, but none of these is dedicated to the sole task of measuring light. In terms of the competition, I’ve put this up against a mainstay device in my home – the Philips Hue Motion Sensor. The Hue is around three times the cost of the Mi Sensor, but then it has three times the services – light, motion, temperature – each of which are exposed to HomeKit. It’s also part of the Hue family and so uses Zigbee just like the Mi light Sensor, which means it’s fast. That said, the light readings only change every five minutes, unless motion is detected, so if you’re looking for regularly updated light readings that don’t rely on motion, then the Mi light sensor is a better option. Indeed, if you really have no need for motion and temperature sensors, then it really does fit the bill quite well. I did find light readings from both sensors to be impressively close, within 1 or 2 lux of each other when they did differ. With either device, you’re reliant on the relevant hub, so it does depend on which you have (if you’ve got both, so much the better).
SUMMING UP
It’s difficult to grasp whether this would be of use to many people, as we all have such varied needs, but if you really dig deep and work on automations that do need to utilise the brightness of the ambient light around them or in a given room, then I think this is ideal for that purpose. If I wanted the extra functionality of a temperature and motion sensor thrown into the bargain, then I may well suggest the Hue Motion sensor (assuming you’ve already got the Hue Bridge), although a combination of the Aqara temperature and humidity sensor, Aqara Motion sensor and the Mi Light sensor would still probably be only a tad more expensive than the Hue, but with the addition of the humidity sensor thrown into the mix (as well as air pressure – which is unfortunately not exposed to HomeKit). On balance, I think I’d probably go with the Hue, as it does combine three sensors into one package, thus reducing both the number of devices you need to maintain, as well as having the option to make the light and motion sensors work in tandem in the Hue app if you so wish. It is a good device though, and being so small, with different mounting options, hasn’t gone unnoticed. Bottom line – if you simply need a light sensor, go for it. It’s so cheap that it really doesn’t matter a lot if you can’t immediately find a use case for it, as I know you will eventually…




Would it work with Aqara Hub on european servers?
If you’re talking about it via the Mi Home app, I’m not sure, but in theory, if you add it manually as described in the review, it should be exposed to HomeKit, just not visible in Mi Home. This is how Zigbee 3.0 devices seem to be behaving now in relation to Mi Home. If you have the Aqara hub in the Aqara app, then it’s not an issue at all.
Hey I also bought this one and it’s on the way, would you mind to show or tell us how bright is this light?!
I would like to use it as a night light in bathroom during night time or night light for the Stairs. Thank you thank you.
It is not a light, it is a light sensor that measures the ambient light level and outputs a value in Lux, 0 Lux is pitch black I assume.
Hello Jack, this is not a night, it’s only a light sensor.
So what can we do with it? xD
Measure the light levels in a room and create an automation based on those levels. You might want to use it for a light above your front door, where, when it gets below 50lx, the light automatically comes on. This is better than a timer, as sometimes it might get dark earlier in the day than usual, because of a cloudy day, for example.
hmm that make sense, I got one and donno what I can do with it yet.
is it possible to add this manually to the Chinese Mi Hub? (3 presses on the hub)
Do you mean the older Mi Hub or the new Mi Smart Gateway? It will work with the new Smart Gateway, but it will not work with the older Mi Hub. The light sensor is a certified Zigbee 3.0 product, and the older Mi hub can’t work with Zigbee 3.0 devices.
Hey hi. Just wondering, how do you remove the back of this Mi Light Sensor? It doesn’t show on the manual. And it doesn’t seem to have magnets on mine.
Hi, to get inside the light sensor, on the back there’s an indented slot. Just use a suitably thick coin or similar to turn this slot whilst holding the main body of the sensor. There are two small magnets in the inside of the sensor, but they’re not the strongest I’ve come across.
Hi,
Do all sensors work now with the xiaomi gateway on european servers?
I’m looking to get light sensors, relay switch etc.?
Hi Greg, do you mean the new Mi Smart Gateway?
yeah that’s right. I’ve been reading a lot of sensors only work on the chinese mainland server?
Before doing the investment, I want to make sure all my sensors will work.
Thanks
Hi Greg, all the basic sensors are region free, so they can be used with all variants of the Aqara hub (Chinese, EU, US versions) as well as the newer Mi Smart Gateway. If you have them go through the Mi Smart Gateway, not all of the sensors are exposed to HomeKit at present, however, but I’m told more are being updated to be exposed to HomeKit all the time. If you go with the Mi Smart Gateway from China, you would have to use the Chinese server, so it may be better to either wait for the official EU version or use the EU Aqara Hub, which I think is generally a better device than the Mi Smart Gateway.
The devices that tend be locked to regions are the more expensive ones, like robovacuums, fans, or air purifiers etc.