Vocolinc VS1 Smart Contact Sensor (review)
Having initially been known for smart plugs and lighting, Vocolinc has made some important inroads into other areas that other HomeKit-focussed companies have yet to broach, with the Flowerbud Smart Diffuser from a while back, and most recently the VAP1 PureFlow Smart Air Purifier. The company do have other products coming later this year, but another new device that slightly slipped under the radar due to the excitement surrounding the aforementioned VAP1 was the VS1 Smart Contact Sensor. Although this is a new area for Vocolinc to tackle, it couldn’t be considered a unique device in general due to the proliferation of contact sensors available from the likes of Eve, Koogeek, Fibaro, Xiaoyan, Aqara and others, but does it have enough to differentiate itself from the pack? Read on to find out.
PACKAGING/UNBOXING
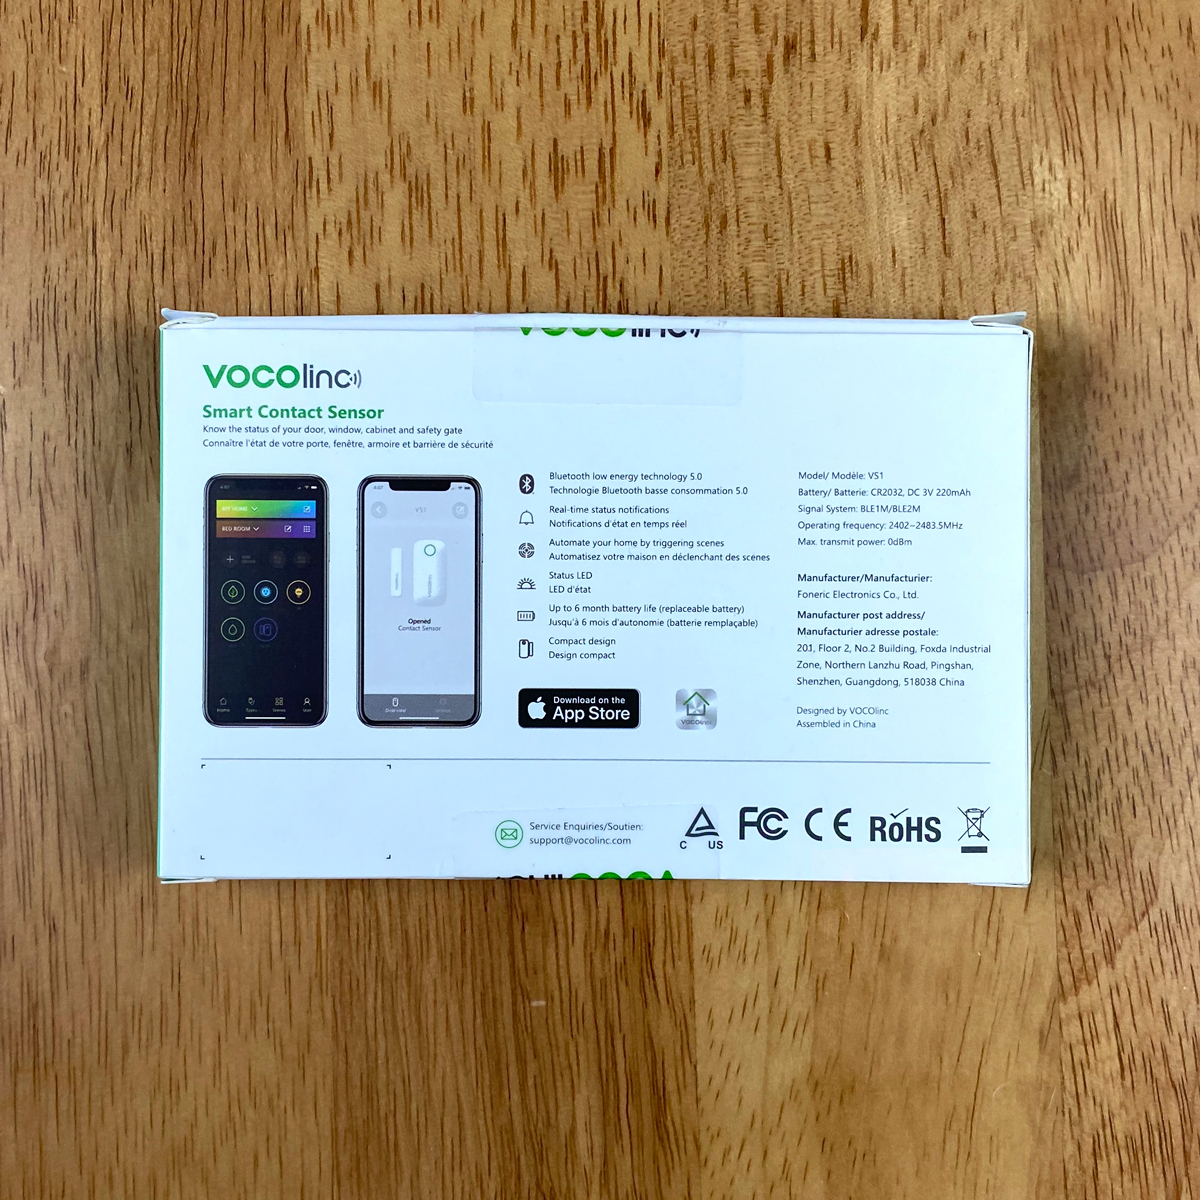
The VS1 is a Bluetooth-based contact sensor, much like the Eve, Koogeek and Fibaro options, although it does use Bluetooth 5.0, so at least according to the stats, the range for this device should be fourfold compared to a device using BT4.2. It should also be able to transfer data at twice the speed, although something like this is harder to measure when a product of this type is usually quite fast anyway.
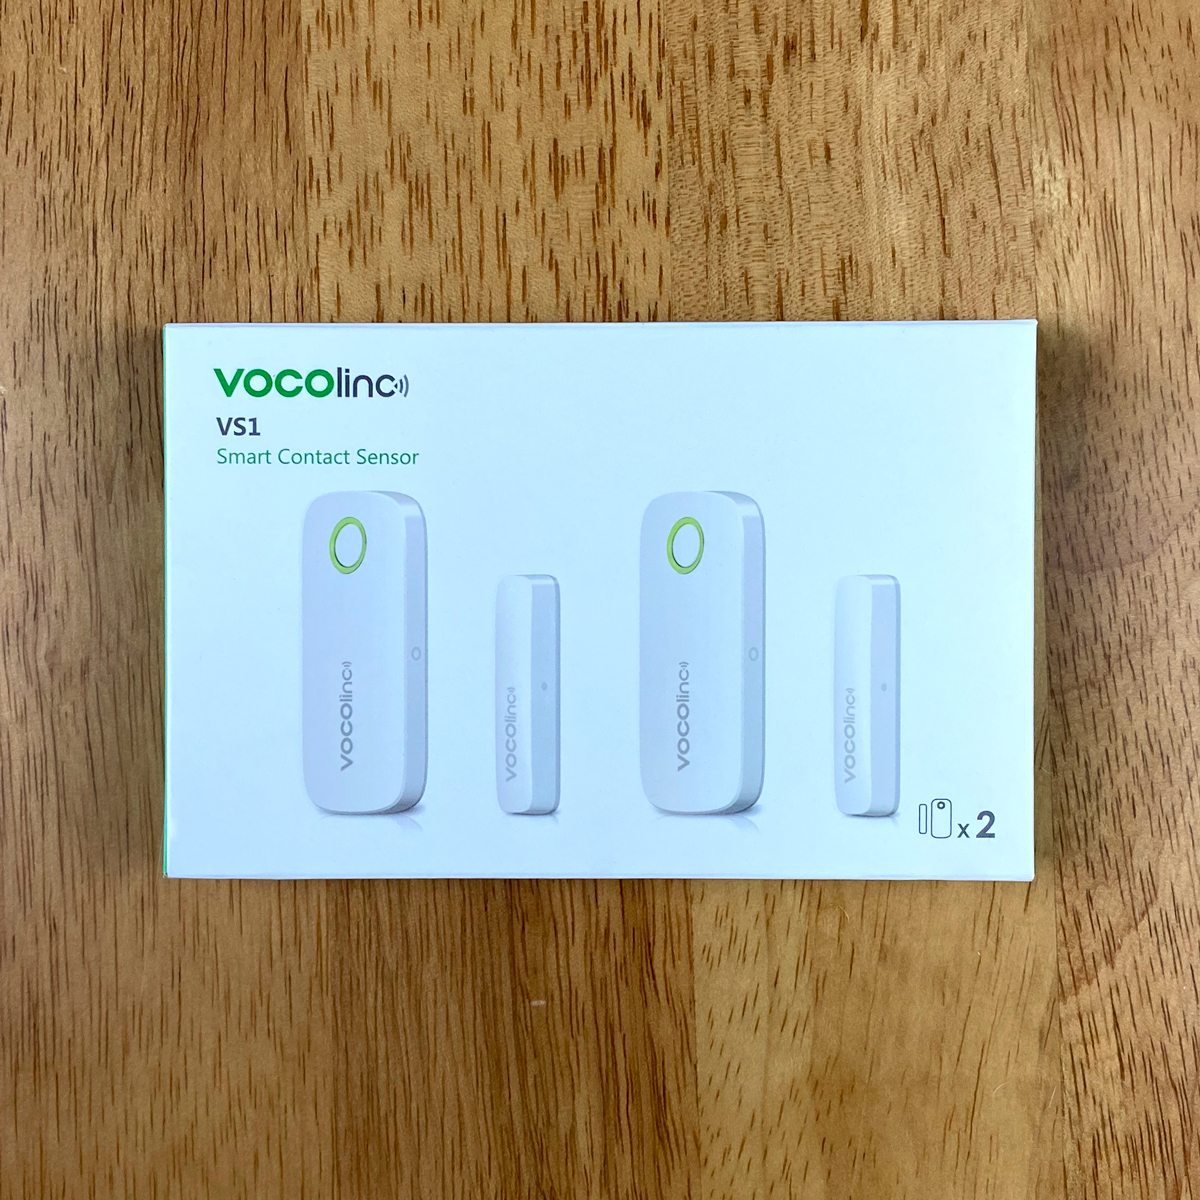
We’re looking at the 2-pack, as can be seen on the front of the box, and it’s quite a compact affair, with minimal use of packaging, which is always welcome. The rear of the box lists the basic specs and features in both English and French.
You may notice the lack of a HomeKit logo on the front but fear not, as it’s placed on the opening for the box, as part of the seal. As this is Bluetooth, currently this only supports Apple HomeKit, so no Amazon Alexa or Google Assistant/Home/Nest compatibility at this time, like their T-Guard Smart Lock.
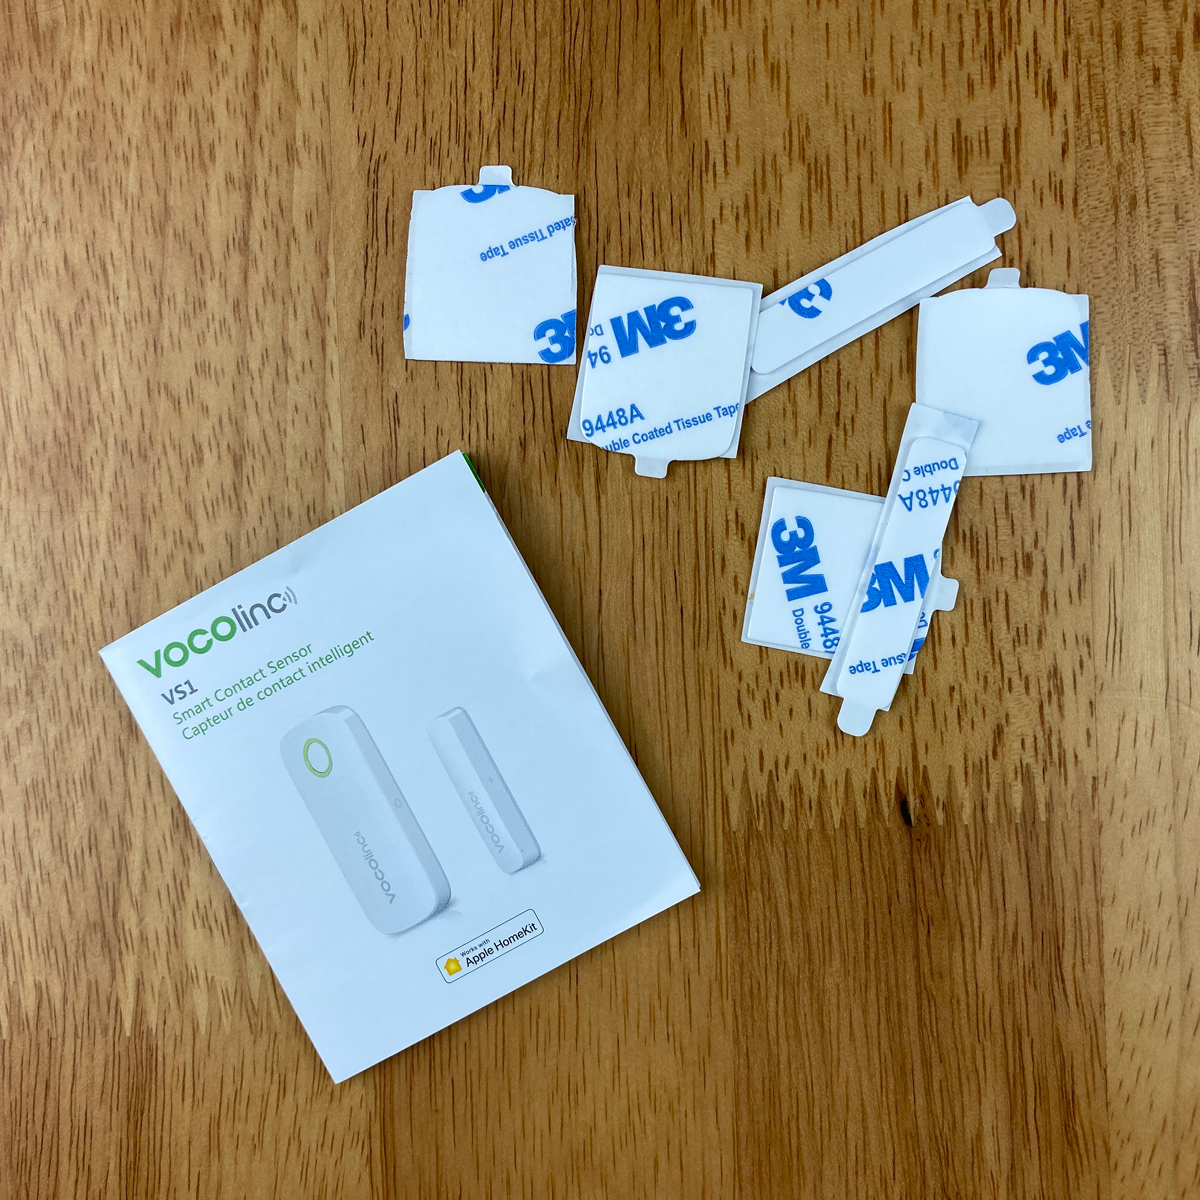
Both sets of sensors are really well held in place with dense foam that hold both parts in place, so there’s little to no chance of these rolling around in the box – there’s simply no space to do so! Along with the sensors and magnets, you get a manual in English and French, as well as a set of double-sided stickers. For the 2-pack, you get four stickers for the main sensor, and two thin strip stickers for the magnet, as the magnets already come with double-sided stickers attached.
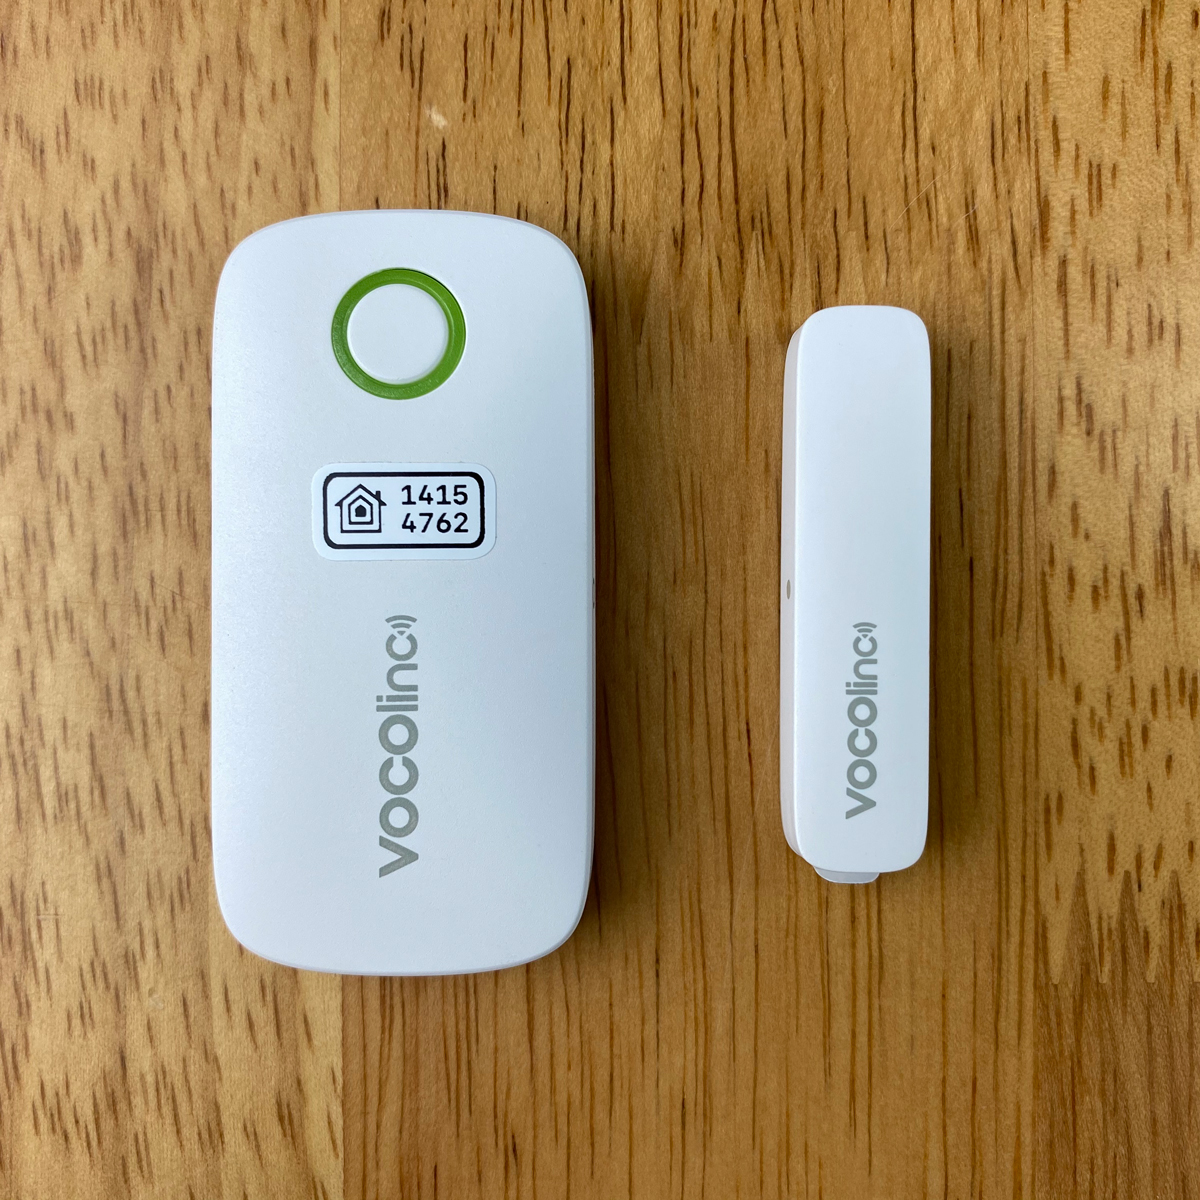
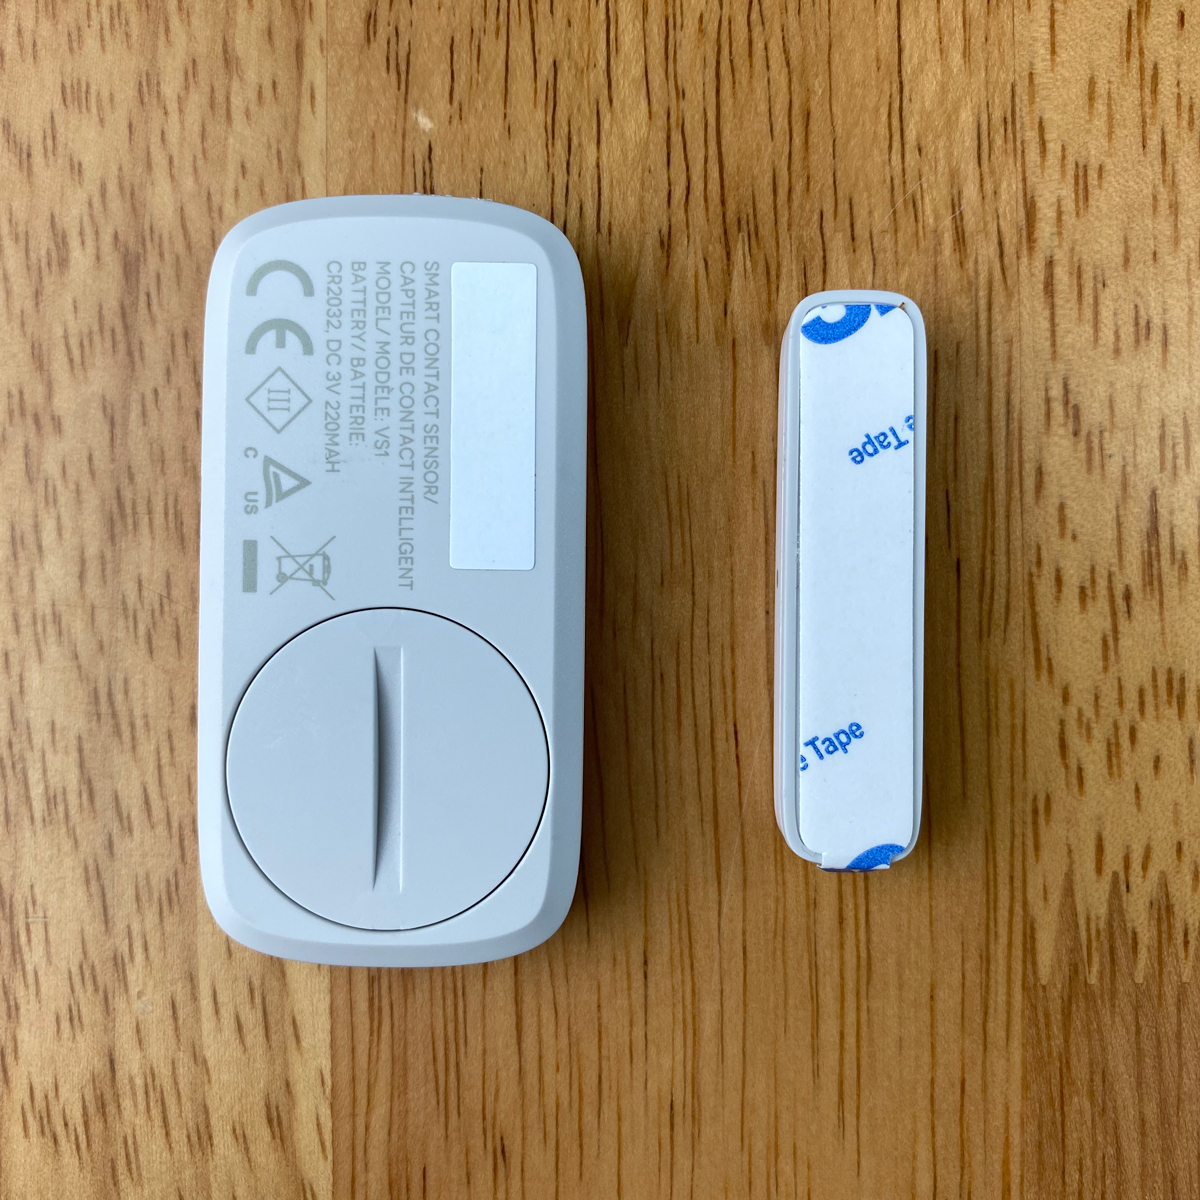
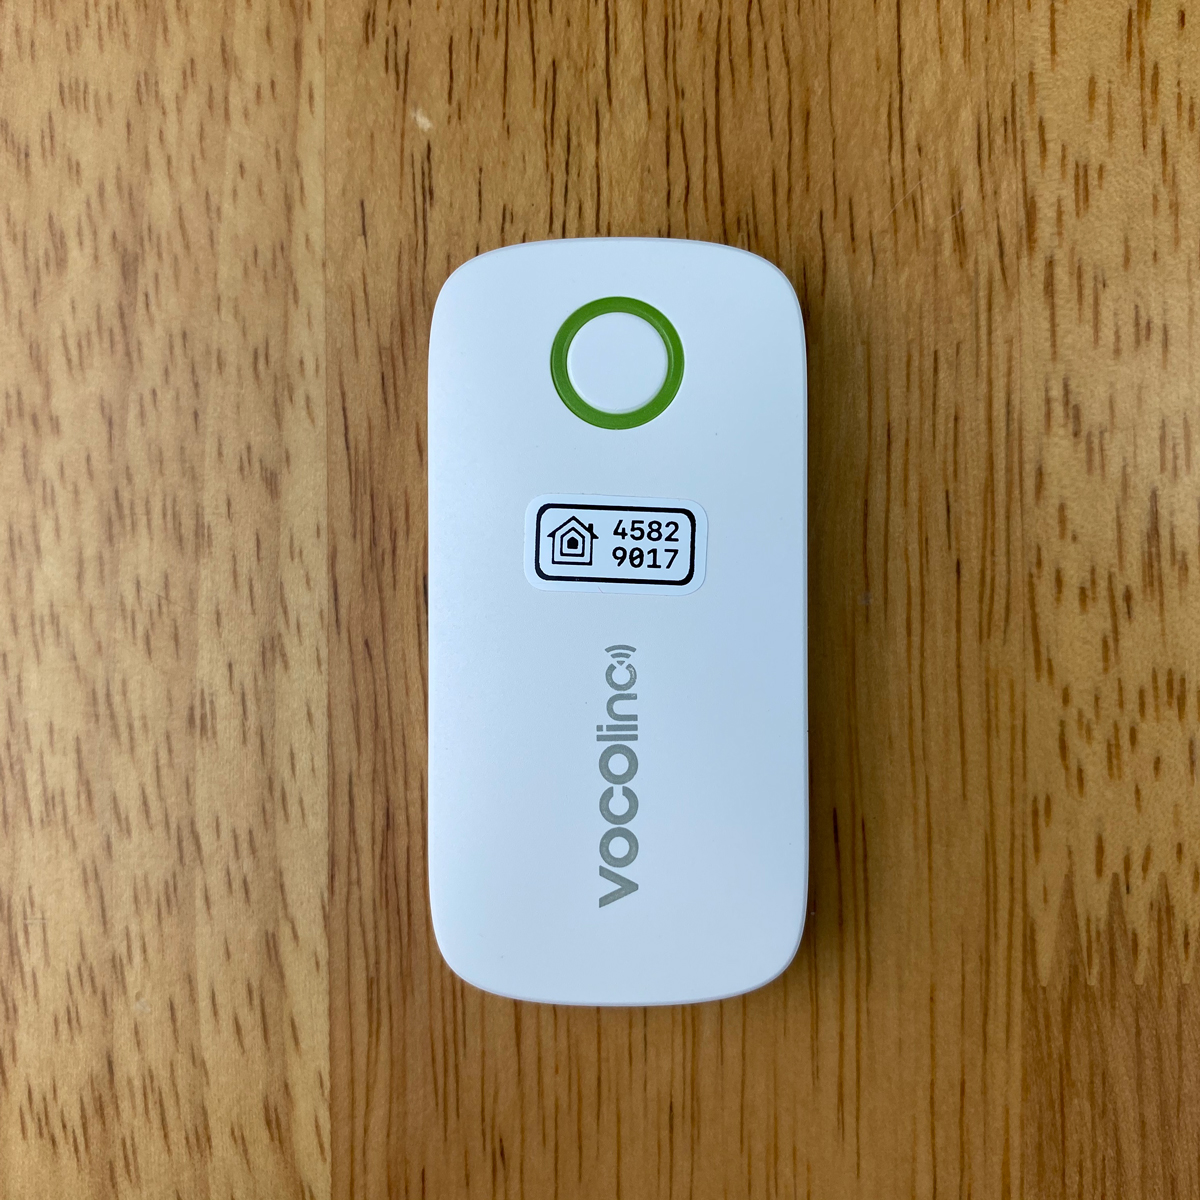
The booklet comes with two HomeKit QR Codes stuck to the back page (one for each sensor), with the sensors themselves also having the code stuck to the front. Whilst these codes aren’t particularly large, having them on the front is a bit unsightly, to be honest, so I’d personally be inclined to remove them once I’d saved the codes, as it does spoil the rather slick design. It would probably have been better to stick these to the rear of the device, although there’s precious little blank space as it stands. There’s also a bit of an issue with using the back, as I’ll mention later, although the remedy nullifies the issues anyway.
THE CONTACT SENSOR
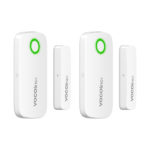
The sensor is overall larger than many sensors, but it’s also slightly less deep. The main sensor is 60 x 30 x 9mm / 2.36 x 1.18 x .35in, with the magnet coming in at 45 x 10 x 8mm / 1.77 x 0.39 x 0.31in. As previously mentioned, the HomeKit code is placed on the front of the sensor, but it can’t be scanned, so the 8-digit code has to be entered manually. The codes stuck to the back page of the manual are standard QR codes, so they can be scanned.
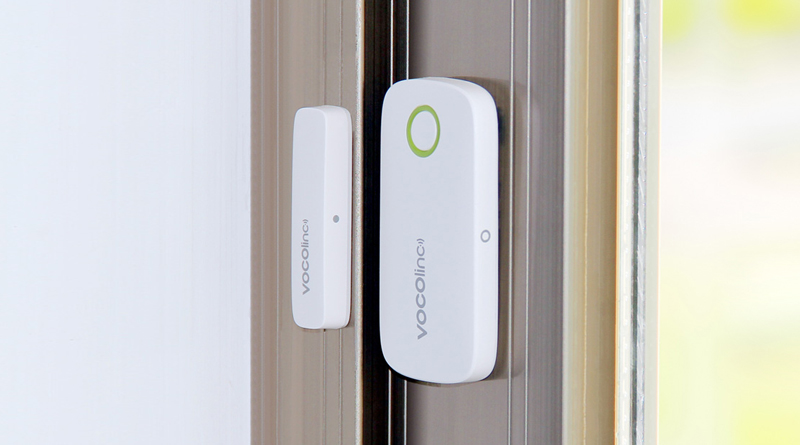
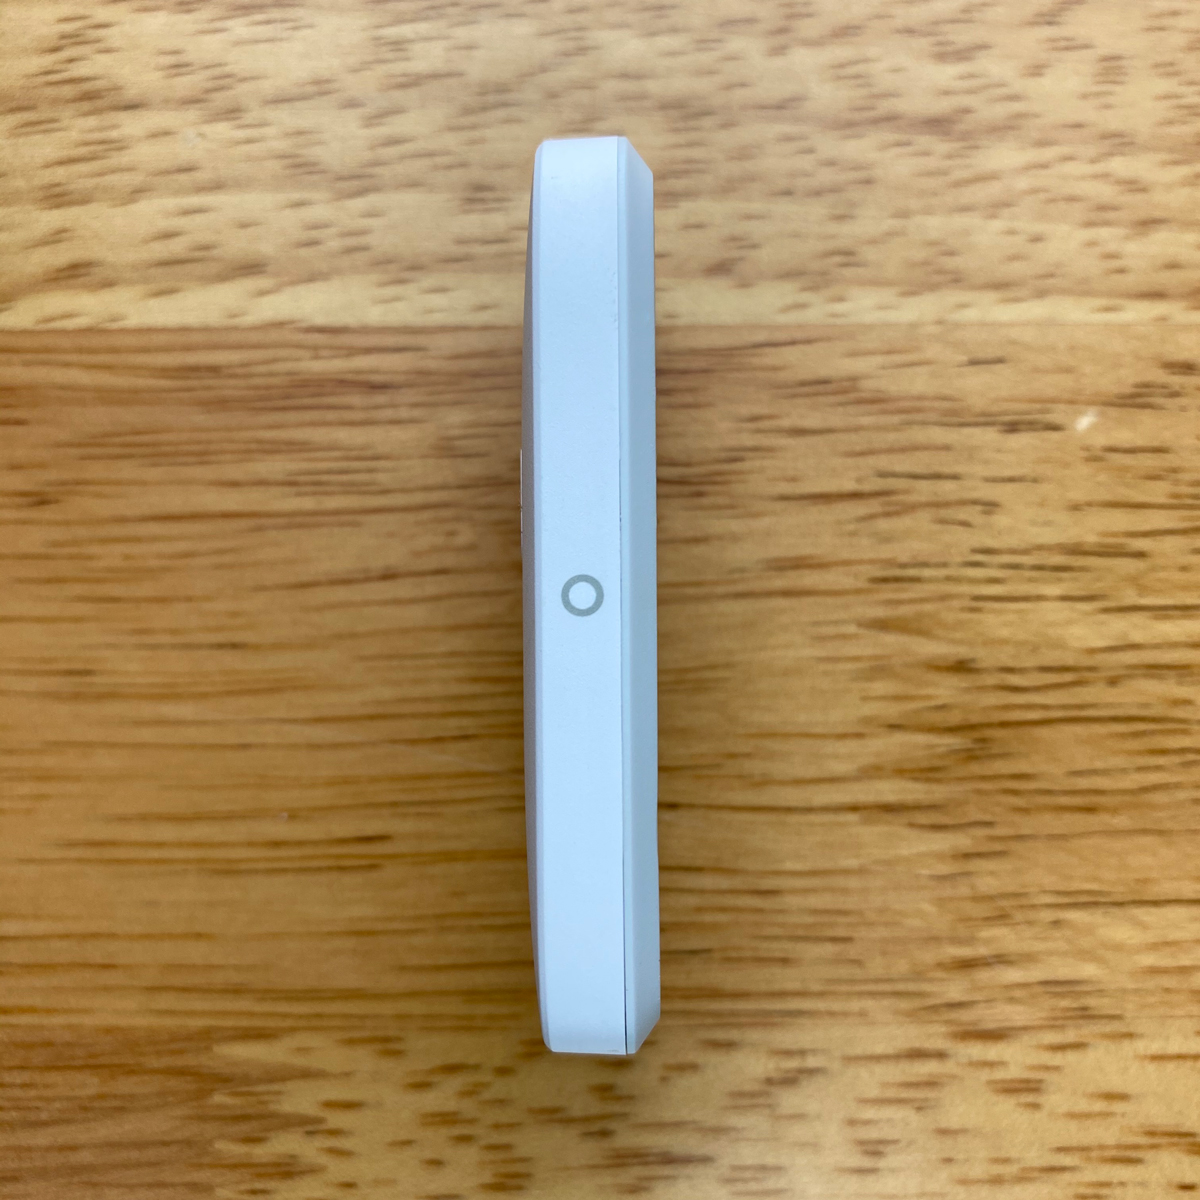
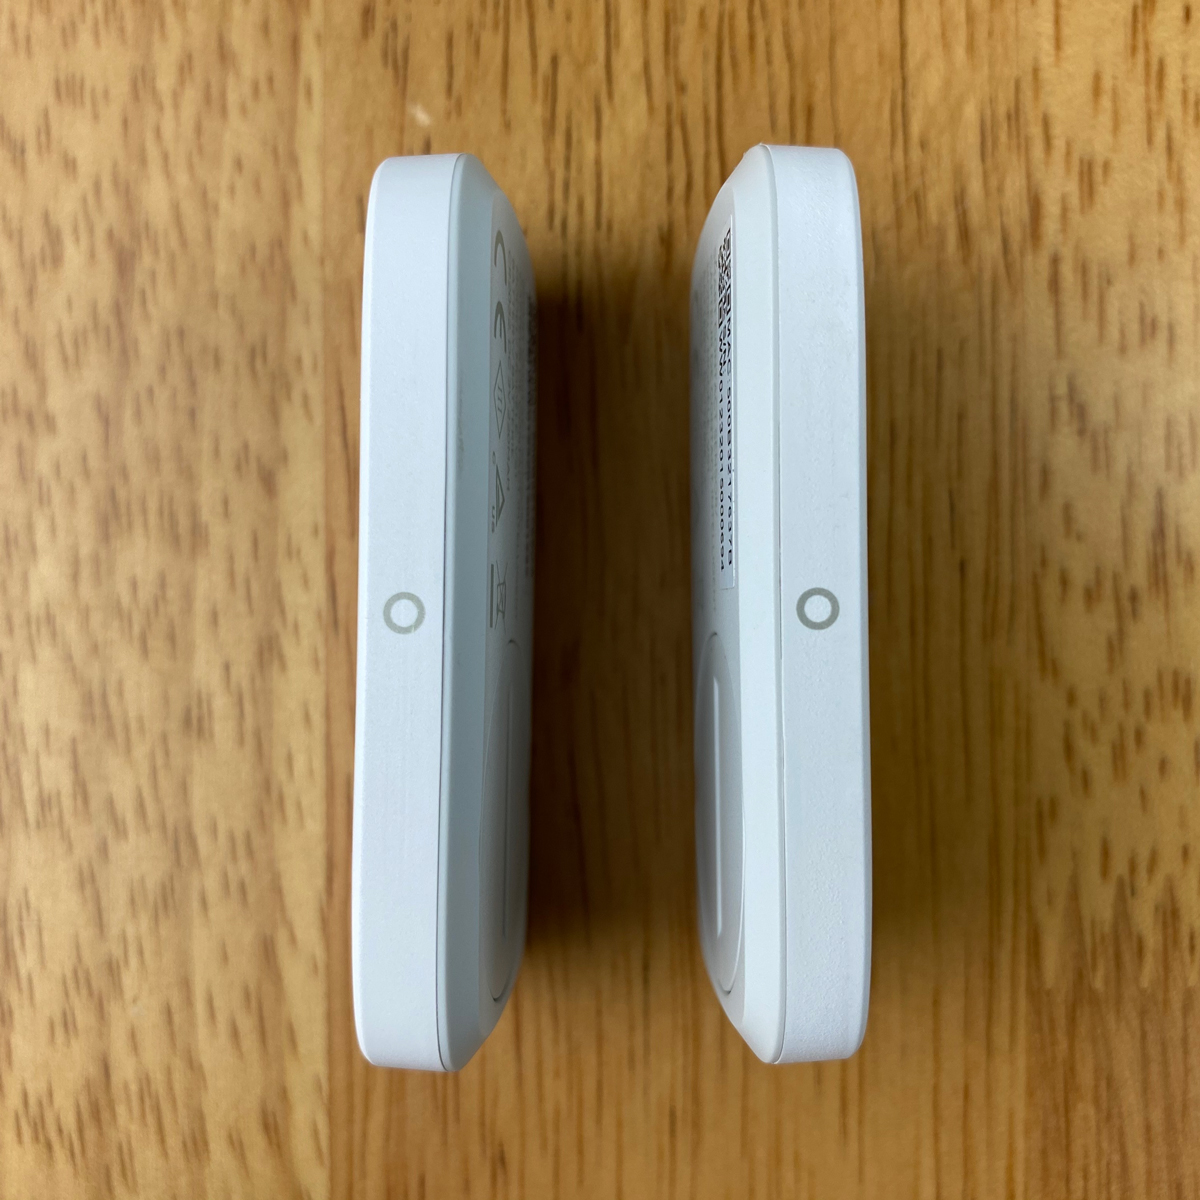
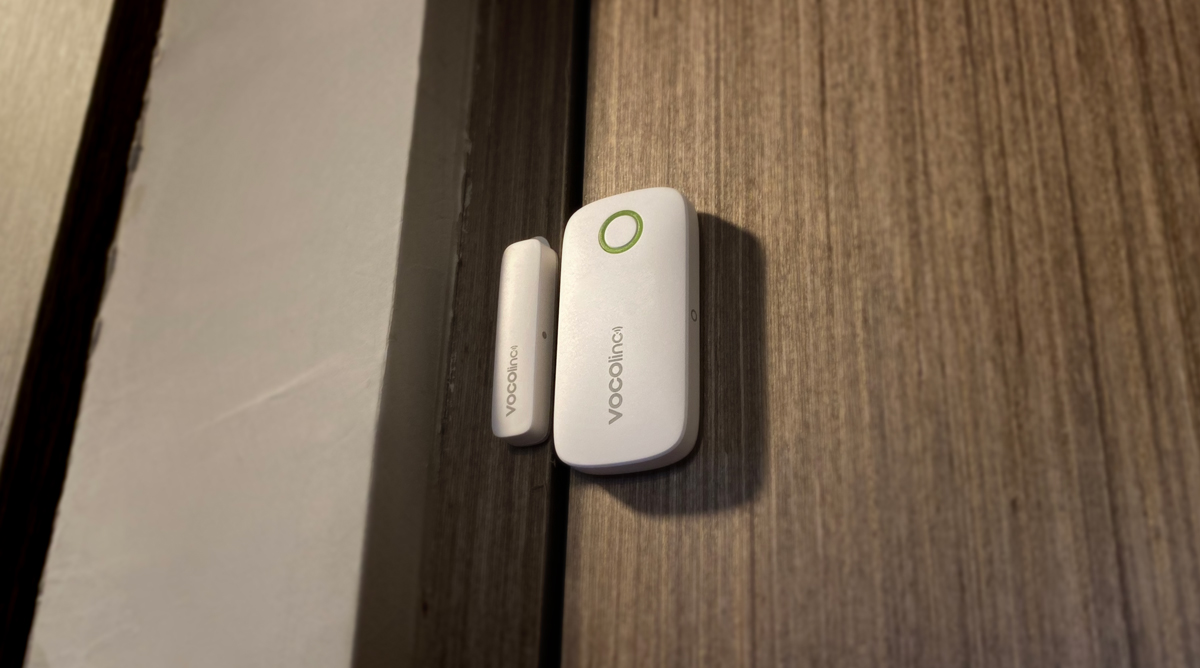
The sides of the sensor and the magnet has circular markings to show you the best placement between the two halves, to ensure optimum functionality, but unlike some other sensors, the VS1’s magnet can be placed on either side of the sensor, which is just as well; If one assumes that the sensor portion is fitted to the door jamb, with the magnet being placed on the door (although it doesn’t really matter), given the VS1’s sensor is about a 1/3rd wider than say the Aqara Contact sensor, it’s likely it won’t fit some door jambs, so the sensor in many instances will be more suited to being stuck to the door. Some sensors only have the magnet fitted to one side of their sensor, and so depending on which way your door opens, you may have to place the sensor upside down, which was the case with the Onvis Security Alarm Contact Sensor. As the VS1 has magnets on both sides of the sensor it’s a non-issue.
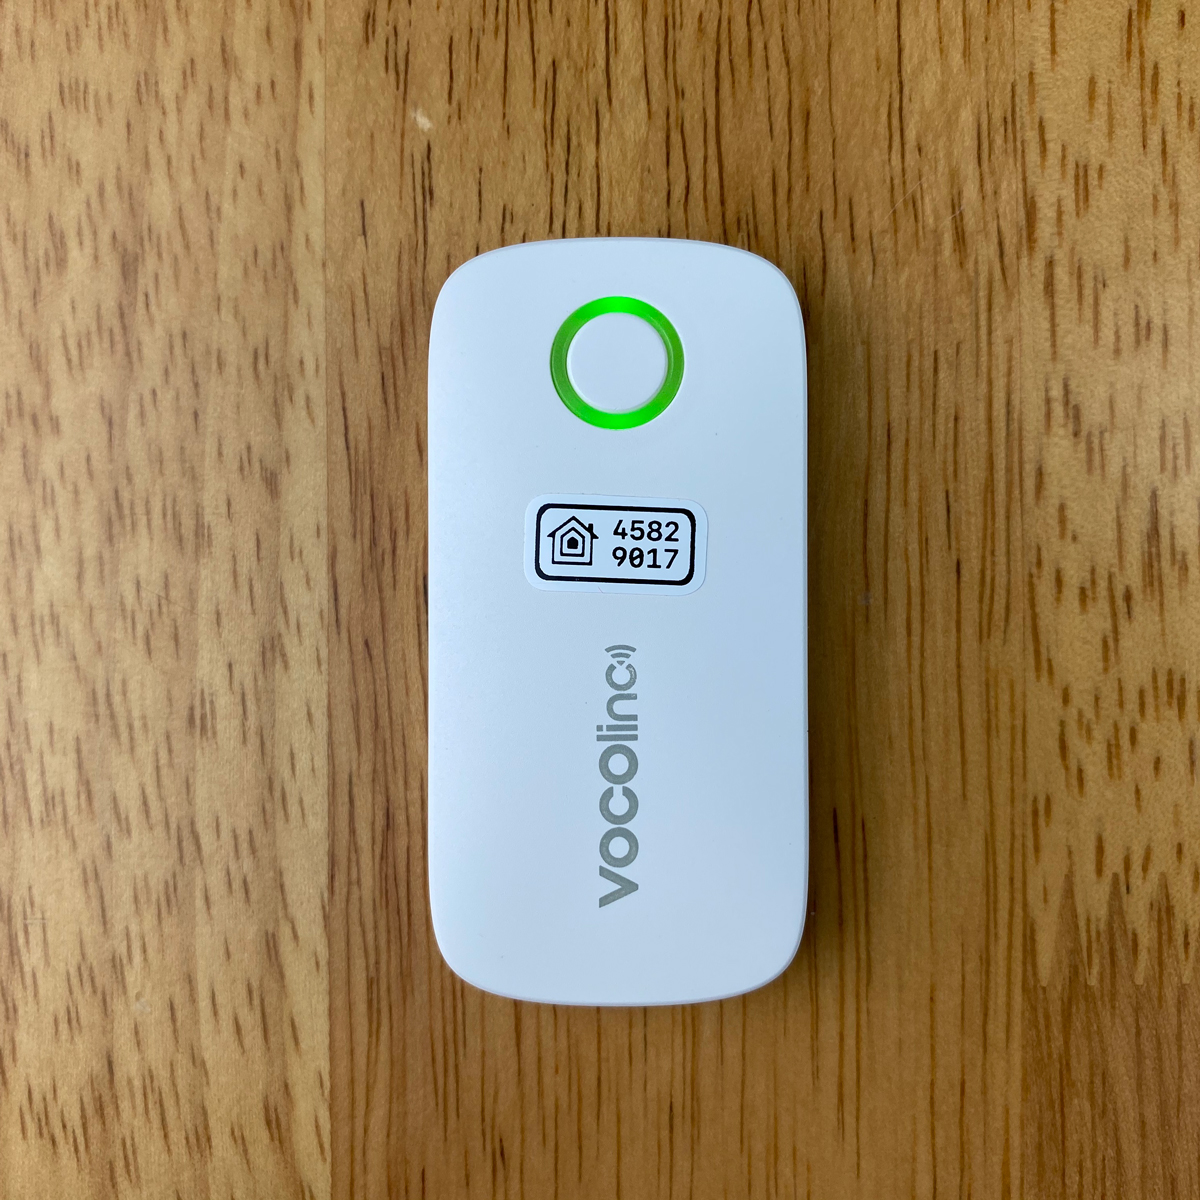
The device, whilst in my opinion looks very stylish, hasn’t got a lot else to see other than the green circle at the top half of the front face of the sensor. This to me is what makes it look quite different from many other contact sensors. It also looks like a Vocolinc product, with the use of green that you see in their packaging, as well as the buttons for their new Air Purifier, so it would appear there has been some thought gone into the aesthetics. That said, it’s unlikely you’re going to be gazing adoringly at it for any amount of time in spite of the large green LED ring. This ring also acts as a pairing or reset button, with a small but noticeable click when pressed.
This LED light is also something that may not appeal to some users for a different reason, which is battery life; The VS1 uses a standard CR2032 coin battery, but the estimated battery life is a mere six months. Could this be due to the LED being quite large? Possibly. for many Zigbee users, we’re used to the idea of this type of battery lasting upwards of two years, so six months is a little disappointing. I don’t know if Bluetooth 5.0 uses more ‘juice’ than Zigbee, but it’s supposed to be ‘Low Energy’ usage. If the battery could squeeze twelve months of use, it could be acceptable, but I would posit that six months is simply too low for many people. It’s just as well that the battery compartment is easy to access… or is it?
A DESIGN FLAW AND A SIMPLE FIX
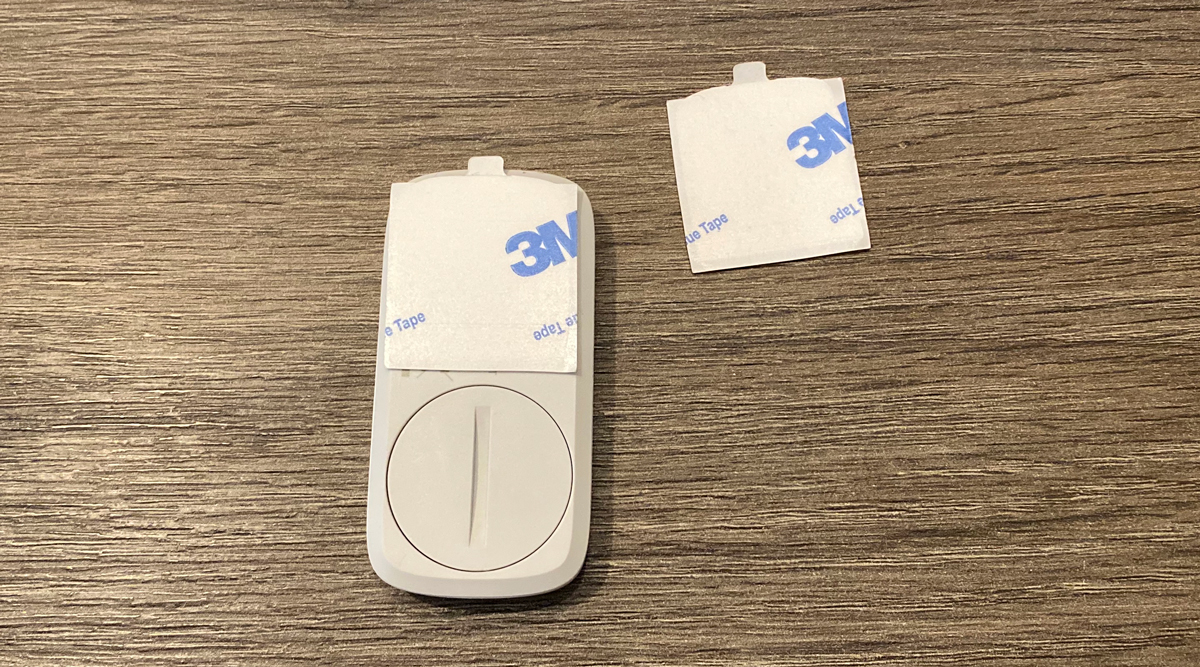
The double-sided stickers that come with the VS1 are designed to be placed on the top half of the rear of the sensor body and then stuck to the door or door frame. The battery compartment, which is quite easy to open and close, is also on the back, which means that once the sensor is stuck to a surface, you don’t have access to the battery compartment without first having to remove the entire sensor and double-sided sticker from the door again. Not great, especially if you have to do this every six months. Luckily, if you haven’t guessed already, there’s a simple solution; take the sticker, cut it into a circle the same size as the battery compartment cover, and stick the circular sticker to it. From then on, you only have to rotate the sensor 90º in order to open in and access the battery, with the cover itself staying in place on the door surface. Two things to note with this are that when turning the sensor to get to the battery, it turns anti-clockwise when opening, so you’ll want enough clearance when doing so, which shouldn’t be an issue if the sensor is attached to the door, but could be an issue if you place it on the right-hand side of a door jamb. The battery will also fall out quite easily, so have your free hand at the ready to catch it!
INITIAL SETUP
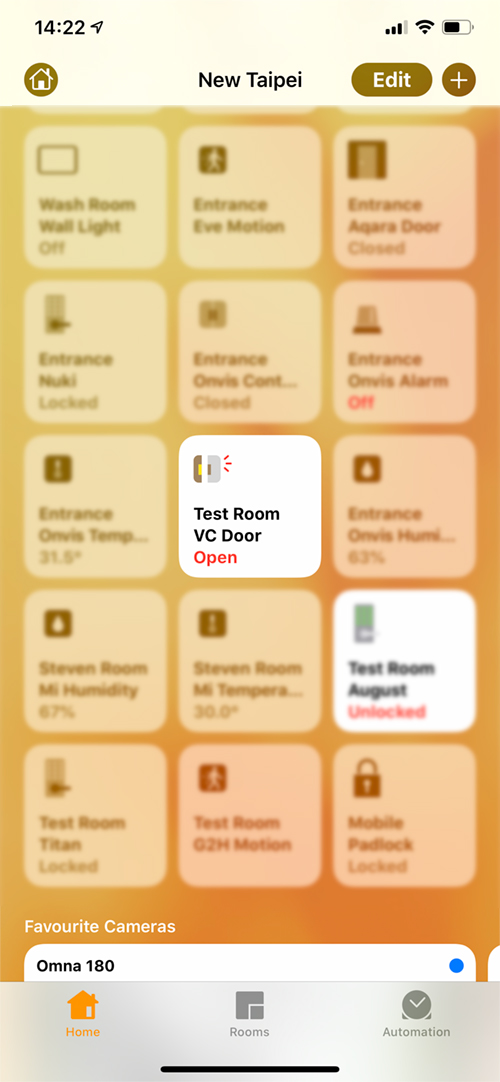
Contact sensors are very useful but pretty basic devices, and the VS1 is no exception in this case. Adding it to HomeKit via the Home app is also as simple and straightforward as you’d expect, so I won’t even go into this except to say, in the Home app, select ‘Add Accessory’, scan the code and you’re done! As it uses Bluetooth, it does all of this fairly quickly.
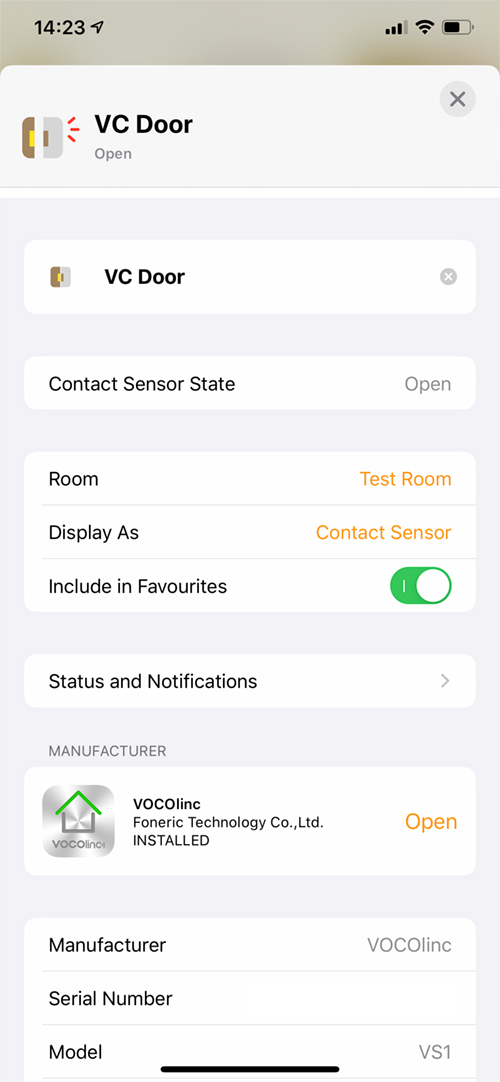
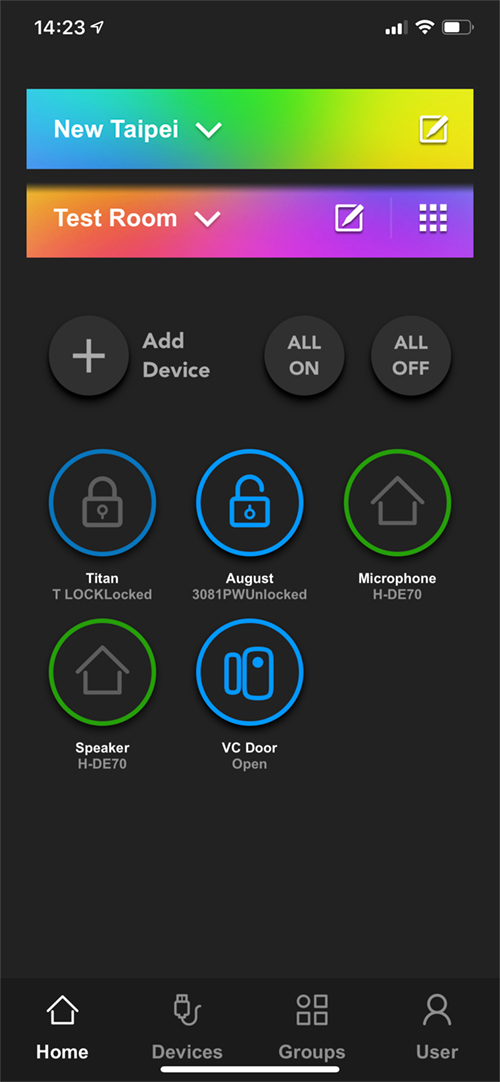
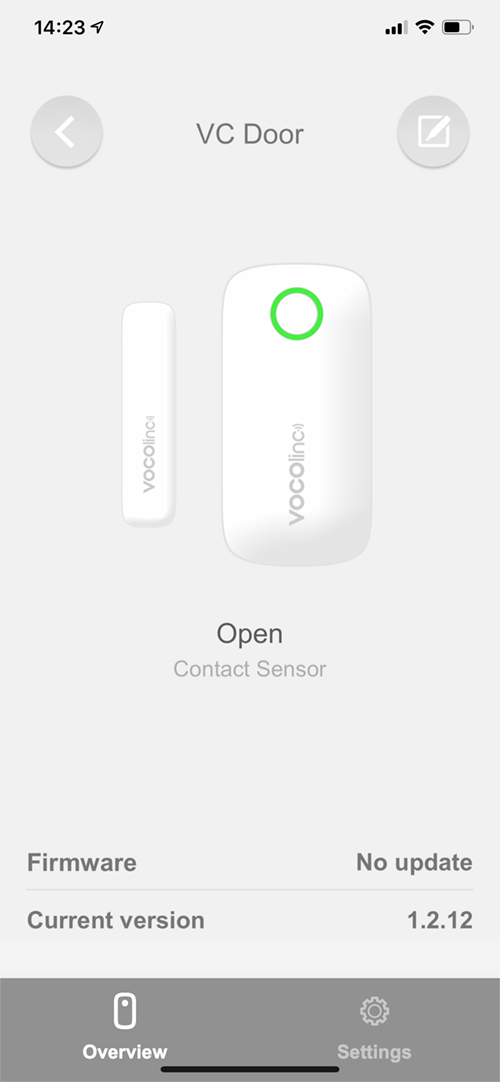
For the Vocolinc app, it’s essentially the same deal, although I did manage to easily find a small bug that didn’t allow me to create an automation, despite my HomeKit home meeting the stated requirements. I’ve brought this to the company’s attention, and they’ve said for now it’s better to just use the Home app, as they’re working on an update to the app, which will include some special and exclusive features for the VS1, so by the time you read this, this current limitation may already be old news. Regardless, it doesn’t matter too much, if like me you create your basic automations in the Home app, where automations works fine until the updated app is out.
IN USE
It’s not easy these days to get excited about a class of product when there are many options to choose from, and being that this kind of device only does one thing (The Xiaoyan door sensor does buck the trend with a built-in temperature sensor), it’s equally difficult to write about at any great length. Still, these types of sensors do a great job and this is also just as good at what it does. There’s no denying that for seasoned HomeKit users, with a few exceptions, many aren’t fans of Bluetooth devices if they’re required for time-critical functionality, as it’s well documented that they are a bit slow on the uptake initially if left to go into what appears to be a ‘hibernation’ state after a period of time. Once awake, Bluetooth devices such as the VS1 are for the most part as quick as their Zigbee counterparts, and with Zigbee devices needing a hub, you can see why a Bluetooth device can be appealing on a certain level. I for one, prefer Zigbee, and after getting the required hub, any other sensors that I buy and add, the initial outlay for the hub is mitigated over time. What the VS1 and its ilk have is that they don’t need a hub AND they’ll keep working even when your network goes down, although for remote access that’s not the case.
PERFORMANCE
Has the VS1 performed well? Yes, it has. This is in no small part due to it being relatively close to one of my Apple TVs, wherever I place it, and this is critical to a well functioning Bluetooth device. If the reach of Bluetooth 5.0 is as good as they say, then for most people you should have no issues. In fact, even my Zigbee devices have been slow to react on occasion, although it’s a lot rarer than Bluetooth, generally speaking.
Apart from the ‘issue’ with the way the VS1 is designed to be fitted to a surface, which is easily resolved, the only real ‘fly in the ointment’ is the battery life. The 2-pack is very competitively priced at US$36.99, making each sensor just US$18.50, which when compared to the Eve door sensor at nearly US$40, seems very reasonable. The other side of the coin is the Aqara door & Window sensor, which is only $16.99 but requires a hub, which comes in at $59.99. So, if you’re totally new to smart home tech, the VS1 does seem a better deal;
- 4 x VS1 Door sensors (no hub required) = US$73.98
- 4 x Aqara Door sensor + hub = US$127.95
What you still have to factor in, is that you’re going to replace the batteries every six months, with the Aqara batteries lasting roughly two years. CR2032 batteries are pretty cheap, with a quick scan on Amazon revealing an 8-pack for only US$4.99. So over a 2-year period, taking into account both sensors come with batteries pre-installed, you’re going to need twelve CR2032 batteries for the VS1 sensors and none for the Aqara sensors.
TWO YEAR PERIOD
- 4 x VS1 Door sensors (no hub required) > US$73.98 + US$7.50 for 12 batteries (over 2 years, replacing batteries every six months) = US$81.48
- 4 x Aqara Door sensor US$67.96 + hub US$59.99 > US$127.95 + no battery replacement needed (over 2 years) = US$127.95
FOUR YEAR PERIOD
- 4 x VS1 Door sensors (no hub required) > US$73.98 + US$17.50 for 28 batteries (over 4 years, replacing batteries every six months) = US$91.48
- 4 x Aqara Door sensor US$67.96 + hub US$59.99 > US$127.95 + US$2.50 for four batteries (over 4 years, replacing batteries every 2 years) = US$130.45
So, over a 4-year period, the VS1 is still better value for money, but only if you don’t already have an Aqara hub, which you may have already bought for other sensors previously. Take the price of the hub out of the equations above, and it’s a different story.
TWO YEAR PERIOD
- 4 x VS1 Door sensors (no hub required) > US$73.98 + US$7.50 for 12 batteries (over 2 years, replacing batteries every six months) = US$81.48
- 4 x Aqara Door sensor US$67.96 + no battery replacement needed (over 2 years) = US$67.96
FOUR YEAR PERIOD
- 4 x VS1 Door sensors (no hub required) > US$73.98 + US$17.50 for 28 batteries (over 4 years, replacing batteries every six months) = US$91.48
- 4 x Aqara Door sensor US$67.96 + US$2.50 for four batteries (over 4 years, replacing batteries every 2 years) = US$70.46
This doesn’t take into account the possibility of the Aqara hub failing of course, which the sensors rely on so that being the case, it still could work out cheaper to go with the VS1, but then if your hub does fail, it will also affect other sensors, so you can’t argue that the cost of a replacement hub is laid solely at the feet of the door sensors.
The bottom line is that if your VS1 sensor(s) are close enough to your Apple TV or HomePod, you’re going to get reasonably comparable performance to Zigbee for much of the time, although as already mentioned, Bluetooth does seem to hibernate after a period of inactivity, and can be slow to initially respond, which isn’t great if you’re relying on a porch light to come on when you open a door.
I really like the design of these, but whether that’s enough for me to ignore the paltry battery life, despite CR2032 batteries being cheap, is a tough call. I already have many Zigbee door sensors, and a few Aqara hubs, so it’s not as though I’m short of sensors right now. Having said that, the day before I wrote this review, half my WiFi network went down (the 2.4GHz band strangely enough), and as a result, none of my Aqara devices would work, due to the Aqara hub not being able to connect to my Home Hub (Apple TV) via the network. The VS1 and some other Bluetooth devices (Eve Motion, Eve Door, Eve Room, Onvis Motion Sensor, and more…) were totally unaffected. That did make me think…
Full disclosure: VOCOlinc provided HomeKit News with the VS1 Smart Contact Sensor (2-pack) for the purpose of this review. No other compensation was made or requested and has in no way influenced our opinion of this product.




Are not aquara door and window sensors compatible with Mi Smart Home hub (2), that is also Home Kit capable? Because it’s price is only half of aquara hub…