Get More Out Of Your Elgato Eve Button – Part 1
NB: This tutorial has been updated to reflect the new release of the Elgato Eve app, so the images and instructions may be different from what you see in your version of the Eve app. If you haven’t updated the Eve app, please do so in order to follow this tutorial more easily and accurately.
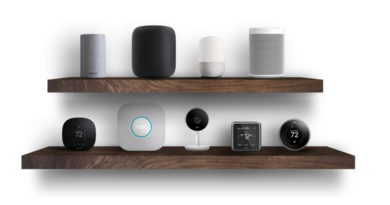
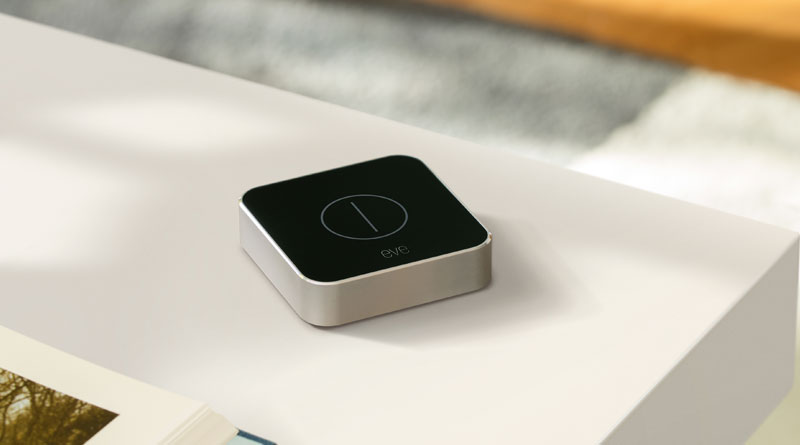
The most recent addition to the lineup of Elgato Eve products has been the ‘Button’, which is essentially a…button! The Button (like a similar product with a very similar name by Fibaro) has been designed essentially as a scene or device controller, with 3 distinct controls, all in one button. So, you can single click, double click, or long press. Each of these actions can control a different scene, so basically you get a choice of three different scenes as standard.
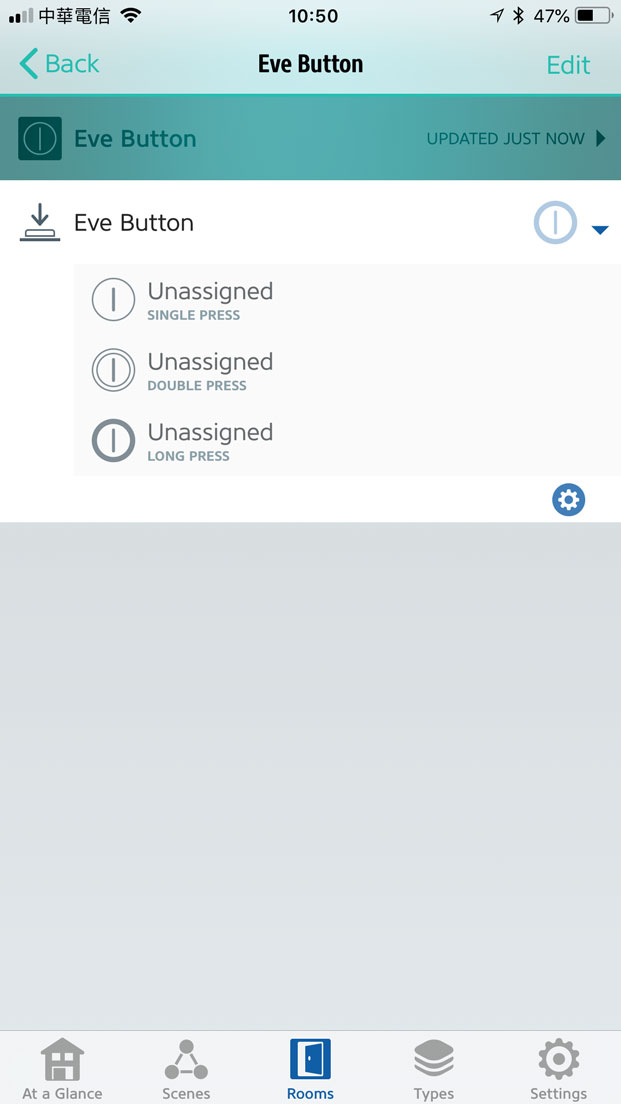
If you go into the Eve app, you can see that Elgato have even provided a simple section to allow you to easily assign an action or scene to each corresponding type of press. This is great for the average user who just wants three solid actions to choose from, but there are some out there that want something more dynamic from their relatively expensive piece of plastic tech!
How can we make it more dynamic? Well one way to think about seeing it as dynamic is that maybe the button – and each type of press – can do different things dependent on the time of day. For example, you might want the single click to turn on a reading lamp beside your bed. That’s great, but you’re probably not going to need to have a reading light on in the daytime, so essentially that single press is redundant for most of the day. Why don’t we have it so that between 4pm – 11pm the single press turns on the reading lamp, when you’re more likely going to need it, but from maybe from 11pm – 7am the same press turns on a low level night light (for emergencies) and maybe from 7am – 4pm, the single click could do something other than turn on a light that’s not needed in the daytime and maybe turn on the Air Con, or a coffee machine for example?
All this can be achieved in the Eve app without too much effort, but you can’t do it with the normal screen for assigning scenes/actions to the Button.
Here’s how. Before anything else, I’ll assume that you’ve already created a few scenes, so I won’t go into actually creating a scene that you’d need for this to work.
Go into the Eve app, and click on ‘Scenes’.
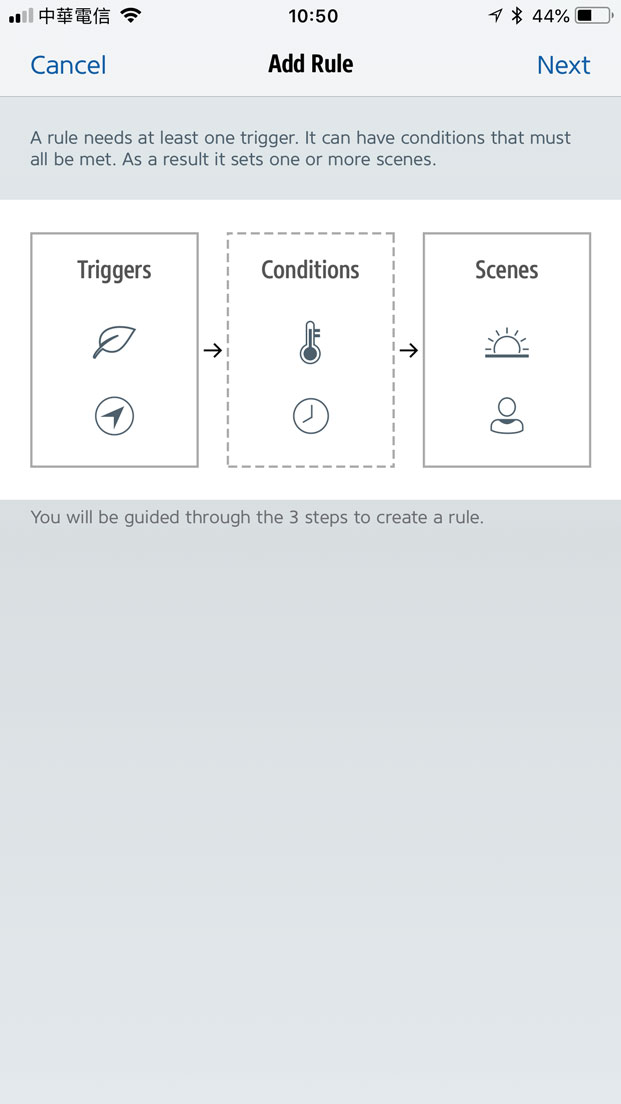
- At the top, select ‘Rules’ and then scroll to the bottom of this screen until you see the ‘add rule’ button. Click that and you will be presented with a screen showing three icons indicating the three stages an automation goes through (Triggers > Conditions > Scenes). Click ‘Next’ in the top left corner…
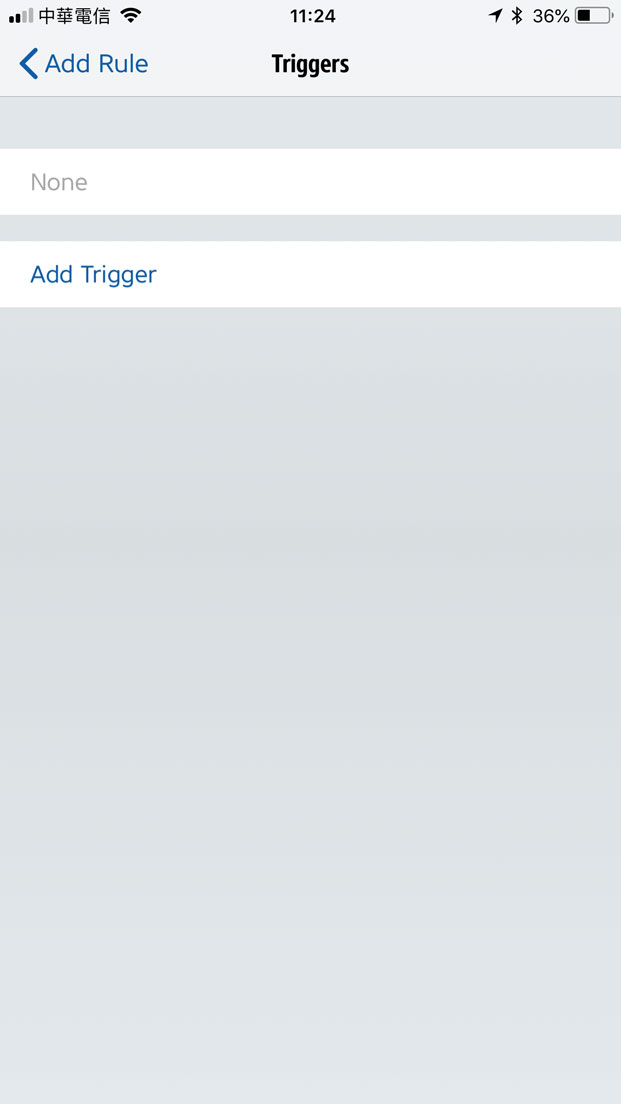
- Select ‘Add Trigger’ and from there in the ‘Accessory’ section, select ‘Other Value’. This will then lead to various options depending on what Homekit devices you have installed in your home, but you’re essentially looking for ‘Button Event’. Click on this and select ‘Eve Button’
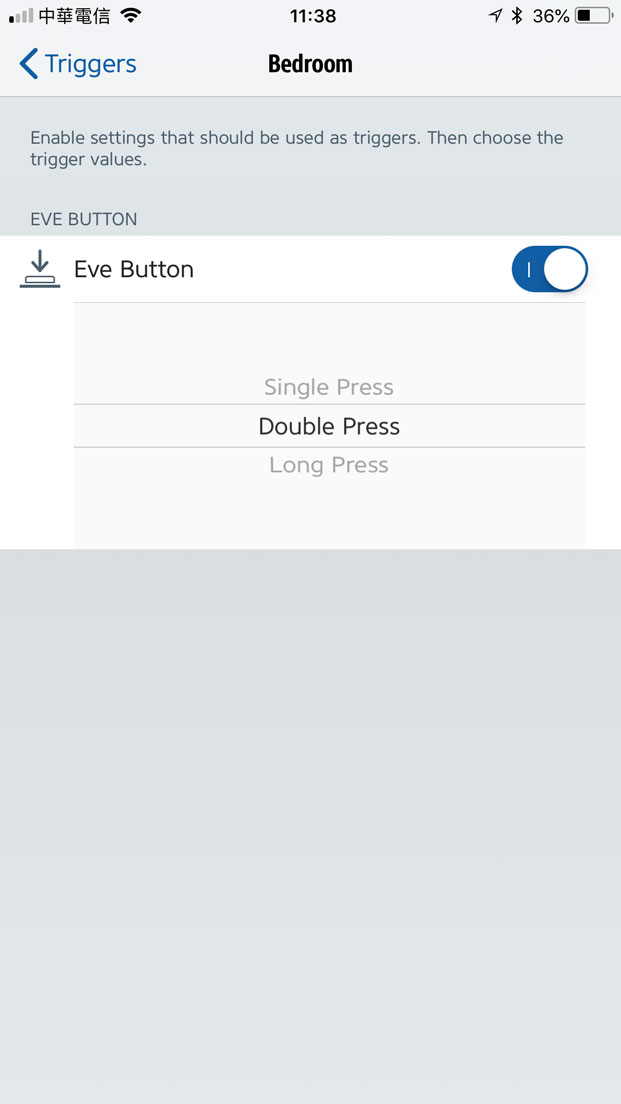
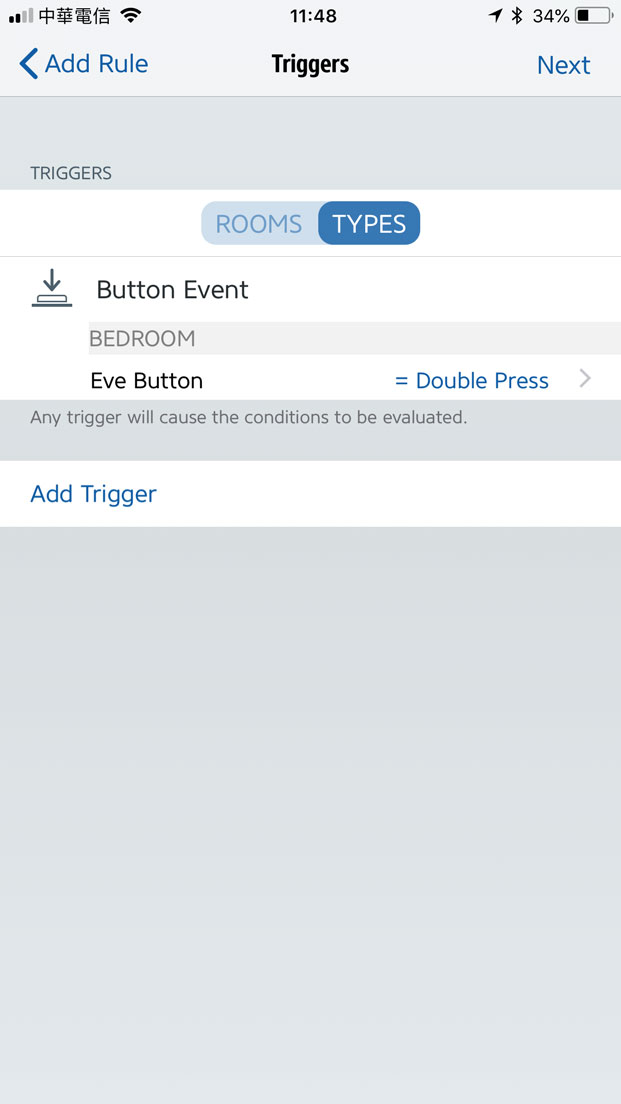
- Once you’ve found the Eve Button, turn the toggle switch next to the name to ‘on’ and select which of the three button actions you want to program. In this example I’ve chosen ‘Double Press’, then click ‘Add’.
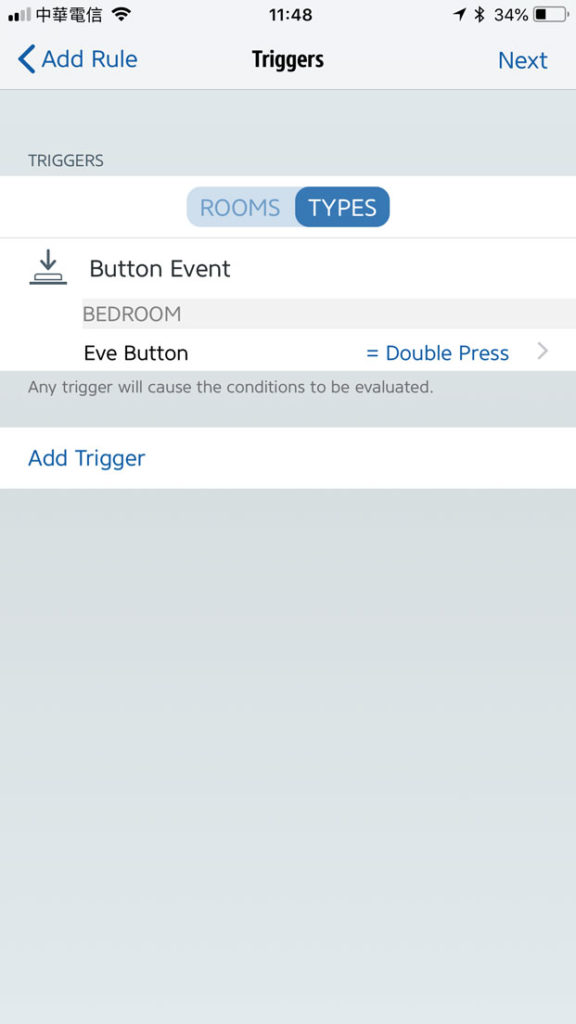
4. Button Selected 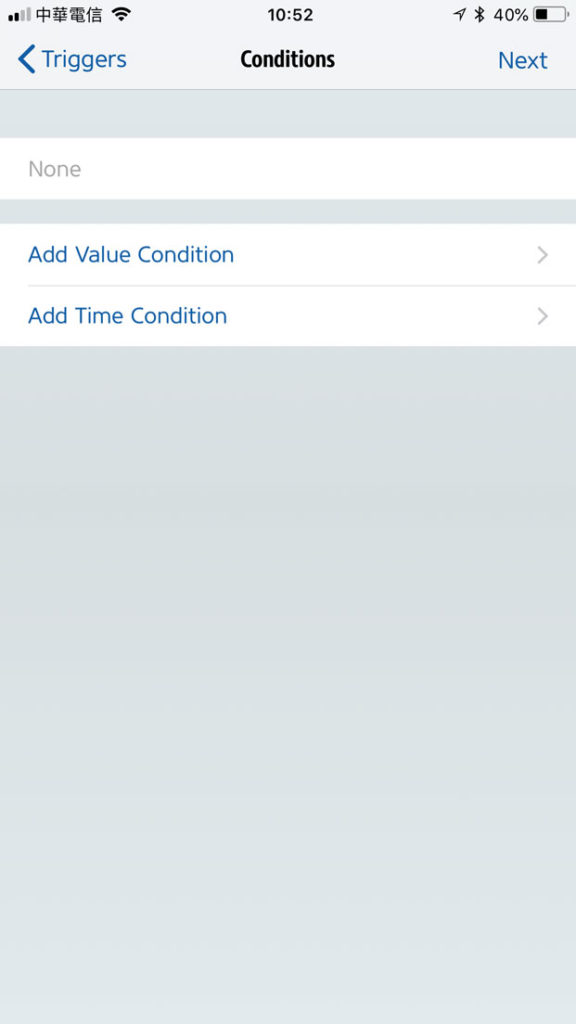
5. Add Time Condition 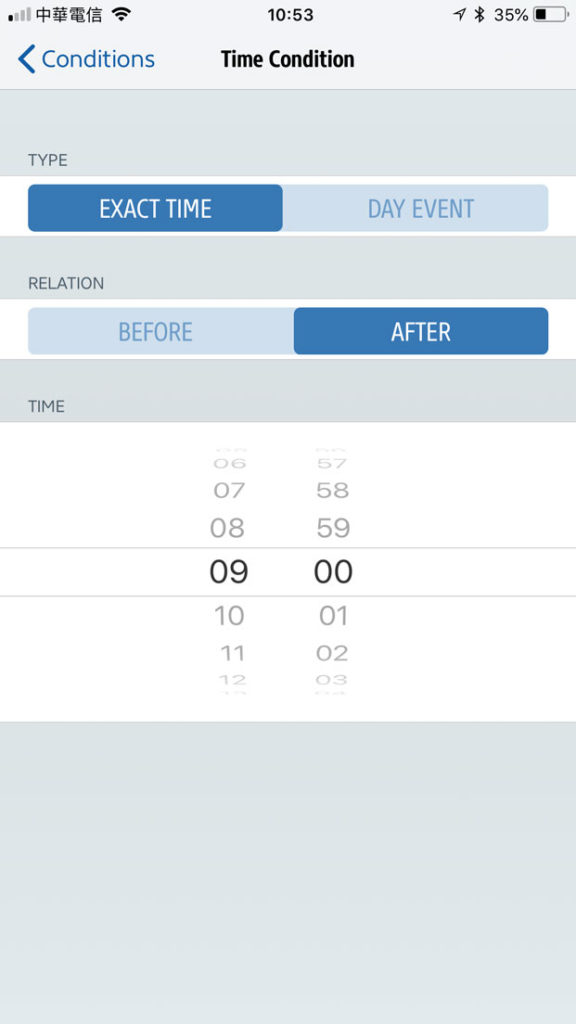
6. Choose Start Time - You’ll be presented with a screen showing that you’ve added the ‘Button’ and that you’ve chosen an ‘action’ (double press). Click ‘Next’…
- Now we get to add a ‘condition’ meaning we can specify a particular time when the scene we’re creating will apply upon pressing the ‘Button’. Click on ‘Add Time Condition’ and click ‘Next’.
- On this screen, choose ‘Exact Time’ for the Type and then select ‘After’ for the ‘Relation’ option. You then select the start time you wish the conditional scene to start and end at, so in the example above I’ve chosen to start my start to be 9am. Click ‘Add’ and you will be taken back the screen in #5 where it will show the start time you’ve added. Click on ‘Add Time Condition’ again to add an end time…
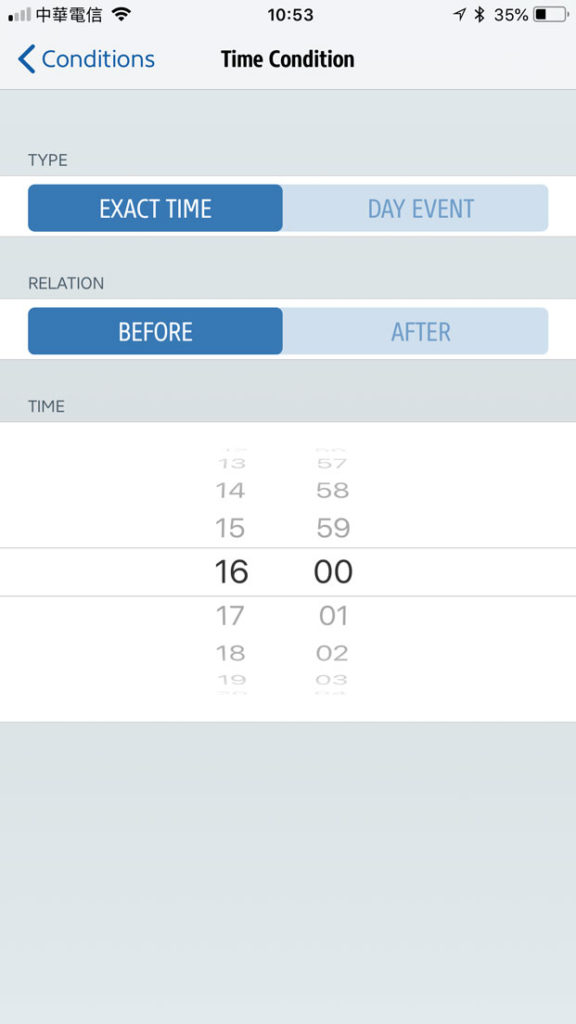
7. Choose End Time 
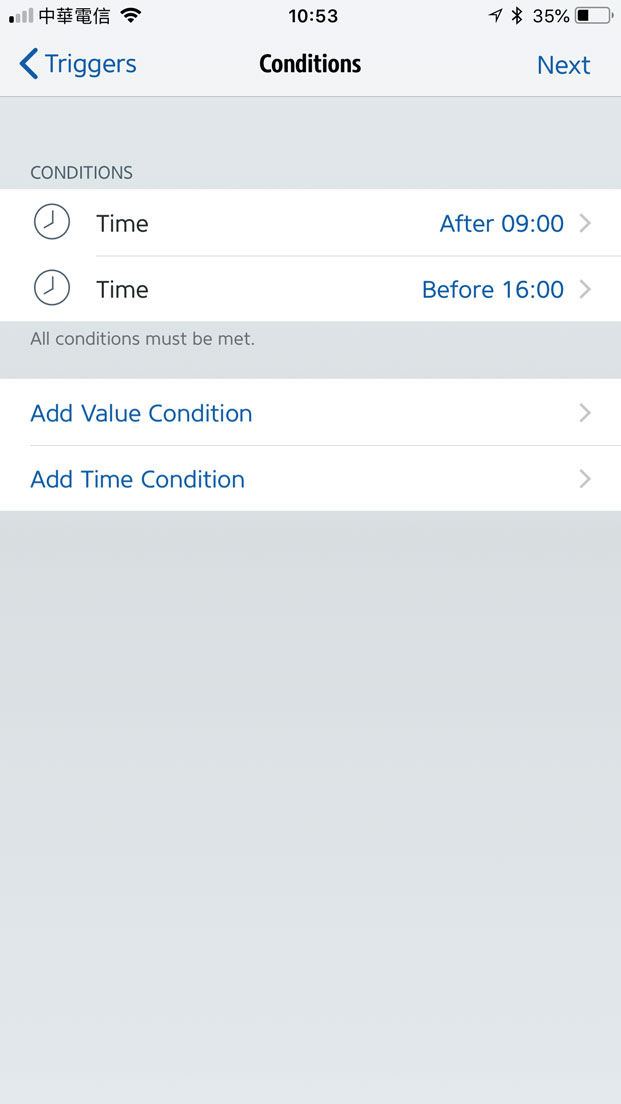
8. Start & End Times 
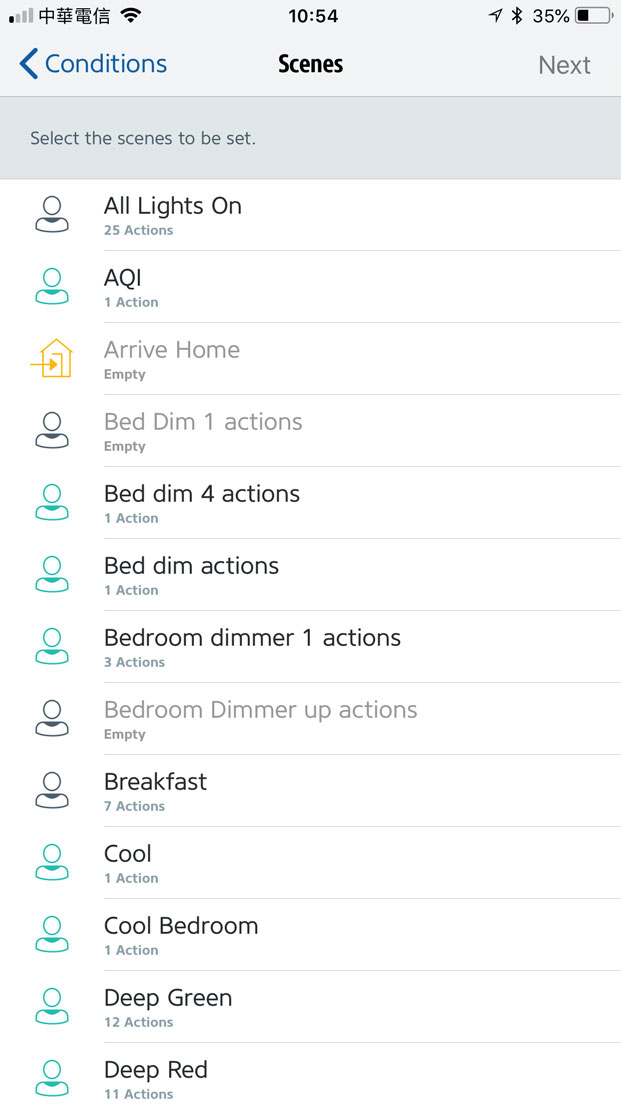
9. Choose Scene - Make sure that ‘Exact Time’ and ‘Before’ are both selected as ‘Type’ and ‘Relation’ options respectively. then select your time for when the condition is supposed to end – in the example above, I’ve set it to 1600 or 4pm. Once you’ve chosen your end time, click ‘Add’ and you’ll once again be taken back to…
- … the previous scene, only this time you will see the Time Conditions have now been set, in the example above, starting and 9am, and finishing at 4pm. Now click ‘Next’
- Here you will choose the scene that you will have already previously created. Choose the scene, click ‘Next’ and then finally just name the Rule you have created.


So, to sum up, here’s what I’ve done in this exercise; I’ve created a Rule that states when the Eve Button is activated with a Double Press, between the hours of 9am – 4pm, then a previously created scene will be activated. This means that if I Double Press the Eve Button before 9am of after 4pm, then this particular scene will not be triggered, as it would fall out of the time conditions I’ve set.
Now imagine if you were to create conditions based on other conditions, like the state of a different device, or your location, and of course based on different times of the day. The different permutations and options are almost endless. Having said all that, if you were to add all sorts of different Rules, based on various Conditions, it could all get quite complicated and it’d be hard to remember what type of press (single, double or long) at a particular time of day, would trigger what particular scene. It’s all down to the individual, but with clever programming, you could set up some really clever conditions that don’t even need thinking about, like the example I mentioned at the start, where one click would trigger the most relevant device for the particular time of day.