Ikea Skydrag Cabinet Strip lights (review)
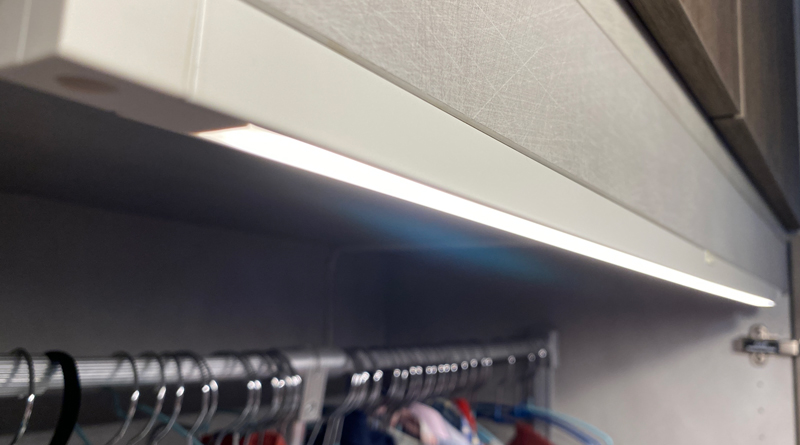
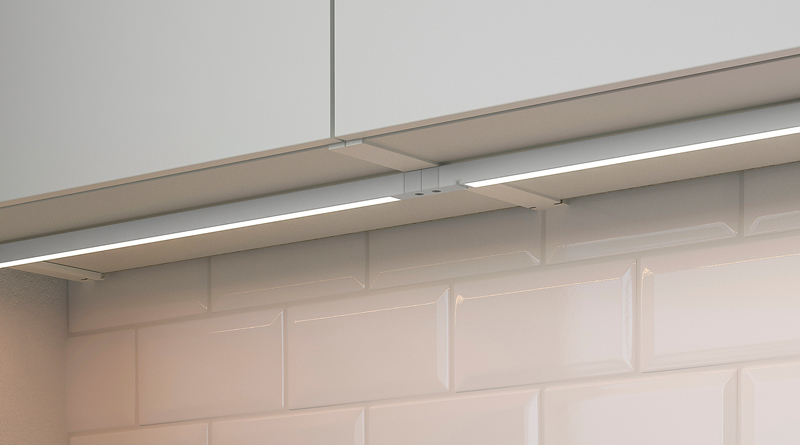
I don’t have many Ikea products in my smart home – just a Myrvarv strip, a few Mittled spotlights (both via Trådfri drivers), and the gateway, of course – but I’m always keen to try out other stuff whenever it’s available. Thankfully (in some ways) Ikea in Taiwan has a rather limited range of products for me to splurge on, but I did fancy trying the Skydrag strip lighting, due to me needing to fix a long-running issue with the current wardrobe lighting. I figured that even though the product is pretty bare-bones, it still might interest some of our readers, so if you’re looking for strip lighting with a built-in diffuser, read on.
PACKAGE | CONTENTS
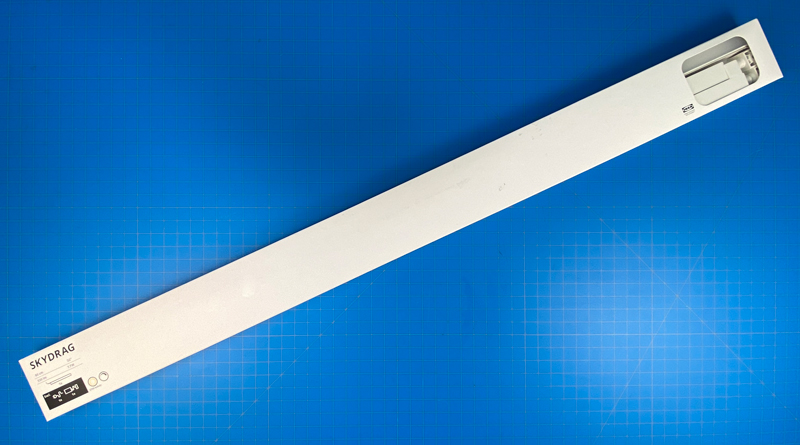
Ikea’s stuff comes in the most basic of packaging, but we’re so used to this minimalist approach now, that it’s not something we tend to think about. As long as the goods are protected and survive the journey, that’s ok. The price justifies the lack of colour print in the case of Ikea.
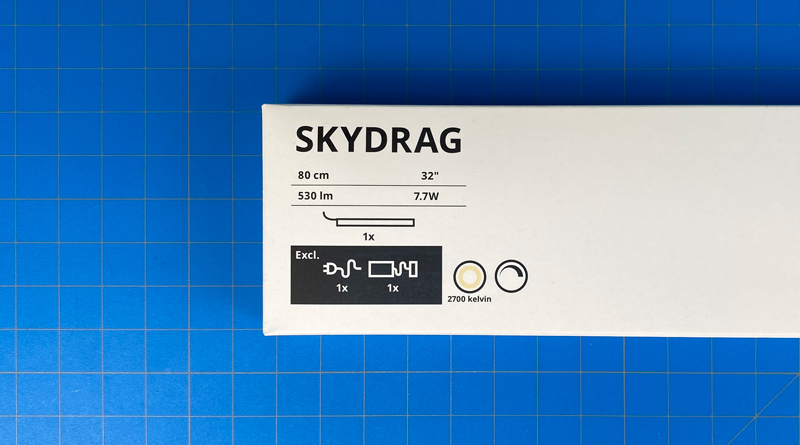
What you do get on the package are the basics. The strip is only capable of warm white set to 2700K, but it is capable of dimming and gives me 530lm in total for 7.7 watts of power. As the product will need a driver to work, this is shown as excluded on the box, so you know you need a Trådfri driver for smart home use and the required power cable for the driver. You’ll also need the gateway, although as it can actually work without smart functionality, this isn’t explicitly mentioned on the box as a requirement.
Note: The light is ‘dumb’ essentially, with the driver being the smart part of the setup, but it’s also important to note that the driver communicates with the gateway using the Zigbee protocol.
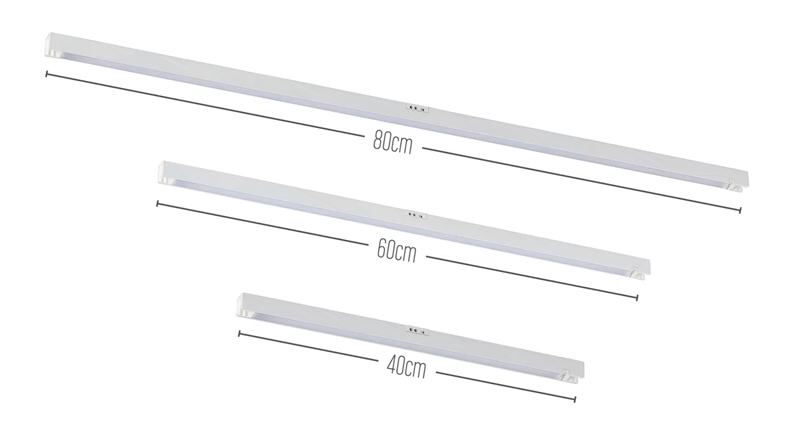
Here I have the longest size they make, at 80cm/32″ in length, and as the Skydrag comes in three sizes (in most places) or four in North America, the basic specs will differ slightly.
Skydrag comes with a built-in proximity/motion sensor that can be turned off, which is just as well, as I couldn’t get it to perform adequately! When it’s set to ‘auto’, it should turn the light strip on, whilst ‘on’ is actually the sensor turned off, which seems a bit counterintuitive. As the sensor didn’t work for me, I’ll not dwell on it anymore, as I already had a different automation solution in mind anyway, which I’ll mention later.
OTHER PARTS
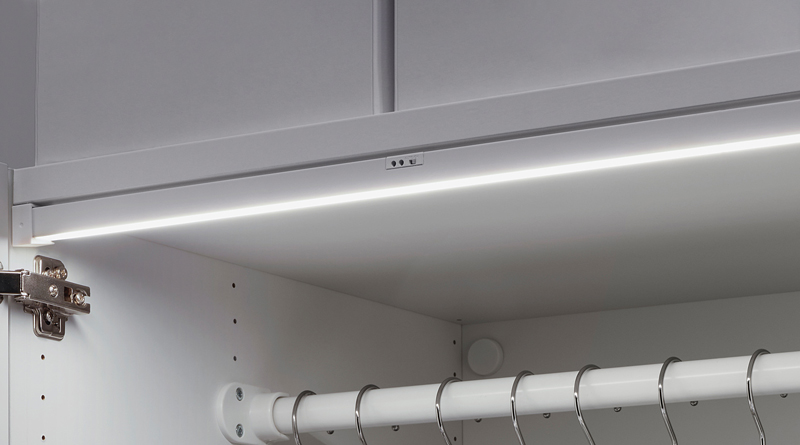
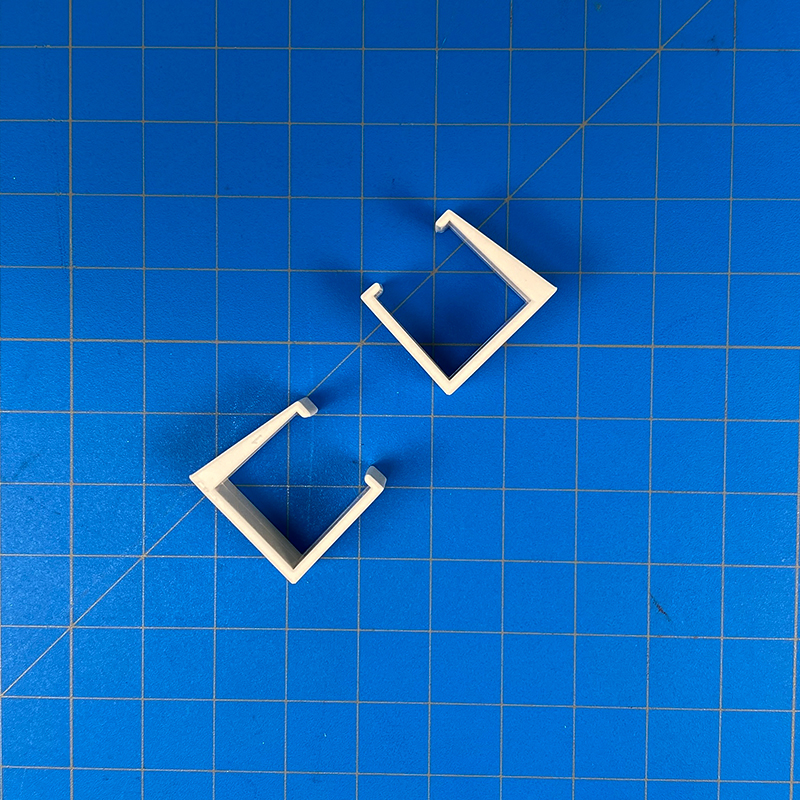
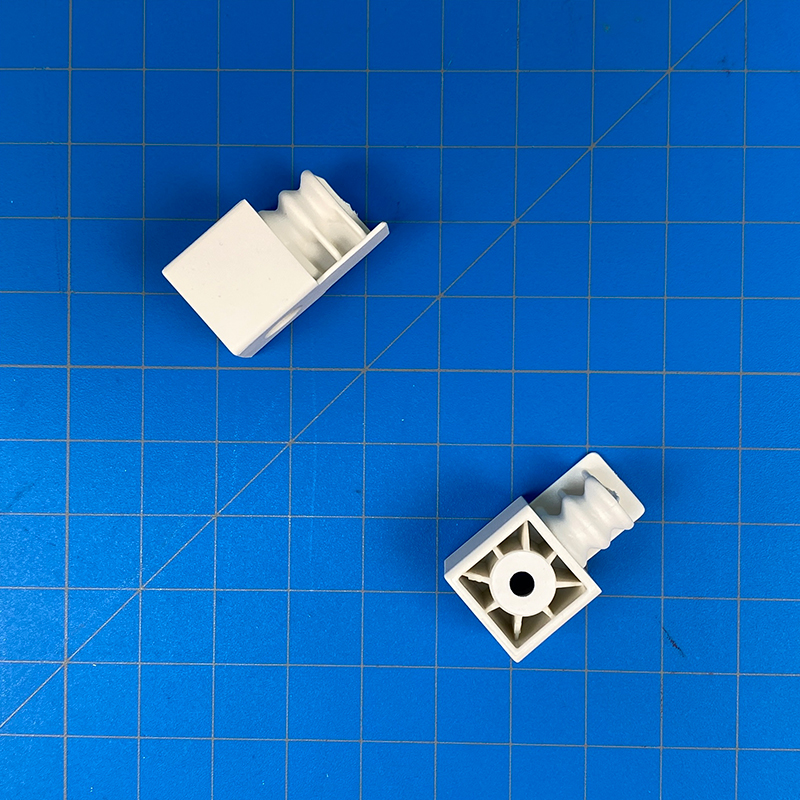
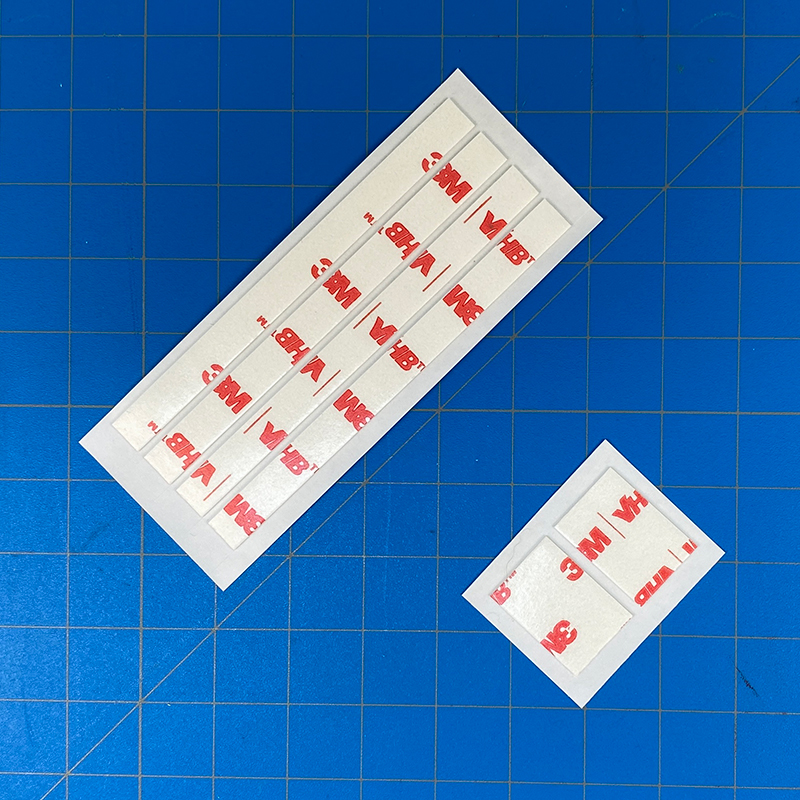
Ikea does a good job of making Skydrag as adaptable as possible by providing three different types of ‘brackets’ (my term) that allow the strip to be mounted in various ways. The Clamp brackets are designed for places where you might not have enough depth to use screws, so there are adhesive strips to go with these two clamp brackets, as I refer to them. You then have ‘extension brackets’ that allow the strips to overhang slightly. The final ‘angle brackets’ can be used to angle the light so that they’re not facing straight down, although this can only be achieved in certain locations. I actually used these in my wardrobe instead of the clamp brackets, as I had enough depth to fit screws.
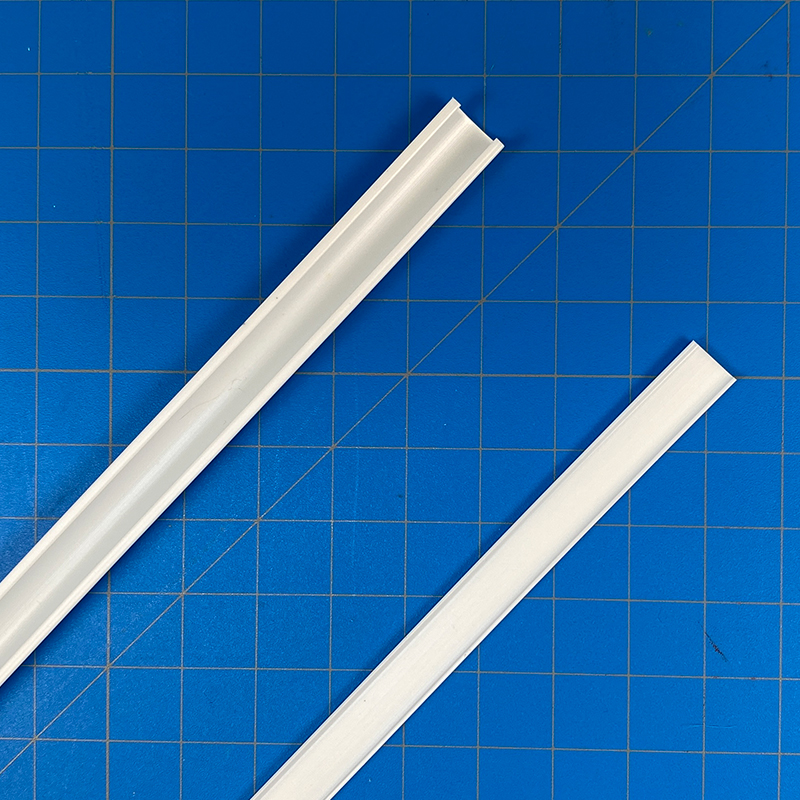
You get the obligatory manual, which does explain how and where to use the different types of brackets, and you also get a pair of tracking strips to house the wire coming from Skydrag in order to keep everything tidy.
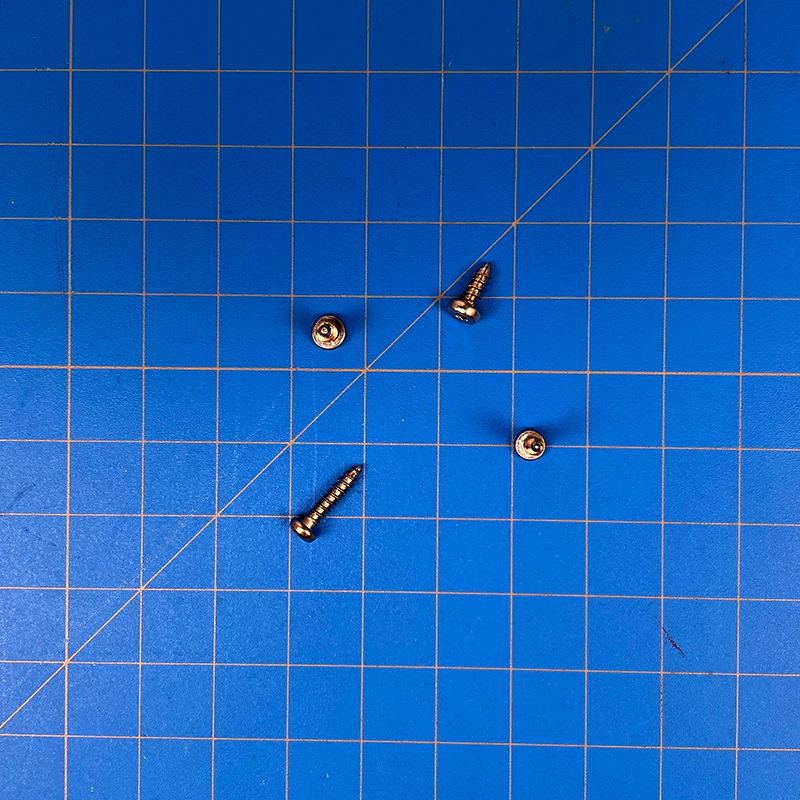
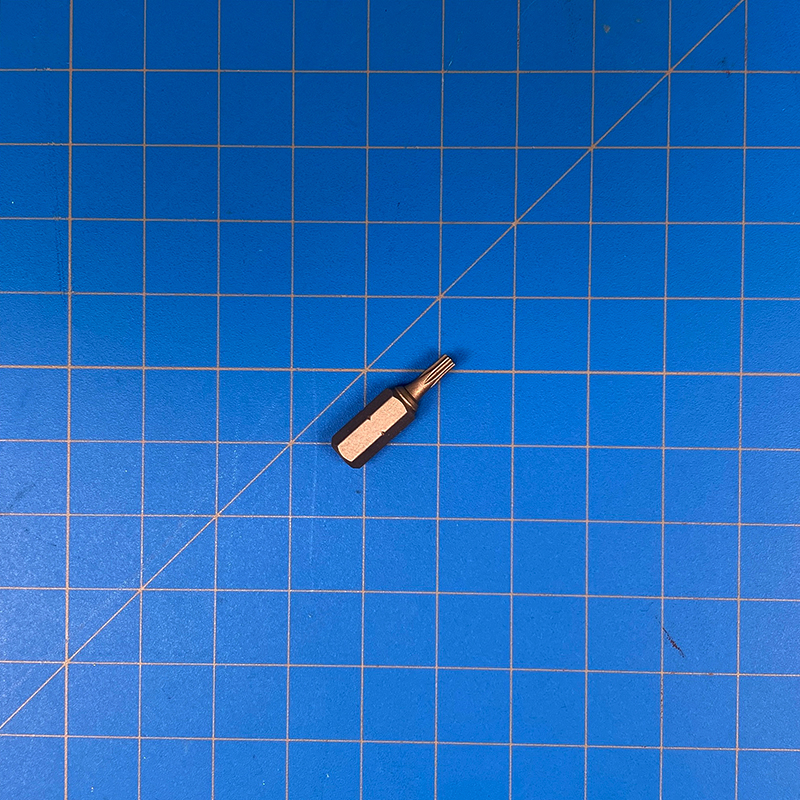
Finally, you get some double-sided adhesive strips to mount the clamp brackets and the cable tracking, as well as two pairs of screws and a Torx screw bit, which you should keep hold of, as the screws use this particular type of drill bit.
INSTALLATION
As previously mentioned, Skydrag requires a Trådfri driver if you specifically want smart control of your strip. Luckily, I already had one installed and set up, and because the driver is actually the smart device, not the light as such, there was no need for me to do much other than changing the location and the name/description of the lights to better represent what they’re being used for. No new installation was needed.
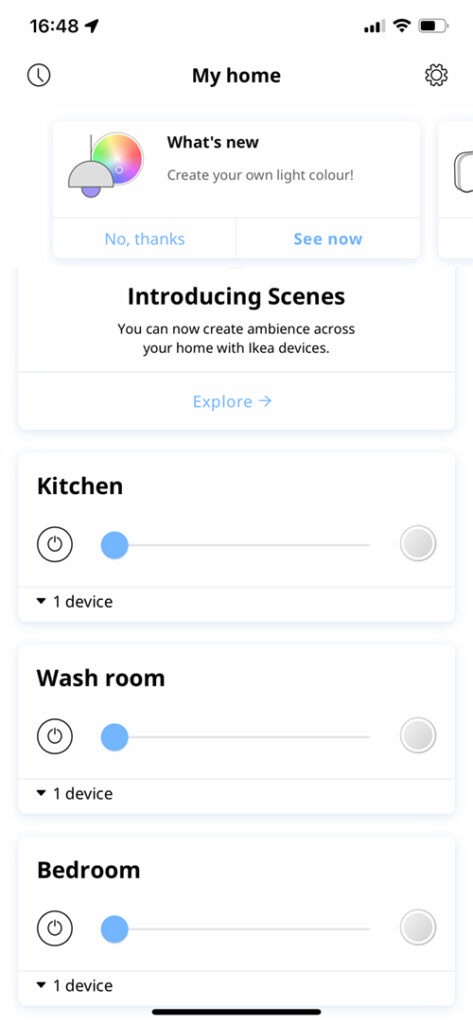
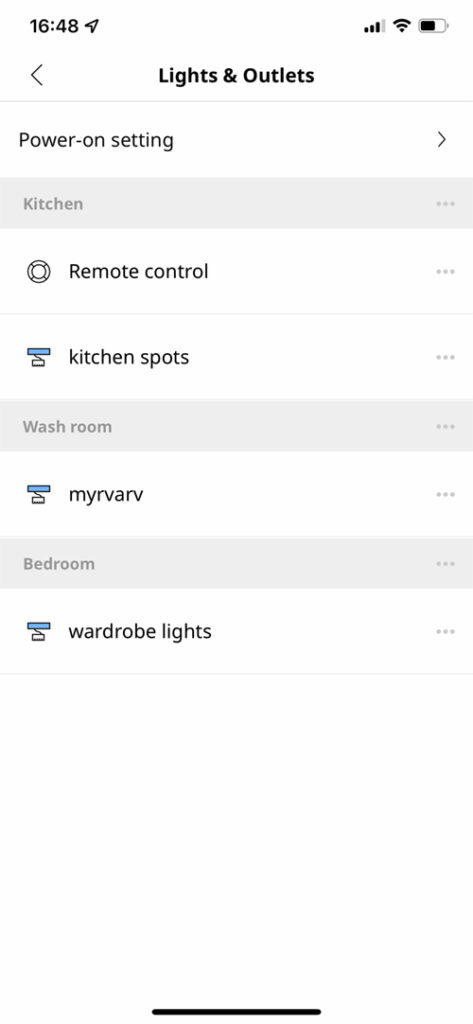
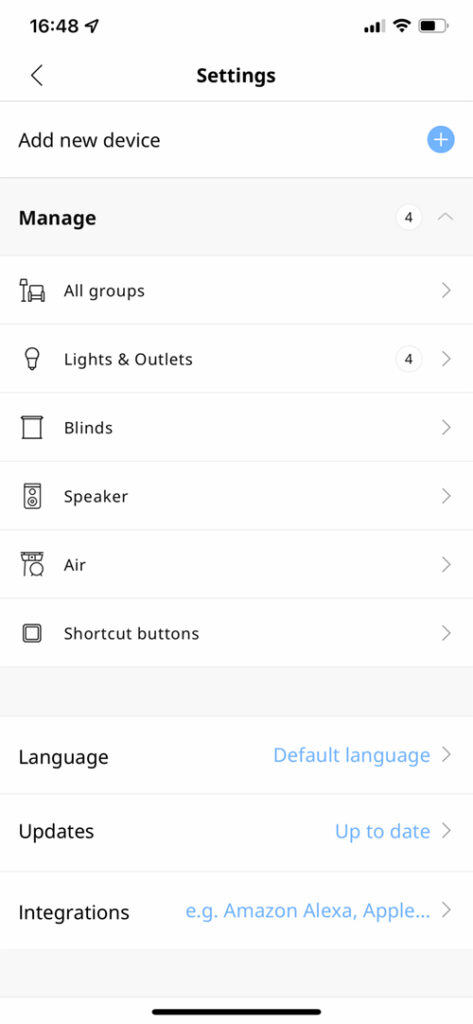
The Ikea app is ok, just not great, but you’re going to need it in order to set things up. Here are a few screenshots just so you get a feel for the app, and how it works in terms of its structure. As you can see, I currently have lighting in three rooms – some Mittled spotlights in the Kitchen, the Myrvarv light strip in the Wash Room, and the Skydrag in the Bedroom wardrobe.
IN HOMEKIT | APPLE HOME
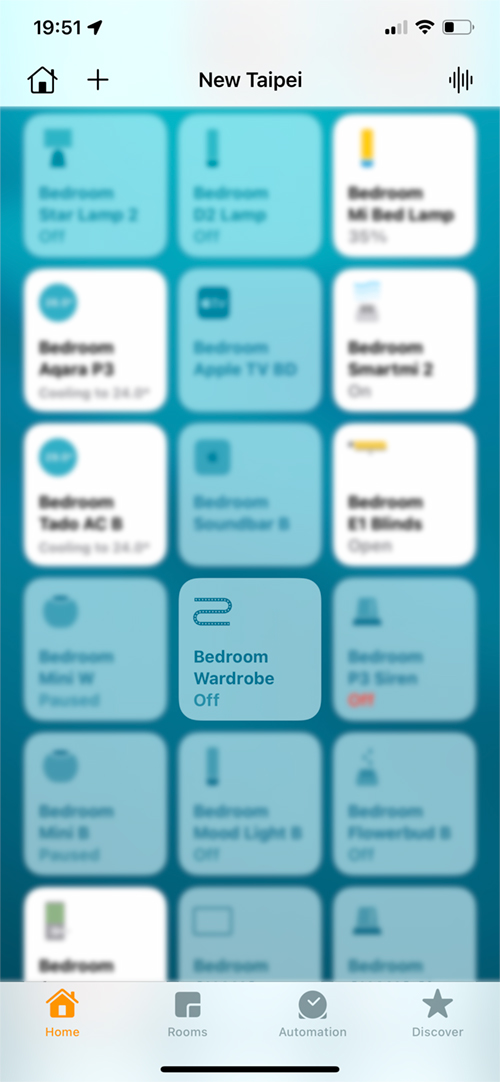
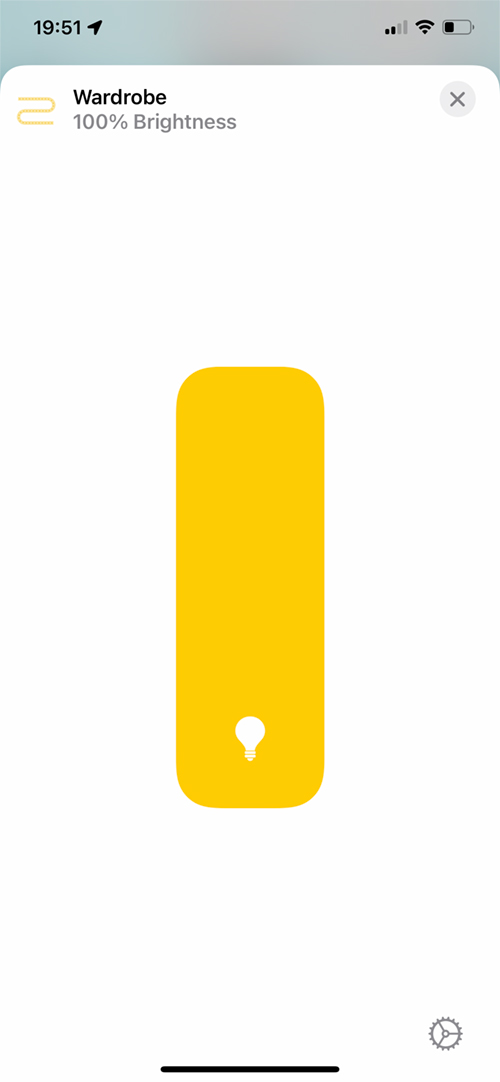
Regardless of how many lights are attached to a Trådfri driver, you only get one tile per driver in the Home app. In my case, I only have the one Skydrag strip anyway, so that’s ok, but it’s important to note that if you have two strips, they’ll be treated as one – either in the Home app or Ikea’s own Home Smart app. This does have the benefit that all lights connected to a driver act as one, so there are no issues with getting them to turn on or off in sync, or ensuring the same brightness levels. This being the case, you get the one simple slider control to control these levels, and as it’s only capable of warm white, you get no colour temperature options.
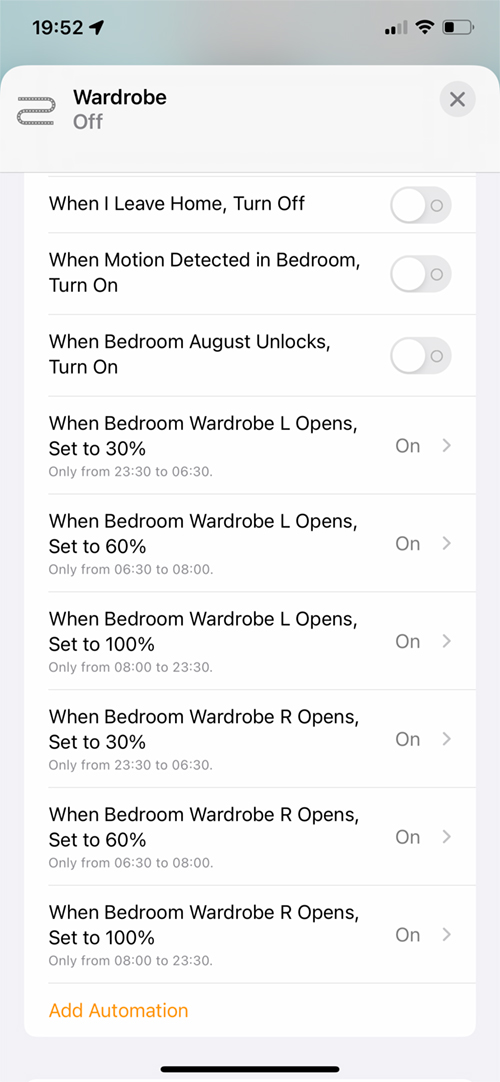
As you can see in the third screenshot, I have a series of automations set up. Essentially these are used in conjunction with a couple of contact sensors – which I’ll go into in a bit – but I’ve created separate automations to set the strip to different brightness levels depending on the time of day;
- between 0800~2330 – set brightness to 100% when the sensors are triggered
- between 2330~0630 – set brightness to 30% when the sensors are triggered
- between 0630~0800 – set brightness to 60% when the sensors are triggered
I set these levels so that the light isn’t too blinding if someone happens to need to access the wardrobe in the middle of the night. Even though the strip has a maximum of 570lm, at night that can be too bright for many.
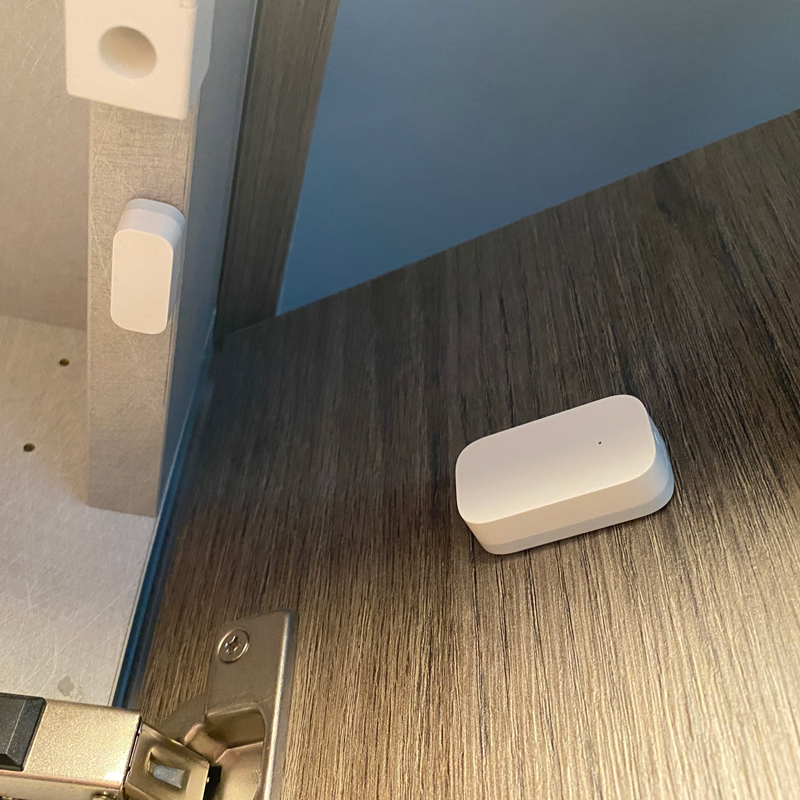
As the wardrobe has two door that open opposite each other, one sensor isn’t going to work for both doors, so I’ve added a Mijia contact sensor to one door, and an Aqara contact sensor to the other door (they’re basically the same, just different branding) both connected to the nearest Aqara hub.
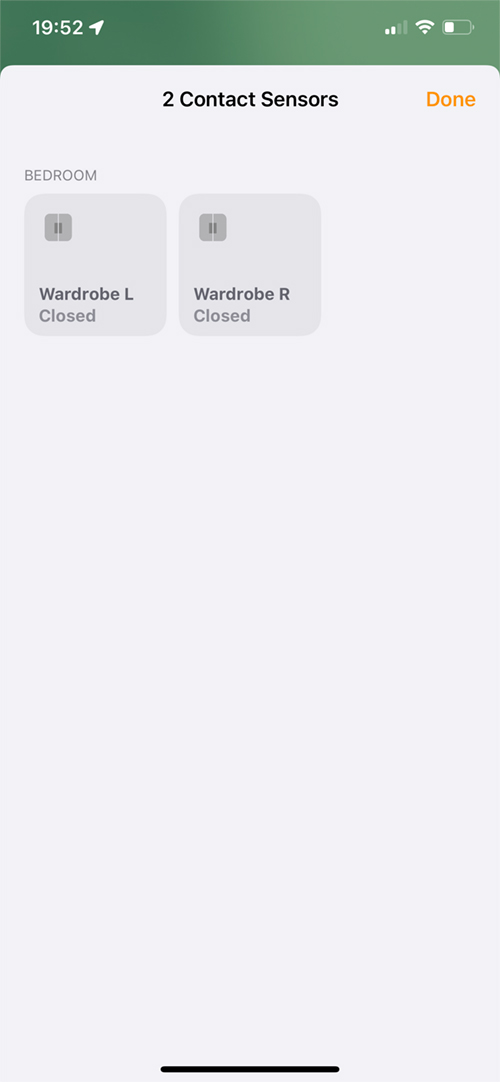
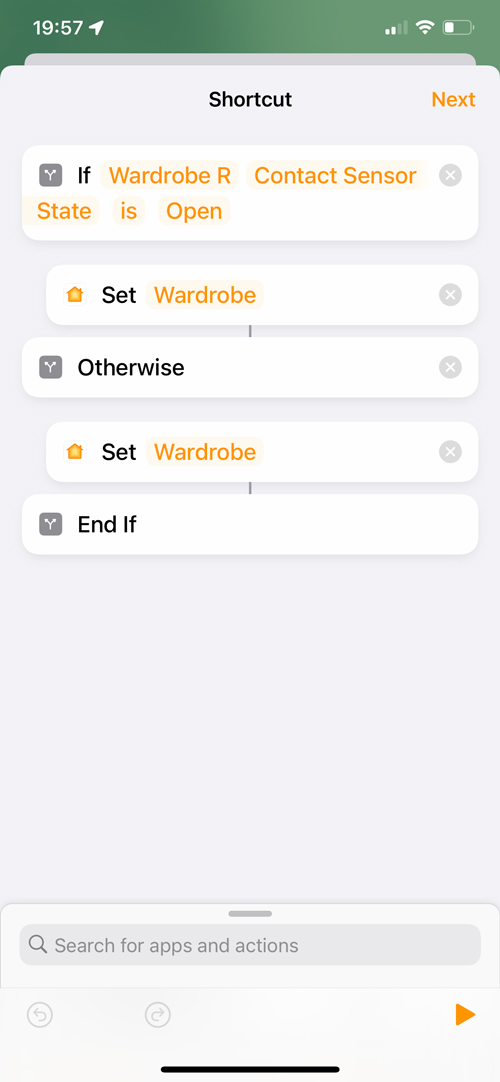
As you can see, here, both contact sensors are set up in HomeKit, and both have the basic ‘on’ automations previously mentioned, but in addition, each has an automation for when the wardrobe closes, that is converted to a Shortcut automation (not to be confused with a Siri Shortcut). The reason for this is that at some point, you may open one of the wardrobe doors, then open the other, but close the first one. With a standard automation, you would end up having the strip turn off, once it detects the closed automation from one of the sensors, which isn’t what you want if you still have the other door open. You can create a ‘condition’ in an automation in apps like ‘Eve for HomeKit’, but in this case I decided to keep it all within the Home app using the ‘convert to shortcut’ option.
So, essentially, the automation works like this;
- When the initial contact sensor closes
- If the other contact sensor is ‘open’…
- Set wardrobe light to ‘on’
- Otherwise, set wardrobe light to ‘off’
That’s the logic for the shortcut, but for the sensor in the automation above it detects that the sensor has entered the ‘closed’ state, then checks to see if the other sensor is in the ‘open’ state. If it is, then set the light to ‘on’ as it means that the door is open and someone still needs the light on. If the other sensor is in the ‘closed’ state, it means that the other door is already closed, and therefore when the initial sensor has been set to closed, the light can turn off, as both sensors are now in the closed state. This shortcut automation is set for both sensors, basically looking at the state of the opposite sensor to itself, so it knows what to do based on the state of the opposite sensor.
IN USE
Having already used a couple of Ikea lights, I knew what to expect, and what I wouldn’t get, so in many ways, there was no excitement other than getting the strip fitted. Fitting was very easy and despite having to drill a hole or two to get the strip and cable near enough to my Trådfri driver, the installation itself was really easy. It did make a big difference that you’re offered different ways in which to mount these, which I think is a big plus.
I did hope the built-in sensor would be a great backup in the event my automations with external sensors didn’t fire off, but for whatever reason, I found the response to be hit and miss, so I decided not to waste any time, and just forego using this feature at all. Besides that, this wouldn’t allow me the opportunity to set my brightness level automations based on the time of day, so it was a foregone conclusion in some ways.
If you already have a Trådfri gateway – or even a spare Trådfri driver for that matter – then I’d suggest these are definitely a better option to standard light strips, not only for the fact they have a built-in diffuser but also because they’re focused on white light only, as who really needs 16 million colour options for their wardrobe?
However, if you don’t have an Ikea gateway yet, it may be a good idea to hold off, as the company will be releasing a brand new gateway soon, that will not only have Zigbee (which is what the drivers use), but it’ll act as a Thread border router, and be ready for Matter when that arrives soon.





I think I had the same problem with proximity sensor. I have strange configuration when one of sensors is covered with door and the other one isnt. My solution was to just tape piece of carton in front of sensor, pretending to be the door. Too close would be wrong too. And other sensor on the lamp does know all the work. (I have some long variant with two sensors)