Smartmi Rainforest Humidifier (review)
When it comes to humidifiers compatible with HomeKit, you’re going to strain your eyes a little in that search, as the vast majority are essentially just essential oil diffusers, that happen to be able to humidify to a degree. When it comes to devices designed specifically for humidifying, there’s only one that comes close: the Vocolinc MistFlow (video Here, review Here). All HomeKit-compatible diffusers, including the MistFlow, are ultrasonic, so they use a technique that breaks down the water into a vapour. Today’s product we’re reviewing – the Smartmi Rainforest Humidifier – is different, in that it uses the evaporative technique, which you’ll be surprised to hear could actually be more beneficial than the ultrasonic models too. It offers other unique takes on how it goes about this too, which I’ll expand on later, so if that interests you, read on.
PACKAGING | CONTENTS
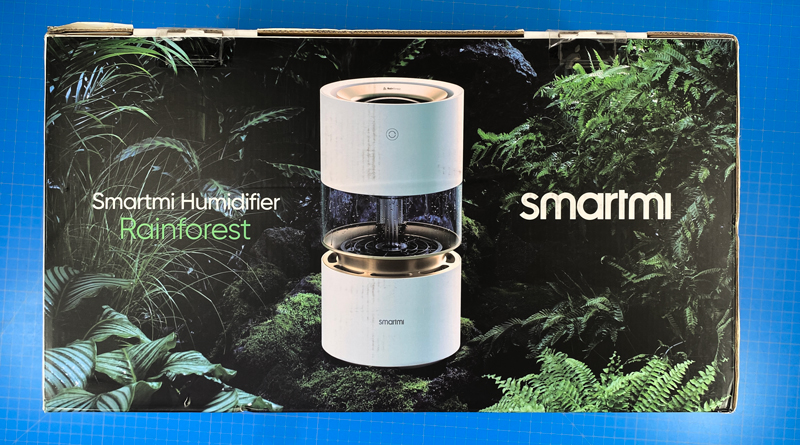
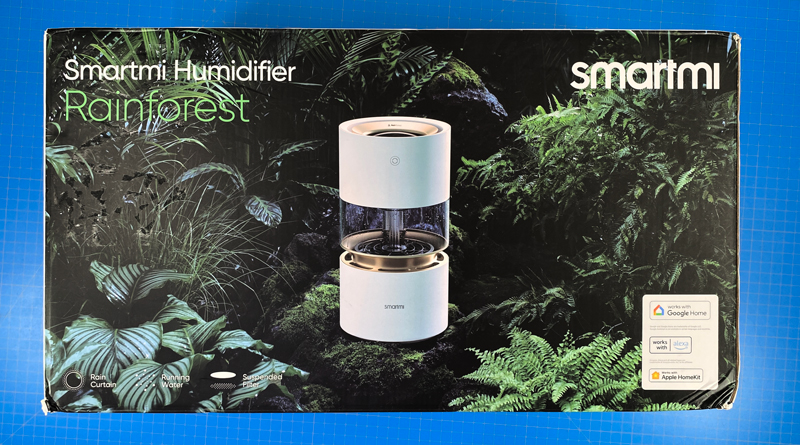
Upon receiving the package, I was surprised at how big it was, but then this is a big device – almost twice the height of the aforementioned MistFlow. They really have gone to town when it comes to the ‘theme’ of the product, with the imagery reflecting the ‘Rainforest’ name to a tee, and for good reason. One side shows the compatible smart home badges – Apple HomeKit, Amazon Alexa, and Google Home. There’s no SmartThings integration, and this is not a Matter device, so it uses legacy connectivity via the cloud for the latter two options.
One side of the box lays out the features, of which there aren’t many, to be fair. Due to the method by which it generates humidity, which I’ll go into later, it actually creates sounds quite similar to that of rain hitting a window. It comes with a very nice, but very simple LED display, and there’s an option to have it ‘self-clean’ with the aid of citric acid.
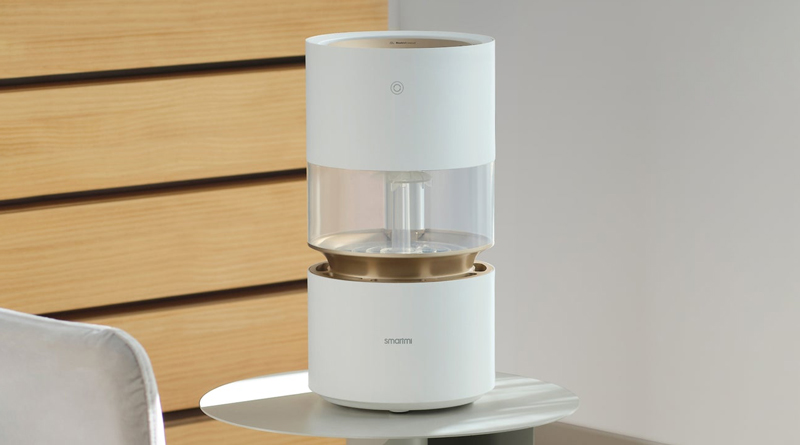
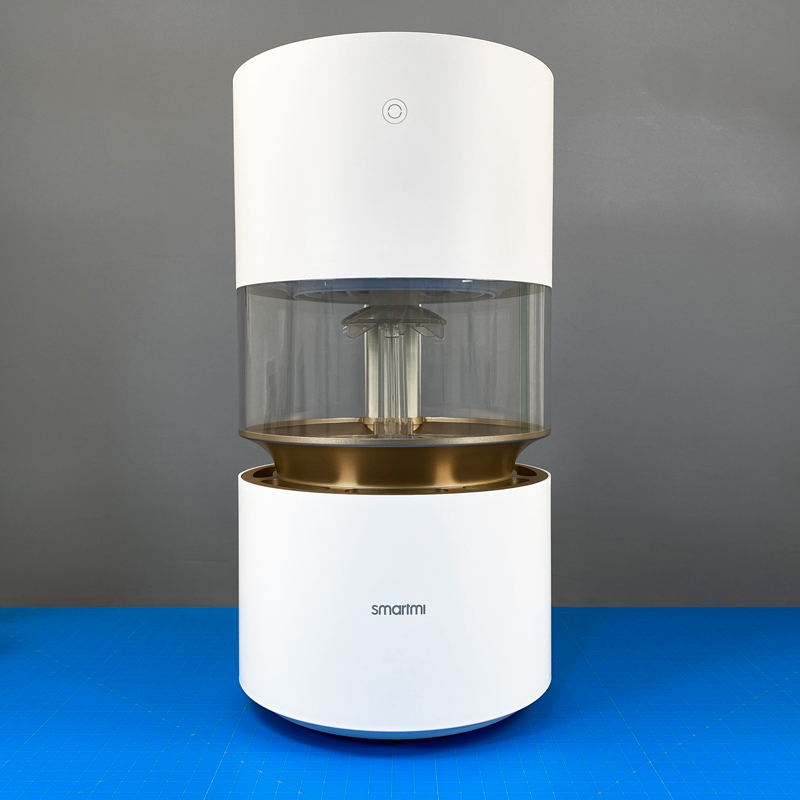
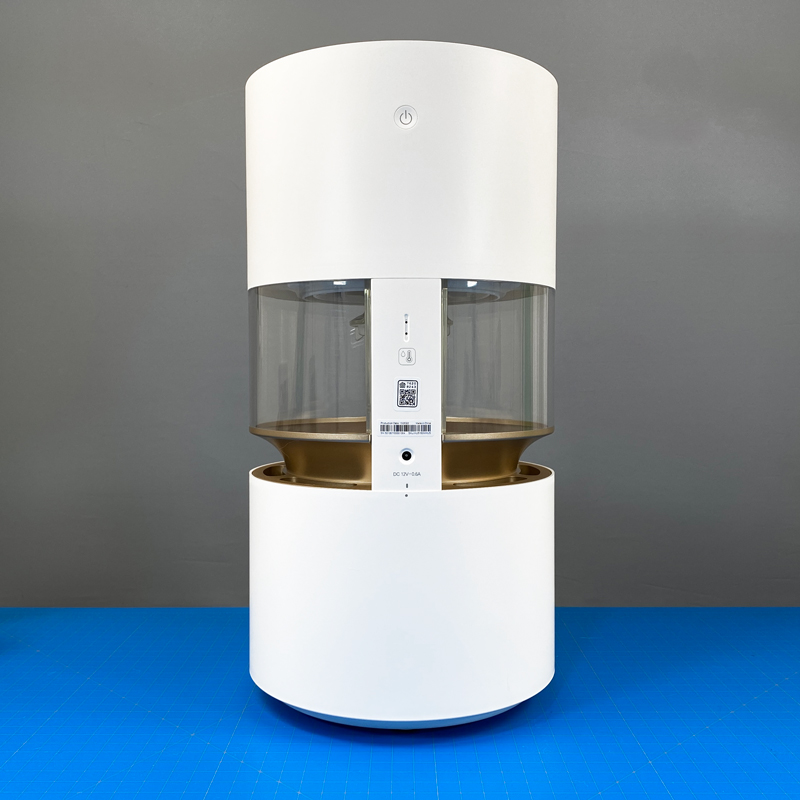
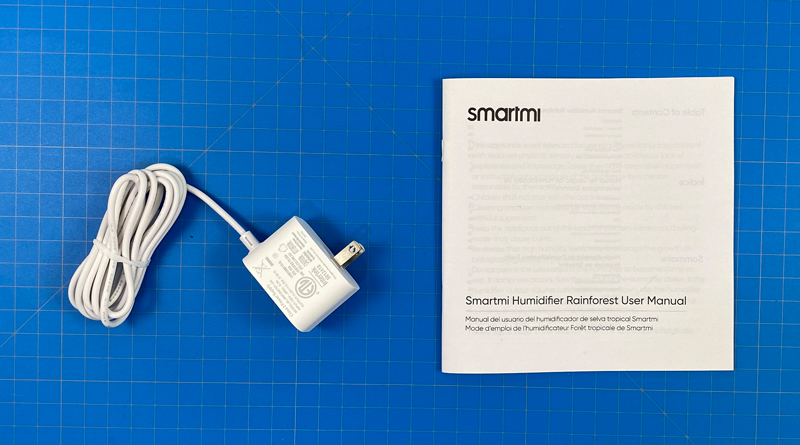
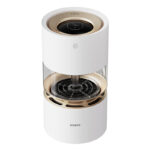
There’s not a lot in the box, just the device itself, a power supply, and a manual in three languages – English, French, and Spanish. The humidifier is really something to behold, giving off the air (no pun intended) of the kind of device you might see on the set of a Star Wars film, given its white plastic, gold accents, and see-through middle section.
Here are some specs for those that find it of interest;
- Net weight: 3.3kg/7.275lb
- Wireless connection: WiFi 2.4GHz b/g/n
- Rated input: 100-240V 50/60Hz, 0.3A
- Rated voltage: 12V
- Rated power: 7W
- Operating humidity/temperature: ≯80% (RH) / 10~40°С
- Noise: less than 50dB
- Humidifying capacity: 200ml/h
- Water tank capacity: 3L / 6.34pt (US)
- Operating principle: evaporative
THE HUMIDIFIER AND ITS PARTS
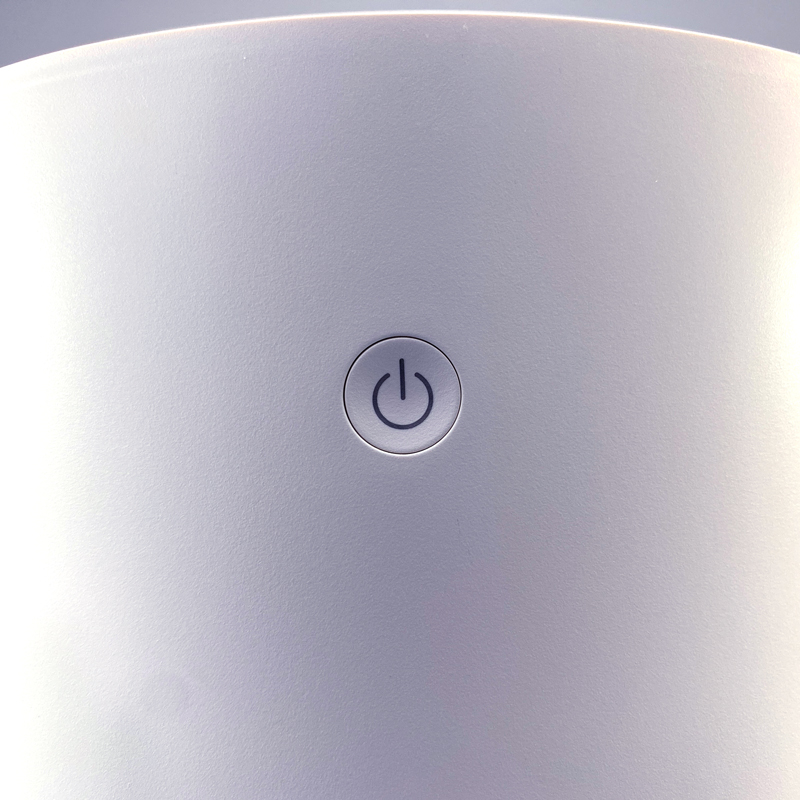
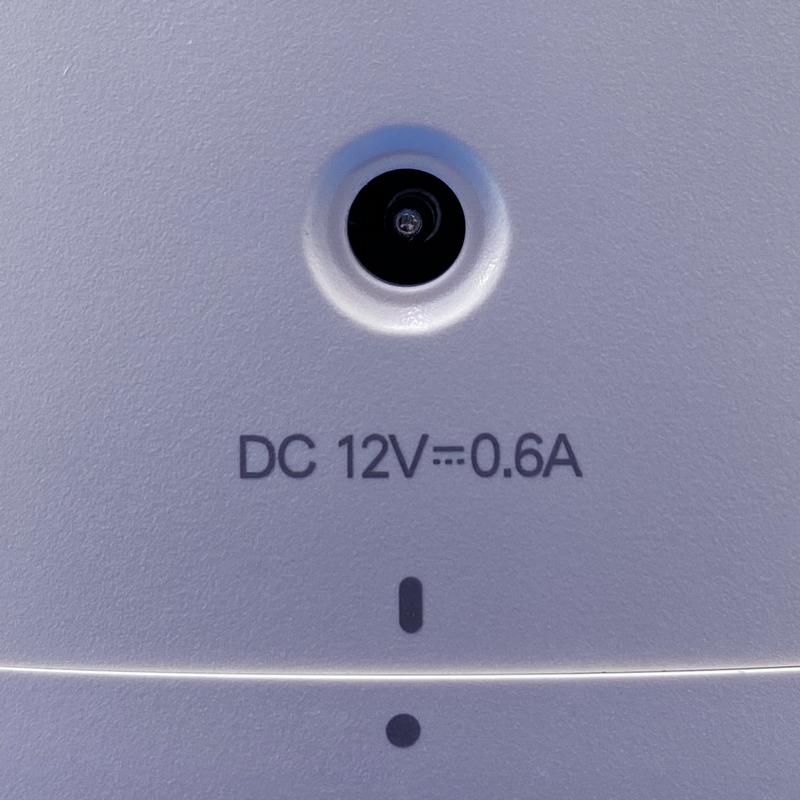
The front is home to a single capacitive touch button that allows you to cycle through the three different modes it’s capable of – Favourite/Manual, Auto, and Sleep. The rear features a single power button at the top, with a humidity sensor below that. A single HomeKit QR code is stuck to the back, but the manual doesn’t come with a backup instance of the code, so make sure you make a note of it somewhere, or better still, use the HomePass app by Aaron Pearce. Directly below the code, is the coaxial port for powering the unit.
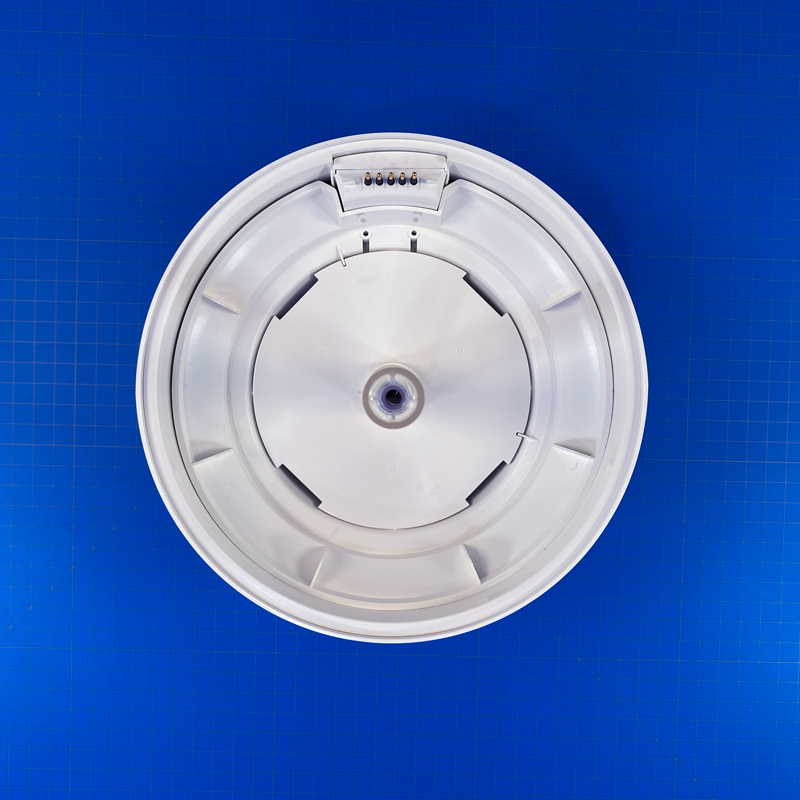
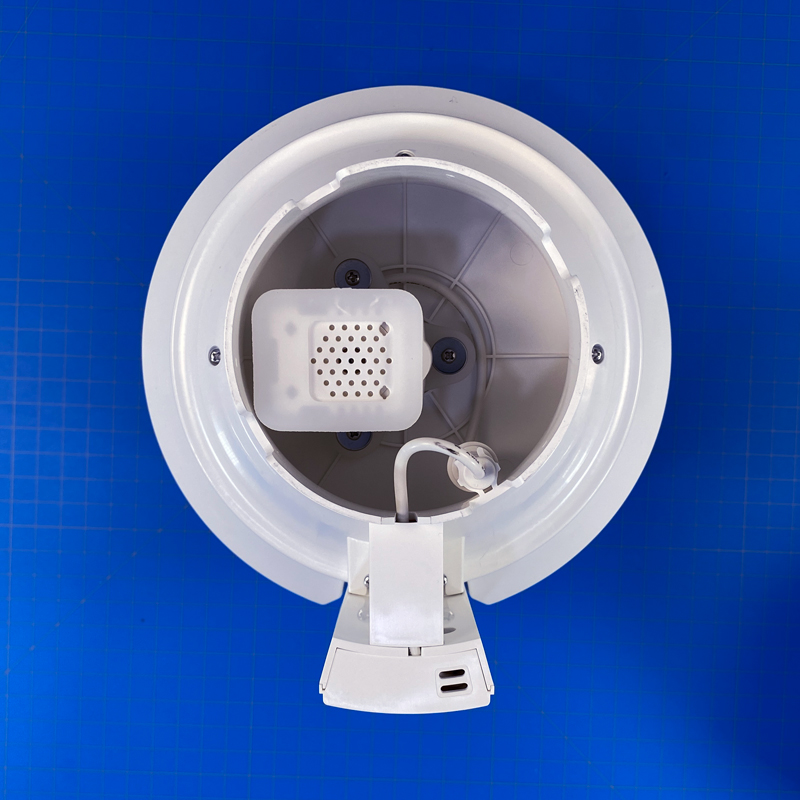
The device comes in four main sections, with the top half containing the LED display, which is also one route for refilling the water tank – I kid you not. This section also contains the fan to draw humid air up and out to the room it’s placed in. Below the fan is the water droplet chamber, which I’ll go into in a bit more detail in a bit.
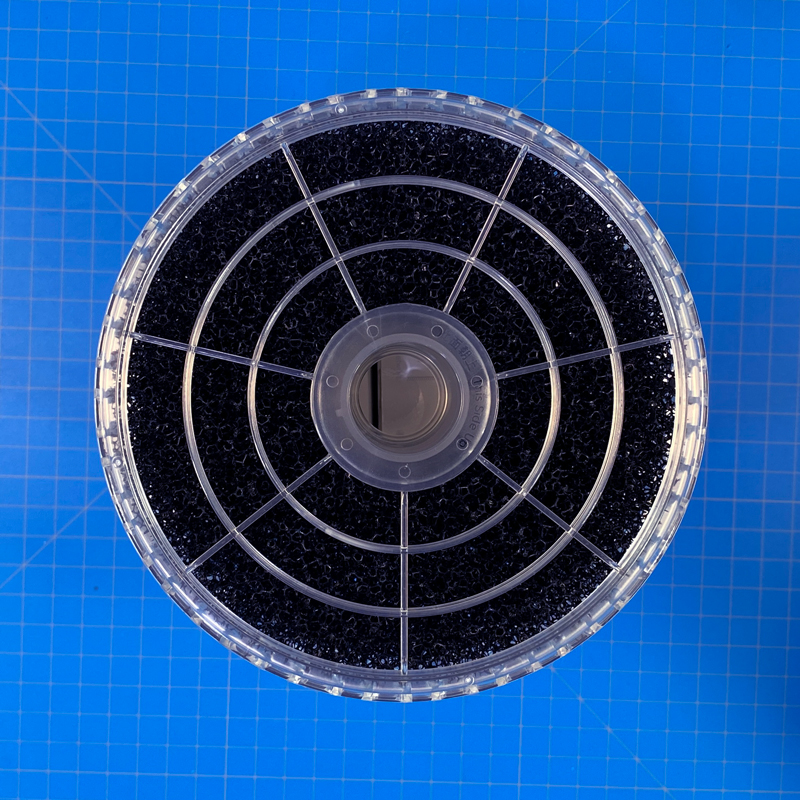
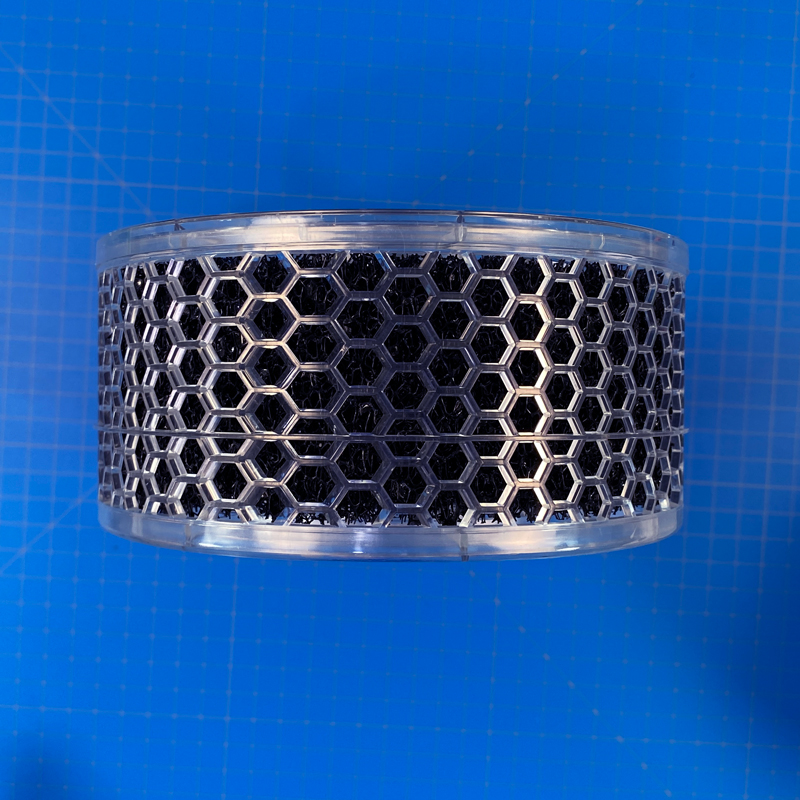
With this main section removed, you then get to a polymer mesh filter that sits inside a sort of plastic cage. This isn’t the kind of tightly woven filter you might see in an air purifier, as water needs to pass through relatively easily, but it will catch small particles that could get into the tank and be sucked up again, possibly causing damage to the fan or other parts.
This filter should last as much as twelve months, and it can also be washed, so replacements aren’t going to be something you need to purchase too often, although regularly cleaning it is quite essential, to avoid the build-up of mould, especially as it may not be as easy to see.
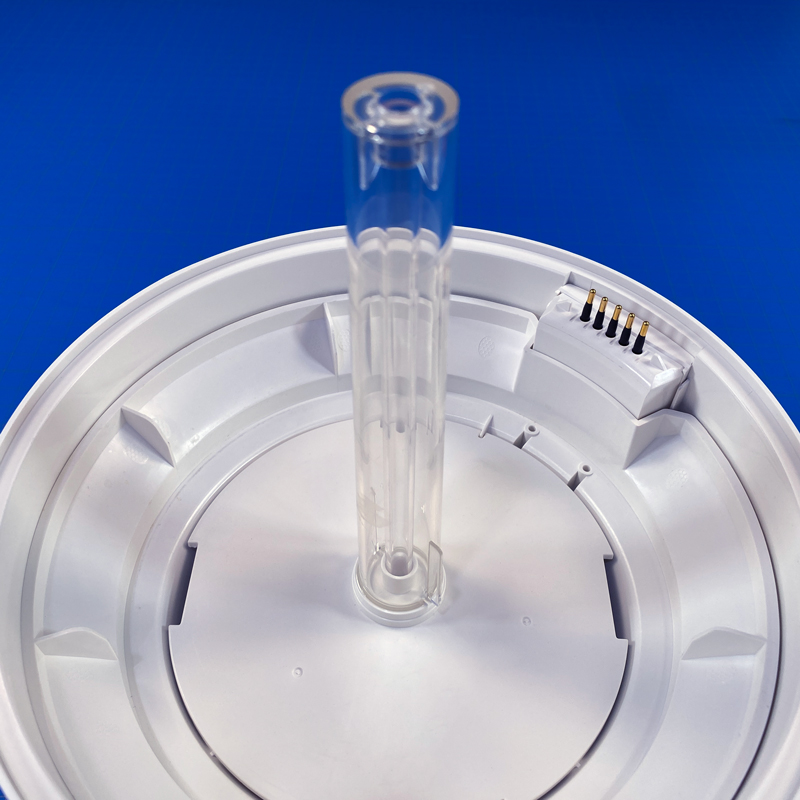
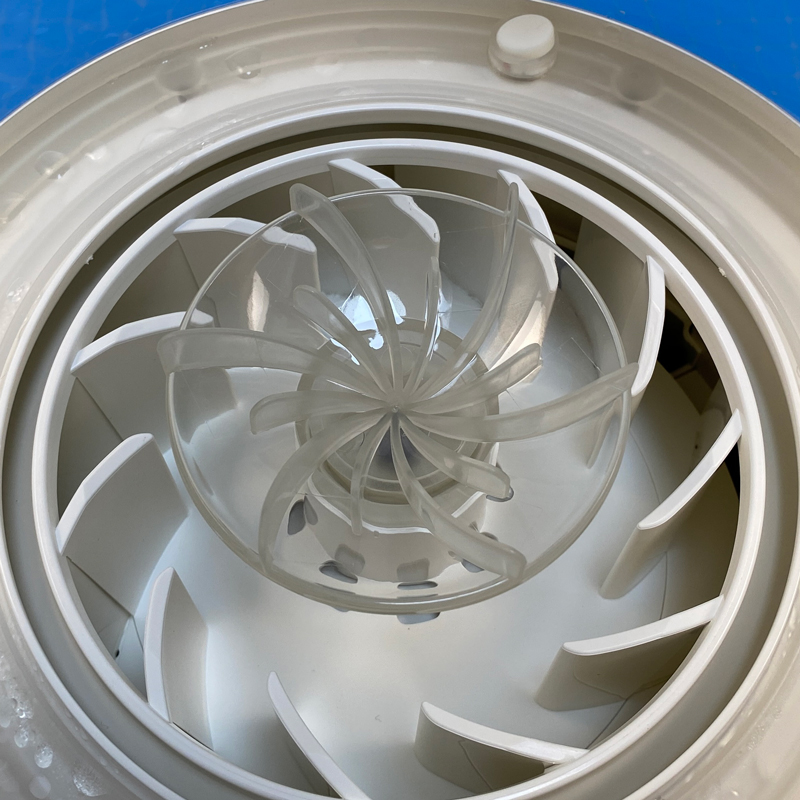
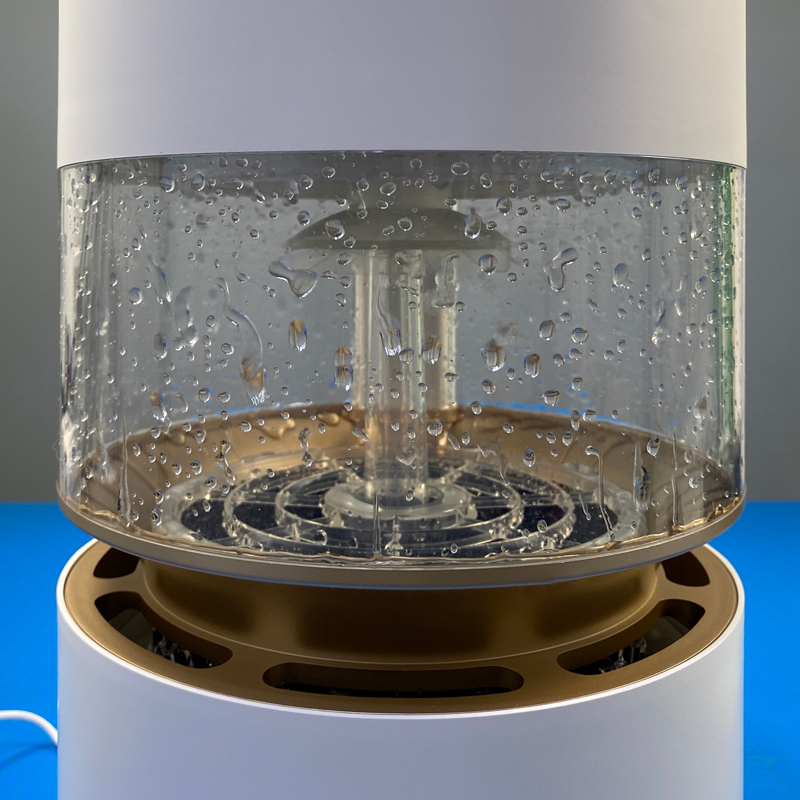
The filter surrounds a pipe, and once removed you can see the pipe connected to the bottom section. This pipe is connected to a water pump, that sends water through the pipe, into the upper chamber where it hits a spinning wheel. This wheel is connected to the fan in the top section, so when water collides with the wheel – which is going at a high speed – it breaks the water into droplets that are then smashed into the inside of the clear plastic chamber. The fan does double duty by then drawing the moist air upward and out through the vents surrounding the LED display.
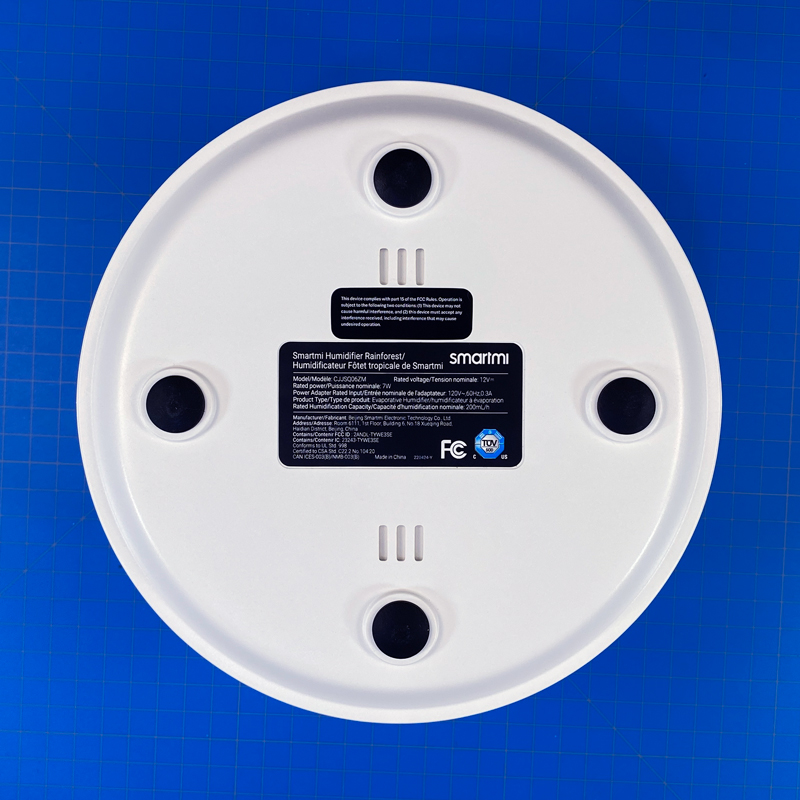
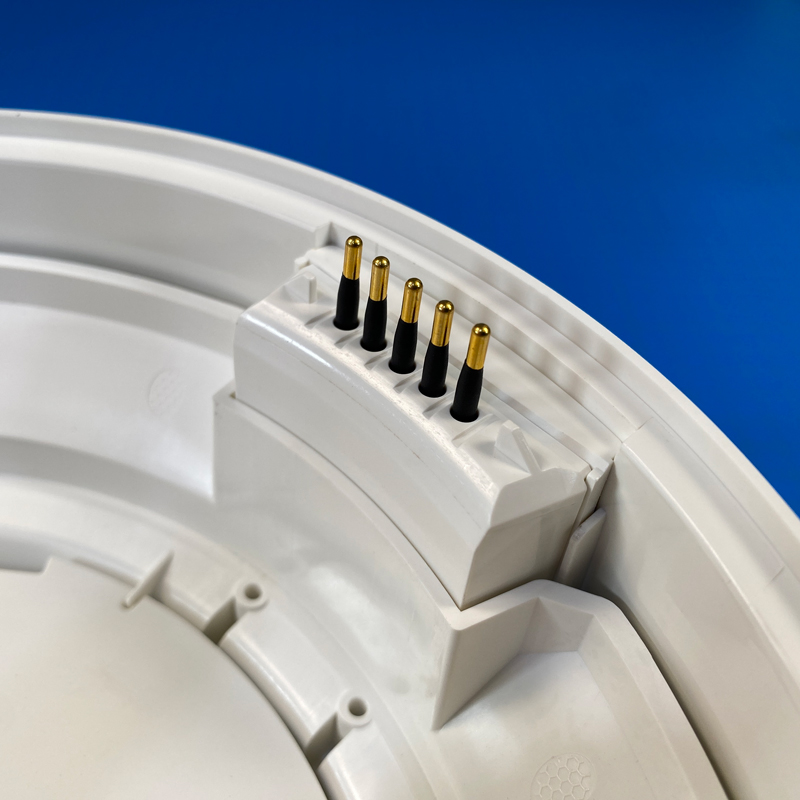
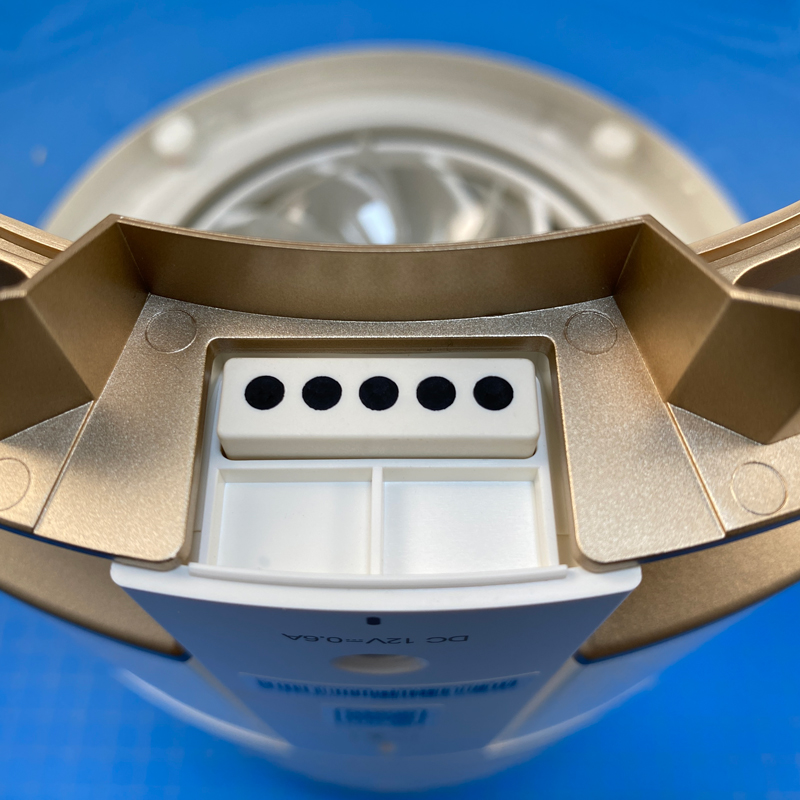
With the water pump section removed, you’re left with the water tank itself, which is reported to hold 3 litres of water, although I managed to get another 500ml right up to the ‘max’ level line for some reason. The underside of the tank has four rubber wheels to keep it from sliding around, although at 3.3kg, plus the weight of a full tank, this is unlikely. If it was knocked over, there’s a power cut-off feature to avoid any potential hazards involving electricity and water. Speaking of power, the section containing the water pump is also home to five pin connectors. These match up with five contacts found as part of the top section.
THE DISPLAY
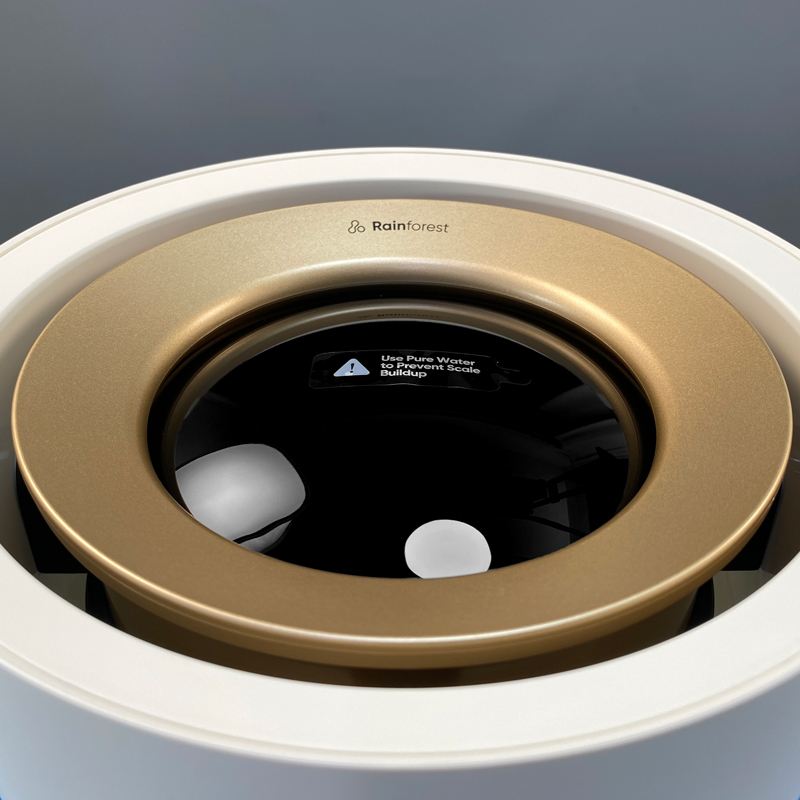
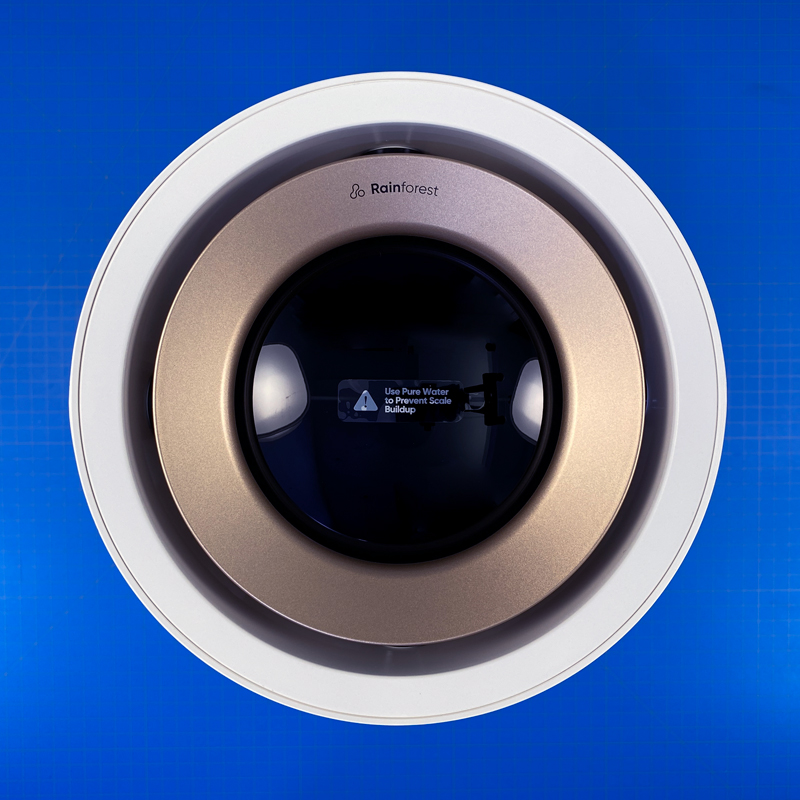
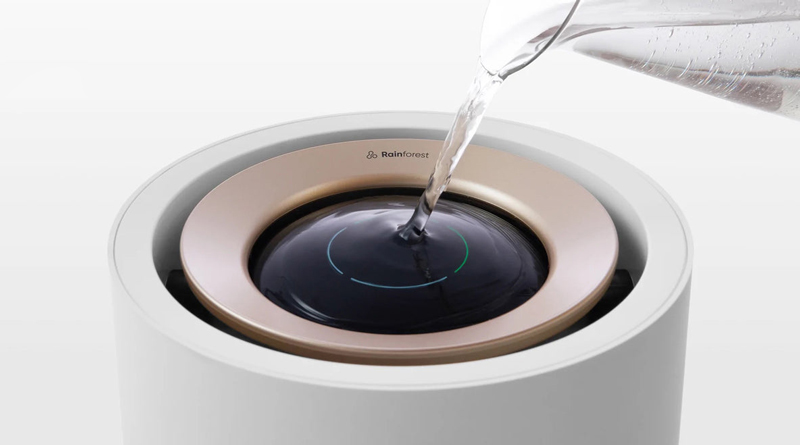
The top of the device is mostly made up of a display, although there’s more to it than that. At its basic, the LED screen, which could be described as a large ‘contact lens’, has a convex shape, the reason for which is that you can actually pour water over the top of it in order to (re)fill that water tank below. The water drops from the display to an opening encircling it, which then filters through the transparent chamber and eventually down into the water tank. Pretty clever stuff.
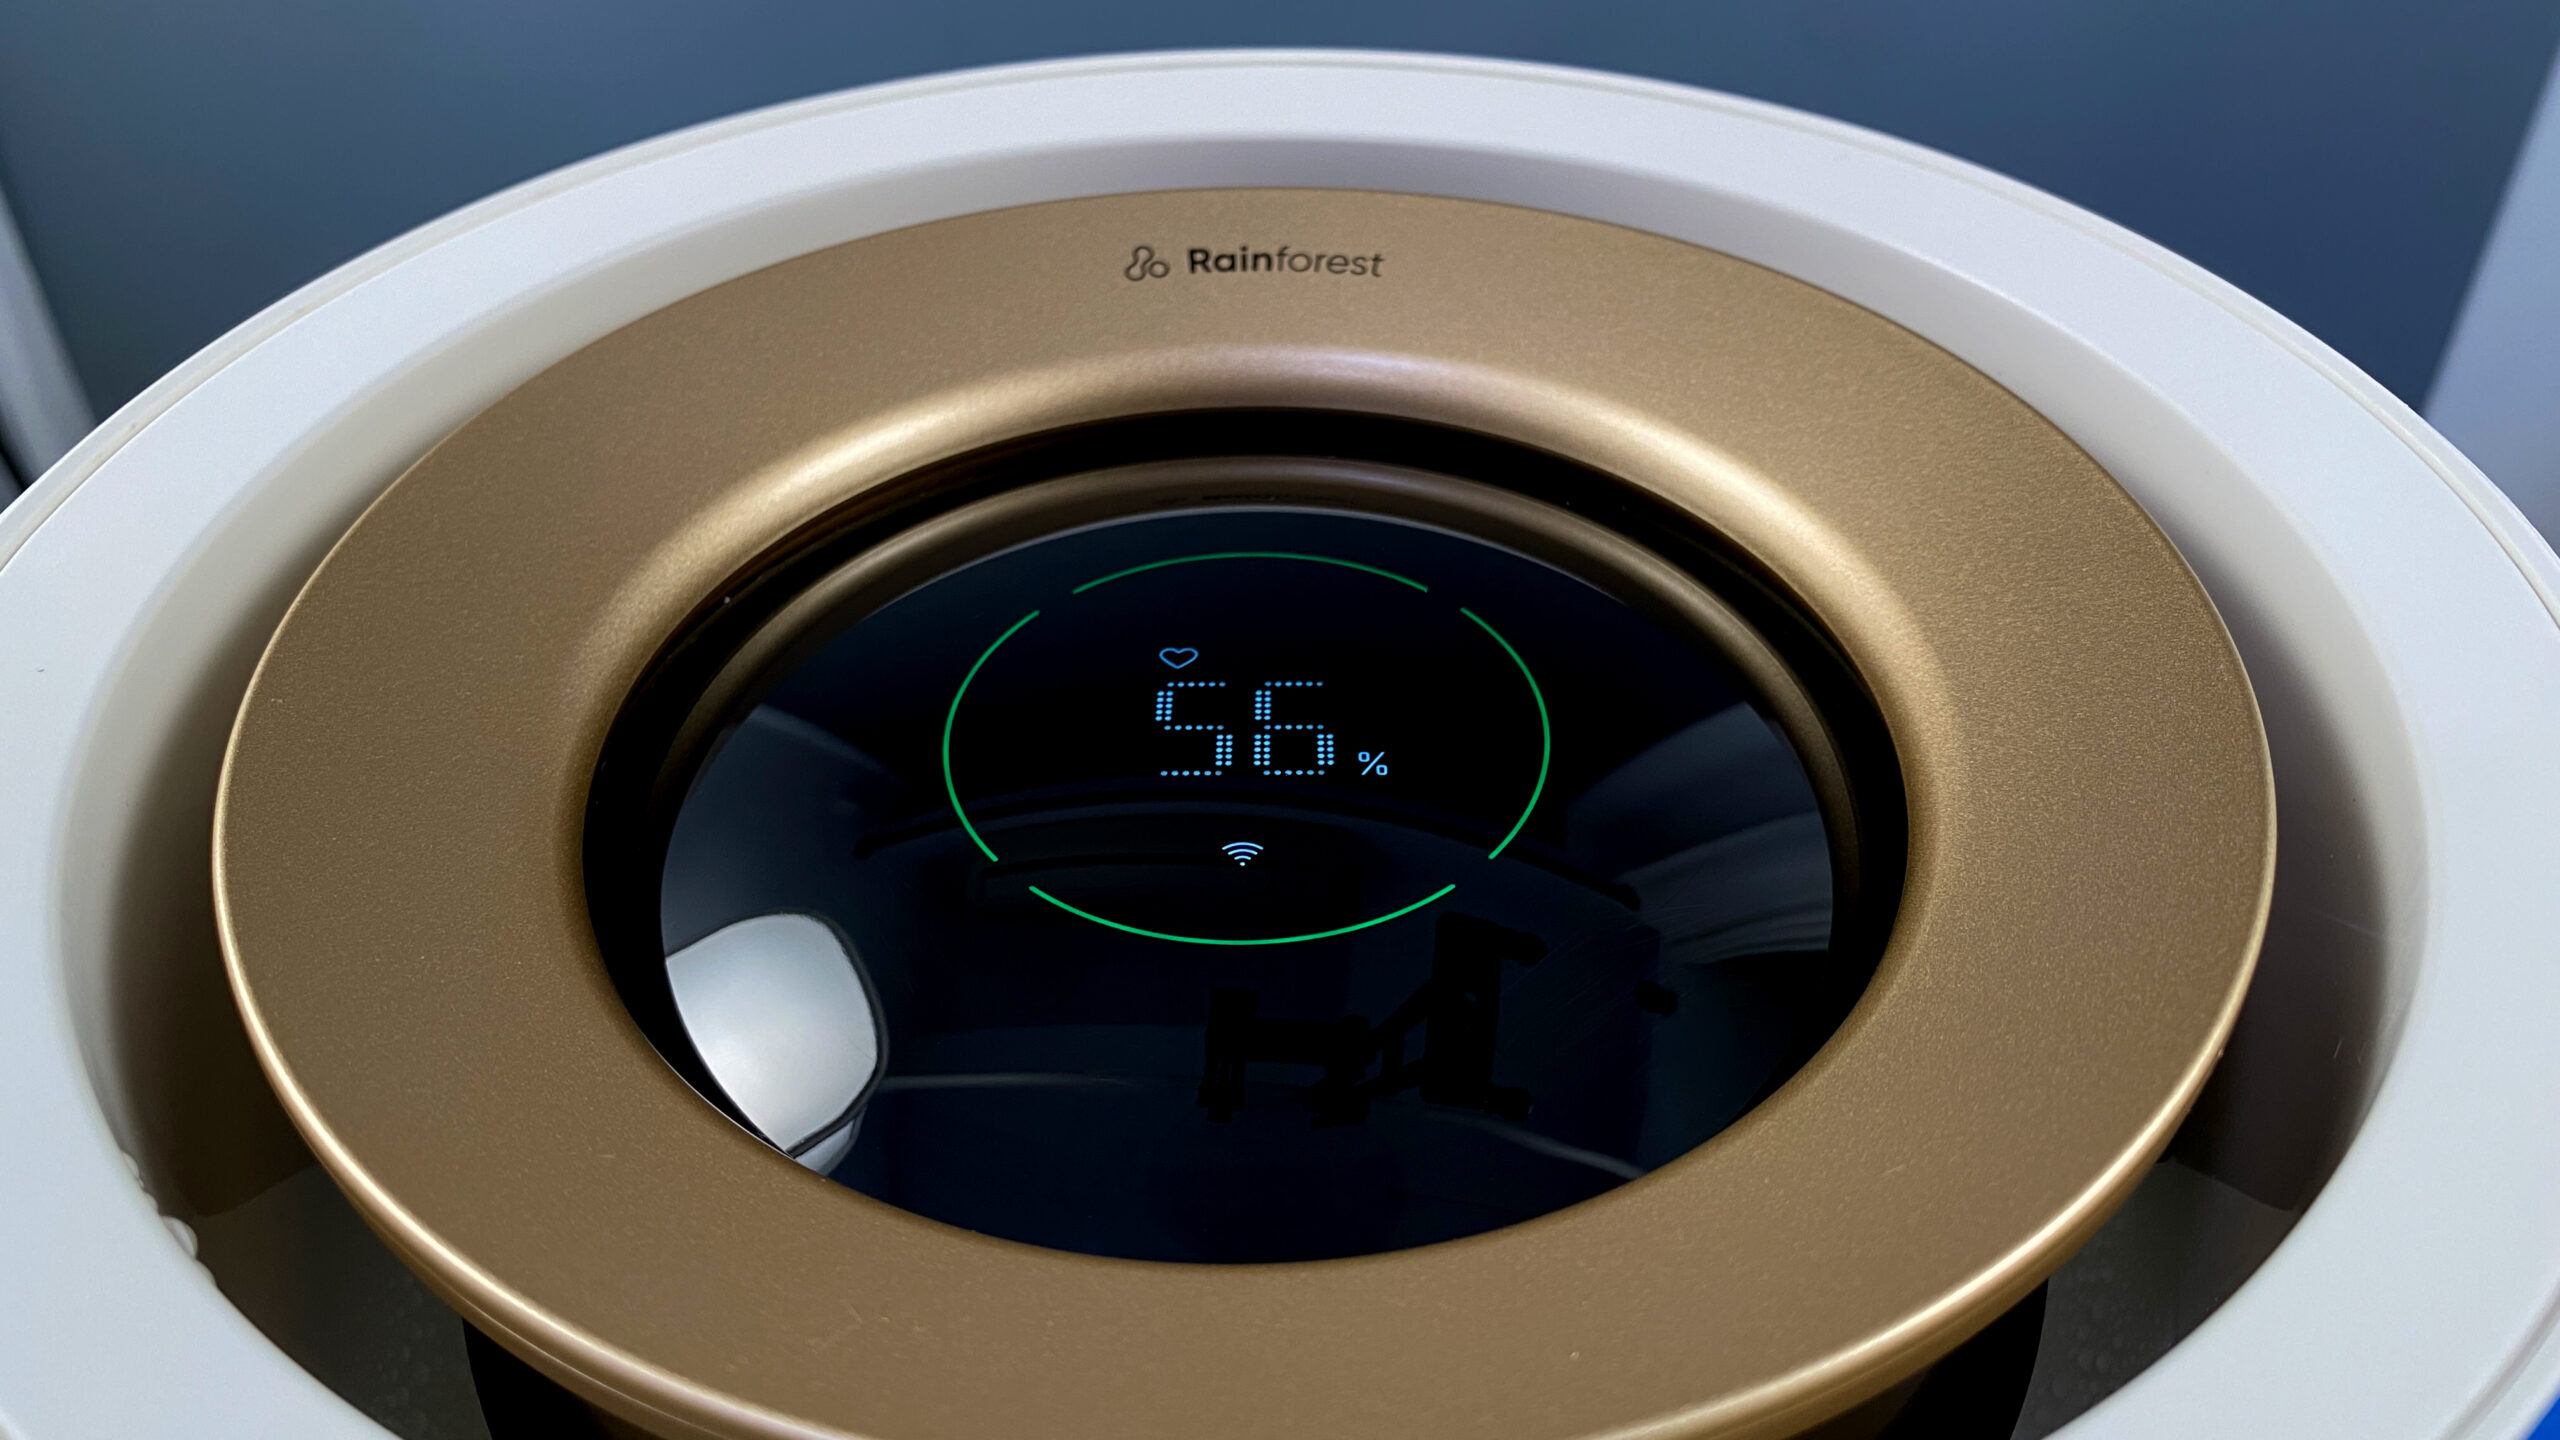
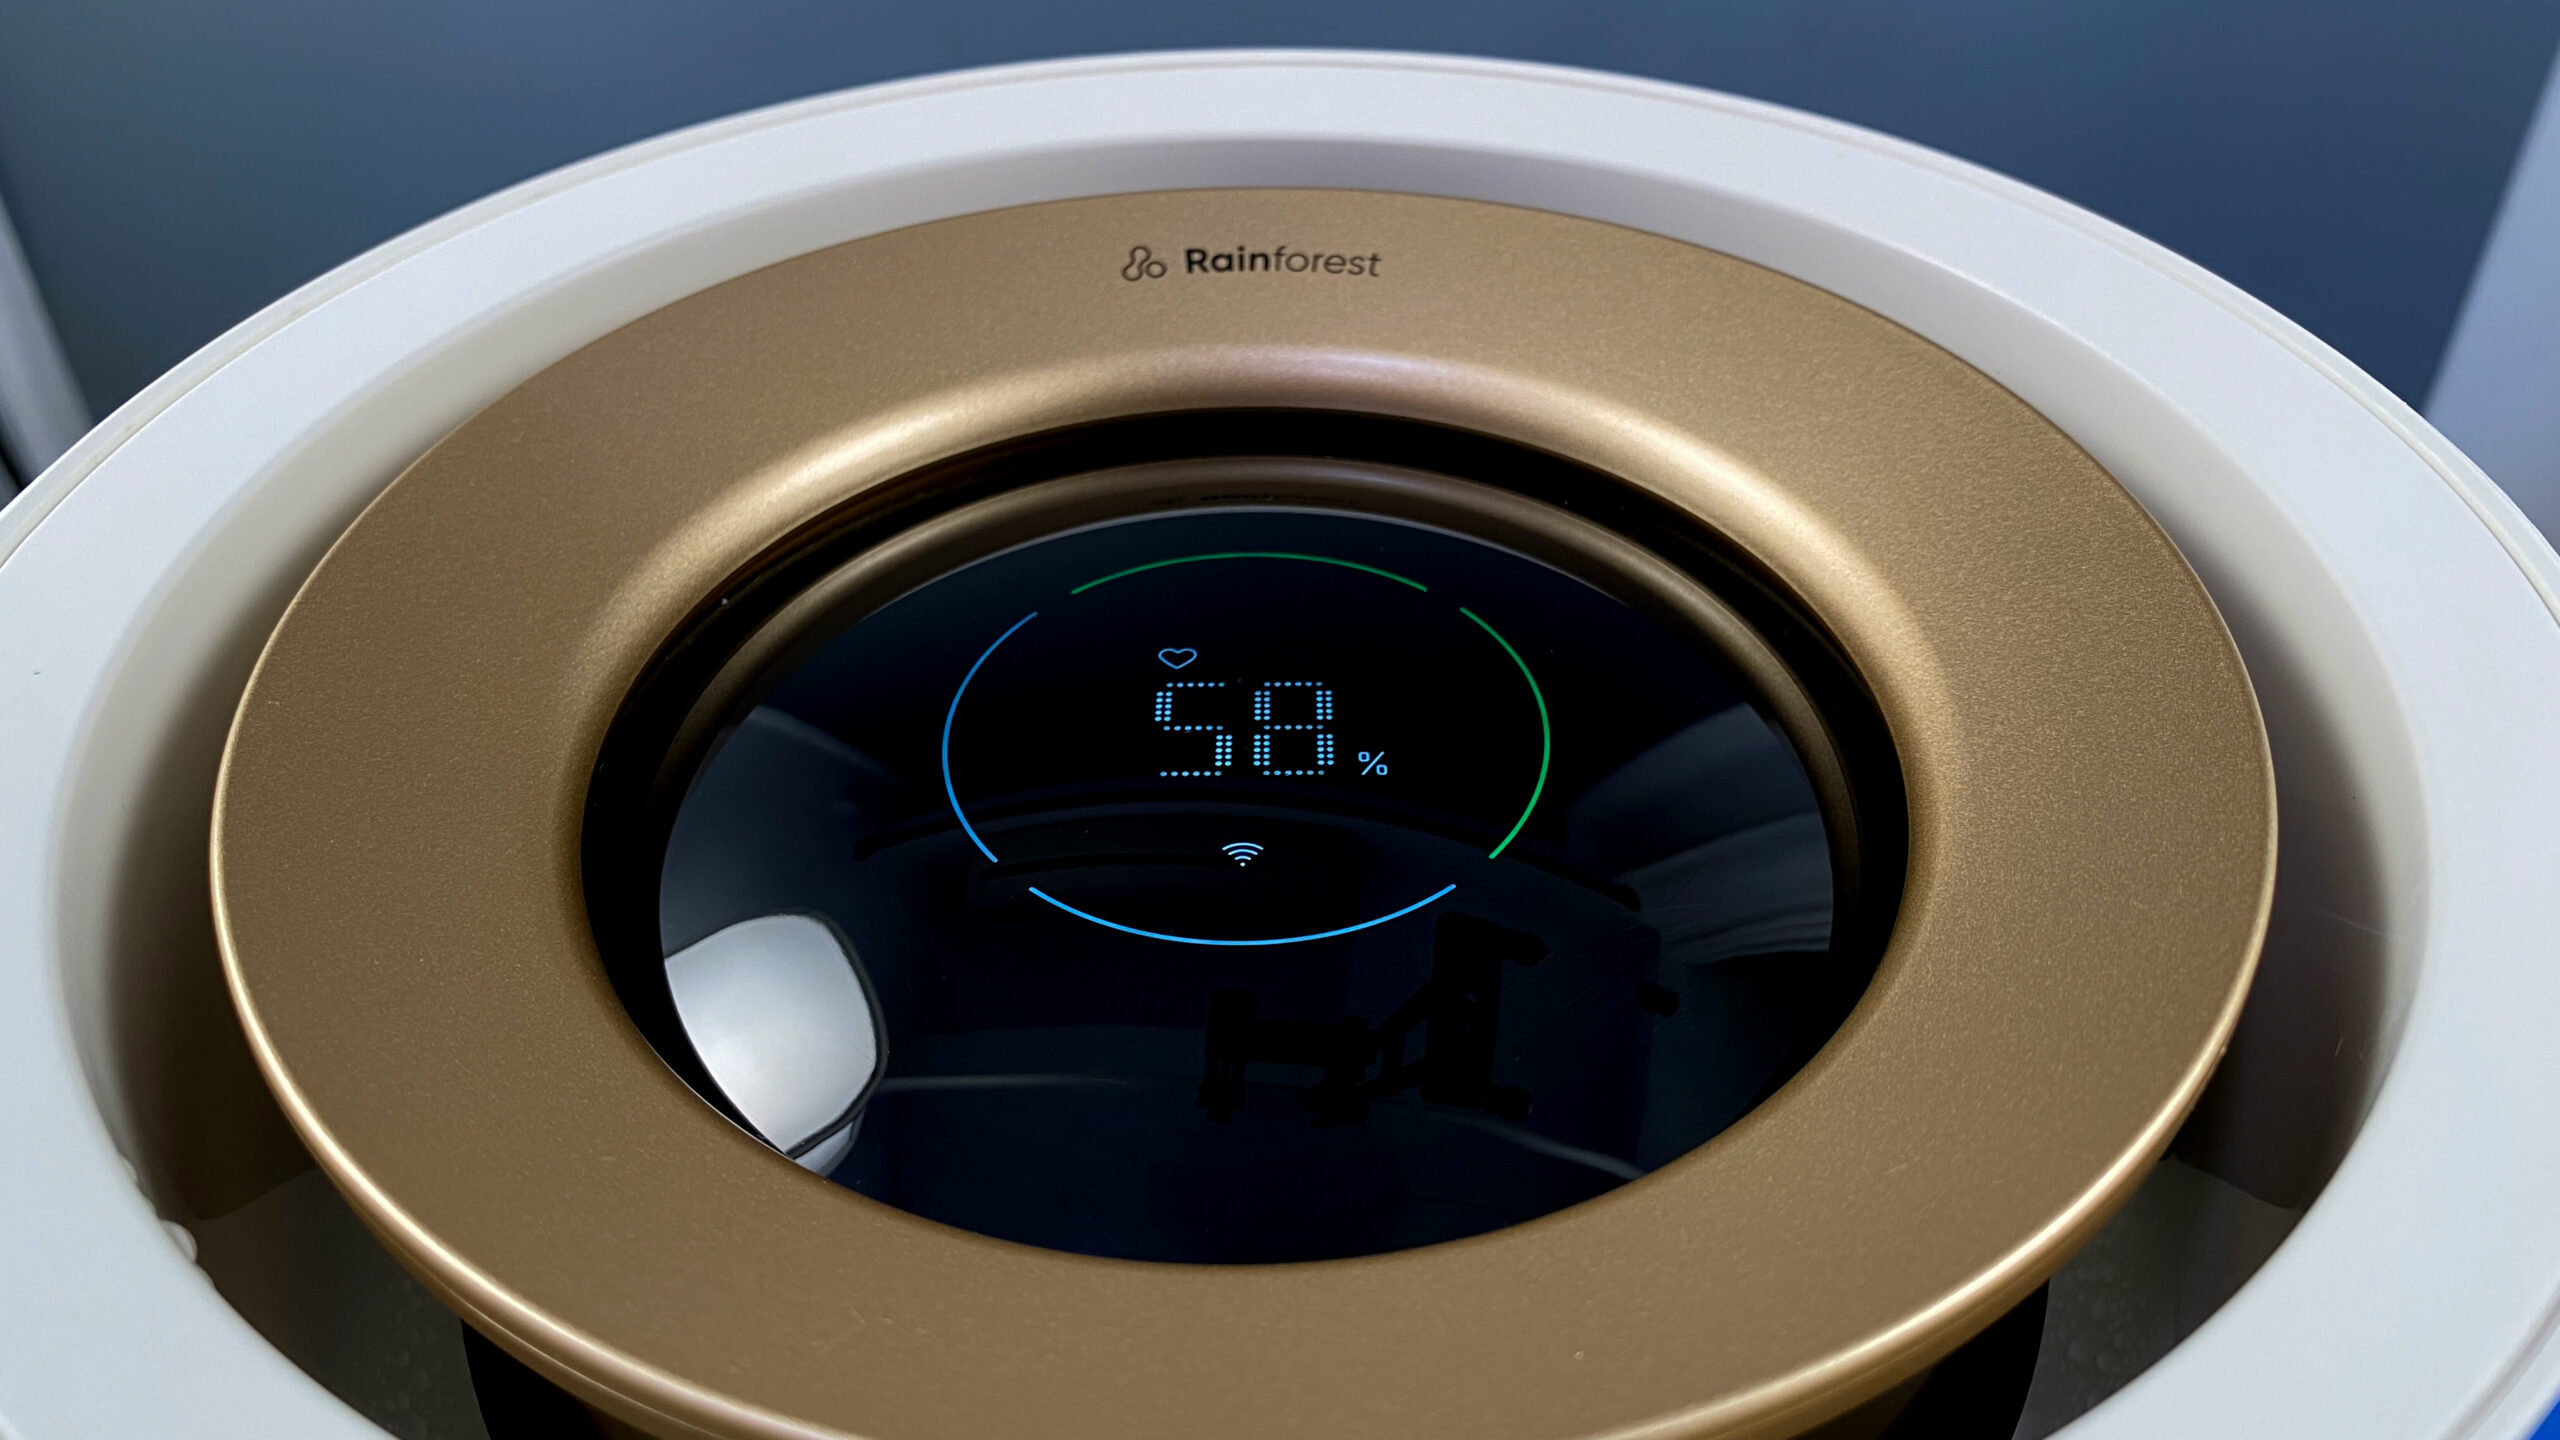
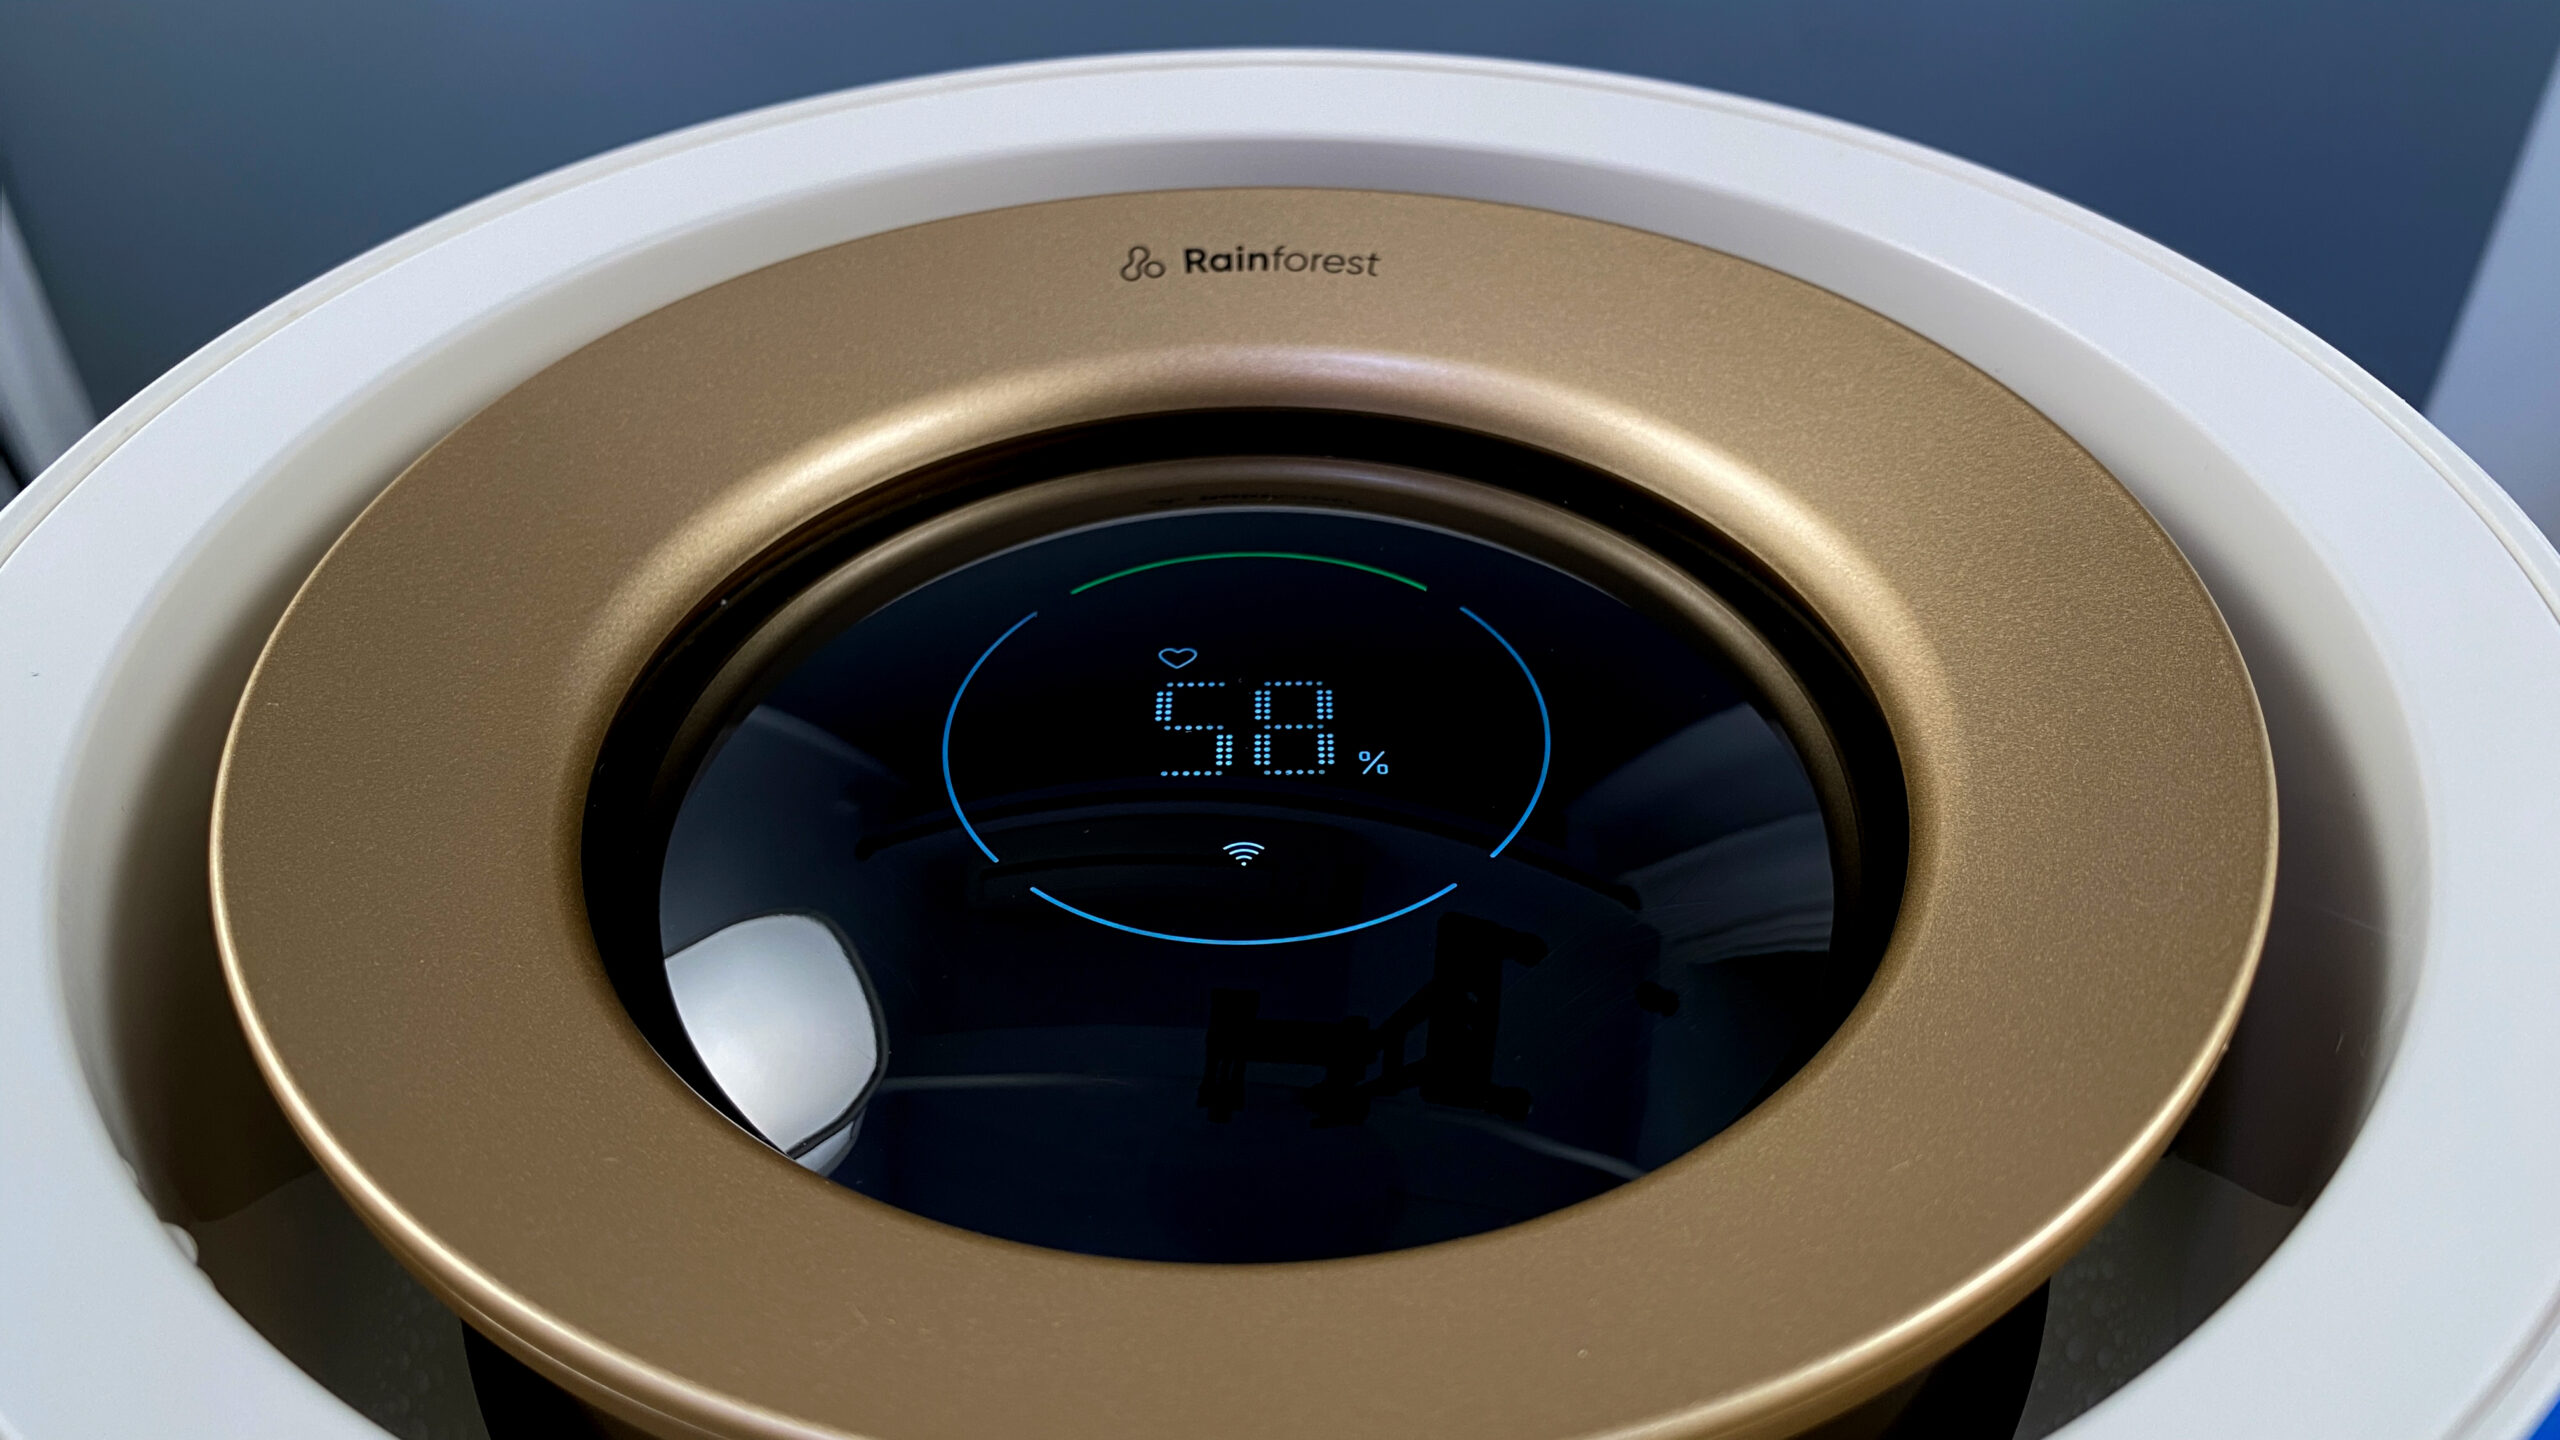
The display itself is quite simple and uncluttered, especially compared to their purifiers. In the centre is the current humidity level where it’s located, with a WiFi icon to let you know it’s connected. If this icon flashes, there’s a connectivity issue. Above the humidity reading will be one of three icons that represent the different modes – a Heart for Favourite mode, a capital A for Auto mode, and a crescent moon for Sleep mode.
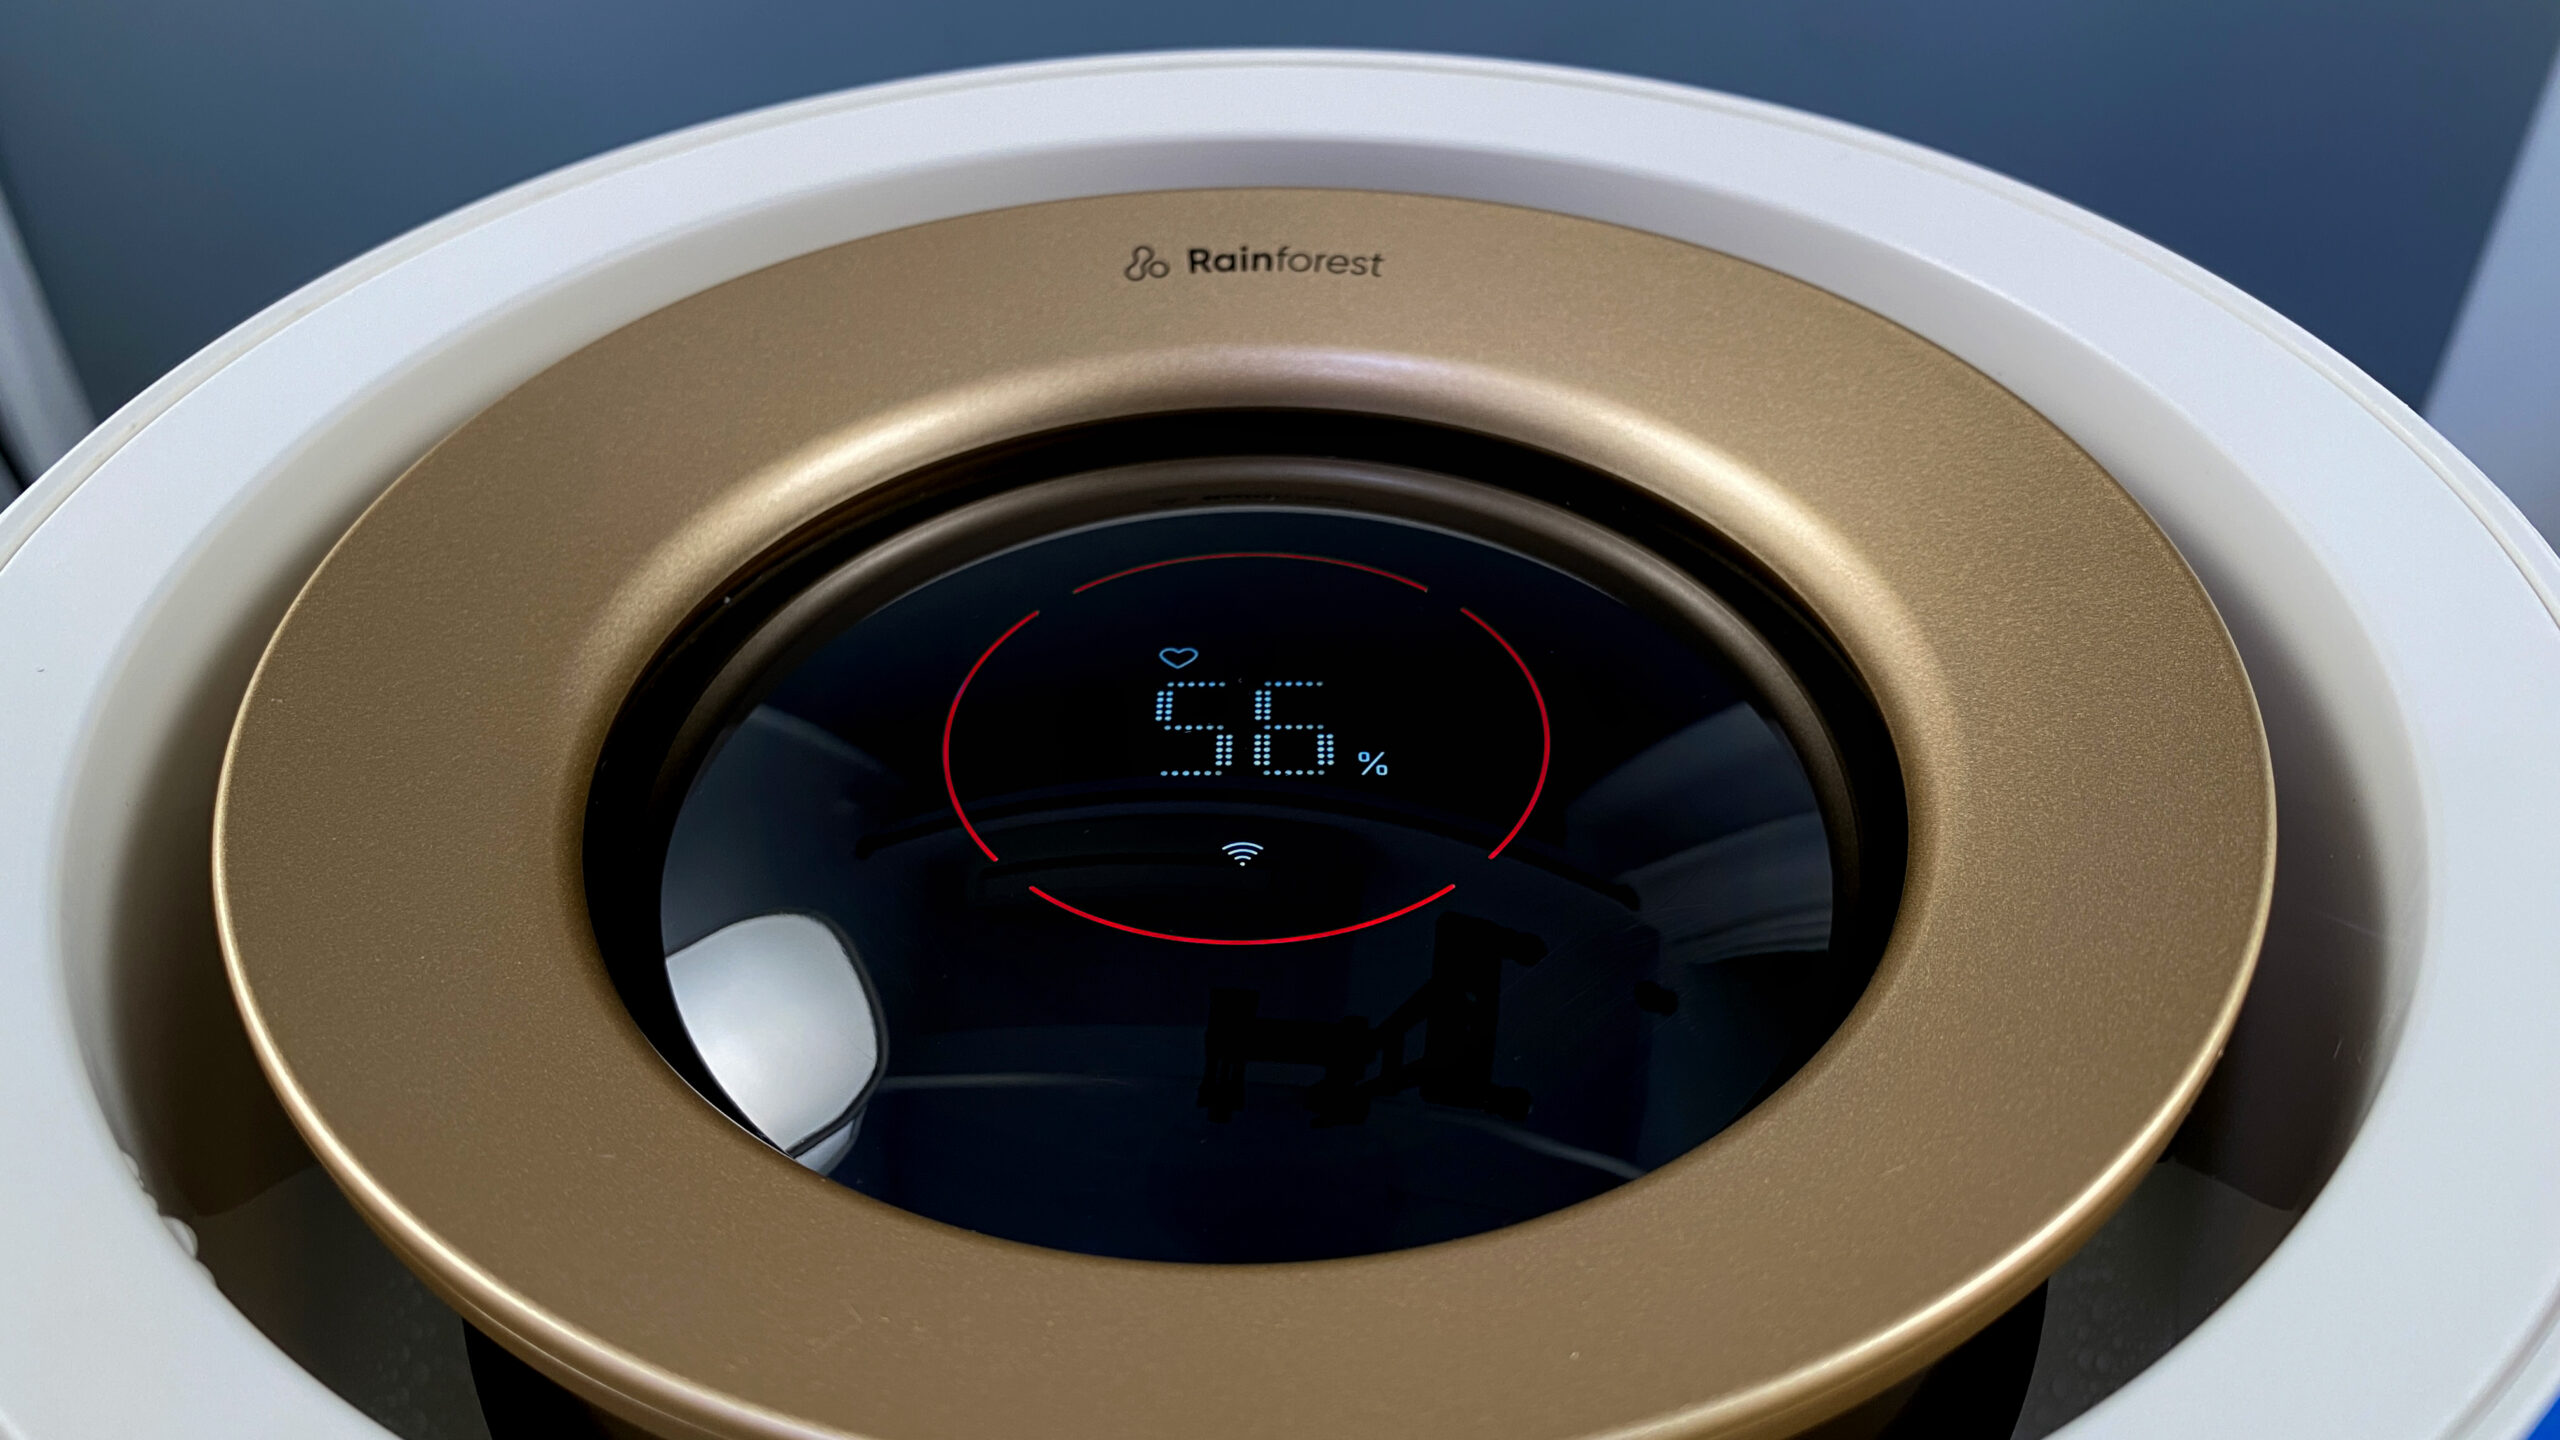
Surrounding all of these graphical icons is a colour ring split into four segments. Each segment represents roughly 25% of the water tank’s capacity, and as the tank begins to empty, one by one, each section will change from green to white, indicating the estimated amount of water left in the tank.
When the tank is devoid of water, these four segments will turn red and begin to pulsate to let you know the tank needs refilling.
The display is surrounded by a gold-coloured ring, that is separated from the outer edge by another set of vents that let out the humidified air. As you can see from the sticker on the display, you should use purified water to avoid limescale building up or to prevent other impurities being pushed out into your room.
THE SMARTMI LINK APP
It’s probably easier to set this up in the Smartmi Link app first, and even if you plan on using this solely in HomeKit, you’ll still need the app for a couple of settings not available elsewhere. You will need to set up an account and choose an appropriate server, but luckily, devices don’t seem to be region restricted in the way that Xiaomi or Aqara devices are, so you can choose any region you want.
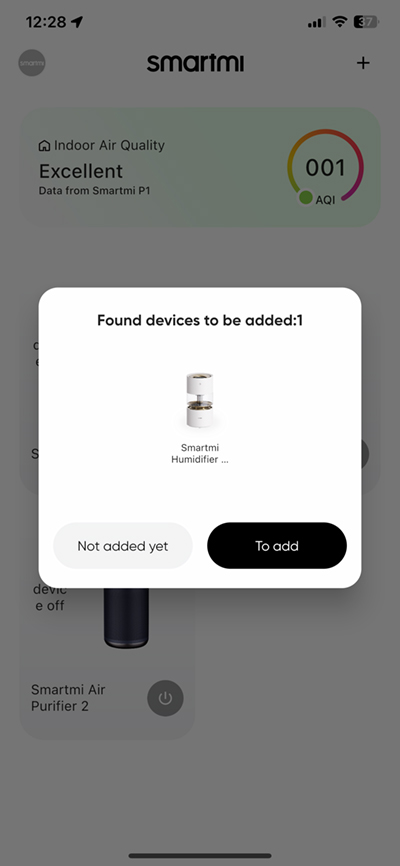
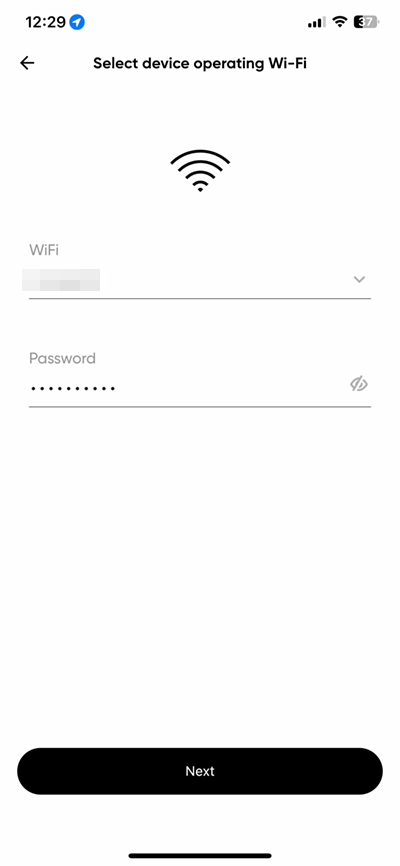
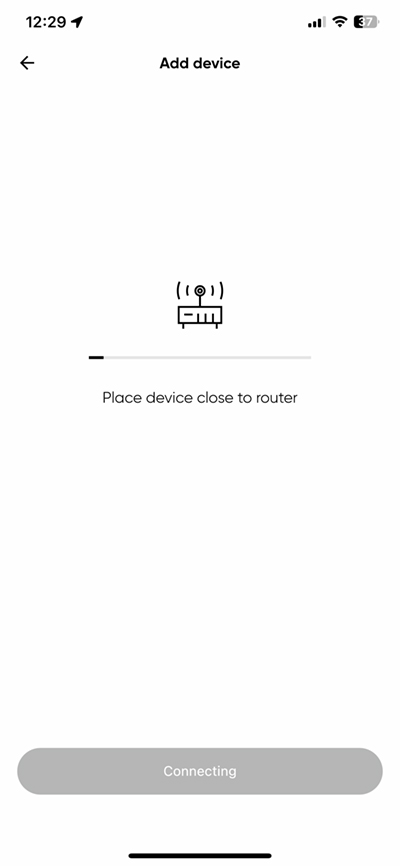
Smartmi devices, whilst using WiFi, also have a Bluetooth chip inside for initial connection (or commissioning, as it’s now referred to for Matter devices). It discovered the unit as soon as I plugged it into power, which was impressive. As this uses 2.4GHz WiFi only, you need to provide suitable credentials for the unit to connect to. Once connected, you’re set – all rather painless.
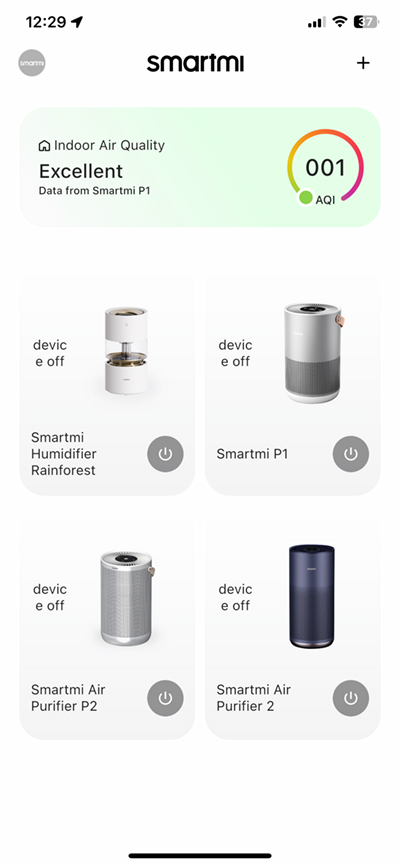
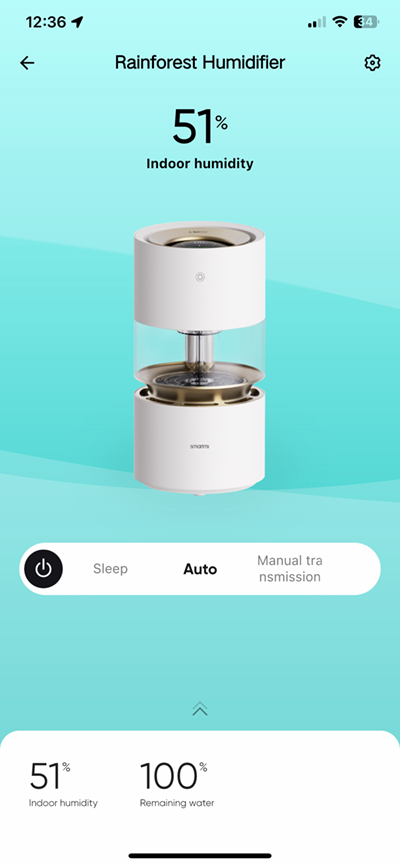
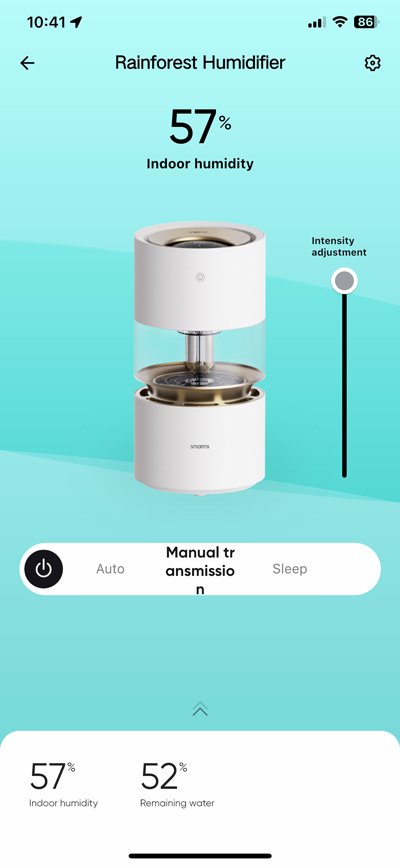
If you have multiple Smartmi devices as I have, they’re all shown on the main screen, with a simple on/off button for quick access. Tapping on the relevant tile opens up a full control panel. The unit in question is much like the other products, although as we’re talking about humidity, not air quality, there are differences. The display has a carousel bar to switch between the three modes previously mentioned, along with the power button. In Manual mode, you get a sliding bar to adjust the ‘intensity’ although it’s basically the fan speed you’re adjusting. The top of the screen shows the current humidity, which is reflected in the half-hidden panel at the bottom, which also tells you how much water is left in the tank.
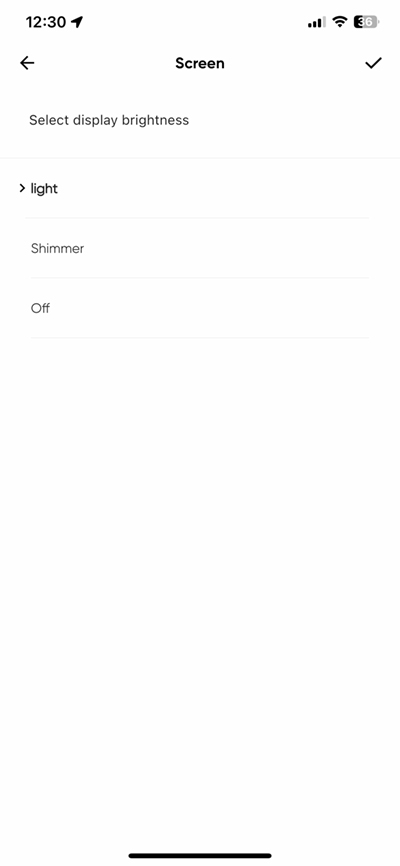
This bottom panel expands when you slide it up, to reveal a slider for target humidity along with extra options. These extras include the display, which can be set to full brightness (light), dimmed (shimmer), or off. There’s a simple option for setting on/off timers, and a section that explains how the unit can be set to self-clean. As with all Smartmi devices, you can also turn off the standard beep sounds emitted whenever you change anything.
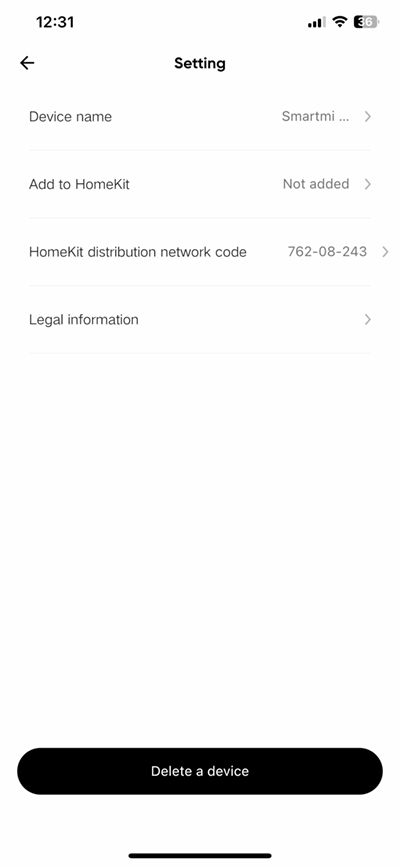
In the app, you can also add it directly to HomeKit. As it’s already connected to your network, there’s no need for your phone to be on a 2.4GHz network, so the process of adding it to HomeKit is generally much quicker at this point.
IN THE HOME APP | HOMEKIT
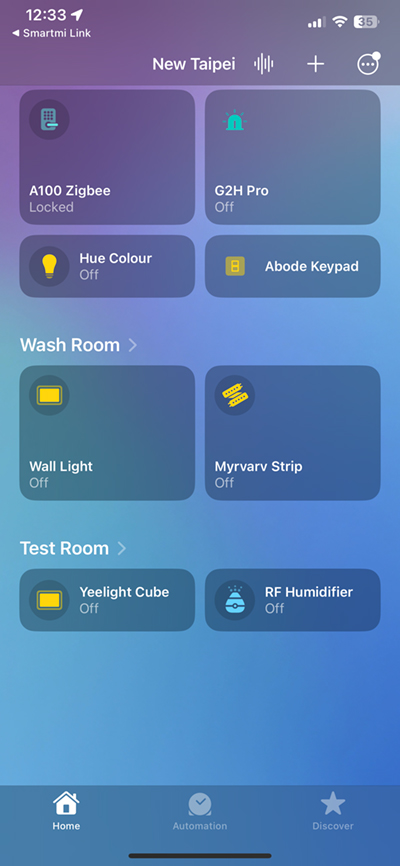
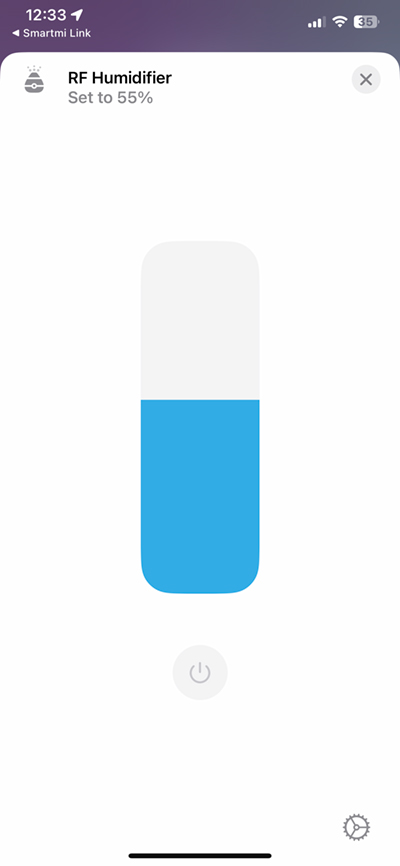
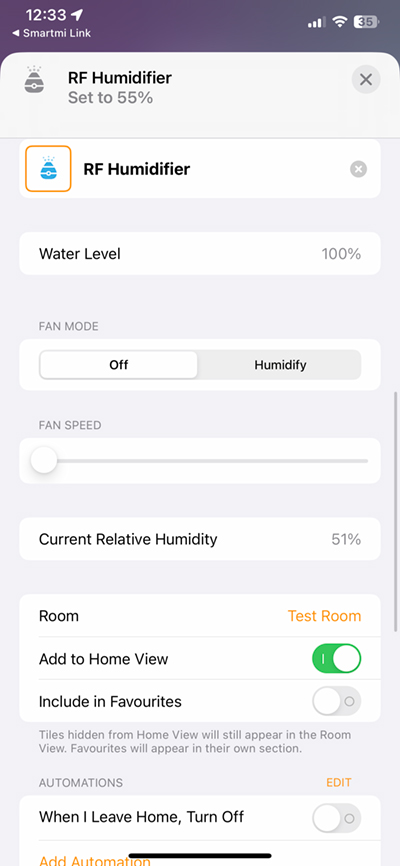
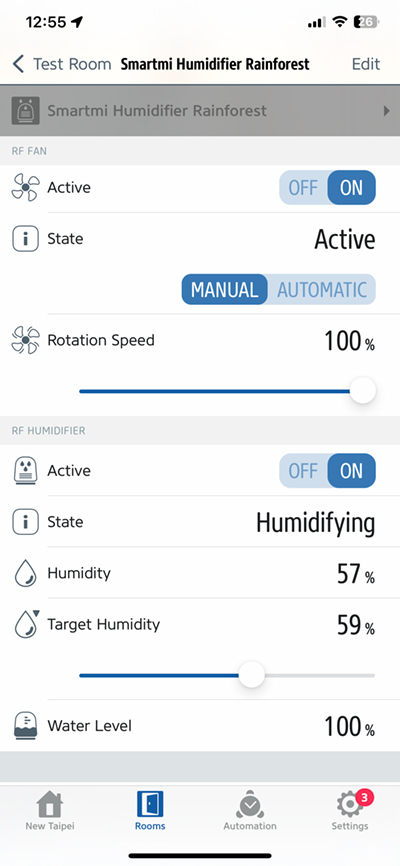
In HomeKit you get one tile for on/off. Tapping elsewhere on the tile reveals the standard slider control, although this is not for the fan speed. The slider controls the target humidity (i.e. the level of humidity you require). Below that is the power button. In the settings section, you get details on the water level, an off/humidity control, and fan speed, along with the current humidity levels.
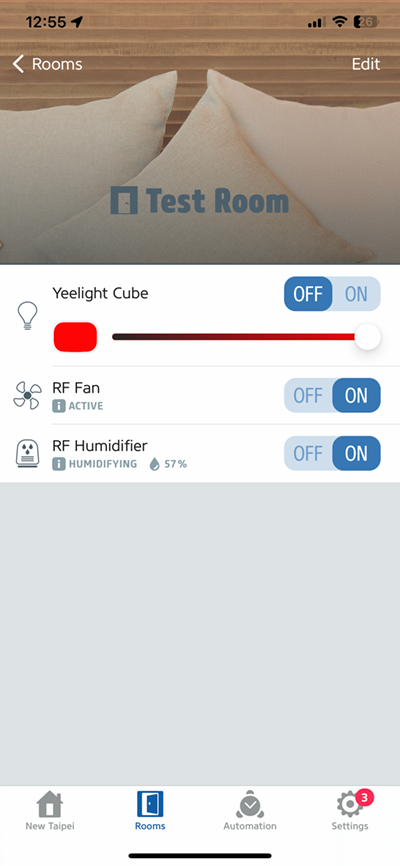
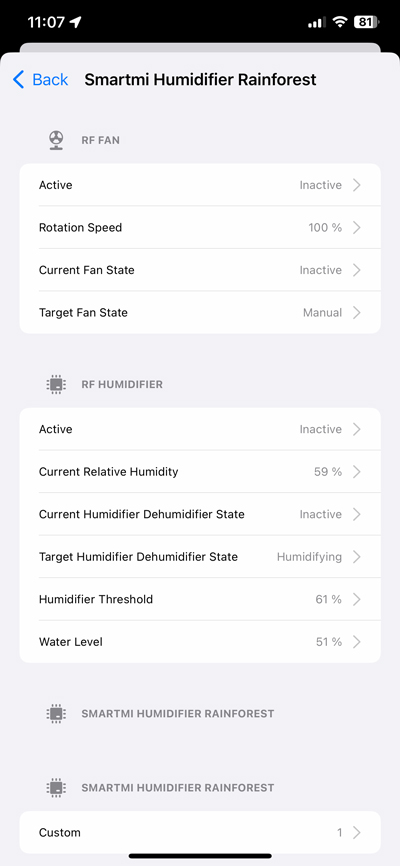
Strangely, the Home app doesn’t offer an option to use the humidity level readings from the device in an automation! Luckily this is not the case with third-party apps, like Eve for HomeKit which does allow for such an automation. Indeed, as is usually the case, once you’ve set such an automation up in a third-party app, it’ll then appear in the Home app anyway. The Eve app shows separate controls for the fan and the humidifier along with all the other settings.
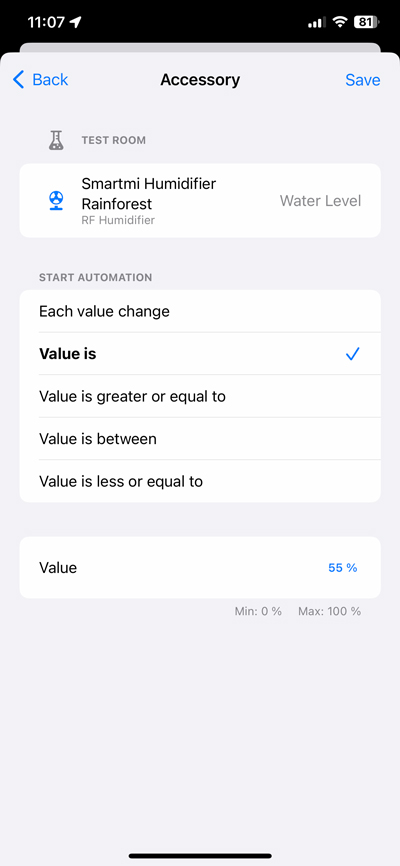
What neither Eve for HomeKit nor Apple Home can do is create an automation based on the tank’s water level. For this, you’d need something like the Controller for HomeKit app, which offers this amongst other trigger aspects. If you really delve into this app, you can even turn off the fan whilst still keeping the water running, and have the display on, although why you’d want to do so is anyone’s guess! What you can’t seem to do in any app is control the display brightness, which is a shame, as is having to resort to outside apps to achieve something relatively simple, but it is what it is.
EVAPORATIVE VS. ULTRASONIC HUMIDIFIERS
Possibly the only alternative to the Rainforest Humidifier right now – at least for HomeKit integration – is the MistFlow from Vocolinc. This is an ultrasonic humidifier that “uses a ceramic diaphragm vibrating at an ultrasonic frequency to create water droplets that silently exit the humidifier in the form of cool fog”*.
These kinds of humidifiers tend to be able to get the humidity to the level required much quicker than evaporative models, although the trade-off is that the fine mist generated immediately triggers PM2.5 sensors, whether they’re inside an air purifier, or as part of standalone models. I found this to be the case, with the evaporate approach having virtually no effect on these sensors. Whether this fine mist is in any way hazardous to health, I’m not sure, but if you use air purifiers to keep PM2.5 in check, then these ultrasonic humidifiers are going to falsely (perhaps) trigger automations you might use with them. Generally speaking, humidity levels of no greater than 60% are recommended, with levels between 40~50% seemingly being the ideal range.
*Source – Wikipedia
THE RAINFOREST HUMIDIFIER IN USE
This has been a tricky device to test in a significant way. Where I reside (Taiwan), we get high humidity for much of the year, with only relatively low levels of humidity from December to February, although the summers have been unseasonably dry too, so there may be times when it’s required. So, as I received this unit in mid March, it’s tricky to fully test its humidifying capabilities, although I tested it in the studio, which generally doesn’t suffer as much from humidity as other rooms, as it’s away from outside contact to a large degree. That all said, it seemed to do as was expected of it, although it rarely managed to get above 64% humidity, no matter how powerfully and long it was running for. To me, this isn’t a problem, as already outlined in terms of how much humidity is good for your health, but it’s still worth pointing out.
The design, for me, is absolutely gorgeous, and would easily be allowed to stand proud in any room, on full display. As stated earlier, it has this ‘Habitat’ style about it that for me is pretty timeless, but also futuristic looking, à la The Jetsons!
What is less appealing for many of our readers is probably the price, which at one cent under US$300 is fairly pricy. A while back it wasn’t uncommon to pay even more for an air purifier, but times change, and you can now buy air purifiers for just a shade over US$100, although the quality isn’t always going to be great (Meross and Sensibo, take note…). The alternative is the previously mentioned ultrasonic humidifiers, so if you’re not going to want to confuse your PM2.5 sensors, and require smart home integration (specifically HomeKit), this is the only device on a very empty playing field.
I have no complaints at all and in the time I’ve used it, which has only been around a month, there have been no issues at all, be it connectivity, false readings, or missed automations. In fact, I’d go as far as to say that the humidity sensor seems a lot more accurate than you tend to find with many devices with built-in sensors of this type. Add to this the ‘white noise’ effect of the water hitting the inside of the chamber, and you could have something that’s worth investing in, even with the high initial cost.

